

When I first bought my house I knew there was landscaping to be done in the front yard… but I had no plans for a vegetable or fruit garden. Luckily you don’t have to have a huge area to plant a few edible plants and create a little fruit garden of your own!
Whether you’re building a raised bed, buying one or planting fruit in containers the process is very similar. In my case I wanted to start small with a beginner level fruit garden so instead of creating an entire area for fruit plants I decided to create a stock tank garden. This should give me enough room to plant 2-3 plants I know I love without overwhelming myself with work or fruit (some plants can really produce quite a lot of fruits!).
In order to create my little garden I have to prep my stock tank and then plant all of my new plants. I decided on strawberry’s, Sugar Baby Watermelons and Cucumbers. I know that all three of these plants need lots of sun, lots of water and I could eat them all day, everyday so I’ll be alright no matter the harvest.
Plus it’s always fun to share with friends!
We’ll get started by prepping the stock tank for planting and then going over each plant individually so if you don’t want to plant this exact garden you can adjust based on which plants you prefer. Perhaps strawberry’s and blueberries would work better for your family… or tomatoes!
Let’s jump right in.
Supplies:
- 2x1x4 Stock Tank (I picked mine up at Tractor Supply… they seem to be the same price at most hardware stores)
- 4 Bags of Vegetable Soil
- Garden Tone
- Round Trellis
- Garden Straw
- Small Shovel & Hand Tiller
- Thick Kneeling Pad
- 4-6 Strawberry Plants (I used 4 Sweet Berry’s and 2 Quinault)
- 2 Cucumber Plants (Small variety reaching 4-5 inches at maturity)
- 2 Sugar Baby Watermelon Plants (I bought mine here)
- Vining Plant Clips
- Black Knee Highs
- Optional: 3-4 Bags of Pea Gravel
- Watering Can or Hose

Setting Up your Stock Tank
Let’s get started! When deciding where to place your stock tank you’ll need to pick a place that gets 8+ hours of sun a day. Fruits and Veggies need lots of sun and lots of water to grow properly so making sure your raised bed is in the sun is a crucial step. You’ll also want to think of proximity to your house… by placing your fruit garden in a stock tank you can 100% control the soil and fertilizer that your plants are grown in (as well as keep them up off the actual ground) but you’ll also be 100% responsible for all the food (fertilizer) and water (… water) they’ll need in their lifetime.
Placing your stock tank close enough to your home to run a drip line (don’t worry… that’s coming in another post!) or to hand water daily is the perfect solution. You’ll need to water your plants at least once a day (maybe more on the hotter days) so for me closer is better. Plus once you have fruit you’ll need to stay on top of harvesting it so that it doesn’t rot and the plants can continue to produce more fruit. Out of sight is out of mind (especially for a beginner Gardner like me who could easily forget to check on things!) so closer is sometimes better.
I decided on this little bump out area to the left of my front door and the side of my flower beds. My stock tank fits perfectly here and I see it every day so I can always remember to check it.
Now that we have the perfect location let’s get started on prepping our stock tank itself and the ground underneath it. My little stock tank did not have any drainage holes so we’ll need to remedy that and I don’t want any weeds growing up and around the base so I’ll fix that before I fill this baby with dirt and it’s too heavy to move.
Eventually I’m going to lay a pea gravel path that will come around the front of my garden and end at this little raised fruit garden but I don’t want to move my stock tank to lay the path. Instead I’ll prep the area now and then build the path right up to it.
Ready?

Pull Any Weeds
The first step is to move the stock tank out of the way and pull any weeds that are growing around your new raised bed. When we water our fruit the excess water will drain down underneath the stock tank and grow any weeds underneath… and I don’t know about y’all but that is not the look I’m going for!
Instead I grabbed my hand tiller and my trusty kneeling pad and got to work. I have fairly soft dirt (*ahem* sand) so tilling is fairly easy for me. Of course, if I were doing a larger area I’d grab a larger tiller but for this small area the hand tiller that came with my shovels is perfect. It breaks up the dirt and loosens the roots of the weeds so I can pull them free.
Make sure to throw all the weeds away as you go (not out into the yard where you’ll have to pick them up later like I did!) otherwise they could easily root themselves in the yard and you’ll just have weeds in a different spot.
This step should only take a few minutes… depending on the size of your spot. Once you’ve removed all the weeds you can use your feet to flatten the new fluffy dirt out so that it’s as level as possible. (Or you can actually level the ground but I didn’t find that necessary).
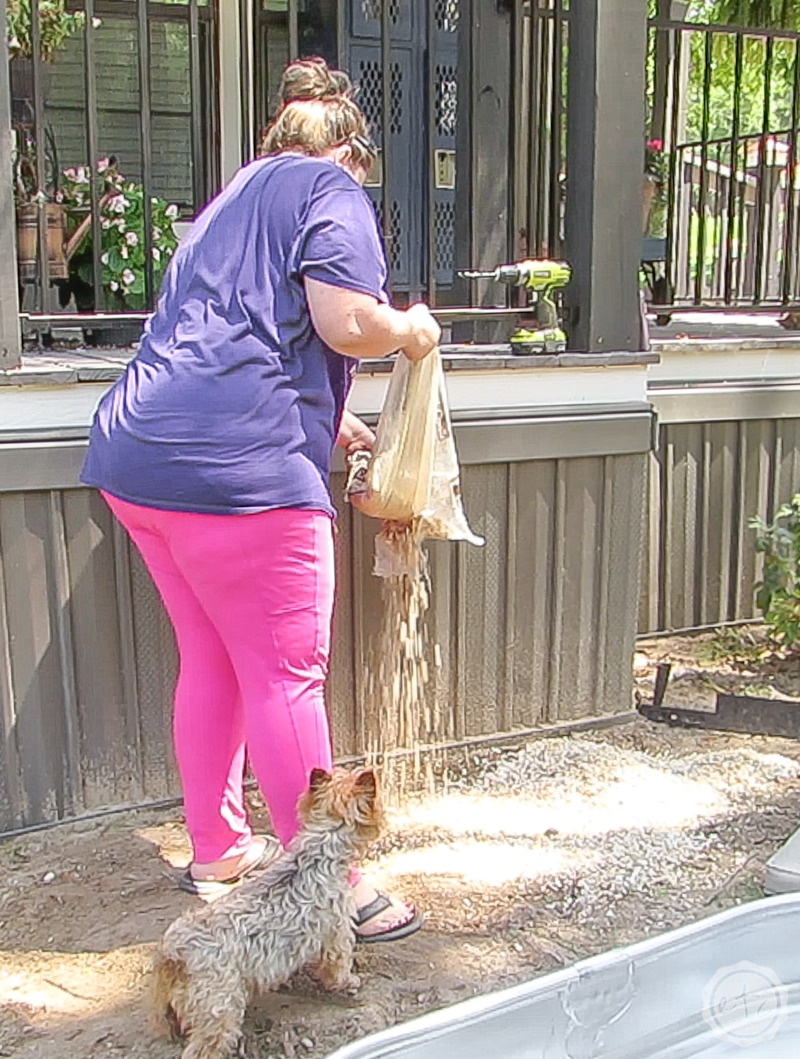
Lay Pea Gravel
This step is completely optional but it does have a few advantages. Pea gravel will help your stock tank sit level and the water will drain through the rocks better so that your stock tank doesn’t end up sitting in a perpetual mud pit.
Plus pea gravel does help suppress weeds to a certain extent.
Mainly I am going to place a pea gravel path up to this raised bed so I wanted it to blend in to the eventual path. If you don’t want the added cost of pea gravel you can simply remove the weeds and place the stock tank on the dirt… there is absolutely nothing wrong with that!
Keep in mind that yorkie supervision is always the best way to go. Little Bitt is on top of it!
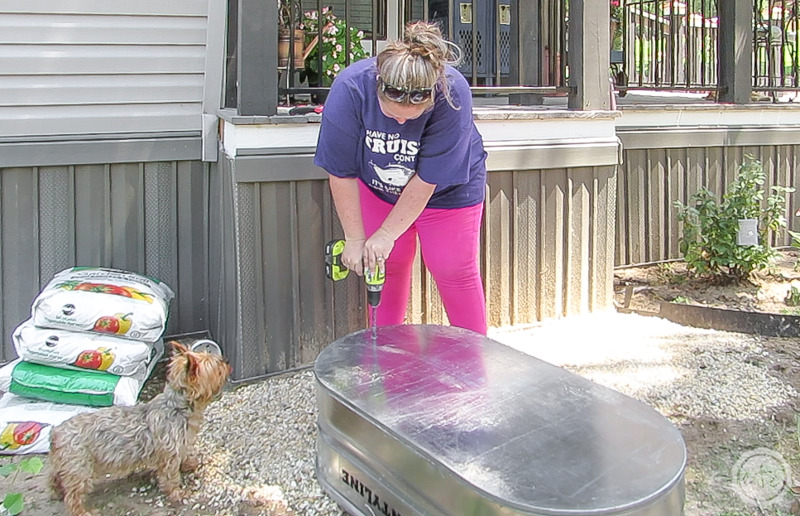
Drill Drain Holes
The last thing we want is to water our plants every single day and end up with a stock tank full of muddy water. Which means we need drain holes for the excess water to move through our container!
Some stock tanks will come with a pre-drilled drainage hole and even a plug… in that case you’re good to go.
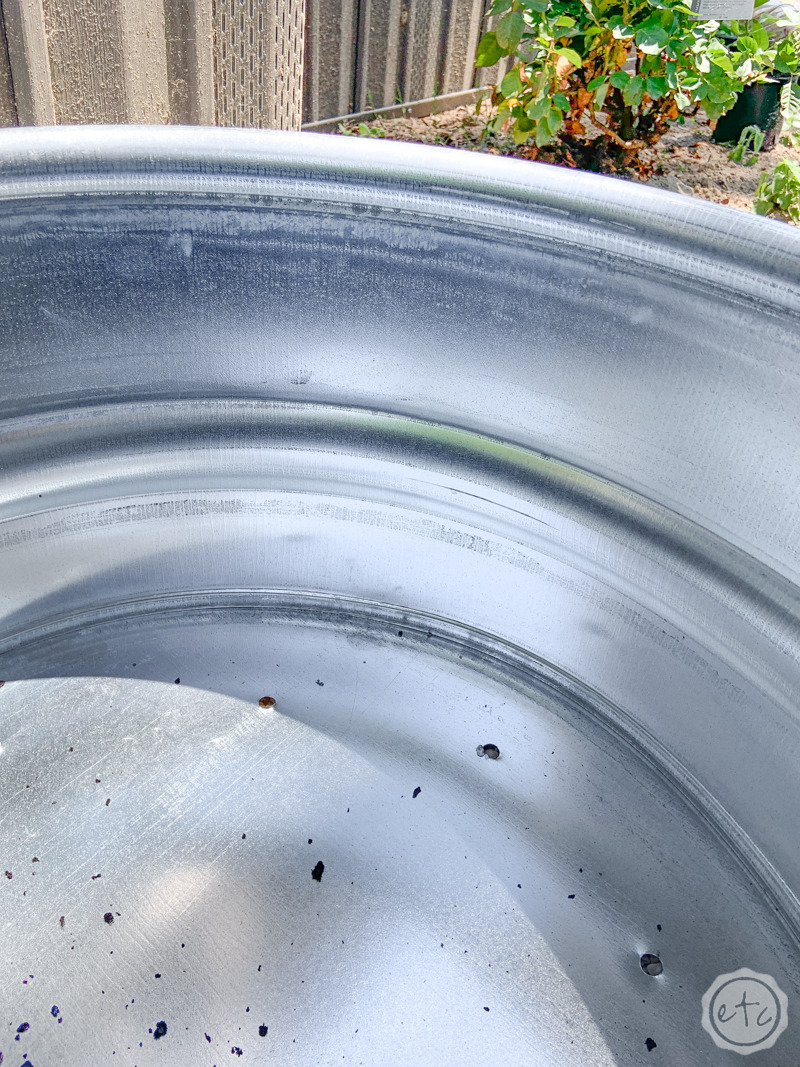
For some reason my stock tank came with none of those things. So instead I grabbed my drill and the largest drill bit I could find to add a few drainage holes of my own. I started by drilling holes solely on the ends of the container and ended up deciding to drill all the way around. Spacing my drainage holes roughly 8-10 inches apart.
Keep in mind that your yorkie supervisor may be scared of the drill and jump out of the way. Try to move the plants out of her path before this happens (she tried to kill several of my strawberry plants when I drilled the first hole). Luckily both the plants and doggo were just fine but the poor thing decided to leave supervising duties for a bit to recover.
Another optional step I decided to drill a hole in the back of my stock tank as well… this hole will be the access point for my 1/4 inch black poly tubing when I add a drip system to the stock tank in the future. It’s much easier to drill this hole now. If I’d had the black poly tubing on hand I would have threaded it through the hole now as well… but I didn’t so I’ll have to dig when I get to that step.

Fill with Garden Soil
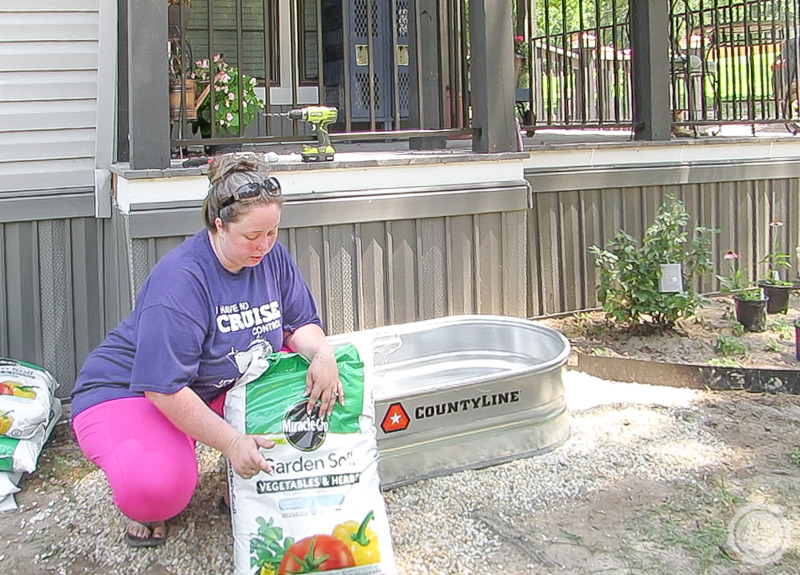
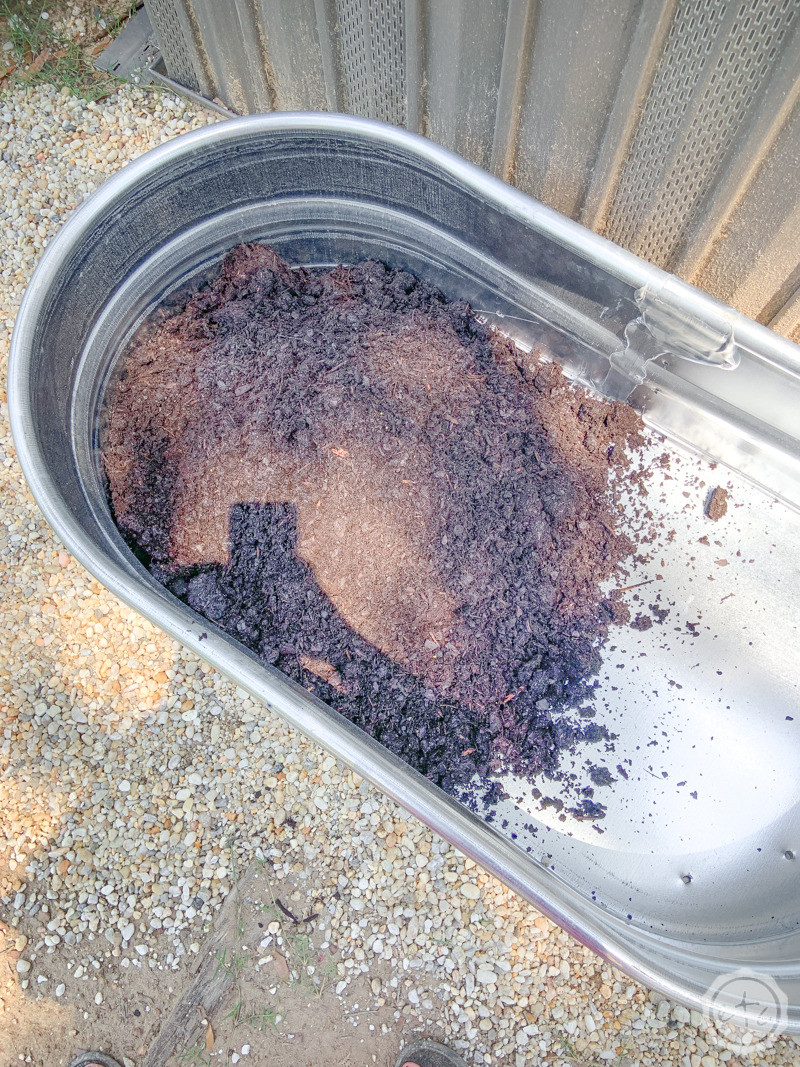
Now it’s time to fill this baby up! Set it in place with the drip hole in the back and make sure it’s as level as possible. Then add your soil.
Since we’re growing food we need to make sure we’re using a garden soil that’s specifically for vegetables or fruits. I picked up these bags of vegetable & herb garden soil at my local Lowe’s… they probably wouldn’t be my first choice but they’re decently priced and ready for edible plants. Which is the goal!
Soil that’s meant for edible plants is jam packed with nutrients that those plants need… using a regular potting soil or dirt from your garden will not provide the necessary nutrients unless you manually add those nutrients in. Which is 100% possible but since this raised bed is meant to be for beginners we’re going to stick with the pre-bagged stuff.
So. much. easier.
My little 2x1x4 stock tank took 4 bags of soil… if you grab a standard 2x2x4 you’ll need 8 bags. Make sure to put all 4 bags in and then level them off at the top!


Add Fertilizer
Okay so you’ll notice that my stock tank alllllllll of a sudden has plants in it… that’s because I had to order my garden tone and did not add it at the beginning. Which is fine… but not as easy.
Don’t be like me.
Add your fertilizer before your plants so they can use it from the beginning and it’s easy to mix in.
The garden tone I picked up is perfect for growing edible plants and will help them grow big and strong. Ideally you’ll want to add it to your soil about once a month so even if you add it at the beginning you’ll need to add it around your plants eventually anyways.
At least that’s what I’m telling myself.
Read the directions on the back of your bag but the general rule of thumb is about 2 cups of garden tone per cubic foot of soil for a new bed. So in this case we’ll need about 8 cups… and we’ll want to mix that throughout the soil. Once our plants are established we’ll add 1/3 a cup of fertilizer and mix it into the top 4 inches of soil. Make sure to mix it in around the plants but try not to disturb the roots.

Strawberries
At the beginning of this project I was just going to put in a strawberry bed. They’re inexpensive and fairly easy to grow… they self pollinate and don’t require huge amounts of water. Basically they’re a fairly easy beginner fruit to grow.
Or so I’ve been told.
My plan was to add strawberries around this outer edge of this baby and put a few pretty flowers in the middle. Which would be totally doable. I could have also grabbed a smaller galvanized bucket or even a set of hanging strawberry planters for my porch.
But noooooo I had to have an entire stock tank.
And once I had the stock tank I decided I might as well plant a few more yummy things to go with my strawberries.
But I’m getting ahead of myself. Back to the berries.
Lay out your Berry Plants
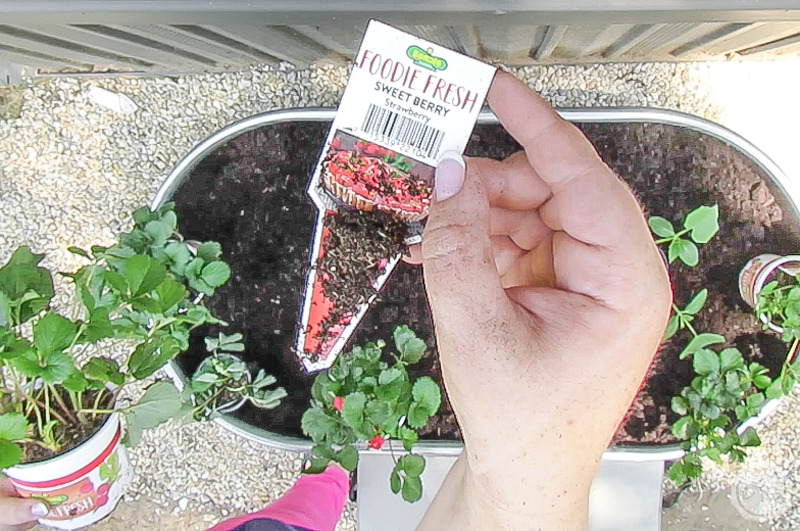
Since I’m new to the joys of a fruit garden I decided to plant two different types of strawberry plants so I could decide which ones I like better. I picked up 4 sweet berry plants (the ones with pink flowers) these are smaller berries that are considered an ever-berry. That means the plants will continue producing berries all season long on a smaller scale.
Then I grabbed 2 Quinault berry plants (the ones with the white flowers). These are larger, more traditional sized berries that produce more berries twice a year (typically once halfway through the season (around June) and once at the end of the season). At least that’s what my research tells me!
So far I’m happy with both but I can’t wait to actually try the berries!
You want to plant each plant about 6 inches apart with room to harvest the berries. Ideally you want to plant them close to the edge of your stock tank so the berries can dangle over the sides and avoid the dirt or soil. But since we’re going to add straw that part is less important.
I went ahead and laid out all my plants first so I could make sure they were in a good location.
If I hadn’t backed my stock tank up to the house I could have done a ring of strawberries all the way around but for now 6 plants is more than enough.


Dig your Holes
Now let’s plant our berries! I like to remove each plant from it’s can and loosen the roots a little. Then dig your hole to be about the same size as your root ball.
Since we’re using a bagged garden soil it will be very easy to dig… I literally used my hangs. If you just added fertilizer you’re good to go, if you haven’t you can add it directly to the bottom of your hole. Then place your plant in it’s new home and make sure there aren’t a lot of air pockets around the roots.
Keep working your way around the planter, digging and setting the plants in place loosely so you can shift them a little if need be.
Firm in your Plants
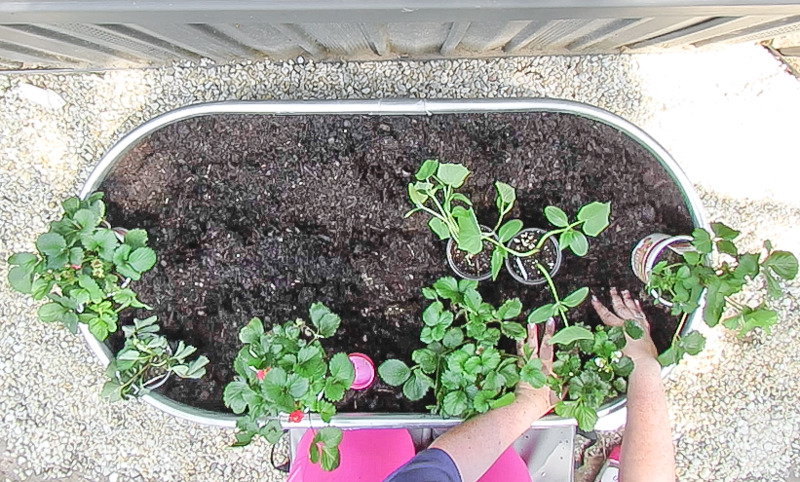
Once you have everything exactly where it should grow go ahead and firm in plants. This means using your hands to press the soil down around the roots and snuggly up to the base of the plant. Just make sure to keep the crown of your strawberry clear.
The crown of the plant is the spot where all the stems meat… it’s where new growth and ultimately new berries will come from. You need a little bit of air flow around the base or else it will start to rot. So firmly press the soil down around your plant but make sure the crown of the plant is exposed when you’re done.
Just like this.
See all that bright green new growth at the bottom of the plant? Those little green shoots will become leaves or flowers and eventually berries.


Water your Plants In
Ready for the water? Even if you’re all ready to go with your drip system you need to water your plants in. Which is a fancy plant people way of saying your plants are stressed right after you plant them so give them a nice long drink of water.
Make sure not to get too much water on the leaves and as always aim your water directly at the roots of the plants.
Perfect.
Add Straw to Keep the Berries off the Dirt
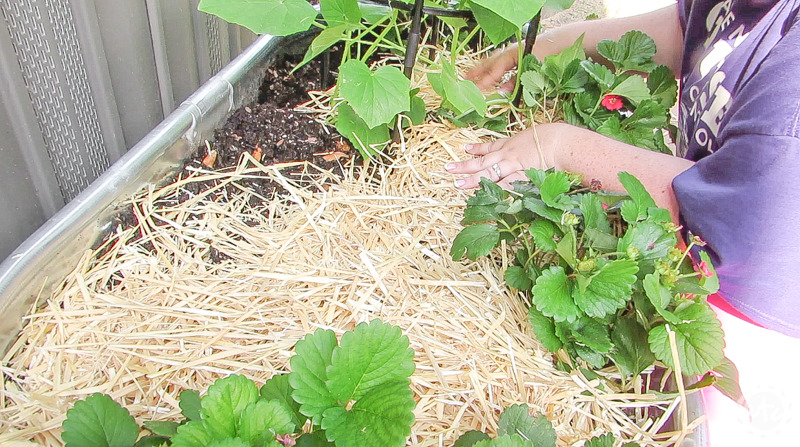
Last but not least we want to add a layer of straw to our planter. It will help keep the berries off the dirt so they don’t rot and it will help to hold in moisture which is especially important in any type of container garden.
Since any moisture that isn’t held in the existing soil will fall right out of the drain holes in the bottom of our stock tank to the pea gravel below… where our plants cannot utilize it.
As an added bonus straw gives our little raised bed a finished kind of look… even a farmhouse touch if you want to go that far! You can grab straw at your local hardware store but it comes in huge quantities… I ordered a small box on Amazon and only used about 1/3 of it (even though I placed a thick layer!) A little straw goes a long way.

Water your Container Daily
Last but not least let’s hit the water topic one more time. One of my friends who grows strawberries said she only waters hers a few times a week… but they’re in the ground. Soil in a traditional bed can retain so much more water than soil in a raised bed.
Water can literally fall out the bottom of my stock tank in a way that does not happen with the literal ground. Since we’re using a raised bed it’s also less likely that your plants will receive a lot of water from rain.
Instead you’ll need to water your plants every day to keep the soil moist. If your plants start looking wilty check the soil. You want it to feel damp and if you grab a handful and squeeze the soil should make a ball that stays together in your hand. If you soil ball is crumbling apart you need to water more. If it’s soaking wet you’re watering too much. Water may be different depending on your climate and zone (even if we’re planting the exact same stock tank with the same plants and supplies) so make sure you check your soil often in the beginning to find the right routine for you.

Cucumber
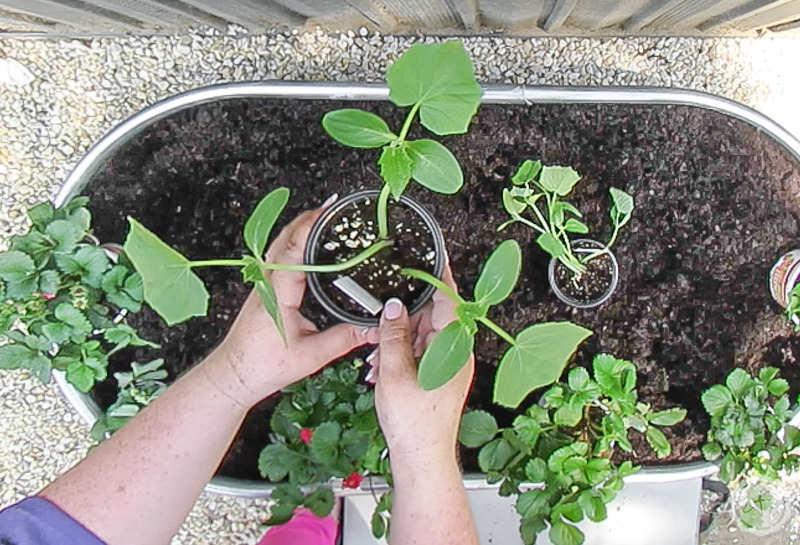
Oh cucumber… I am sooooo excited for this one! I grabbed two smaller cucumber plants and they are taking off like absolute weeds! Keep in mind that cucumbers come in two varieties: pickling and slicing and traditionally the smaller varieties (like the ones we’re using today) are for pickling.
I still like to eat them so I’m not worried about it but if you grow a few and aren’t fond of the taste that could be why.
Of course, you can grow larger (8-9 inch) cucumber on a trellis but you may need to support the fruit (similar to how we’re going to support the watermelon). So keep that in mind when picking your plant.
Another tip? Some cucumber plants are make for vining and some are bushes… some grow biiiiigggggg and out and aren’t great for a trellis. I picked a variety at Lowes that says it grows about 6 feet long and has smaller 4-5 inch cucumbers. It also does not have a variety name that I can share with you… so make sure to read your plant tags and you’ll be fine.
Lay out your Cucumber Plants
In this case we have two plants. I placed them on the right side of my stock tank inside the area I wanted my trellis to go.
Easy peezy!
Try to keep them at least 6 inches apart but since your cucumber vines will grow in one long stock upwards the initial spacing is really only important for the roots.
Plant & Water your Cucumber Plants
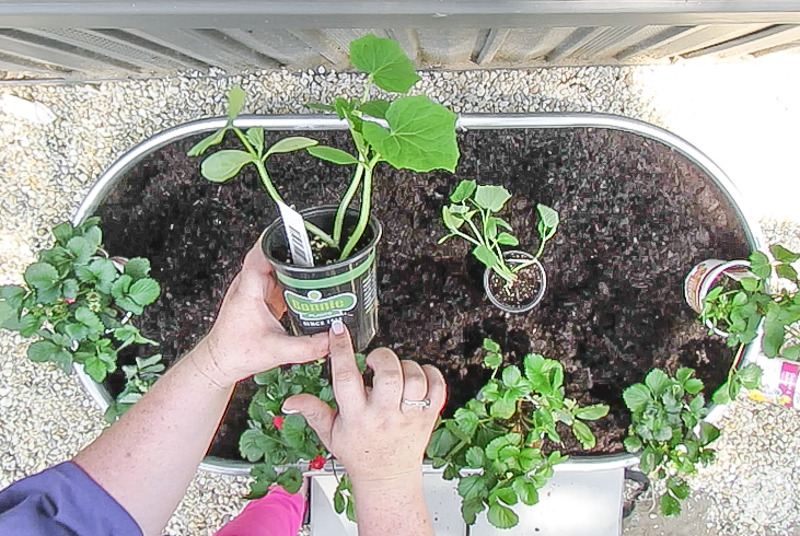
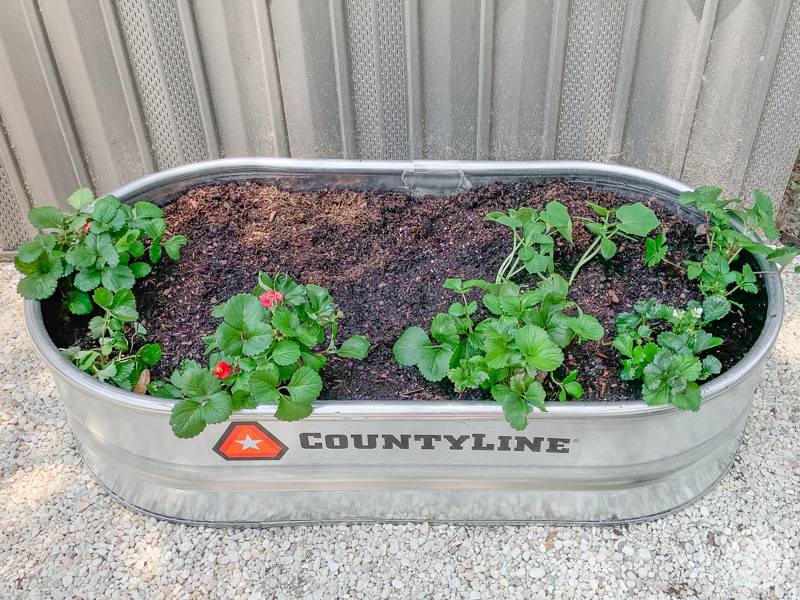
Once you have your spacing set go ahead and plant your cucumbers. I dug both holes and added a little fertilizer (if you just added fertilizer to the whole bed you don’t need any for these individual plants). Then I added both plants and made sure to firm the soil in around them.
Which is a fancy plant way of saying I pushed the soil down around the tops so there aren’t any air pockets around the root balls.
Perfect!
Then I took my watering can and carefully watered in the soil around the roots of my plants. Once the vines start growing upwards on your trellis it’s easy to avoid the leaves but for now just hold the plant out of the way and water the base of each plant.

Add 1 or 2 Round Trellises
Now it’s trellis time! I grabbed two of these trellises on Amazon. They’re round and black… and plastic. Which I was not aware of when I ordered them (read the fine print Betsy). I did a weight test though and they seem fairly sturdy. They were also easy to put together.
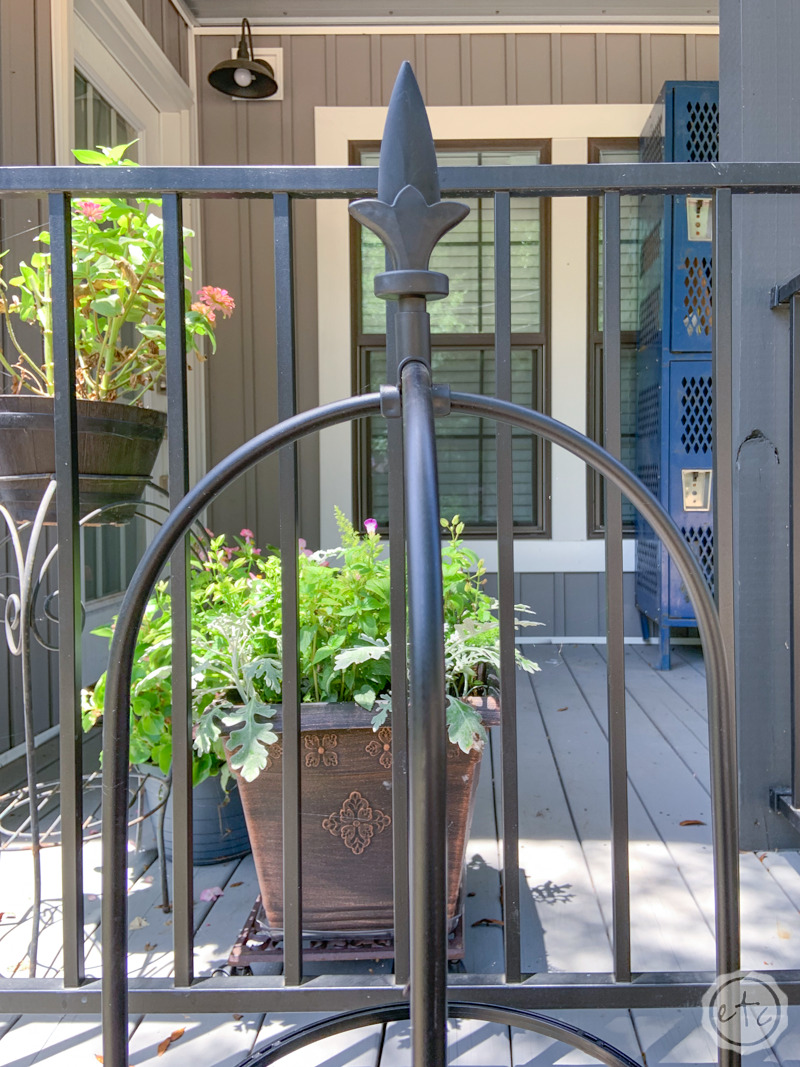
I simply put all four legs together, then added the top arches, connected both arches with the rings and then added the top finial. If you want to watch the entire process it’s in the video above. In an ideal world I’ll replace these with super sturdy iron ones eventually but since the pretty Gardner’s Supply trellis is 99 and this one is 35 I’ll be rocking the plastic trellis for a minute.
Of course, once it’s built it’s just a matter of adding them to your stock tank.
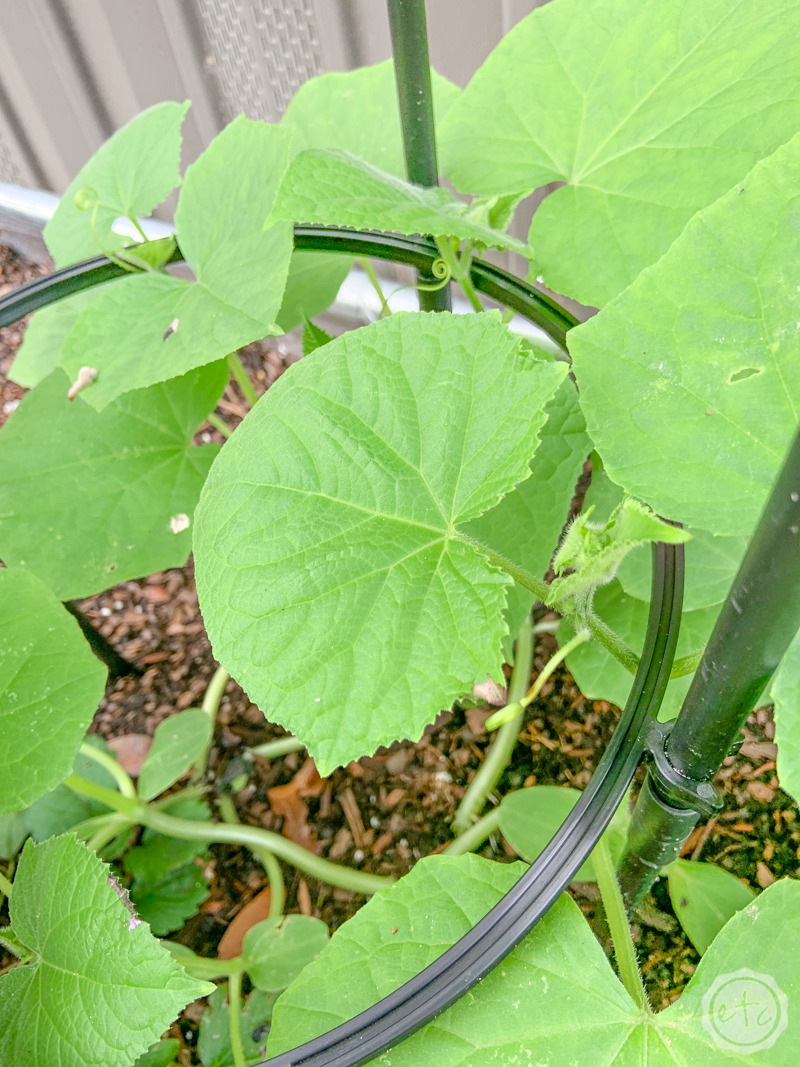
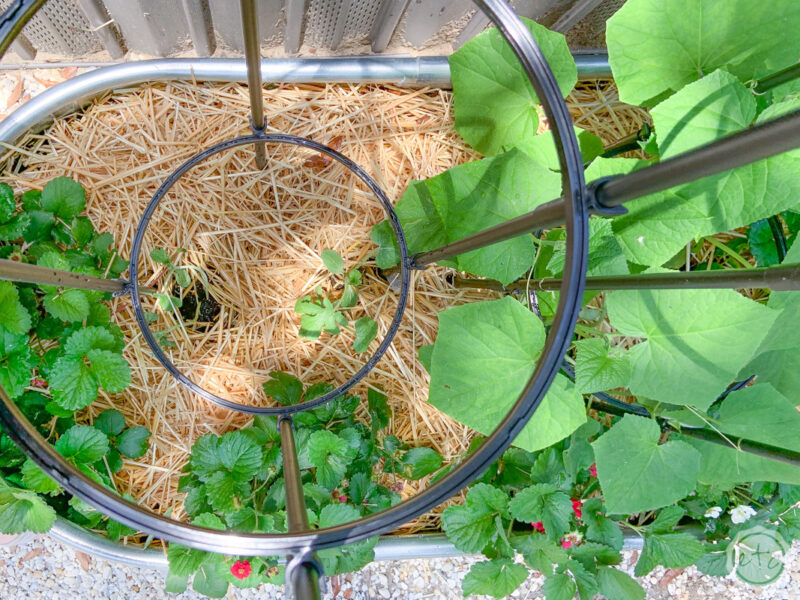
I added two (one for watermelon, one for cucumber) towards the back of the stock tank and splitting the center. At this point my plants were too little to reach the first rung for tying but in 5 days the cucumbers were putting out little tendrils and grabbing hold of the trellis to climb… they love it!

Water your Container Daily
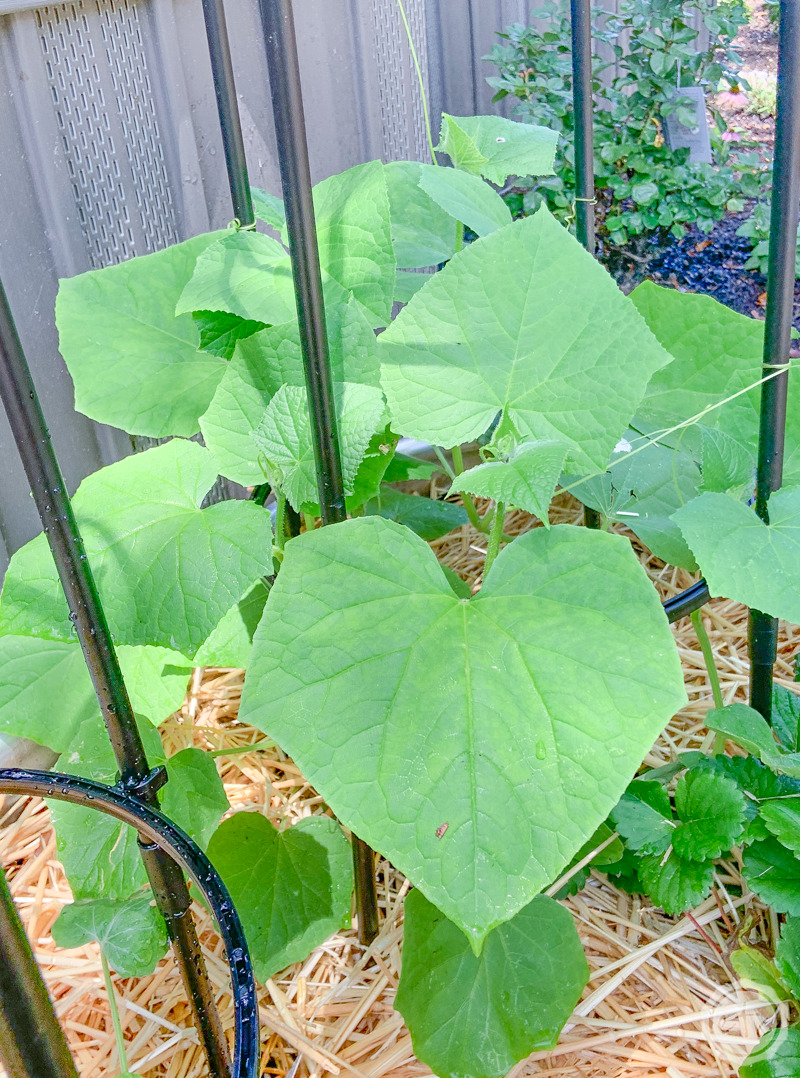
With the new trellis and watering my little stock tank every day these cucumber plants seem pretty happy in their new home. In fact they’ve just about grown 5 times their original size in the last 5 days. Just look at those vines.
Look at those leaves!
It looks like we’re starting to get the first set of flowers so hopefully we’ll have fruit start to form soon.
I can’t wait!
Watermelon
Okay y’all let’s move on to our biggest and baddest plants… the watermelon! I absolutely love watermelon in the summer but let’s face it: watermelon are big. They’re big plants, they’re big fruit and they require a big container. Unless you chose a smaller variety and plant them vertically!
Which is exactly what I’m doing.
I set up 2 trellises in this stock tank and the one on the left is specifically for watermelon. Now in order to grow watermelon on a trellis you need a sturdy trellis and something to support your watermelon as it grows. I’ll do an entire post on supporting your watermelon as your plant grows but basically I’m going to use black knee highs to grow our watermelon and support it’s weight so it doesn’t crash to the ground.
Un-Pack your Watermelon Plants
Sine we’re growing up vertically and not out horizontally I decided to plant 2 Sugar Baby watermelon plants on either side of our trellis. Sugar Babies are a specific type of watermelon that stay small (under 10lbs) which is the perfect weight for our trellis. A large watermelon would crash right through our knee highs and decimate our trellis.
Instead I ordered my two sugar babies once the rest of my stock tank was set up. If you have a local shop that sells Sugar Babies you may not need to order them but unfortunately no one in my area had them. Because of this I wanted to be able to plant my Sugar Babies immediately after they arrived.
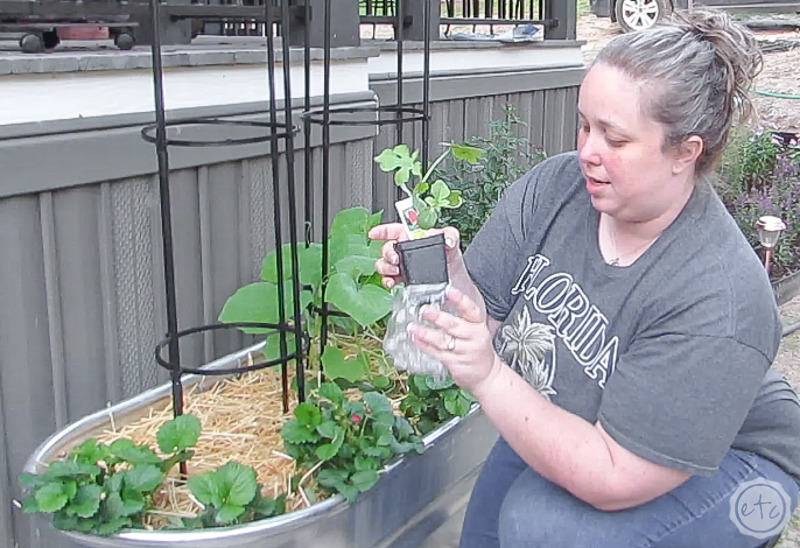
Plants that go through the mail are always a big wilted when they arrive so it’s best to plant them right away. So when the box arrived I immediately un-packed it and unwrapped my watermelon plants. They came in indididual black conainers. Once you opened the larger container you found a smaller pot inside a baggie tied with a rubber band.
This baggie is around the roots to hold in moisture during transit. Mine still had condensation on the inside of the bag when they arrived.
I immediately removed all of this to plant my watermelon plants.
Dig Holes for your Plants
Now it’s time for the fun part!
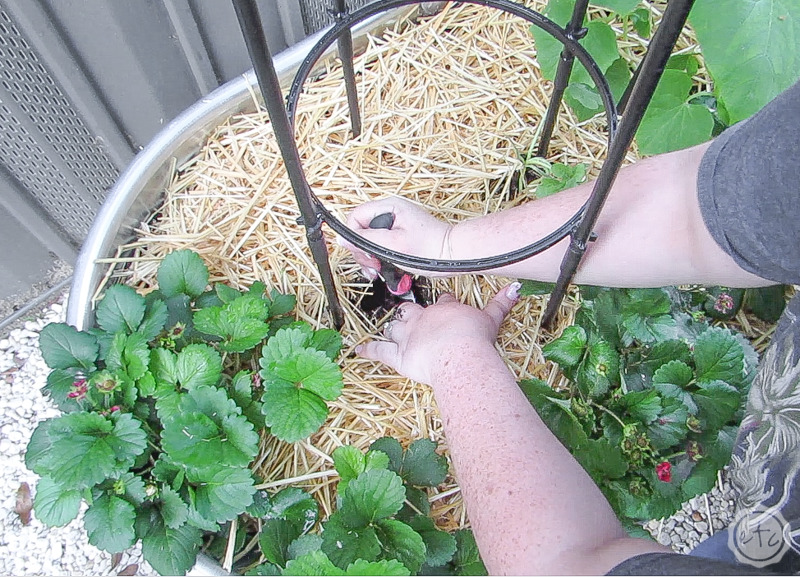
As you can see the watermelon plants themselves are quite small. In order to plant them I picked a spot on the just on the inside of my trellis… both on the left and right. Then I moved the straw aside, took my small shovel and dug two small holes.
You don’t want any air around the roots so don’t dig the holes too big. Instead dig them just big enough to fit your plants. Then add a bit of fertilizer to the bottom of your hole (although you can skip this step if you just fertilized the entire stock tank) and you’re good to go.
Plant your Watermelon Plants & Water Them In
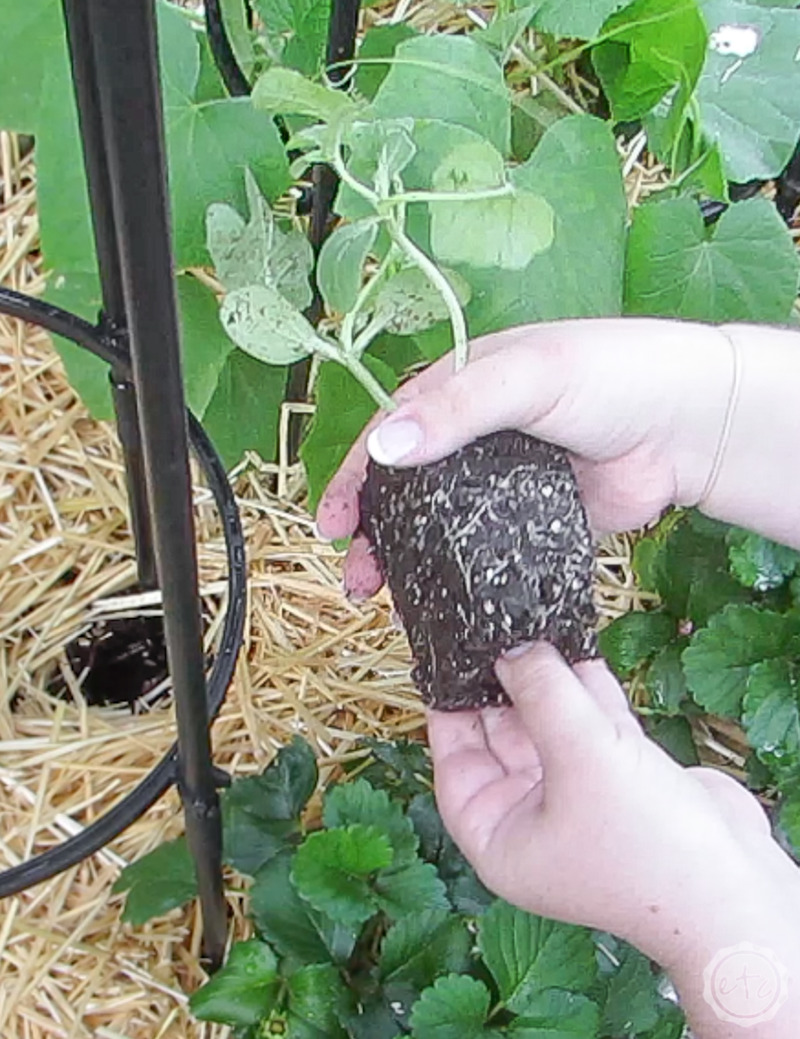
Now it’s time to get these babies in the dirt! Go ahead and loosely tease the roots of your plant. Mine had small roots and the soil/root ball was definitely still nice and damp from being in the mail. They definitely did a good job at packaging these plants (and I am not affiliated with them in any way… just happy with my watermelon plants! I was skeptical on ordering them but so far so good).
Then place your plants in their new homes and firm them in. Making sure that the soil is nice and tight all the way around the root ball. Then you can move the straw back into place, making sure not to crowd the new plants. Straw will help hold in moisture for your plants but it will also rot the stems if it’s too close.
You know… a double edged sword.
Now that everything is planted go ahead and water your new little plants making sure not to get water on the leafs but instead aiming the water at the roots.

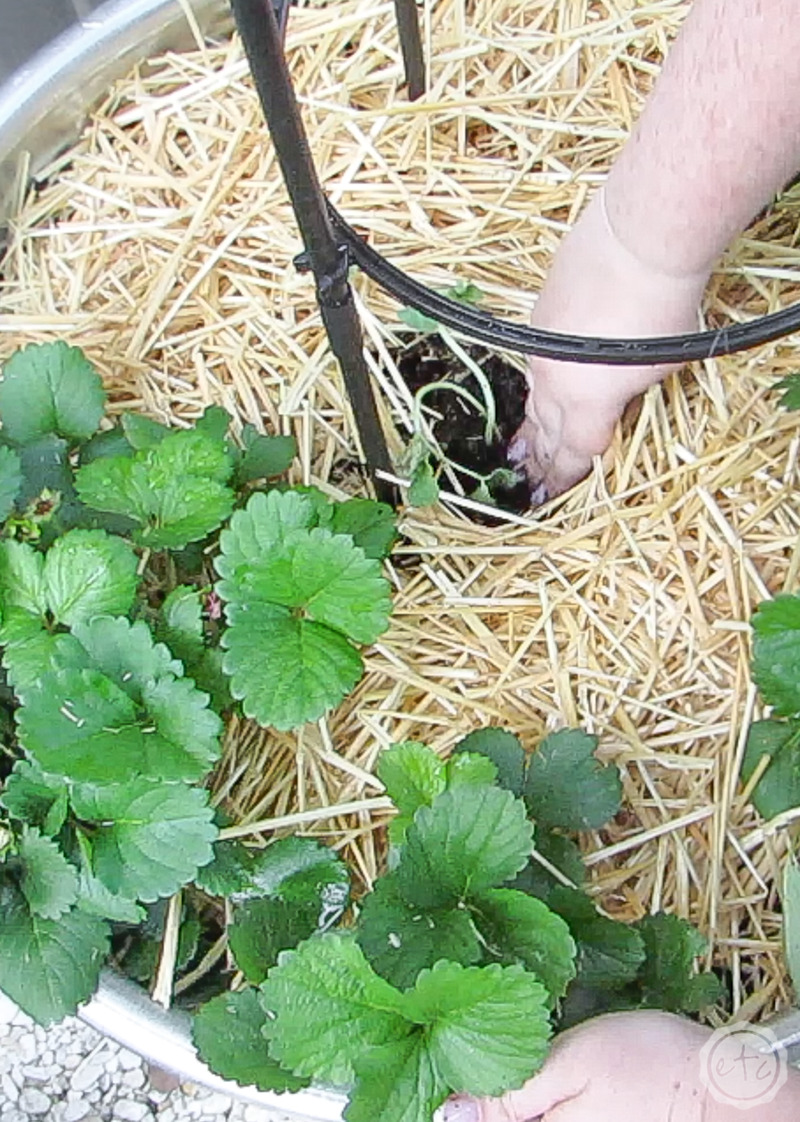

Perfect! Now that my watermelon plants are in this little fruit garden is officially planted!
I’ll have to help the plants climb the trellis as they grow (which is why I ordered the clear vining plant clips) and of course, harvest anything that grows but for now we’re set.
I’ll water these babies once a day (twice a day in heat) until I get the drip set up but other than water this baby should be fairly hands off until the fruit grows! Keep in mind that watermelon and cucumber require more water than strawberries to grow so when hand watering I water those plants a little longer and a little more frequently. When I add drip I’ll give them an extra emitter.

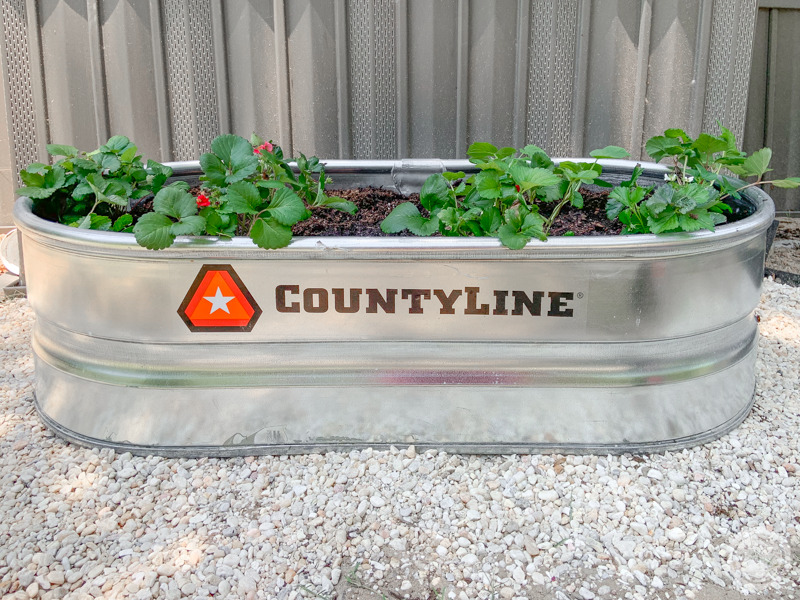
Don’t worry though. I won’t leave you without updates! I’ll be back to share a tutorial on adding drip to a fruit garden, supporting watermelon on a trellis, and ultimately harvesting fruit from my stock tank garden. I can’t wait! Just take a look at how much the plants have grown in the last five days!
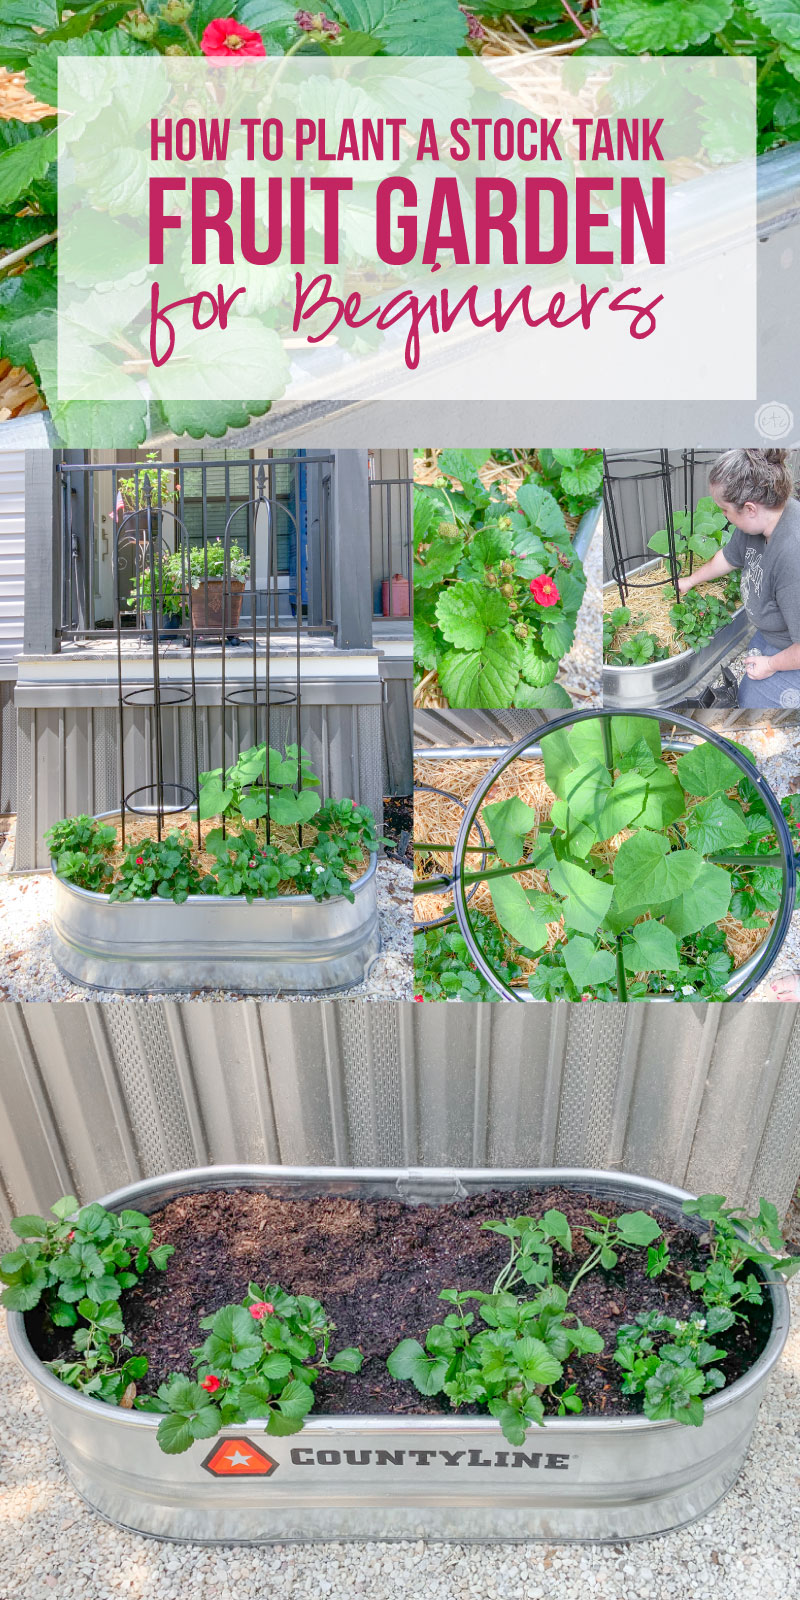
It has literally been 5 days of growth between the top and bottom pictures… it took 5 days for the Sugar baby watermelon plants to arrive and to decide on a trellis system. Which I thought would be a minimal amount of time but the strawberry plants have allllll started producing strawberries and the cucumber plants have grown about 5 times their original size! At this point they may outgrow the 5 foot trellis and start to grow up on the house!
Ready for a close up?









Leave a Reply