
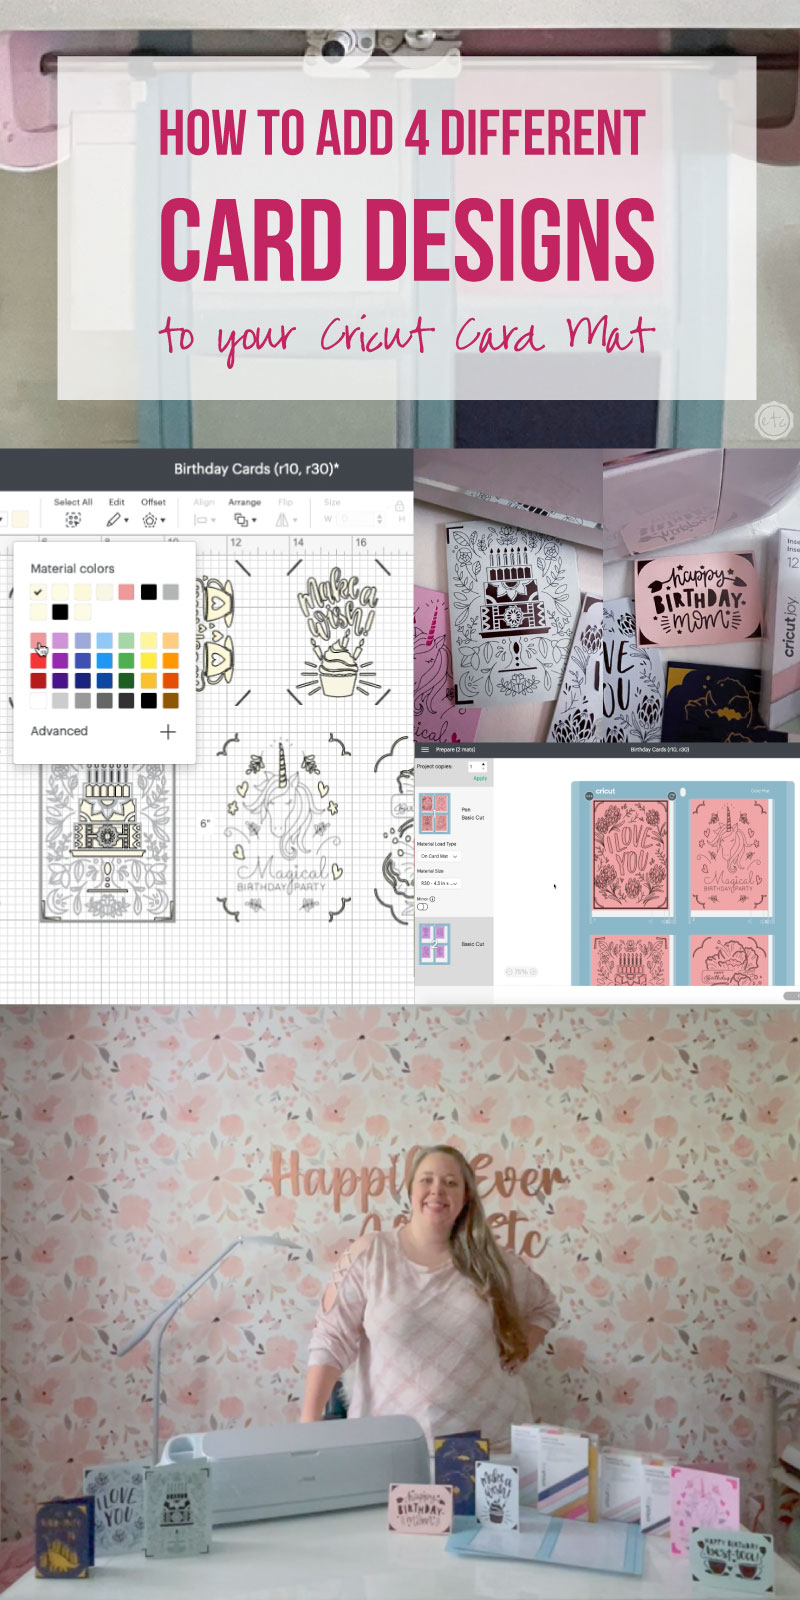
This post contains Affiliate Links to products I LOVE for your convenience.

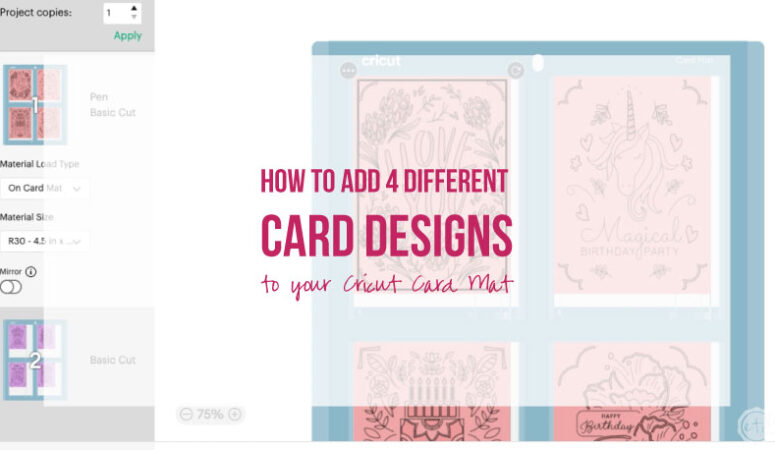
I sat down a few weeks ago to make a bunch of birthday cards from the Cricut Access Library. I was writing a comprehensive overview of the Cricut Card Mat and I had a bunch of birthday parties to go to… so I figured two birds, one stone?! Right? But once I got into Cricut Design Space I realized that while adding four different card designs to a single Cricut Card Mat is possible it’s not the most instinctive process.
So I figured I’d sit down and share my tips with all of you… so that you can make as many different designs on a single card mat as you like!
Now there are a few stipulations: all the card designs must be the same size to go on the same card mat. You can make four different R10 cards… you can’t make 2 R10’s and 2 R30’s. Likewise they all have to be the same type of design file. So you can make 1 card mat with four basic cut insert cards and 2 card mat with four draw then cut insert cards. You cannot make 1 card mat with 2 basic cut insert cards and 2 draw then cut insert cards.
I hope that makes sense!
We’re going to jump into the process and any confusion you have should be cleared up as we go.
If you’d rather watch the process then read the steps I walk you through it at the beginning of this DIY Birthday Card tutorial:

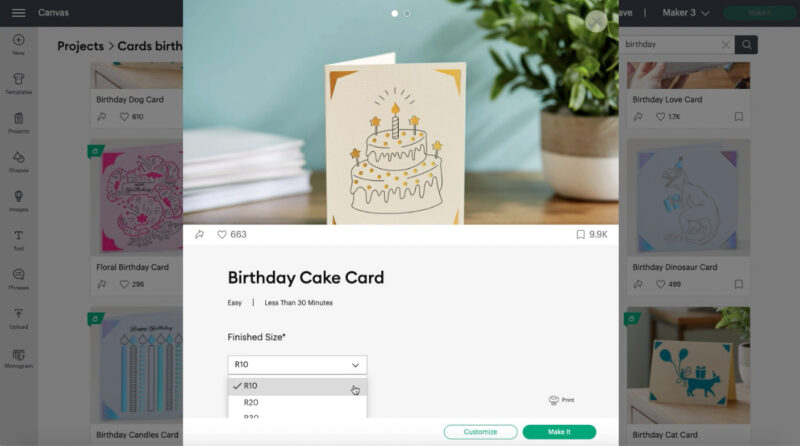
Step 1: Pick your Card Designs
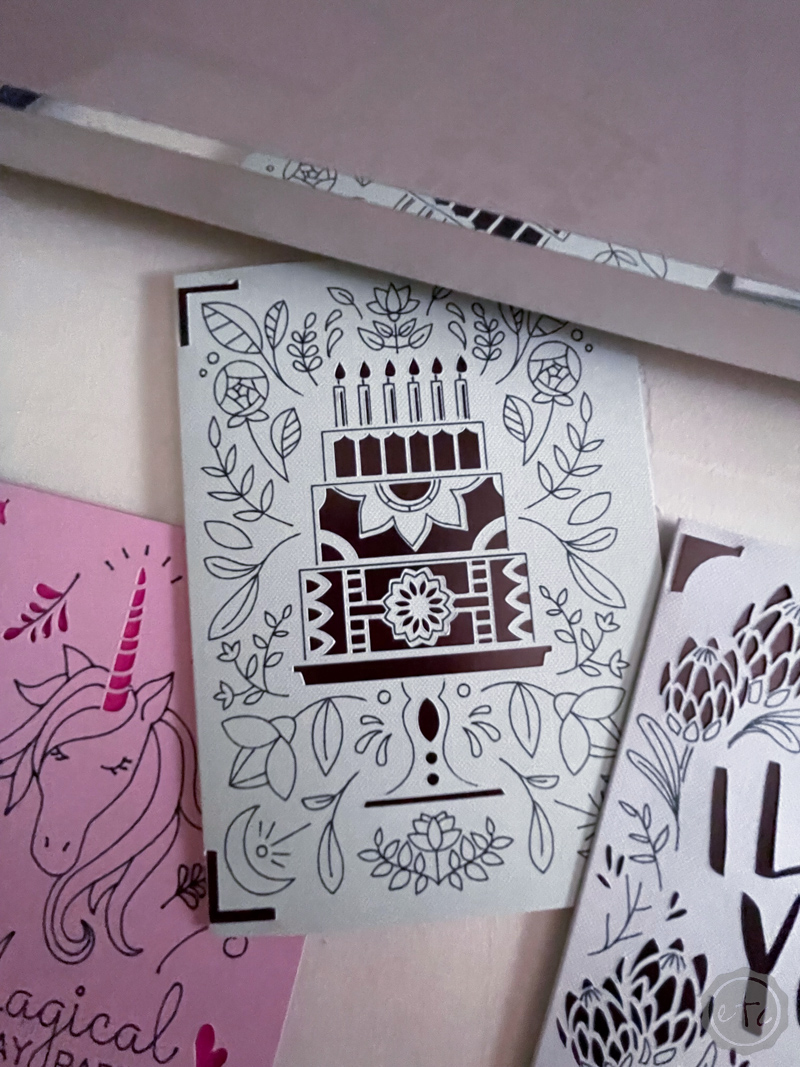
Before we can add four card designs to a single card mat we need to pick four different card designs! I went to the Cricut Access Library and searched for four cards I liked… as I found designs I wanted to make I saved them.
This way we can quickly access them to add them to our card mat.
If you’ve never saved a design before it’s easy… just click the little “bookmark” button on the bottom right corner of each design. This will save it… and when you click the dropdown menu at the top of the screen that design will now show up under “saved”.
As you’re picking which designs you like make sure to pay attention to which insert cards you’ll be using and making sure that each design you pick can be made for that size card. Saving four designs that are square when you have rectangular R30 size insert cards will not help you! So pick your card blanks and then save 4 designs that are compatible with that blank.

Step 2: Copy and Paste your Designs onto a Blank Canvas
Now that we have alllllll of our designs picked let’s go ahead and open the first one by clicking customize (making sure to select the right size for our project if there are multiple size options). Once the design is open select the design and copy it.
Then head back to the Access library and select your next design file by clicking customize (again make sure the right size for your project is selected). Now paste the first design onto the canvas and move it over. Now you have 2 different card designs on one canvas!
Score!
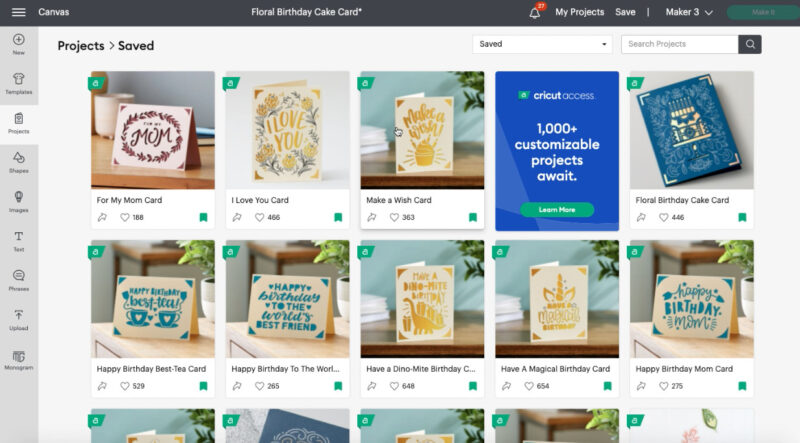
Select both and hit copy. Now head back to the Cricut Access Library and repeat this process until you have all of your card designs copied. Then open a new blank canvas and paste all 4 card designs onto that canvas. Now save your canvas under a new unique name (I literally saved mine as birthday cards).
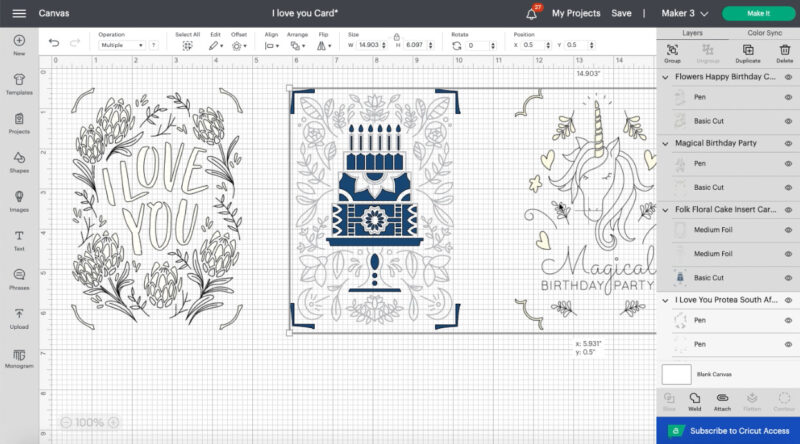

Step 3: Edit your Card Designs to be the Same Color
Now that we have all 4 (or 8… or 12) card designs on a single canvas we’re halfway there. But at this point if I hit make it my 4 designs would still go to 4 different canvases. Why?
Because Cricut Design Space sorts your cutting mats by the color of your design. So if we have 4 card designs and all four have “different color” basic cut layers they will all go onto different cutting mats.
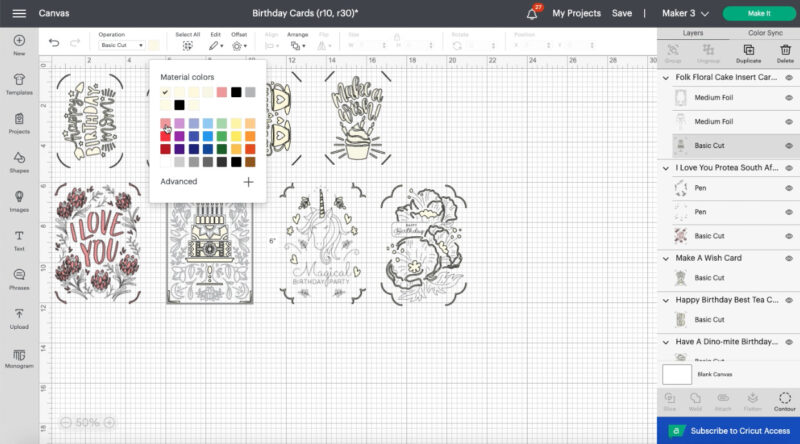
Luckily this is easy to fix. On the right hand side in your layers tool bar look at the first design… see where it has a basic cut layer? Select it and then change the default color to a completely new color.
I made mine pink… but it doesn’t matter. You just want to be able to easily select the same exact color for all four designs. Once you’ve re-colored the first basic cut go ahead and make the other 3 cards the same color on each of their basic cut layer.
If you’re making 2 different card sizes make 4 one color (pink) and 4 another color (purple)!

If your designs are all basic cut designs you’re done. If they also have a drawing element make sure all the drawing elements are the same as well… for example I selected 4 different draw & cut cards and 3 had their drawing element assigned to the pen linetype.
Perfect!
The 4th however had it’s drawing element assigned to the foil linetype… simply switch foil to pen (the linetype option is labeled operation and you can find it in the top toolbar right by the color option) and they’ll all match.
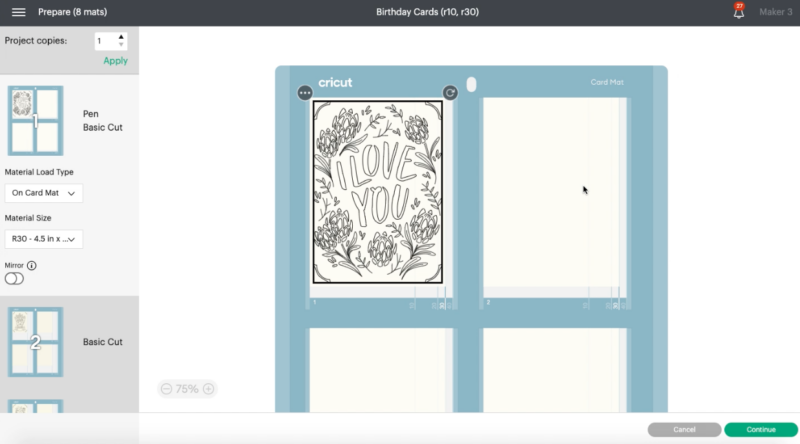
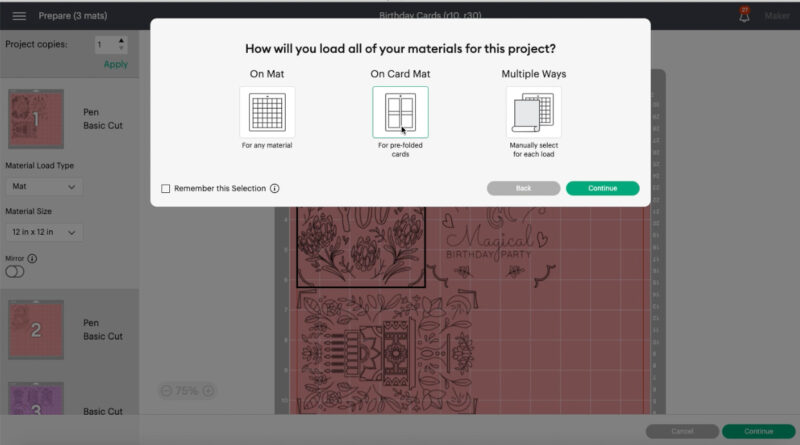
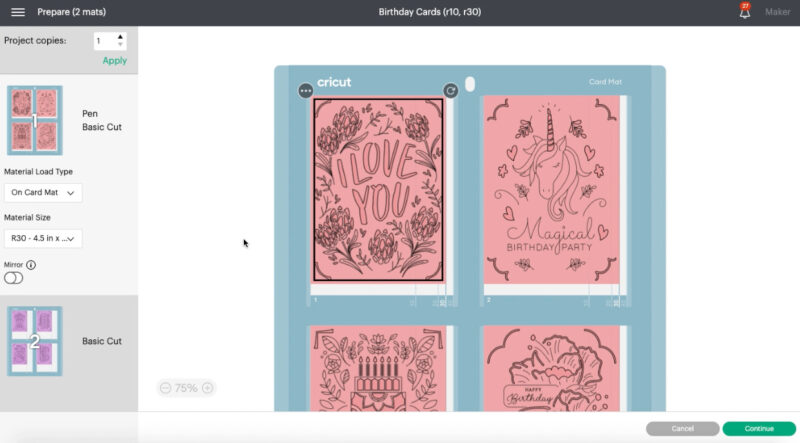
Now we can click “Make it”(select the card mat) and all 4 of our designs will go to the same cutting mat.
Score!
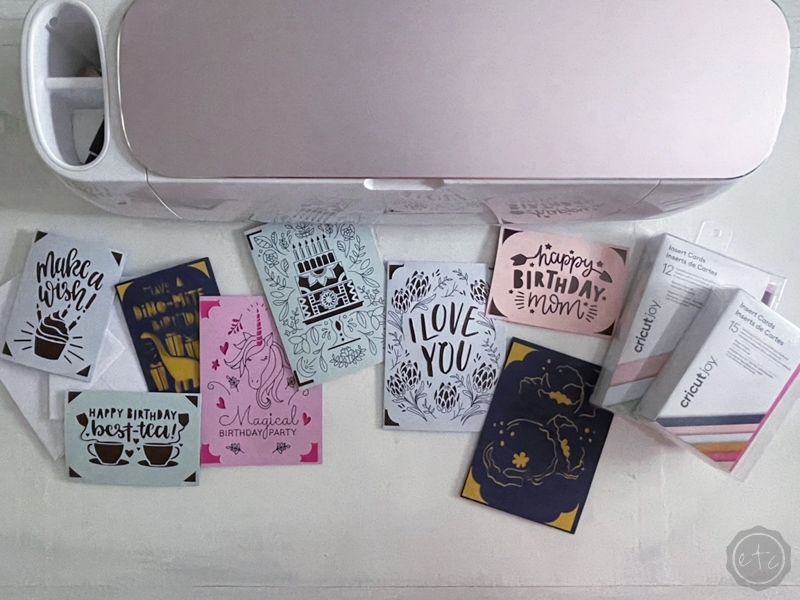
I hope this little Cricut Deisgn Space tutorial helped you! I love making Cricut cards (check out all the birthday card designs I made into cards in this post!) and this was a game changer for me! Being able to make 4 different designs at once speeds things up exponentially.
I literally made 8 different designs in under an hour!
If you’re still learning Cricut Design Space you may want to check out my complete overview of the Dashboard here. I’ll show you what all the little buttons actually do so you’ll know how to weld with the best of them.
On the other hand if you’re not sure what welding is you may want to check out my complete glossary of Cricut terms and brush up on the vocabulary you’ll need to make your next project.
Until next time!


When you changed the foil to draw – did you have too or was it just for the purpose of the video?
Thanks for the informations.
If I had left it “foil” I would have needed to add a foil tip and foiled the card… I wanted to use a pen to draw. If you WANT to foil then you could make them all foiled… it’s preference on what you’d like