


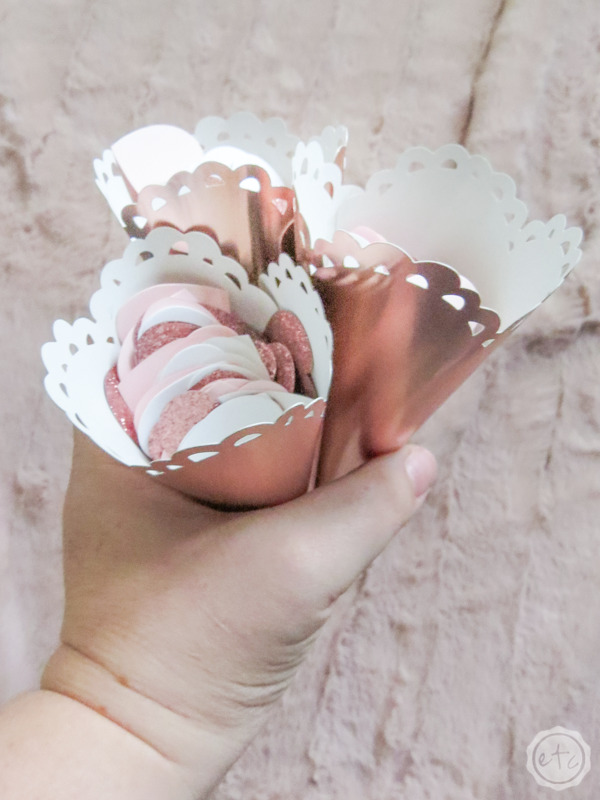
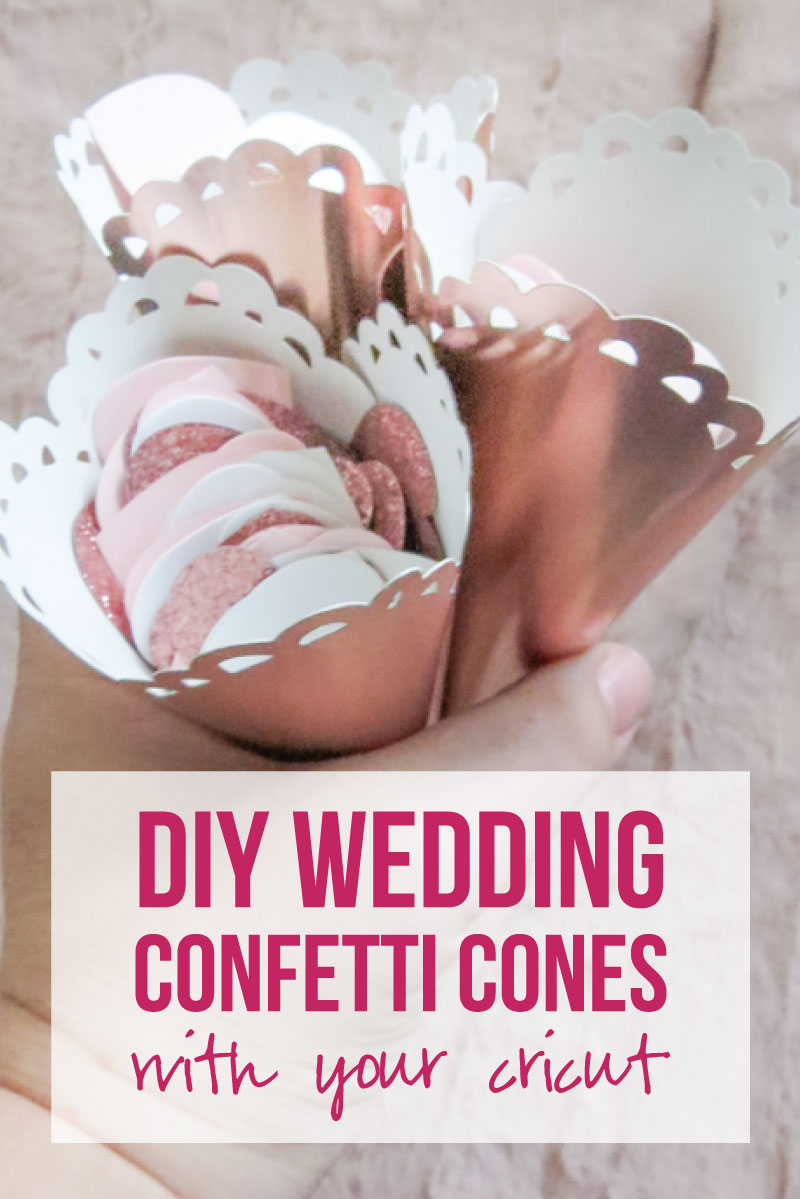
If you’re working on your big wedding send off chances are you’ve thought about confetti cones! You can fill them with birdseed or adorable heart shaped confetti… whatever your heart desires. Plus they’re super easy to make with your cricut!
You only need a fine point blade and since we’re using a thick material (hello foil posterboard) you don’t even need to weed these bad boys… they just fall off the cutting mat.
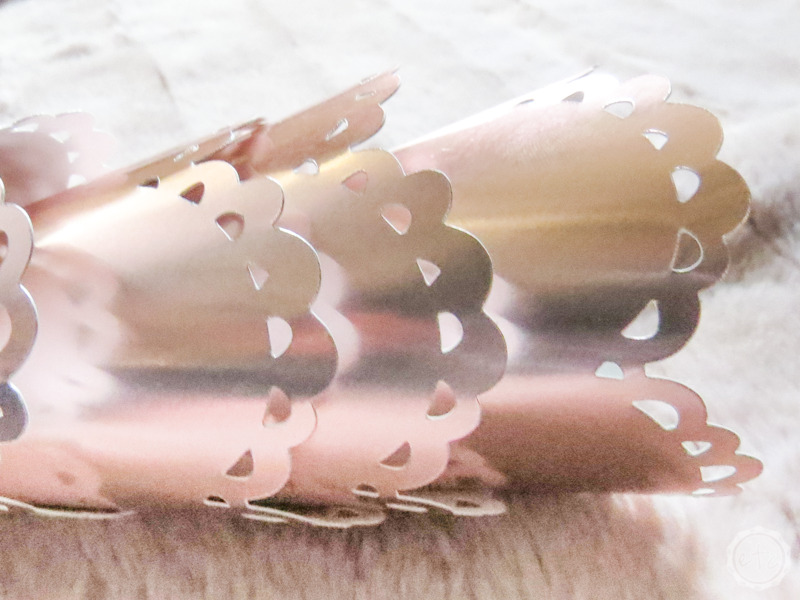
And the best part? I designed the edges of these little confetti cones to match the lace on these pretty folded lace edge invitations.
Score!
You can grab the FREE SVG cutting files down below and then we’ll get started.
Supplies:
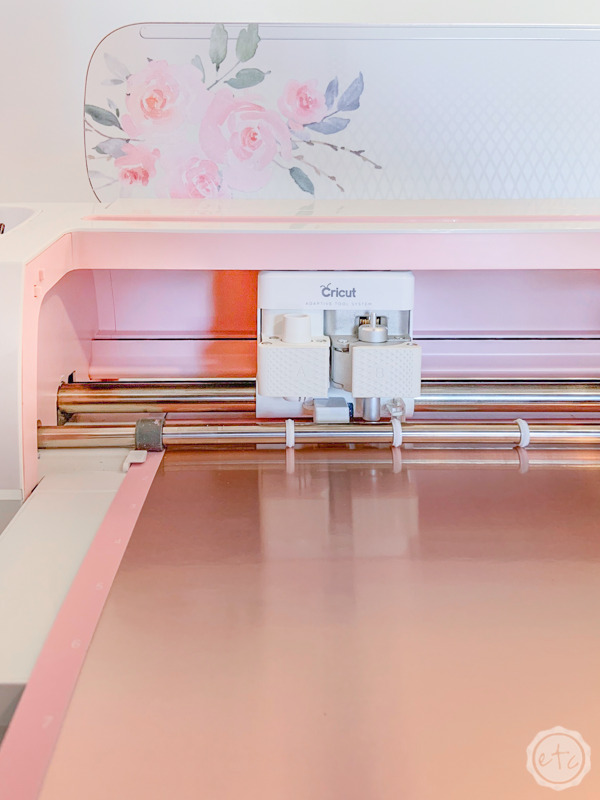
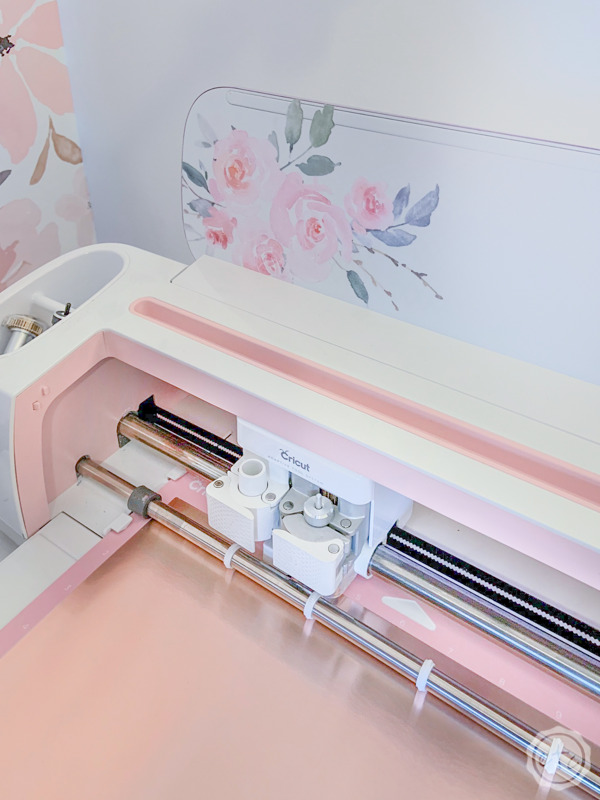
- Cricut Maker
- Fine-Point Cutting Blade
- Cricut Standard Grip Mat (that’s the green one!)
- OR Cricut Fabric Grip Mat (that’s the one I use… it’s pink and holds everything)
- Cricut SVG Files (FREE at the bottom of this post)
- Brayer
- Foil Posterboard
- XL Scraper
- Double Sided Tape
- Confetti
Ready to take the leap but not sure which machine is right for you? Check out my Explore Air 2 and Maker comparison before pulling the trigger. I go over the pro’s and con’s of each machine and even have an easy to read check list of each machine’s features so you can decided which cutting machine is perfect for you.
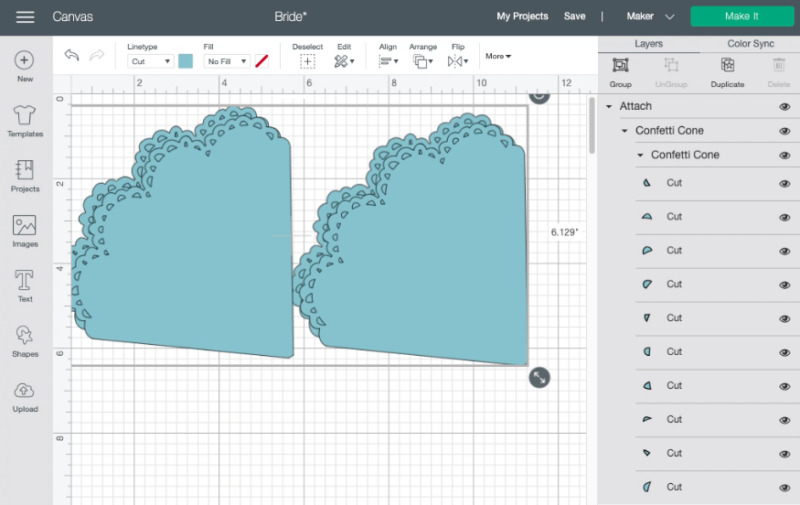
Step 1: Upload your SVG
Alright y’all we’re jumping right into the project. Now that you have your SVG’s downloaded you can upload them to Cricut Design Space. If you’ve never done that before you can follow my how to upload SVG’s to Design Space tutorial here.
Once you’ve uploaded it make sure to attach everything to one layer before you multiply it… otherwise you’ll have a huge mess!
Then it’s just a matter of deciding how many you want to make! I decided to cut four out of one sheet so that they could be a decent size without making one per sheet. That means that each piece needs to be small enough to fit within one corner of a 12 x 12 sheet (roughly 6×6 y’all).
So I made one design 6×6 and then copy and pasted it until I had 4. Then I hit make it and double checked that all 4 fit on one cutting mat.
Perfect!

Step 2: Cut your Foiled Posterboard
Once you’re all set you can select your material (foil posterboard) and cricut will automatically select the fine point blade. If your using a newer blade your good to go but if it’s been a minute since you’ve switched the blade in your housing make sure to select more pressure… it will help the blade cut all the way through the posterboard.
Then load your mat with a sheet of posterboard… in this case I picked a pretty rose gold color and used a brayer to make sure it was firmly bonded to the mat.
Now all that’s left to do is load the mat and hit go!

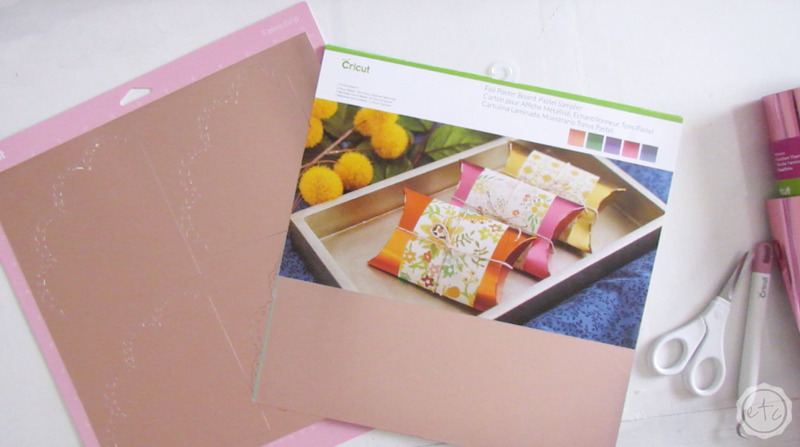
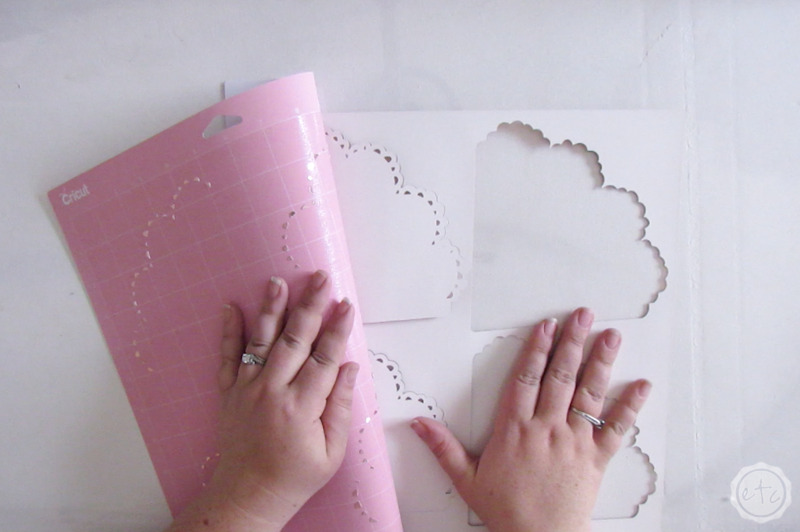
Step 3: Remove the Posterboard from your Cutting Mat
I can see the outline of these little confetti cones and I’m already in love.
We’re going to curl these little guys in a minute but we want them to curl in a certain direction… so instead of pulling the confetti cones off the mat we’ll take the mat off the confetti cones.
Just flip the whole thing over and hold down the posterboard while slowly curling the cutting mat away! Since these confetti cones are so stiff they literally fall right out… no weeding needed!
And the mat will hold onto all the little pieces from the lace so you don’t need to pull them all out. Instead use your scraper to clean allll the little pieces off your cutting mat.
Beautiful darling!

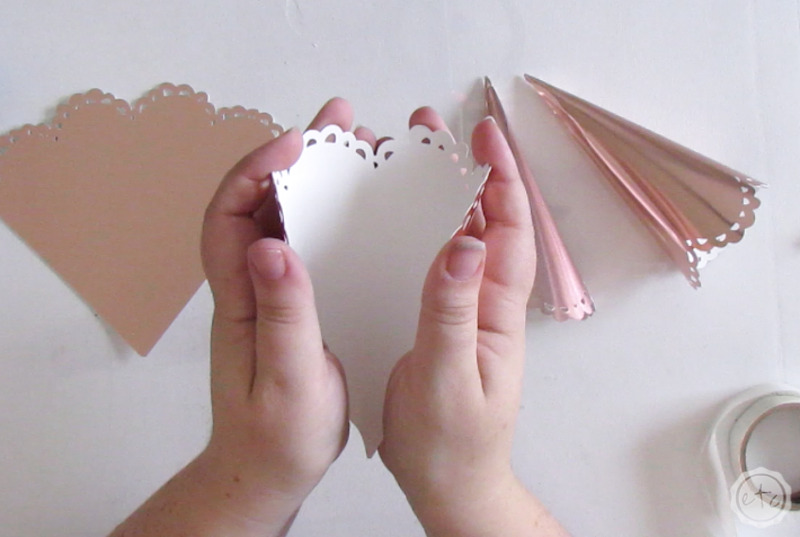
Step 4: Curl your Confetti Cones
Ready to curl?
We need to make these little triangles into cones! Start to shape them with your hands… just curl them in on themselves until they start to make cone shapes.
If you need a little help I found that curling these bad boys around the handle of the brayer helped give them a curled shape without creasing them… which is the whole point.
Once you have the basic shape down you can pinch the point to help bring it all together. Perfect!


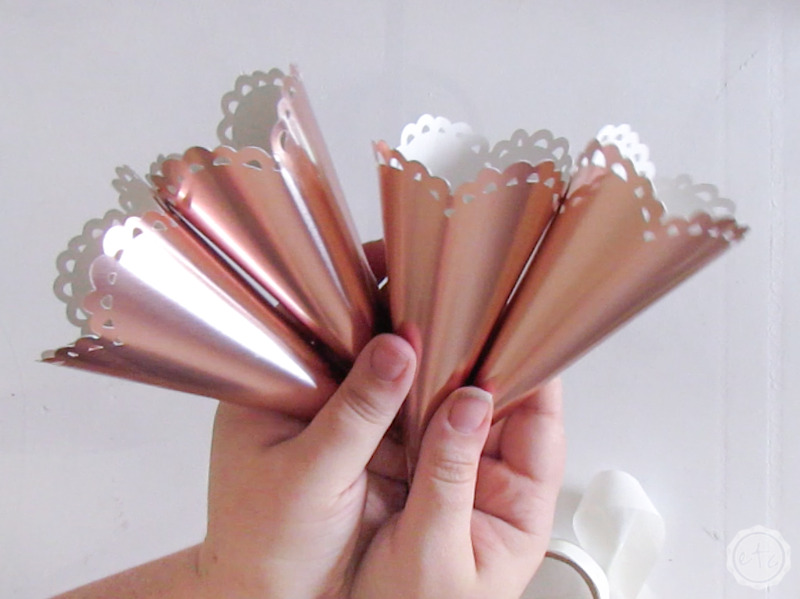
Step 5: Tape your Cones Together
Ready for the last step?
Once you have the curl down go ahead and put a strip of double sided tape inside one edge of the confetti cone. Then you can seal the edges and form the cone!
This works pretty well but if you need a little help you can put a pen inside the cone so that you have something firm to push against when you’re taping the sides together.
I also found that some of the points just would. not. stay. closed. with the double sided tape alone. If they kept popping open I put a tiny glue dot inside the point (between the outer and inner layer) and then pushed them back together.
Now that’s what I’m talking about.

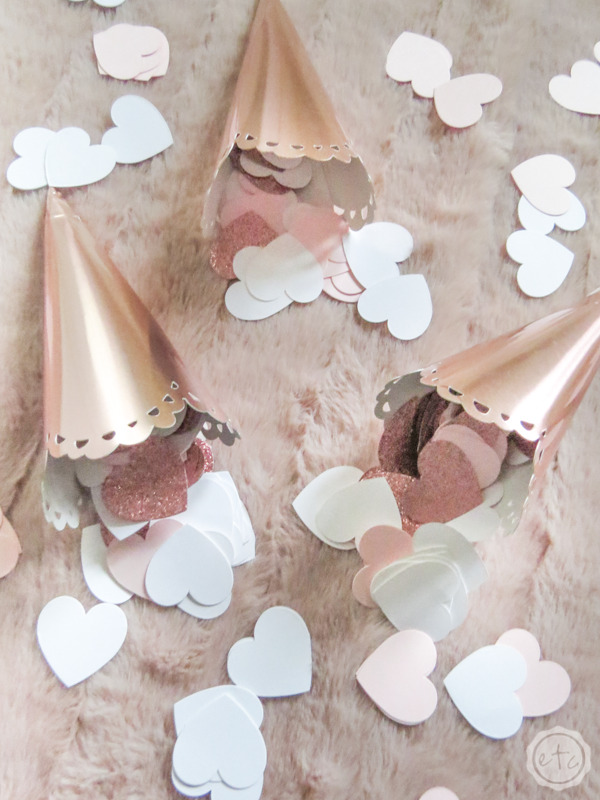
Step 6: Fill with Confetti!
Your cones are done! At this point all that’s left is filling these bad boys up! I picked a bit of heart confetti since they’re big and I loved the color palette… but depending on your wedding colors you may pick something completely different.
Let me know down below what you’re going to fill yours with!


Looking for more Cricut Wedding projects? I’ve got you covered!


Leave a Reply