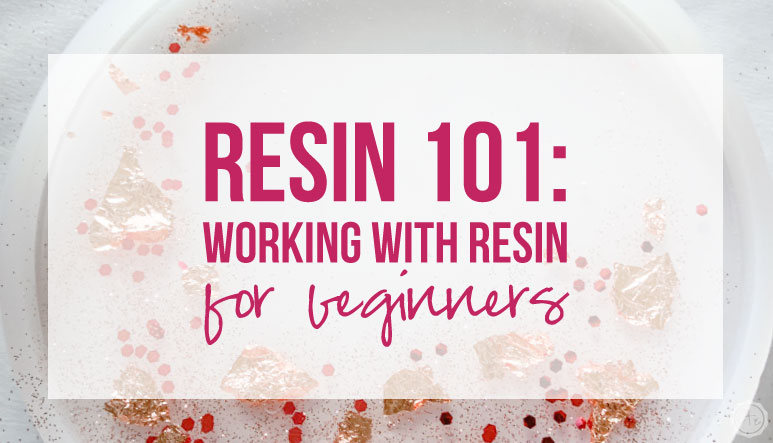


So you want to get started with resin. Maybe you’ve seen beautiful resin jewelry or you’re drooling over all the fun resin projects popping up online (like these fun Easter Eggs)… but you’re not sure where to start.
What should you buy? What do you even need? Is it hard? What can you make with resin? Is it expensive?
Don’t worry… I’ve got you covered.
Resin was very intimidating to me when I first started… I had no idea what I was doing. And most of the tutorials I found for resin projects jumped right in skipping things like how long do I wait before pouring a second layer of resin?
So here it is… the ultimate guide to getting started with resin.
What is Resin?
Resin is technically short for epoxy resin which is a two-component system consisting of resin and hardener. By mixing the two components, a chemical reaction takes place so that the liquid resin gradually hardens to a solid plastic.
Once the two components (or parts) combine the end result is a super durable high-gloss, clear surface. It has been used for many many years for things such as floors, tables, industrial purposes, boat building… and art.
It has been a huge trend recently and becoming more widely available… allowing us to use it for things such as jewelry, home decor, pictures or even sculptures!
Basically it’s pretty awesome.

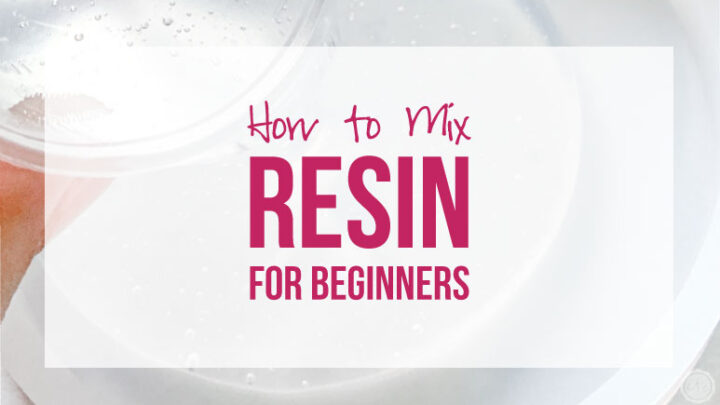
How do I Mix Resin
Mixing resin can be a little intimidating but once you get the process down it’s the same steps over and over: mix resin, pour, pop bubbles, layer resin, let cure…
Regardless of the number of layers you put in your resin piece the basics are the same which makes it pretty easy to learn.
I use Amazing Clear Cast Resin and you can check out my How to Mix Resin for Beginners post for the the full breakdown.
What do I Need to Work with Resin?
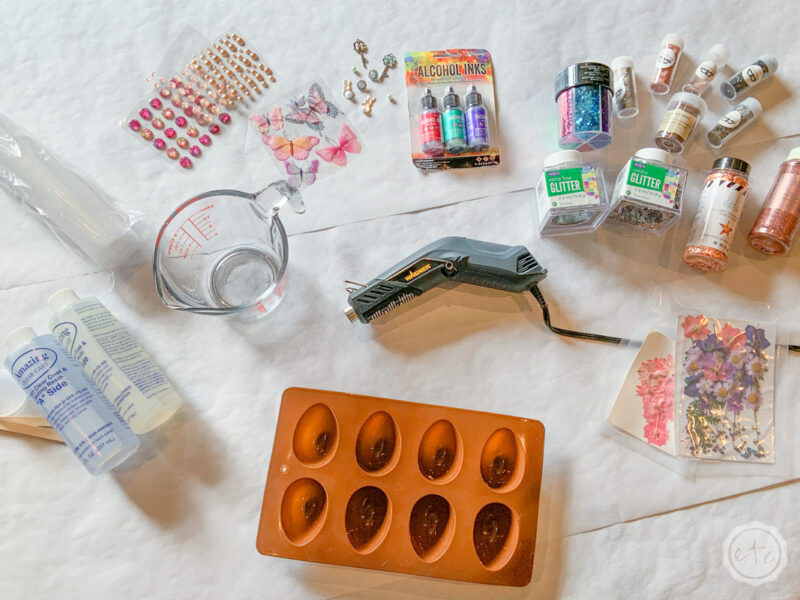
Once you get started working with resin you’ll find that there are endless possibilities… you’ll want multiple molds, plenty of fun things to put inside your projects, pigments and inks to add color!
But those are definitely a bit more conditional to specifically what project you’re working on. So let’s stick to the basics.
To make a clear resin project with no bells and whistles here are the things you’ll need.
- Amazing Clear Cast Resin
- Respirator/Mask
- Gloves
- Wagner HT400 Heat Gun
- Silicone Mold
- Freezer Paper
- Baking Pan
- Small Mixing Cups
- Silicone Measuring Cup/Larger Mixing Cups
- Popsicle Sticks
- Toothpicks
- Plastic Spoons
- Inclusions: Fine Glitter, Chunky Glitter, Rose Gold Flakes
For a more comprehensive list check out my What to Buy to Get Started with Resin post.

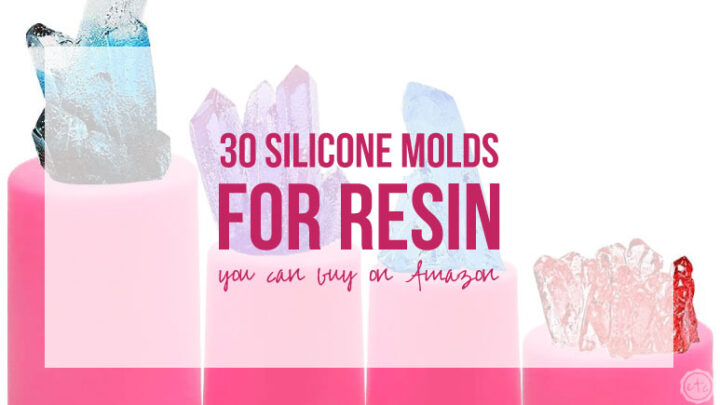
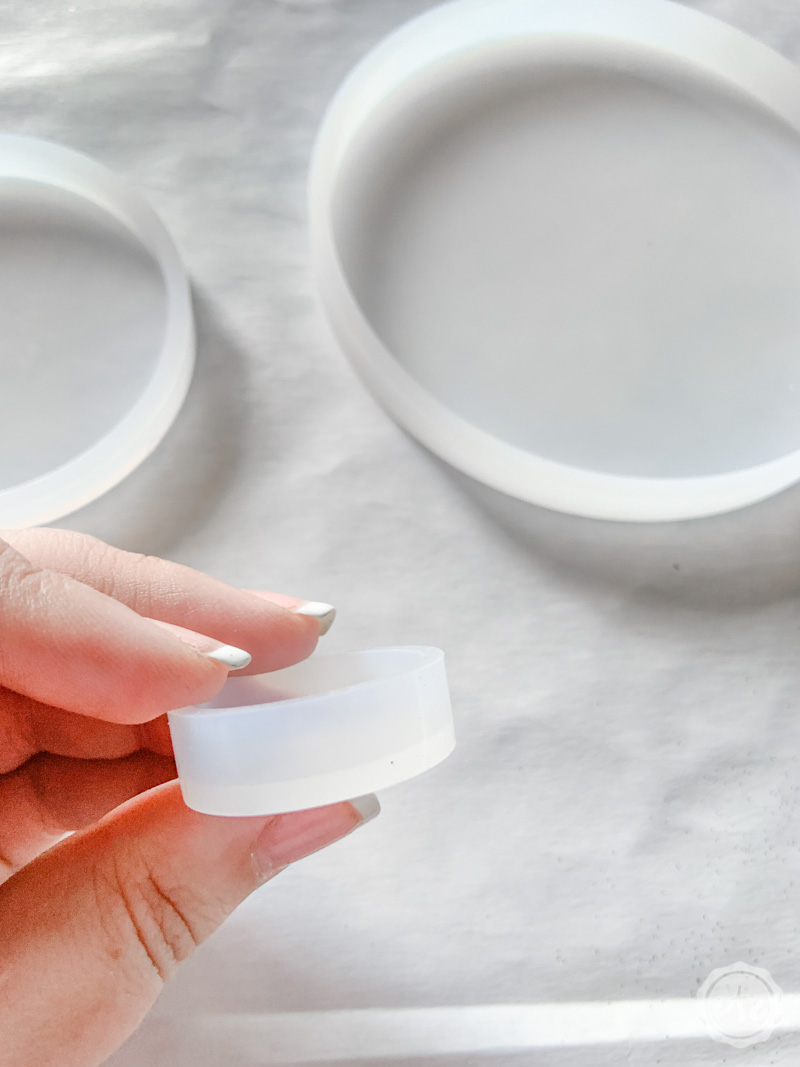
Where do I Find Molds?
Molds… the end all be all of resin. After all it’s really hard to make a silicone piece without them. Luckily they’re pretty easy to find. I’ve found silicone molds at my local grocery store, craft store… all kinds of places.
Of course, a lot of these silicone molds are made for food… not resin. You can use food safe silicone molds for resin however the finished pieces may need polishing as food molds are sometimes rougher than molds intended for resin.
You can find molds meant for resin on Amazon, Etsy or even at specific resin shops. There are plenty of options to pic from!
Start with this fun list of 30 silicone molds from Amazon… then go from there!
Do I Have to Use a Mold?
Now that we’ve figured out where to buy molds let’s answer the second question… do we even need one? No… you don’t.
You won’t be able to make a 3-D piece without them but you’ll be able to pour resin over plenty of items. Think things like cutting boards, spoons, boards, canvas (resin painting?!), coasters… the possibilities are endless.
When you pour resin it’s a bit of a different beast. You’ll need blocks or cups for your item to sit on (so that the resin pours off the edges) and the finished result will be more of a painting than a three-dimensional object.
But the results are beautiful!
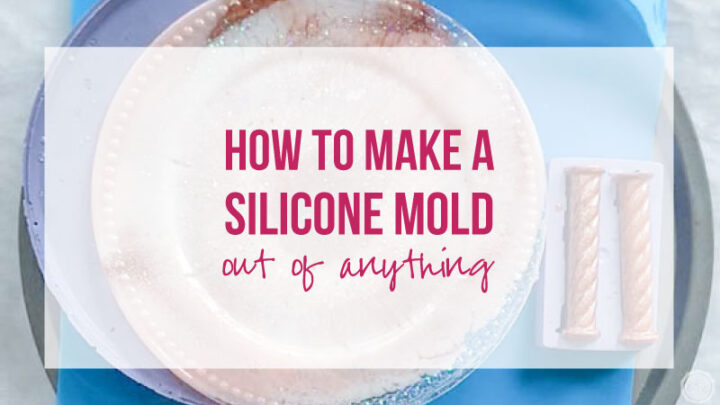
You can also make your own molds using hot glue or silicone… but this is an entirely different project for a different day.
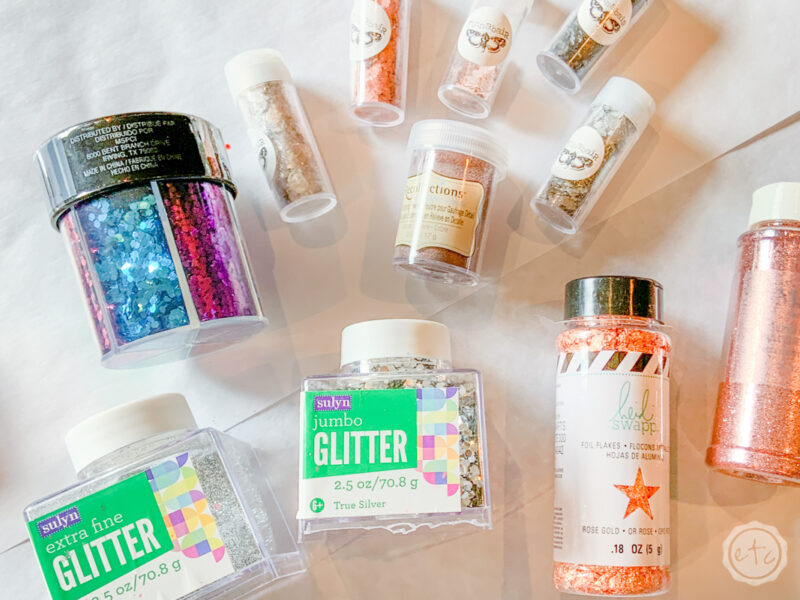
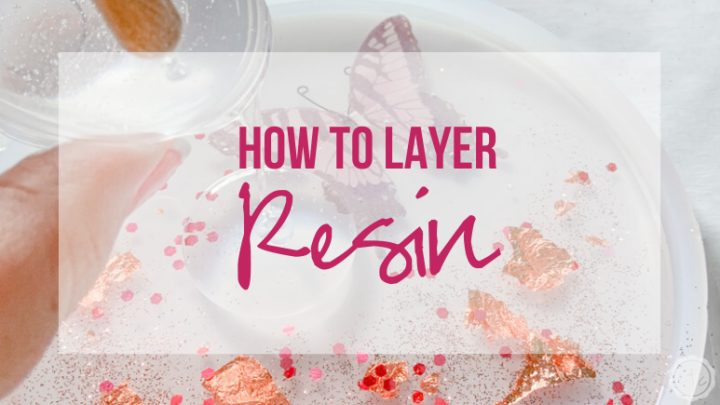
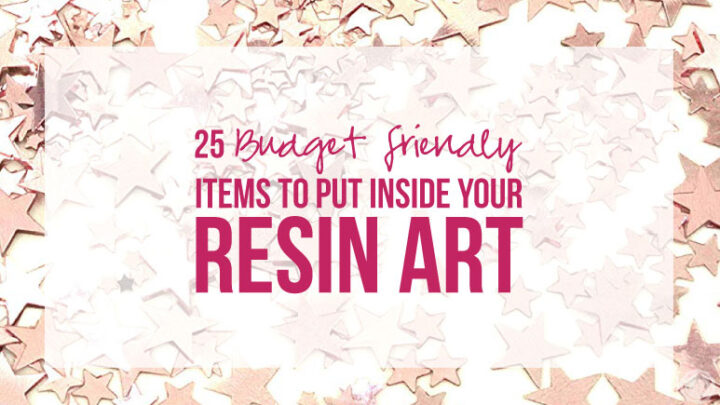
What are Inclusions?
Okay y’all, inclusions is a fancy word I’ve heard fancy resin artists use as they work on their fancy resin projects (on YouTube). It basically means add all the fun little bits and bobs that makes each egg special: glitter, alcohol ink, dried flowers, rose gold leaf, or charms.
Of course, there are a million things you can put inside a resin piece (and probably some you shouldn’t). If you’re looking for a few more ideas you can check out my list of amazing (budget friendly) items you can put inside your resin art.


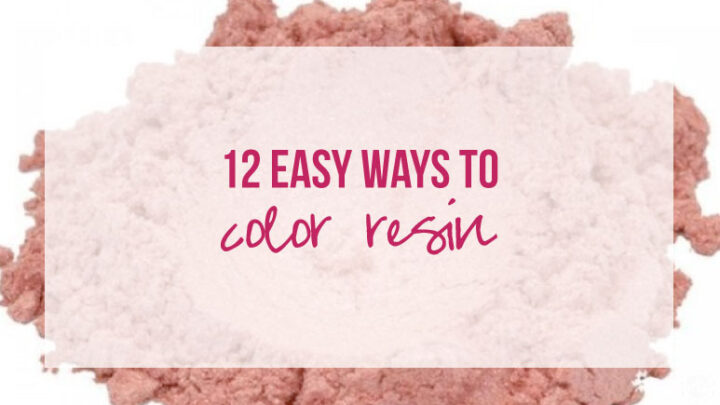
How do I Color Resin?
When it comes to resin there are two options: clear or not clear! But that brings up the question of how to color resin in a way that works.
I’m sure there are plenty of options but I’ve found alcohol ink or acrylic paint to be the two easiest solutions! Alcohol ink is definitely a more transparent kind of color but acrylic craft paint doesn’t bond perfectly to every kind of resin so you’ll have to experiment to see what works.
Of course, another option I’m dying to play with is resin pigment… these powders give you a truly opaque look.
Want to try a few things? Check out these 3 fun alcohol ink techniques you can use in your next resin project!
Looking for more resin tutorials? I’ve got you covered!