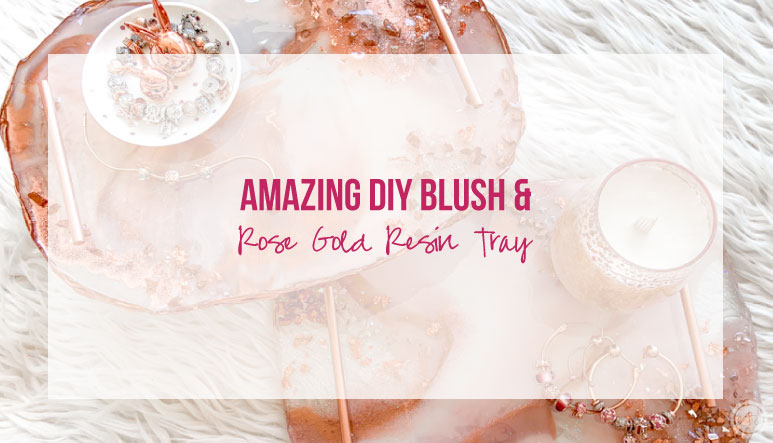

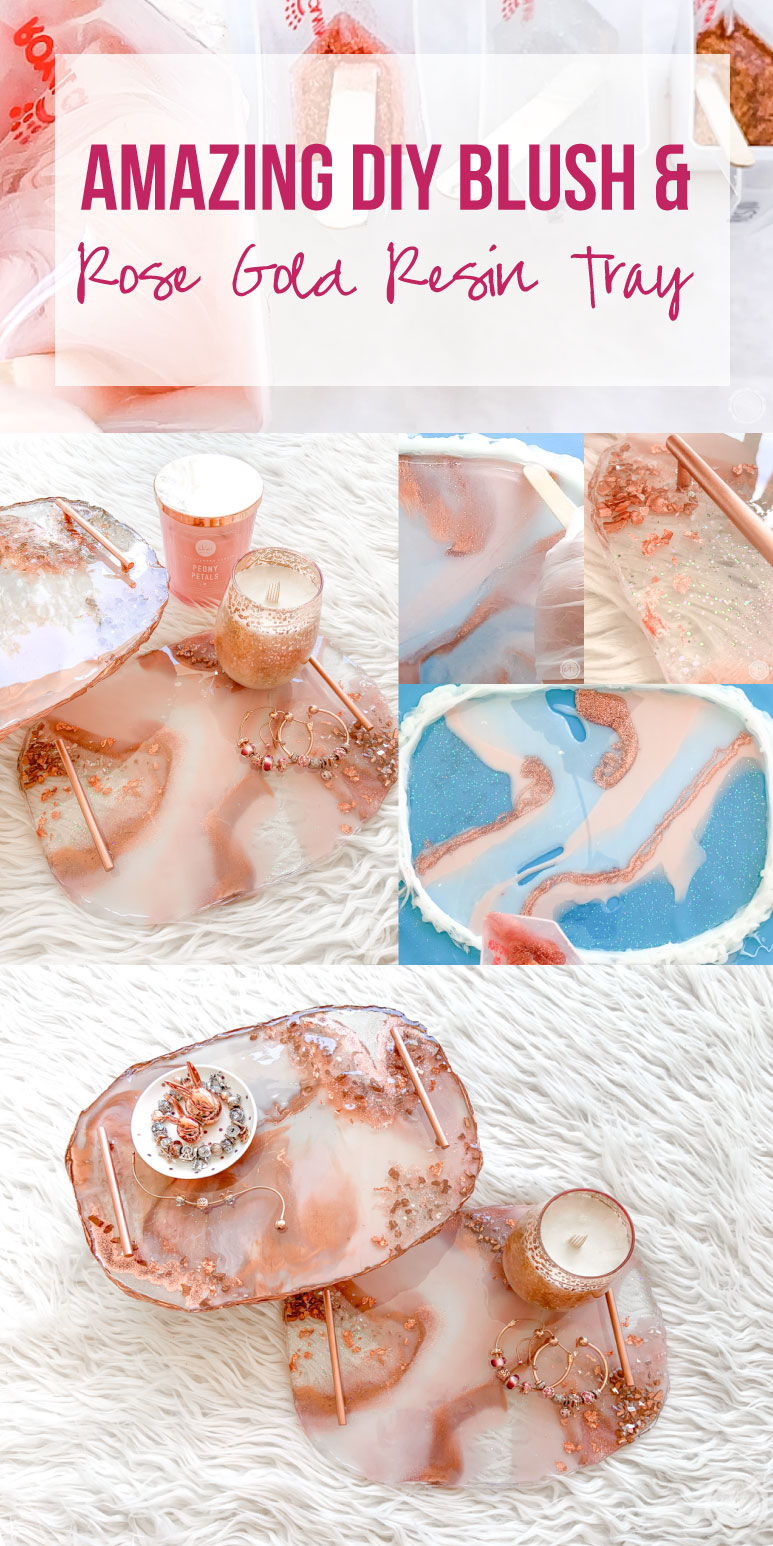
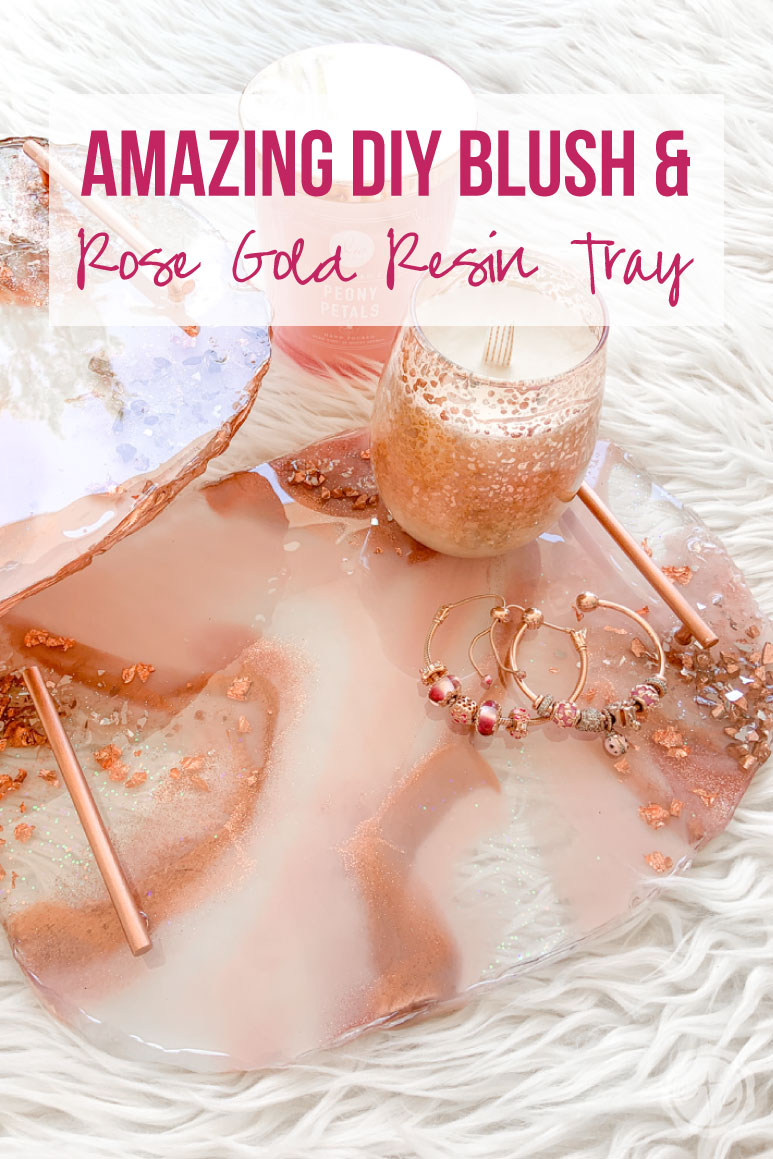
This little blush and rose gold resin tray is an absolute masterpiece! It is by far my absolute favorite resin project to date. We’ll use three layers or resin and a variety of fun inclusions to make this resin tray absolutely amazing!
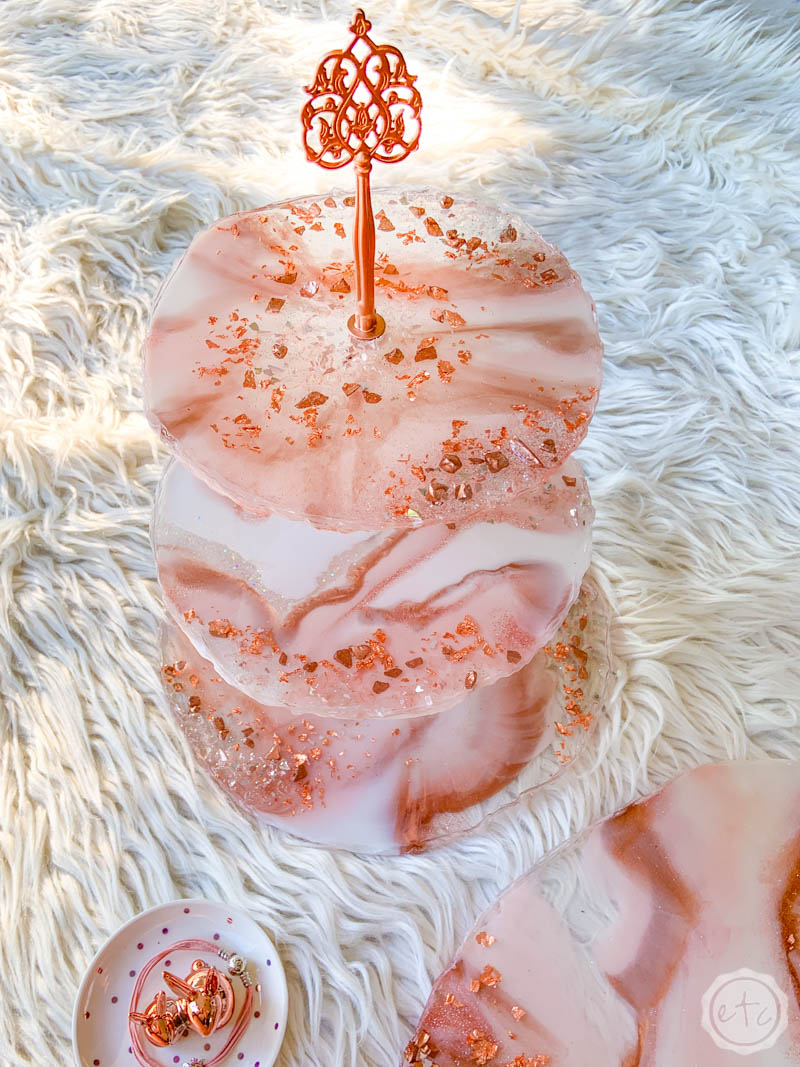
The finished tray will be about 9 by 7 inches so you can serve your favorite drinks (or corral your favorite pieces of jewelry!) with a sweet little tray you made from scratch. Want to get even fancier? Make the matching 3-tier tray & salad plates to go with it!
Ready to be started?
Supplies:
- Amazing Clear Cast Resin (700-1000ml or 23-32oz)
- Wagner HT400 Heat Gun
- Paint Respirator
- Disposable Gloves
- Freezer Paper
- Large Silicone Mat
- Non-Stick Baking Pan
- 100% Silicone or Tray Mold
- Large Silicone Measuring Cup
- 2 250ml Silicone Cups and 3 100ml Silicone Cups (or 5 larger disposable cups)
- Silicone Brush
- Jumbo Popsicle Sticks
- Pink Pearl Craft Paint
- White Alcohol Ink & Pearl Alcohol Ink
- Holographic Glitter
- Rose Gold Glitter
- Copper Oil Based Paint
- Copper Rocks (mix a few of the white rocks with your copper paint for these!)
- Shiny White Rocks (with glitter)
- Pearlized Pink Rocks
- Pink Crushed Glass
- Rose Gold Flakes
- Rubbing Alcohol/Paint Thinner
- Tiny Paint Brush
- 2 Handles
- Dremel Rotary Tool (Sanding tool) or sandpaper
Getting started with resin? Feeling overwhelmed? I’ve shared every singe item you’ll need to make this specific tray in the supply list below but if you’re just getting started with resin you might be a bit overwhelmed. Don’t worry! Let’s take it back to the beginning. I’ve written an entire post on what to buy to get started with resin post just for you! Then you can jump into Resin 101: Working with resin for Beginners where I’ll answer all of your resin project questions!
DIY Rose Gold and Blush Geode Inspired Tray
Step 1: Prep Your Space
Okay y’all let’s get ready to make a tray!
Before we get mixing we want to make sure we have our area ready to go and all of our supplies in one place… once we’ve mixed our resin we have a short window of working time and we don’t want to waste that running around picking out glitter!
Trust me… been there. Done that. Wasted the resin.
Another tip? You’ll need to let each layer of resin cure for 5 hours and the final piece will need to cure for 24 hours. It needs to be able to cure in a space without a lot of traffic or dust (you can cover it if need be but you don’t want yucky dust in your final piece)… if this area has a door to keep kids/pets/husbands out that is even better.
Of course, you also want to work in a well ventilated area… so that makes it tricky! I like to set up my work area on the front porch where there’s plenty of fresh air and then move my piece into my craft room to cure. I’ve placed my entire mold on a baking pan so that I can pick it up and move it easily… but keep that in mind before you get started.
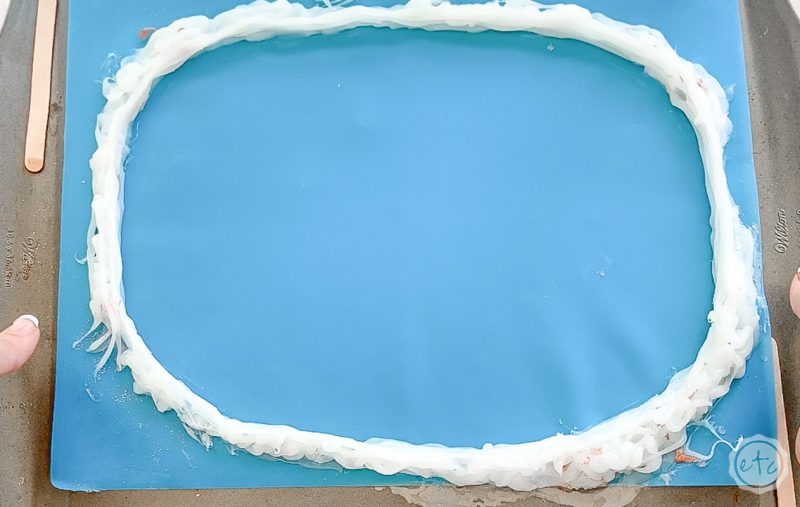
Start by laying down down freezer paper so that any drips or spilled resin won’t ruin your surface. Then put down your baking pan and your tray mold. My tray mold is completely handmade with a tube of 100% silicone on a silicone mat. (Not sure how to make your own mold? You can make your own mold for a couple dollars by following this tutorial! Not ready to make your own mold? You can purchase a similar mold here.)
Now we’re ready to rock! Make sure the rest of your supplies are close at hand and we’ll get started.
Step 2: Mix Your Resin
Now it’s time to mix our resin! This might be the most exciting step of all… although I am definitely in love with the final reveal.
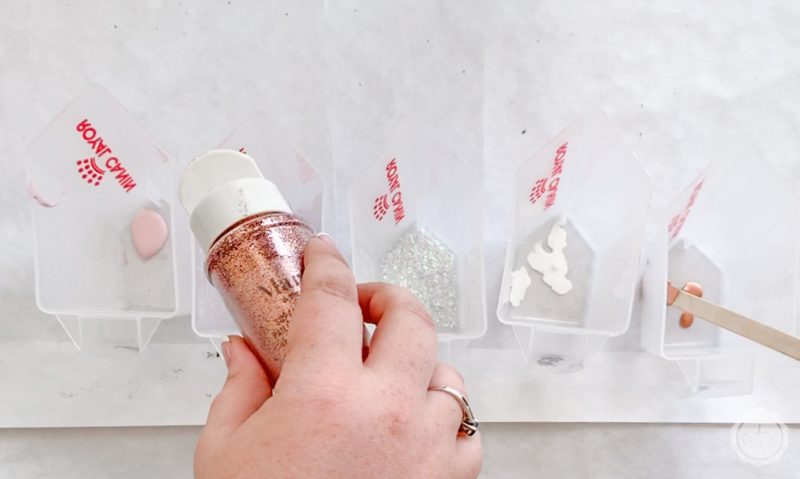
Ready to mix? Start by setting out your 5 medium sized cups. These can be disposable cups or silicone but 2 of them need to be able to hold at least 200ml… I’m actually using plastic dog food containers that I *ahem* somehow have a million of.
The main goal is to make sure they’re clean, dry and dust free.
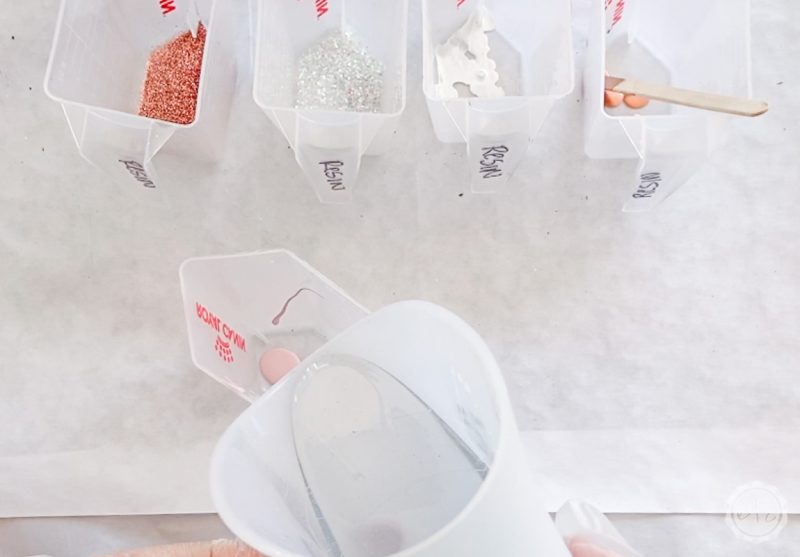
Now that we’ve got our cups we can go ahead and put our colors in them! For this tray I added a bit of blush pink craft paint to the first cup (just a couple drops… you don’t need much at all), a bit of holographic glitter and a bit of rose gold glitter to cups 2 and 3, a mixture of 10 drops white alcohol ink and 10 drops pearl alcohol ink to the fourth cup, and a few drops of copper oil based paint to cup 5.
You’ll want to do this before mixing your resin so that you don’t have to waste resin time to play with colors! But now that our colors are ready it’s time to mix up some resin!
I mixed about 500ml in my large silicone cup… using the same steps as always to mix my resin. If you’ve never mixed resin before you can follow my tutorial on how to mix resin here.
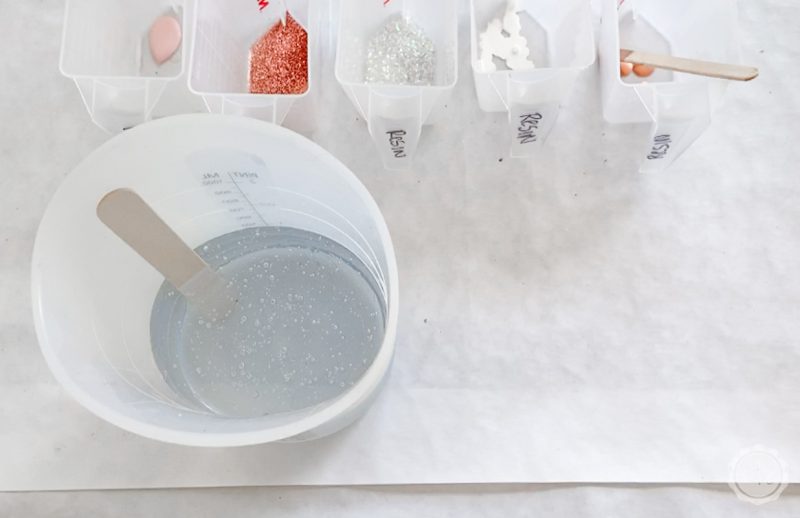
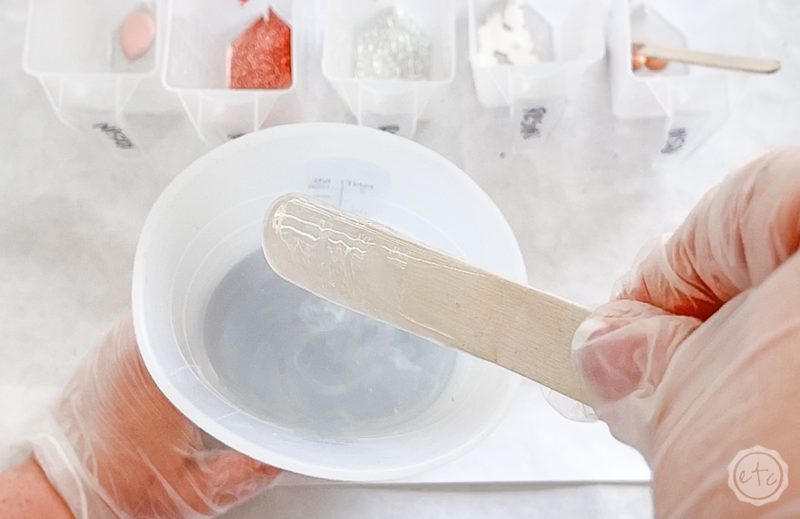
Since we’re mixing quite a bit of resin I like to stir the mixture for two-three minutes until I’m sure it’s completely mixed.
Then I let the resin mixture sit for about 2 minutes so that the air bubbles inside can all raise to the top of the mixture. Then it’s time for my trusty heat gun!
I’m pretty sure my Wagner HT400 is my absolute favorite crafting tool (besides my Cricut… but that’s another story altogether)! Set this baby on high heat and use it to pop all the bubbles in your resin mixture.
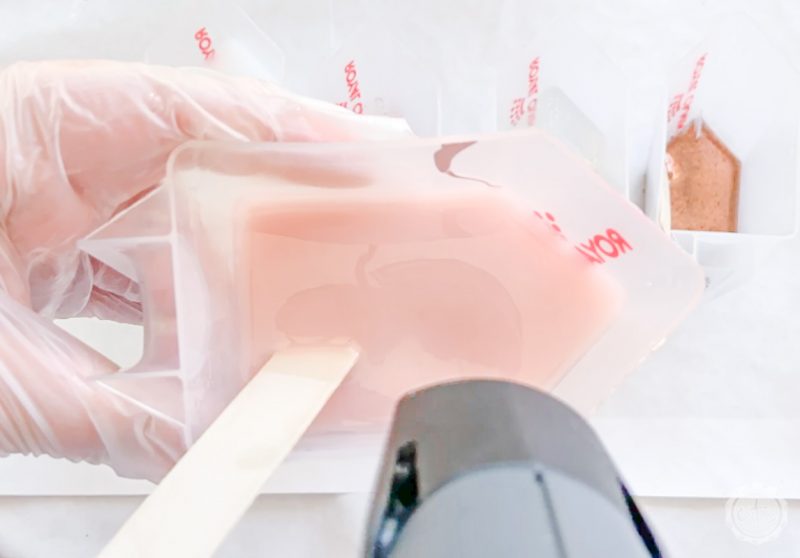
Simply go over the surface with the heat gun and you’ll see all the bubbles pop! Then I like to give my resin a slow stir and a few more bubbles will come to the surface to be popped by the heat gun.
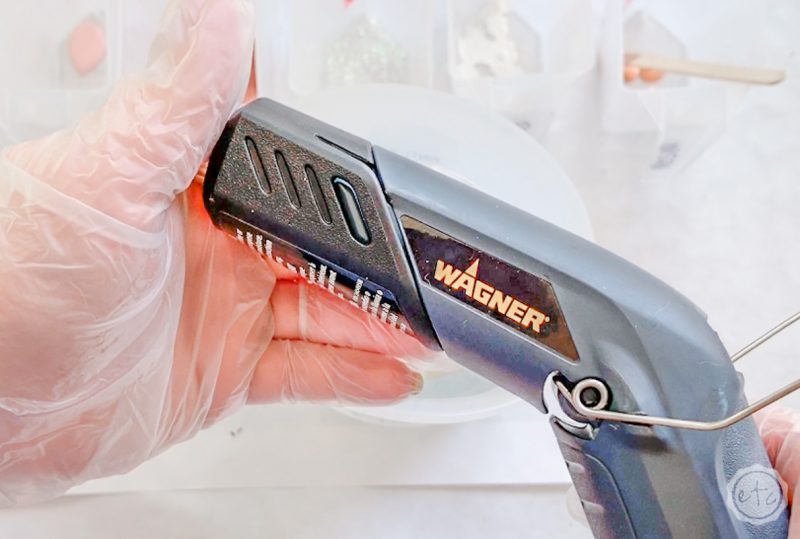
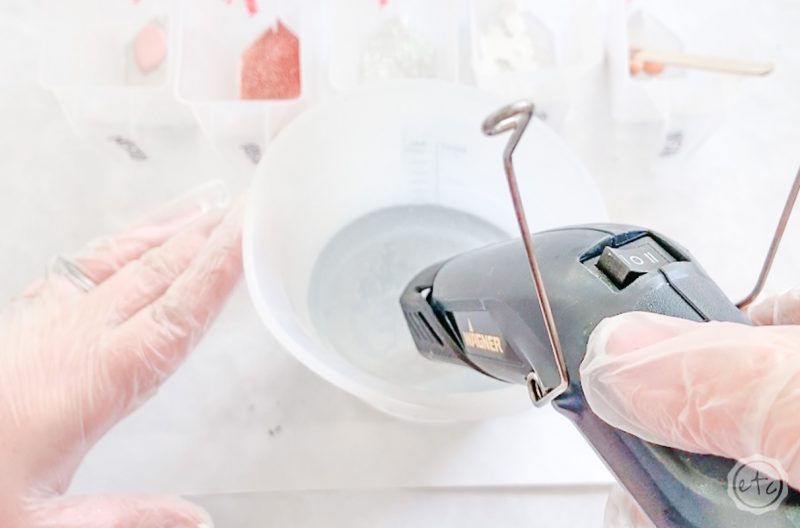
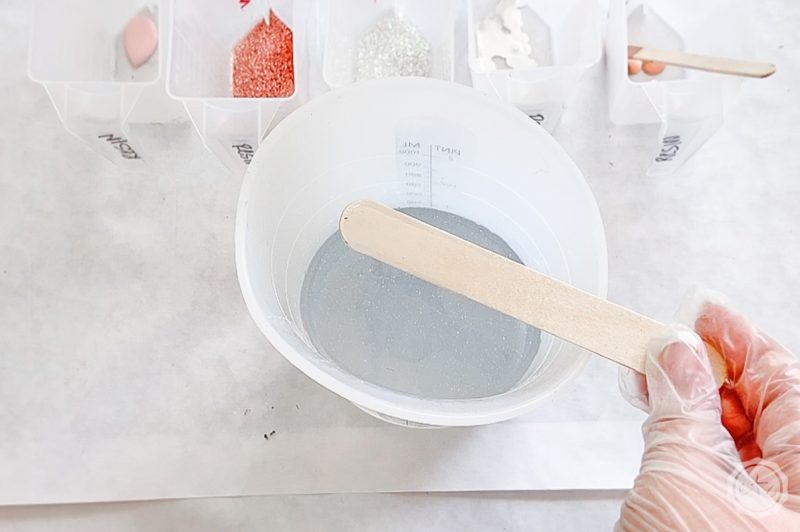
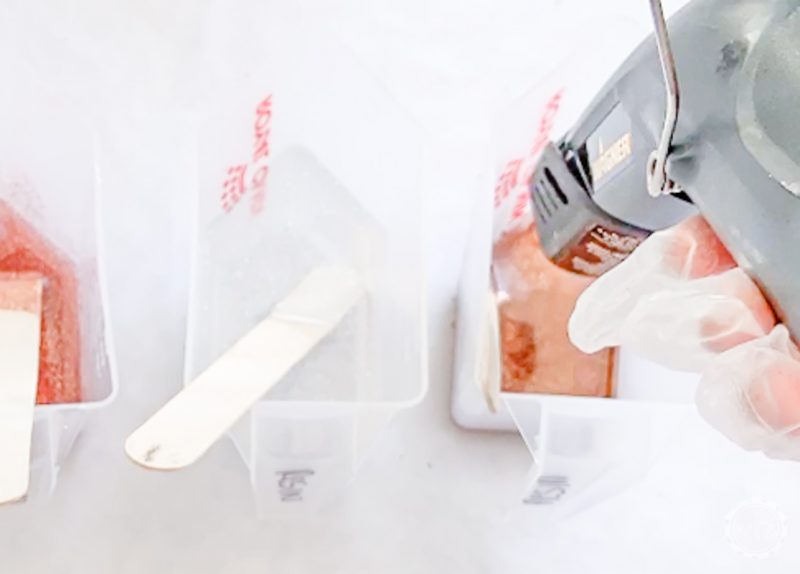
See how much clearer the resin is on my popsicle stick after popping the bubbles with the heat gun? Take a look at the photo above v.s. the original mixing photo up above and you’ll notice a big difference.
Now let’s get to mixing our colors! I poured about 150ml of resin into my pink and white colors… and about 30 ml into the copper. Then I split the remaining resin between the two types of glitter.
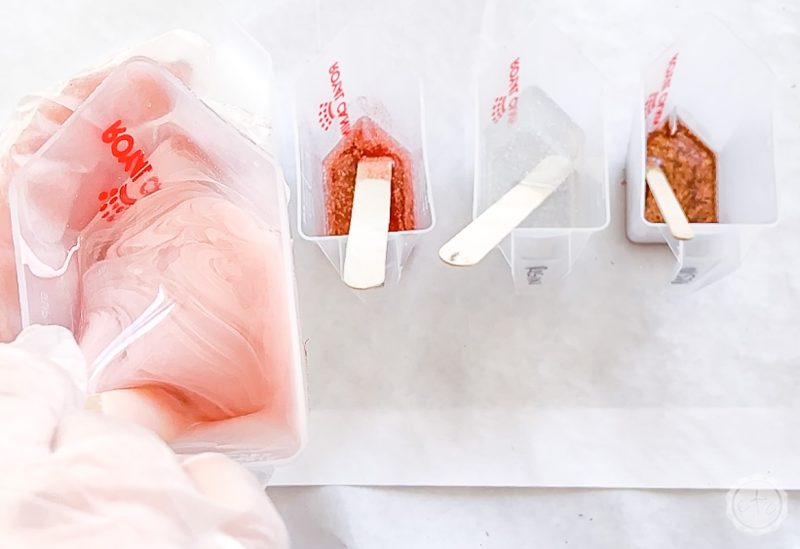
Now we just need to mix up each little container so that our colors are ready to go! Mix slowly so you don’t create too many bubbles but make sure that you scrape the sides and the bottom so that no color is left un-mixed.
You want to stir until you don’t see any variations and the entire cup of color is one uniform color. Then take your heat gun and pop any new bubbles that have arisen in the the tiny cups.
Now we’re ready to pour!
Step 3: Pour the First Layer of Resin
You can just start pouring but it’s easiest to pour your resin if you have a plan. For pieces like these I try to have a general plan although you can get a piece of paper and be really specific if you want to.
Basically I decide before hand if I’m pouring in a circular pattern, placing all my resin in stripes in the same direction or adding little knots in the piece.
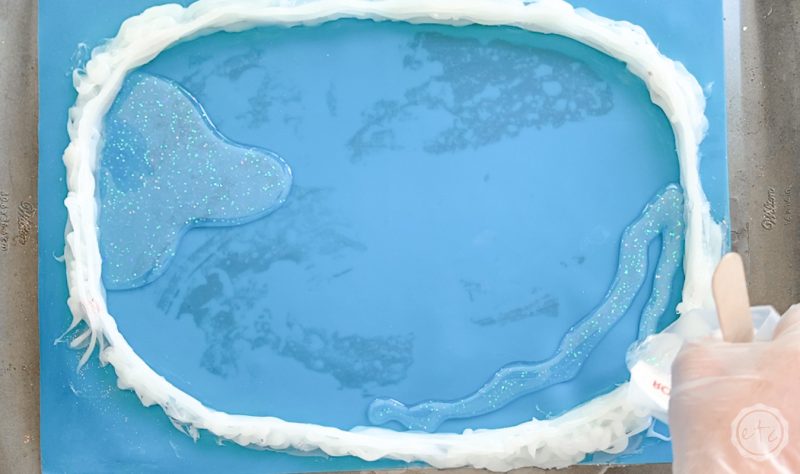
For this piece, I wanted a few geode ares for rocks so I decided to create two knots in the piece (on the left and the bottom right) and the stripe the rest of my colors in one direction between the two.
For these little knot areas we’ll start by pouring our clear resin (mixed with the holographic glitter). These are the areas we’ll build into awesome, rocky geode areas later!
Once we’ve added the clear you can start to add the other colors in between. I started by adding the blush pink in stripes around the clear and then in between.
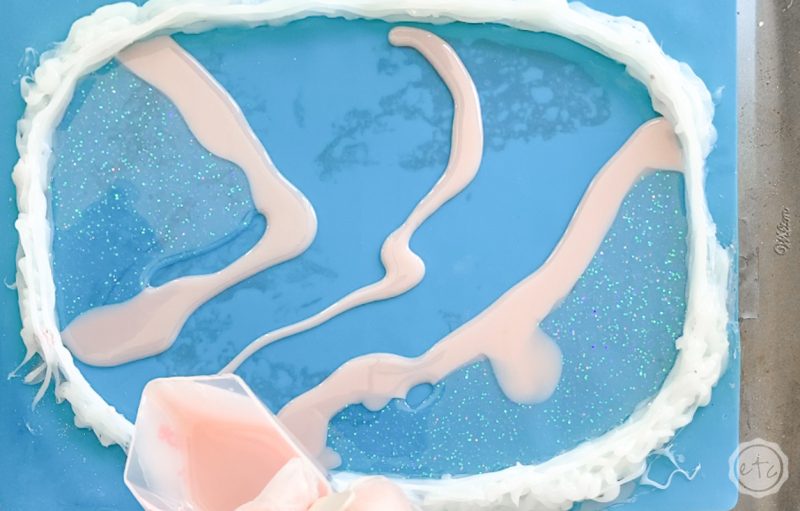
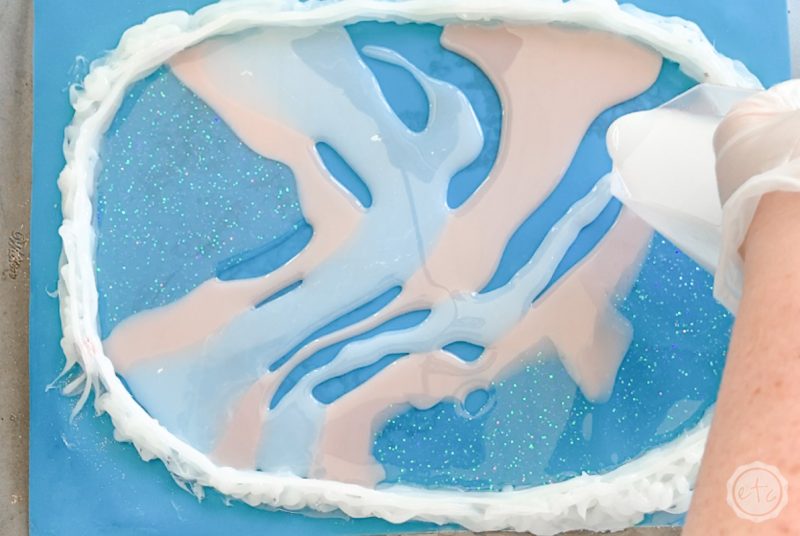
Then I added my white… the blush and white are my main colors so they’ll have the biggest surface area to cover. It’s tempting to flood the mold with these colors right away but don’t worry about that just yet.
Simply add the colors where you want them to be… it’s ok if they don’t all touch at first. We still have to add the copper and rose gold glitter and those need a place to go.
We’ll fill in the empty spaces with veins of these colors… try to keep these stripes skinny and feel free to make multiple passes. You want the copper and rose gold glitter to look like veins going through the stone.
Once you have all five colors and are happy with the layout you can add more white or pink to those areas until the blue mat is completely covered!
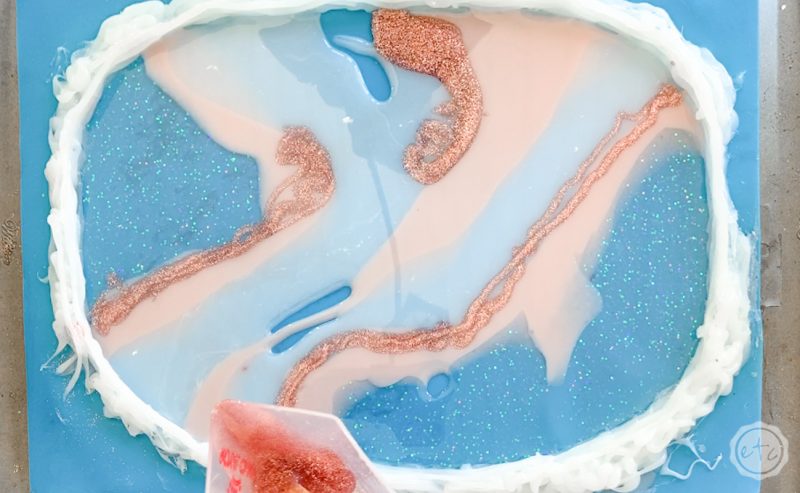
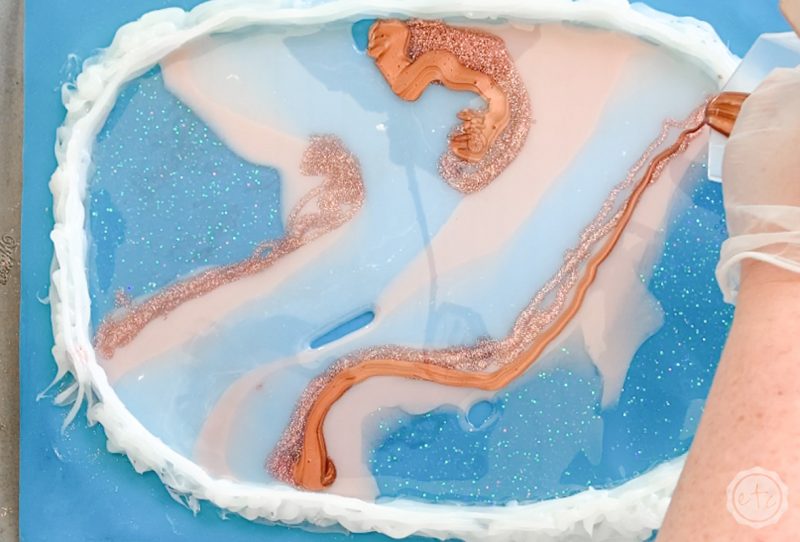
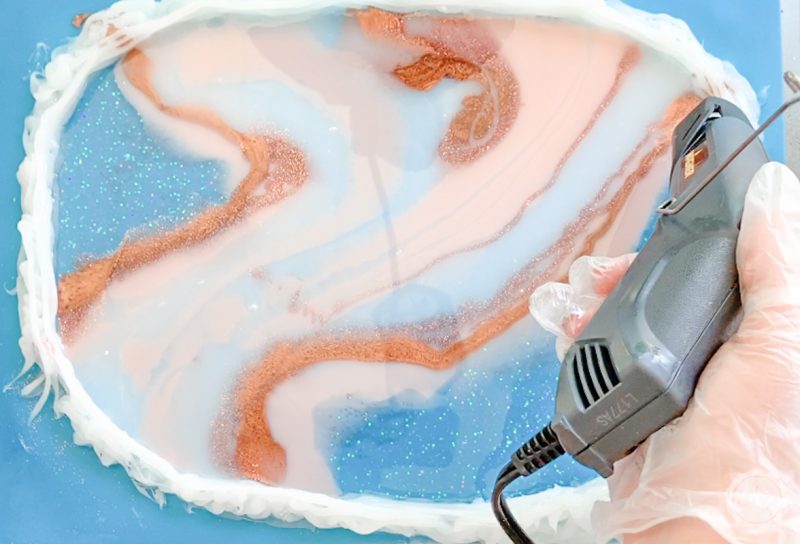
Once all your colors are in the mold you can use your heat gun to pop any remaining surface bubbles… and to move the color around a bit. Just make sure not to mix the colors together toooooo much or you’ll get a more marbled look.
At this point you can add more color if you’re not happy or leave the first layer to dry! Once you’re finished with this layer you’ll want to set the tray in a dust free space for 5 hours to cure before adding the next layer.

Important Tip: It’s important to note here that the different colors will react differently because of the different weights of our materials. Craft paint is heavier than alcohol ink so you’ll start to see the pink sink to the bottom of the mold and the white alcohol ink float to the top as the two colors mix.
This is a pretty subtle change… you’ll be able to notice if even more distinctly with the rose gold glitter resin and the copper paint resin. The glitter will sink while the copper paint stays on top.
I love how this gives the piece depth but if you want more even color you could use white paint and blush paint… or white alcohol ink and blush alcohol ink. So that the colors are more equal weights within the piece.

EXTRA BONUS TIP! Since we’re using a homemade mold you’ll want to watch the mold for about 5-10 minutes before leaving it. Mine was a little uneven and needed a few popsicle sticks and a plastic cup underneath the mat on one side so that the resin would dry level. You also want to check for leaks… if any resin starts to come out the sides of your mold take your tube of silicone and plug the hole from the outside right away. Easy peezy.

Step 4: Add Resin Layer Two!
Alright y’all now it’s time for a little more resin! If you’ve waited 5 hours the resin in your mold should be hard enough to add a second layer. Take a dry popsicle stick and double check by tapping the surface… if the resin is tacky at all you’ll want to give it a little longer to dry so that we don’t mess up the first layer.
5 hours should be more than enough time for a partial cure though and we should be ready to rock! On the off chance that the resin is tacky and sticks to your popsicle stick simply hit the resin with your heat gun until the resin warms up and once again lays flat… then leave it to dry until it’s hard.
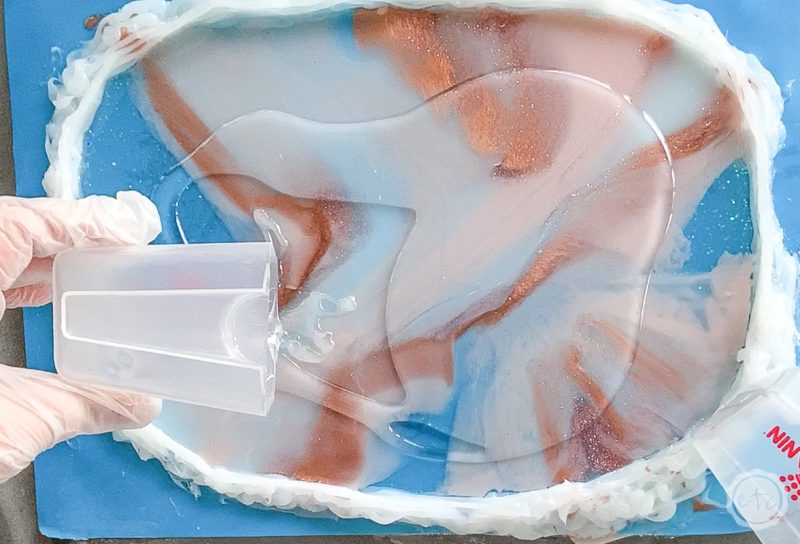
For this layer you’ll mix about 350 ml of clear resin, pop as many bubbles in the cup as possible and then pour it directly into your mold! You want to make sure it fills the entire mold so grab your mixing popsicle stick and push the resin into allll of the corners of the mold.

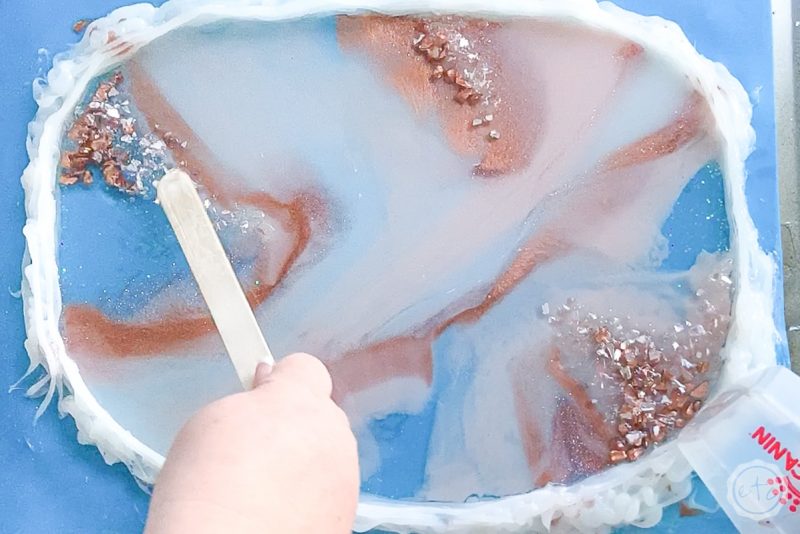
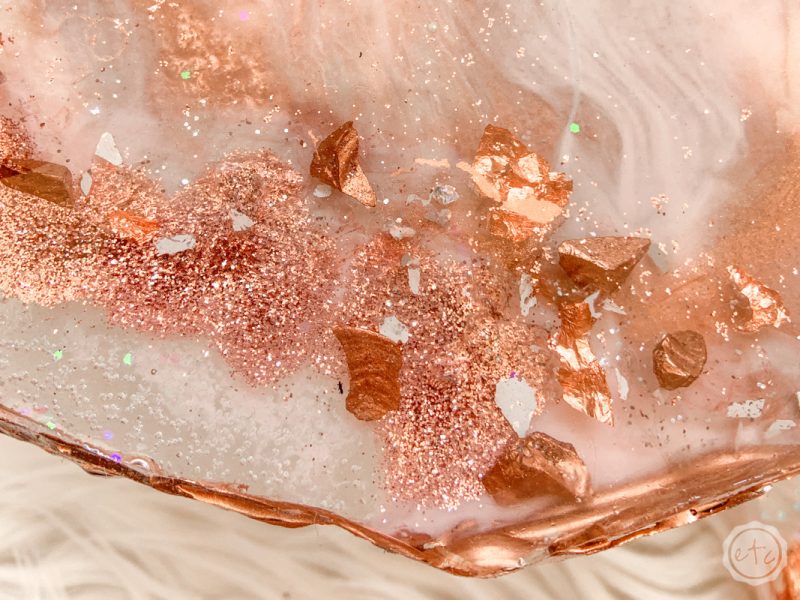
Now it’s time to add our rocks! I didn’t want this little tray to look exactly like a geode but I love the layers a geode has… and the fun crystal rock layers you can add to a geode piece! So for our second layer we’re going to add a few rocks to our clear.
You can add your rocks however you like but I like to make 3 rocky areas in a triangle pattern… since this seems to balance out the tray nicely! I also like to use the clear areas for our rocks so that you can see the rocks all the way through the tray.
Start with your darkest color rocks first (the copper) and then slowly add more layers with your pink rocks, the clear rocks and finally the crushed mirrored glass. I wanted my copper rocks to match the copper paint we’re using throughout this piece so I put a few of my clear rocks in a disposable cup and added a few drops of my copper oil based paint… stir them up and volia! Copper rocks!
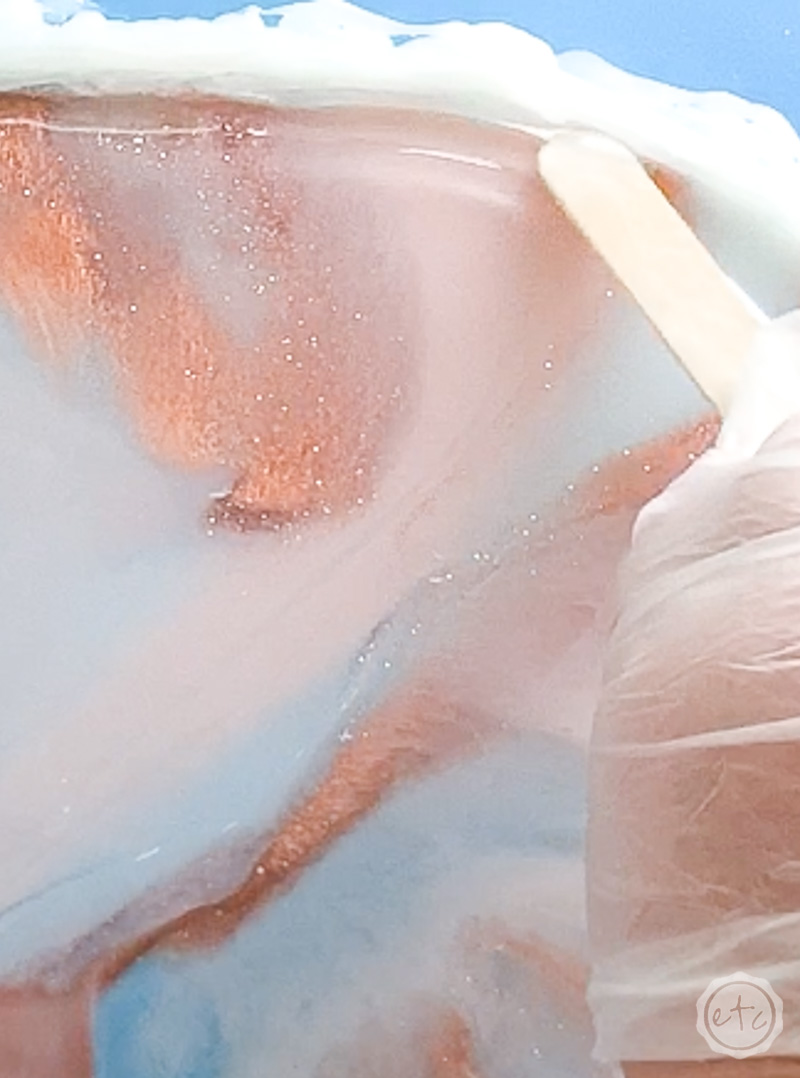
You can use a popsicle stick to move the rocks around until you like how they look… and make sure to tap all the rocks down so that they aren’t sticking up too much. You don’t want them poking through the top layer and making your top layer of resin uneven.

Bonus Tip! Keep in mind that we’ll be adding our handles to the next layer of resin so you want to leave rock free spaces where the handle will rest on this layer of resin. That way the handle is level when the tray is finished.
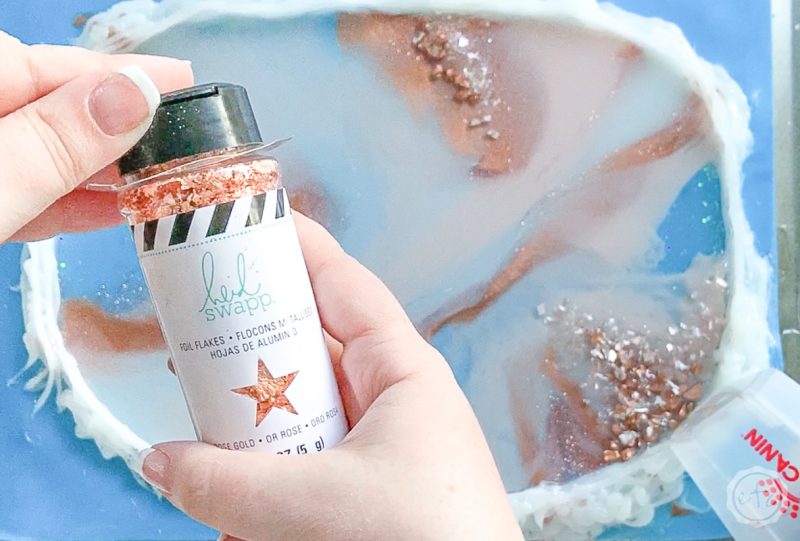
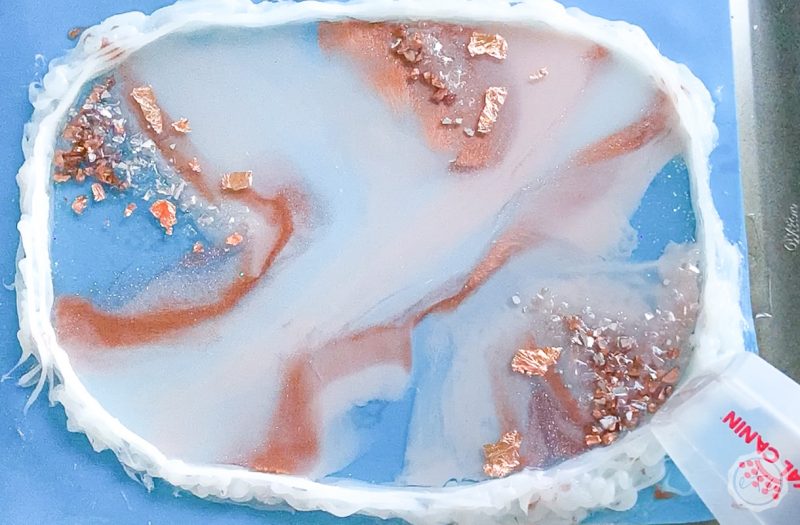
Ready to add our last bit of sparkle? A few rose gold flakes!
These little flakes are soooo clingy… to each other, to your fingers, to the resin… so make sure your fingers are clean before you start handling them. Otherwise they’ll end up in a big useless lump as you try to separate them.
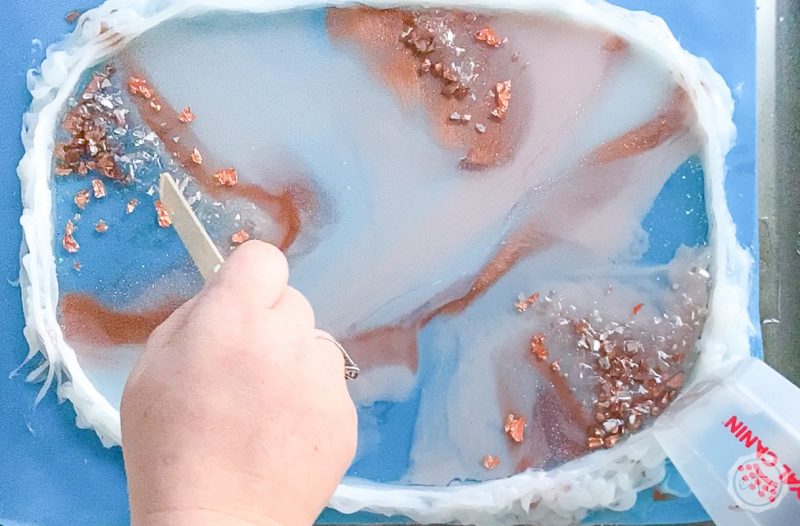
I like the flakes to surround my rocky areas so I started by peeling a few pieces apart and placing them around. They look a bit un-natural sitting on top of the resin so take your popsicle stick and move them around in the resin until they look more like they’re part of the piece.
They look really awesome once they’re inside the layer of resin!
Once you have all of your rocks and flakes where you want them leave this baby to cure for another five hours. Then we’ll pour the third and final layer of resin.
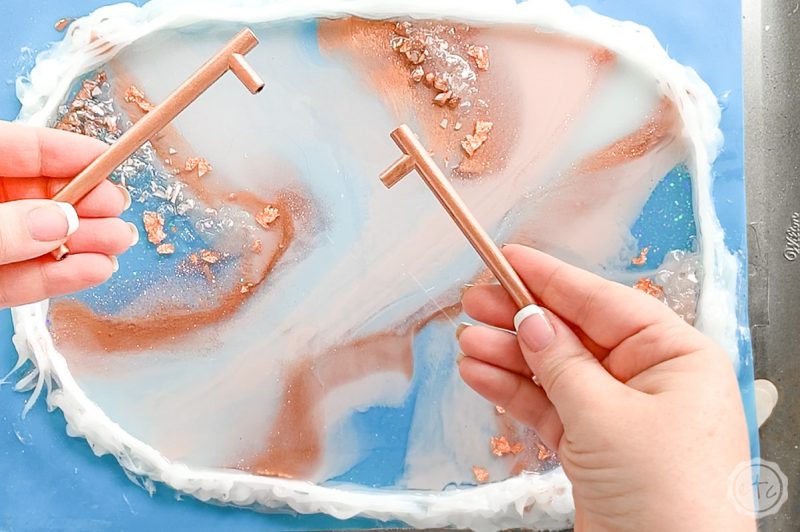
Step 5: Add the Handles… and the Third Layer of Resin
Ready for your third layer of resin?
Start by setting your handles in place… making sure they’re flat and even distances from the sides.
Then it’s just a matter of pouring in the last layer of resin and using your popsicle stick to make sure it’s spread evenly across the piece! You need enough resin so that the handles firmly dry into the resin but not so much resin that there isn’t enough space to put your fingers under the handles.
I used about 200 ml for this last layer of resin.
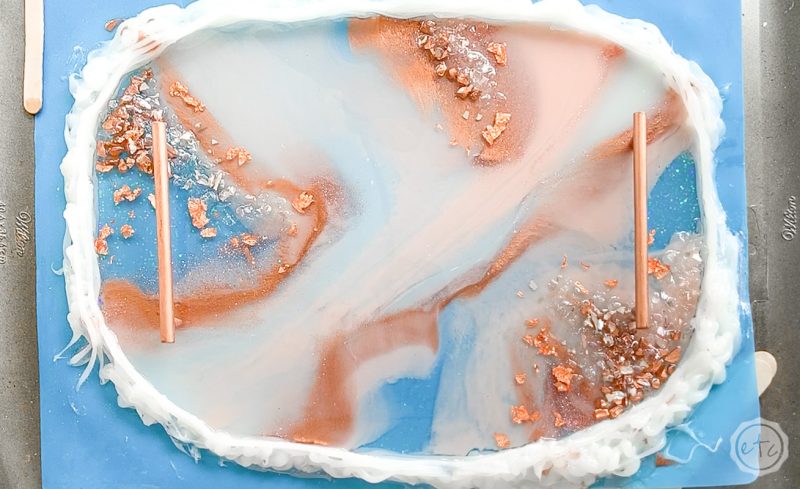
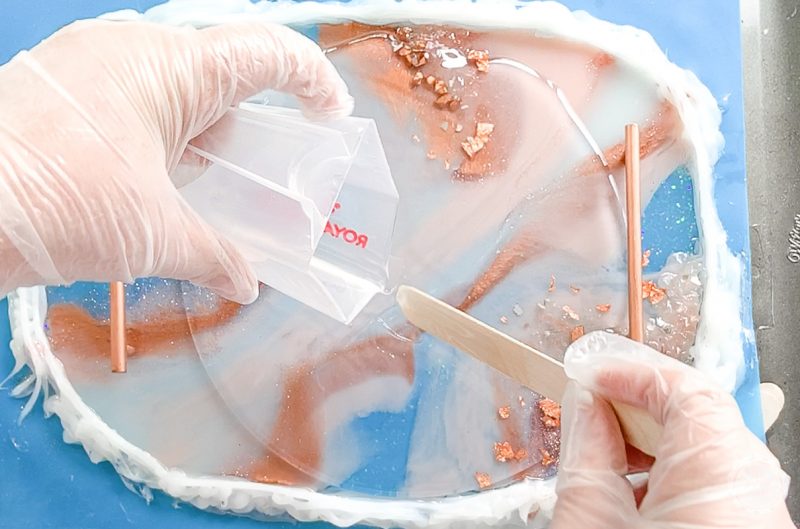
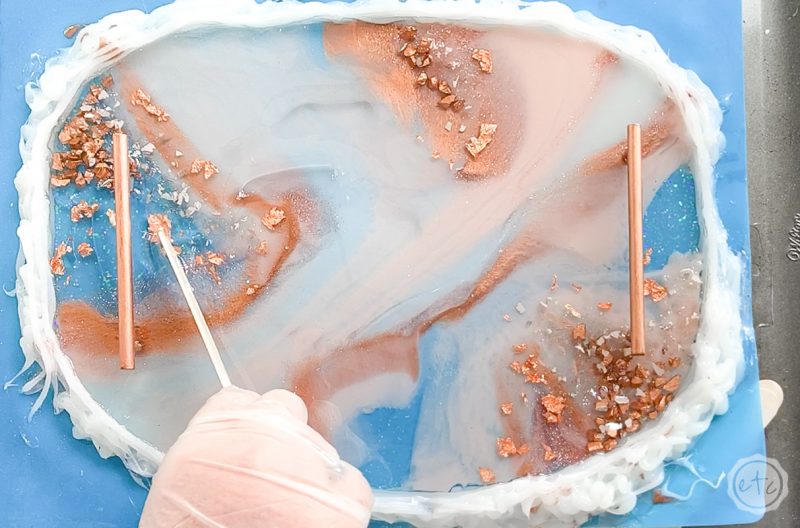
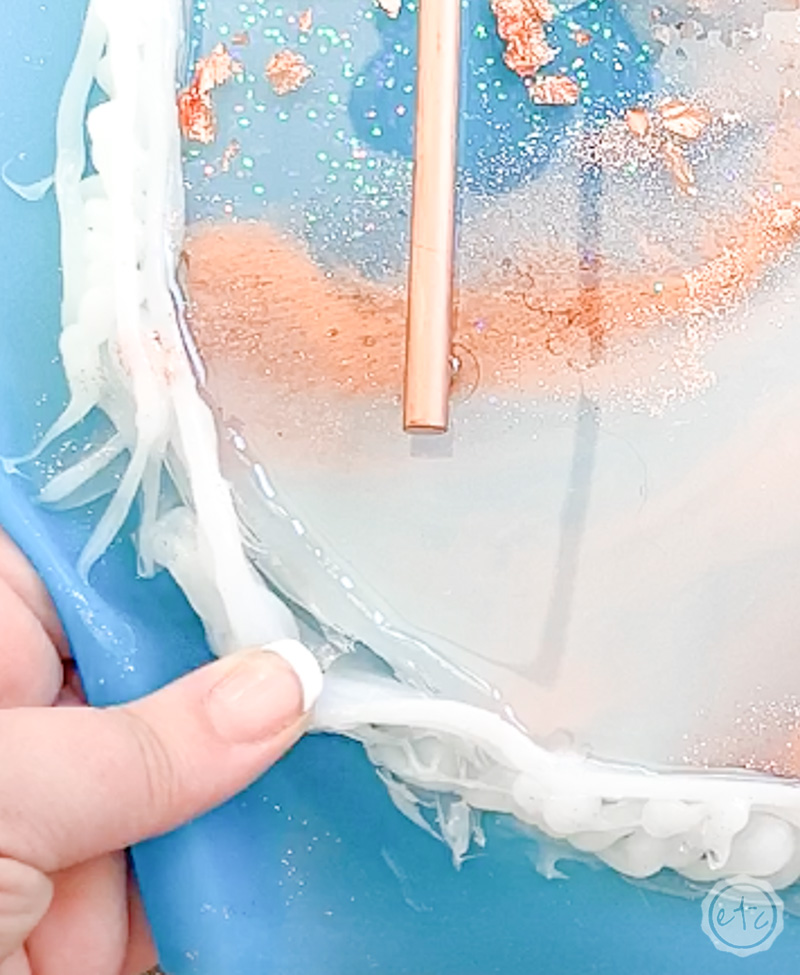
Step 6: Remove the Tray from the Mold
Okay I take back what I said earlier… taking the tray out of the mold and seeing it on it’s own for the first time is definitely my favorite part!
Luckily this part is super easy (and very satisfying!).
Start by making sure your piece is NOT tacky. It should be completely dry and smooth to the touch. If you find any tacky areas it may not be 100% cured yet and you should leave it for a few more hours.
If it’s still tacky after a few more hours it sounds like your resin didn’t cure properly and you need a thin topcoat of resin to seal it all together. I’ll go over that in another post.
For this post let’s assume our tray is ready to rock… clear, dry and ready to de-mold.
Start by peeling back the silicone on one edge of the tray. You want to be careful so that you can re-use this silicone mold later… but for the most part the tray should pop out pretty easily.
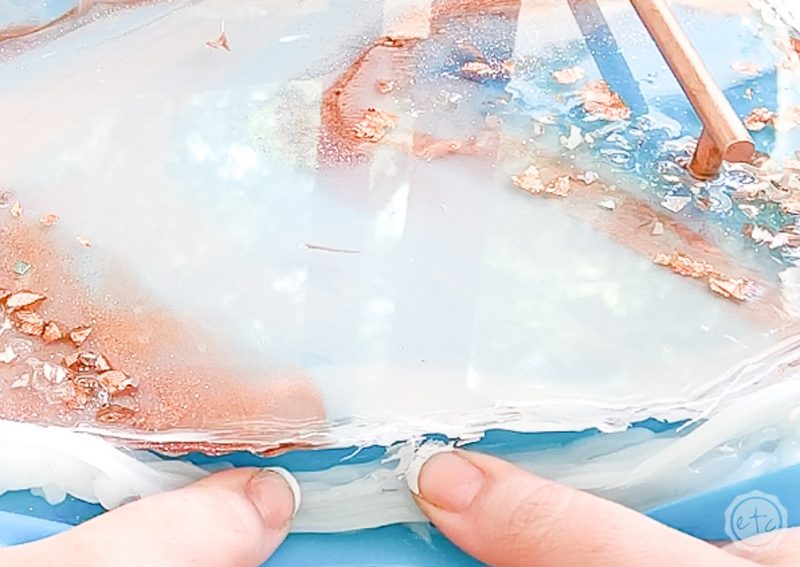
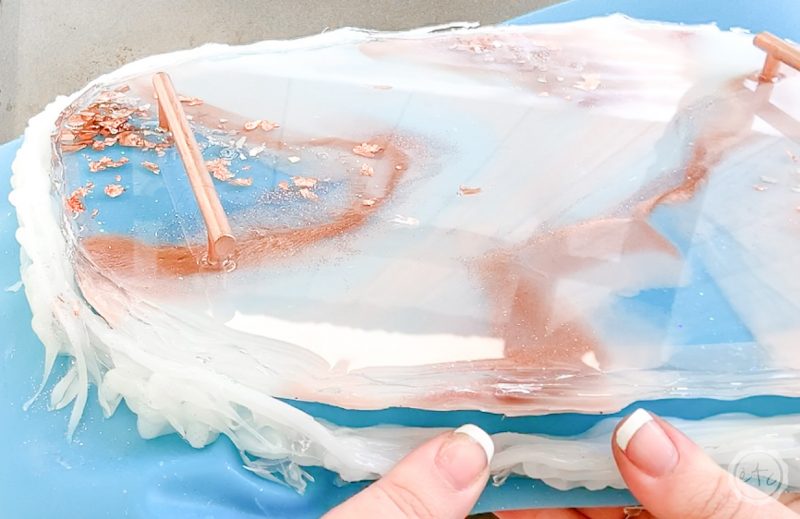
Once you’ve got the corner work your way all the way around the mold removing the silicone and freeing your tray.
Beautiful darling!

Bonus Tip! Since this is a homemade mold sometimes you’ll have a pocket of silicone that’s cured inside the resin (that’s only happened to me once but it does happen). Simply take an exacto knife and cut the silicone piece off of the mold, leaving it inside the tray… we’ll deal with that in the next step.
Once you’ve cut the little piece of silicone in the resin away from your mold you’ll have a hole in your mold. If you want to use this mold again you’ll need to add a bit of silicone to the mold and smooth it out with a glove before using the mold again. Easy fix!
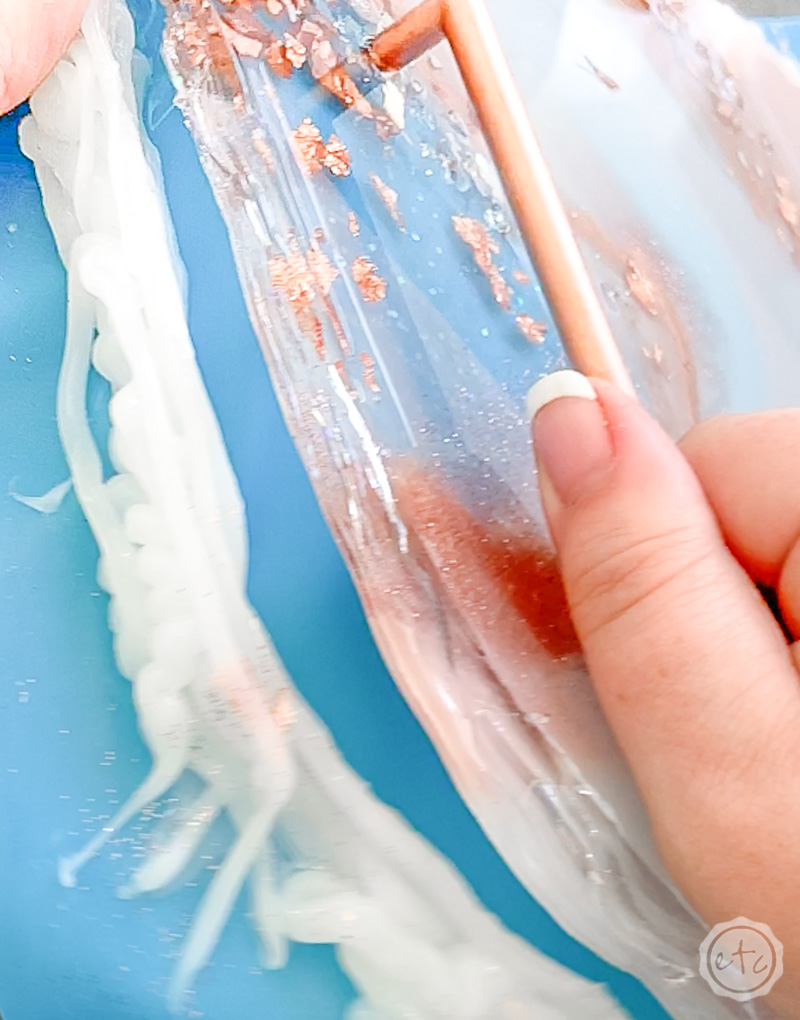
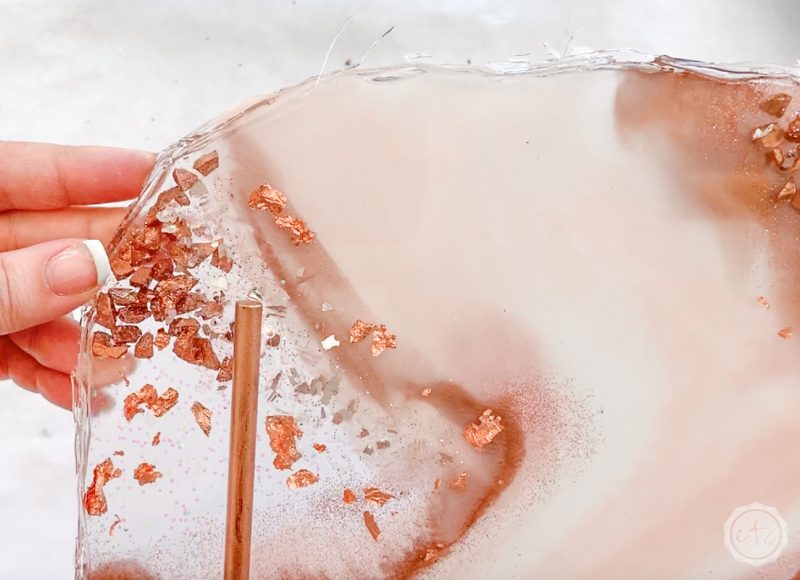
Step 7: Sand the Edges
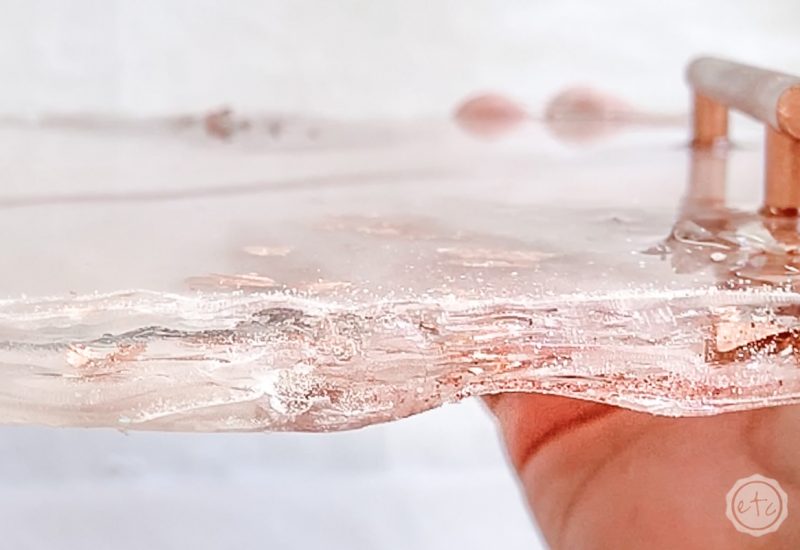
Ready for the finishing touch? Since this is a homemade mold the edges may be a little rough… even jagged in areas. Luckily this is a pretty easy fix.
We just need to sand those babies smooth.
You can use regular sand paper but I’m impatient so I pulled out my little dremel and used a sanding attachment on the edges. It worked perfectly!
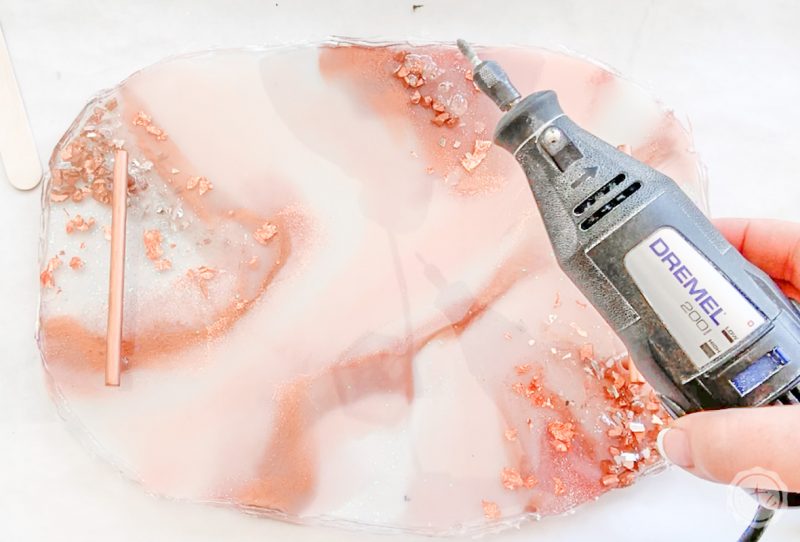
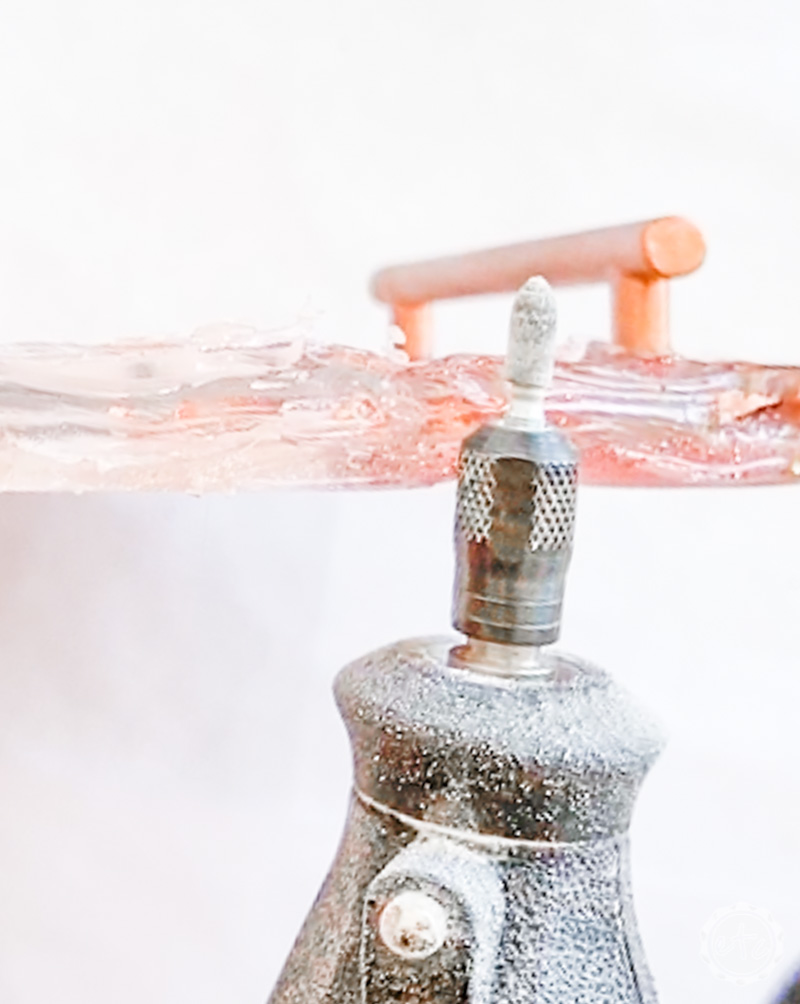
You’ll want to sand away any pieces of resin that are sticking up or sharp… you definitely don’t want the edge of your tray to jab anyone.
I also smoothed out the top and bottom edge of the tray so that there was a smooth transition from top to side to bottom.
The main thing to remember here is that the dremel (or sandpaper!) can scratch the surface of your tray! Once there’s a scratch on the top of the tray we’ll have to fix the entire surface… so be very careful to avoid scratches at all costs.
But if you do get a scratch on the surface (or if you missed a hair that’s dried in the top coat of your piece) I’ll show you how to fix it in a different post.
Once you’ve sanded the entire edge smooth we’re almost done!
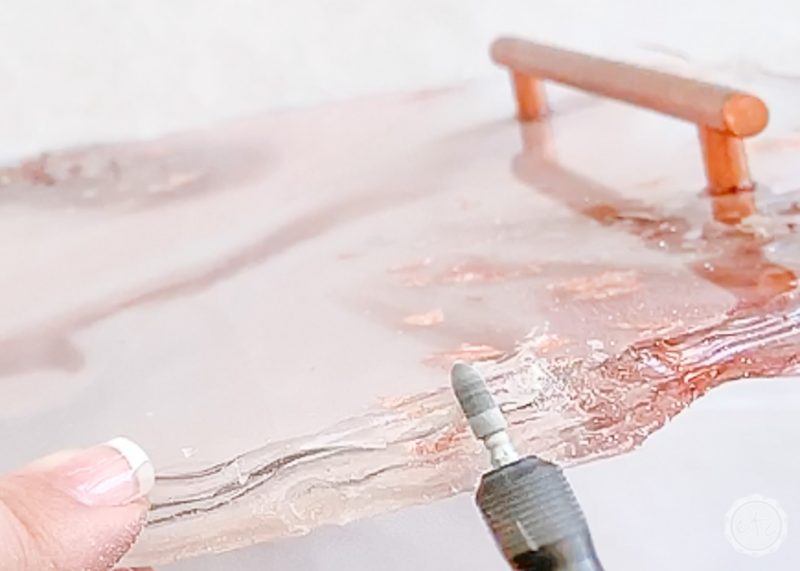
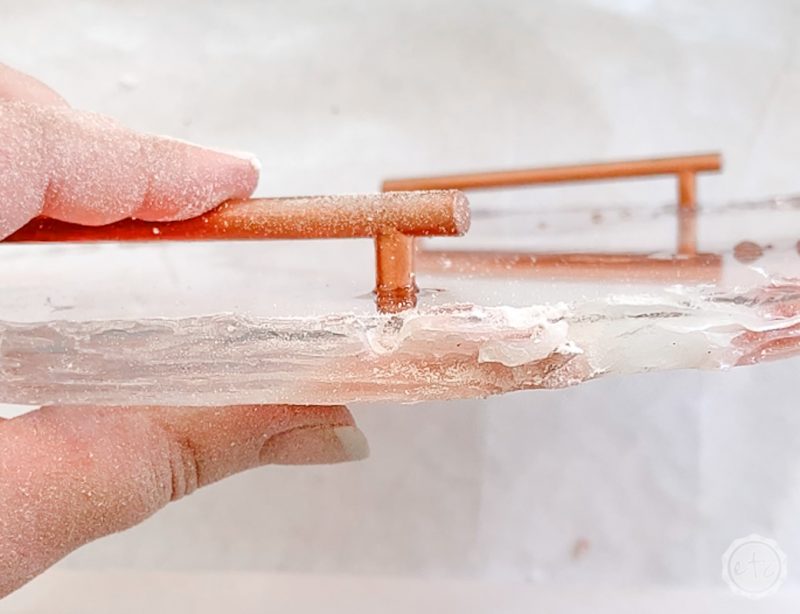
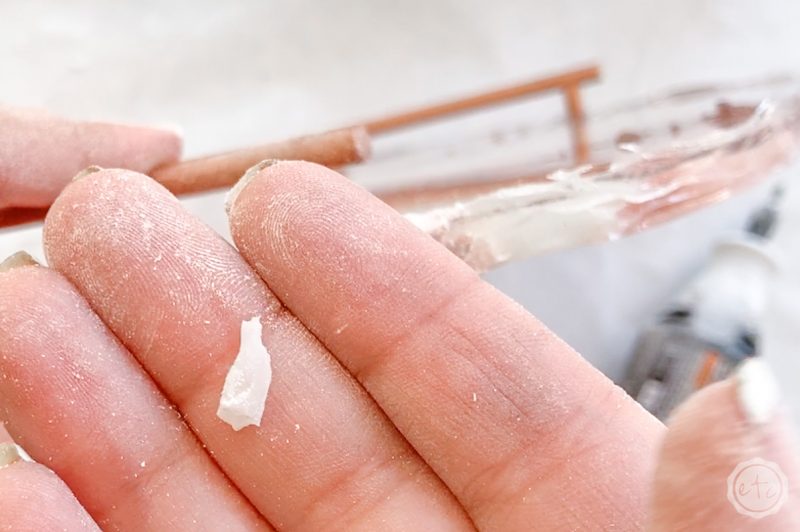
Alright y’all… here’s the little piece of silicone I was talking about! See how the resin of the tray has cured around that one tiny strip of silicone? We definitely don’t want that!
You also don’t want to dremel that silicone since it’s not hard like the resin… instead of sanding away it will turn black as it burns and release a horrible smelling toxic yuck that you don’t want in your lungs.
*ask me how I know that… wear your respirators!*
Instead dremel right up next to it… you’ll want to loosen the resin around it so that you can pull the silicone piece out either with your exacto knife or with your fingers.
Once the silicone is out you can dremel the rest of the resin smooth! Volia!

Step 8: Finish the Edges!
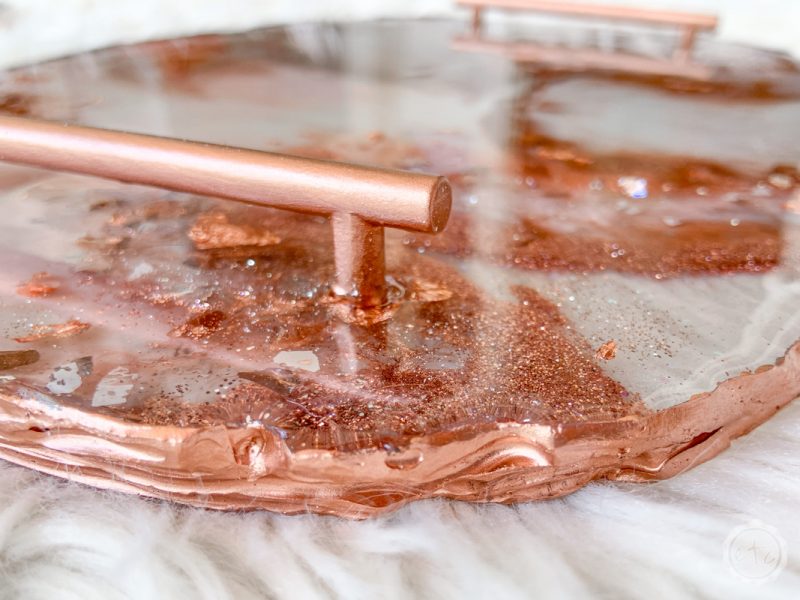
Alright y’all on to the last step! You have two options for the side of your tray… you can leave it clear or you can paint it rose gold to match the handles of your tray.
If you decide to paint the edges simply use a tiny paint brush and the copper oil based paint… it’s pretty easy and really ties the entire piece together.
On the other hand if you want to leave the edges clear you’re pretty much done. The only thing you need to do is take a q-tip and a bit of rubbing alcohol to clean the edges of all that resin dust from your dremel.
Which option is your favorite?
Ready for the final reveal?
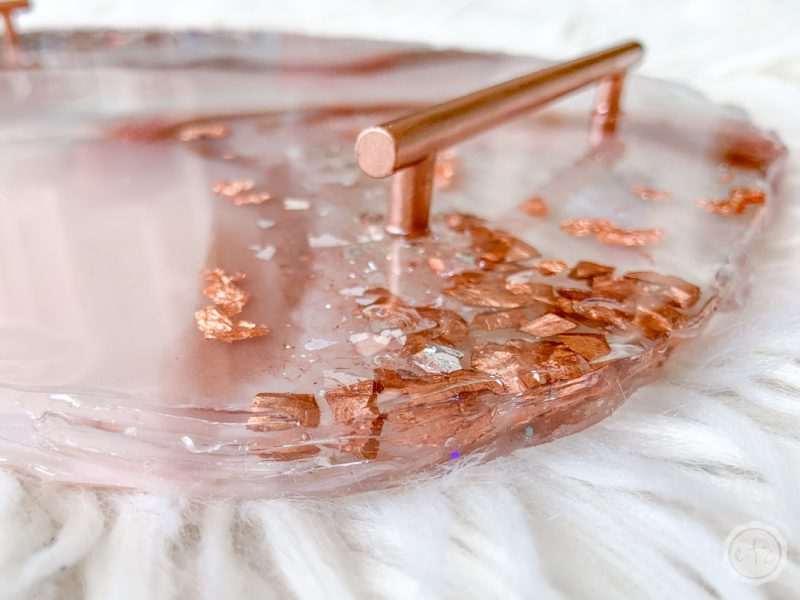
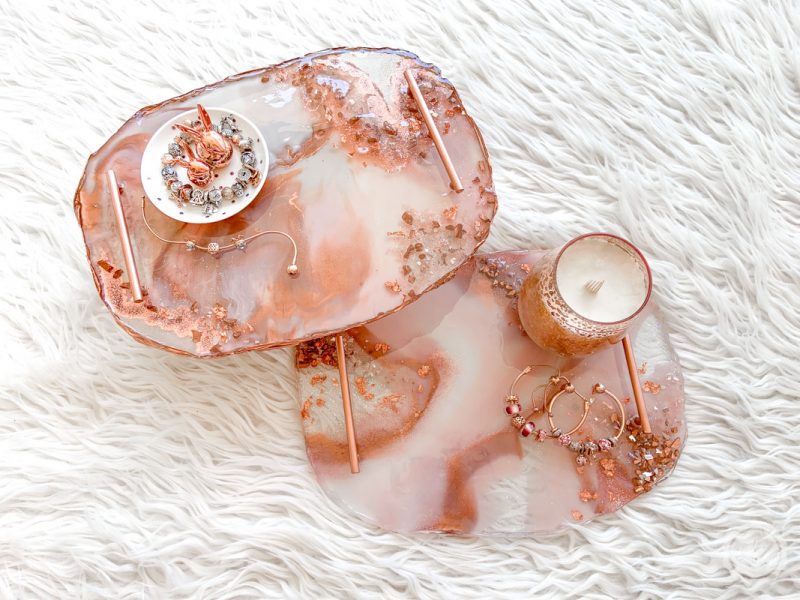
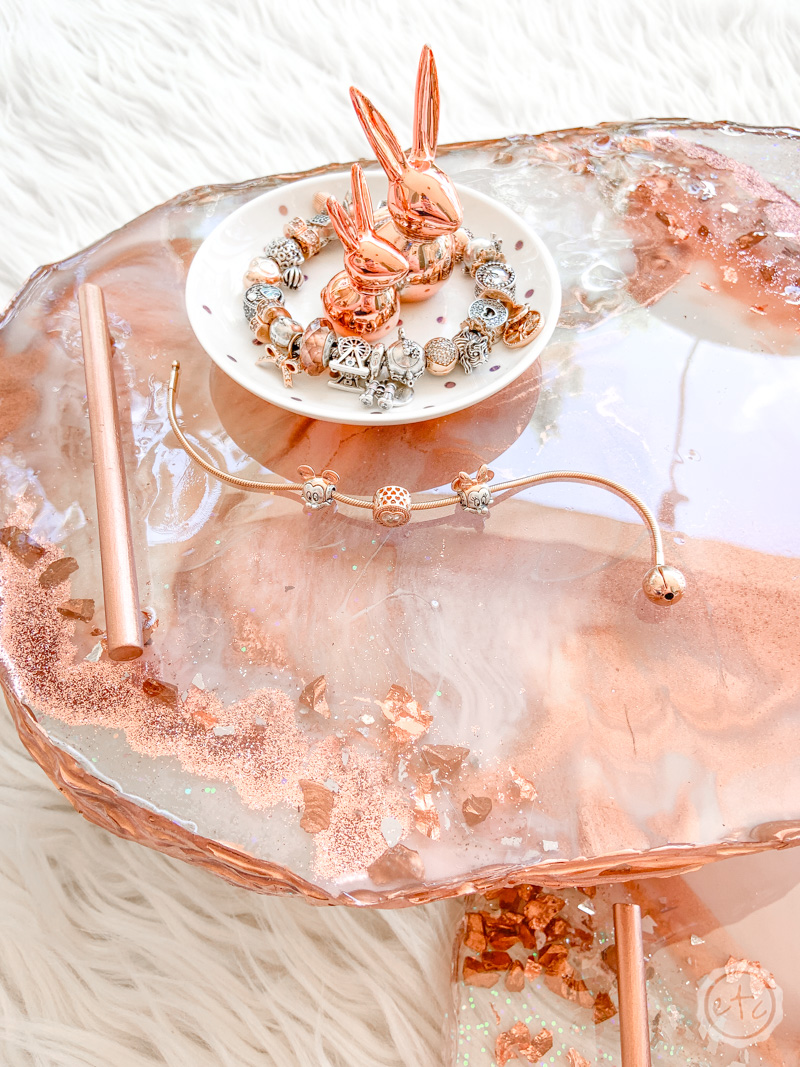


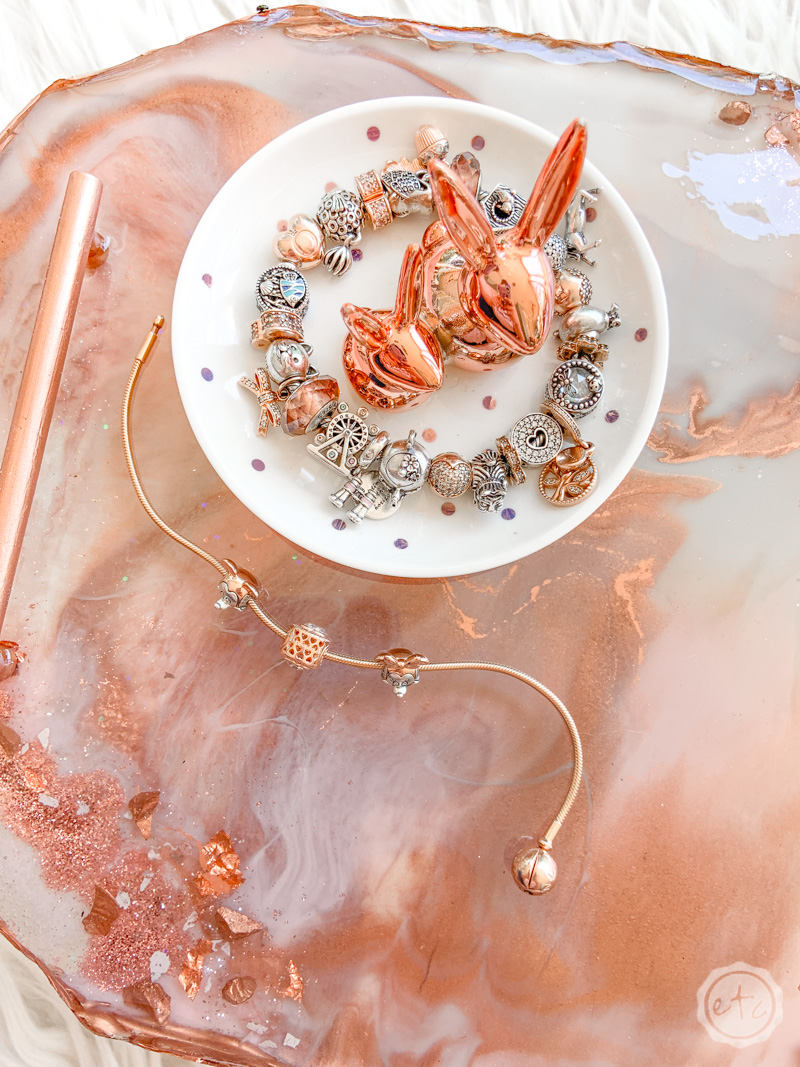
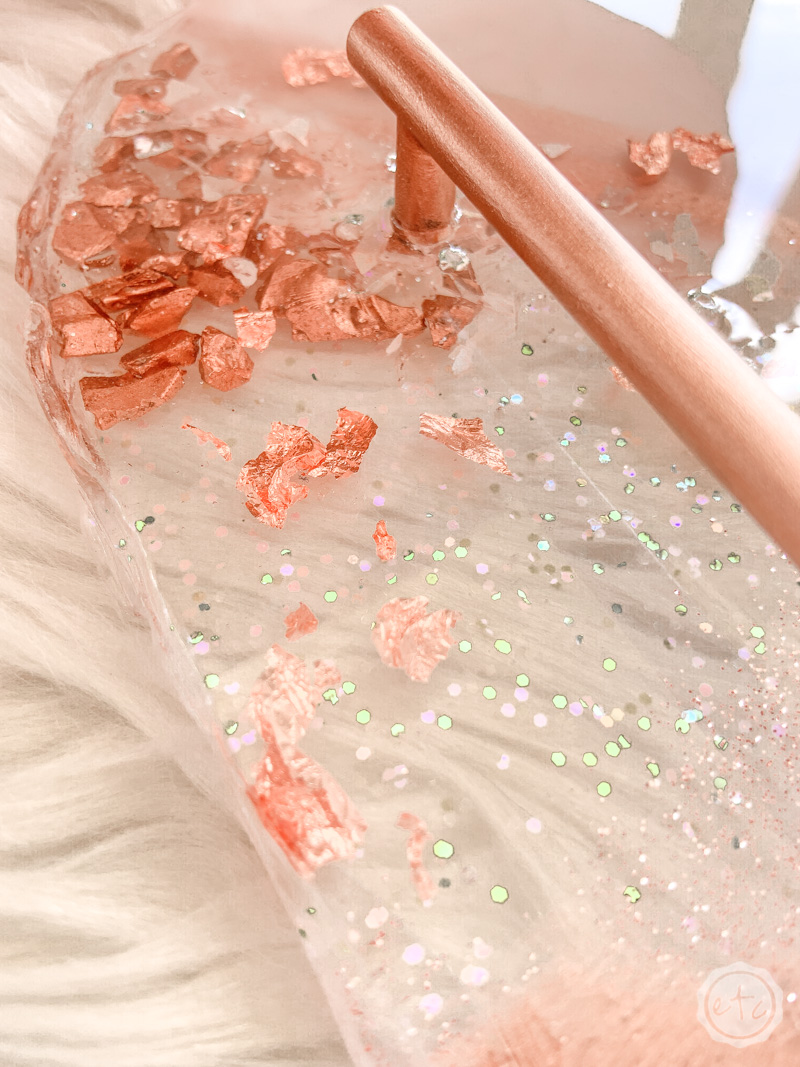
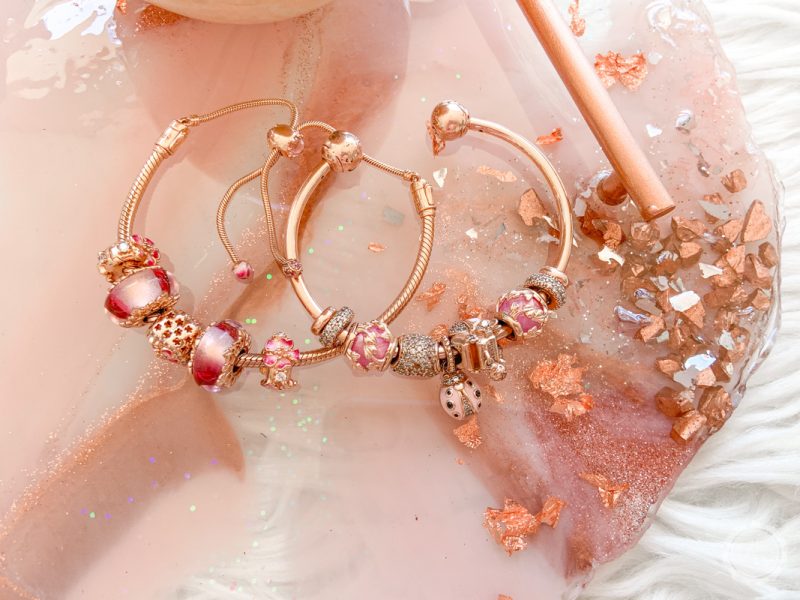
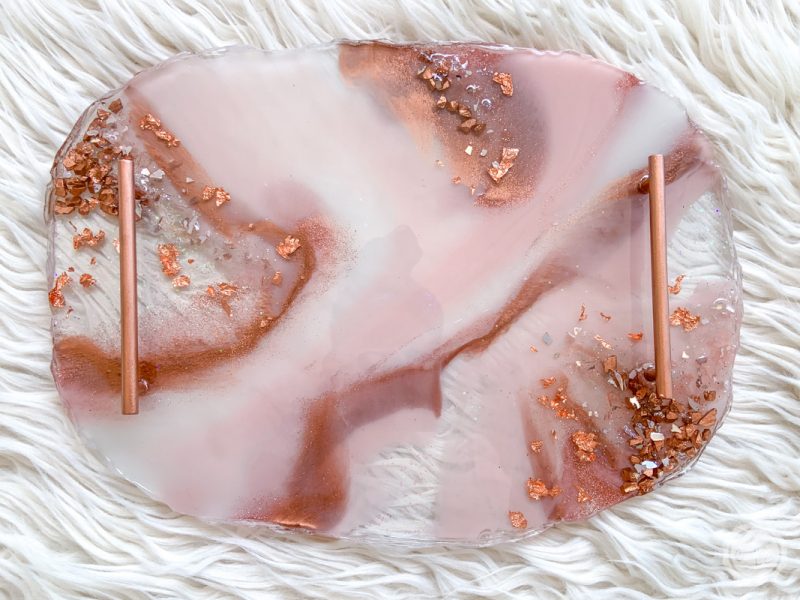
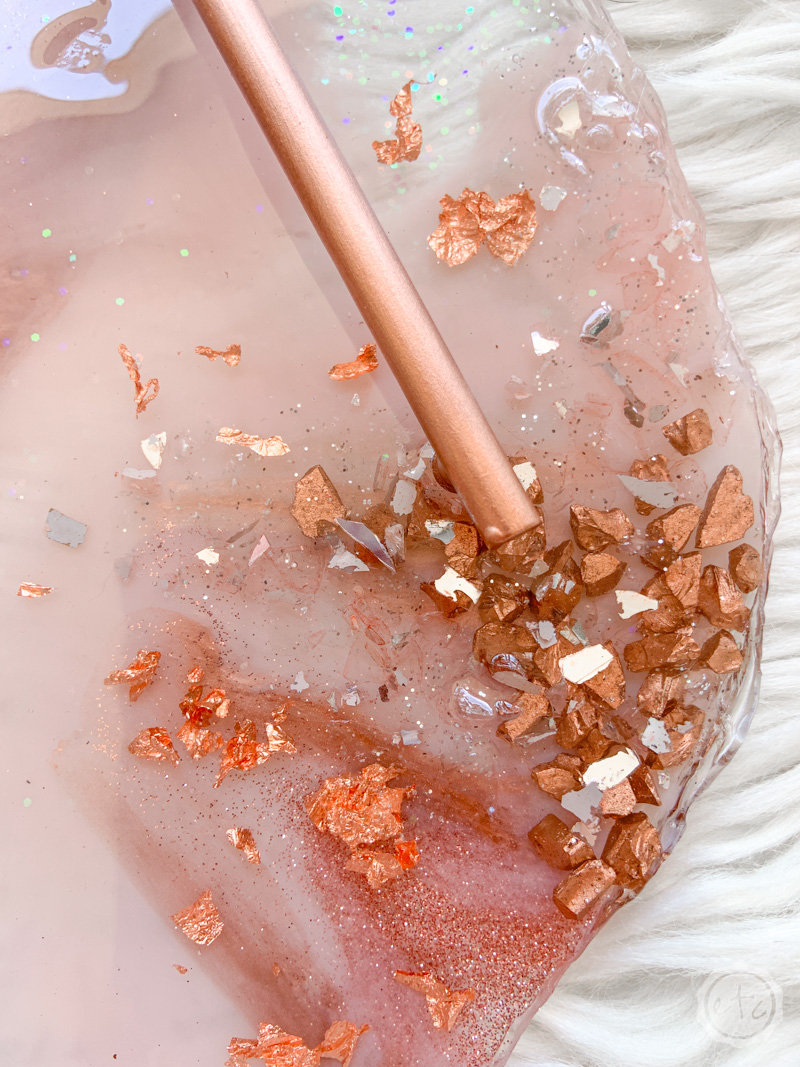
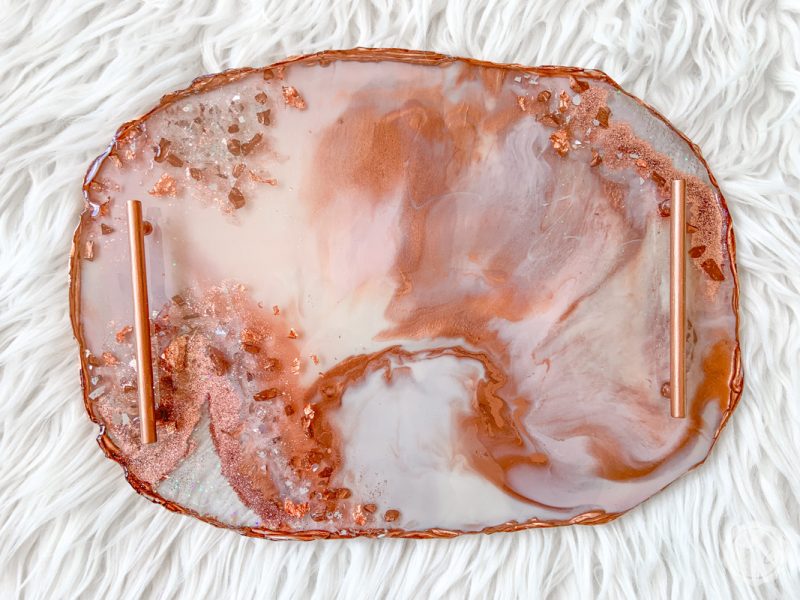
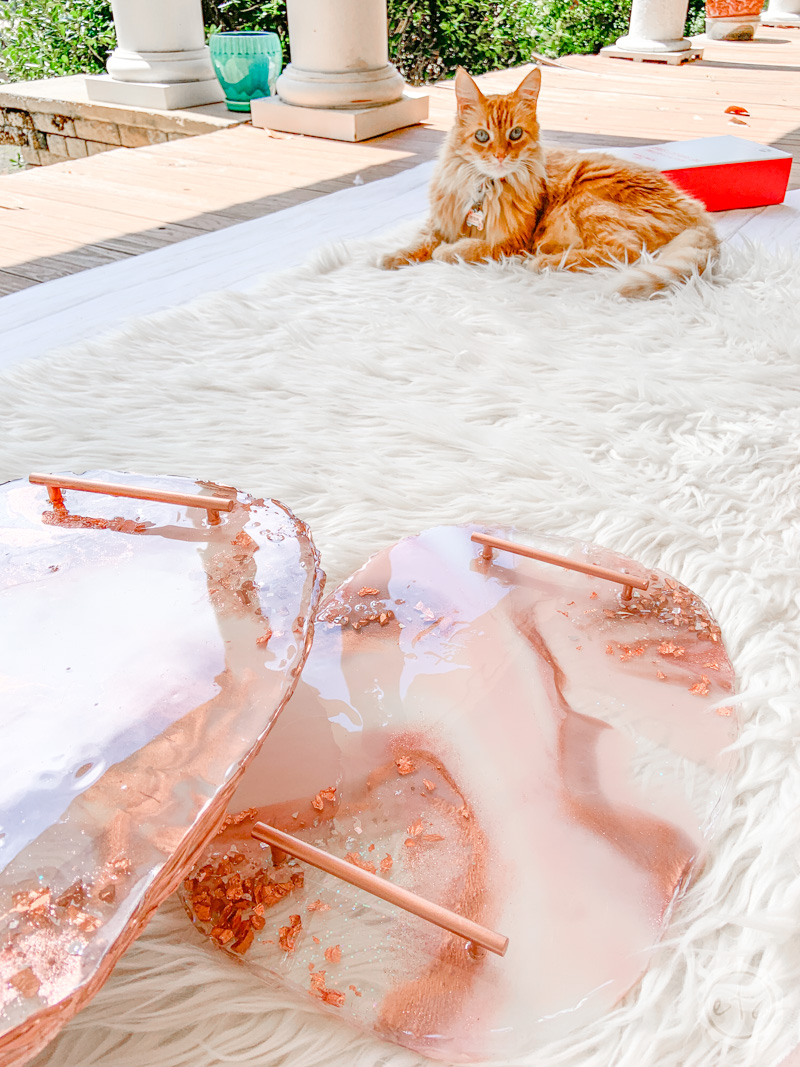
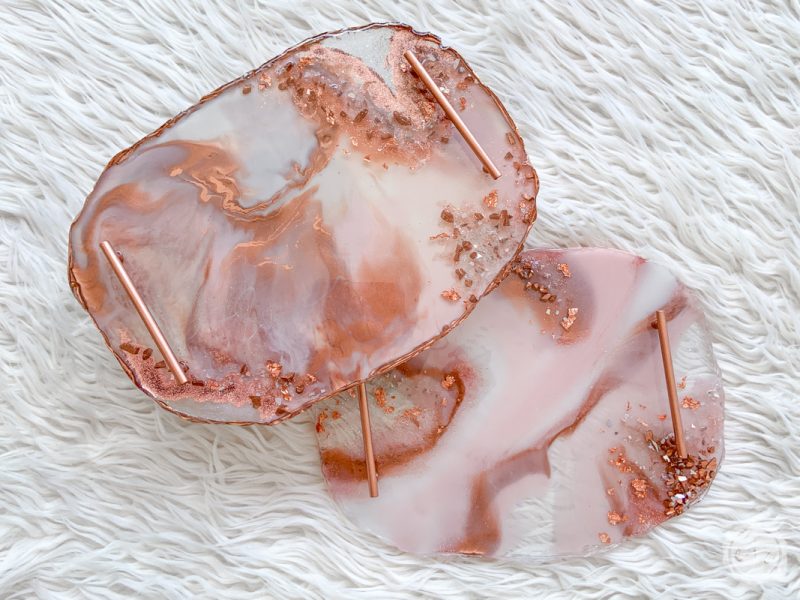
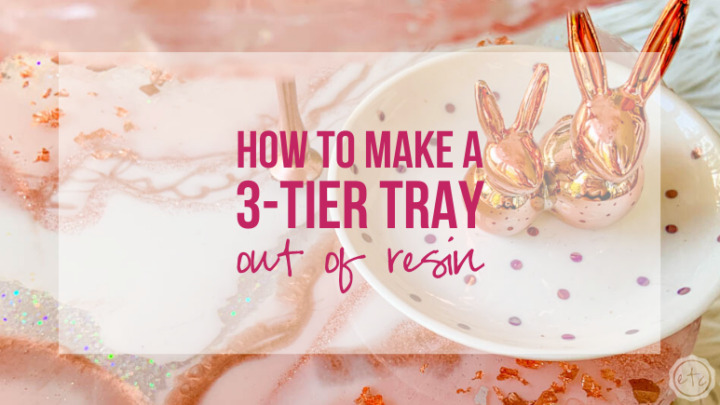
Remember how I said there was a matching 3-tier tray? Just look at how pretty the two pieces are together!
If you want to make this 3-tier tray you can follow my tutorial right here!
Looking for more resin projects? I’ve got you covered!


