
This is a sponsored post for Wagner but all opinions are 100% mine!

Today I have a fun intermediate level resin project for you! A little save the bouquet technique that you can use to preserve flowers from your wedding bouquet, event flowers or even blooms you’ve grown in your yard!
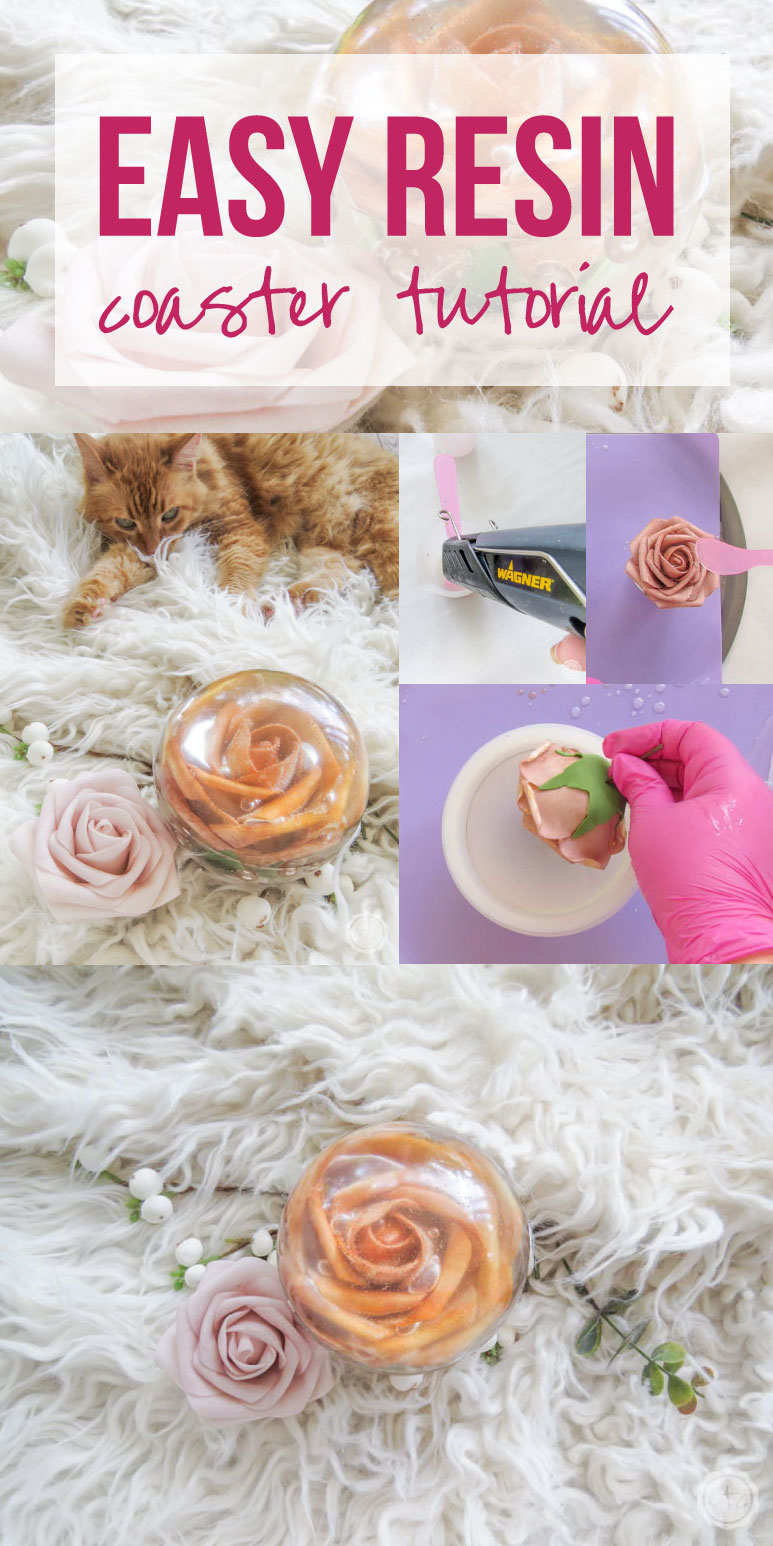
For this project I’m going to be putting a rose from a wedding bouquet into a round sphere mold to create a pretty resin paperweight for my mantle. It’s such a fun decorative piece and I just love how my rose is preserved for all time. Especially since you can only save a bouquet for so long!
In this case my little rose isn’t even real (it’s a foam rose similar to the wooden roses you see) so it works perfectly in resin but you can preserve any type of flower! Keep in mind that when working with real fresh flowers you’ll need to preserve them first… you can dry them naturally or you can use silica gel to help them keep the color and petal shape as close to natural as possible.
Whether working with real flowers or fake remember that resin gets HOT when it cures and can easily burn delicate petals… so you’ll want to cast your piece with as many layers as possible to prevent burning petals. Multiple layers will also help prevent all the little bubbles getting trapped inside the petal layers.
Score!
These two things are the reason I’m calling this project intermediate and not beginner… so as long as you’re aware of them there’s no reason not to jump in! I know all of these steps can be daunting to a first time resin user but they’re very repetitive. So if you’ve never used resin before feel free to try this project. Just be aware that it will go easier if you’ve done other resin pieces first and have a idea for how the resin acts and cures.
Let’s get started!
Supplies:
- Amazing Clear Cast Resin
- Respirator/Mask (resin graded filters)
- Gloves
- Wagner HT400 Heat Gun
- Freezer Paper
- Baking Pan
- Silicone Mat
- Silicone Mixing Stick
- Small Mixing Cups
- Silicone Measuring Cup/Larger Mixing Cups
- Reusable Silicone Stir Sticks
- White Alcohol Ink & Pearl Alcohol Ink
- Flowers from your Bouquet (These are the Foam Flowers I used for my Bouquet)
- Silica Gel if your Flowers are Real
- Pink Pearls
- Glitter
- Round Sphere Mold (4″)
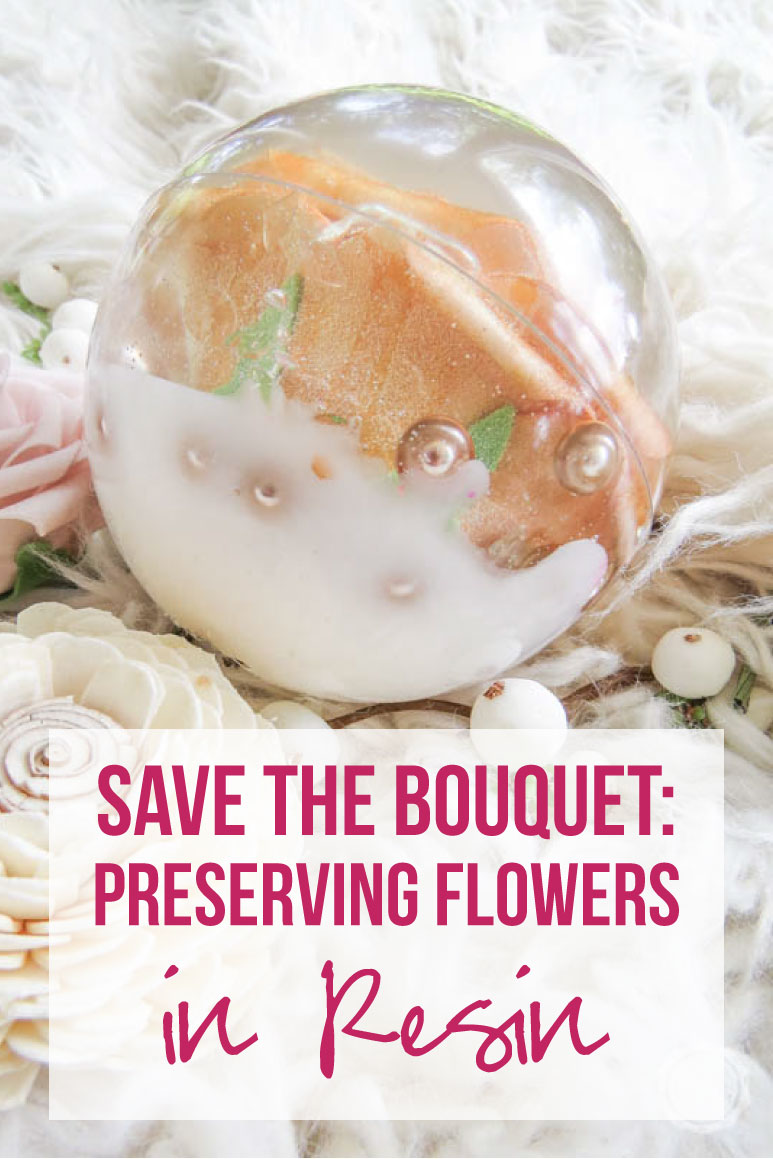
Save the Bouquet: Preserving Flowers in Resin
Getting started with resin? Feeling overwhelmed? I’ve shared every singe item you’ll need to make this specific tray in the supply list below but if you’re just getting started with resin you might be a bit overwhelmed. Don’t worry! Let’s take it back to the beginning. I’ve written an entire post on what to buy to get started with resin post just for you! Then you can jump into Resin 101: Working with resin for Beginners where I’ll answer all of your resin project questions!
Step 1: Prep Your Space
Let’s get everything ready. Resin pouring is very time sensitive (once you start you’re committed… resin puts you on the clock!) so I like to have everything ready before we start mixing resin.
Go ahead and cover your area in freezer paper and set out your baking tray covered in a silicone sheet. If you’ve never read one of my resin posts before this is my go- to set up. I like to work with resin in the space with the most ventilation and least amount of dogs present… my porch. The freezer paper will protect your area and the baking tray lets you easily pick up your project and bring it inside (behind a closed door) to cure.
Perfect!
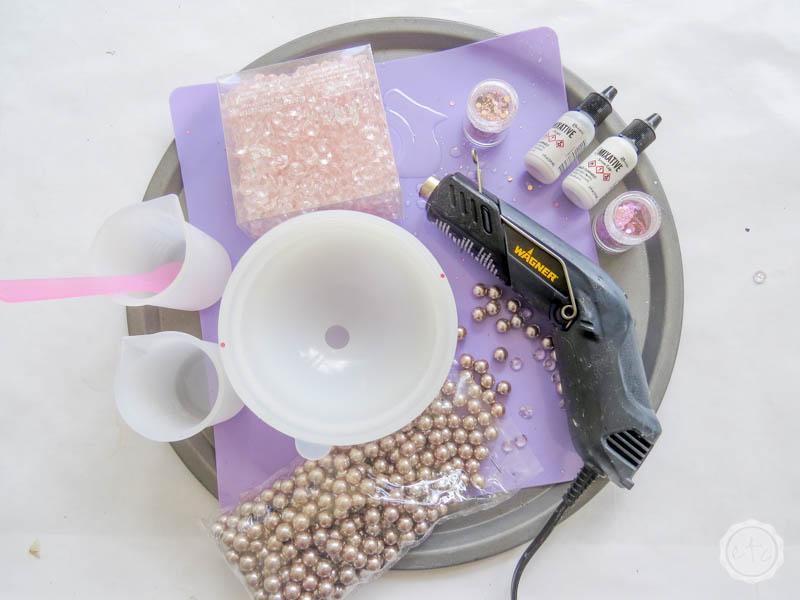
Now set out your mixing cups, your resin, your stir sticks and any inclusions you might want to use. For this little project I’m using larger pink pearls and small pink gems as well as white alcohol ink and glitter for the bottom layer of resin. So I made sure I had all of these things handy.
Even though we won’t need them until layer 1million (okay it’s layer 6 but it feels like 1 million) I like to have everything set up now.
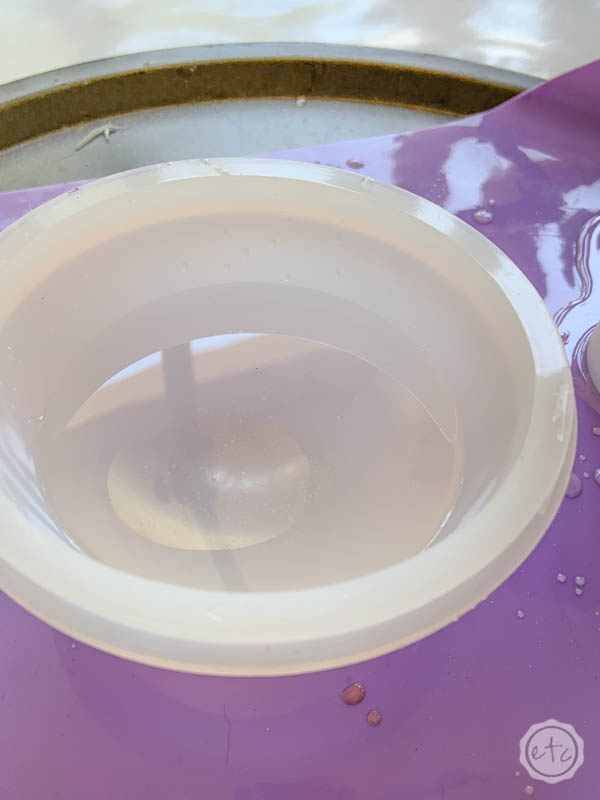
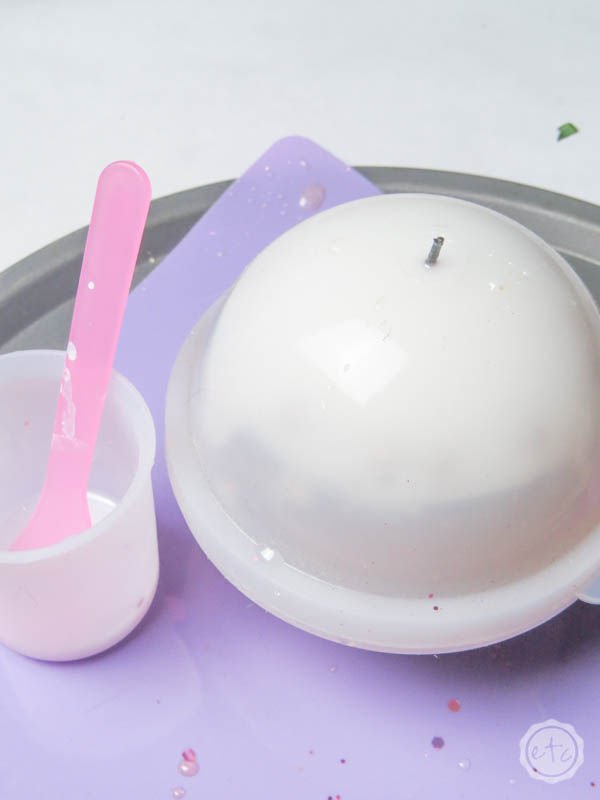
The last step is to set out your sphere mold and make sure it’s clean of dust/yuck/dog hair… use a bit of duck tape to clean it if you see lint on any of the surfaces. Next to the sphere you want to set up your rose on a silicone cup… it can sit on something else but it needs to be something resin won’t stick to while we flood the rose with resin.
Ready to get started?
Put on your respirator and gloves and we’re ready to rock!

Step 2: First Layer of Resin
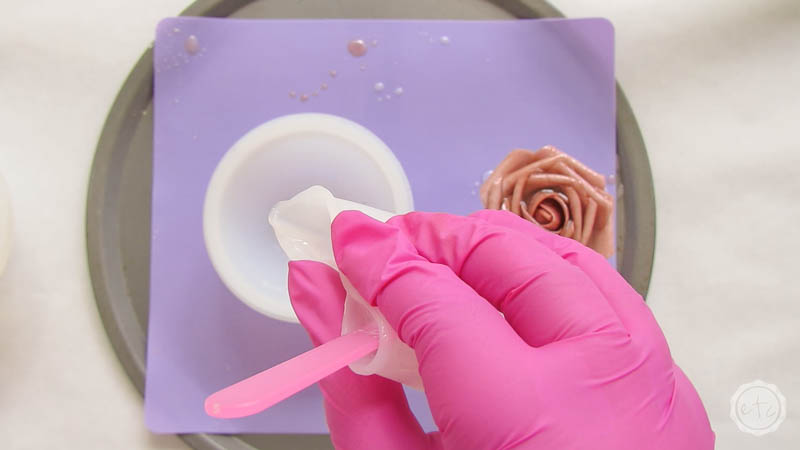
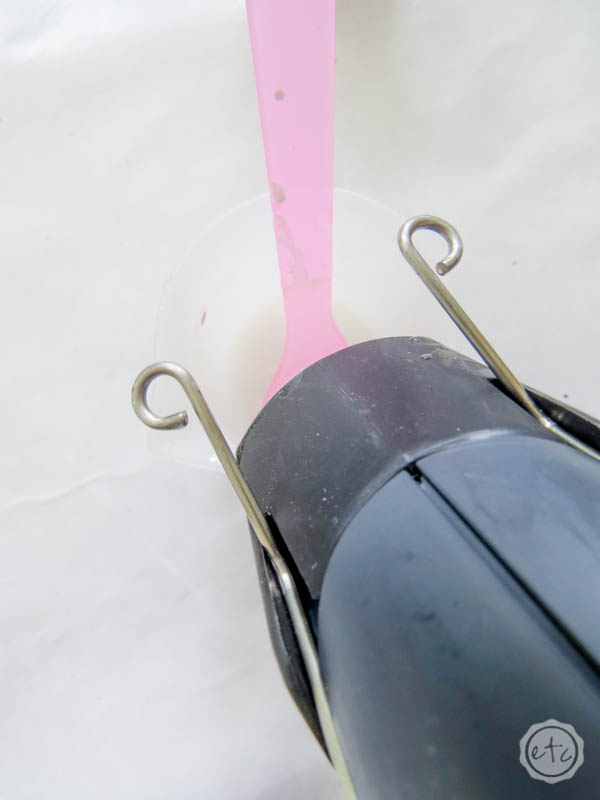
Now it’s time for the first layer of resin! Go ahead and mix 80ml of clear resin in your mixing cup. This will end up being the very top of your piece so you want the least bubbles, most clear resin you can possibly produce!
Stir slowly to avoid making as many bubbles as possible and make sure to grab your heat gun to pop any bubbles you see in the mixing cup.
Once you’re done mixing the resin and it looks as clear as possible we’re going to start by covering our flower with resin. We want to prevent all those tiny bubbles from building up and getting trapped in the spaces between the petals.
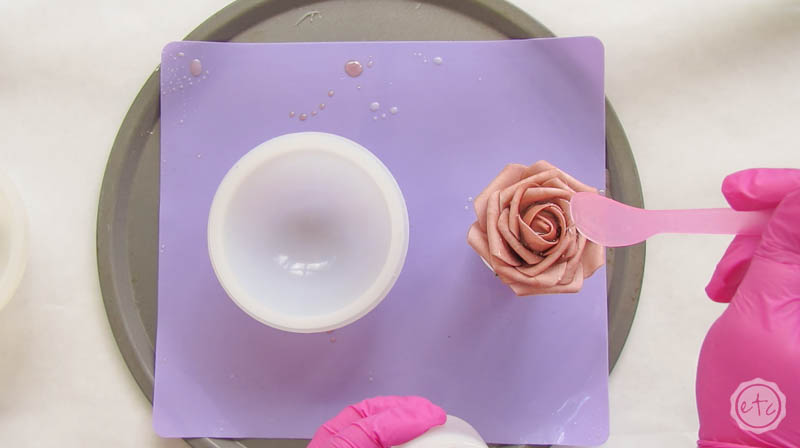
You can pour directly onto your flower but the thinner the resin stream is the fewer bubbles will form so I used my stir stick to gently add resin to each and every nook and cranny between the flowers petals. Once you’ve filled the inside and coated the petals you can fill up the flowers empty spaces so that resin fills as much of the flower as possible.
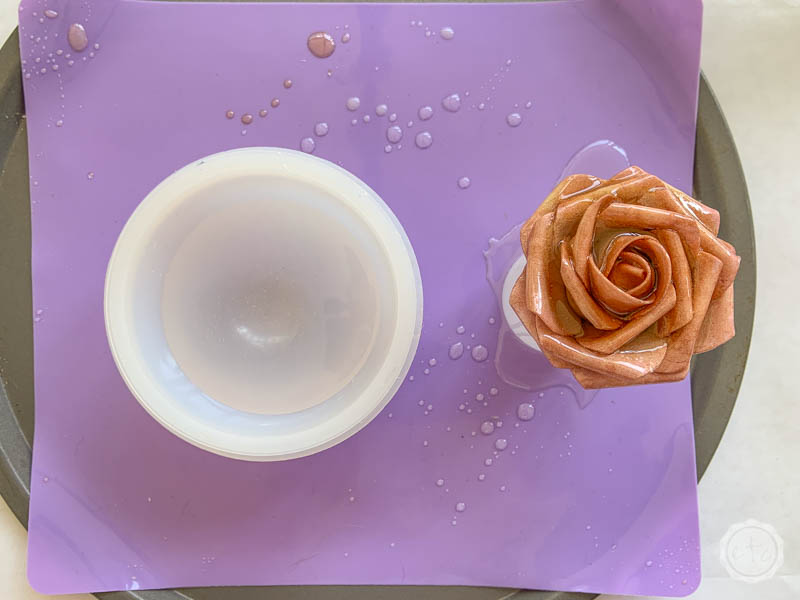
The flower will absorb some of this resin and some will drip down so we’ll top the flower off with the next layer.
Once your flower is flooded with resin go ahead and put the rest of the resin into your sphere mold. You’ll want to pour the resin in a thin stream from high up to reduce the amount of bubbles as much as possible. Then grab your heat gun and pop any surface bubbles you can see!
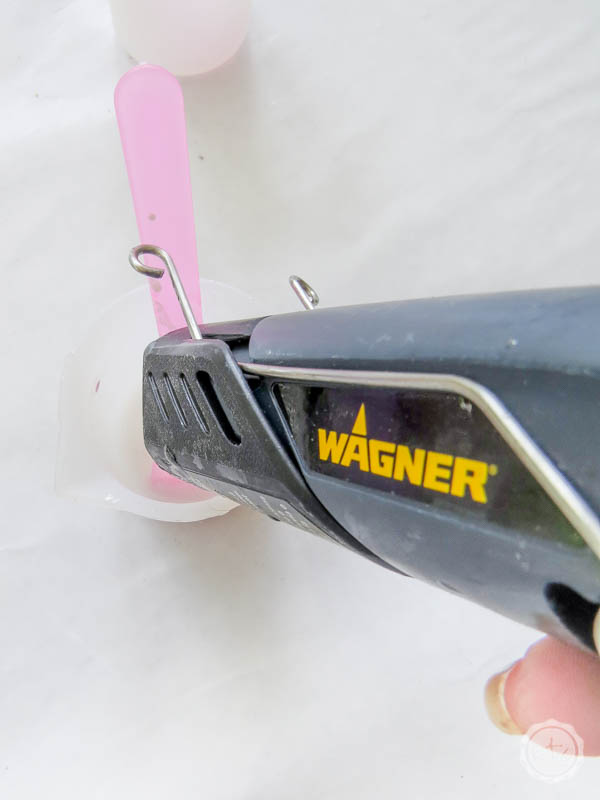
I often get asked if you can use a torch to pop bubbles in a silicone mold like this and the answer is yes BUT you risk melting your silicone mold because the torch is to hot. My little Wagner HT400 is my go-to heat gun since it pops bubbles but doesn’t melt my silicone mold!
Once you’ve popped any bubbles within the mold you can use your heat gun to pop any bubbles in the flowers resin as well… but use quick passes over the flower and don’t hit any one spot of the flower for long. You don’t want the heat gun to burn your petals.
And if a heat gun can burn petals imagine what a torch would do!
Once you’ve popped all the bubbles go ahead and leave your pieces to cure for about 2-3 hours (2 hours if it’s a hot day, 3 if it’s humid). Then we’ll come back for the next layer.
Step 2: Add a Second Layer of Resin
Ready for the repetitive part?
For the second layer of resin we’re doing the exact same process as layer 1. Mix 80ml of resin and use your heat gun to remove as many bubbles in the silicone cup as possible.
Then use your stir stick to flood any spaces on your flower that still need resin. You want as many pockets to be full of resin as possible so that they don’t trap air on the next step!
Now add the remaining resin to the mold and pop any bubbles within the mold and the flower.
If I was doing this project again I would add about 5 pearls and 5 gems to this layer of the sphere mold… so that there are a few scattered above the rose. Add them around the edges and they should look suspended above the flower!
Now it’s time for the cure… 2-3 hours and then we’ll actually add the rose to the mold!
Step 3: Add a Third Layer of Resin and your Rose
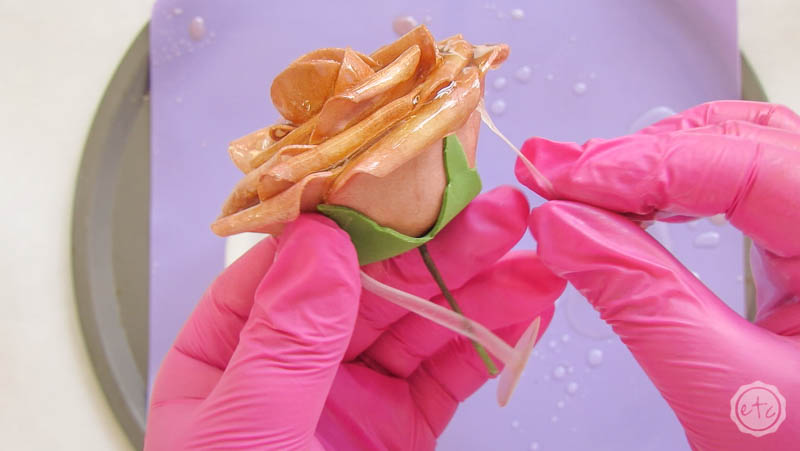
Now we get to add our flower! Start by picking up your flower (with gloves on!!) and peeling any resin drips off the bottom that don’t belong. Once you have your rose ready to go set it aside and mix another 80ml of resin… pop any bubbles in the cup and then pour it into the mold.
Once you have all 80ml of resin in the mold go ahead and pop any new bubbles in the mold… now we’re ready to add our flower.
I left the stem on my rose so that I had something to hold onto and to keep it straight in the mold… if you have a stemless rose that’s okay but you’ll have a harder time holding it upside down.
Just be careful not to drop it!
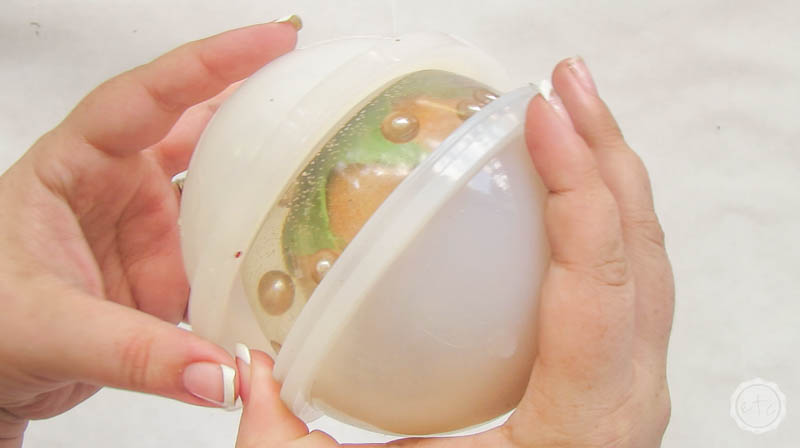
You want to lower your rose into the resin at a 45 degree angle slowly so that the resin can fill every single pocket of the rose. Otherwise you’ll have large air bubbles trapped under the rose. I went slowly and still had a few air bubbles along the way so if this bothers you really watch how the rose enters the resin and be careful that the resin is filling all the pockets of air.
I think the air bubbles look like water drops on the petal so I wanted a few!
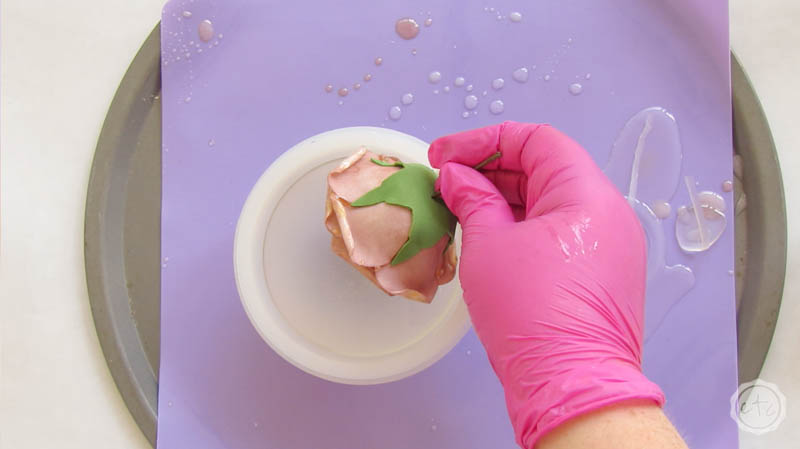
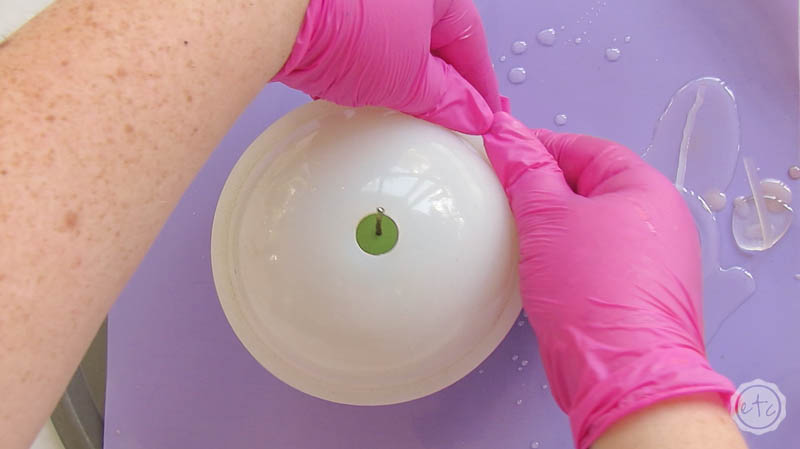
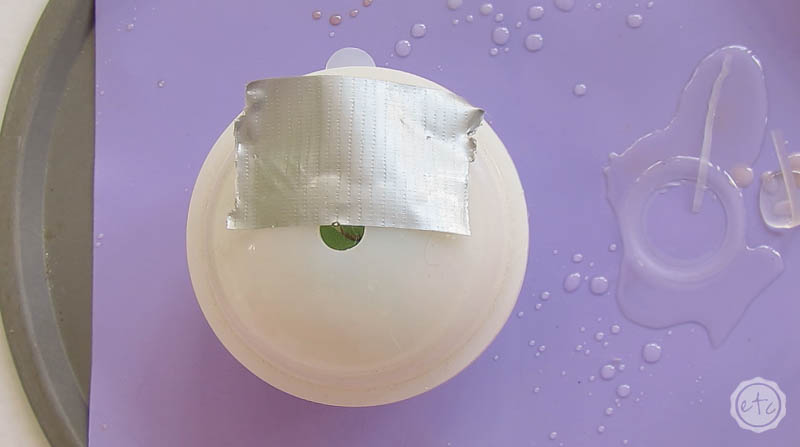
Once the rose is fully inside the resin go ahead and add the top of your mold (make sure it’s lint free first!). Snap the two sides of the mold together with the stem of the rose coming out the top opening.
My rose wanted to lean to one side so the opening helped hold the rose up straight and in place… I even added a bit of duck tape to the top to really keep the rose where I wanted it.
At this point go ahead and mix an additional 80ml of clear resin and pour it into the mold. Once the lid is on the mold you can’t pop any bubbles once the resin is poured so make sure you really pop the bubbles in the cup as much as possible.
Now add about 8 pearls and 8 gems to the mold (making sure to not place them all in one spot but scatter them around the mold) and leave everything to cure for 2-3 hours. Since we added 2 cups of resin (160ml of resin) to this layer it will have the biggest chance of burning but I didn’t have any problems.
If it makes you nervous you can wait in between adding the lid and pouring the second cup of 80ml for safety.
Step 4: Add Layer 4 & 5 of Resin
Alright y’all so now we’re at the repetitive part of the process. For layer 4 & 5 we’re going to add 80ml of resin, making sure to pop all the bubbles in the cup, pour slowly into the opening and wait 2-3 hours to cure!
That’s it! The only difference is that for layer 4 I added about 10 pearls and gems and for layer 5 I added more.
What you have to understand about resin and inclusions is that in new, freshly poured resin inclusions (like pearls and gems) sink. They sink to the bottom of the container or resin layer. Which is fine when we’re building small layers.
But layer 5 is the last one before we add our colored base layer. So layer 5 is special.
In this case I added about 10 pearls and 10 gems to layer 5 right after I poured the resin. These pearls/gems will sink to the bottom of layer 5. Then I waited about 20 minutes… which is just long enough for the resin to be tacky but not cured. Then I came back and added a bunch of pearls and gems. Like 30 of each.
These will hit the tacky resin and start to sink in but won’t sink all the way to the bottom of the layer. So they’ll be suspended in the resin at different points. Which is beautiful darling!
Once you’ve added alllllllllll the pearls let everything cure for 2-3 hours before moving on to the final layer!
Step 5: Add Layer 6 (the FINAL LAYER) of Resin
Are you ready to be DONE adding 80ml layers of resin to this piece?! With 6 layers and a 2-3 hour wait between each layer this is a time consuming project… I literally poured the last layer at 10pm at night.
Oh well… resin projects take a while but they’re WORTH IT!
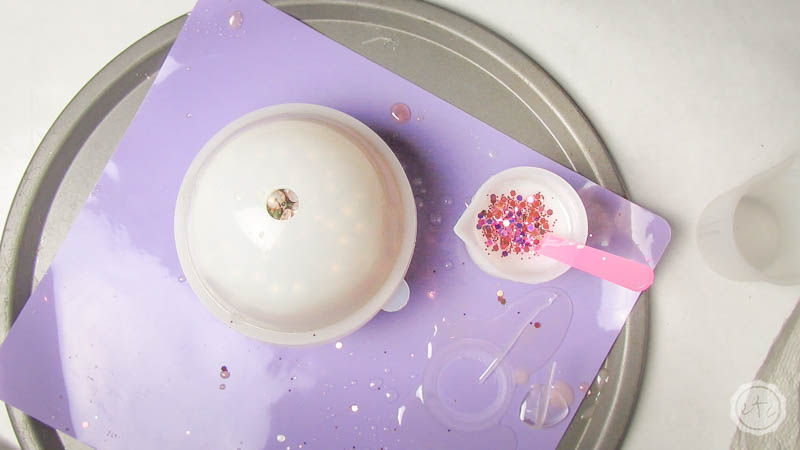
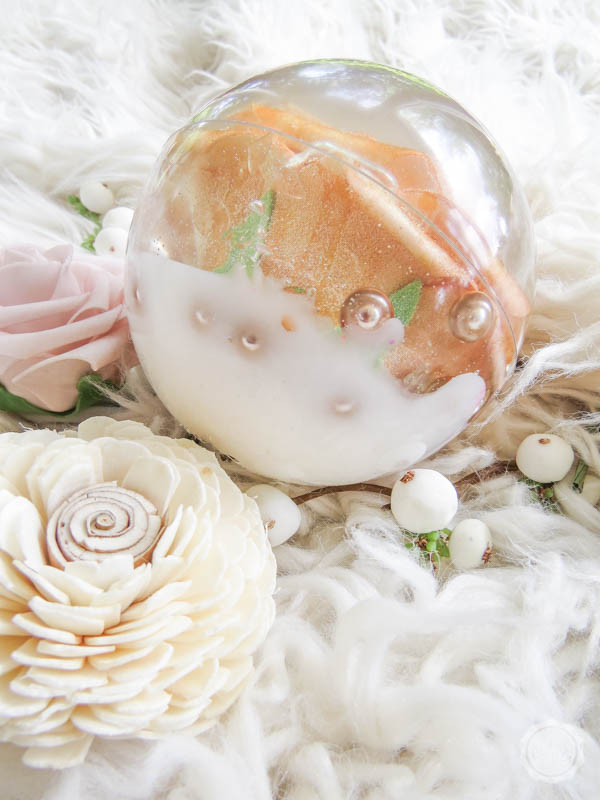
For this last layer I wanted a little extra coverage so that the rose appeared to sit on a colored base. So I started by adding a bunch of pearls to complete the pearl bed.
Then I mixed 80ml of resin but instead of leaving it clear I added 10 drops of white alcohol ink, 10 drops of pearl alcohol ink and two different colors of glitter.
Just for a little extra sparkle!
Then I popped all the bubbles and poured all 80ml into the mold! I had a little left over in my cup but not much.
One thing to note is that with this final layer when the resin settles it will be a little bit below the top of the mold… so if you want a perfectly spherical piece you’ll need to wait about 20 minutes and then top off the mold with a little more resin.
I wanted my mold to be a little flat on the bottom so it could sit up on it’s own and not need a stand so I left mine how it was.
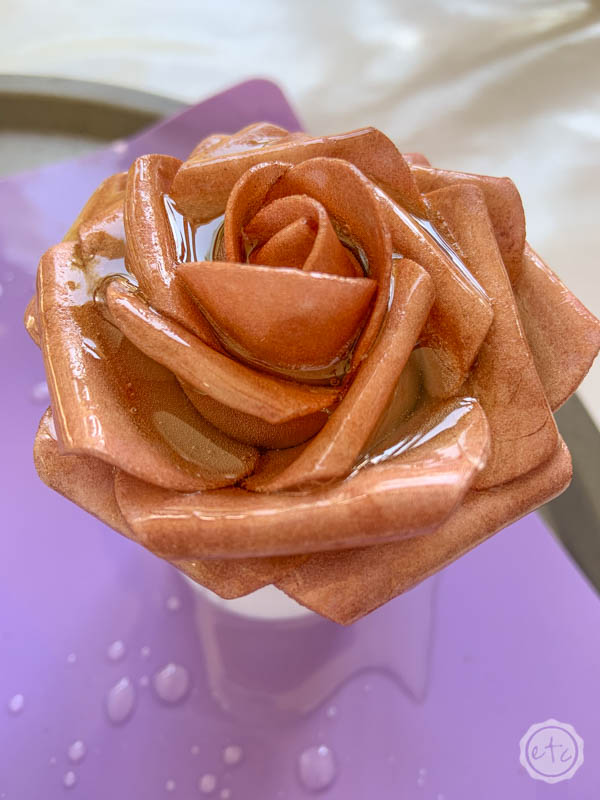
Now that the final pour is done we’re in the home stretch! Leave this baby for about 24 hours to cure and then go ahead and remove the mold.
Volia!
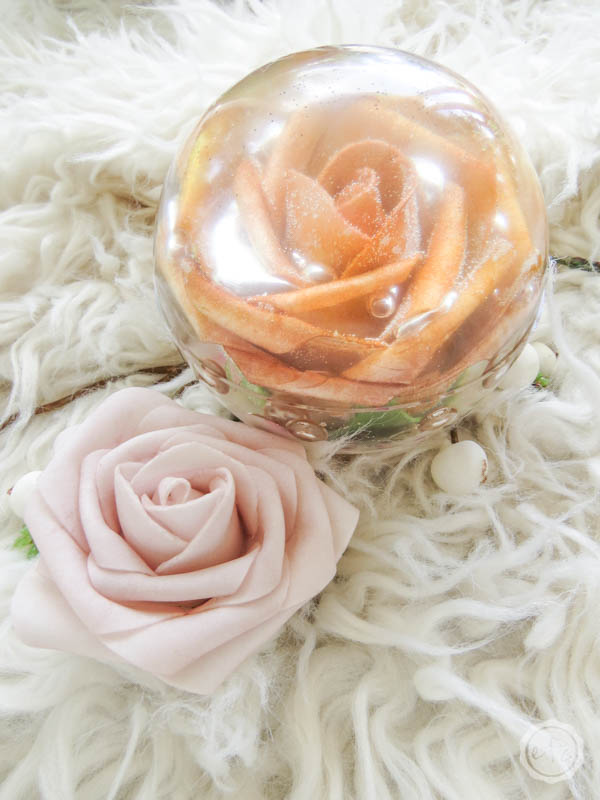
Beautiful darling!

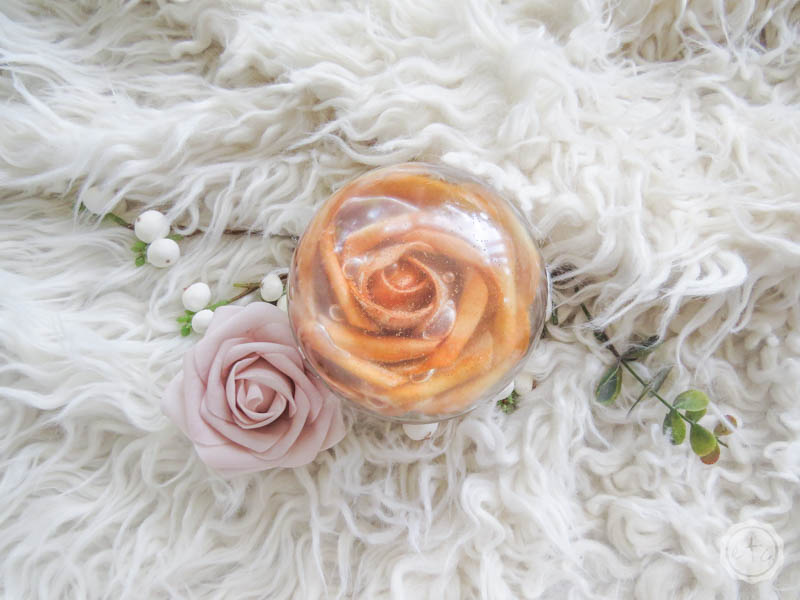
I absolutely love how it turned out! Like I said earlier in the post if I was re-doing this project I would have started adding pearls and gems in layer 2 so that there were some above the rose but other than that I love how this looks!
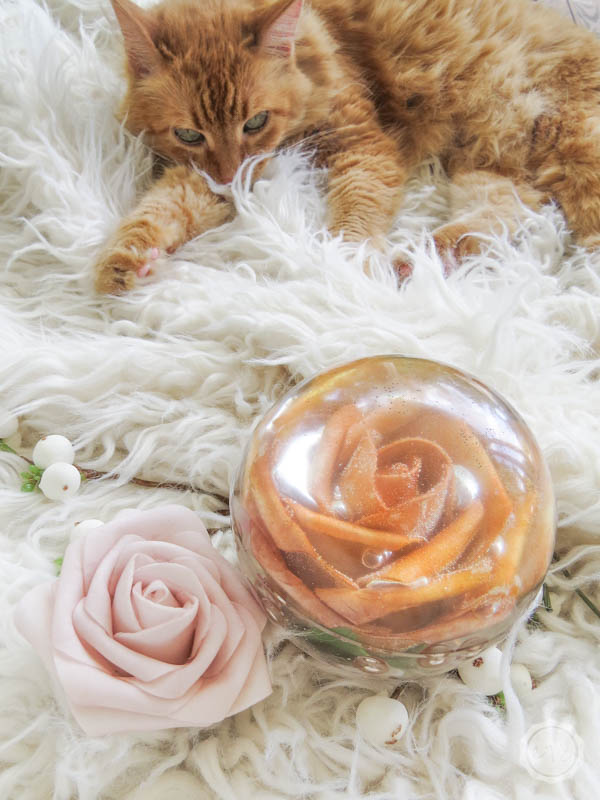
So does Lily… although I think she’s more in love with my fuzzy photographing background.
I would love to make a few more of these in different colors or sizes to complete my bouquet preservation project… I think they would look just beautiful on my mantle!
Looking for more resin projects? I’ve got you covered!


Yes, you can drill into the resin and then add a flood coat to fill in those spots. Just make sure that you’re not drilling into any flowers (only resin) and that the piece is dust free when you pour the new coat of resin.