


Once you’ve started making resin projects you’ll never want to stop… it’s kind of addicting! If you’re here you’ve likely attempted a project or two (maybe you’ve followed my how to mix resin for beginners tutorial) and now you’re ready for the next step.
Layering resin!
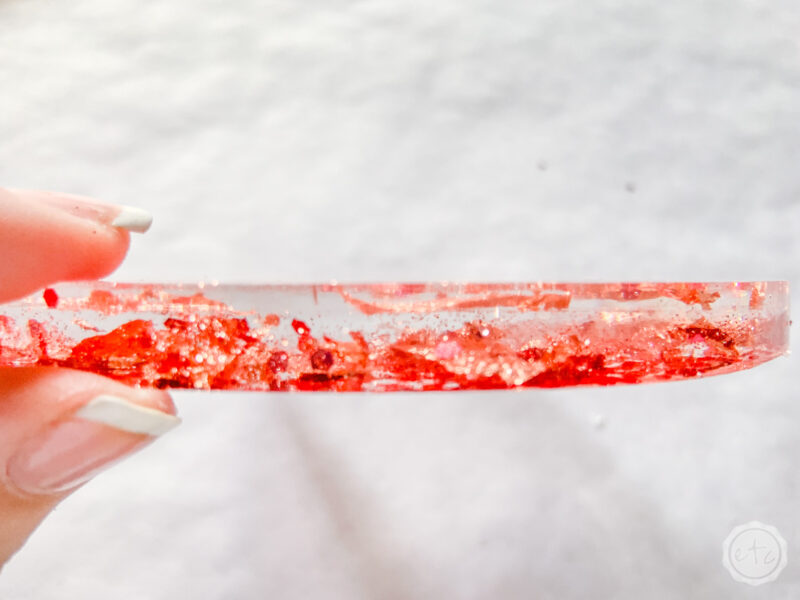
Resin projects can be as simple as one layer of resin or as complicated as a 7 layer cake… with lots of layers! Since resin is clear the concept of layering is truly amazing… since you can trap items between the layers and they can still be seen from above!
Luckily layering resin is very simple… if you’ve learned to pour one layer of resin you’ve pretty much got the concept. The art of layering is really all about timing. Add the layers too close together and they’ll mix… wait to aaaaaannnnnnnd you’ve waited a long time.
There really isn’t a downside to waiting too long other than there are only so many hours in a day to spend waiting.
Let’s get to it.
Supplies:
- Amazing Clear Cast Resin
- Respirator/Mask
- Gloves
- Wagner HT400 Heat Gun
- Silicone Mold (I used these coaster molds for this project)
- Freezer Paper
- Baking Pan
- Small Mixing Cups
- Silicone Measuring Cup/Larger Mixing Cups
- Popsicle Sticks
- Toothpicks
- Plastic Spoons
- Inclusions: Fine Glitter, Chunky Glitter, Rose Gold Flakes
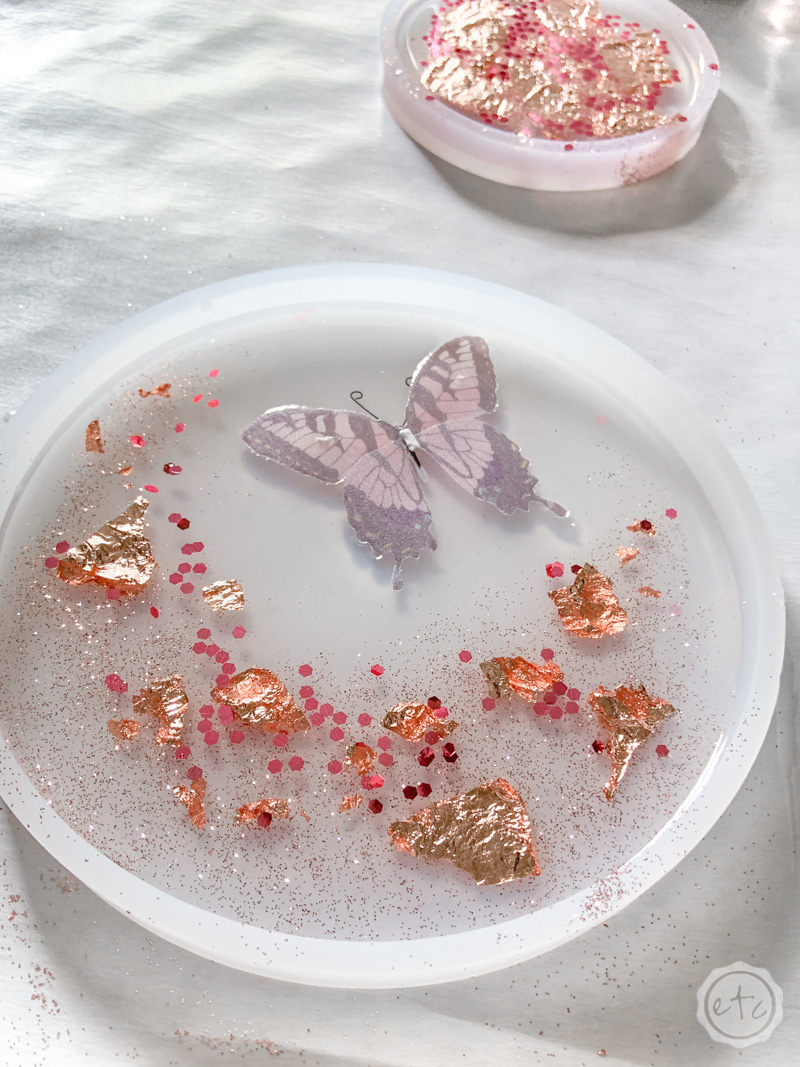
Step 1: Pour Layer 1
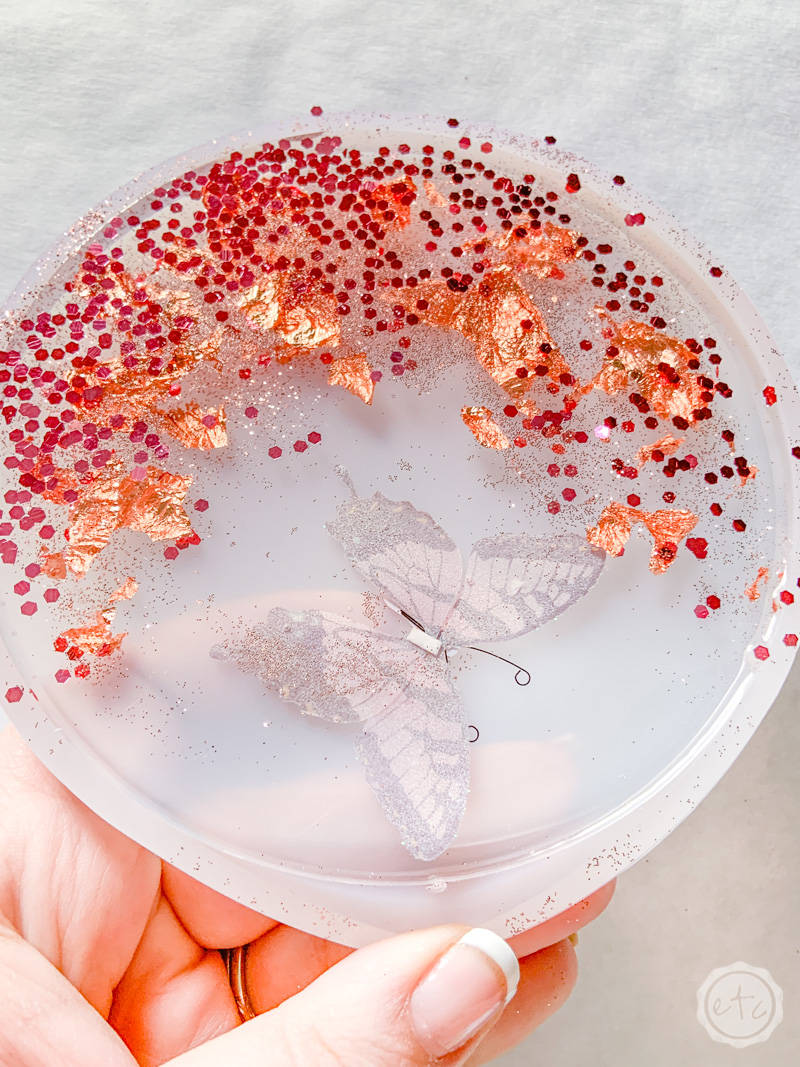
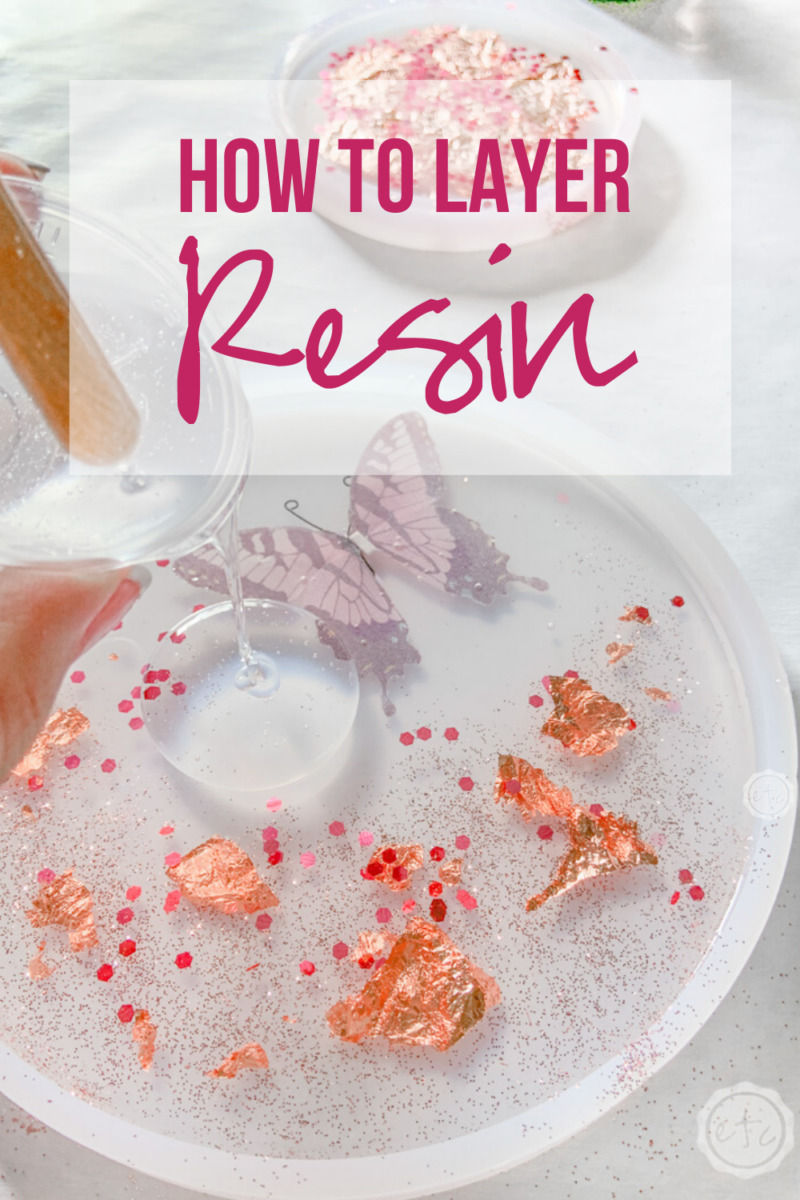
Whether you’re pouring a piece with 2 layers, 3 or 12 the first layer is always the first step. Take note of which side of your mold is the front: sometimes (like with these little coaster molds) the front is actually the inside of the mold… so you’ll want to add your embellishments (or inclusions) so that they’re facing the bottom of the mold.
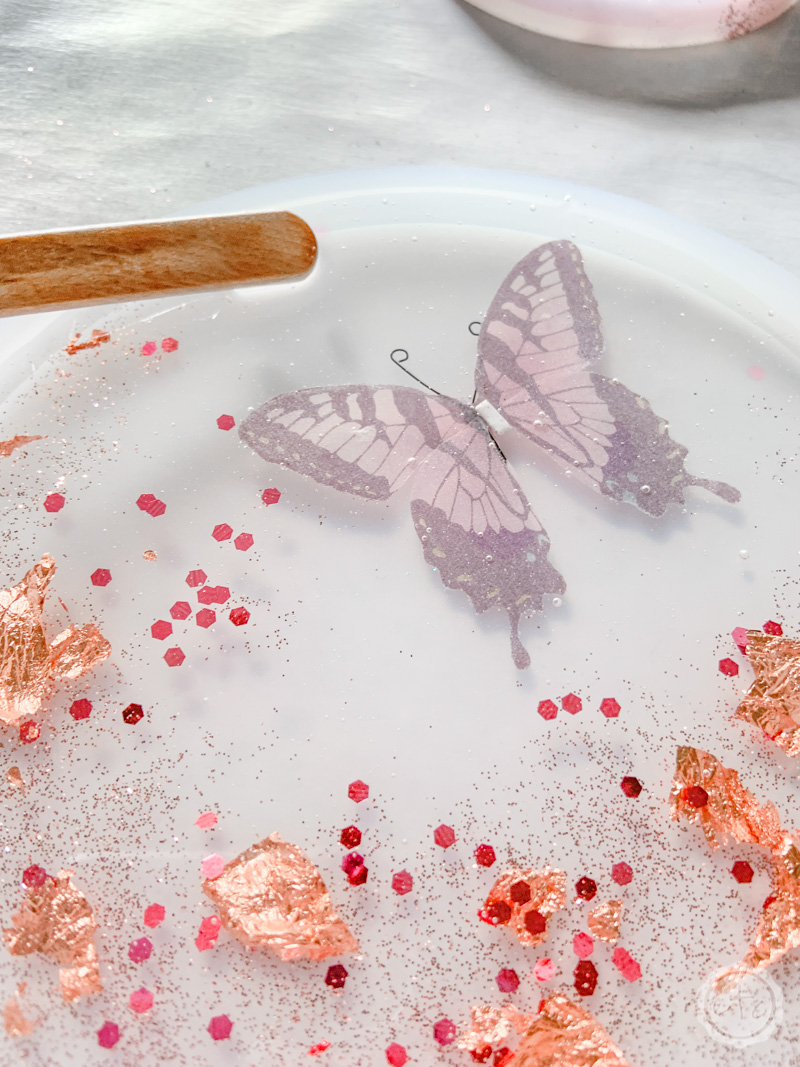
That’s why our little butterfly is face down with the back exposed.
Other molds (like the mold I used for this little tray) are designed so that the front of the piece are at the top (what you see).
All of this just goes to say be aware of which side the front of the mold is and which side is the back.
Regardless of whether your piece is a mixture of clear or solid you want the top layer to be clear enough to see bottom layers… otherwise you won’t be able to see all the layers!
Typically I leave the top layer clear or with just a bit of glitter.
Either way go ahead and pour your first layer of resin and decorate it with a few inclusions. Check out my master list of 25 budget friendly resin inclusions if you need a few ideas.
Once you have the first layer the way you want it leave it to dry. You don’t have to wait for the full cure but you want the first layer to be solid before pouring a second layer… typically that’s 4-5 hours of waiting before you move on to the second step.
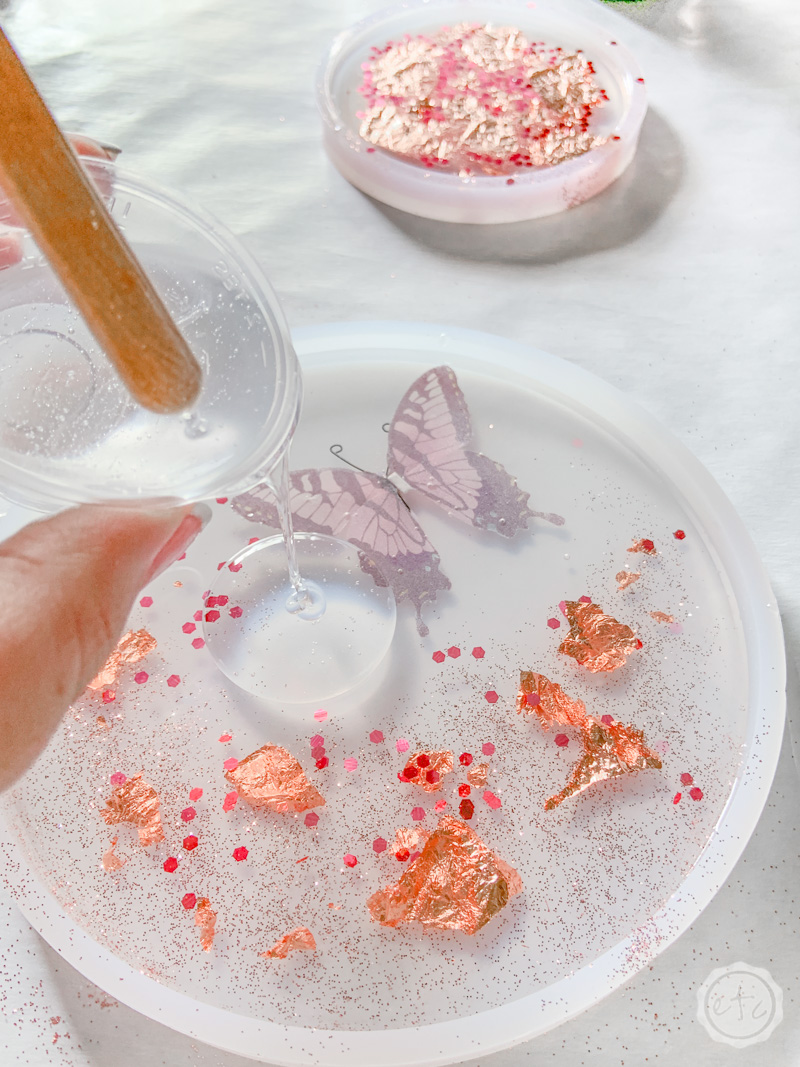
Step 2: Pour Layer 2
Alright now that layer one is dry we can pour our second layer! This is the perfect time to add a little dimension. Typically in a 3 layer piece I’ll do a solid bottom layer, inclusions like tiny rocks, glitter or rose gold leaf in the second layer and a clear layer in the third and top layer.
Although you can mix it up if you like… go crazy!
Once you’ve added everything you like then it’s back to the waiting game. Either 4-5 hours for another layer or 24 hours to cure!
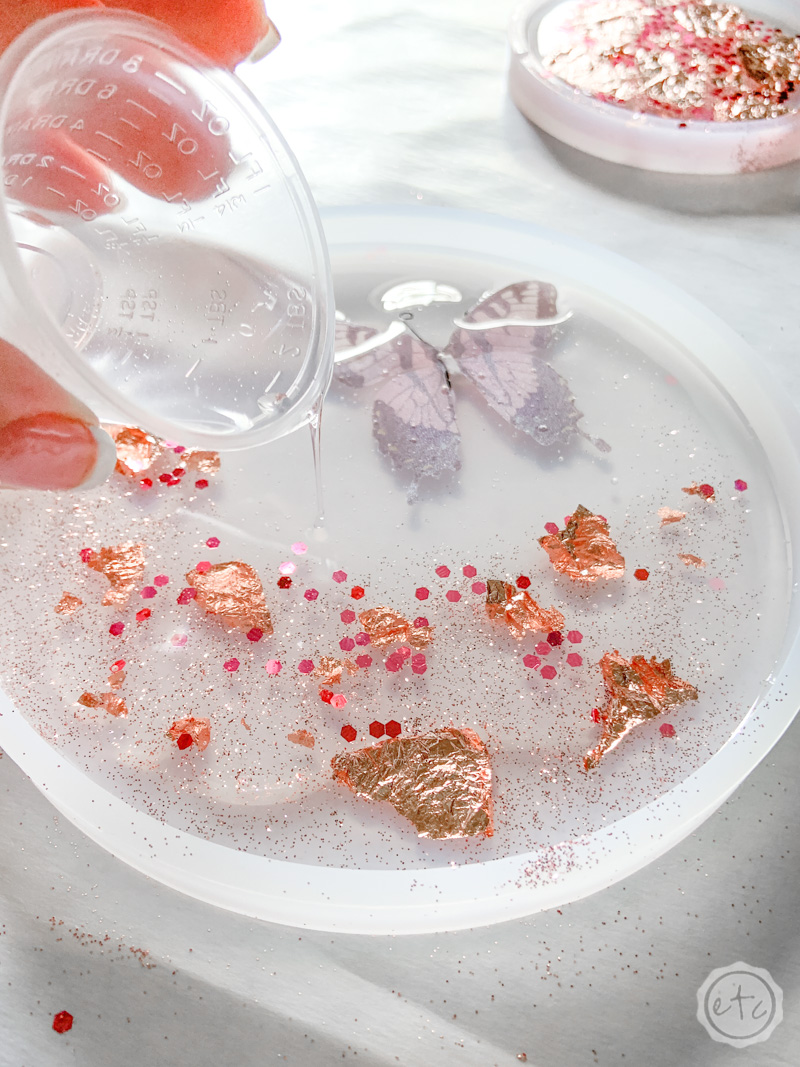
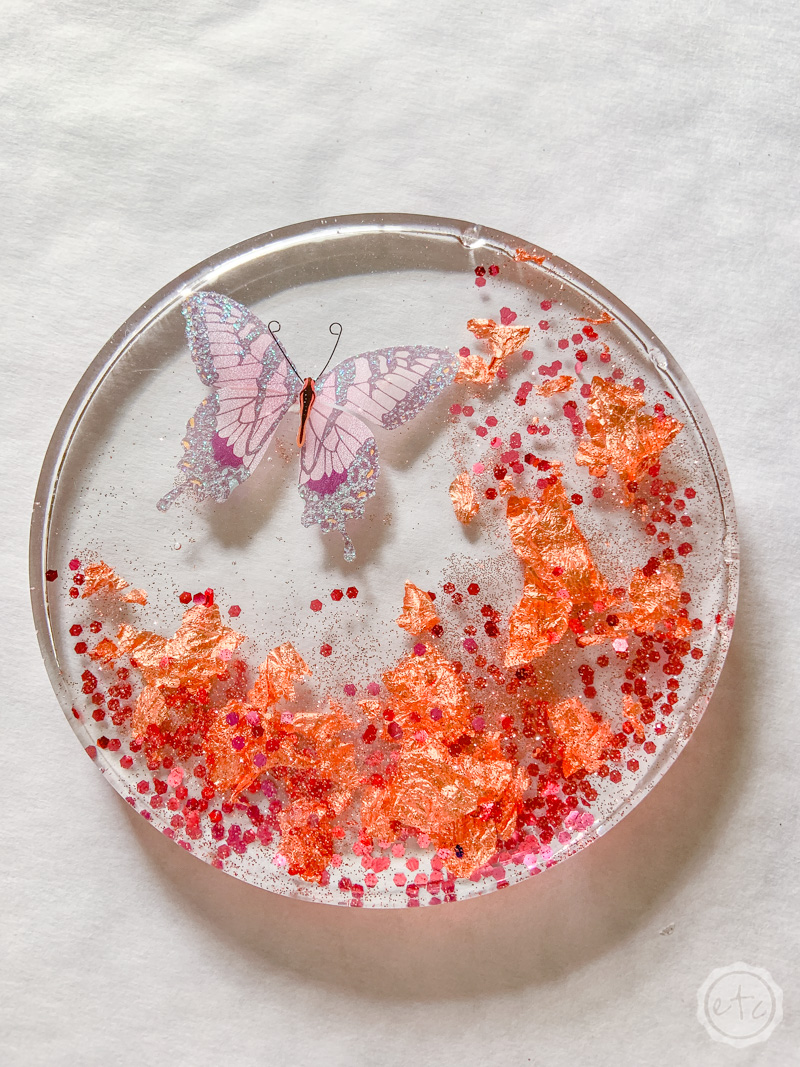
Once your piece is perfect and it’s been curing for an entire day it’s time to demold. You can pop that bad boy out and see all of your pretty layers!
I just love the floating element multiple layers add to a piece… they make it a bit more dimensional. Just take a look at all that pretty rose gold leaf… the different layers are so pretty!


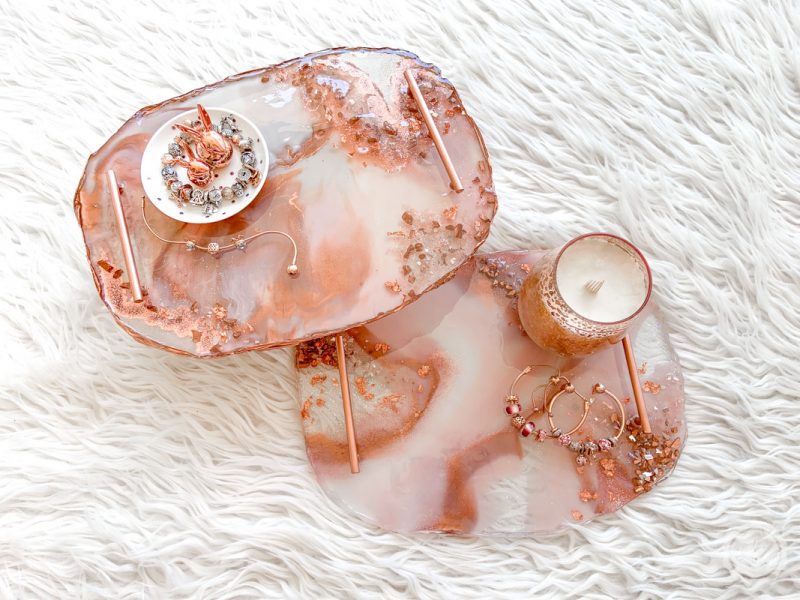
Ready to tackle a bigger project? This rose gold and blush inspired geode tray looks fancy but it’s really just 3 layers of resin in a DIY silicone mold. I’ll walk you through making one of your own in this step by step tutorial! Use your own colors to personalize it and make it fit your own decor style.

Looking for more resin projects? I’ve got you covered!


