


Ready to make a few waves? Resin waves are an easy project that look amazing… and you can use this technique on just about anything! I’ll be showing you how to make waves on an antique window (which leaves you with a see-through stained glass kind of effect!) but they look amazing on a piece of wooden mdf as a wall art or even on a tiny sea shell as an art piece.
It’s the technique we’re learning today but you can apply it to so many projects! The possibilities are endless!
At least that’s how I feel when I learn a new technique… I just want to put waves. on. everything.
I think I’ll tackle an ocean wave tray next…
In the meantime let’s get started.
Supplies:
- Amazing Clear Cast Resin
- Respirator/Mask (resin graded filters)
- Gloves
- Wagner HT400 Heat Gun
- Furno 750 Heat Gun
- Antique Window or Base
- Freezer Paper
- Silicone Mat
- Baking Pan
- Small Mixing Cups
- Silicone Measuring Cup/Larger Mixing Cups
- Reusable Silicone Stir Sticks
- Disposable Medicine Cups
- Popsicle Sticks
- Small Starfish
- Small Coral Pieces
- Small Shells
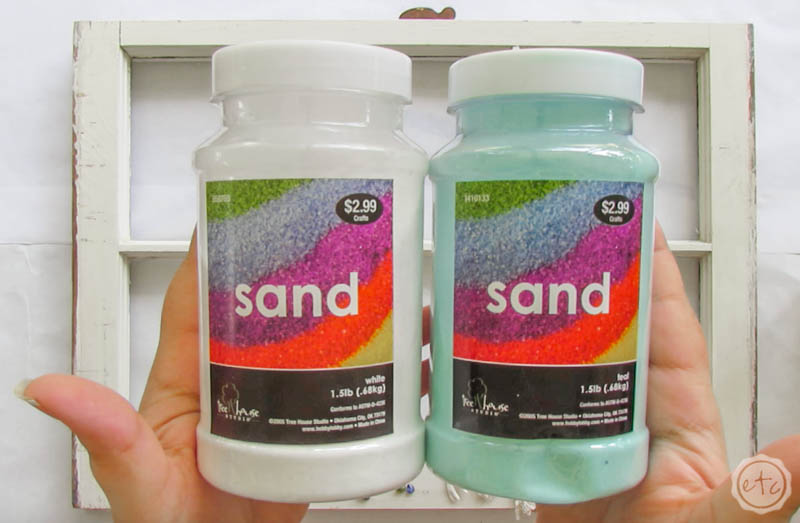
- White Sand
- Teal Paint
- Navy Paint
- White Alcohol Ink
- Pearl Alcohol Ink
How to Create Ocean Waves with Resin
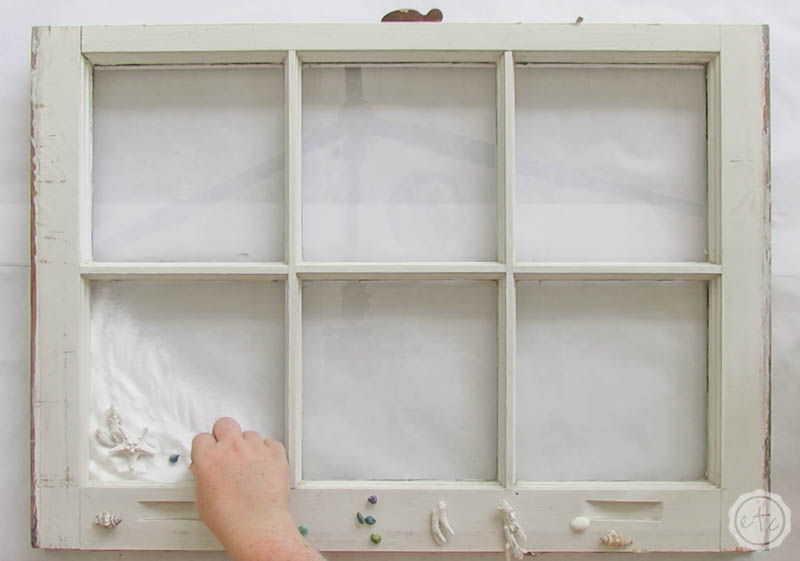
Step 1: Add Sand
Since this is an ocean wave tutorial it makes sense that we need a little sand in our piece! For this particular window I’ll be adding sand in the bottom left corner and the waves will be going up and to the right… but you can easily add sand straight along the bottom or even in the middle as a little island.
The important factor is to plan out your piece first so that you can start in the right place!
For me, that’s the bottom left corner. In order to *ahem* not spill sand everywhere (which I may or may not have done before) I filled the top of the sand bottle and then poured the sand onto my piece.
In order to make the “water” as lifelike as possible we’ll have a gradient of teals and blues for the waves. We’ll start with clear over the sand and then go to a light teal, then a darker teal, and finally to a navy. That means the sand needs to go fairly far up the beach, under the clear water into the light teal area.
Which basically means I poured quite a bit of sand at the bottom and then gradually tapered it off about halfway up the window pane.
Then I added a sprinkling of the teal sand as a cute touch to tie in the teal of the waves… but after adding the resin the teal sand wasn’t really visible. So if you want the teal sand to stick around you’ll need to add more than I did… just a heads up.


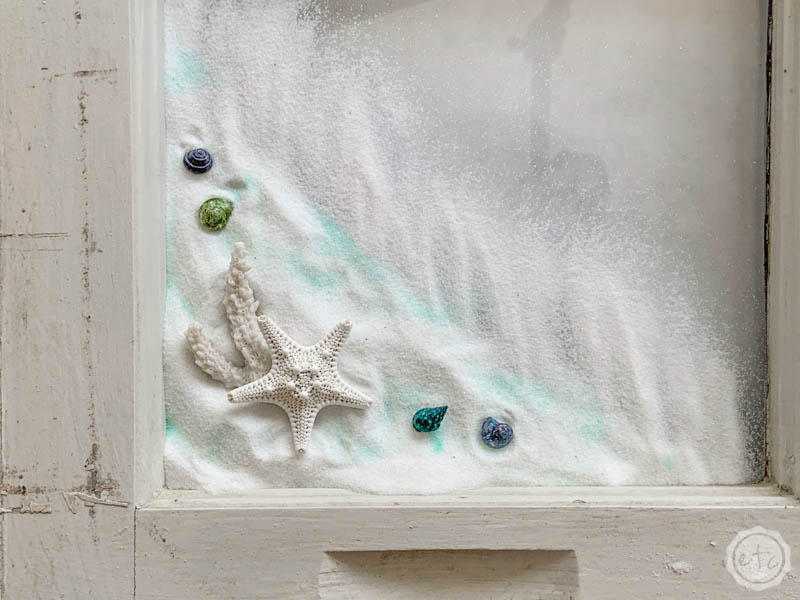
Step 2: Arrange your Shells
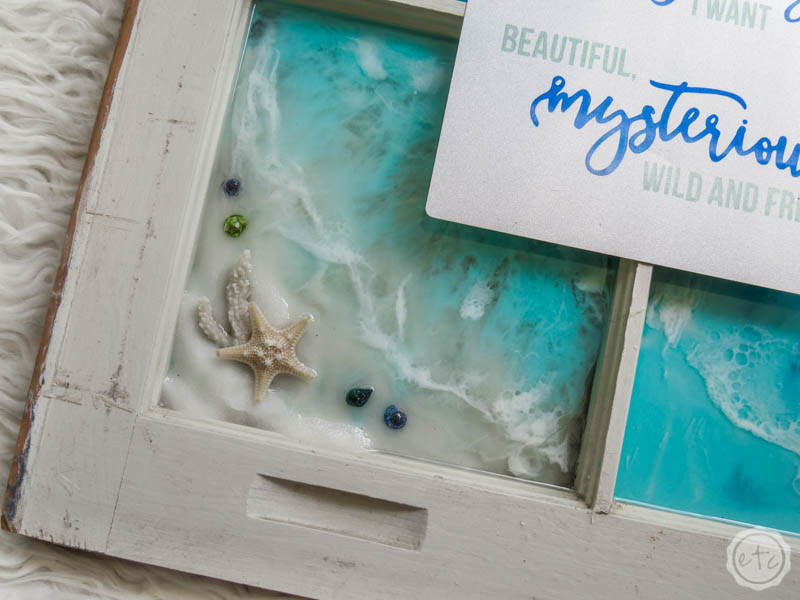
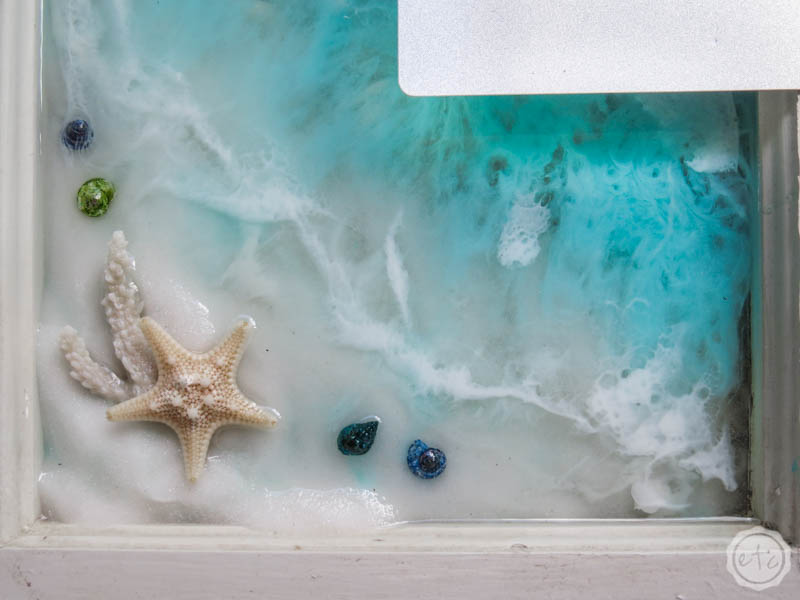
Now it’s time for the fun part… shells!!!! I picked out a few different shells from my collection and started to arrange them on the sand. I tried several different combos with several different shells before I decided on this little combo.
A bit of white lace coral and a starfish in the middle with a few colorful shells on either side!
There’s no right or wrong way to arrange your shells so just come up with something that you like… if you’d rather cover the beach with shells then go wild! Just remember that your shells need to be secured with resin so you want them touching the sand.
Or you’ll have to pour lots and lots of resin to keep them secure!

Step 3: Mix your Resin!
Ready for the resin? For this project you’ll want to keep the resin layer as thin as possible (glass can crack under the heat of resin curing so you don’t want thick layers that will get super hot… nice and thin is the way to go!).
If you’re not pouring your waves on glass you can use more resin if you need to! For this project I mixed a total of 500ml: 100ml of light teal, 170ml of dark teal, 100ml of navy, 100ml of clear and 30ml of white.
Go ahead and mix all 500ml of resin in a large mixing cup and then pour the resin into your smaller cups to mix the individual colors… and if you’ve never mixed resin before you can follow my how to mix resin for beginners tutorial here.
Once the resin has been mixed let it sit for about 2 minutes and then hit each cup with your heat gun to minimize the bubbles… then we’re ready to pour!


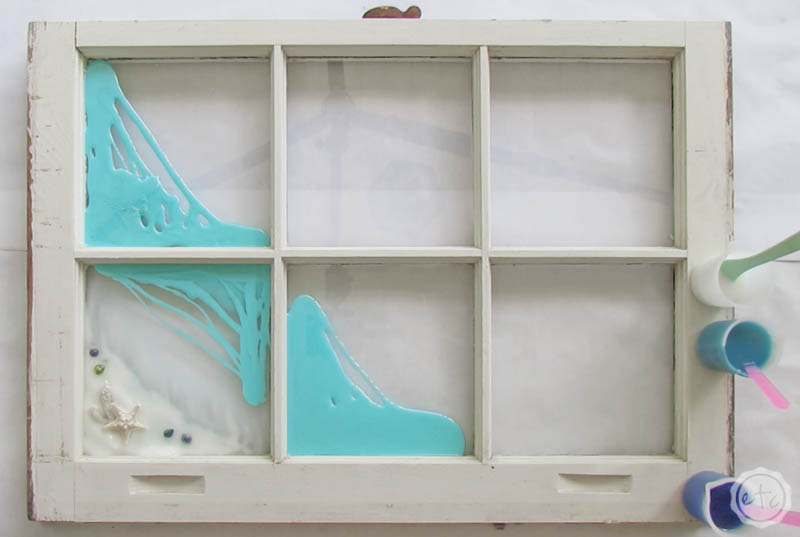
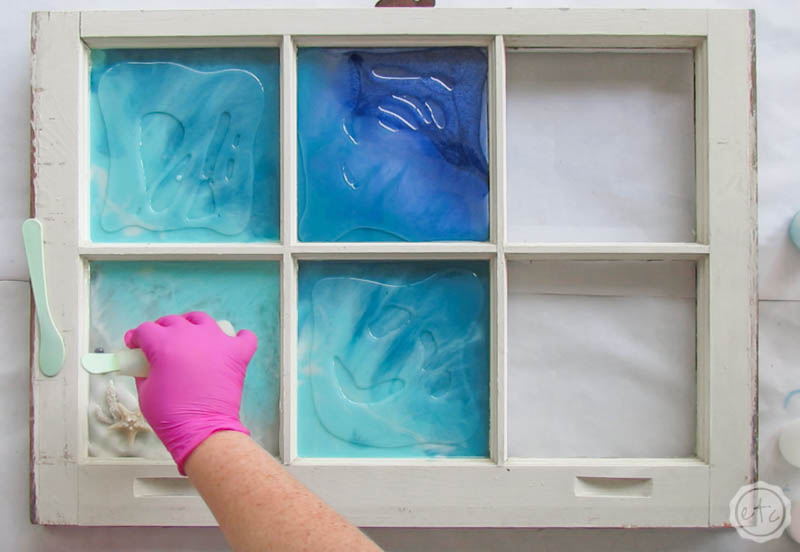
Step 4: Pour Your Resin
After your resin has sat for a minute and you’ve zapped all the bubbles with your heat gun it’s time to pour. Start with your clear resin and thoroughly cover each of your shells and sand.
It will start to flow down the glass and off the sand so pour it quickly and then start on the light teal. You want to pour the light teal so that it covers part of the clear and the upper portion of the window pane. If you’re not working at an angle you’ll make stripes that work the same way… simply separate your piece into 4 sections and go from there: clear in the bottom section, light teal in the second section, dark deal in the third section and navy in the top section.
Easy peezy!

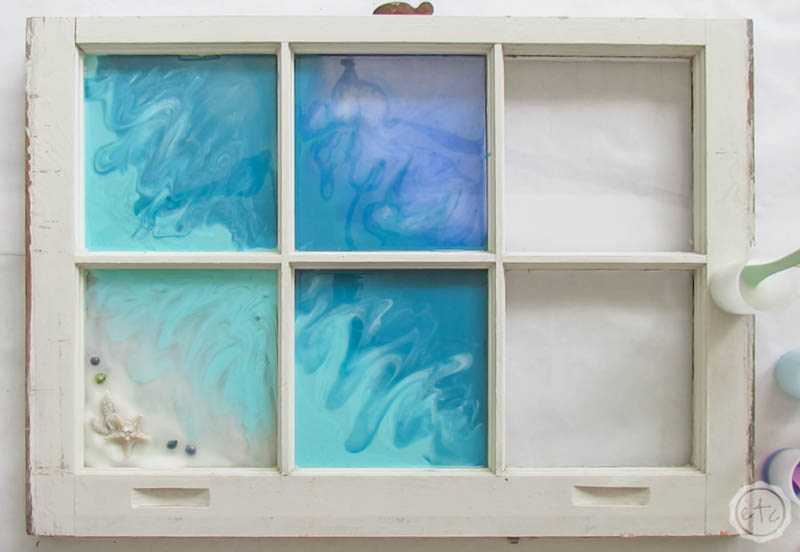
Once you’ve poured all of your resin and scraped your little cups of any remaining resin your window tiers should be completely full of resin. We’ll want to mix the layers a bit though so they blend and the harsh lines go away.
The easiest way to do this is with your gloved fingers… start with the lightest colors blending, blending, blending and move upwards toward the navy.
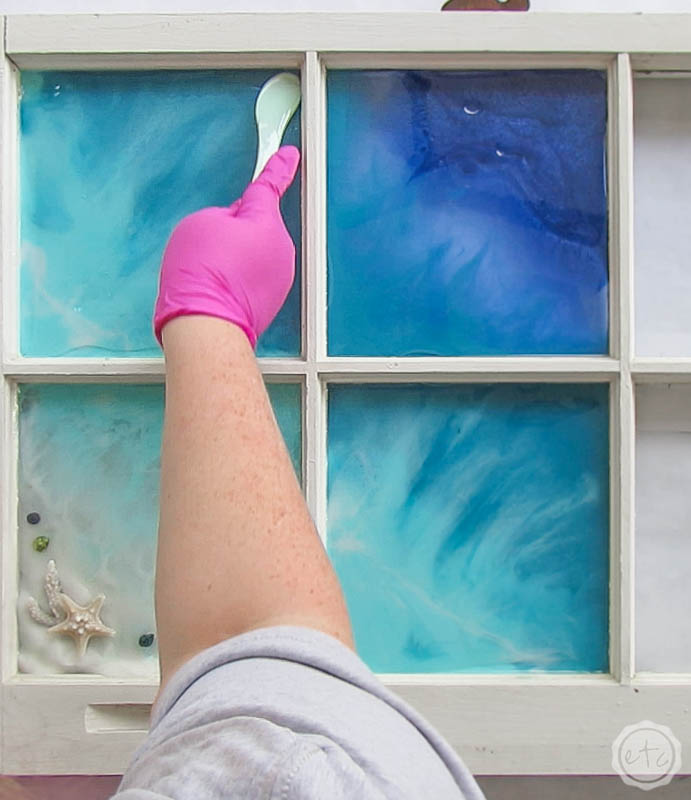
Once it’s blended use your little heat gun (on the highest heat) to pop all the bubbles! If you like how this looks then you can leave it at this point but I wanted the colors to blend a little more (softer lines please!) so I pulled out my larger heat gun.
This baby will actually move the resin around whereas the smaller one is better for popping bubbles… together they make the perfect heat gun team.
I simply pushed the resin (with the heat gun) from the lighter color up to the darker color until they blended… a few passes over each of the seams seemed to do the trick. Just a tip? Moving the resin with this much air isn’t instant… so do a pass with the heat gun and then let it settle for about 10 seconds to see how it looks once it’s calmed down. Then do another pass if you still aren’t in love with it.


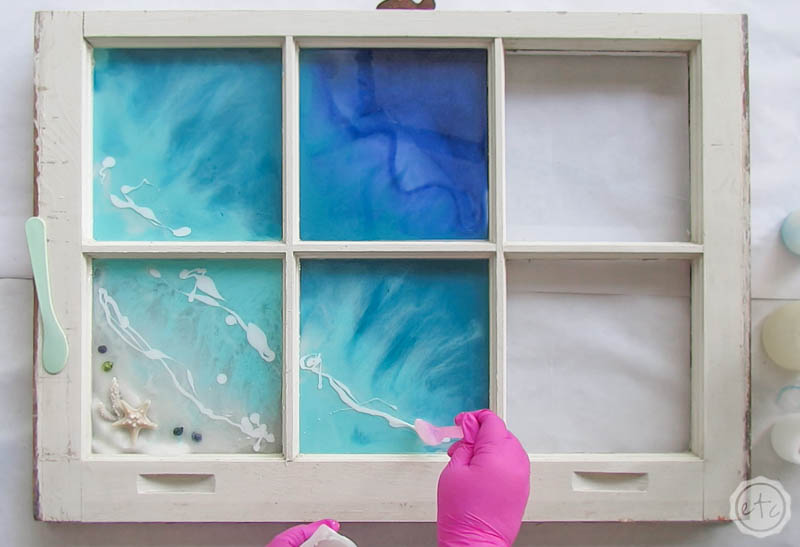
Step 5: Add a Wave!
Notice I said add a wave… not add all the waves! That’s because the waves work best over clear resin… so there isn’t much point to adding waves to our teal and navy portions of the water.
For now we’ll add a wave to the clear portion of the beach and then let this baby dry.
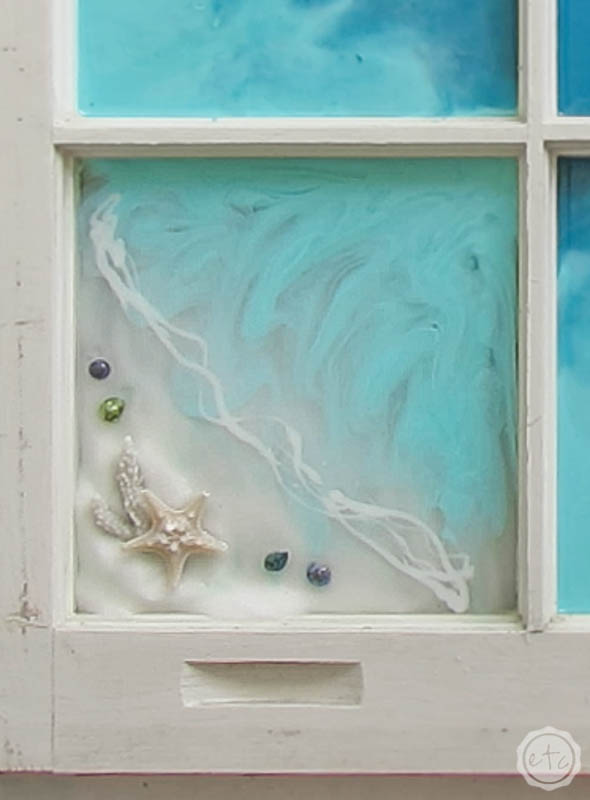
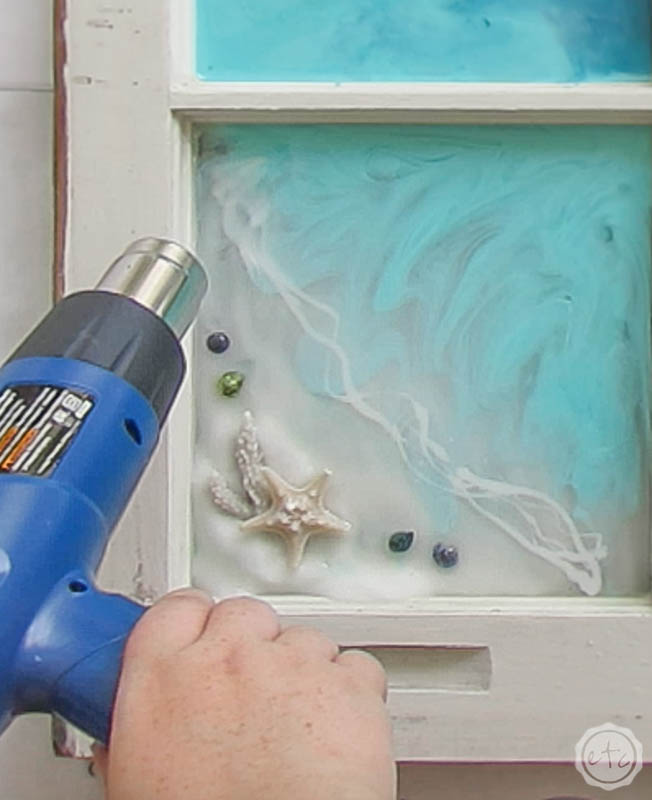
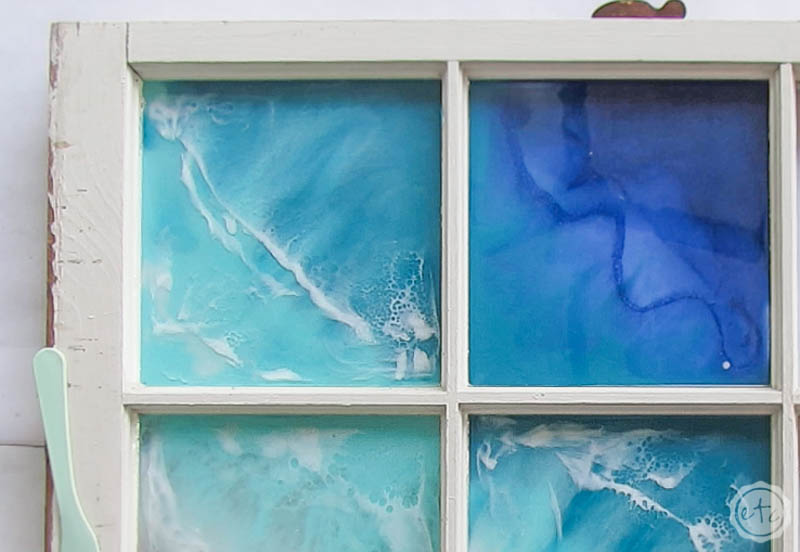
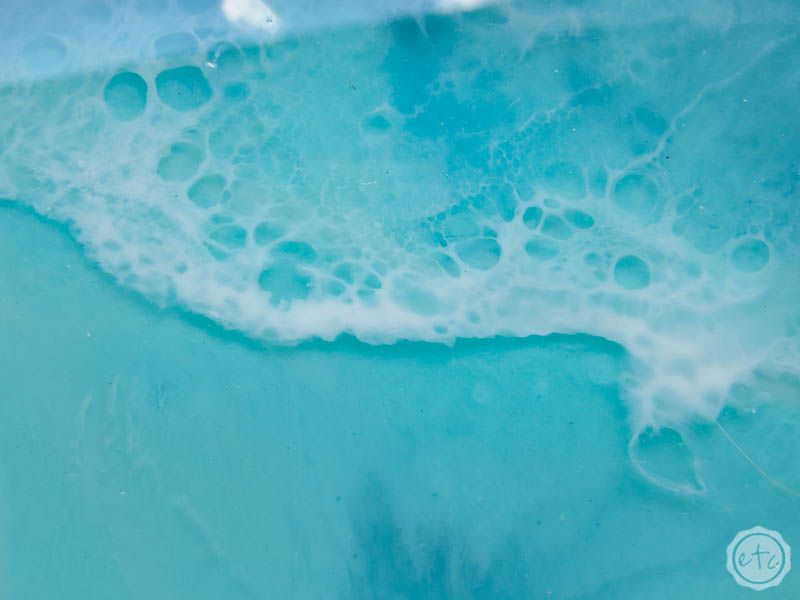
Luckily the waves are actually pretty easy! Take your white resin and use your stir stick to put a few lines of white in the clear resin portion of the beach. Then take your larger heat gun and push the white resin until you see it start to fan out (usually about 3-5 seconds per section).
Once you hit each bit of the white resin with your heat gun sit back and watch for about 20 seconds, typically the white resin will settle out leaving beautiful cells in the resin that look like the white foam of a wave cresting on the beach.
If you don’t see the lacing then hit it again with your heat gun but keep in mind that the more times you use the heat gun the less likely you are to get lacing. And while you’ll get lacing 8 times out of 10 not every area will give you lacing… it all combines to look like a wave though!
At this point it’s time for a break. Cover the piece with something to keep out bugs and dog hair and leave it for about 5 hours… then we’ll come back to add waves throughout the entire piece.

Step 6: Add Clear Resin
Did you have a good break? Five hours later your entire first layer should be dry and ready for a second layer.
For this portion you need a thin layer of clear resin over the entire surface that we’ll add our waves on. I mixed about 230ml of resin (200ml of clear and 30ml of white).
Pour about 50ml of clear onto each square and then use your stir stick to make sure to spreads out evenly across the entire piece. The resin needs to get into all the corners, sides and everywhere in between!
Once you’ve spread it out go ahead and hit it with the smaller heat gun to remove any bubbles… then we’ll be ready for the waves!

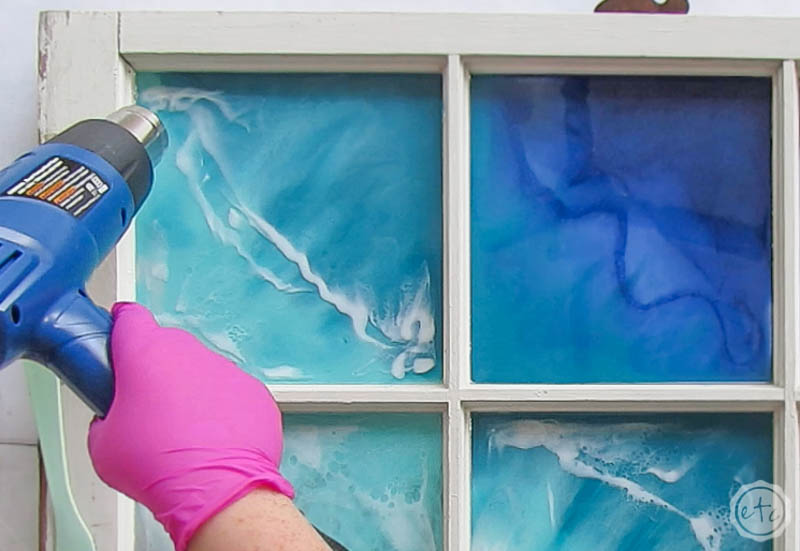
Step 7: Let’s Add WAVES!!
Now it’s time to add a few waves! Watching the white lines turn into foamy waves is literally the best part.
Make sure to start at the bottom and add a few lines of white over the original wave… then add a second wave a little further up.
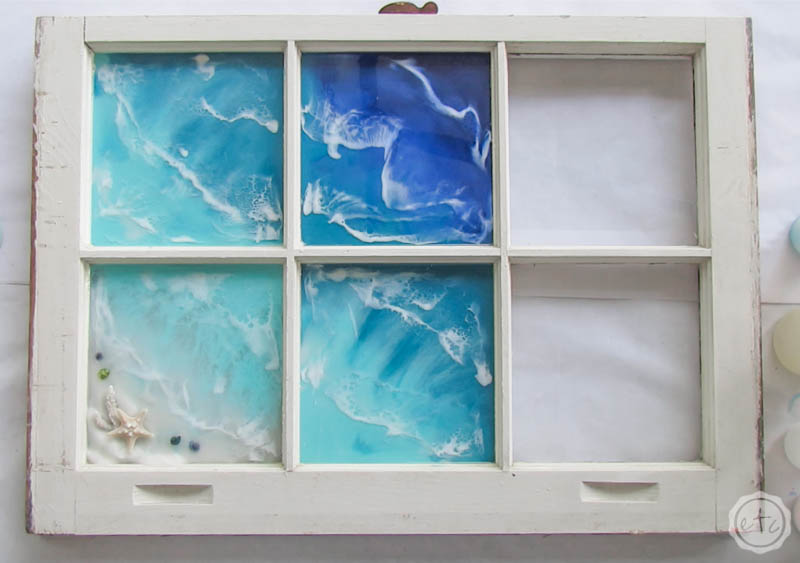
Use your larger heat gun to break up the white and bring out the foam… then repeat the process with more waves all the way up your piece! In total I added about 5 waves to the whole piece… you can add as many as you like but I find natural wave places where the colors meet. So for me that was 5 places!

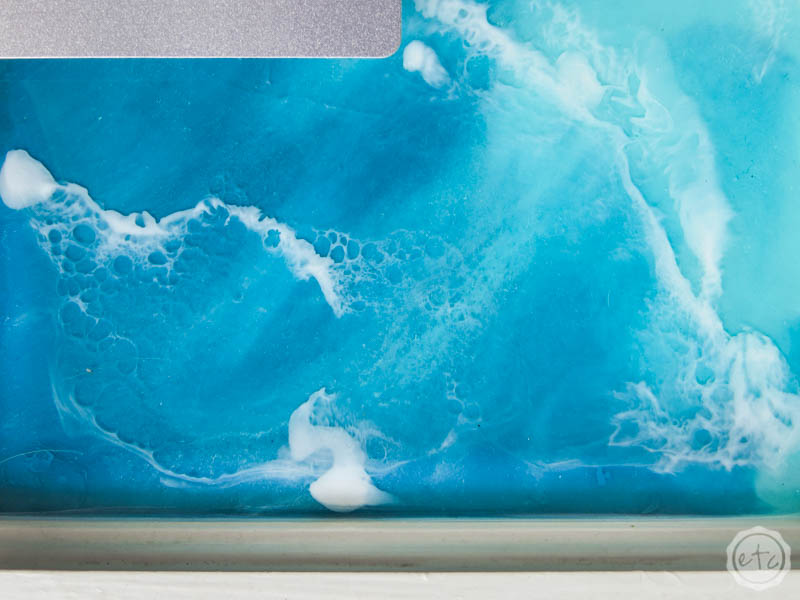
Just a little sneek peek… look at the photo above right before I went over the left portion of wave and the photo below… right after.
Do you see all the cells forming? Foam! Definitely foam!
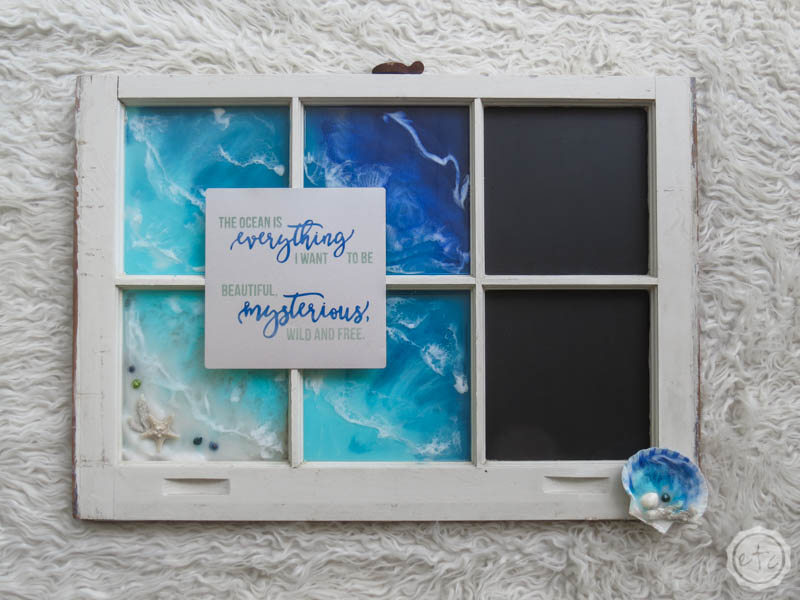
At this point you’ll want to cover your piece again and let it cure completely so that the foam stays… foamy. After 24 hours it will be ready to rock. You can leave your piece alone or add additional pieces.
In my case I added an aluminum sign, a little chalkboard paint and a wave inspired sea shell to make an adorable ocean wave themed chalkboard.
Follow along if you want to make each project:
How to Make Ocean Waves | Ocean Themed Aluminum Sign | Ocean Wave Sea Shell | Ocean Wave Chalkboard Window


Looking for more resin tutorials? I’ve got you covered!


Yes, I did make it to the end. I have tried this a couple times without luck, but I figured out a few things on my own and learned a lot more from this post. Searched a few days to find a tutorial that wasn’t a video, I tend to get distracted with all the pretty colors lol. Hope to someday be as good as you are. Thanks!