


I have a long awaited for post for you today! How to make a silicone mold out of anything… you can mold a salad plate, you can mold a knife rest, you can mold a pen or a figurine. If it can be encased in silicone you can make a mold out of it!
I have shared my entire tablescape full of resin items that I made with unique hand made molds… and now I’m going to teach you how to make the mold.
Just a heads up… this process took me 3 times and a lot of trial and error to get right. I’ve worked out the kinks now so you shouldn’t have any problems BUT I have found that smaller items (like my knife rests) are infinitely easier to mold than larger items (like these salad plates) so if this is your first go at making a mold feel free to jump off the deep end… but you’ll have an easier time learning on a smaller piece first.
Let’s get started!
Supplies:
- Spring Loaded Cheesecake Pan (or container that fits your object)
- Salad Plate (or item for making your mold)
- Silicone Mold Making Liquid Rubber
- Electrical Tape
- Disposable Gloves
- Mixing Cup (Disposable)
- Foam Brush
- Large Stir Sticks
How to Make a Silicone Mold Out of Anything
Getting started with resin? Feeling overwhelmed? I’ve shared every singe item you’ll need to make this specific tray in the supply list below but if you’re just getting started with resin you might be a bit overwhelmed. Don’t worry! Let’s take it back to the beginning. I’ve written an entire post on what to buy to get started with resin post just for you! Then you can jump into Resin 101: Working with resin for Beginners where I’ll answer all of your resin project questions!

Step 1: Prep your Cheesecake Pan
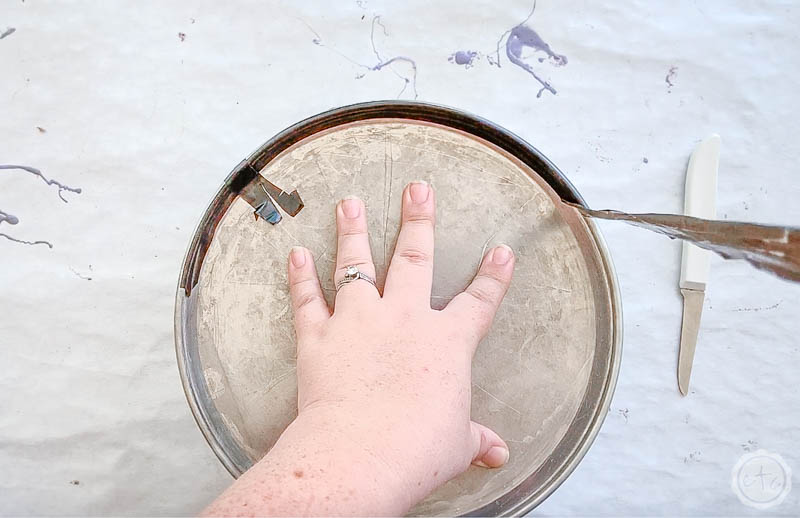
First things first… before we can mix our silicone we need a container to pour into! For this salad plate mold I decided to use a cheesecake pan (which works perfectly!) but we’ll need to seal the bottom so no silicone gets out.
You can use whatever container fits your item but you’ll need to fit your item inside the container with space on either side for the silicone mixture to flow over and underneath. You’ll also want to be able to remove the silicone mold once it’s cured so be aware that if you use a plastic container you may have to cut the plastic container open to remove your newly formed mold…
Which is why I like to use a spring loaded cheesecake pan! It opens easily to let you remove the mold and you can re-use it time, after time, after time.
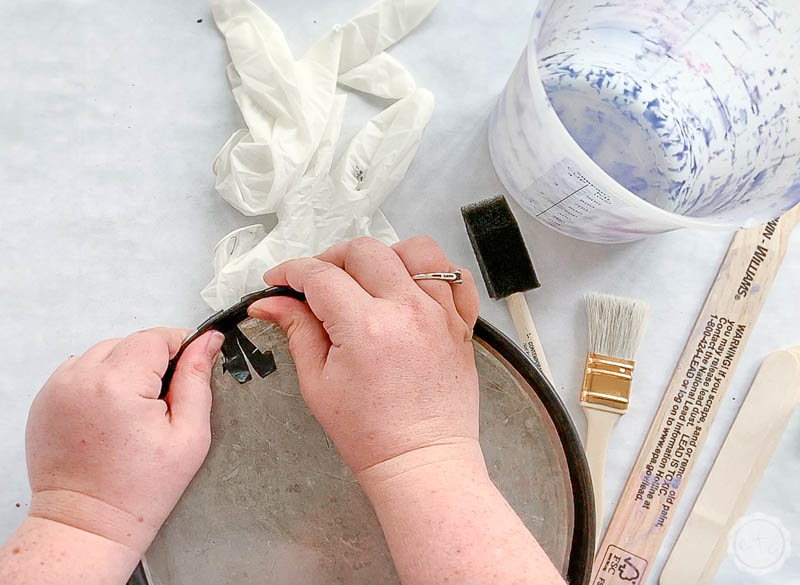
Simply take your electrical tape and firmly seal any gaps in the bottom of your pan and you’re good to go!


Step 2: Mix your Silicone
Ready to rock and roll? We’re going to jump straight into the hard stuff here… mixing the silicone.
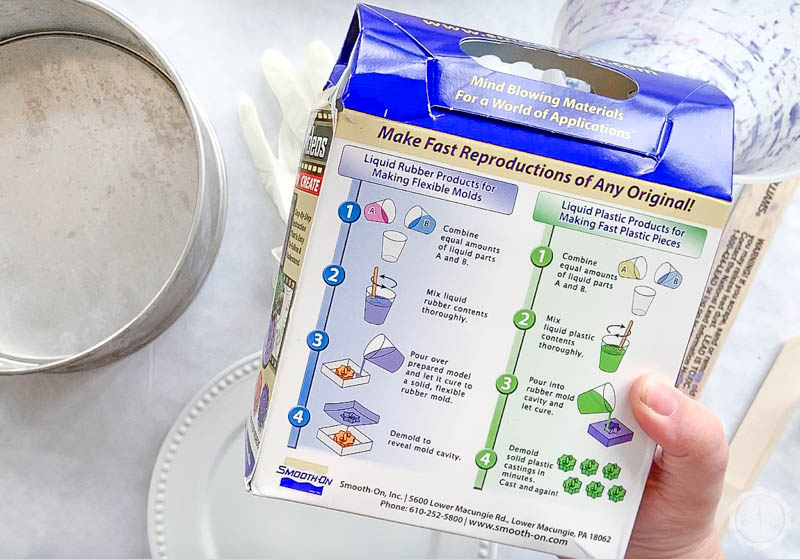
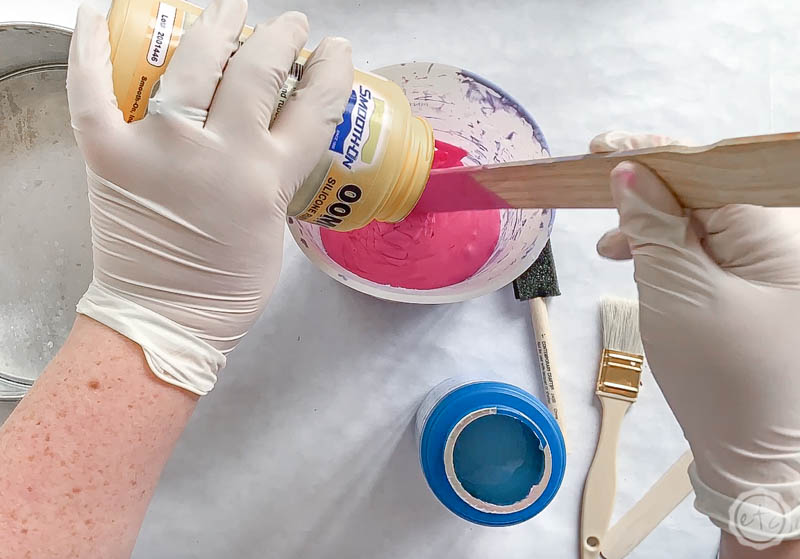
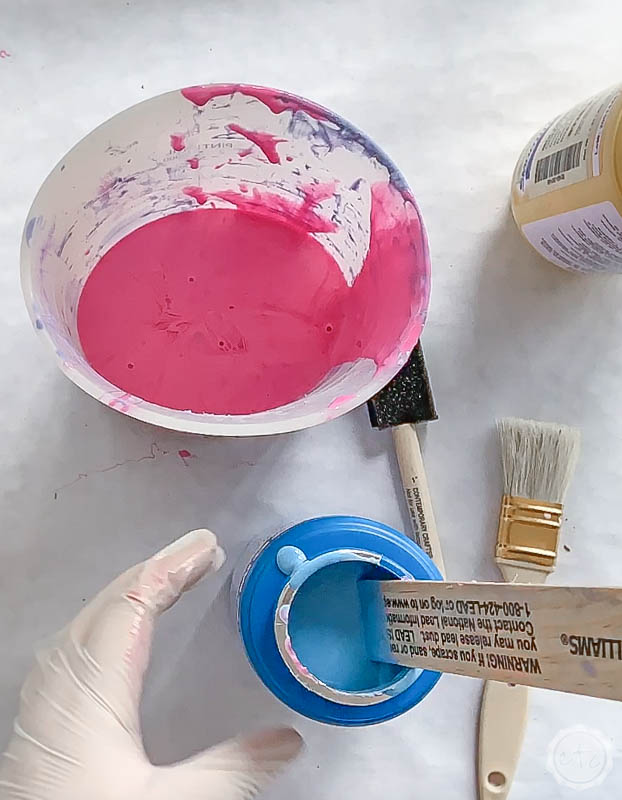
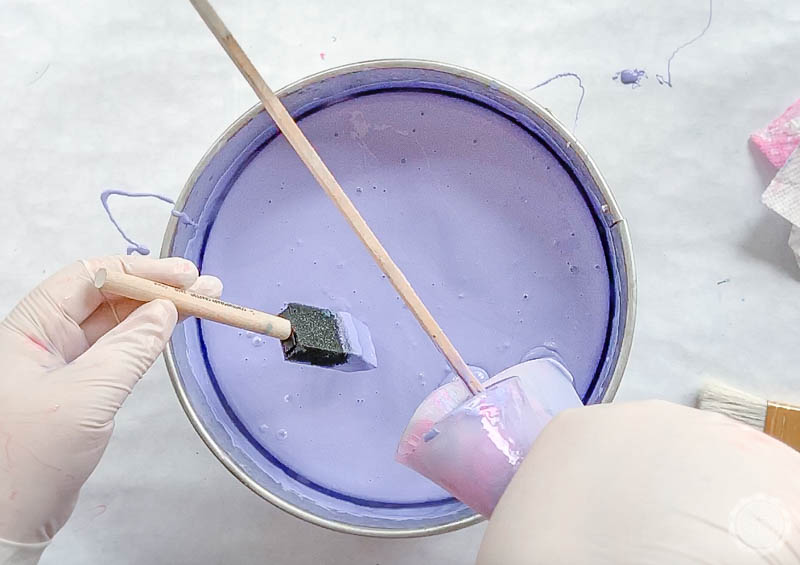
Your silicone kit will come with 2 bottles: a part A and a part B. They’ll be different colors so that you can visibly see how they mix together. In this case part A is a bright pink and part B is a brilliant blue.
Go ahead and open both bottles… then using a stir stick thoroughly mix part A in it’s original container scraping the sides and making sure to mix the entire bottle together. This should only take a few minutes… then pour part A into the larger mixing cup and move on to part B.
Thoroughly mix part B in it’s little cup and then pour part B into the larger container with part A. We want everything as consistent as possible so that any parts that have separated out sitting in storage will be mixed back together.
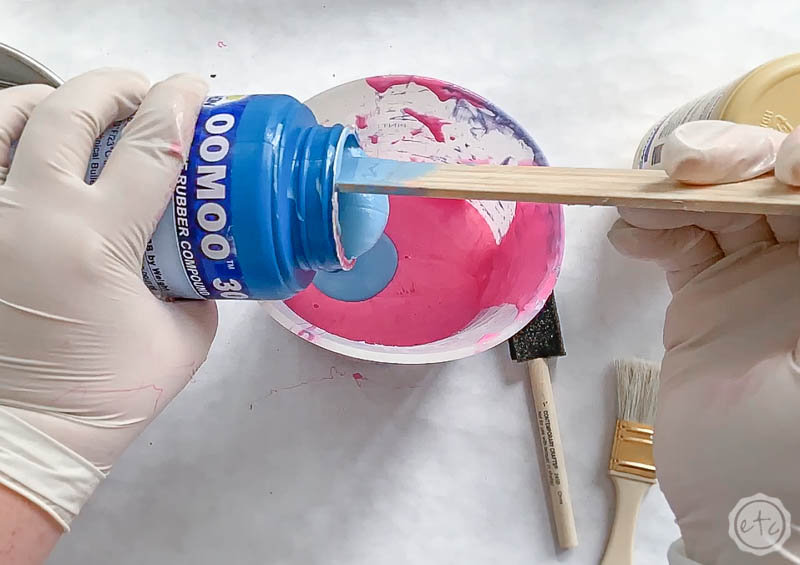
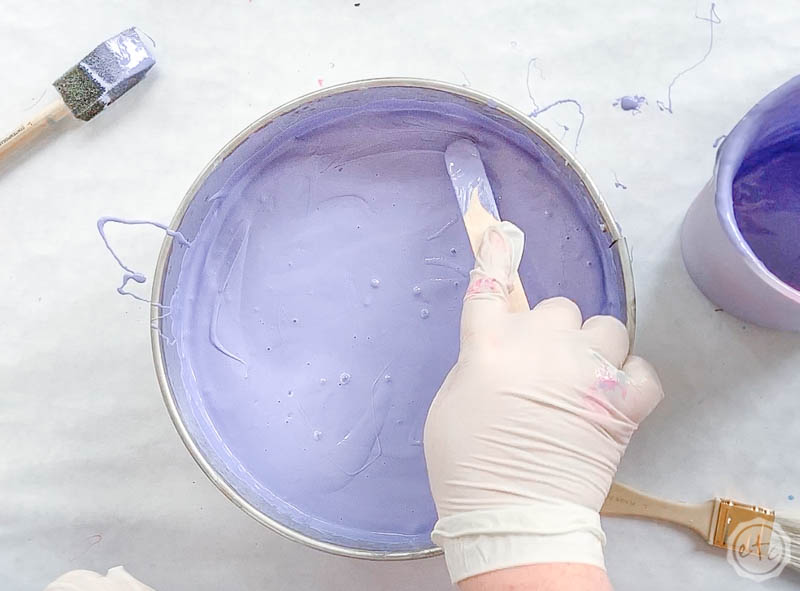
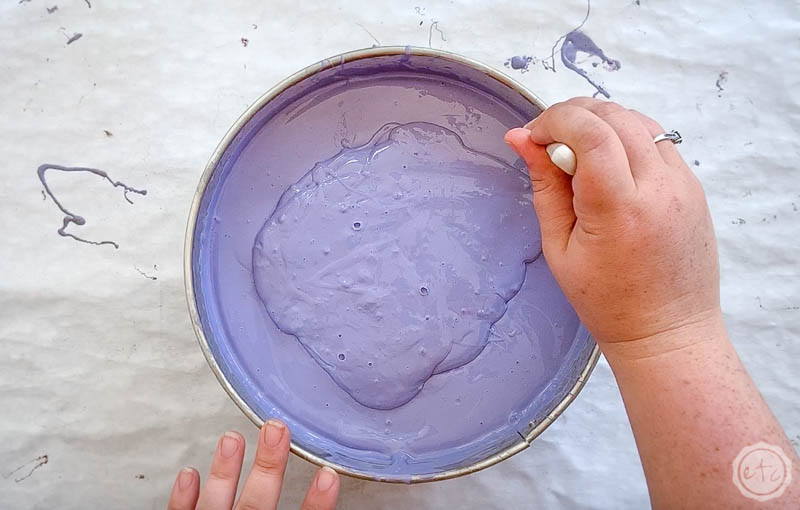
Now that part a and part b are together in one large cup… mix it up! Mix it real good!
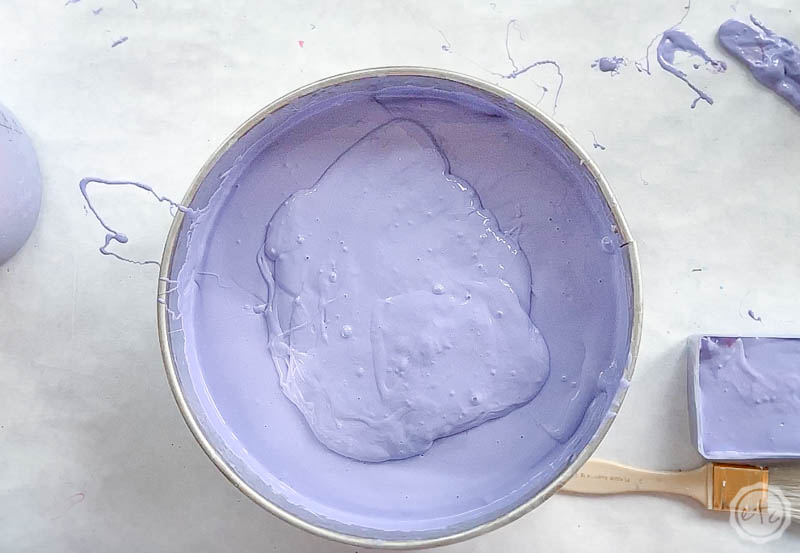
You’ll want to mix both parts together until you see no streaks of pink or blue but a solid purple color all the way through the mixture. When you stop seeing pink streaks you know the two parts are mixed well enough and you’re good to go!
This took about 5 minutes of solid mixing for me.
Beautiful darling!


Step 3: Paint your Plate
In this case we want all the little bumps and details on this plate to be perfectly preserved in our mold… so we’re going to take an extra precaution and paint the silicone onto our plate with a foam brush.
I didn’t find this step necessary with the smaller knife rests so take a look at your object and decide if you need to try this or not.
Keep in mid that your silicone only has about a 30 minute working time before it starts to cure so you’ll want to paint quickly if you try this part!
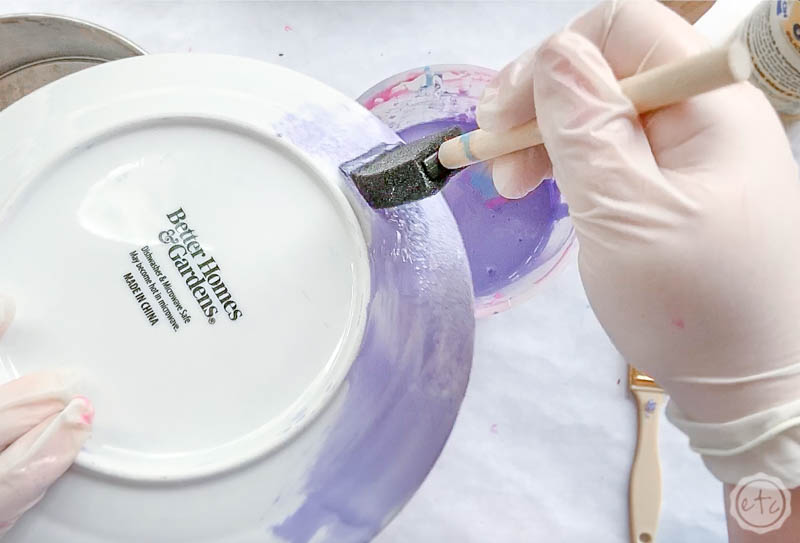

Once you’ve painted the bottom you can set the plate down flat on the bottom of the cheesecake pan and paint the top… easy peezy.
You want your plate to be centered in the cheesecake pan so that silicone can go around either side… you can use a larger cheesecake pan with more room on either side (I’ve done that and it’s MUCH easier) but you’ll need 2 kits of silicone to fill the larger container.
Or little pieces of an old silicone mold chopped up and added to the mixture.
Either one!
Step 4: Pour the Silicone
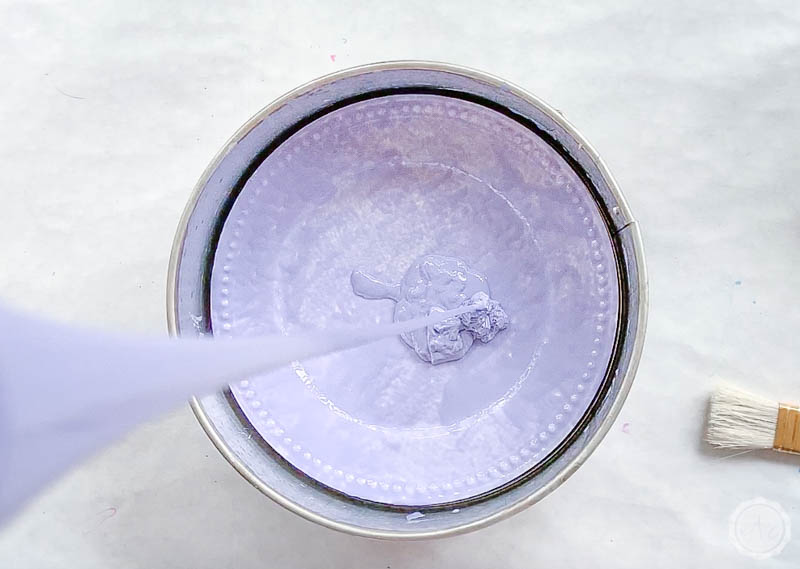
Now it’s time to pour the silicone directly onto the plate! To minimize bubbles as much as possible make sure to pour your silicone in a thin stream from high up.
Once you’ve completely filled the pan with silicone you can use a stir stick to smoothly push the silicone in the spaces at the edge where the silicone needs to go underneath the plate. You want that depression to be completely filled with silicone otherwise you risk there not being enough silicone to complete the bottom of the mold.
Been there… done that.
Just a heads up… 30 minutes means 30 minutes! I poured the globby part of the silicone at the end of the work time and thought it would settle out.
It did not. I had to leave it to be cut off later.
Luckily silicone is easy to cut and trim if you have areas that need trimmed! Once you’re completely done and the silicone has started to harden leave your mold to cure for the time listed on the box (in this case 3 hours) or over night… depending on what time it is where you are.

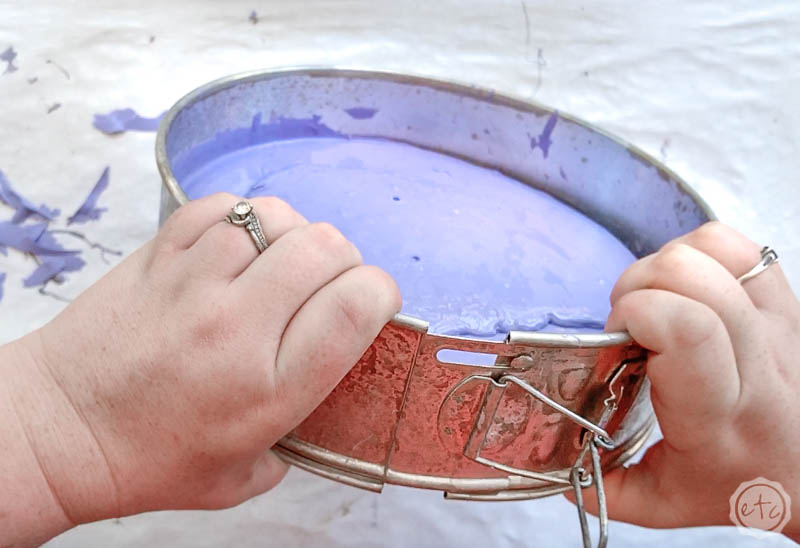
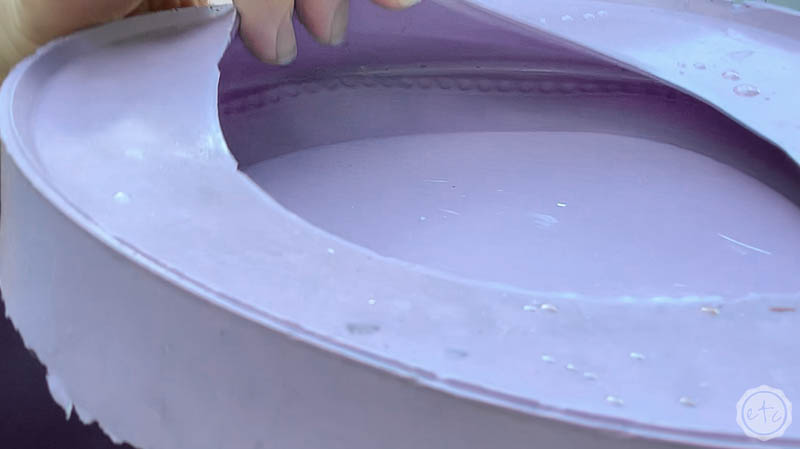
Step 5: Remove the Mold
Now it’s time to let the dogs out! Errr… remove the mold from the cheese cake pan. You can start by removing the electrical tape from the bottom of the pan and then use a small kitchen knife to go around the outside of the mold and separate it from the pan.
At this point you can unlatch the spring loaded clip and pull the cheese cake pan apart.
Vloia!
Instant mold!
Okay so it’s not quite instant but close enough!
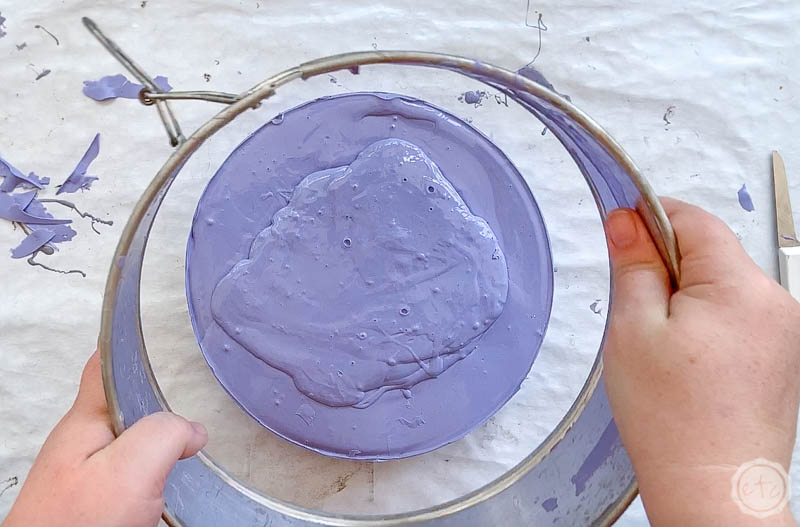
Now all we have to do to finish removing the pan is find a spot in the mold where we can pry the mold away from the bottom of the pan.
This may take a minute (simply because the seal between the two flat pieces should be pretty slick) but once you find an opening they’ll separate easily enough.

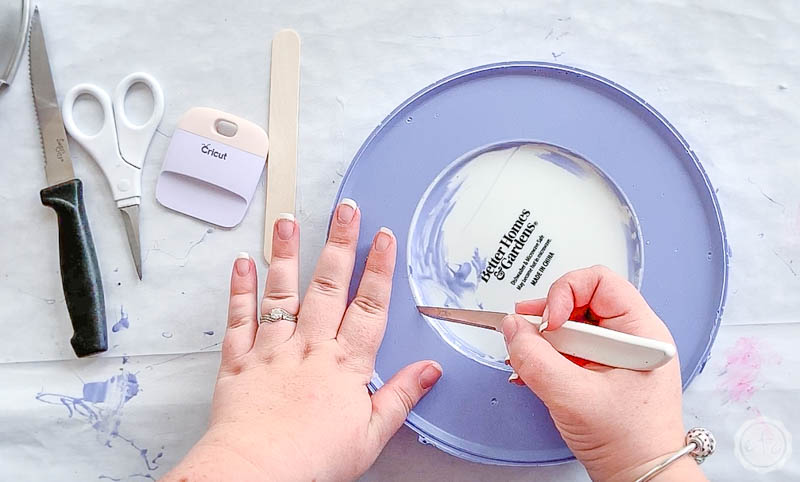

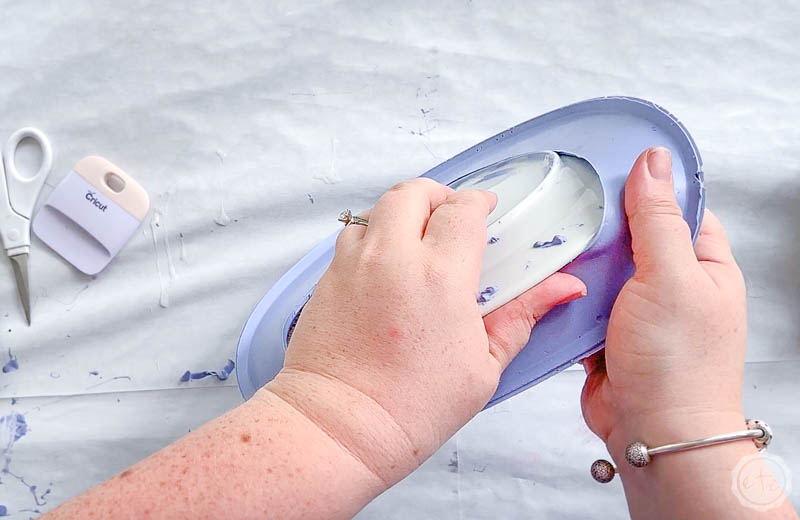
Step 6: Remove the Plate
Ready for the last step? We need to remove our plate from the new silicone mold. Start by slowly removing the silicone from the bottom of the plate… this should release easily and cleanly.
No problem-o.
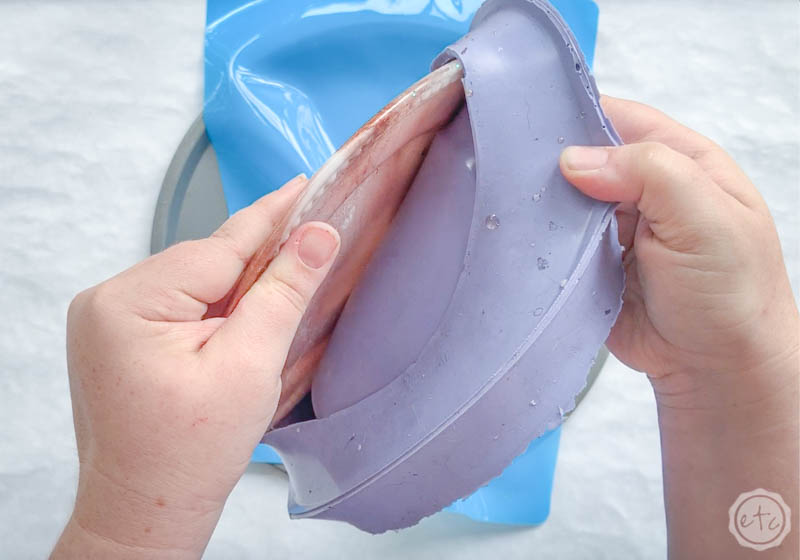
Then we have to take a leap of faith. Once you’ve separated as much silicone from the plate as possible you’ll need to pull the silicone over the lip of the plate.
This is terrifying.
Luckily even if you tear the mold it’s not a big deal… but it’s not what we want either. Once you get part of the plate out simply work your way around the mold removing the full plate from the silicone.
Slow and steady wins the race here y’all.


Beautiful darling!
At the end of the day I made 3 of these plate molds and this third one came out the absolute best.
See all the detail the silicone was able to pick up?
Of course if you get a tear you can patch it with a bit of silicone caulk (or leave it alone if it’s in the top of the mold). It’s only tears in the bottom of the mold that we’re worried about… where the resin can leek out!
At this point the mold is ready to roll and you can pour resin into to make your plate (or whatever it is you’re making!).
If you want a walk through of making a resin salad plate you can follow my full tutorial here.


I’m pretty happy with how this turned out… even if it was a bit of trial and error to get here!
I can’t wait to see what other items I’ll mold out of silicone in the future!
In the meantime… plates!


Looking for more resin tutorials? I’ve got you covered!


Leave a Reply