
When you start a new hobby it’s tempting to go out and buy all. the. things. but how can you when you really don’t even know where to start? That’s definitely how I felt when I started my first resin project… I wanted to do it right but I wasn’t really sure where to start.
Don’t worry y’all… I’ve got you covered.
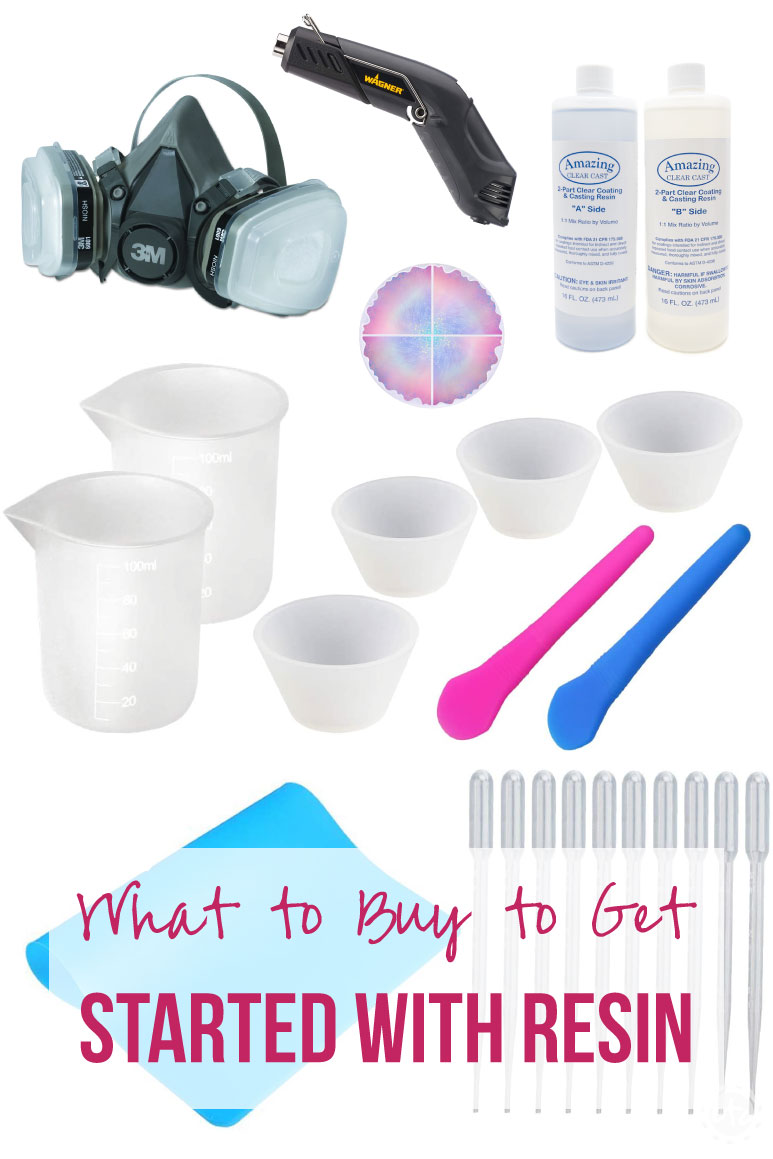
If you’ve ever wanted to work with resin here are my favorite tools and supplies to get you started. Follow the list below for links to my favorite products… or download my free pdf guide!
Once you’ve got the basics down you can move on to the inclusions (a fancy word to describe all the things you can put inside resin… check out my master list of 25 budget friendly resin inclusions) and molds! Trust me… there are more molds than you’ll ever know what to do with!
Ready to get started? Grab your supplies and let’s go! I’ll teach you everything you need to know in my Resin 101 post and then we’ll get started with our first pour by learning How to Mix Resin.
Enjoy!
Resin Tools & Supplies
This is the resin I use! It's easy to mix, dries crystal clear and comes in several different sizes. I started with the little 8oz pack and quickly moved to the gallon jugs... once you start making resin items it's easy to get addicted!
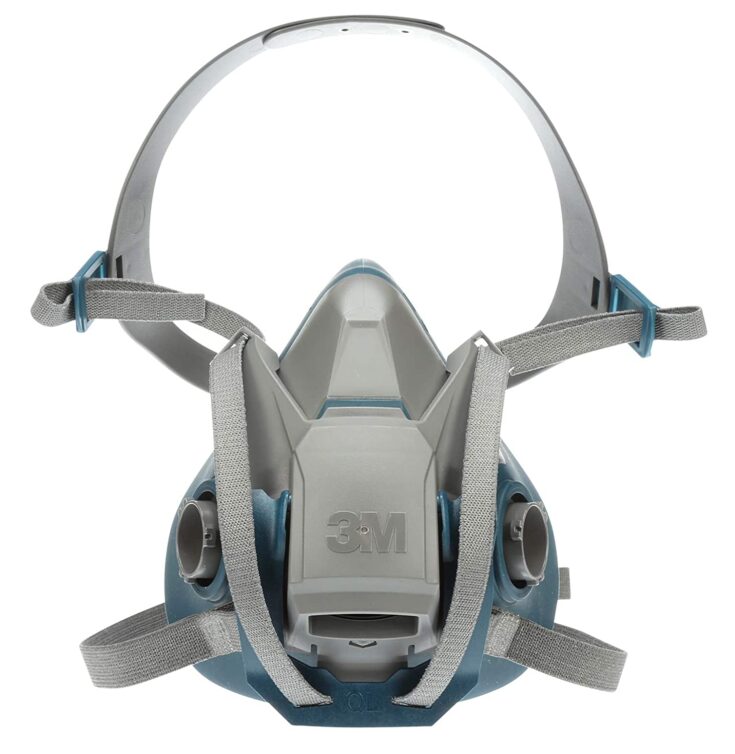
This one is definitely a requirement. Even if you work in a well ventilated area (and you should!) wearing a respiratior can be the difference between horrible, black out headaches and staying safe. Trust me... it's worth it!
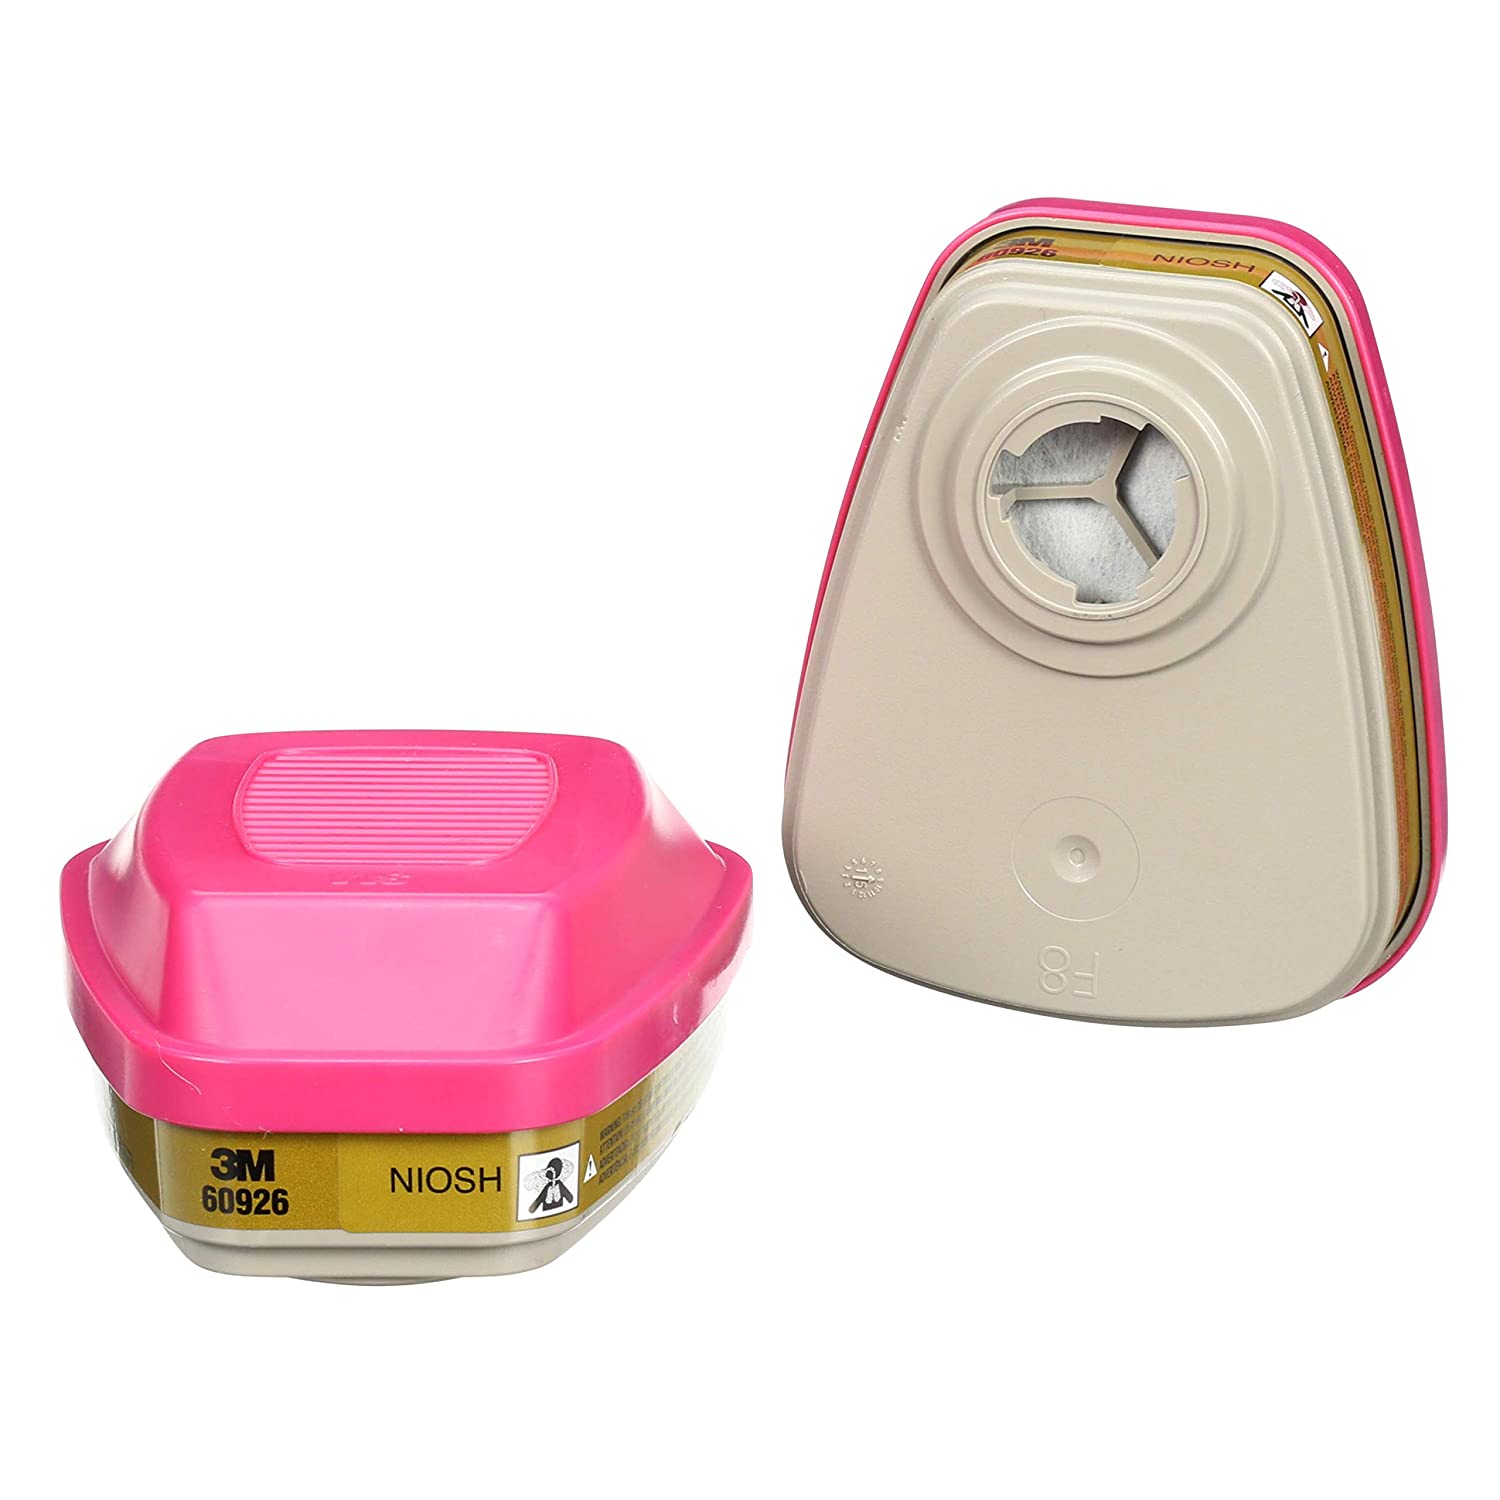
These little filters hook onto your respirator and keep you safe! The pink ones are graded for toxic fumes like resin... plus they're pink!
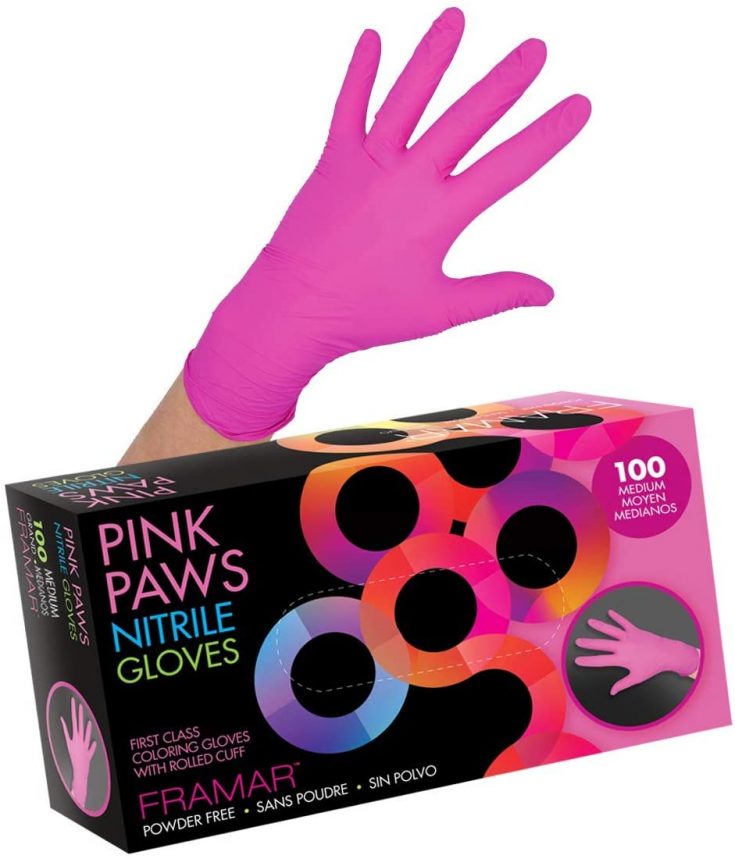
Like a respirator gloves are a safety must have when working with resin. Too much resin on your skin is bad for you... plus it's super annoying. Gloves will keep your hands from getting sticky... the pink part is up to you!
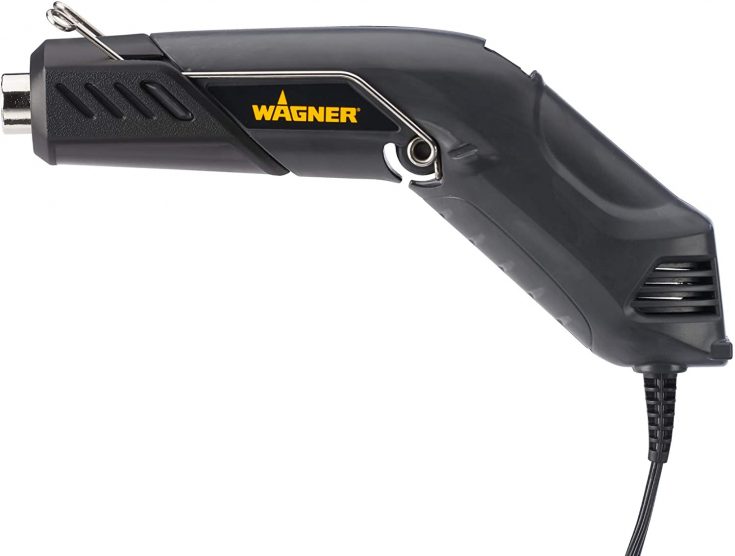
This is the exact heat gun I use! It has multiple heat settings and a stand so it's ready to rock when you are. I use it to pop bubbles in my resin so that the finished pieces are always crystal clear. Heat guns are a great alternative to a torch when it comes to resin since they'll pop bubbles but they won't melt your mold.
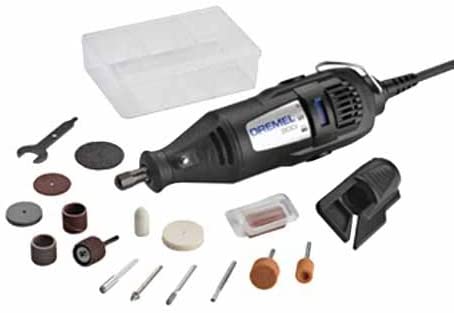
This little guy is completely optional but oh so handy to have when you're sanding edges and smoothing out corners. It makes fast work of all that resin!
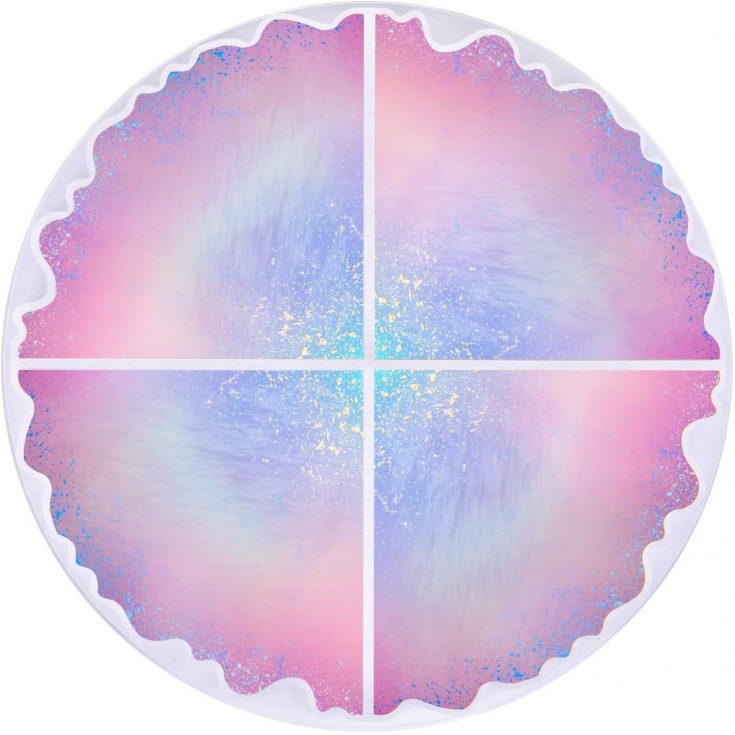
9 times out of 10 if you're making a resin project a silicone mold is your new best friend! They're easy to work with and give you professional results time after time. Of course, their are a million different mold shapes so you'll need to find one that's perfect for your project. Happy hunting!
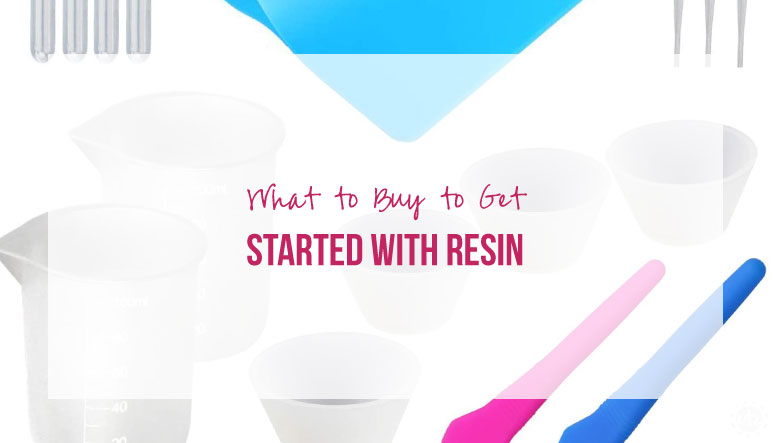
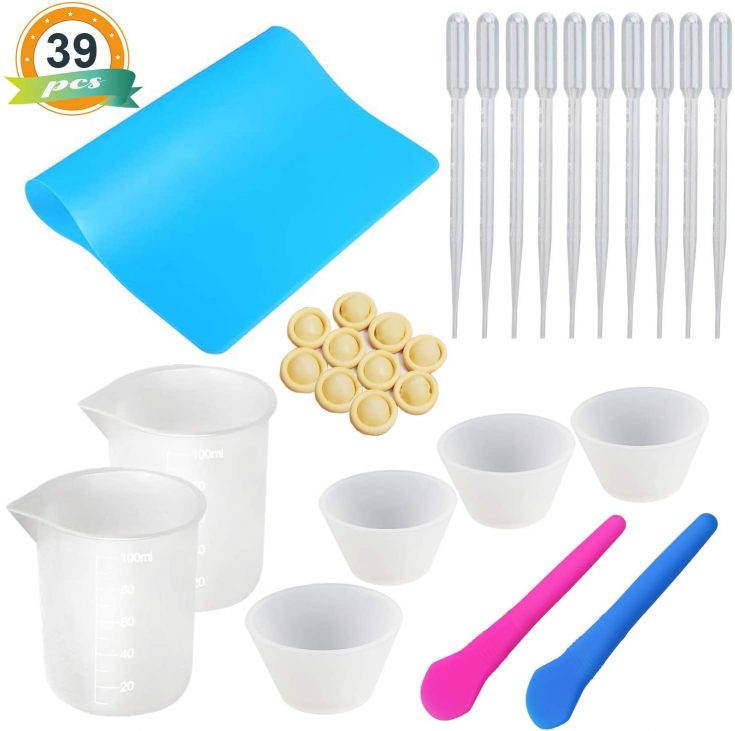
This is the kit I bought when I first started and it definitely sets you up on the right foot. It has 2 100ml silicone measuring cups, 4 smaller silicone medicine sized measuring cups, 2 silicone stirring paddles, 10 pipettes for alcohol ink, 20 finger cots and a large silicone mat.
If you're just getting started this little set will work for quite a while before you feel the need to get all. the. things.
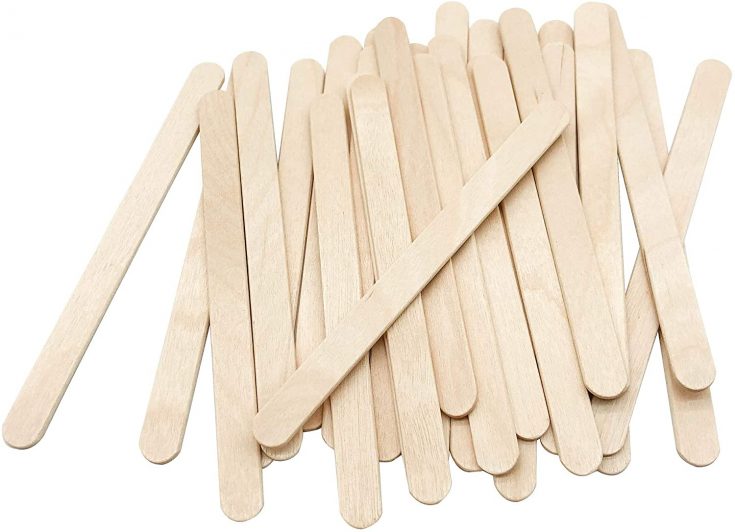
You'll need something to stir all that resin with! Of course, in the resin world popsicle sticks are so much more... you'll move them to move inclusions around inside your resin and to push resin into hard to reach spaces in your molds. Think of them as your new fingers... ones that are ok to get covered in resin.
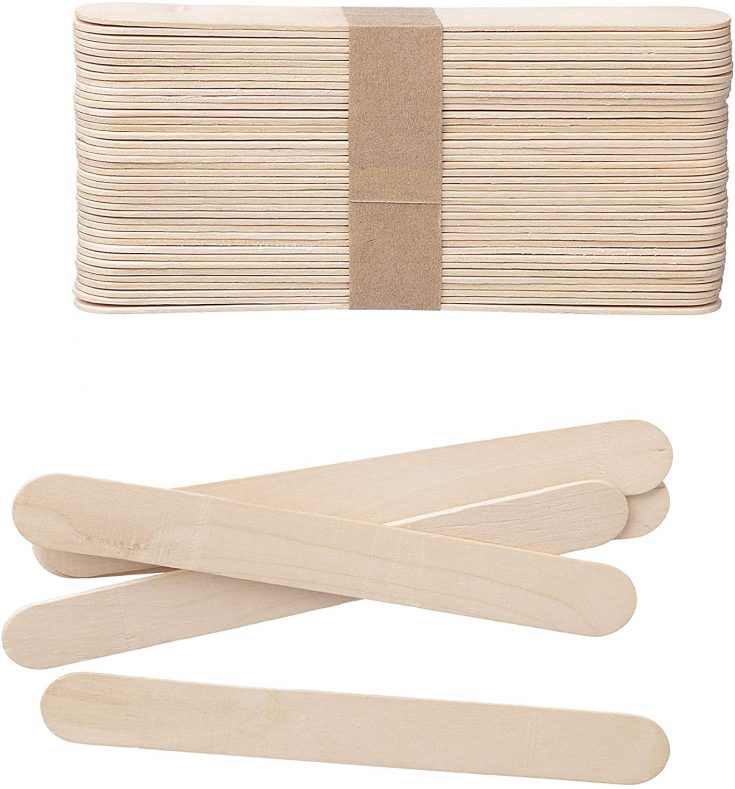
I know what you're thinking... you just told me to get small popsicle sticks! Well when you're mixing a big cup of resin you'll need a popsicle stick with a bit more surface area to really mix everything together.
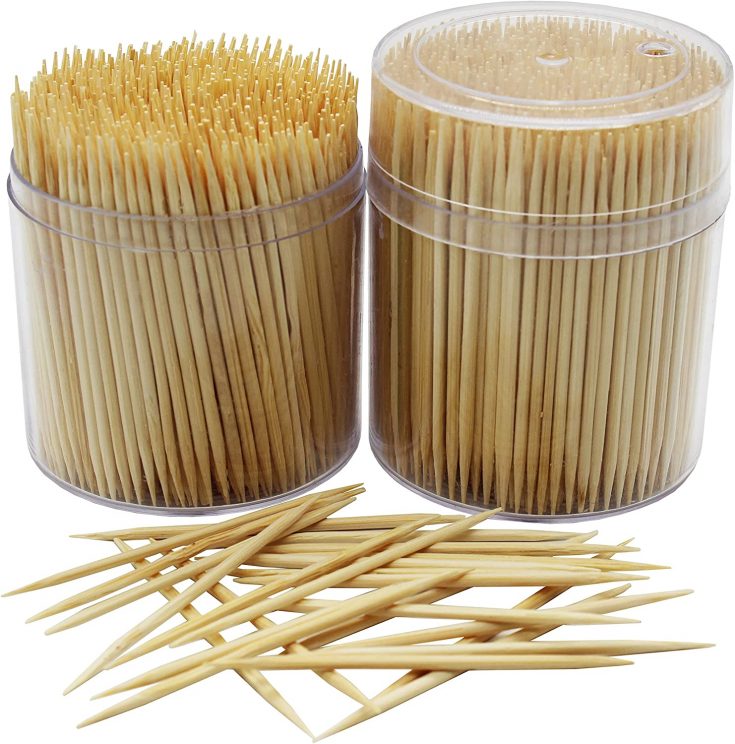
For those teeny tiny molds or projects... also great for getting dog hair out of resin. *ahem* not that that's ever happened to me.
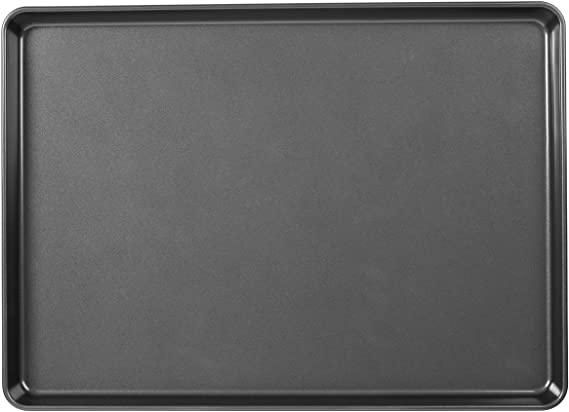
This one was a little weird to me but it totally makes sense... a baking pan is the perfect little tray to work on. You can cover it in freezer paper, add your mold and easily transport your resin project from outside where the air is clear to a room with a closed door for drying. Trust me... carrying a mold without a tray is kind of *ahem* difficult.
You can use a baking pan you already have just remember that once it touches resin it never again touches food so make sure you're ready for it to leave the kitchen for good!
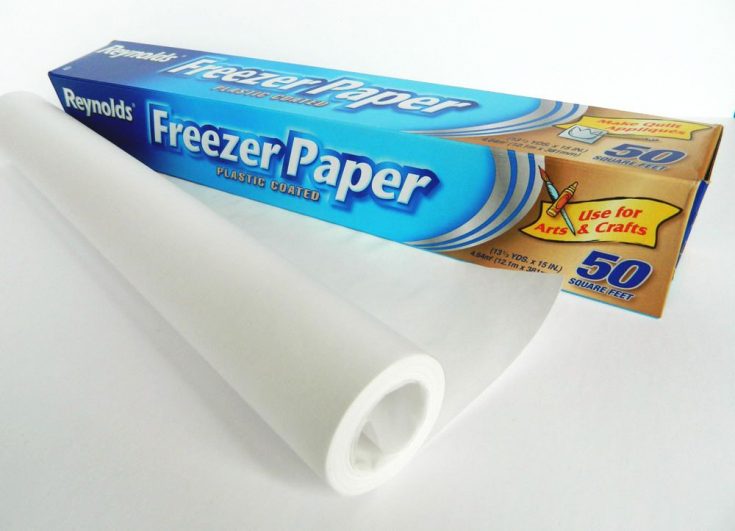
Speaking of freezer paper! This little box of non-stick goodness is perfect for underneath your baking tray, on top of your baking tray... and basically on top of any surface you want to project from resin.
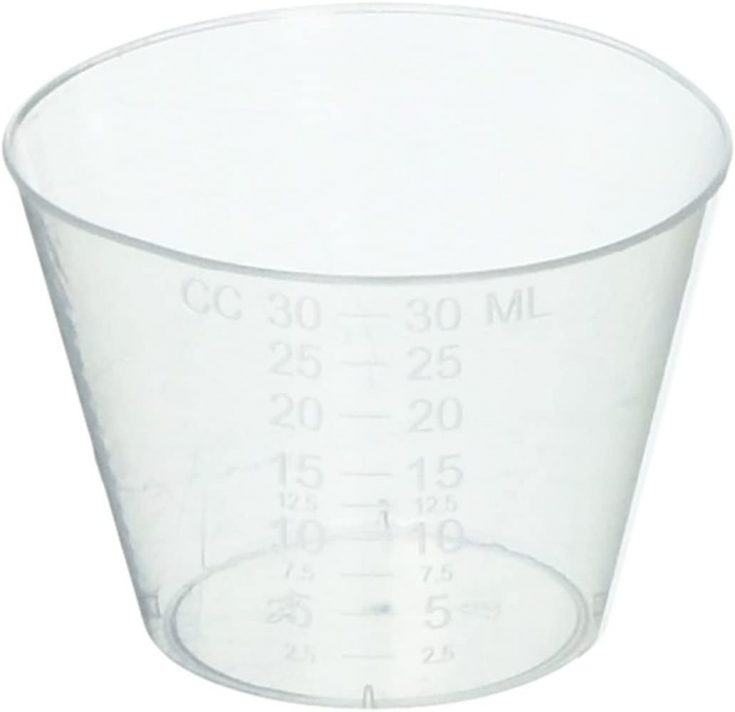
These little guys are perfect for tiny projects... you can mix resin in a larger batch and then separate it into these small cups to add your color! When you're done toss them in the trash and skip clean up all together.
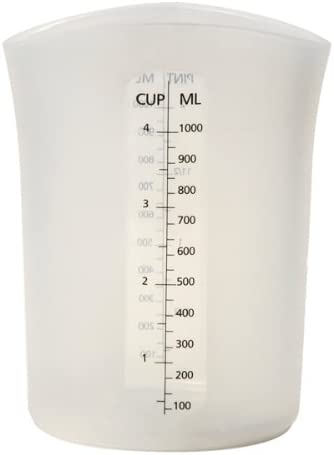
Ready for the big cup? This baby holds up to 4 cups of resin (that's a big project!) and is made of silicone so when you're finished you can let your resin dry... then peel it off and use it again.
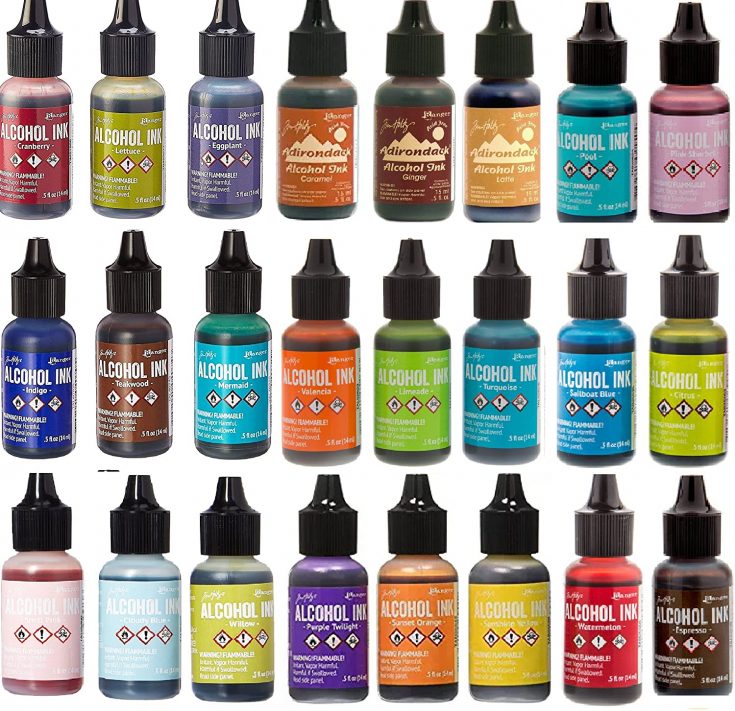
If you're looking to add a little color to your projects alcohol ink is a great way to do it! They're more translucent than paint and mix with the resin in a truly unique way. There are a million colors to pick from but you'll for sure want white... white pigment forces the ink from the surface of the resin into the piece. It makes everything work!
In the meantime you can check out these fun 3 alcohol ink techniques to get started with!
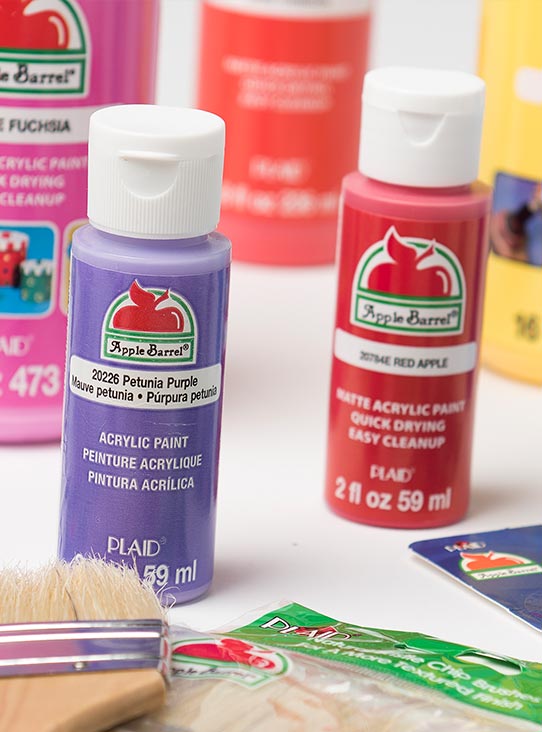
Another fun way to color your resin... a drop (literally) of craft paint! Any brand, any color... just add a drop or two and mix it up! Keep in mind that craft paint is not compatible with all resins and not all craft paint is the same so be mindful when you mix your color and resin togehter that it may not stay mix if it's not compatible. So far I haven't had any problems with Amazing Clear Cast Resin mixing with any craft paint I've tried!
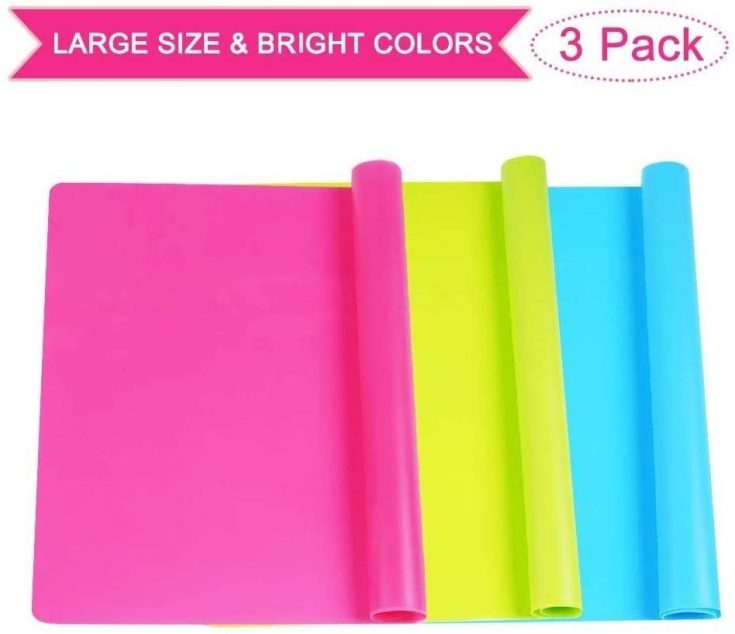
Okay so these aren't exactly essential... I use freezer paper to protect my surfaces 9 times out of 10 and they work great. I love these silicone mats for working in windy areas (they don't blow away when I work on my porch) and for making my own molds. If you're looking to use silicone to make your own mold these mats are a great solution!
Looking for more resin projects? I’ve got you covered!


