This post is sponsored by WellPet but the content and opinions expressed here are my own.

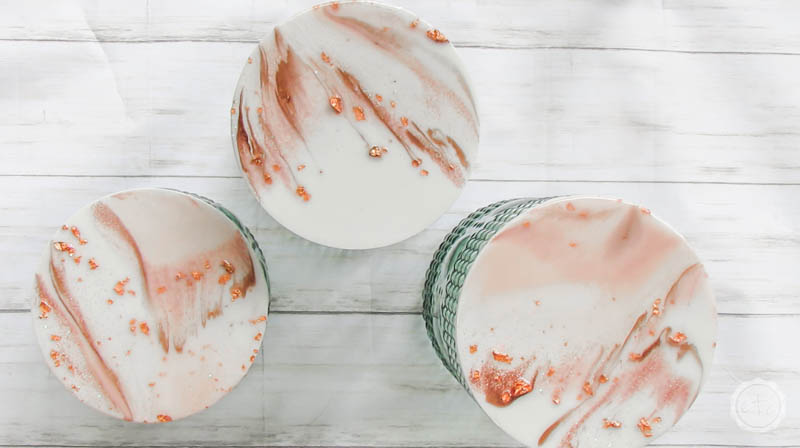
Ready for another fun resin project?! This week I’m sharing a fun and easy beginner level project that you will actually use! In fact I’m filling my little resin storage containers with dog treats so I’ll use them at least once a day!
We have a few *eight* dogs so between training, bedtime and adorableness there is always a reason to give out a treat… plus their little faces! I put them to bed last night (intending to be strong and NOT give out treats) and Daisy’s little face when she rushed in her bed and looked at me like “where’s my treat! it’s bedtime!” just gets me… I swear treat time is their favorite time of the day.
And when they’re happy I’m happy!
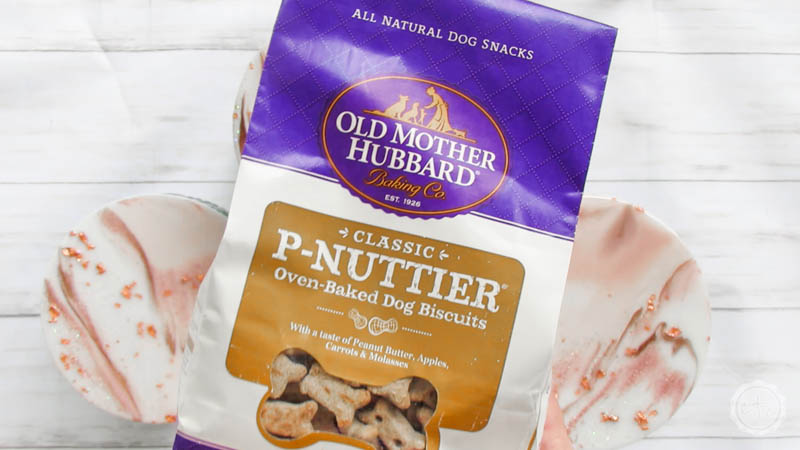
So I whipped out the resin to make a few small cute dog treat containers (ahem… 3 good size containers… we have 8 dogs). These little guys needed to hold a bag of dog treats each (I’m loving the treats by Old Mother Hubbard right now… and so are my dogs! Maybe that’s why Daisy wanted that treat so bad?)… so 1 dog treat bag per container and we’re good to go. Dog treats for everyone!
The best part? These little containers match the little dog bowl stand I made a few weeks ago perfectly! Which means I can use them together… score!
Ready to get started? Let’s go!
Supplies:
- Amazing Clear Cast Resin
- Respirator/Mask (resin graded filters)
- Gloves
- Wagner HT400 Heat Gun
- Freezer Paper
- Silicone Mat
- Silicone Mixing Stick
- Small Mixing Cups
- Silicone Measuring Cup/Larger Mixing Cups
- Reusable Silicone Stir Sticks
- Pink Pearl Craft Paint
- White Alcohol Ink & Pearl Alcohol Ink
- Holographic Glitter
- Rose Gold Glitter
- Copper Oil Based Paint
- Rose Gold Flakes
- 3 Canisters with wooden tops
- Dog Treats
- White Satin Spray Paint/Primer
- Small Level
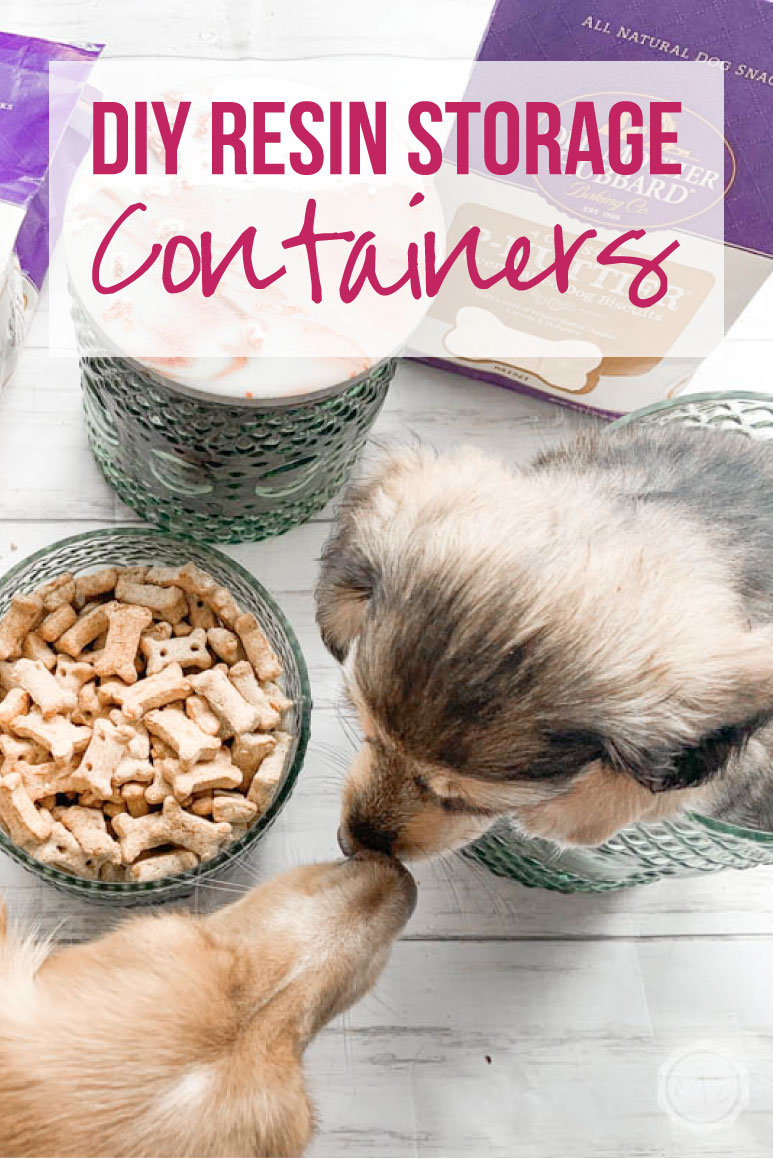
DIY Resin Storage Containers
Getting started with resin? Feeling overwhelmed? I’ve shared every singe item you’ll need to make this specific tray in the supply list below but if you’re just getting started with resin you might be a bit overwhelmed. Don’t worry! Let’s take it back to the beginning. I’ve written an entire post on what to buy to get started with resin post just for you! Then you can jump into Resin 101: Working with resin for Beginners where I’ll answer all of your resin project questions!

Step 1: Prep your Space
First things first… before we can pour any resin we need to prepare the lids for resin… and our work surface for a giant mess! Since these lids are wooden I decided to paint them white… not only will this keep the resin from sinking into the wood and requiring several coats but it will provide a great base layer for our pretty color palette.
So let’s paint these babies! First take a look at your lids… mine have rubber seals on the bottom that I removed to make painting them a little easier. Once those were gone I washed and dried the lids so that any grease/dirt/yuck that would create a barrier between the lid and the resin.
At this point if the lids feel glossy you may need to scuff sand them so that the spray paint can actually grip the surface… once this is done you can go ahead and spray all 3 lids white. Once the tops and sides are covered leave them to dry and move on to prepping your work surface.
For this project we’re going to be covering each little lid with resin and letting it drip off the sides so make sure to cover a large enough work surface with freezer paper so that the drips and spills are contained.
Once your freezer paper is down set out bakers pan and cover it with silicone sheets… this is where you’ll actually work on your project. A bakers pan is the perfect work surface because you can work outside in a well ventilated area and then carefully move your project into a room with a closed door to cure.
Ready for the last step?
Set out 5 100ml silicone cups and 1 250ml silicone cup… grab a few silicone stir sticks, your resin, respirator, colorants… basically all of your supplies. Set your 3 lids on top of your silicone sheets (I balanced mine on top of clean silicone cups so that the resin can drop off the side) and then you’re ready to rock.
Let’s mix some resin!

Step 2: Mix your Resin
Now this is the fun part! Time to mix everything together.
Go ahead and put on your protective gear (respirator and gloves please!) and then separate your colors into their cups. I like to put my colors in their cups first so that once I start mixing my resin I don’t have any busy work to eat into my resin curing time… I already have a short enough work window. I don’t need to shorten it further!
You’ll need 50ml of blush, white and clear with holographic glitter & rose gold flakes. The rose gold glitter and copper oil based paint only need about 30ml so you won’t need quite as much of those colors. All in all I mixed about 250ml of resin to make sure I wouldn’t run out (and at the end I used the extra on a little cutting board so keep a small project nearby if you have extra.
Now that your colors are ready go ahead and add 250ml of resin (125ml of part a and 125ml of part b) into your large mixing cup and stir for 2 minutes… then separate into your smaller cups (with the pre-poured color!) and mix until they look consistent.
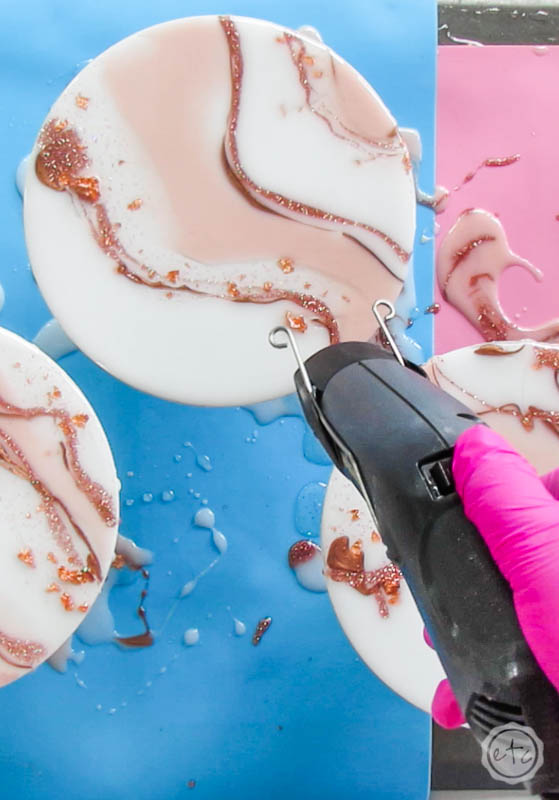
Then use your heat gun to pop any small bubbles that have risen to the surface.
If this is your first resin project and you need a bit more detailed instructions I go through the entire process in this how to mix resin for beginners tutorial. It will walk you through everything from start to finish!

IMPORTANT: Amazing Clear Cast Resin is considered non-toxic for food when mixed and cured properly. That includes a full 7 day cure time. Now no one will be eating food off this little box, and dogs aren’t people… but they are important so make sure to follow the directions and use a resin that is food safe just in case your furry friend eats food off the resin. They’ll be safe either way!

Step 3: Pour Your Resin
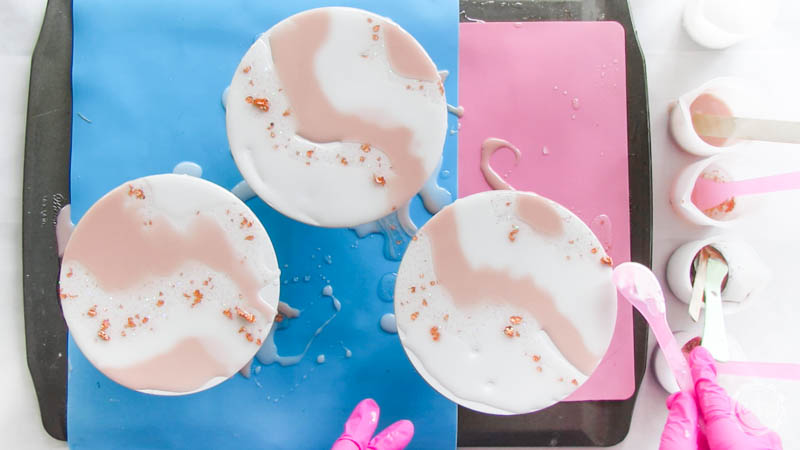
Now that everything is mixed and ready to go let’s start pouring! Start with clear, blush and white… you only want a thin layer on top of your lids so pour lines and then use your silicone spreader to spread it out to the edges.
I have found that I like a slight geode inspired look so I pour my colors in curvy stripes with an abstract pattern. If you want different pattern ideas try searching pinterest to see what floats your boat.
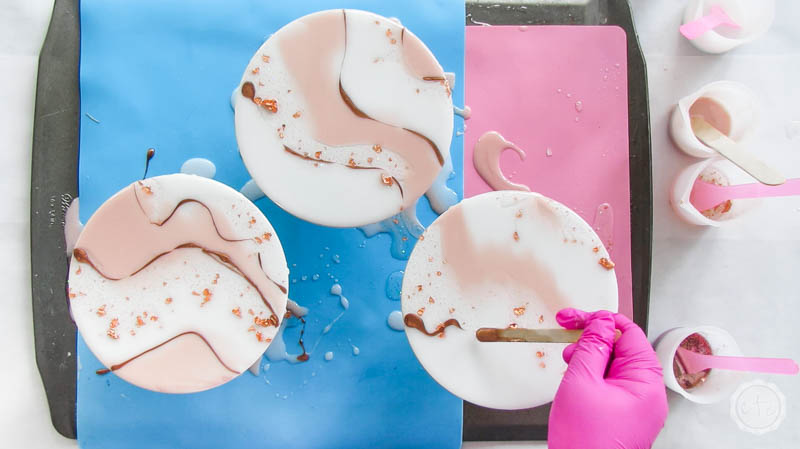
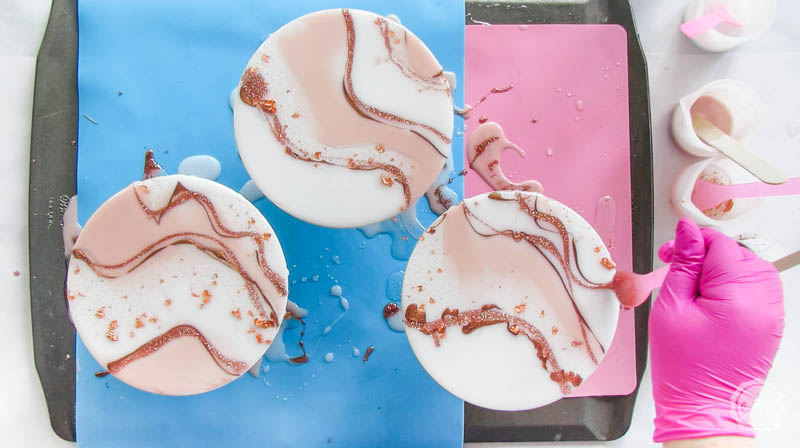
Once you have your larger sections finished it’s time to add the details! Go ahead and add your rose gold glitter and copper resin in thin streams. I like to use my stir stick for this instead of pouring straight out of the cup so that I can make the lines really thin and control exactly where I put them.
Your lid should be completely covered with resin at this point so if you’re happy with how they look then you can move on… otherwise keep adding resin until you love it! I added a little more clear with glitter/flakes to my pieces before calling it quits.
At this point if your pieces are level they’ll stay fairly consistent as they dry but if they’re un level at all the designs will lean to one side or another as they fall off the edges.
Which can be beautiful!
Just decide which you would rather have before you leave them to cure.
Step 4: Pop the Bubbles!
Ready for the fun part?
Since we’re pouring a thin layer of resin onto our lid there aren’t really any larger bubbles to pop but you’ll notice a bunch of tiny bubbles across the entire surface.
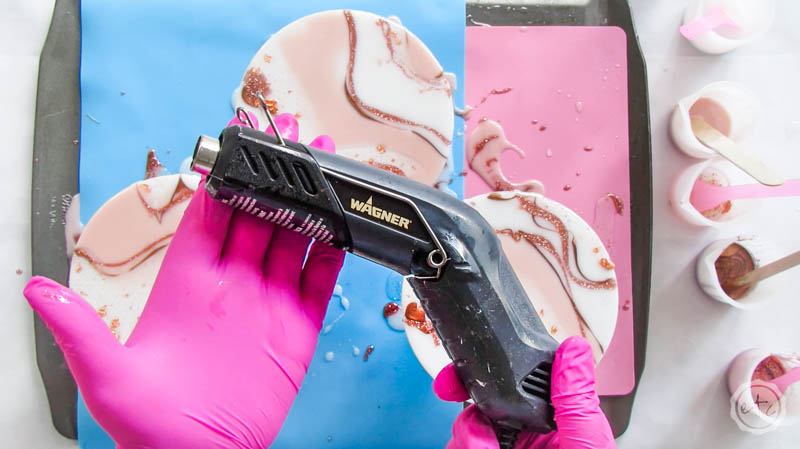
Grab your heat gun (I use my little Wagner HT400 for all my resin projects) and pass it carefully over all of your lids. This will pop the bubbles and help the colors merge a little bit… it will also move the colors around the more you hold it in one spot.
SO unless you’re trying to move the resin around move it quickly, pop the bubbles and get out of there!

Step 5: Let the Resin Cure
Now you’re done!
Beautiful darling!
I like to leave my tray in place for about 2 hours to partially cure before moving it to the back… this gives my resin just enough time to partially cure (so that it isn’t sliding around when I move it) but I can still carefully check the surface for stray dog hairs (or bugs! yuck!) before I leave it to cure for good.
So once 2 hours has passed go ahead and carefully pick up your tray and move it to it’s finally curing place (in my case my craft room… which has a door to close).
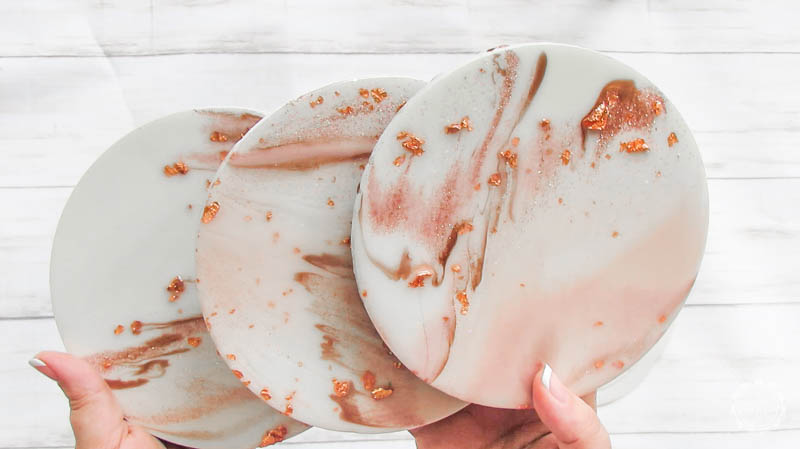
Once it’s in place carefully pick up each piece and wipe the bottom rim to remove any drips. If you leave the drips the lids will not close air tight and you’ll have to sand them off… it’s much easier to remove them now! If you’ve let them cure too much you can heat them up with the heat gun a tad and then wipe them off with a paper towel.
Gorgeous (and functional!). Now put the lids back down on their silicone cup pedestals and carefully go over the surface using a tooth pick to remove any dog hairs, people hairs or other yuck you find.
Once you’re good to go leave your pieces to cure for 24 hours! Then they’ll be safe to touch!
Step 6: Replace the Rubber Seal
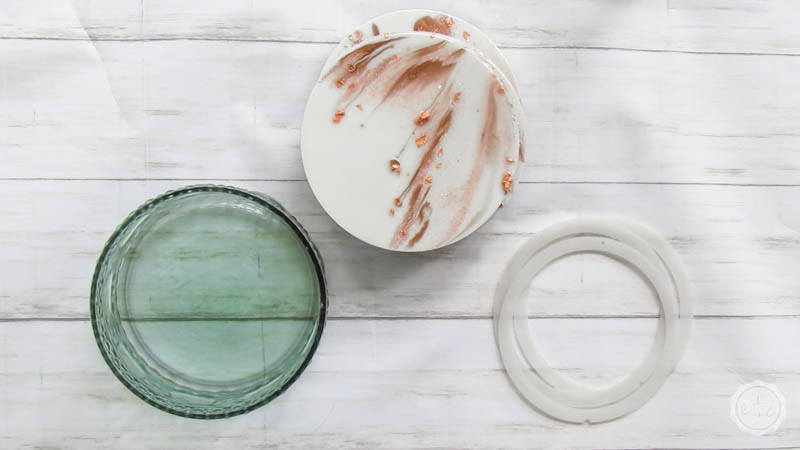
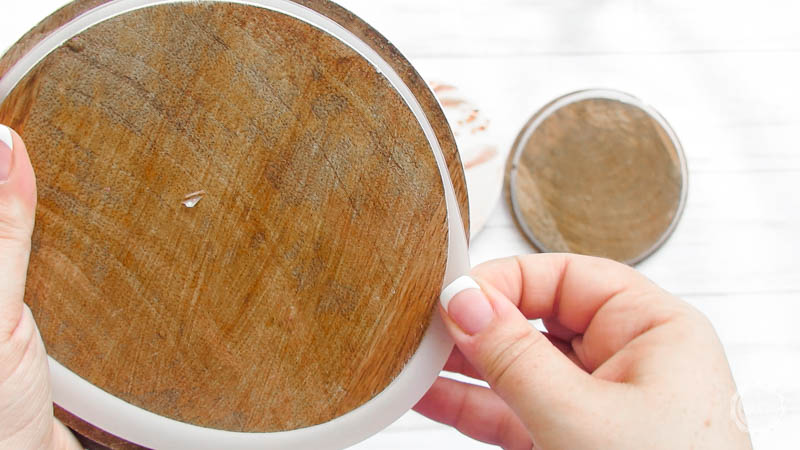
Ready to use these babies? Go ahead and replace the rubber seal and make sure that you can put each lid on it’s canister… they should fit air tight just like before!
If you’re having a hard time getting an air tight seal double check your rubber seal and sand any resin drips that formed after you checked.
Now you should be good to go!
At this point you could also add a little Cricut label to the top of your canisters (flour, sugar, brown sugar? pasta? buttons… whatever floats your boat!) but since mine would say “dog treats, dog treats, dog treats” I skipped that step!

Step 7: Fill with Dog Treats!
Now it’s the dogs favorite part… filling these bad boys with treats!
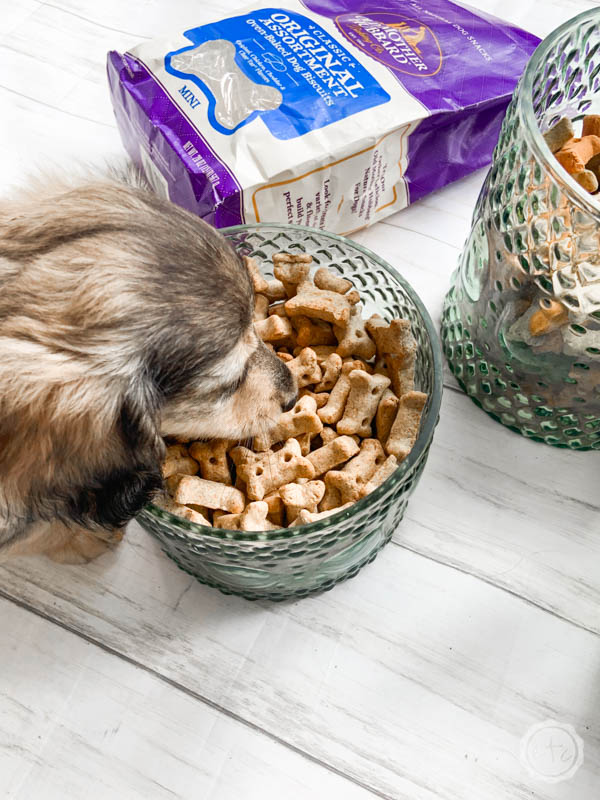
I grabbed a few new bags of one of their favorites… Old Mother Hubbard dog treats and started to fill each of the containers. Of course, as soon as I opened the bag Sugar (my little cream long haired doxie) and my cat Lily came running.
Lily smelled the bag and then promptly left but Sugar stuck around to grab a few of the treats! She just looks so happy eating her little biscuits with her wagging tail and big doggy smile… it makes my heart happy.
You know the saying “happy dog, happy life!” Oh wait… that’s not how it goes…
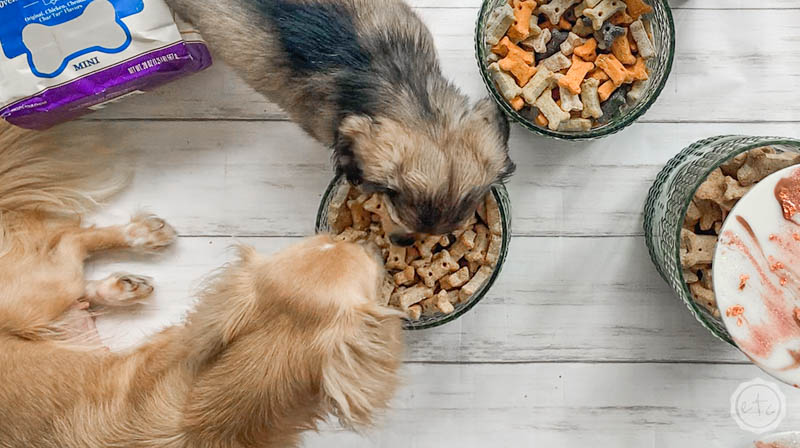
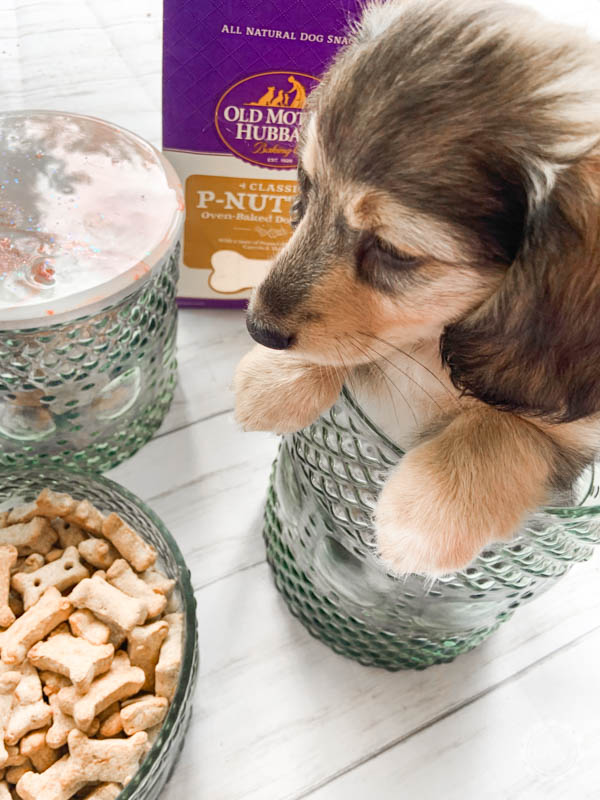
Anyways… at this point I think the dog treat excitement caught on because my Mom came outside with her dog Daisy and Sugar’s 3 puppies (who are just learning about dog treats!) and it was like Christmas came early! We had a party y’all… a dog treat, playing on the front porch, let’s each out of the containers like they’re bowls, one of the dogs was sitting in a canister at one point PARTY!
Of course, the puppies are still trying to figure out this treat thing (they were mainly slobbering on them with very little actual eating) BUT it’s a great foundation for teaching them in the future. These little guys need to learn to walk on a leash, go to bed properly, be adorable (got that one!) so a little bribery goes a long way. Which means you need a dog treat that isn’t candy… these are healthy and I feel like I’m giving my dog’s something good for them when we’re training. It’s a win-win!





Looking for more resin projects? I’ve got you covered!









Leave a Reply