This is a sponsored post written by me on behalf of Wellness Core. All opinions are 100% mine.

I am absolutely OBSESSED with how this little Dog Bowl Stand turned out y’all… I cannot wait to put it in my new house! In the meantime I’ll share all the details on how to make this adorable little blush and rose gold (geode slice) inspired dog bowl stand so that you can make it for your house!
In this specific post we’re going to go over cutting out the lid of this dog bowl stand and covering it in resin. This little lid will go on a little box that we put together with our Kreg Jig yesterday. If you want to follow the full tutorial to make the box you can do so here.
In the meantime let’s go over all the supplies! We’ll need supplies to cut holes out of our plywood (although I had the main 32″ by 12″ cuts done at Lowe’s) and to pour resin… ready to get started?
Supplies:
- Amazing Clear Cast Resin
- Respirator/Mask (resin graded filters)
- Gloves
- Wagner HT400 Heat Gun
- Freezer Paper
- Silicone Mat
- Silicone Mixing Stick
- Small Mixing Cups
- Silicone Measuring Cup/Larger Mixing Cups
- Reusable Silicone Stir Sticks
- Pink Pearl Craft Paint
- White Alcohol Ink & Pearl Alcohol Ink
- Holographic Glitter
- Rose Gold Glitter
- Copper Oil Based Paint
- Rose Gold Flakes
- Portable Worx Table
- Dremel Rotary Tool
- Dremel Accessories (1 Reinforced cut off wheel & 1 60 grit sanding band)
- 1 Plywood Board (Cut to 32″ long and 12″ wide)
- 3 Dog Bowls
- White Satin Spray Paint/Primer
- Small Level
How to Make a Dog Bowl Stand (with a Resin Top)
Getting started with resin? Feeling overwhelmed? I’ve shared every singe item you’ll need to make this specific tray in the supply list below but if you’re just getting started with resin you might be a bit overwhelmed. Don’t worry! Let’s take it back to the beginning. I’ve written an entire post on what to buy to get started with resin post just for you! Then you can jump into Resin 101: Working with resin for Beginners where I’ll answer all of your resin project questions!
Step 1: Cut Holes for your Dog Food Bowls
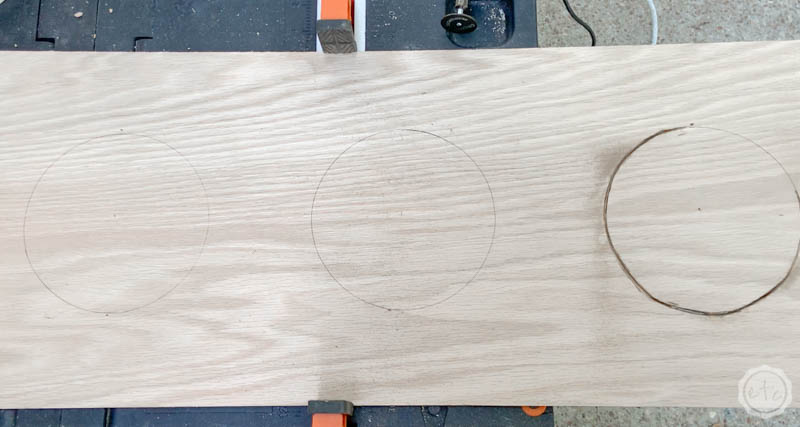
First things first… before we can pour the resin we need to prepare the plywood for our lid. Since we already had our plywood cut at Lowe’s I simply clamped this little guy onto my work table. Then I started drawing three circles to cut out onto the wood.
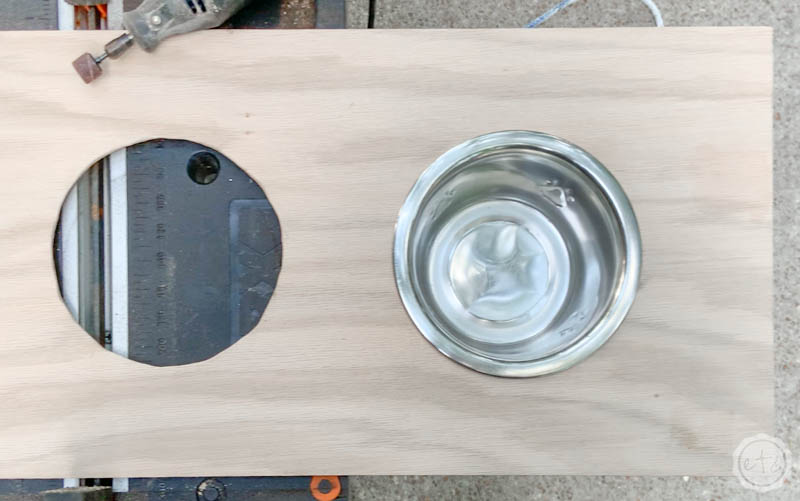
You want your circles to be the size of the inside lip of your dog bowl so that the lip of the dog bowl will be able to hang off the plywood without falling through. I find the easiest way to do this is to find a circular object that’s the right size (I used the top of a Daisy sour cream container!) and then use that object to trace your circles.
Super complicated!
Once your circles are drawn you can use your dremel to cut them out. I added the reinforced cut off wheel to my little dremel to eat through the wood and cut a circle.
This little reinforced wheel works really well for cutting the circle just make sure to keep it moving so that you don’t scorch the wood… it makes a really bad burning smell when you do!
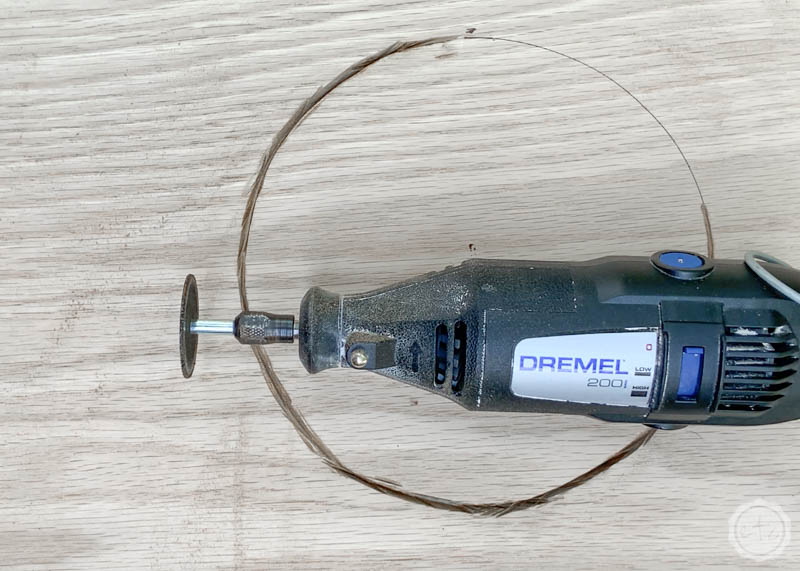
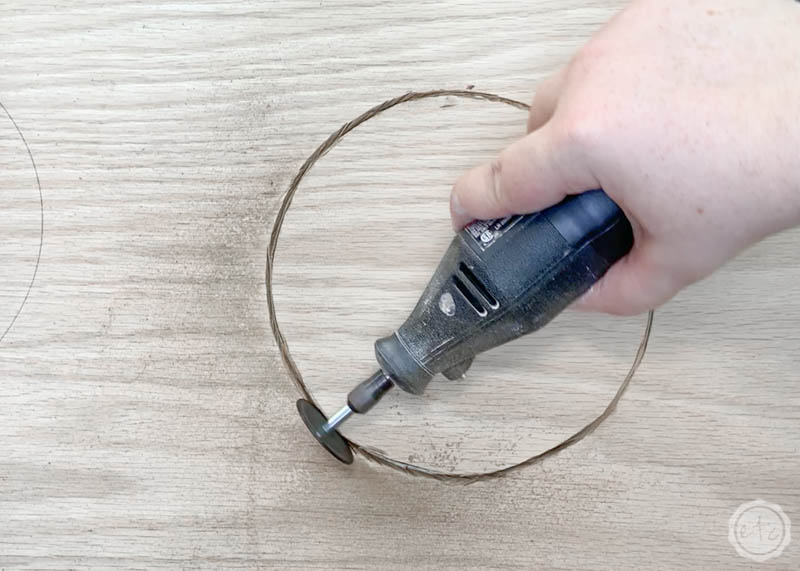
Volia!
See how the lip of the little dog food bowl hangs onto the edges of the plywood? Beautiful darling!
At this point the edges of your circle will be a little rough so you have two options. You can leave it (the edges of the bowl will cover them!) or you can use your little 60 grit sanding band to smooth out the edge of the circle.
It only takes a little bit of effort to smooth out the edges and I love how it looks… plus it gets rid of the splinters just in case the puppies get in there somehow.
Score!

Step 2: Paint your Box Lid
Now that our little lid is perfectly cut it’s time to paint this baby. Of course, you can leave the wood exposed but it’s plywood so it’s not the best grade of wood (if you want a wooden box lid I would buy a better grade of wood that can be left wooden or even stained!).
Instead I sealed my box lid (and my entire box) with spray paint. Two coats of spray paint will seal the wood so that your resin won’t sink into the wood.
Plus I’m using clear resin for parts of my design so painting my wood is perfect… that way the unpainted wood won’t show through the resin! Just make sure to hit all the edges as well as the sides so that the lid will be sealed from all angles.
The spray paint dries pretty quickly but you want to make sure it’s 100% dry before you add your resin. On the other hand if you haven’t painted your little box yet make sure to paint it now so that they’re the same color!


Step 3: Mix Your Resin
Now it’s time for the fun stuff… resin! We’re going to be covering our little lid with resin and letting it drip off the sides so make sure to cover your work surface with freezer paper so that the drips and spills are contained.
I’m working on my porch since you need to be in a well ventilated area away from kids/pets… but this baby is large and hard to move when resined so make sure you can cover it and leave it to dry for at least 24 hours. My porch is perfect but I wanted to make sure no resin would actually touch the porch (no resin stains for me!) so I covered a large area with freezer paper and then covered the seam in the freezer paper with silicone mats just in case any resin made it through the seam.
It might be a little overkill but it made me feel better!
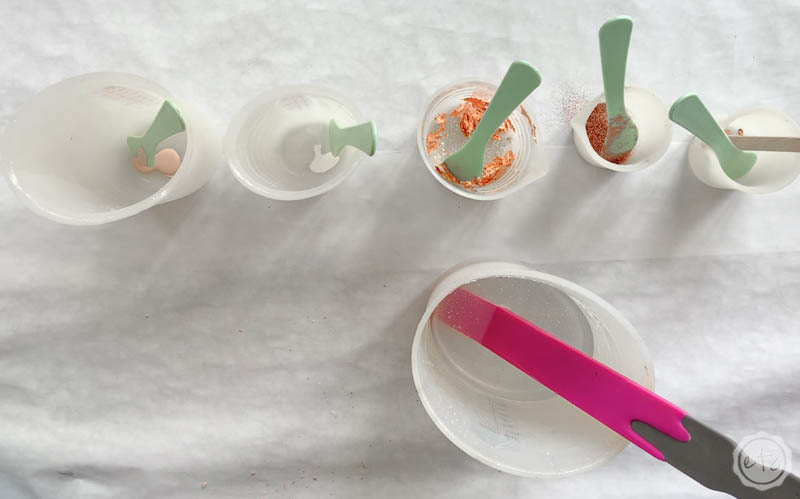
Once you have your area prepped and all your supplies near at hand (you don’t want to be running around the house looking for glitter while your resin dries!) it’s time to get started. Put on your protective gear (respirator and gloves please!) and then separate your colors into their cups.
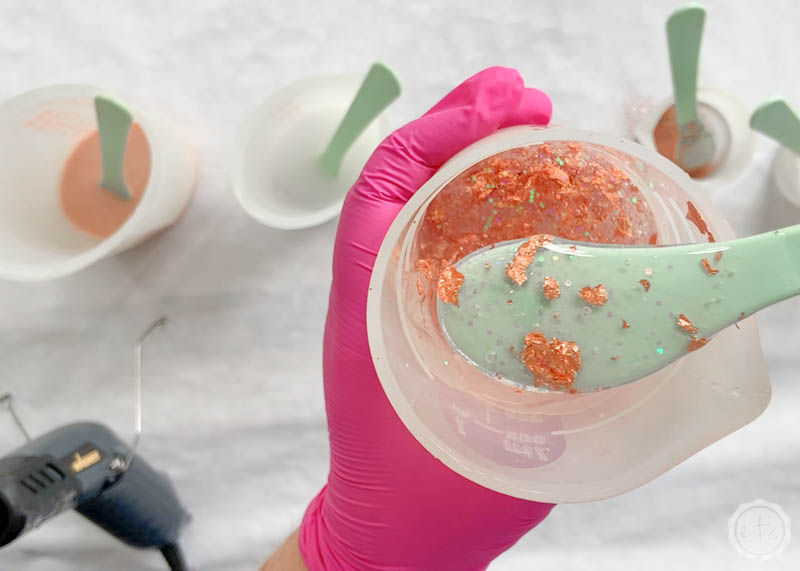
You’ll need 100ml of blush, white and clear with holographic glitter & rose gold flakes so those 3 colors will need larger cups. The rose gold glitter and copper oil based paint only need about 50ml so smaller cups will do. Ready to mix?
Now that your colors are ready go ahead and add 400ml of resin (200ml of part a and 200ml of part b) into your large mixing cup and stir for 2 minutes… then separate into your smaller cups and mix until they look consistent.
If this is your first resin project and you need a bit more detailed instructions I go through the entire process in this how to mix resin for beginners tutorial. It will walk you through everything from start to finish!

IMPORTANT: Amazing Clear Cast Resin is considered non-toxic for food when mixed and cured properly. That includes a full 7 day cure time. Now no one will be eating food off this little box, and dogs aren’t people… but they are important so make sure to follow the directions and use a resin that is food safe just in case your furry friend eats food off the resin. They’ll be safe either way!
Step 4: Pop your Bubbles
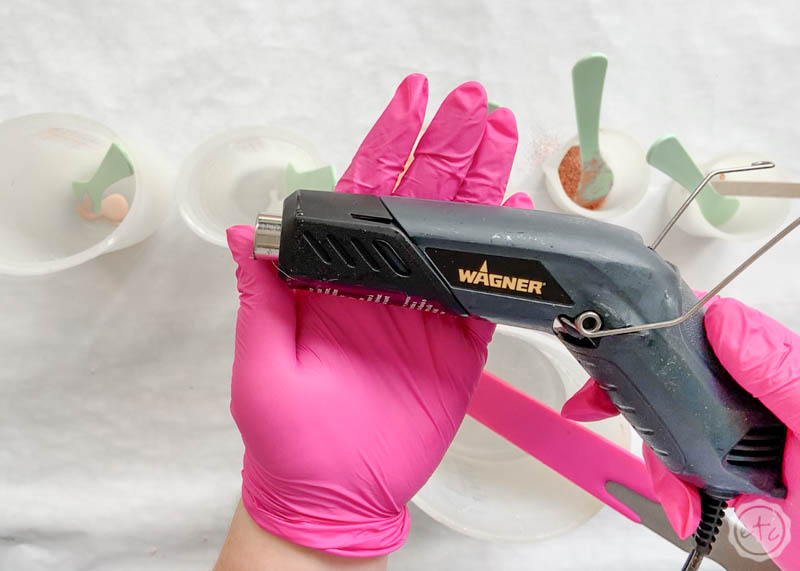
Now it’s time to pop all the bubbles! Once your resin is mixed (but before you pour it) let it sit in it’s little cup for about 2 minutes. This will let all the micro bubbles rise to the surface so you can pop them with your heat gun.
Simply move your heat gun over the surface of the resin and watch all the bubbles pop! Easy peezy lemon squeezy!
Once you’ve mixed everything together and popped all the bubbles it’s time to pour! Go ahead and move your resin cups off to the side so we can get started.



Step 5: Add Silicone Mats & Boosters for your Board
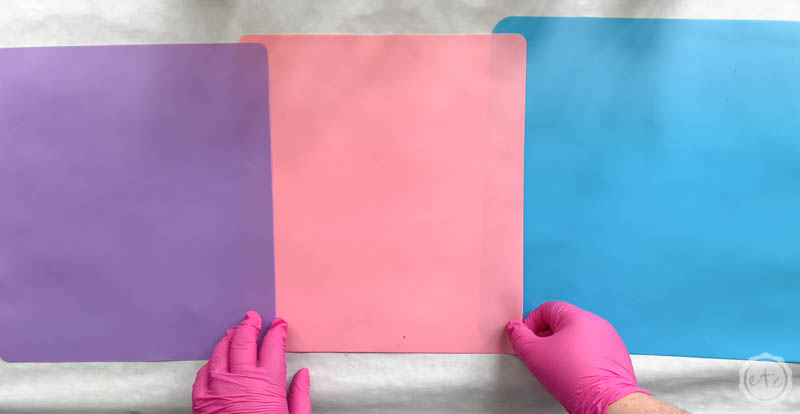
First things first… I added the little silicone mats over the seam in my freezer paper to protect my porch. This board is pretty long so I added 3 of them overlapped to make sure all the space under the board is covered.
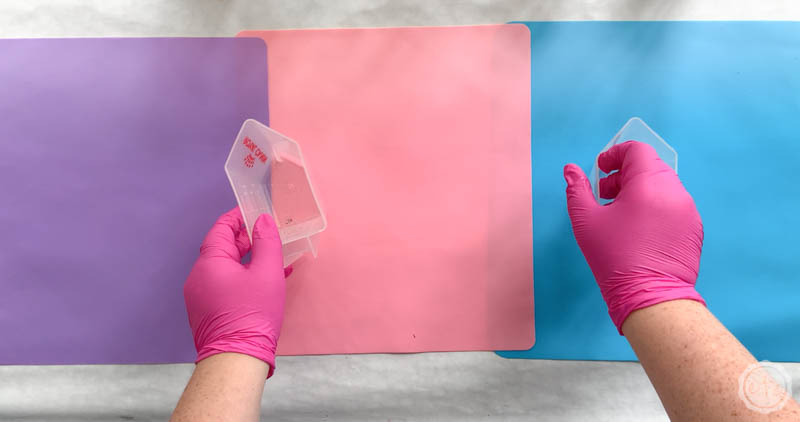
Then add 2 small boosters under your board. This can be anything you don’t mind getting resin on, that will hold your board level and let resin fall off the edges.
I used a few disposable measuring cups that are technically for dog food but that I use for resin projects.
Now add your board!


Place the board onto the little measuring cups (or whatever you’re using!) making sure that it’s fully surrounded by freezer paper and that the holes are over the silicone mats.
Perfect darling!
One last step.)now add your dog lid making sure it’s fully over the freezer paper with the silicone mats under the holes.
Now make sure it’s level!
Since we’re letting the resin fall off the sides we don’t want it rolling in one specific direction but falling off all the sides equally. So grab a tiny level and make sure that your board is level.
If it’s not add something underneath until it is!
I usually find that a popsicle stick under a corner does the trick.

Step 6: Pour your Resin
This is the best part… where we finally start to see it coming together! Resin pouring time!
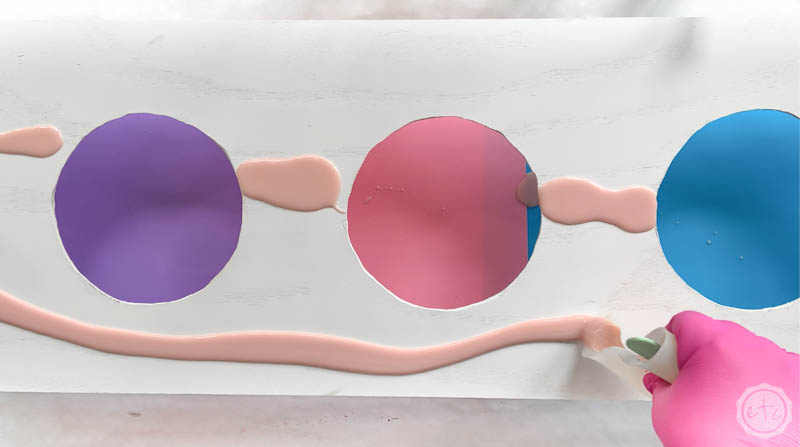
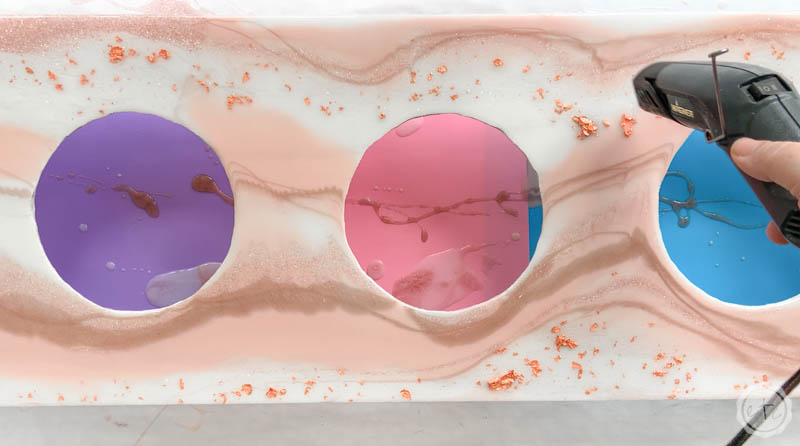
I decided to run all of my resin in long stripes across the face of the board… you can do a completely different pattern if you like but I love how this turned out!
I started by running the blush across the board, then the white and then the clear. You can make the lines a little wavy with some going off the sides or not all the way across… they don’t need to be perfect!
In fact it’s more interesting if they aren’t perfect!
Of course, when you’re pouring the resin across your board some will fall off the edges… that’s ok. Just try not to pour too much off the edges in this step or you won’t have enough to finish!
Step 7: Spread the Resin to the Edges
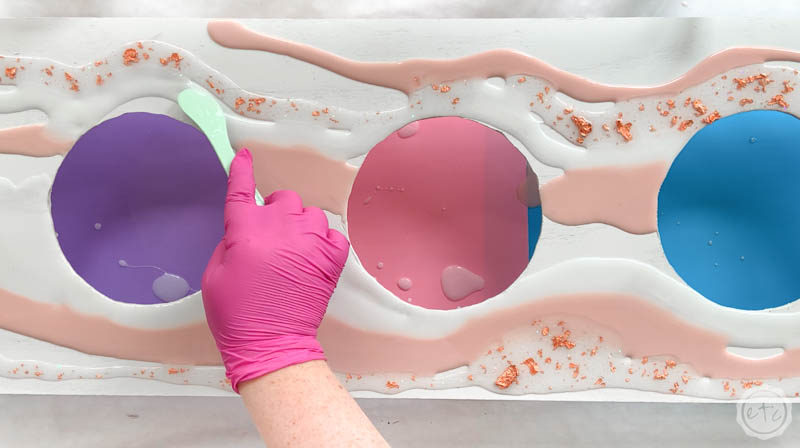
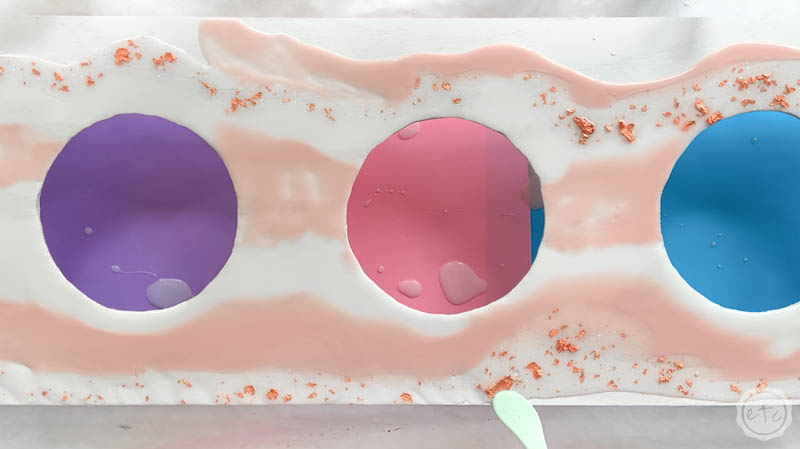
Once you have your 3 main colors down use one of your reusable stir sticks (I just used the ones in the cups from mixing) to spread the resin out until it reaches the edges and the different colors meet. They’ll naturally spread out to fill in any space they’re in but they need to go over that space first… this just helps speed up the process.
See the blush in the very middle of the board in the photo up above? It looks a little splochey? That’s because I’ve spread it out… the resin will level out though and that blush will look solid once more.
Beautiful darling!
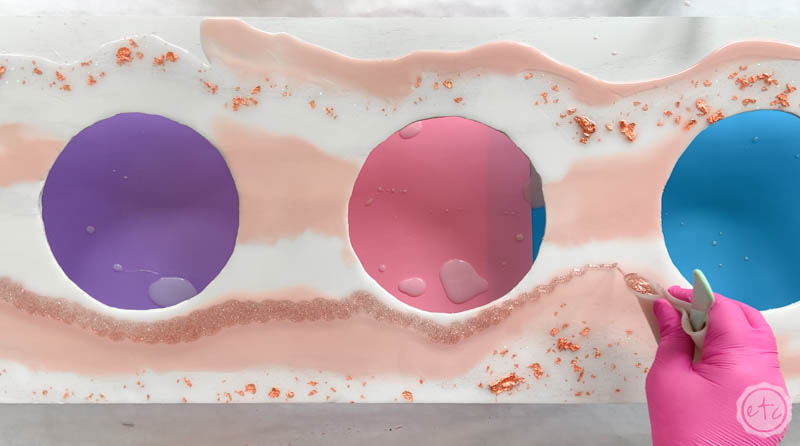
Once you’ve spread out the blush, white and holographic/rose gold flake resin it’s time to add the thinner stripes of the 2 other colors: rose gold glitter and copper.
These colors are more pigmented so I add them in smaller amounts… more like the detail pieces! Check it out!

Step 8: Pop the Bubbles and Set it Aside to Dry
Once you’ve finished the entire lid and the resin is just the way you want it go ahead and use your heat gun to pop any micro bubbles that have risen to the surface during pouring.
There were way more of these than I thought they would!
Once the bubbles are all popped your finished! Go over each and every piece carefully. Make sure there is no dog hair, or lint, bugs, pieces of dirt… nothing in the finish. If there is take a piece of tweezers (or something!) and remove it while the resin is still wet. Then you can cover the entire piece to dry.
Especially if you’re working on a porch a cover will save your piece from the bugs! Yuck! I covered my piece with a large cardboard box and then.a clear plastic sheet. Then leave it for about 24 hours to cure.
It won’t be food safe at this point but if there are any drips on the back that need to be cleaned up now’s the time. Hit the drips 5 seconds of heat from the heat gun and then cut them off with a small razer blade.
Boom.

Step 9: Add Dog Food and Enjoy!
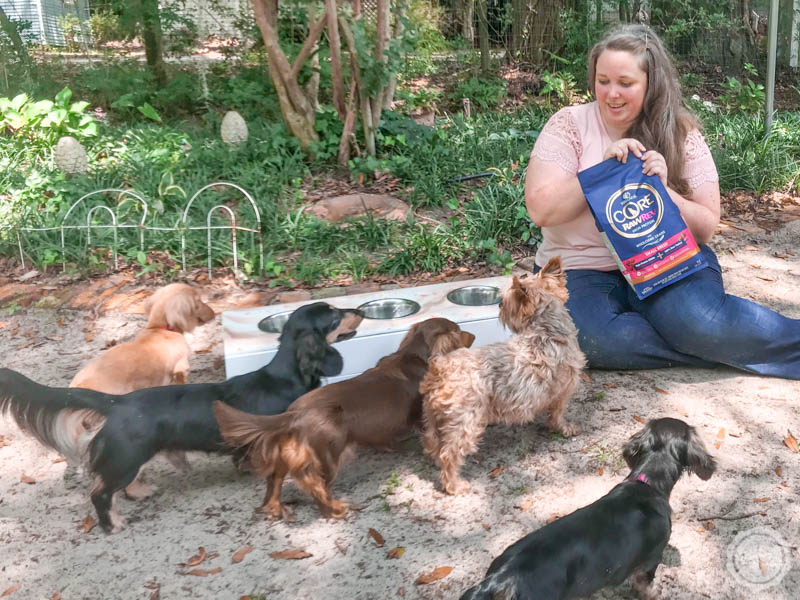
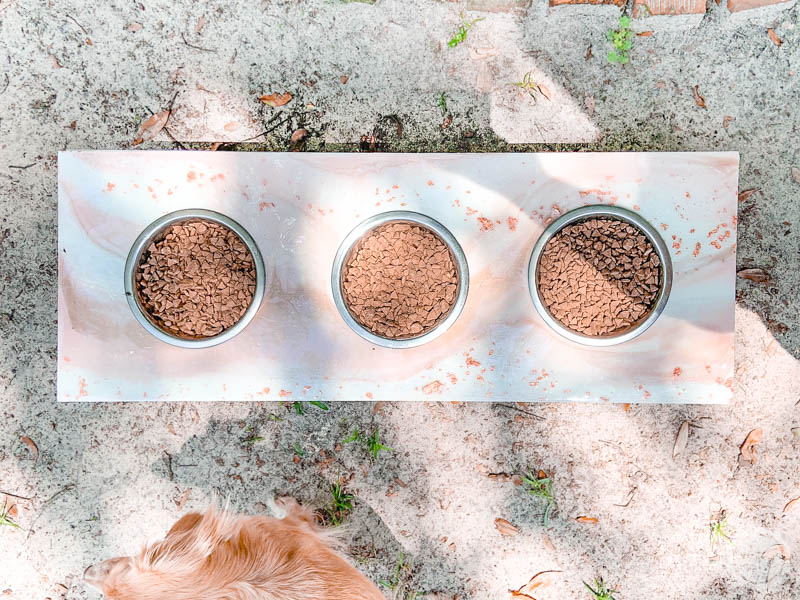
Now there’s only one step left… adding your dog food! We have *ahem* 8 dogs and as you can see they all love this Wellness CORE small breed dog food.
It’s a natural diet mainly composed of meat so it fills them with energy and helps them to live long lives… which is my favorite part! These guys are my babies so I want them to be around as long as possible.
You can see 5 of our little guys in the picture below… from left to right we have Bowser, Cocoa, Koopa, Bitty and Cinnamon. Bitty and Cinnamon are my babies while the other three are technically my Mama’s dogs… but they’re together often enough they think they’re a pack! Daisy my Mom’s older dog didn’t come over for dinner time… and my sweet girl Sugar was with her puppies! You’ll see them in a minute.
*Want to try Wellness Core for yourself? (Well… for your dog?) Click here to take $3 off your first bag.
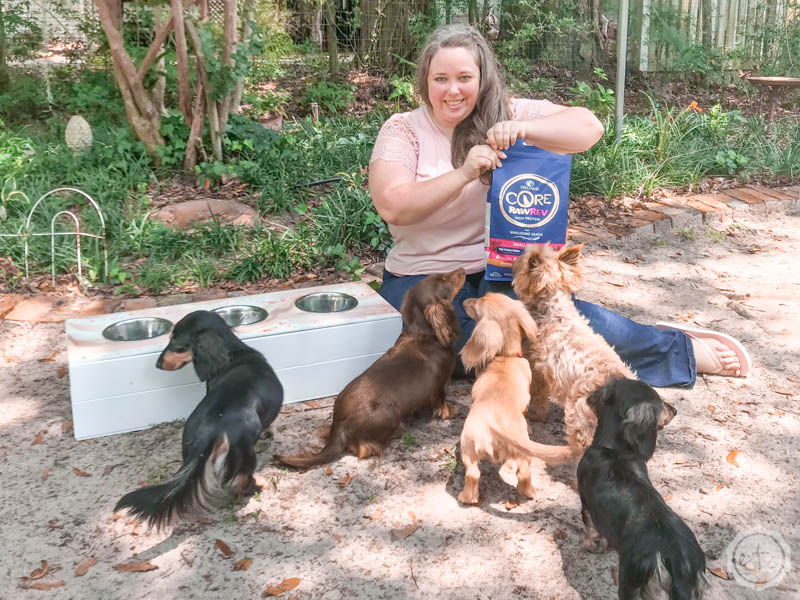
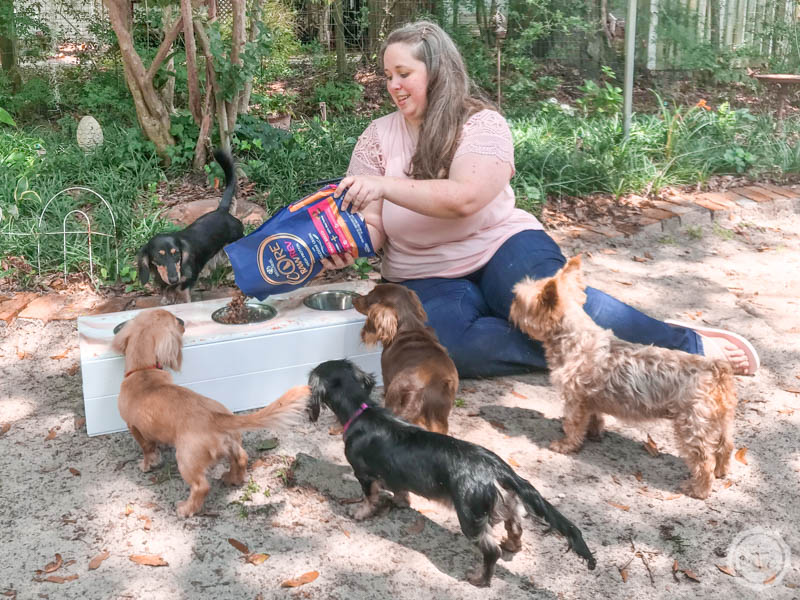
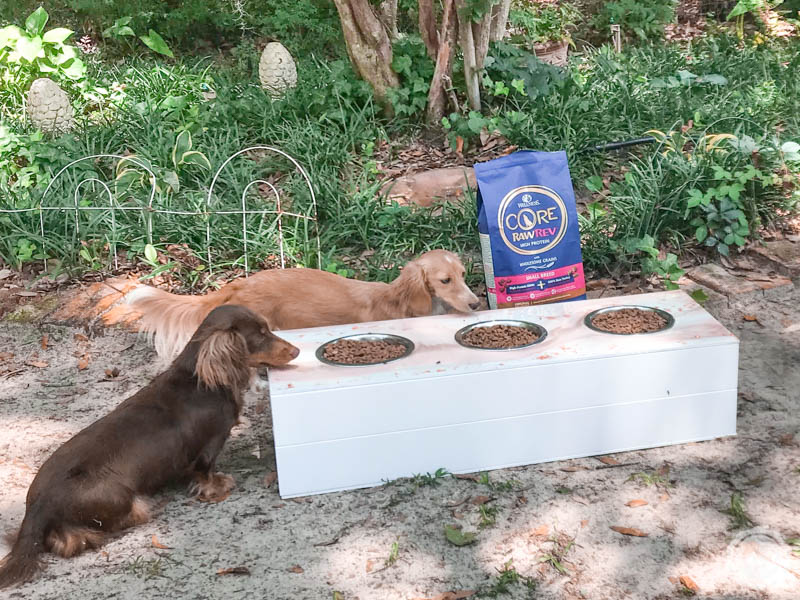
So far I think it was a hit! All of the dogs came to take a look and even our smallest dog Cinnamon was able to get a few mouthfuls by standing up on the sides. She’s only 5 months old so she’ll be able to eat normally soon enough.
Until then she’s pretty darn cute!
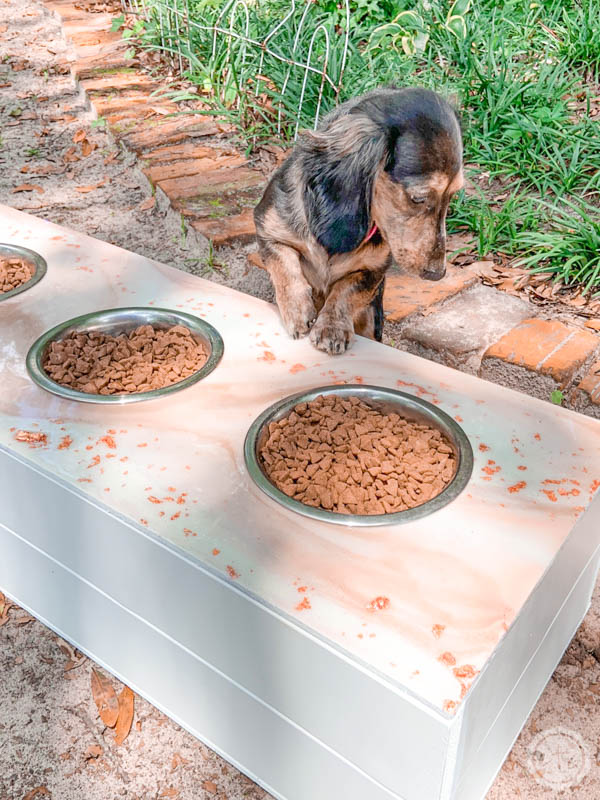
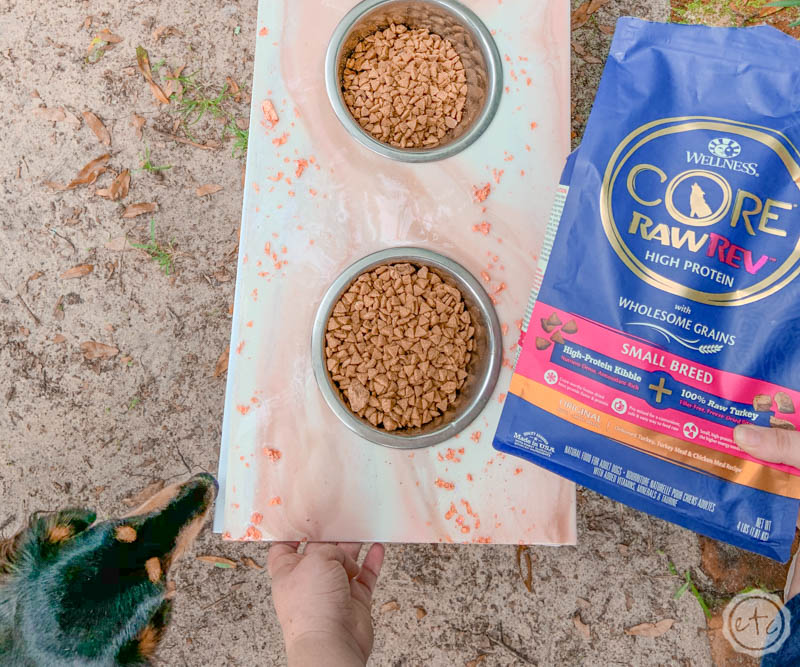
Since we have so many dogs I wanted to make this little box long enough to hold 3 dog bowls but you could make it shorter and only feature two bowls. That would be a very easy modificaiton!
You could also add hinges to the back of this baby if your dogs are rough eaters. My babies are pretty easy on their food dishes so I didn’t feel the need for hinges!
Instead I simply place the lid on top… which leaves the inside free for storage. I like to place sealed bags of dog food, treats and toys inside… out of site out of mind for my puppies but I can easily access everything by simply moving the top.

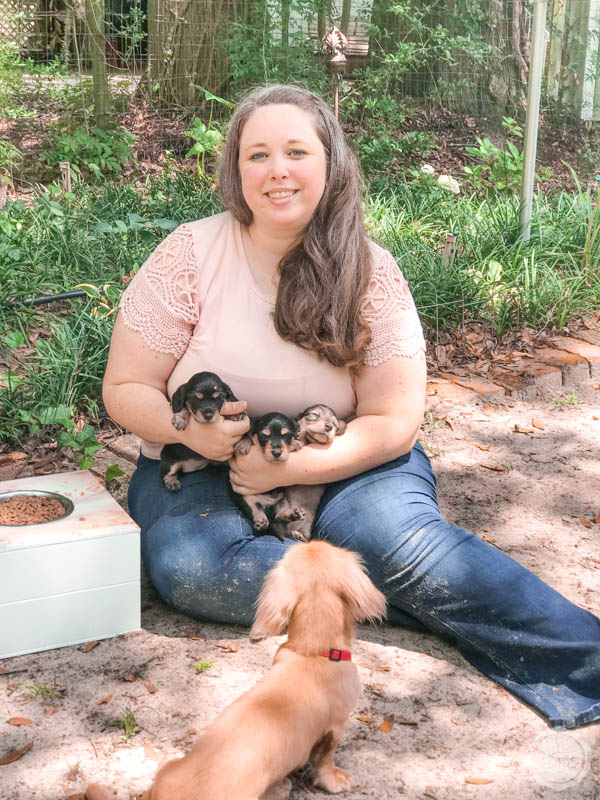
Ready for the puppies?!
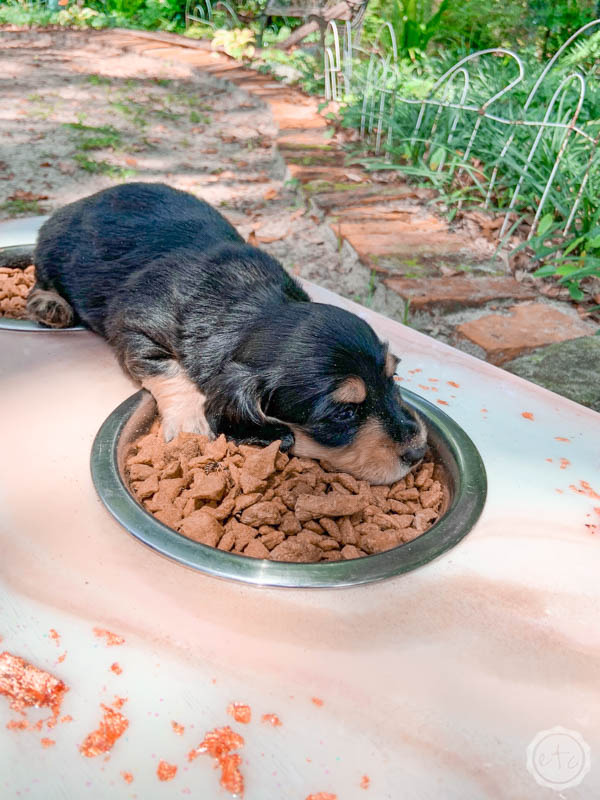
These 3 little rascals had to take a little peek before we took our new dog food stand inside! They’re 4 weeks old and have only just started eating solid food. They’re only eating a couple kibble a day right now (and they’re still on puppy food so they won’t graduate to this small breed food just yet) but look how cute they look!
They think the bowls of kibble are soft little pillows… while the rest of the dogs aren’t sure why there are puppies in their new bowls!
I understand guys… I would be surprised if there were puppies on my plate too!
At this point we’re completely finished with our little project! You can place it in your kitchen or hallway and fill it with dog food for your babies. I’m going to share a few more pretty finished pictures and then do just that!





Looking for more resin projects? I’ve got you covered!


