

Ready for a quick and easy resin project? These little coasters are so dreamy… and I’m slightly obsessed with the blush color! They’re so pretty! Of course, the best part is that they’re super easy to make and since you only need one layer you can finish them in one layer!
Which means you only have to mix and pour resin once!
Score!
My favorite part may be how they look with the rest of the collection… the pretty serving tray, the 3-tier tray, even the matching salad plates! It’s just so pretty!
Ready to get started?
Supplies:
- Amazing Clear Cast Resin (250ml)
- Wagner HT400 Heat Gun
- Paint Respirator
- Disposable Gloves
- Freezer Paper
- Large Silicone Mat
- Non-Stick Baking Pan
- Silicone Coaster Mold
- Large Silicone Measuring Cup
- 5 100ml Silicone Cups (or 5 larger disposable cups)
- Re-usable Stir Sticks
- Pink Pearl Craft Paint
- White Alcohol Ink & Pearl Alcohol Ink
- Holographic Glitter
- Rose Gold Glitter
- Copper Oil Based Paint
Getting started with resin? Feeling overwhelmed? I’ve shared every singe item you’ll need to make this specific tray in the supply list below but if you’re just getting started with resin you might be a bit overwhelmed. Don’t worry! Let’s take it back to the beginning. I’ve written an entire post on what to buy to get started with resin post just for you! Then you can jump into Resin 101: Working with resin for Beginners where I’ll answer all of your resin project questions!
Easy Resin Geode Coaster Tutorial

Step 1: Mix your Resin!
Ready for a little mixing?
Remember in Gilmore Girls when Sookie wins all the arm wrestling competitions because of her killer mixing arm? I wonder if that will be me some day!
Probably not… dough is hard to mix and resin is easy.
Oh well. For these coasters I mixed 5 colors of resin: clear with holographic glitter, rose gold glitter, blush pink, pearly white and copper! Start by adding your colorants to the mixing cups so that you don’t have to waste resin time once it’s mixed up.
Then it’s time to mix! If you’re never mixed resin before you can follow my easy to follow how to mix resin tutorial… otherwise go ahead and mix about 250ml of resin and we’ll break it up for each of the colors.
For these little coasters you’ll need more clear (with holographic glitter) and blush resin so I made 100ml those two colors… and 50ml of the rest.
Easy peezy!
Step 2: Start Pouring Your Resin
Now it’s time to get pouring!
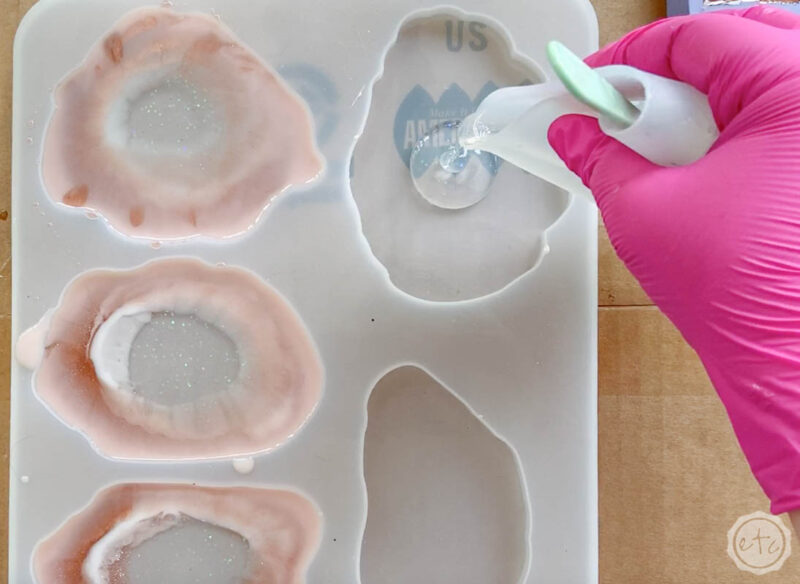
Before you actually pour resin out of your cups take your heat gun and pop all the micro bubbles that have risen to the surface.
Once your resin is crystal clear it’s time to actually start pouring. I find it easiest to start in the middle with your clear resin then do a ring around the outside with the blush!
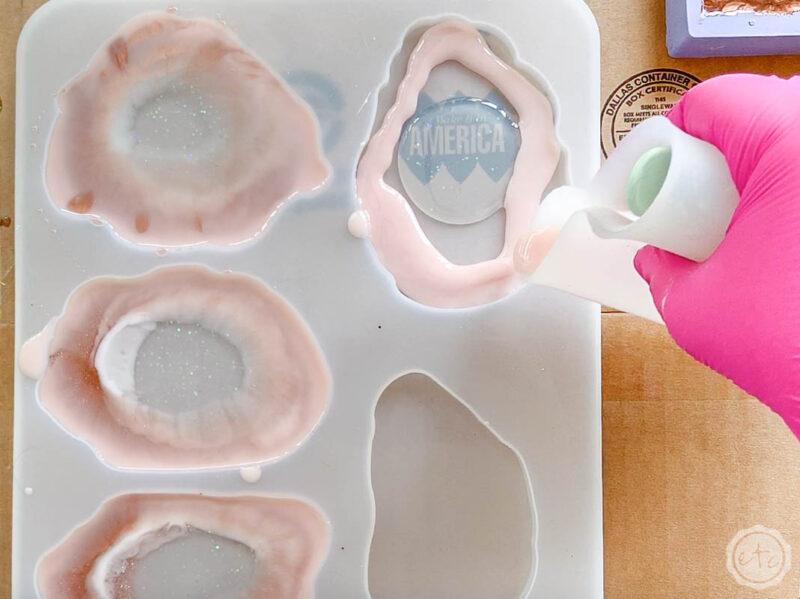
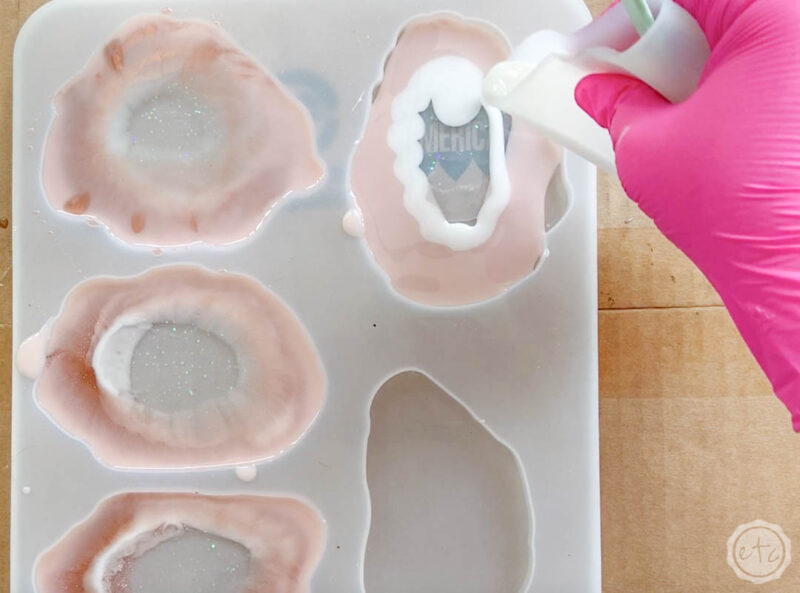
Ready for the next layer? We’re talking the inside pieces! I started by adding a circle of white in-between the clear and blush and then circled the white with my rose gold glitter resin.
Just a note you don’t necessarily need to go in this order… you could do the rose gold glitter on the outside and the blush on the inside. Or the clear on the outside and the white on the inside! Just remember a few things: 1) all of our colors are different weights which means they’ll intermingle differently as they dry and 2) the clear will show the layers around it so make sure it has something to interact with!
Other than that go crazy! I made all 5 of my coasters in the same pattern but you can make each one different. Make these babies completely unique!
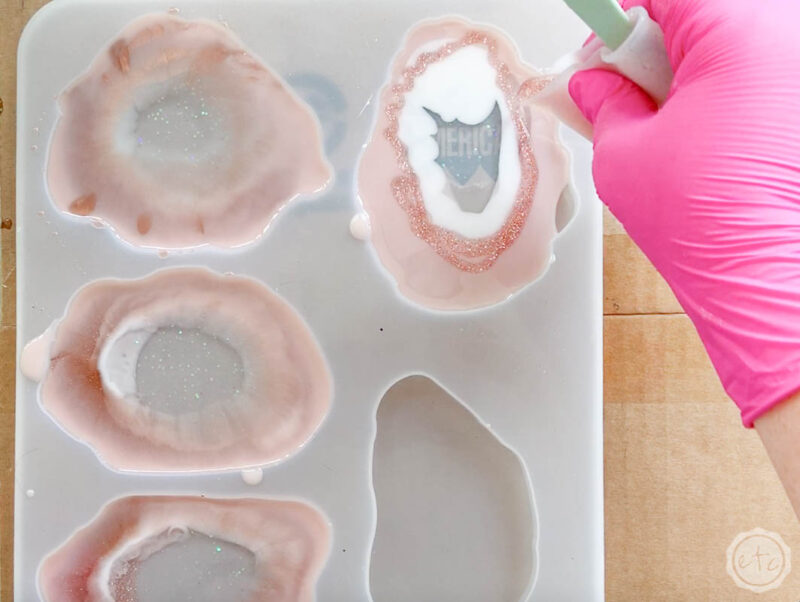
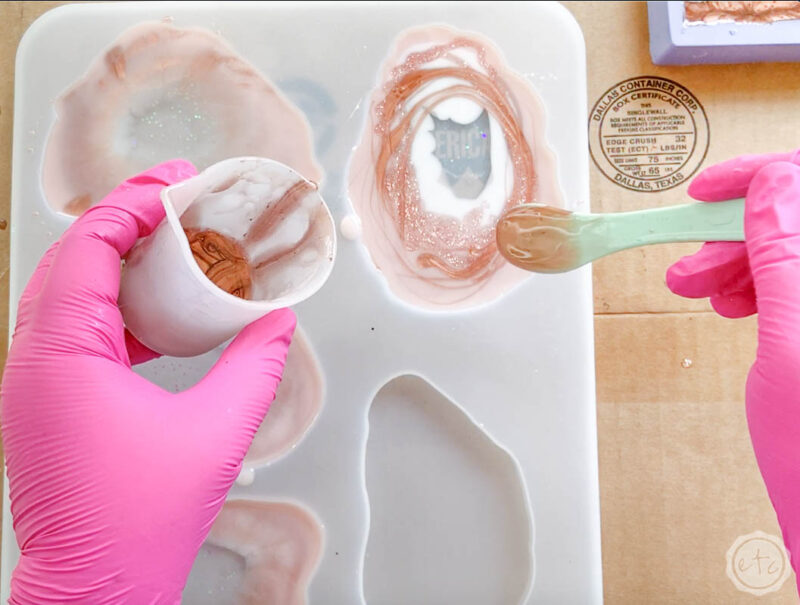
For my last color I added the copper resin. The testers brand copper paint we used for this color is oil based which means it’s very concentrated in resin… you’ll get a really pigmented color with this stuff. Which makes for beautiful effects but a little goes a long way.
So instead of pouring it straight into the mold I used my stir stick to add it in ribbons around all of the layers. It will sink into the different layers and intermingle with the different colors.
Alright! That’s our last color!
At this point you can leave your coaster alone and let it dry or top it off with enough resin to fill the mold. I like my coaster molds to be full so that each coaster in the set are the same thickness… but I don’t necessarily want to add more color.
So I add more clear to the middle until the mold is full! This is my absolute favorite part since the clear mixes with the other colors while you pour and you get these fun layers in the middle where they’re mixed.
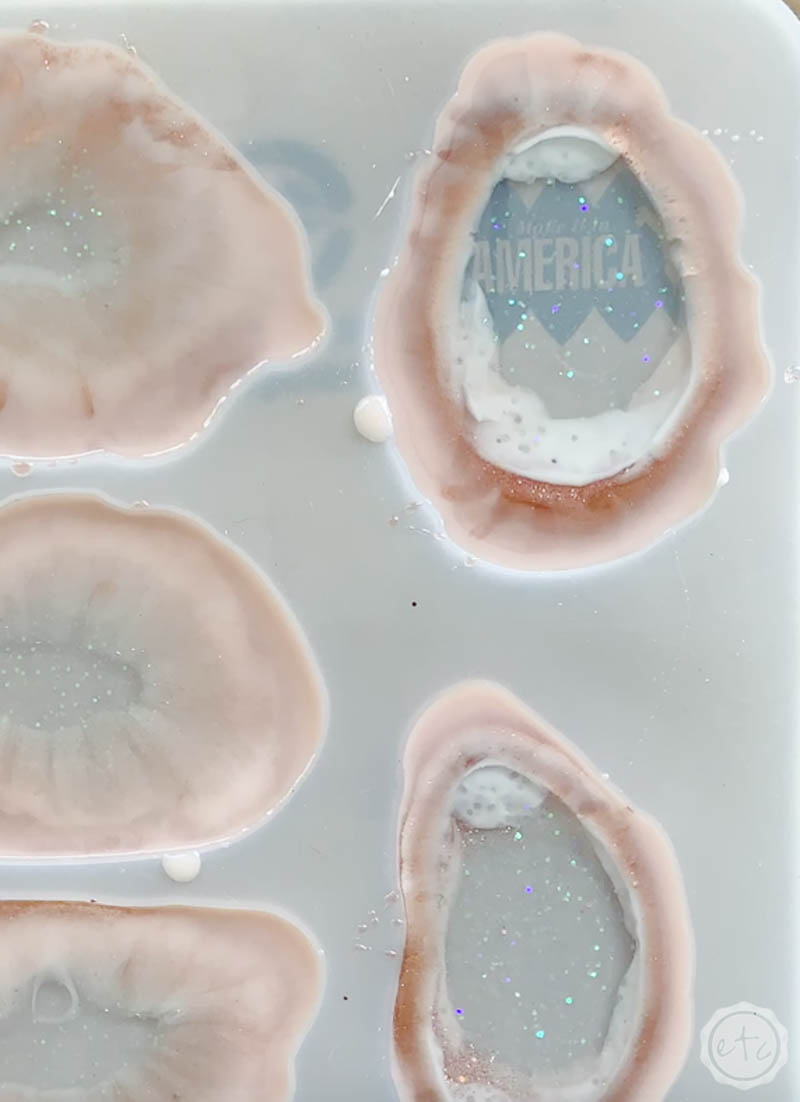
Step 3: Let your Resin Cure
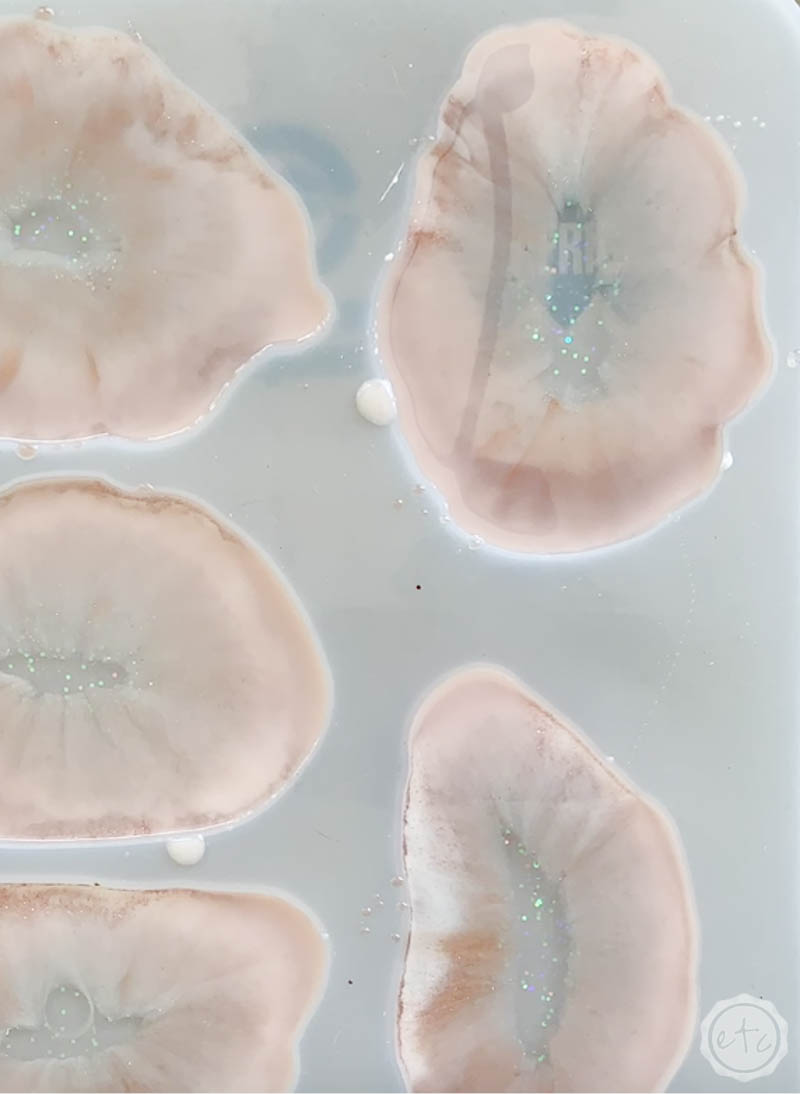
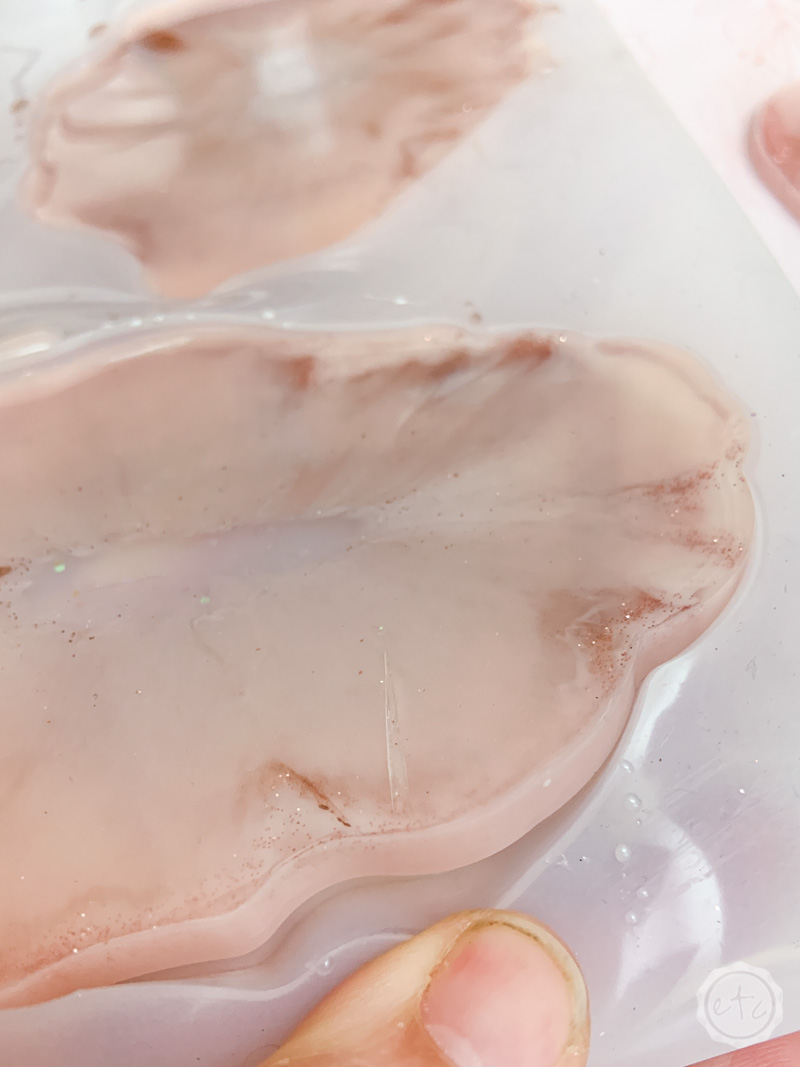
Now it’s time to let everything dry… set your mold aside in a clean, dry space and let the resin do it’s thing. Even as the resin cures you’ll notice the colors continuing to mix and change.
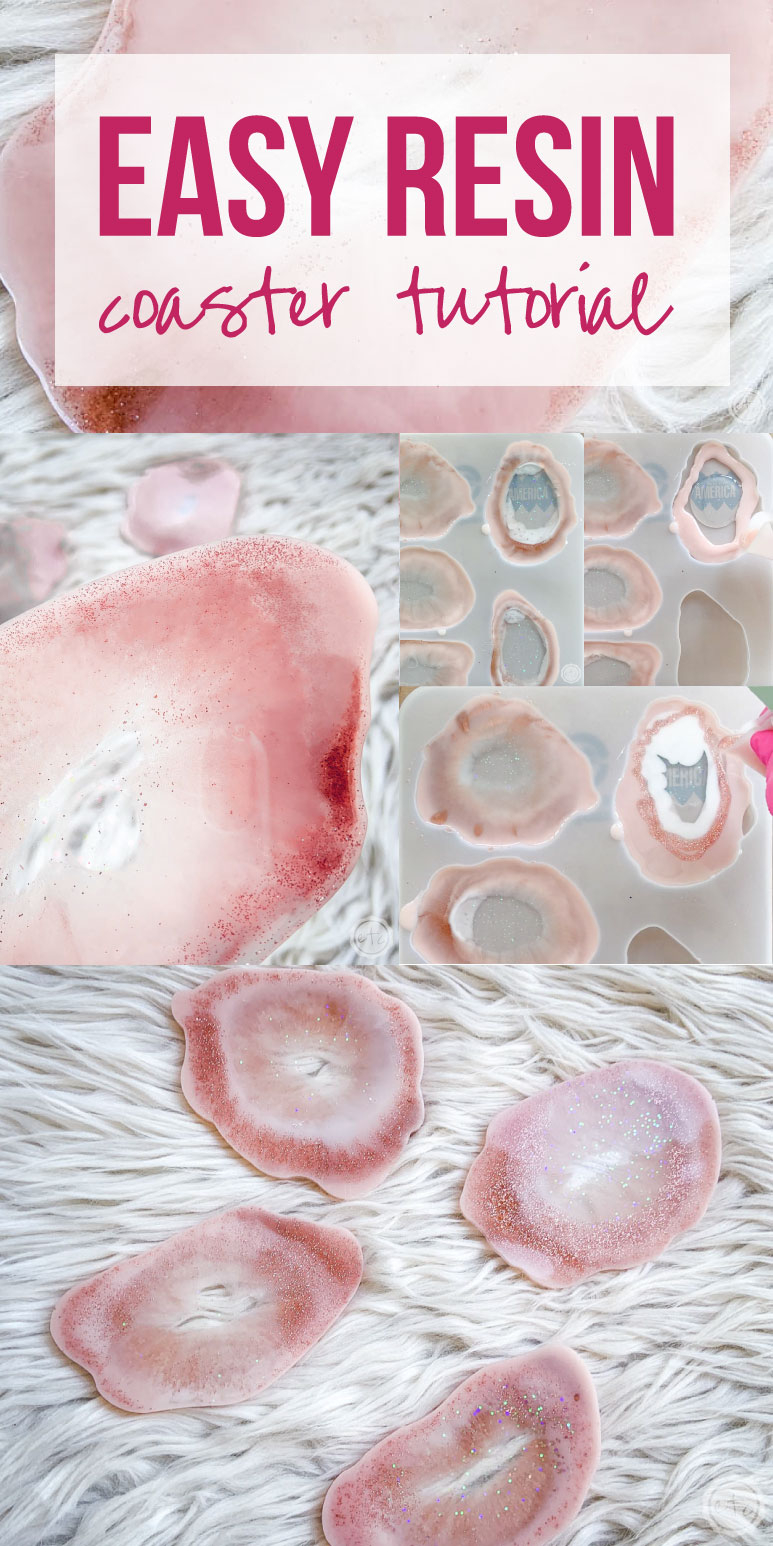
Just take a look at the picture above (which was taken directly after I poured the last bit of resin) and the picture below (which was taken several hours afterwards when the resin had started to cure!).
Kind of cool huh?
This specific resin needs 24 hours to cure so make sure your mold is covered (you don’t want any dust (or dog hair) messing up your pretty coasters) and let it sit.
Patience darling, patience.
Step 4: Demold your Coasters
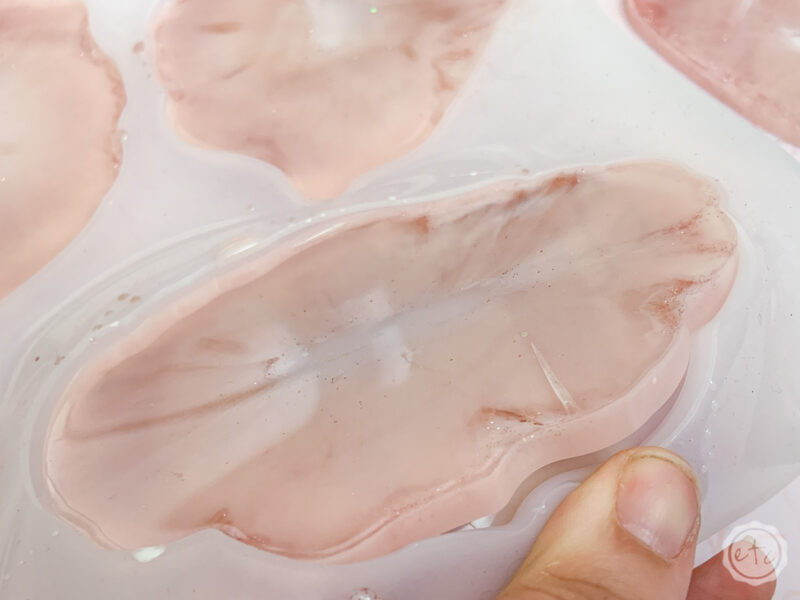
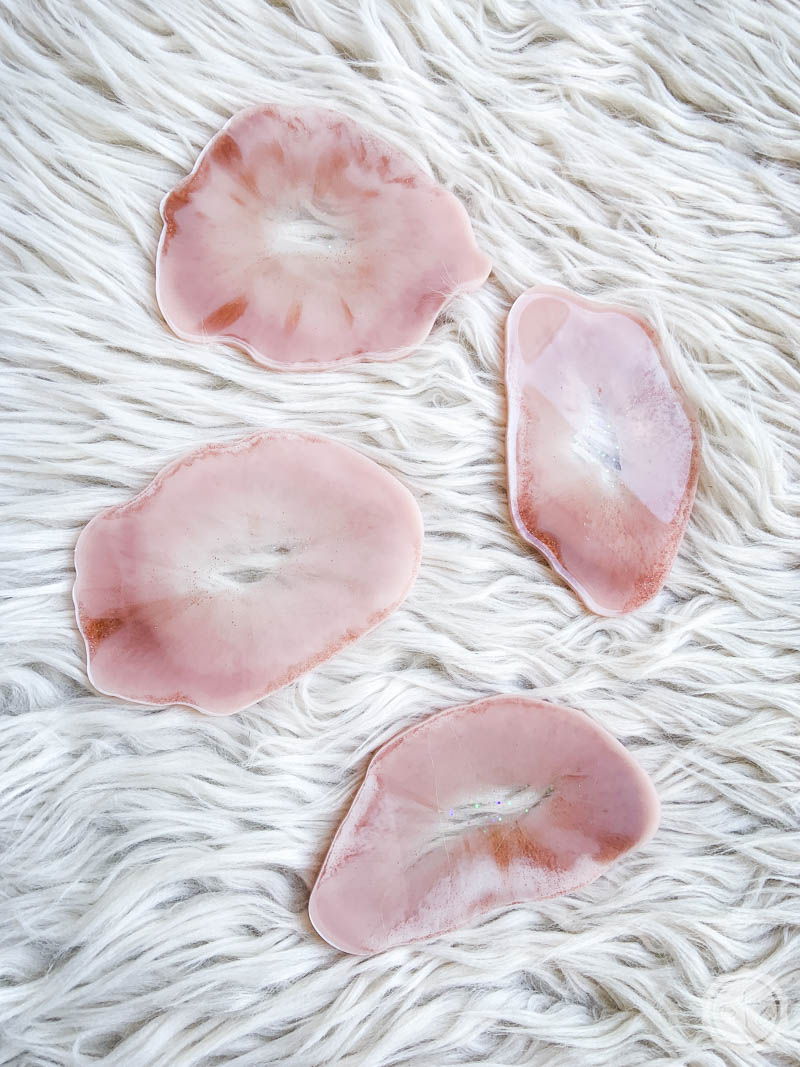
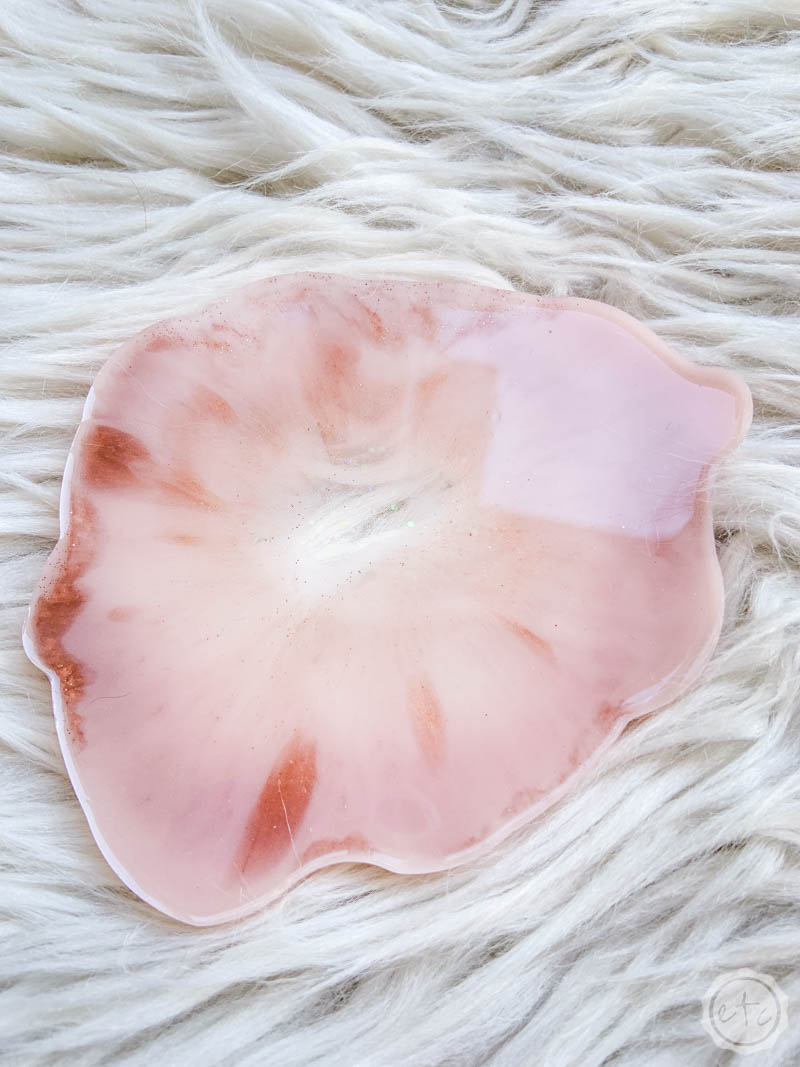
After 24 hours your little coasters should be dry and ready to pop out of the mold. I just love how all the layers of color mix together to give you this soft pink color with clear in the middle and hints of copper.
It’s a very sophisticated kind of feel but it’s still soft and dreamy.
If that makes any sense.
Anyways back to the demolding! Start by pulling the mold away from your coaster around the edges. The silicone mold should cleanly (and easily) pull away leaving a hard coaster behind.
If the silicone mold is not separating cleanly or the coaster does not seem dry then leave it alone for another 24 hours to cure a little longer. Even though resin dries in 24 hours a full cure can take up to a week and different brands of resin have different cure times… so read the directions on your resin and be cautious!
These babies popped right out of the mold… and were ready for their close-ups.
Step 5: Enjoy
Now that we’ve taken these little guys out of the mold they’re ready to rock! If you’re going to put a hot or cold beverage on them you want to wait for the full cure (which is about a week) but I’m going to be adding beautiful script names to the front and using these guys as placecards.
These little guys can be so much more than coasters!
Of course, if you are using them for coasters you’ll notice that you have a flat side and a side with a tiny lip on it… the side with the tiny lip is where you’ll place your glass. The tiny lip will help hold the condensation from your glass so that it doesn’t make a mess of your table.
Kind of cool right?
Now let’s take a look at our coasters!
The picture up above is the top (the side we could see when we were pouring the resin) and the picture below is the bottom.
Remember how I said different resins & materials have different weights? That’s why most of the heavy glitter has fallen to the bottom of the coaster and can’t be seen from the top!
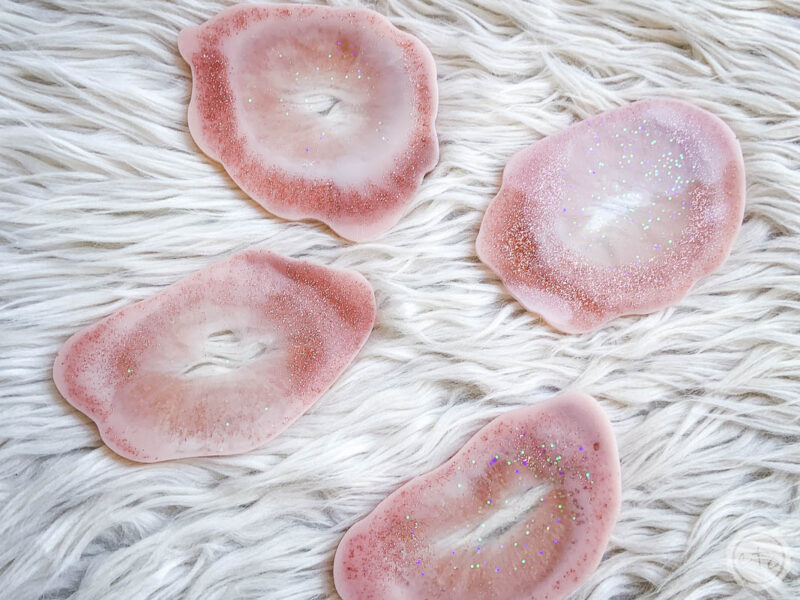
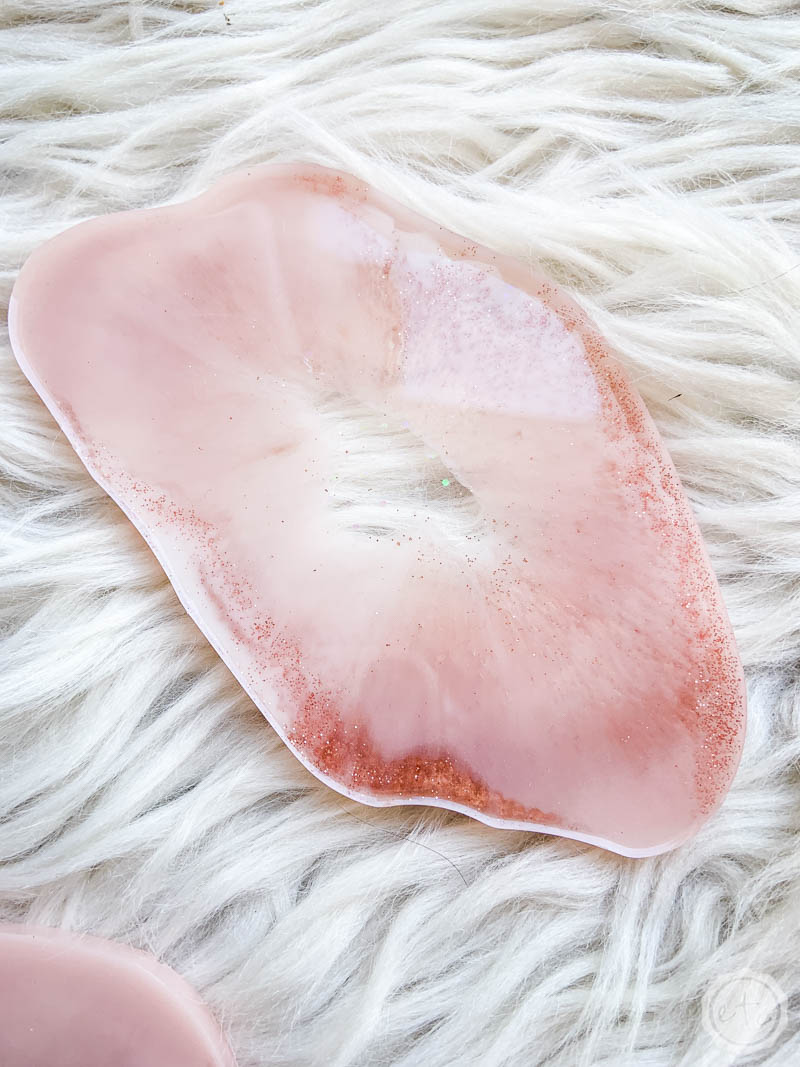
Want a closer look? The picture above and below are the same coaster… the top is soft and dreamy blush’s and clears while the bottom has a beautiful (and dramatic) glitter pattern.
Both sides are pretty but they’re definitely different! Luckily we can use whatever side we want in most cases!

Bonus Tip: Want a little glitter on the top layer of your coaster? Wait 1-2 hours after you’ve poured your resin and then sprinkle the glitter onto your coaster wherever you like. After 1-2 hours the resin will be cured enough that the new glitter will stay on top of your coaster but not so cured that it won’t mix with the resin.
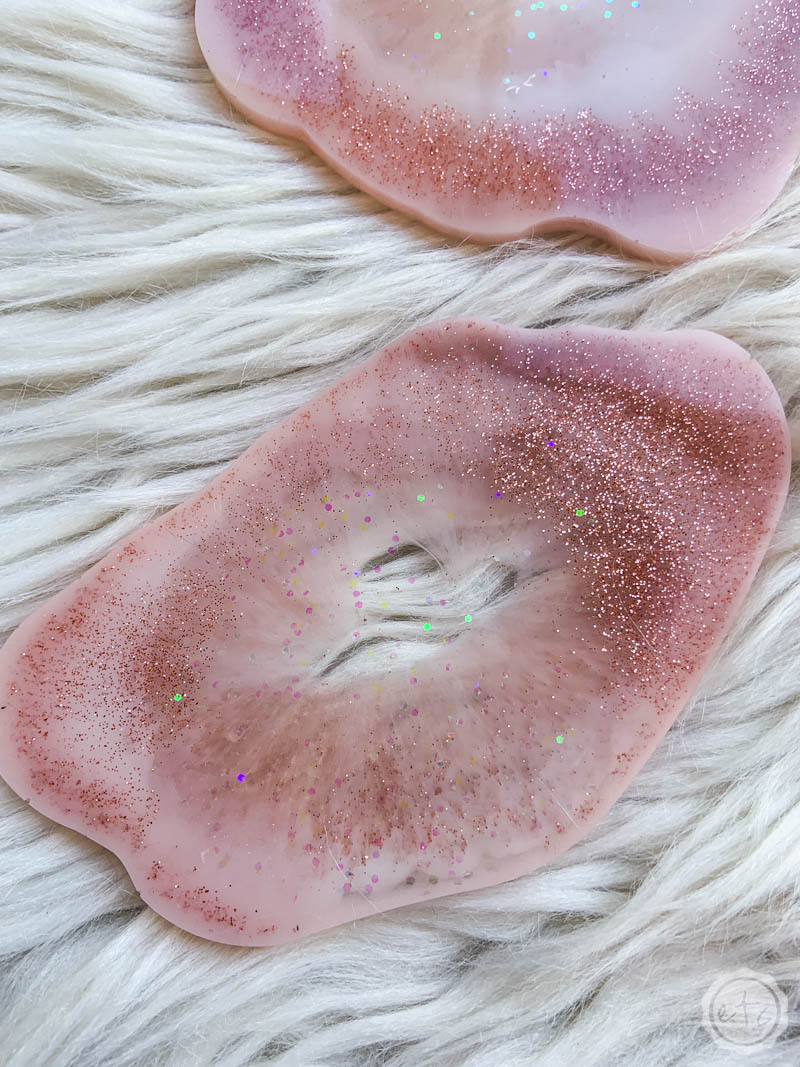
I just love that rose gold glitter! The holographic glitter is great too but man that rose gold is amazing!
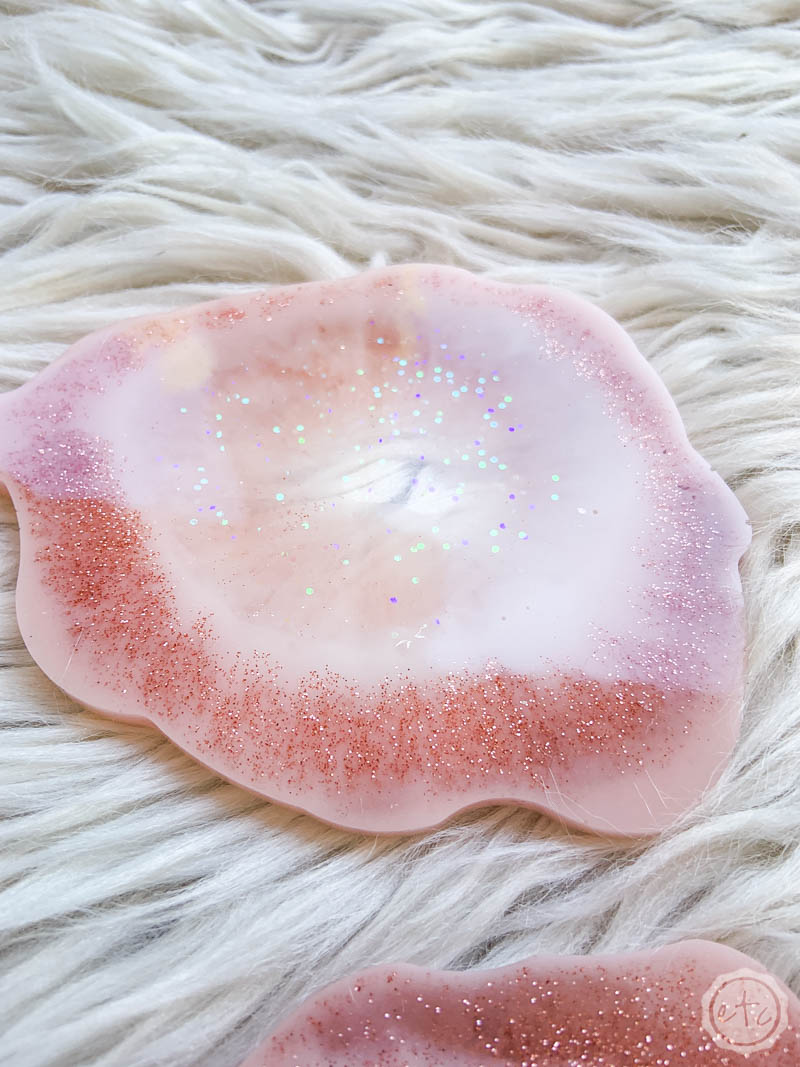

Looking for more resin projects? I’ve got you covered!








Leave a Reply