

Ready for another fun and easy resin project? After last month’s blush and rose gold free form tray I wanted to challenge myself to make another tray (just as beautiful) but with less resin.
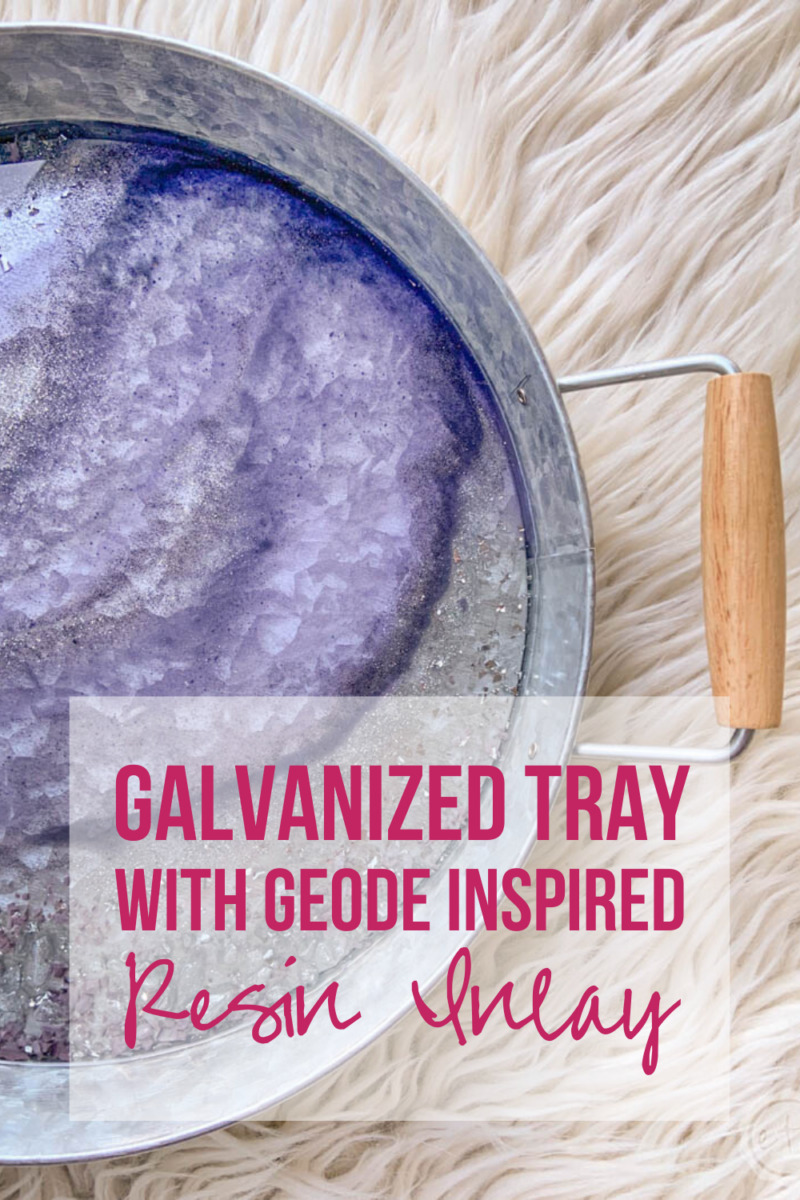
So instead of a free standing tray made entirely with resin this little tray is galvanized with wooden handles and we’re going to add a pretty geode inspired layer of resin goodness to the bottom.
This is a quick and easy beginner level project so if you’ve never made a resin piece before don’t be scared just jump right in… and if you’re an experienced resin goddess then this little tray is still a budget friendly way to make an awesome home decor piece (or gift!).
Ready to rock it?
Supplies:
- Round Galvanized Tray (I bought mine at the Dollar General… there’s a similar one online here)
- DecoArt Metallic Paint (Amethyst)
- DecoArt Metallic Paint (Sterling Silver)
- Fine Silver Glitter
- Silver Flakes
- Folkart Milk Paint (Meeting House Blue)
- Recollections Embossing Powder (Charcoal)
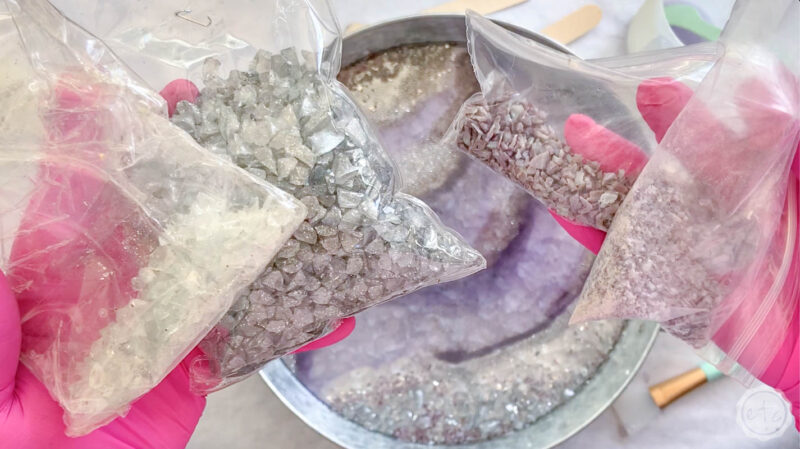
- Shiny Black Glass Deco Stones
- Shiny White Rocks (with glitter)
- Purple Marbles
- Environmental Technology Pour-On Resin
- Wagner HT400 Heat Gun
- Paint Respirator
- Disposable Gloves
- Freezer Paper
- Large Silicone Measuring Cup
- 5 100ml Silicone Cups (or 5 larger disposable cups)
- Silicone Brush
- Jumbo Popsicle Sticks or re-usable silicone stir sticks
Getting started with resin? Feeling overwhelmed? I’ve shared every singe item you’ll need to make this specific tray in the supply list below but if you’re just getting started with resin you might be a bit overwhelmed. Don’t worry! Let’s take it back to the beginning. I’ve written an entire post on what to buy to get started with resin post just for you! Then you can jump into Resin 101: Working with resin for Beginners where I’ll answer all of your resin project questions!
Galvanized Tray with Geode Inspired Resin Inlay
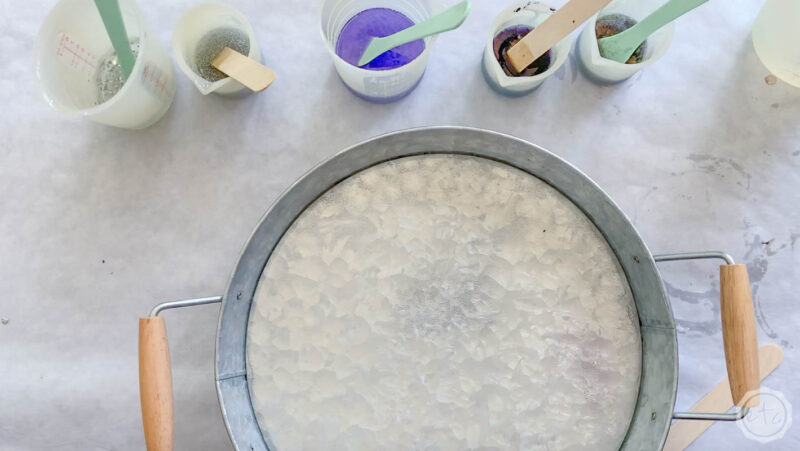
Step 1: Prep your Space
As always our first step is to prep our space. Lay down freezer paper, set out your silicone cups & stir sticks… grab all of your colors and glitters. The whole nine yards.
Once we’ve mixed our resin we have a short window of working time and we don’t want to waste that running around picking out glitter!
I laid out exactly which glitters and colors I used in the supply list above but if you want to use a different color palette you’ll need one light paint color, one dark paint color, one fine glitter, one dark glitter and one foiled flake.
Pick wisely!
Just a few more tips! Normally I work on a tray and silicone mat but in this case we’re already pouring on a tray so I didn’t find that necessary… freezer paper to protect my surface worked well. I am still working in a well-ventilated area (aka my porch) and moving this tray inside to dry… and at this point I’m trusting that this little tray is air tight and won’t leek resin out the seems.
Which seems like a bad idea now that I’m thinking about it.
You can be a risk taker like me *ahem ahem* or you can run a bit of electrical tape around the bottom seam of your tray. That will ensure you have no leaks as you work and move this little tray around.
Now we’re ready to rock! Make sure the rest of your supplies are close at hand and we’ll get started.

Step 2: Mix your Resin
Now it’s time to mix our resin!
Since we’re only adding a layer to the inside of this tray we won’t need as much resin. Start by setting out your cups (they only need to hold 100ml max) and putting your colors inside.
You always want to add your colors to your cups before mixing your resin so that you don’t have to waste resin time to play with colors! Just a little resin saving tip.
For this little tray I used about 50ml of resin with the fine silver glitter, the dark eggplant purple (ok it’s officially called meeting house blue… it looks eggplant) and the black embossing powder. I used about 100ml of the light amethyst metallic purple and roughly 70ml of the resin with the silver foiled flakes.
You can mix each of these colors individually but I find best results when I mix it all in one big batch and then pour resin into my smaller cups and stir in the color. So for this tray I mixed about 350ml of resin (keeping a little clear in my big cup in case I needed extra of any specific color)… using the same steps as always to mix my resin. If you’ve never mixed resin before you can follow my tutorial on how to mix resin here.


Once you’ve mixed allllllll the colors into your resin let each little cup sit for about two minutes. That will let all the tiny micro bubbles come to the surface of the resin so you can pop them with your heat gun.
You can put on a timer but when I’m mixing five cups I find that if I start mixing by the time I’m done mixing the last cup the first one is ready for the heat gun! To pop the bubbles set your heat gun to high and pass it over the surface of the resin in your little cups… you’ll notice the difference.
Just take a look at the picture up above… that was about 2 minutes after mixing this little guy and letting it sit. See all the tiny micro bubbles that have risen to the surface?
So. many. bubbles.
But below you can see what the resin looks like right after the bubbles have popped. Beautiful darling!
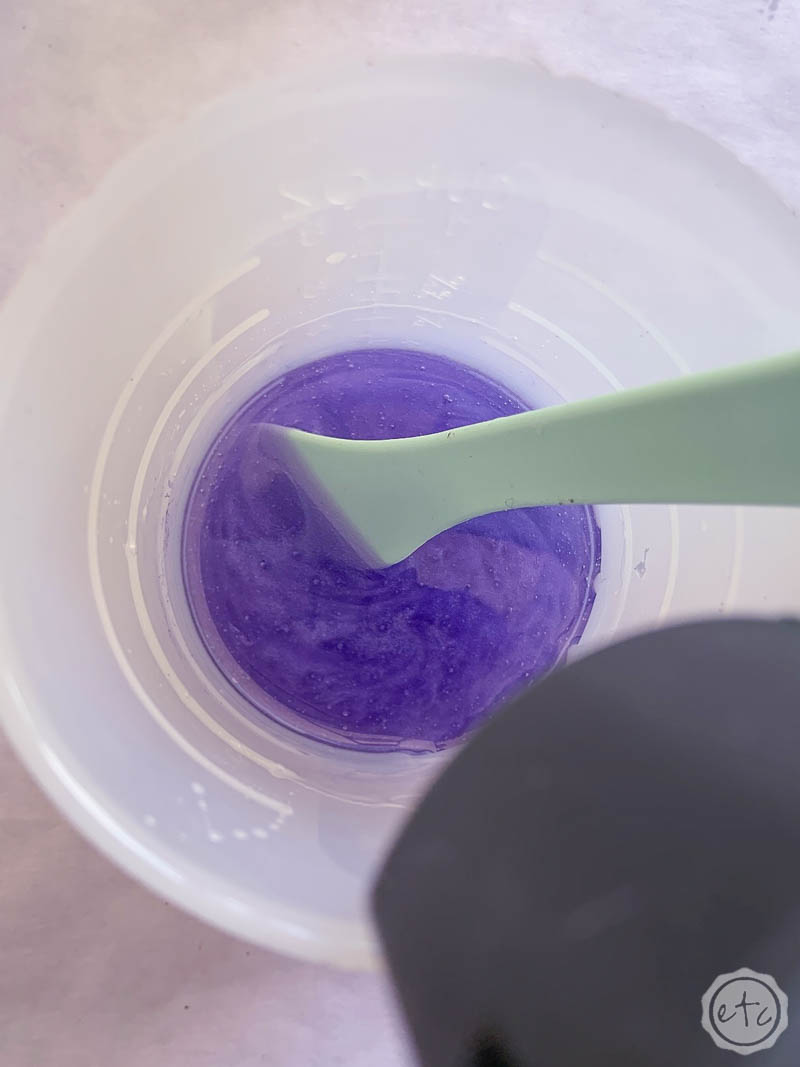

Just a quick look at all the pretty resin colors all mixed up!
Blush and rose gold is definitely my favorite color combo but I thought the silver and purple would play well with the silver metals of this tray… they look so good together!
Especially the clear resin with the silver flakes… it really looks awesome on the galvanized metal!

Step 3: Pour your Resin
Ready to pour a little resin?
For this tray I wanted all of my resin “veins” or lines to run in one direction. You can chose to do a different pattern but whatever the plan is make sure that there is a plan. Otherwise you may start pouring resin all willy nilly to find out you don’t like how your little tray is turning out.
Yes, I said willy nilly.

Bonus Tip: If this is your first piece and you aren’t use to designing resin patterns yet. Look on pinterest or etsy for resin trays and see how others have planned their pieces… once you find a few you like you’ll have a better idea of how to lay out the design for your own tray.
I like to add large sections of clear on my outside layers so that I can build my rock layers in these sections… then add different veins of color in the middle.


Step 4: Pop the Bubbles
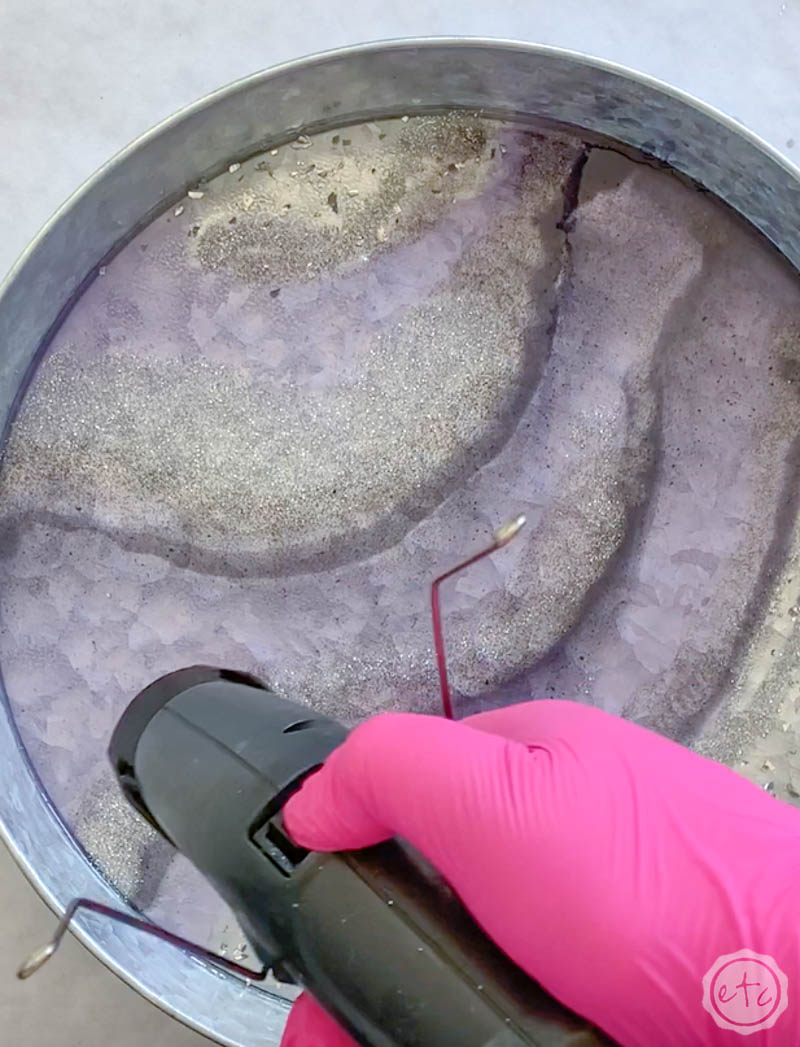
Once you’ve poured all your resin make sure to go back and hit everything with your heat gun! All of the pouring will have stirred up even more bubbles and chances are you want a bubble free surface to your tray.
Just pass the heat gun over the surface on high and you’ll see the bubbles disappear… easy peezy!
As you move the heat gun around you’ll notice that the heat gun will move the resin layers and help it to mix… you can get some cool effects like this but if you’re not looking for extra mixing then make sure you’re doing quick passes so that you don’t change the look of the tray. Just pop the bubbles!
Step 5: Add Rocks & Optional Second Layer
Alright, now that our first layer is poured let’s add a few rocks!
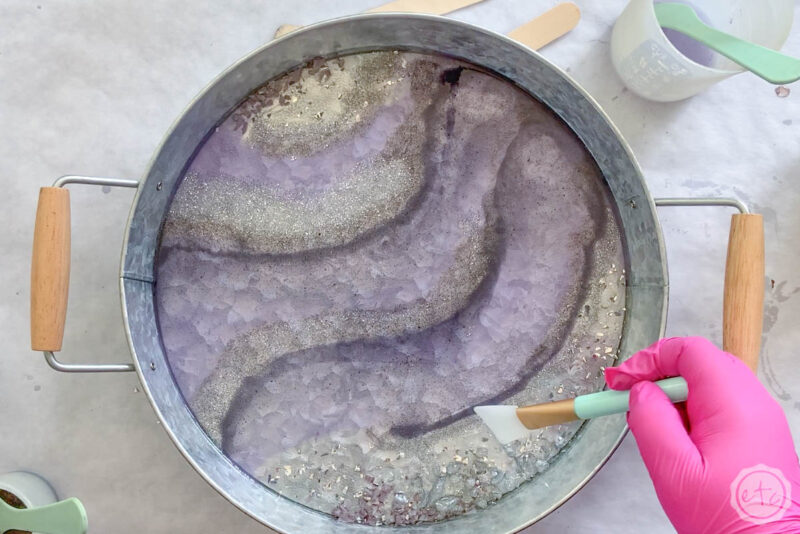
I took a few clear and black rocks… and a few purple marbles (that I broke up into tinier pieces) and created geode rock like sections in my clear resin.
I always start by adding my largest, darkest rocks first and then building outwards with the lighter or smaller rocks... that seems to have the most noticeable effect once the resin is dry!
Add your rocks and move them around with your little silicone brush… making sure that they’re under the resin surface as much as possible. If you find that your rocks just are too tall you can always finish the rocks, let the entire tray cure for about 5 hours and then add a second layer of clear resin to the entire tray.
That way your rocks will be inside the resin and not poking up out of your tray!
If your rocks are inside the first layer of resin then you’re good to go! No second layer needed! Simply finish the rocks and then set your tray aside in a clean, dry place (with something over it to protect it from flying dog hair *ahem* I mean dust.
After 24 hours your tray will be dry enough to touch! After 7 days it will be cured enough to put things on (for long periods of time!).
Ready for the pretty finished shots?
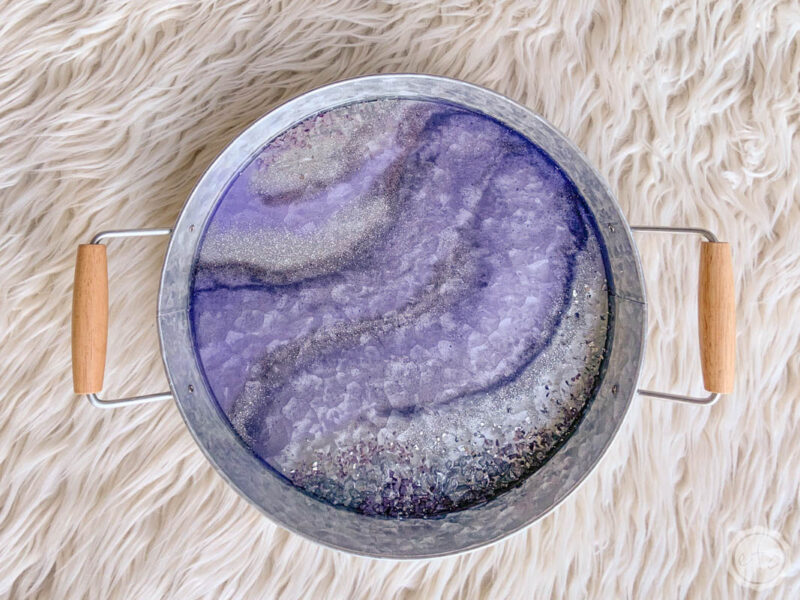
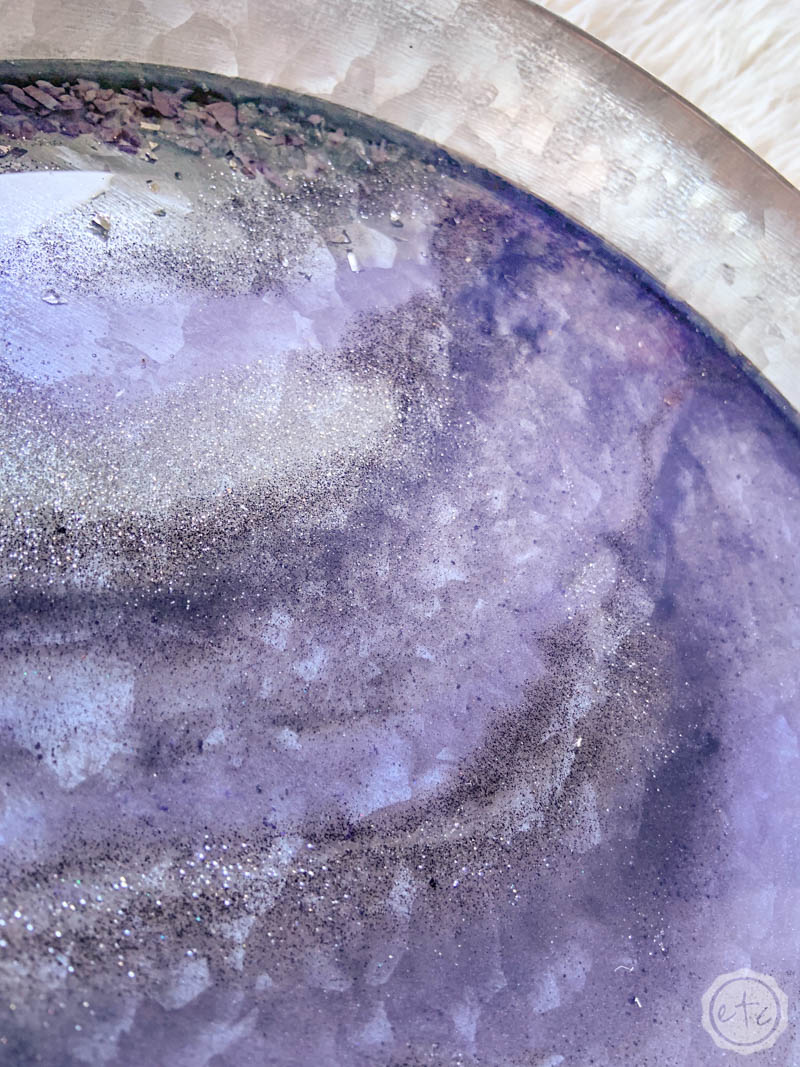

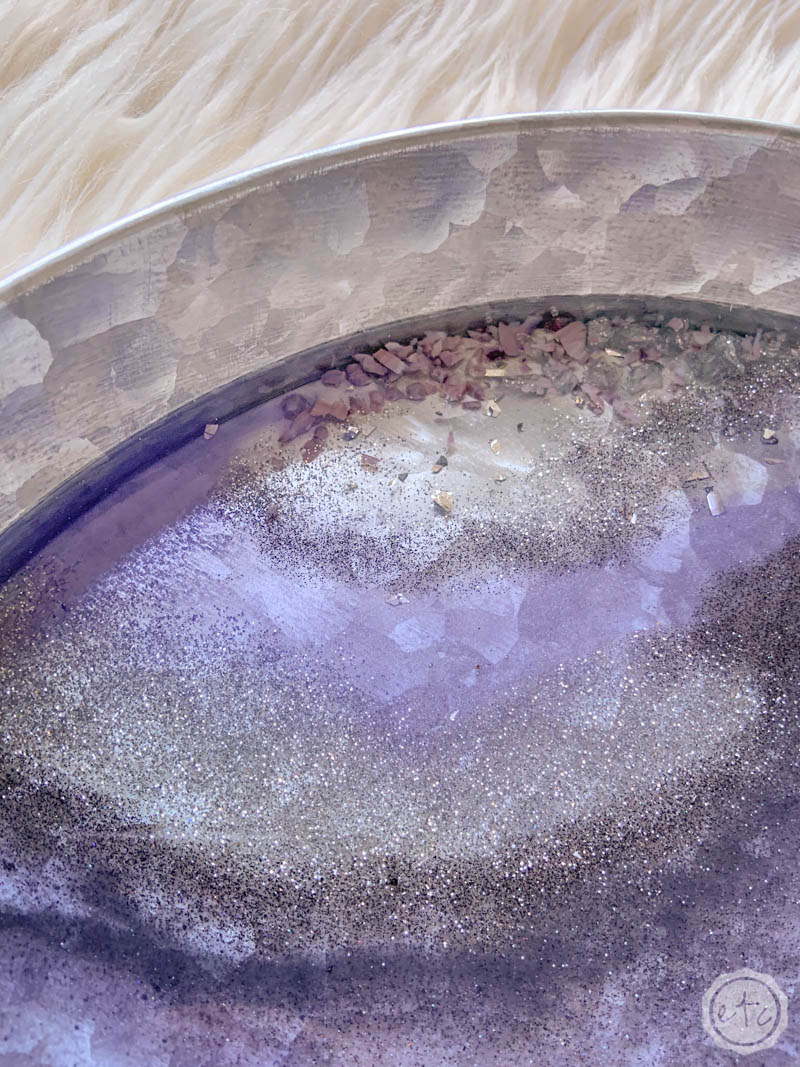
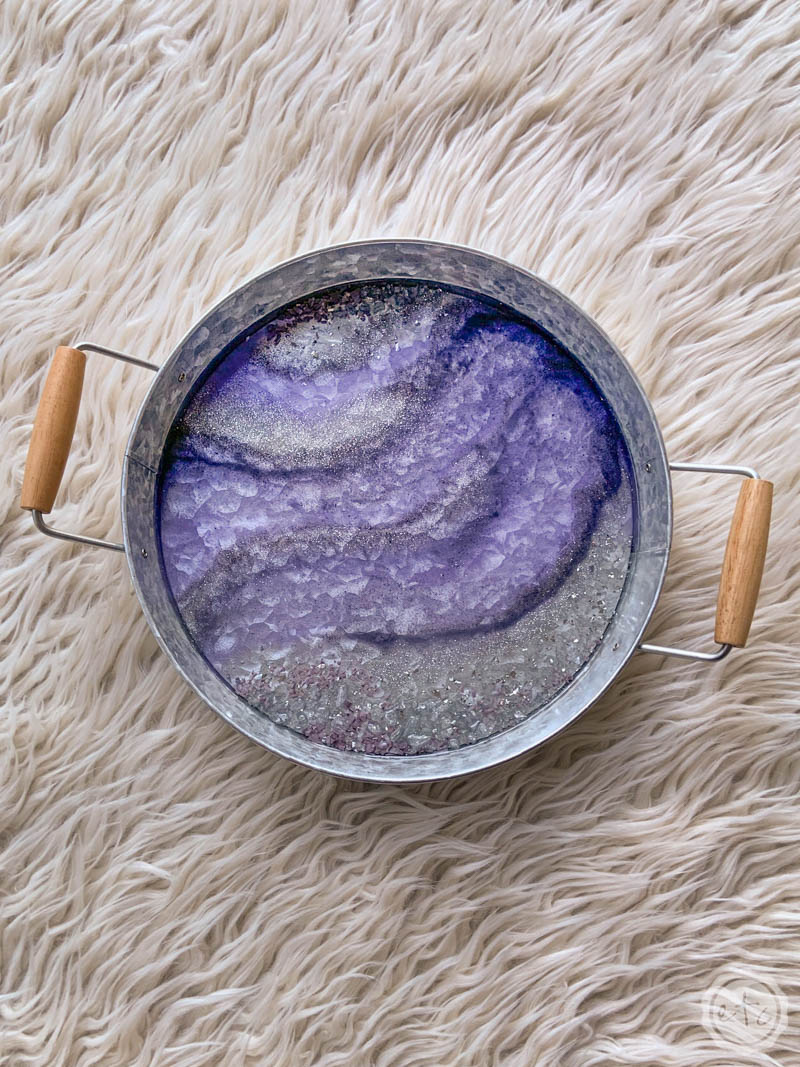
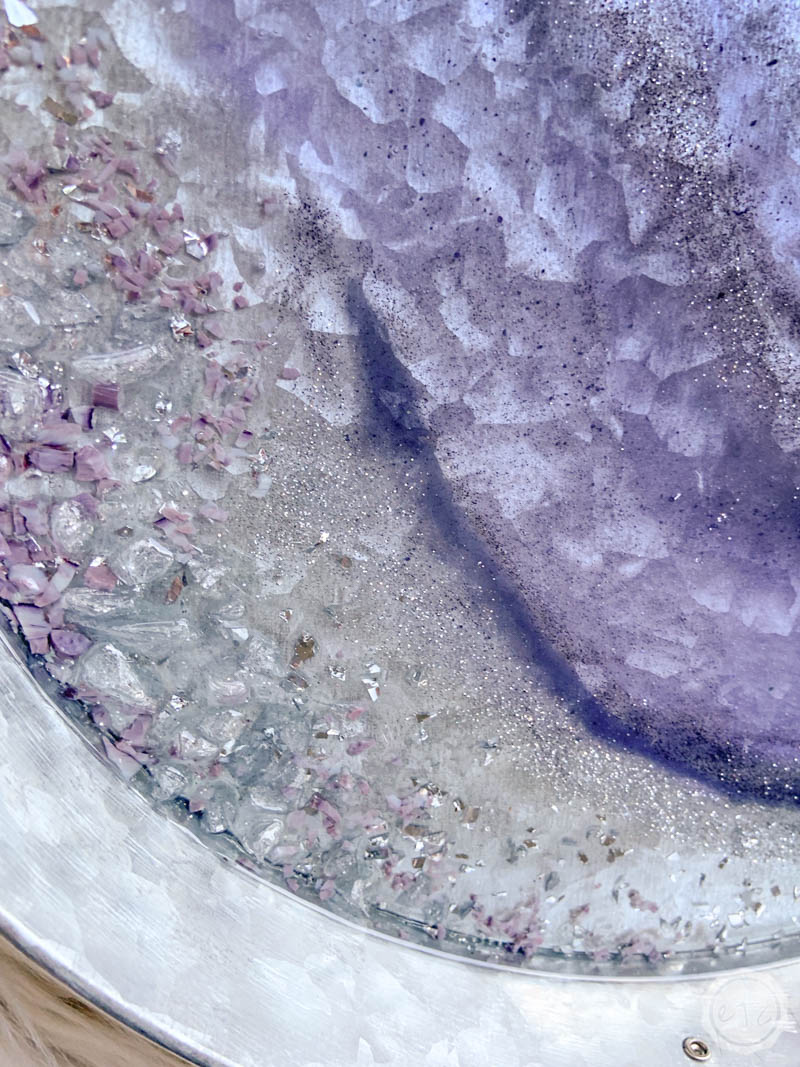
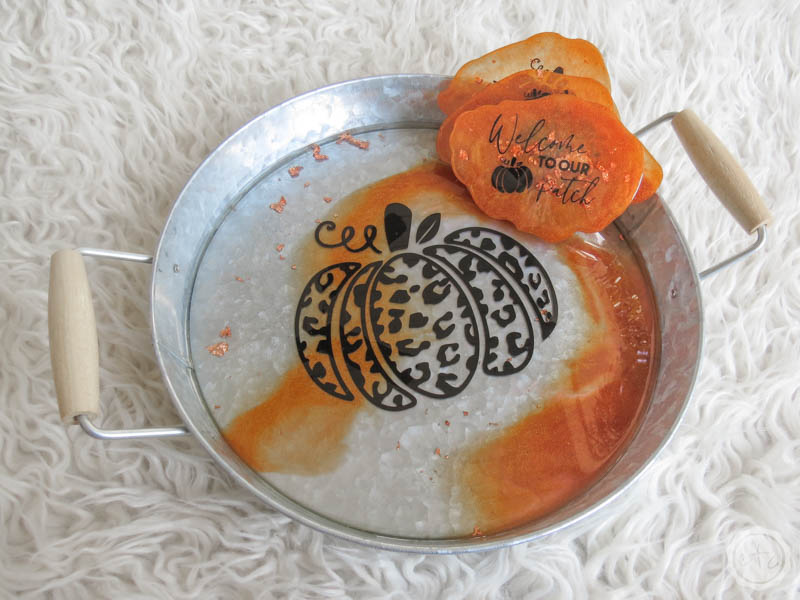
Pssst… want to know a secret? You can change the look of this tray super quick by following the exact same tutorial but with different colored resins! Which is how I made this adorable fall tray to match these bronze fall themed coasters! Check out the full fall coaster tutorial (and grab the FREE Fall SVG’s I used on these pieces) HERE.
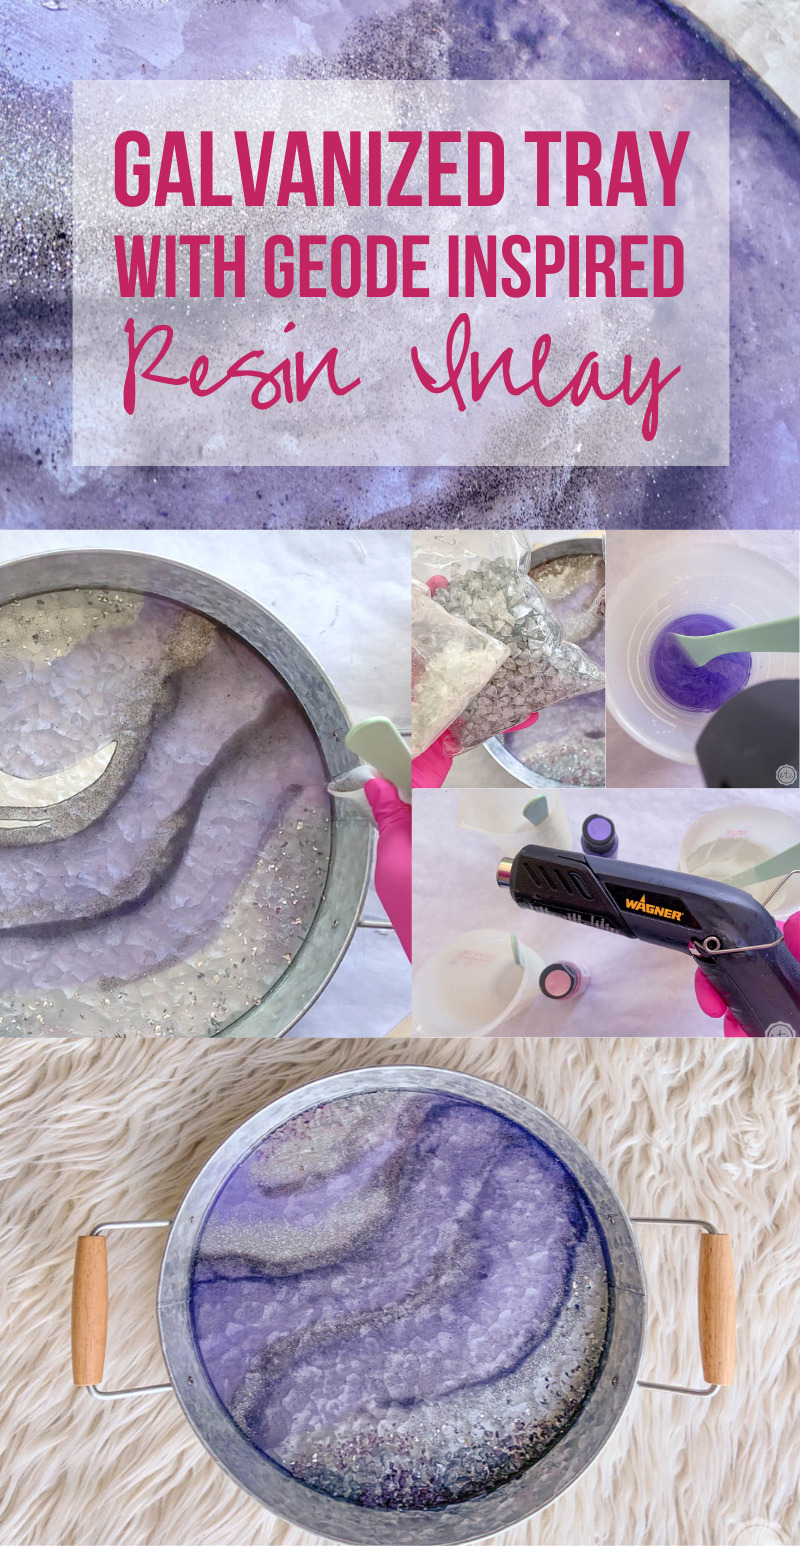
Looking for more resin projects? I’ve got you covered!








Leave a Reply