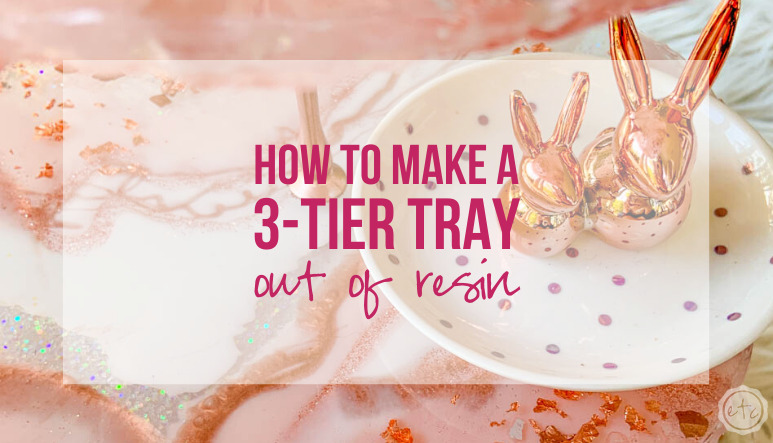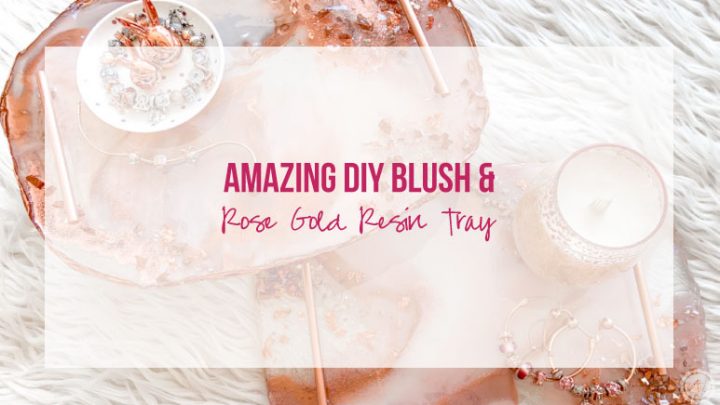

Ready to dive into another resin project? After I made my little resin serving tray I thought to myself “wouldn’t this look amazing as part of a set? I could set an entire table with resin pieces?” Which set me on my goal of making a tablescape of beautiful blush and rose gold resin pieces!
This little 3-tier tray will be the centerpiece of my table so I’m starting on it first. The process is very similar to the blush and rose gold serving tray we already made so if you’re coming from that post you’ll notice the similarities… and already be a rock star at making this baby!
Let’s get to it!
Supplies:
- Amazing Clear Cast Resin (700-1000ml or 23-32oz)
- Wagner HT400 Heat Gun
- Paint Respirator
- Disposable Gloves
- Freezer Paper
- Large Silicone Mat
- Non-Stick Baking Pan
- 100% Silicone for tray (following this tutorial)
- Large Silicone Measuring Cup
- 2 250ml Silicone Cups and 3 100ml Silicone Cups (or 5 larger disposable cups)
- Silicone Brush
- Re-usable Stir Sticks
- Pink Pearl Craft Paint
- White Alcohol Ink & Pearl Alcohol Ink
- Holographic Glitter
- Rose Gold Glitter
- Copper Oil Based Paint
- Copper Rocks (mix a few of the white rocks with your copper paint for these!)
- Shiny White Rocks (with glitter)
- Pearlized Pink Rocks
- Pink Crushed Glass
- Rose Gold Flakes
- Rubbing Alcohol/Paint Thinner
- 3-Tier Hardware (I painted this with the copper oil based paint)
- Dremel Rotary Tool (Sanding tool) or sandpaper
Getting started with resin? Feeling overwhelmed? I’ve shared every singe item you’ll need to make this specific tray in the supply list below but if you’re just getting started with resin you might be a bit overwhelmed. Don’t worry! Let’s take it back to the beginning. I’ve written an entire post on what to buy to get started with resin post just for you! Then you can jump into Resin 101: Working with resin for Beginners where I’ll answer all of your resin project questions!
Blush and Rose Gold 3-Tier Tray Tutorial
Step 1: Prep Your Space
Alright y’all, let’s get ready to make a little 3-tiered tray!
The first step is to make sure our work space is ready to go and all of our supplies are in one place. Once we’ve mixed our resin we have a short window of working time and we don’t want to waste that running around picking out glitter!
Trust me… been there. Done that. Wasted the resin.
Another tip? We’ll pour two layers of resin and the first layer needs to cure for 5 hours before we pour the second layer… and the final piece will need to cure for 24 hours. It needs to be able to cure in a space without a lot of traffic or dust (you can cover it if need be but you don’t want yucky dust in your final piece)… if this area has a door to keep kids/pets/husbands out that is even better.
Of course, you also want to work in a well ventilated area… so that makes it tricky! I like to set up my work area on the front porch where there’s plenty of fresh air and then move my piece into my craft room to cure. I’ve placed my entire mold on a baking pan so that I can pick it up and move it easily… but keep that in mind before you get started.
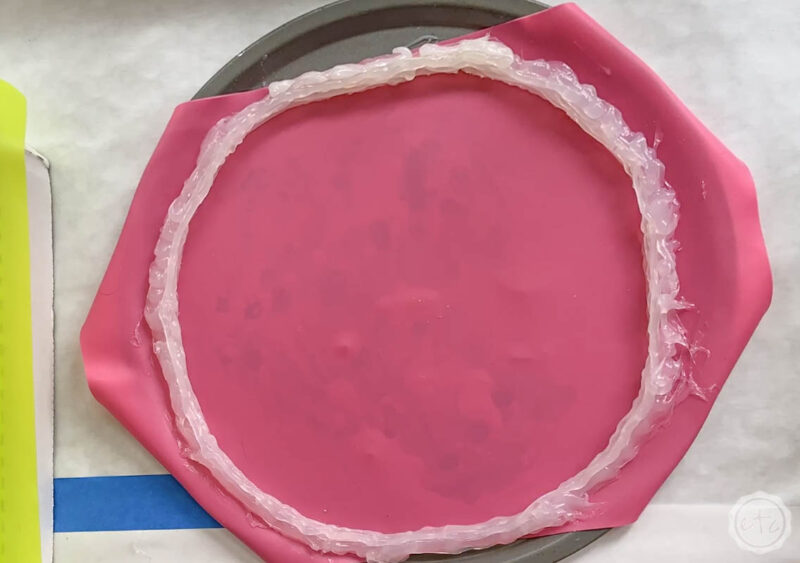
Start by laying down down freezer paper so that any drips or spilled resin won’t ruin your surface. Then put down your baking pan and all 3 molds. Since this is a little 3-tiered tray you should have a large circle, a medium circle and a small circle (kind of like goldilocks and the three bears!) Make sure they’re all over freezer paper so you don’t have any messes).
My little molds are completely handmade with a tube of 100% silicone on a silicone mat and you can make your own mold by following this fancy schmancy mold making tutorial. (It’s actually a super easy process… not sure why I said that.)
Now we’re ready to rock! Make sure the rest of your supplies are close at hand and we’ll get started.
Step 2: Mix Your Resin
Now it’s time to get down to business! That means resin mixing time.
We’re mixing 5 different colors so gather all your supplies and let’s get started. Start by setting out your 5 medium sized cups.
Ready to mix? Start by setting out your silicone cups. These can be disposable cups or silicone but we’re going to be using different amounts of resin so you need cups that will work. We’ll need about 200ml each of our clear/holographic glitter and blush pink colors, 100ml of the white and rose gold glitter colors and 30ml of the copper.
You can always change the amounts if you want a different focal point (I mainly wanted blush and the clear/holographic glitter for my main portions) and you can always make more resin if you need more but for this project those measurements worked for me!
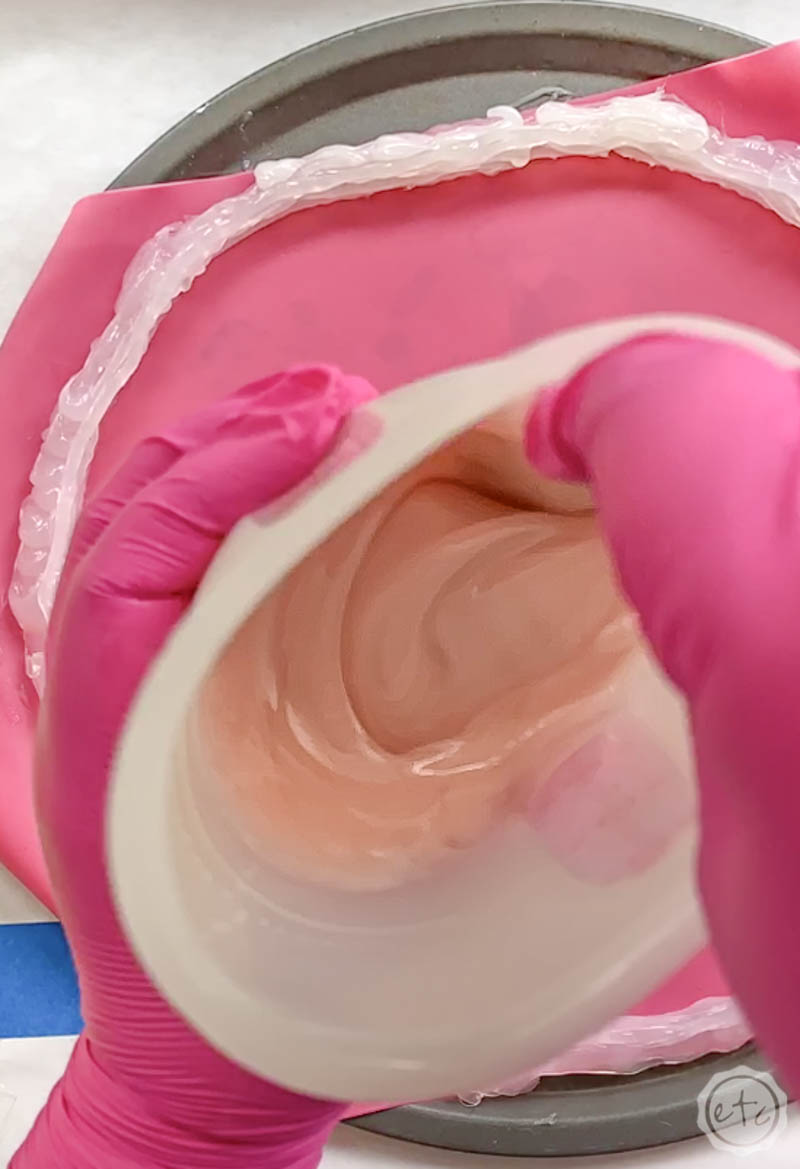
Now that we’ve got our cups we can go ahead and put our colors in them! For this project I added a bit of blush pink craft paint to the first cup (just a couple drops… you don’t need much at all), a bit of holographic glitter and a bit of rose gold glitter to cups 2 and 3, a mixture of 10 drops white alcohol ink and 10 drops pearl alcohol ink to the fourth cup, and a few drops of copper oil based paint to cup 5.
You’ll want to do this before mixing your resin so that you don’t have to waste resin time to play with colors! But now that our colors are ready it’s time to mix up some resin!
I mixed about 700ml in my large silicone cup… using the same steps as always to mix my resin. If you’ve never mixed resin before you can follow my tutorial on how to mix resin here. Once the resin was mixed I poured the amounts we went over into the separate cups of color and stirred the color into the resin.
Then I used my heat gun to pop all the little micro bubbles in the resin cups!

Step 3: Pour the First Layer of Resin
You can just start pouring but it’s easiest to pour your resin if you have a plan. For pieces like these I try to have a general plan although you can get a piece of paper and be really specific if you want to.
Basically I decide before hand if I’m pouring in a circular pattern, placing all my resin in stripes in the same direction or adding little knots in the piece.
Since this is a 3-tier tray I had 3 separate pieces to plan… and I wanted them all to be similar but different. I laid out each layer in my head and then started pouring my resin.
Just a tip if this is your first piece and you aren’t use to designing layers yet. Look on pinterest or etsy for resin trays and see how others have planned their pieces… once you find a few you like you’ll have a better idea of how to lay out the design for your own tray.
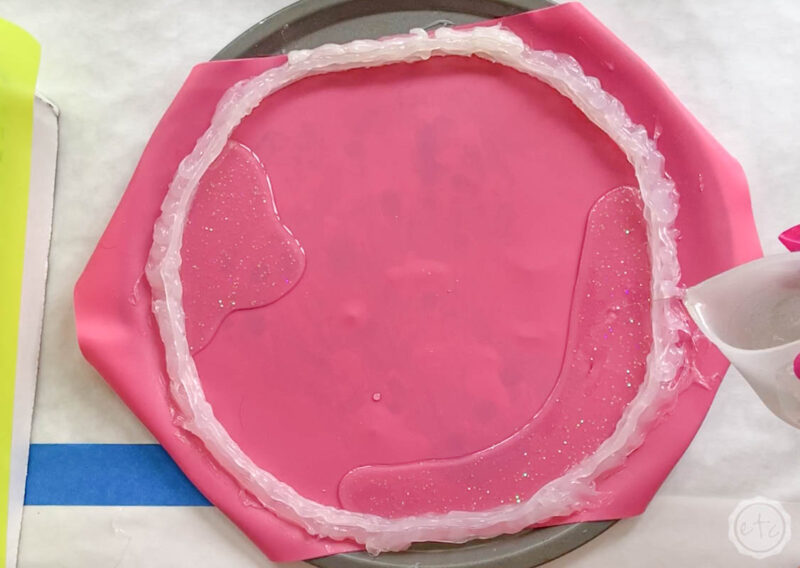
Now let’s really kick this into gear and pour some resin! I started by pouring my clear resin sections, then the blush pink (since those are my largest sections). Then I added the white, rose gold glitter and copper colors in layers around the tray.
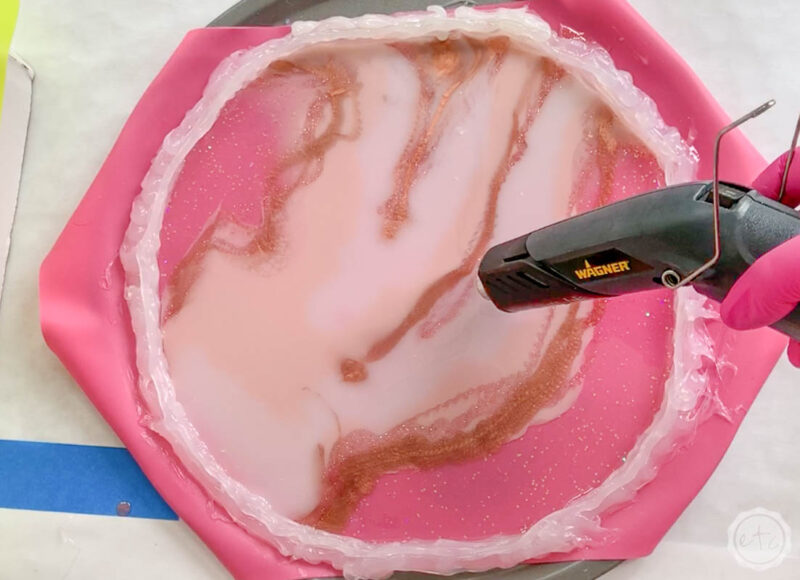
Once you have all five colors and are happy with the layout you can add more white or pink to those areas until the mat is completely covered! You want this first layer to be completely covering the bottom layer of your tray… but don’t go past half way in your mold since we’ll be adding rocks in a minute!
Now that you have all of your resin in place go ahead and pop any micro bubbles that might have arisen with your heat gun. Remember that your heat gun can move the different layers of resin and help them mix! If you want that look then go crazy but if you don’t then be conservative with the heat gun… pop the bubbles and get out.
At this point you can add more color if you’re not happy or leave the first layer to dry! Once you’re finished with this layer you’ll want to set the tray in a dust free space for 5 hours to cure before adding the next layer.

Important Tip: It’s important to note here that the different colors will react differently because of the different weights of our materials. Craft paint is heavier than alcohol ink so you’ll start to see the pink sink to the bottom of the mold and the white alcohol ink float to the top as the two colors mix.
This is a pretty subtle change… you’ll be able to notice if even more distinctly with the rose gold glitter resin and the copper paint resin. The glitter will sink while the copper paint stays on top.
I love how this gives the piece depth but if you want more even color you could use white paint and blush paint… or white alcohol ink and blush alcohol ink. So that the colors are more equal weights within the piece.

EXTRA BONUS TIP! Since we’re using a homemade mold you’ll want to watch the mold for about 5-10 minutes before leaving it. Mine was a little uneven and needed a few popsicle sticks and a plastic cup underneath the mat on one side so that the resin would dry level. You also want to check for leaks… if any resin starts to come out the sides of your mold take your tube of silicone and plug the hole from the outside right away. Easy peezy.
Step 4: Add Resin Layer Two!
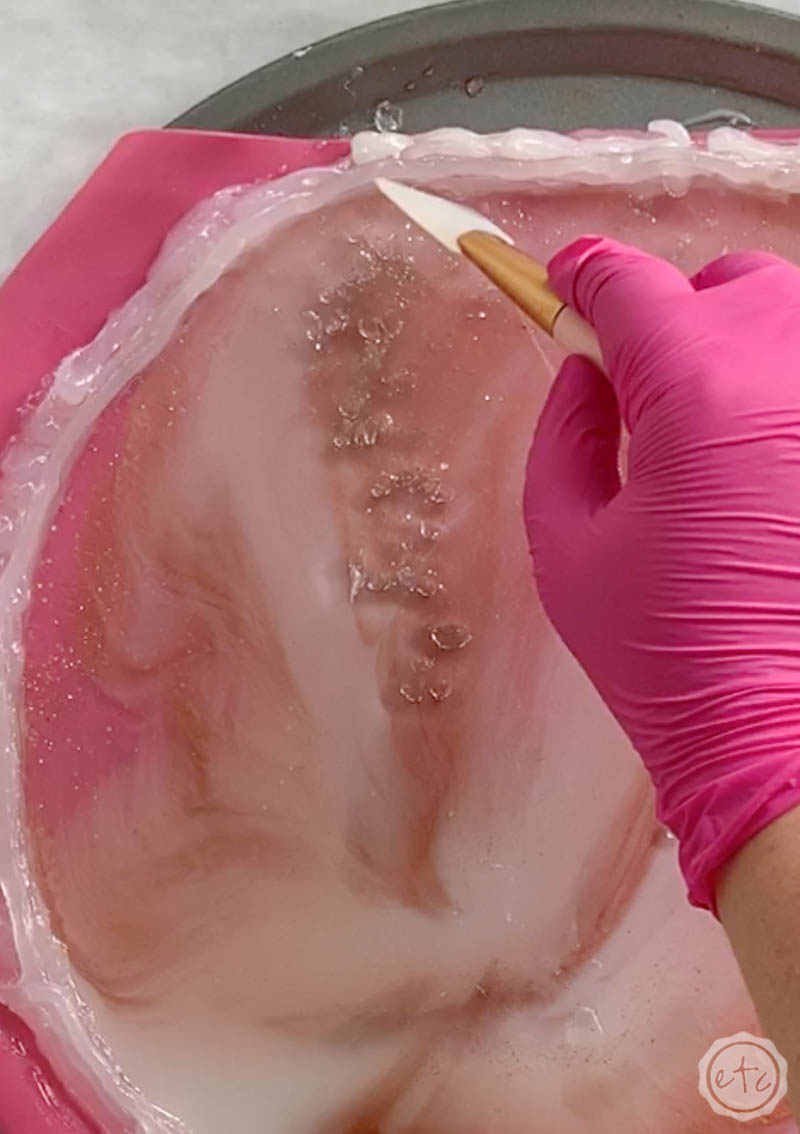
This is the layer with alllll the rocks! Which is a fun component all on it’s own. If you’ve waited 5 hours the resin in your mold should be hard enough to add a second layer. Take a silicone brush and double check by tapping the surface… if the resin is tacky at all you’ll want to give it a little longer to dry so that we don’t mess up the first layer.
For this layer we’ll be adding clear resin so that we can still see the colors from the first layer. For all 3 layers we’ll need about 700ml of resin. Mix it together in your large mixing cup, pop as many bubbles in the cup as possible and then pour it directly onto each mold! You want to make sure it fills the entire mold so grab your silicone brush and push the resin into allll of the corners of the mold.
Now it’s time to add our rocks!
You can place your rocks wherever you like but I prefer to add my rocks to the clear areas of resin so that you can see the rocks all the way through the tray. Start by adding a few clear rocks and using your silicone brush to move them around until they’re just right.
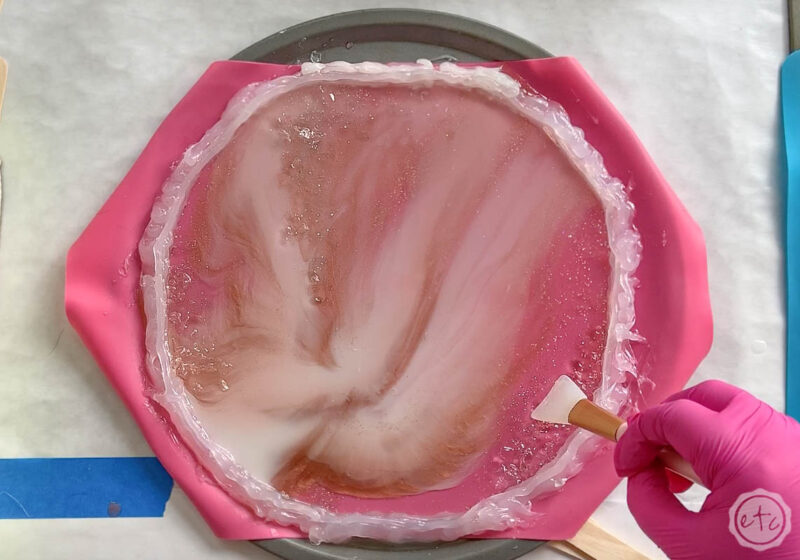
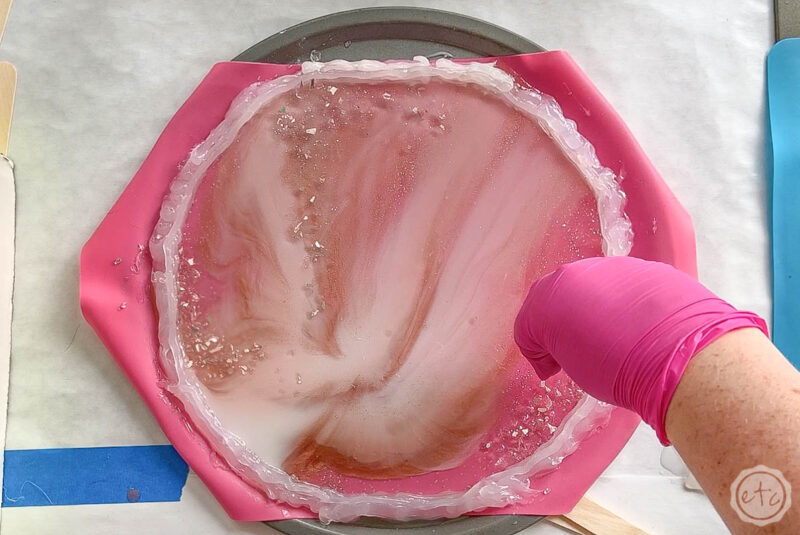
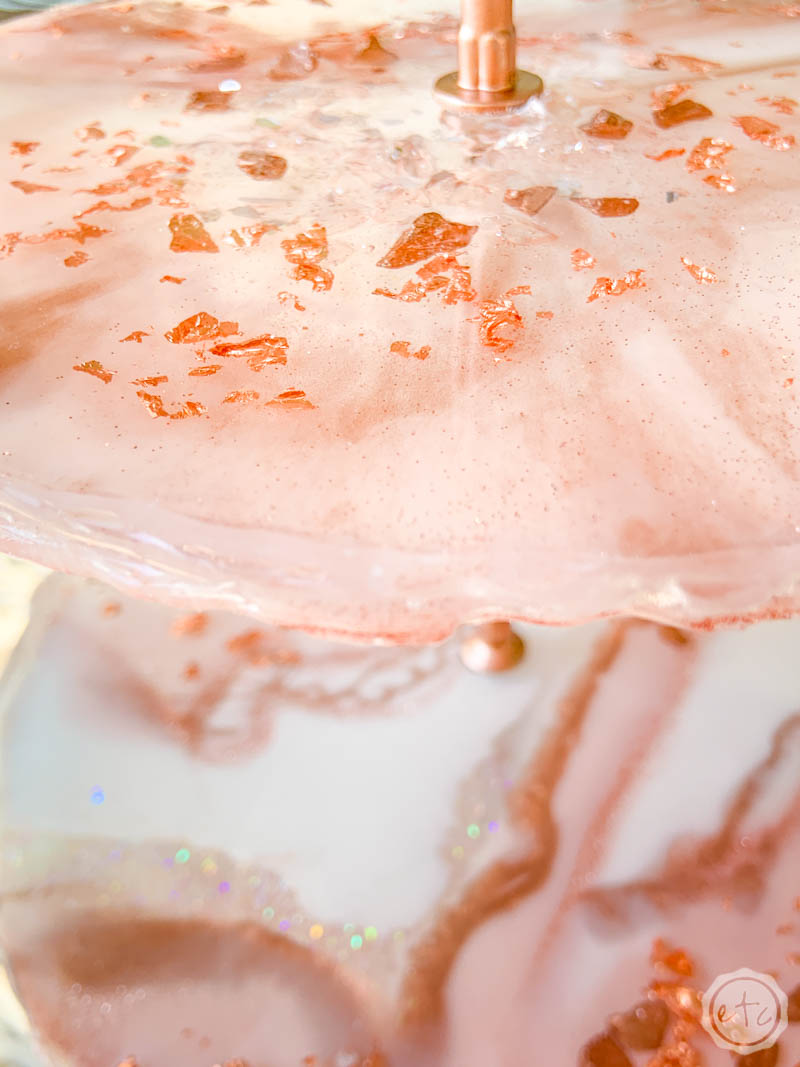
Then start building layers! I added a few of my mirrored glass pieces and even the pink rocks from my collection… then I pulled out the big guns and added a few flakes of rose gold foil.
These little flakes make anything look like a million bucks!
My favorite way to add them is one at a time to the edge of the rock areas… use a pair of tweezers to place them down one at a time until you like where they are.
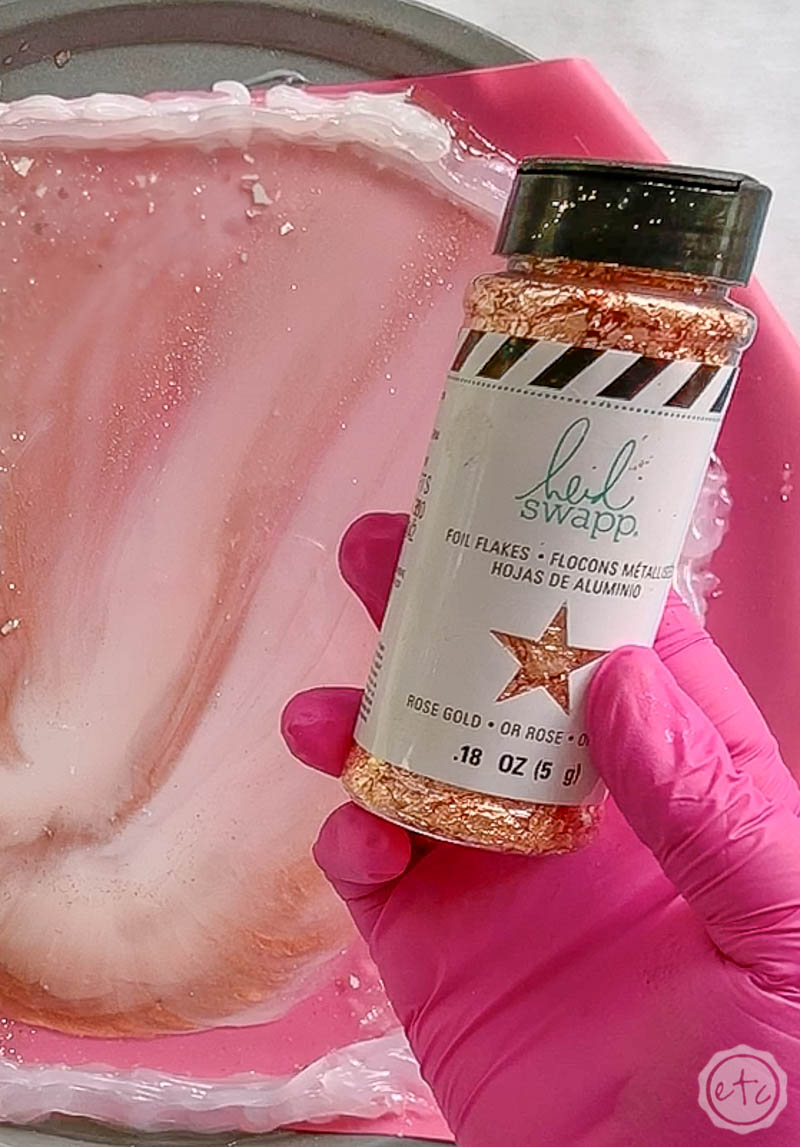
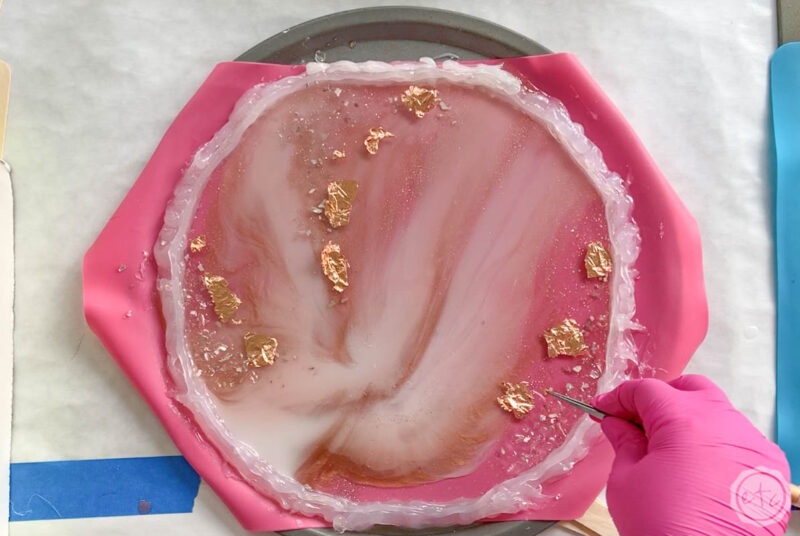
See how pretty they are! You can leave them like this if you want but I prefer to add them to the rocks instead of on top of the rocks (if that makes sense). Which means I want them in the middle of the resin layer and not on top.
I find the easiest way to do this is to take my silicone brush and use the corner to push the rose gold flakes down into the rocks. They’ll start to bunch up and break apart (which I love!) and fit themselves into and around the rocks. I think it makes these little guys look like they’re part of the rock section.
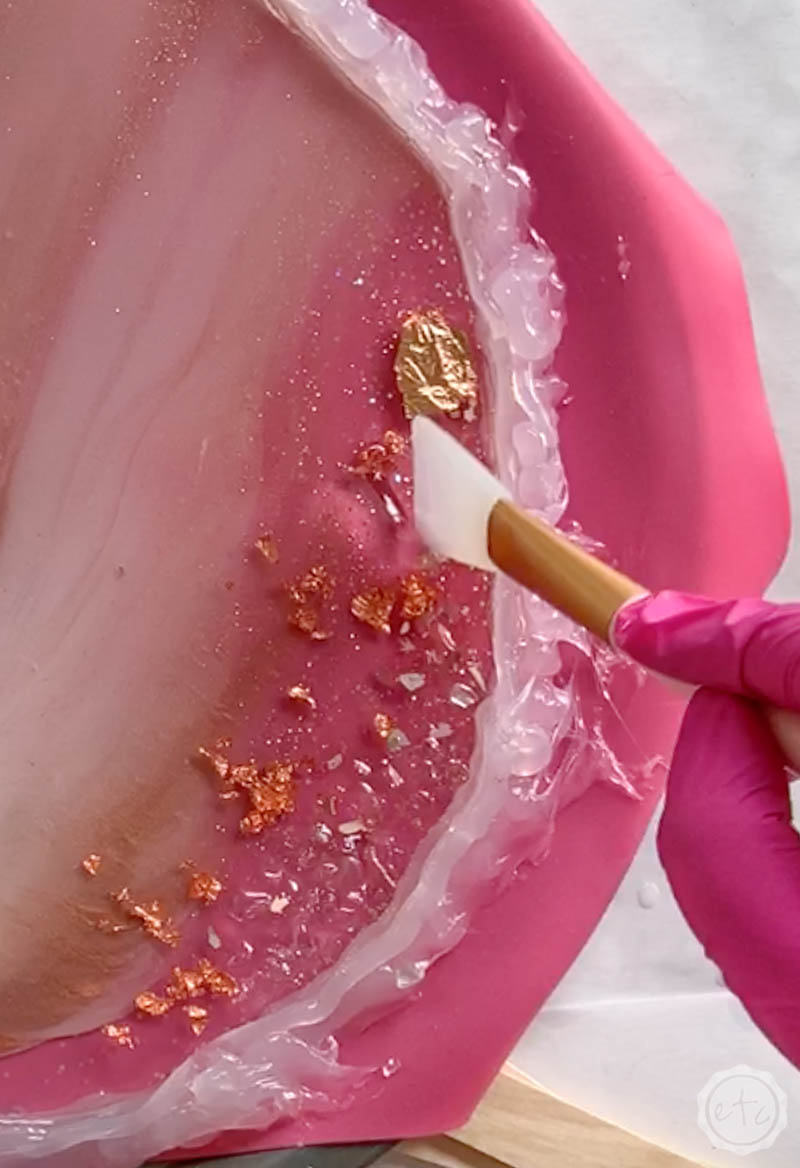
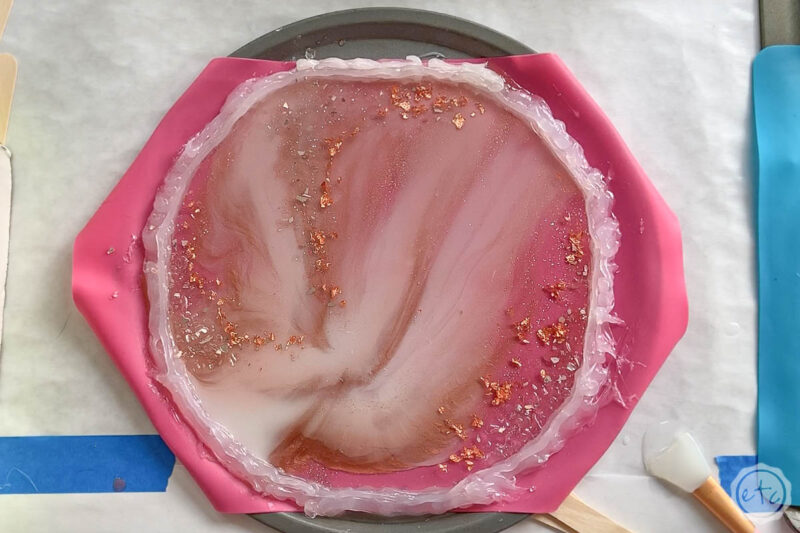
Just take a look at the picture above compared to the photo with the rose gold flakes still in sheet form and decide which one you like better… I love how they look now!
Of course, at this point you can be done with the rock layer completely but I wanted a little more pop! So I added a few little copper rocks to my clear and pink rock pile. These little copper rocks are actually just the clear rocks mixed with a few drops of the copper testers paint… they paint like a dream which means you can make custom colored rocks for any piece!
Score!
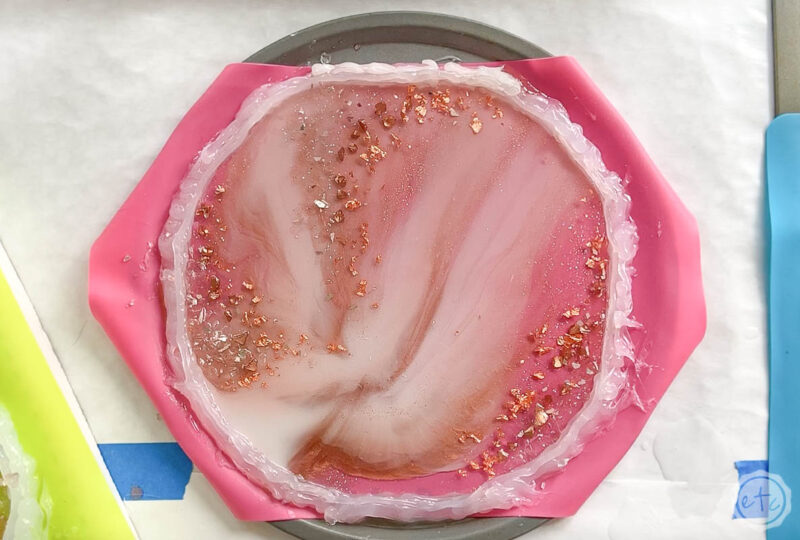
Once you have your rocks 100% where you want them we’re done! Make sure the rocks are under the resin as much as possible (you can pour a little more resin if need be). This is our final layer so anything sticking out of the resin at this point will be sticking out of the surface of your tray.
Go ahead and place all 3 trays in a clean dry room with a box over them (to protect the resin from flying dust and *ahem* dog hair and leave them to cure for 24 hours. Perfect!
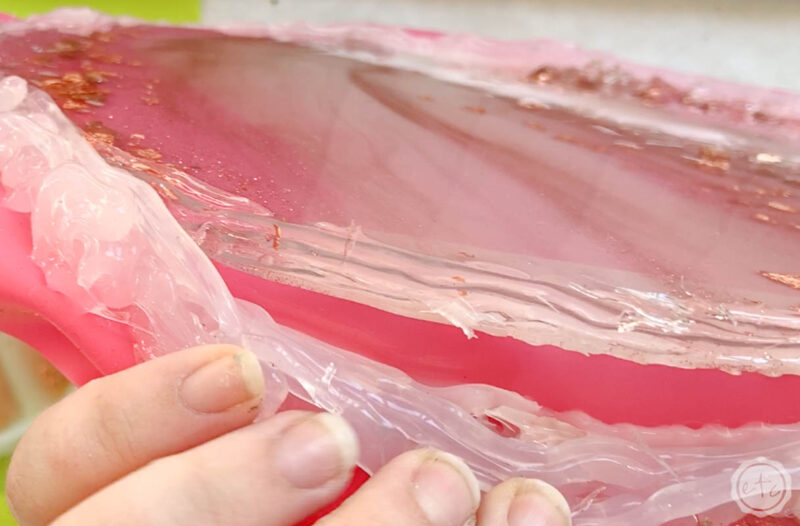
Step 5: Remove the Tray from the Mold
Start by making sure your piece is NOT tacky. It should be completely dry and smooth to the touch. If you find any tacky areas it may not be 100% cured yet and you should leave it for a few more hours.
If it’s still tacky after a few more hours it sounds like your resin didn’t cure properly and you need a thin topcoat of resin to seal it all together. I’ll go over that in another post.
For this post let’s assume our tray is ready to rock… clear, dry and ready to de-mold.
Start by peeling back the silicone on one edge of the tray. You want to be careful so that you can re-use this silicone mold later… but for the most part the tray should pop out pretty easily.
Once you’ve got the corner work your way all the way around the mold removing the silicone and freeing your tray.
Beautiful darling!

Bonus Tip! Since this is a homemade mold sometimes you’ll have a pocket of silicone that’s cured inside the resin (that’s only happened to me once but it does happen). Simply take an exacto knife and cut the silicone piece off of the mold, leaving it inside the tray… we’ll deal with that in the next step.
Once you’ve cut the little piece of silicone in the resin away from your mold you’ll have a hole in your mold. If you want to use this mold again you’ll need to add a bit of silicone to the mold and smooth it out with a glove before using the mold again. Easy fix!
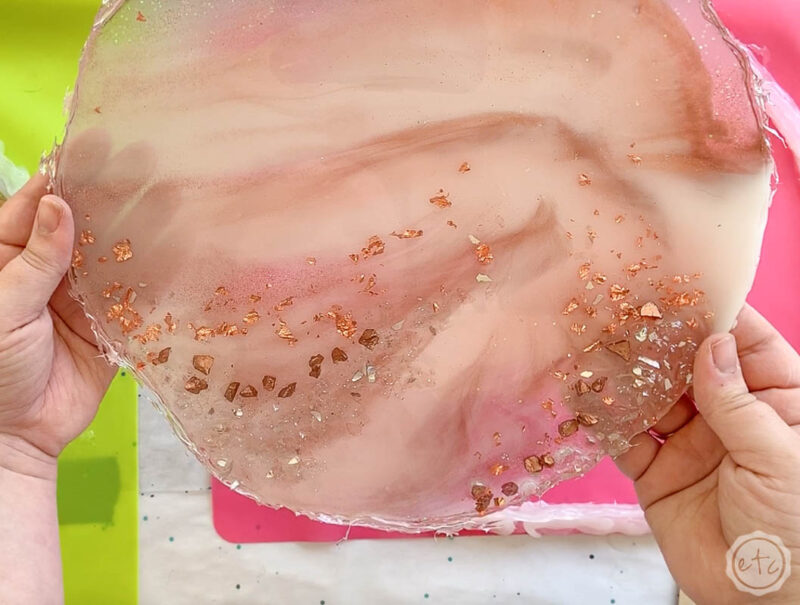
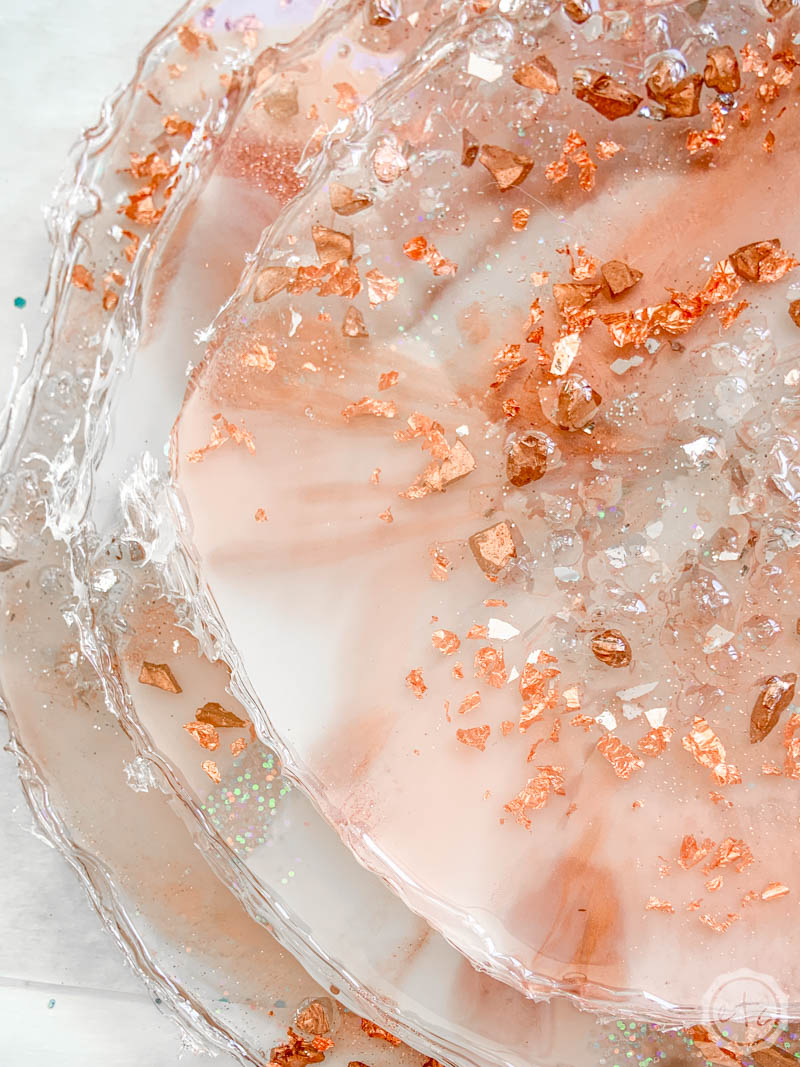
Step 6: Sand the Edges
Ready for the finishing touch? Since this is a homemade mold the edges may be a little rough… even jagged in areas. See all the little pieces sticking out from the edges? We don’t want that!
Luckily this is a pretty easy fix.
We just need to sand those babies smooth.
You can use regular sand paper but I’m impatient so I pulled out my little dremel and used a sanding attachment on the edges. It worked perfectly!
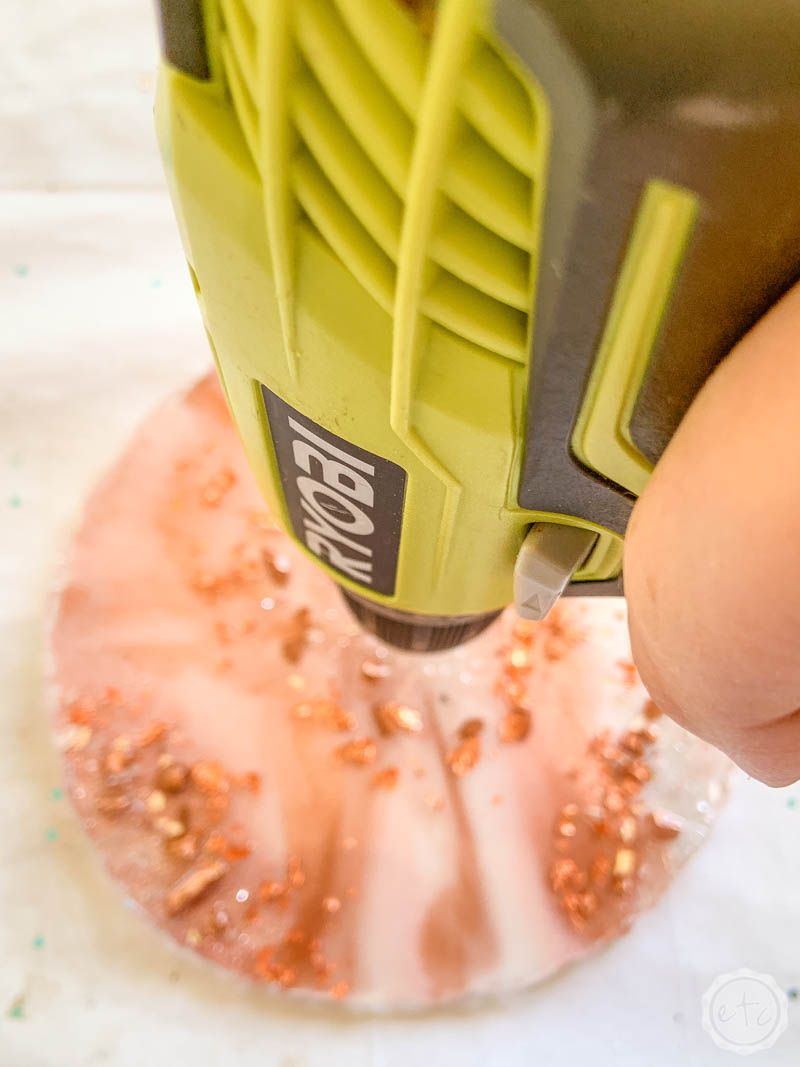
Step 7: Drill the Holes
Now it’s time for the best part… drilling into our resin. I don’t know why but drilling into a perfect piece always gives me anxiety… I’m afraid I’m going to ruin the whole piece in some way!
Just go slow and you’ll be fine!
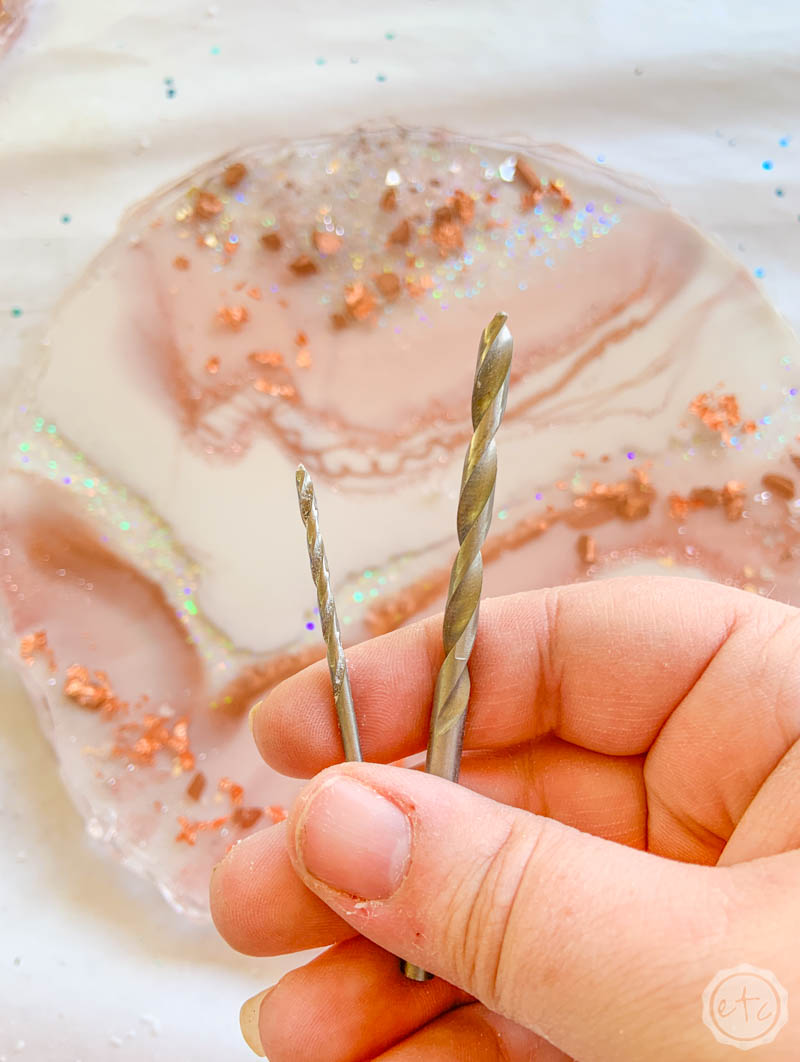
Since this is a 3-tiered tray we need to drill the holes in the middle of each layer large enough for the hardware to pass through. So I started by picking a drill bit about the same size as my hardware. You want the holes to be about the same size or even slightly smaller so that the hardware has a tight grip on the resin and doesn’t leave you with a whobbley tray.
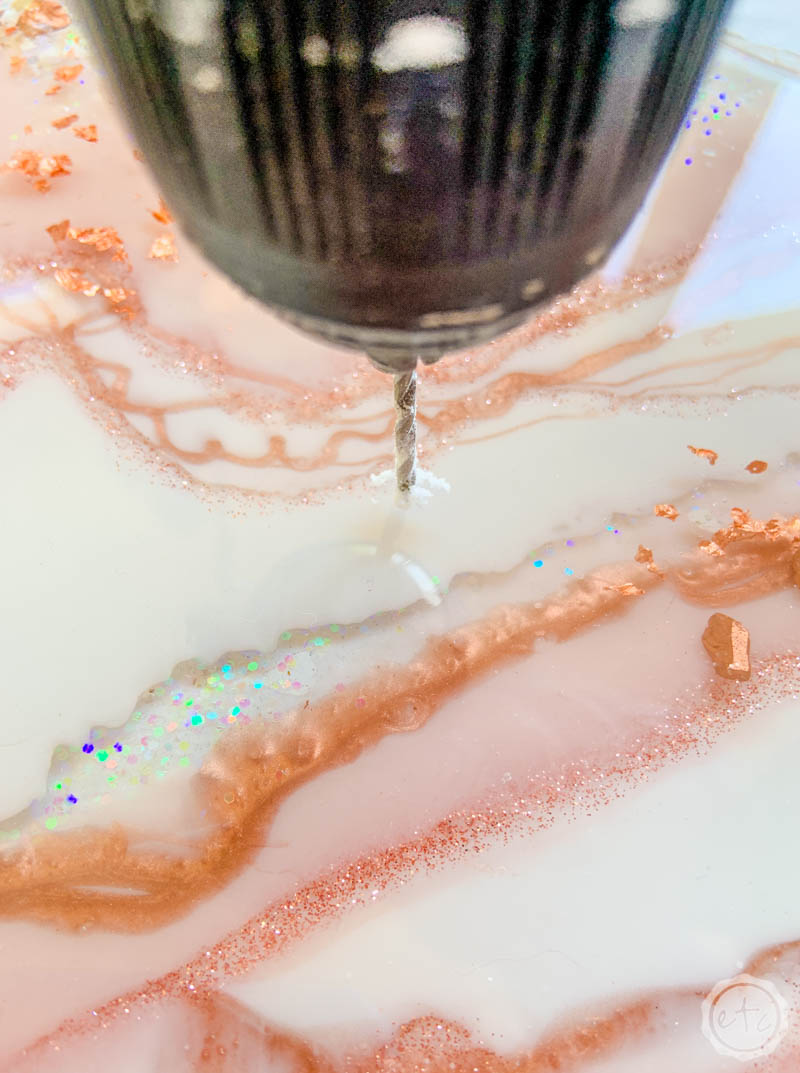
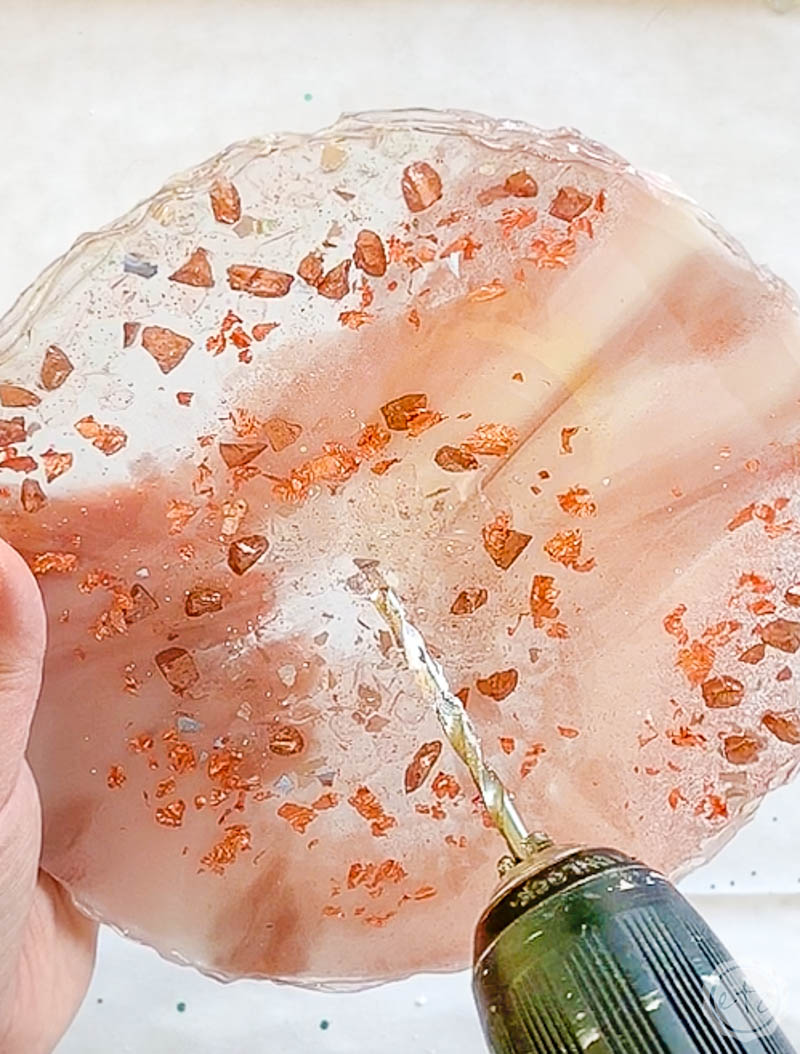
Now pick a smaller drill bit so that we can pre-drill the hole… this way our resin won’t crack when we try to drill into it with a large bit.
Drill into the resin in the middle of each layer with your smaller bit, and then once more with your larger bit. Now take your hardware and make sure you can thread the ends through the holes. If you can’t then drill the holes again with a slightly larger drill bit.

Bonus Tip: Depending on your resin 24 hours may be long enough to dry but it may need a full 7 days to cure. If this is the case you’ll want to take your pieces and lay them flat to cure the full 7 days before placing them on the 3-tier tray hardware. Otherwise they’ll continue curing on the hardware and gravity will pull the edges down leaving you with wobbly, not straight layers. It sucks to wait but it’s worth it in the end!
Step 8: Add your Hardware
Now is the best step… our last step… adding the hardware and seeing the whole tray come together!
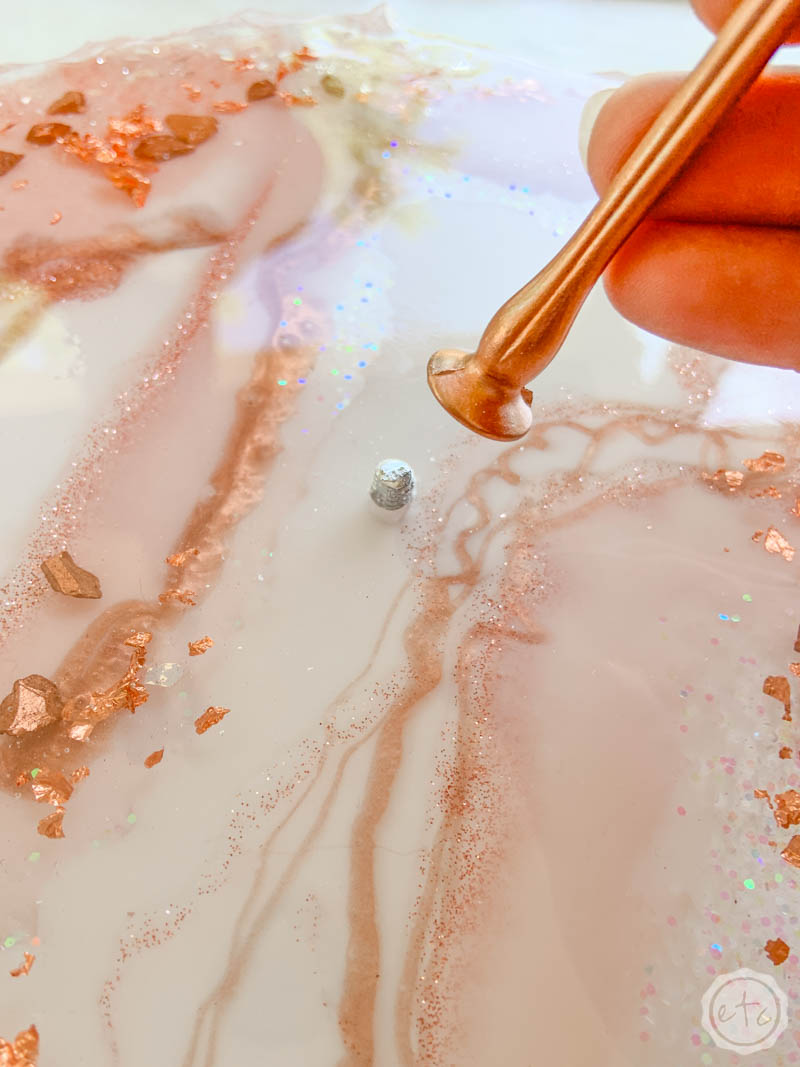
Simply thread the hardware through each layer and screw it tightly together.
Beautiful darling!
If you are having a hard time fitting the hardware onto your tray (say it’s too thick or you have a rock right where a piece is suppose to sit) you can take your dremel and sand that portion down until the hardware fits properly.
The underside of the bottom tray for example has a large screw and a washer. If you just attach these the tray will not be able to sit flat… take your dremel and sand out a little area for the screw and washer to sit inside the bottom layer of the tray. Now it should sit flat on the surface.
Now that your hardware is in place you’re ready to rock! Just take a look at all *ahem* and I mean all… of the pretty finished shots!

Bonus Tip: I thought it worth a quick mention that the hardware I found for this piece did not come in rose gold… none of the hardware I could find did. So instead I picked hardware I liked and then painted it with the same testers brand copper paint I used inside the resin. Now they match!
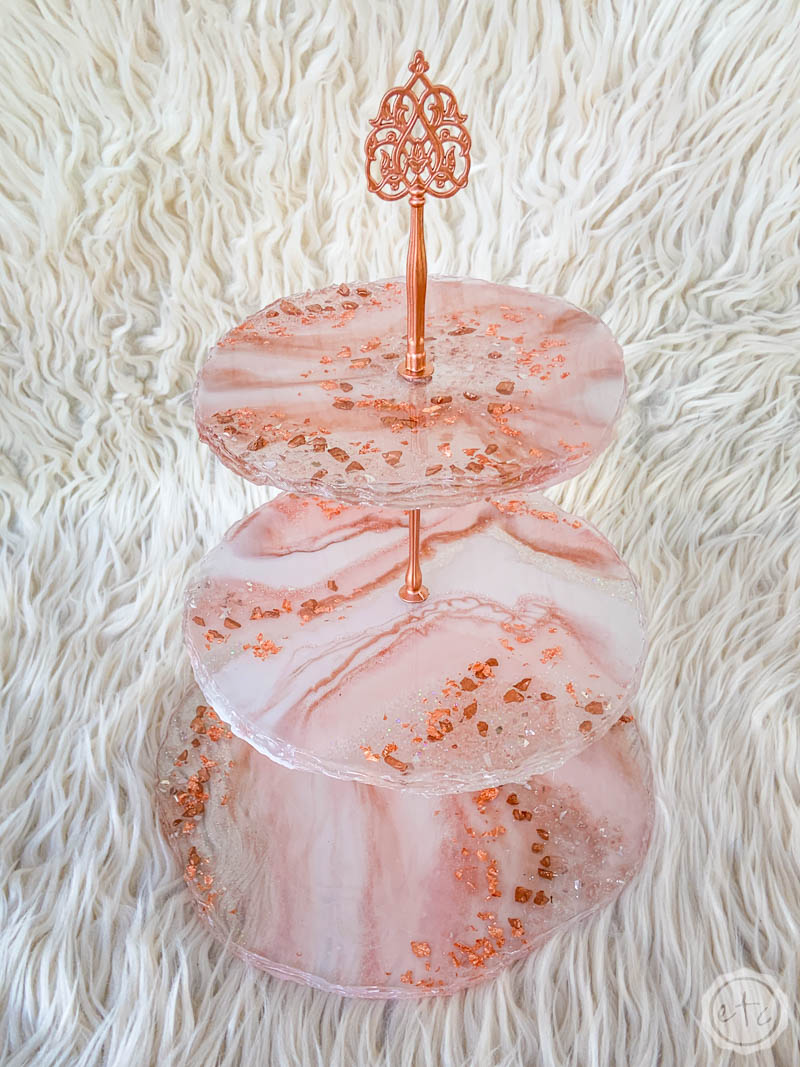
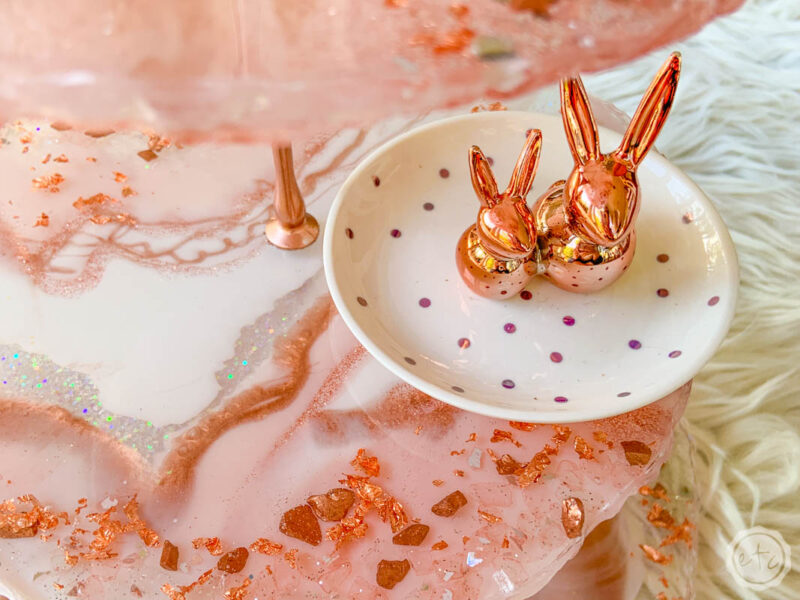
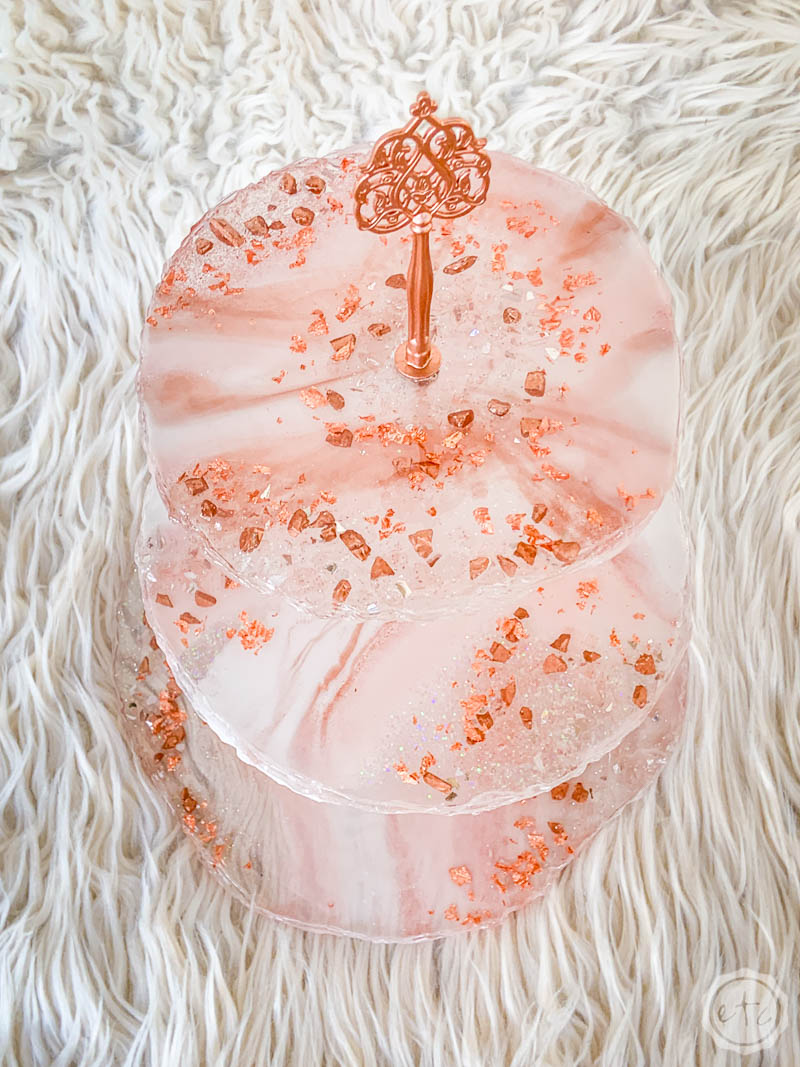
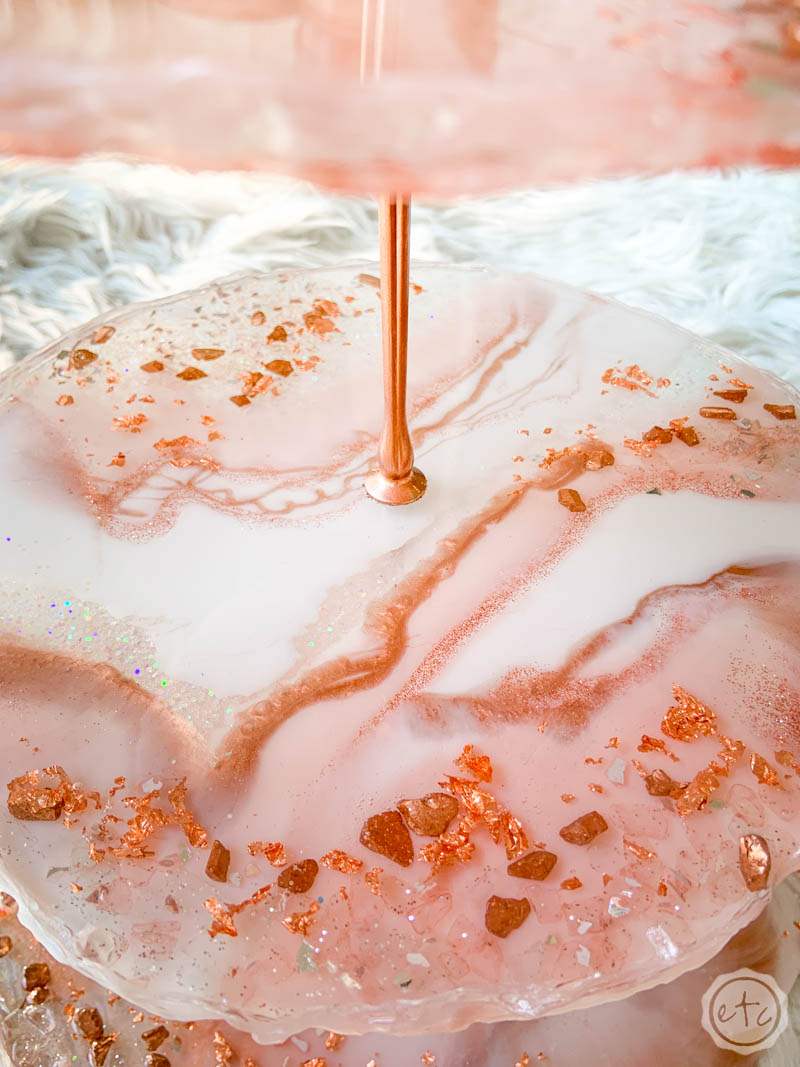
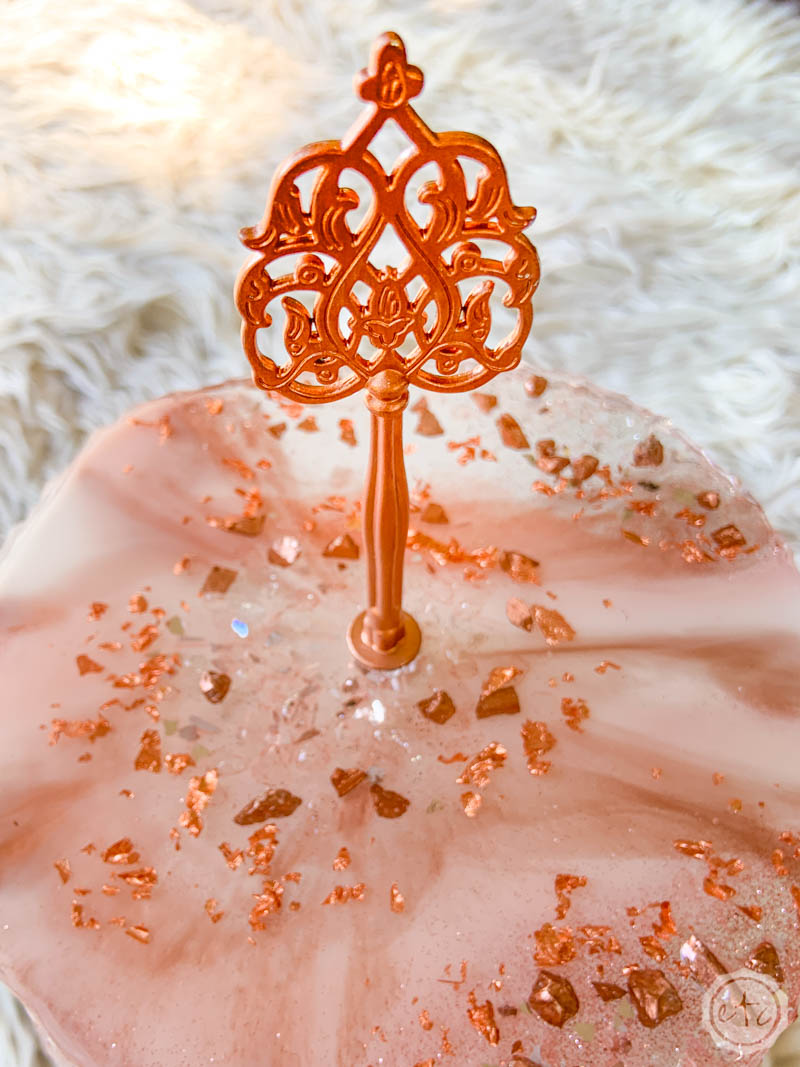
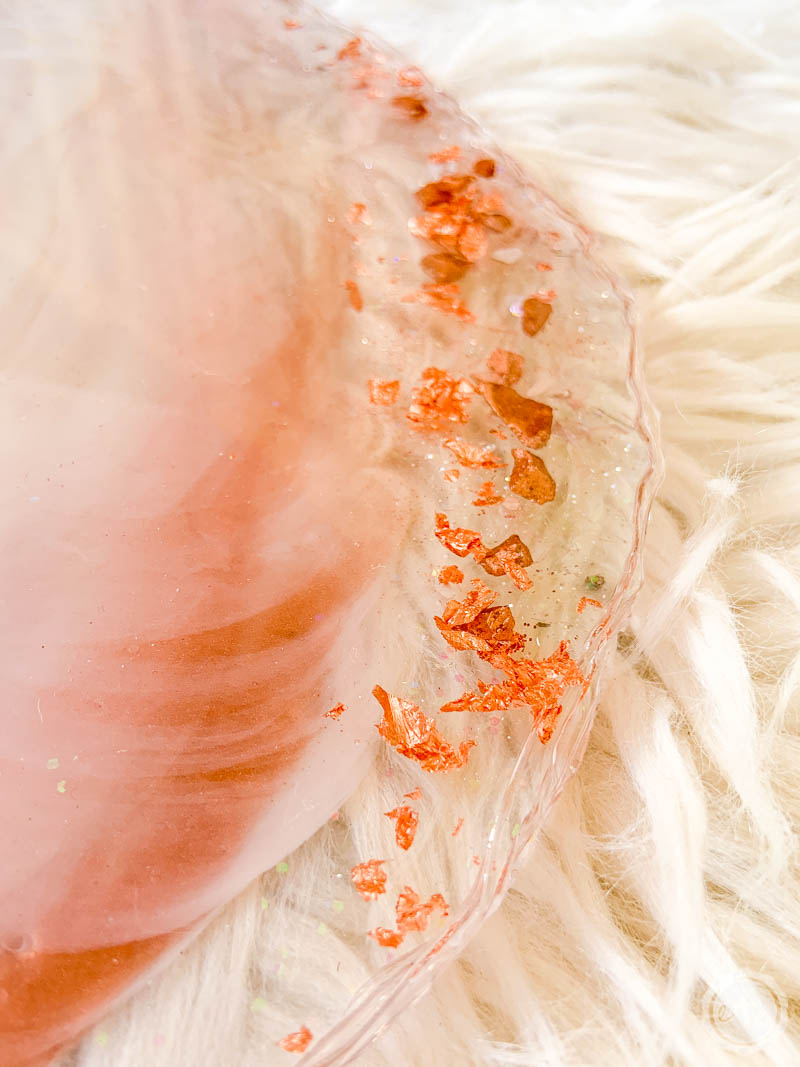
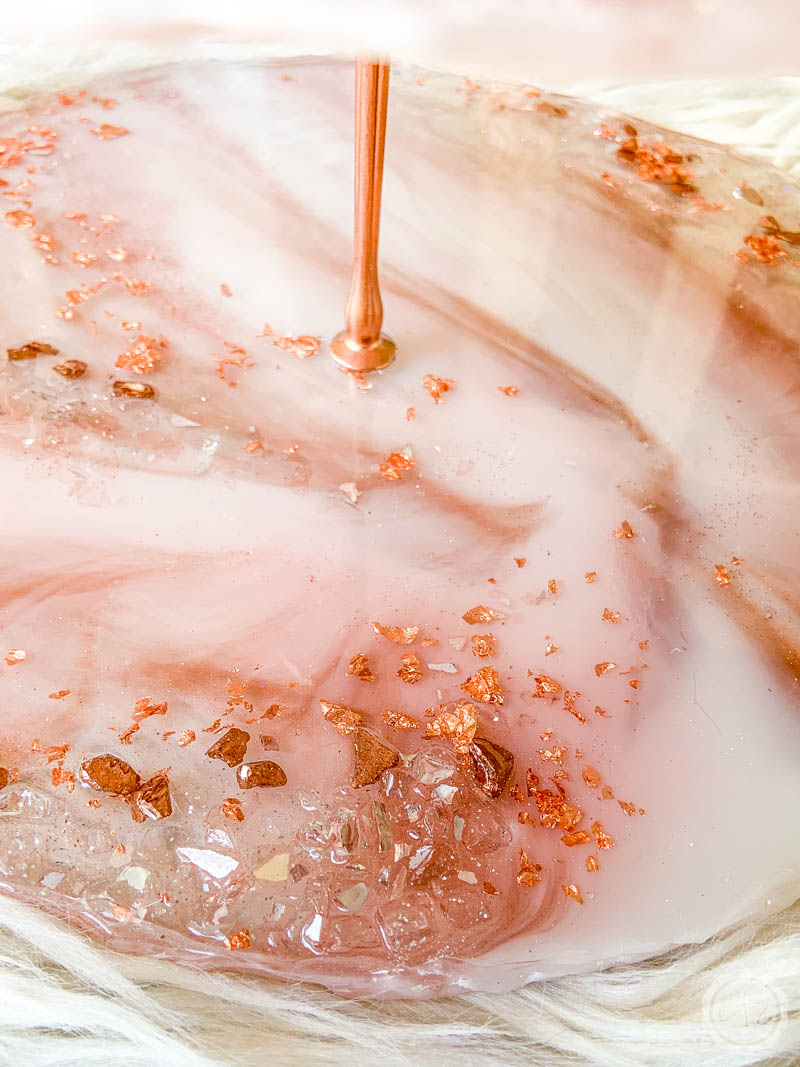
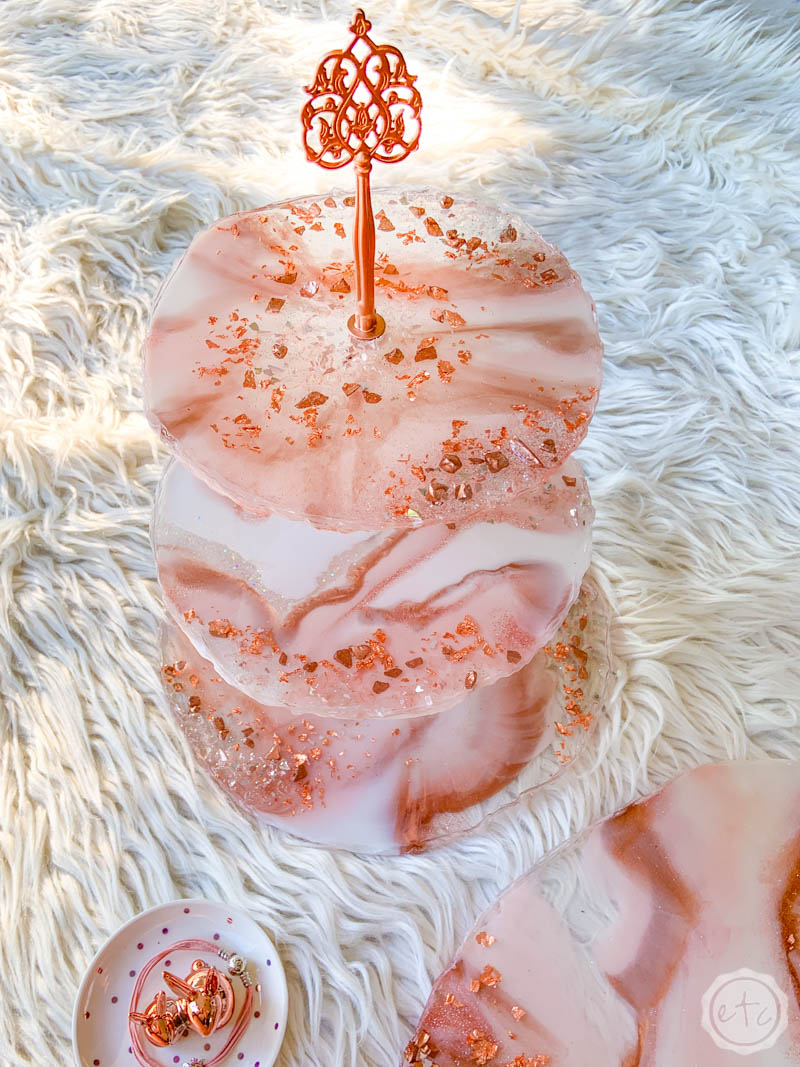
See that little serving tray peeking into the picture? I love love love that they match!
I can’t wait to show you the full tablescape once everything’s done! In the meantime you can check out the little serving tray right here.
Enjoy!
Looking for more resin projects? I’ve got you covered!


