


So you have an antique knife rest and you want to make a few more… or maybe you just want to make a few knife rests! When it comes to antique pieces we often have incomplete sets, or we find a one or two in green and need copper for our color scheme.
In this tutorial I’ll show you how to cast resin into a silicone mold to make a new copy of an older antique knife rest! I found my knife rest at an antique store and made a silicone mold with it so that I could make more… I’ll show you how to make the silicone mold in a different tutorial so today we can focus solely on resin.
Of course, I am making knife rests (and I hope you are too!) but you can use this same technique to make anything you can make a mold out of (I made salad plates to match here)! If you’ve never heard of knife rests before and are confused out of your mind a knife rest goes under your knife so that when a plate is taken away your knife has somewhere to rest (besides the table) in between courses. Very fancy *wink wink*
Let’s get started!
Supplies:
- Amazing Clear Cast Resin (about 300-350ml per plate)
- Respirator/Mask (resin graded filters)
- Gloves
- Wagner HT400 Heat Gun
- Silicone Mold
- Freezer Paper
- Baking Pan
- Silicone Mat
- Small Mixing Cup or Larger Mixing Cups
- Reusable Silicone Stir Sticks
- Copper Oil Based Paint

IMPORTANT: When it comes to resin and food not all resins are created equal. Amazing clear cast resin is the only resin that is considered food safe after curing. It must sit for 7 full days to cure and only then is it considered food safe… and it still cannot go in the dishwasher or microwave.
Another thing to note is that by using paint/alcohol ink or other colors in your resin they may no longer be food safe. So by making these knife rests copper we may be making them less safe for our knives to rest on… there is no way to know without testing. If you feel uneasy you can coat them with a food safe clear spray sealer in order to have a little piece of mind.
How to Make Resin Copies of an Antique Knife Rest

Prep your Space!
Resin cures fast y’all… so before we get started we have to get everything ready. No point in running around looking for that little can of copper paint while our resin is curing in it’s cup!
So set everything up in a well ventilated area and put down freezer paper on your work surface. If you have a door you can close that’s great but if you’re working on your front porch (like me!) cover a baking pan with a silicone mat so that you can move your project inside to dry when your done.
Then grab your respirator and gloves and we’ll get started!
Just getting started with resin? Feeling overwhelmed? I’ve shared every singe item you’ll need to make this specific tray in the supply list below but if you’re just getting started with resin you might be a bit overwhelmed. Don’t worry! Let’s take it back to the beginning. I’ve written an entire post on what to buy to get started with resin post just for you! Then you can jump into Resin 101: Working with resin for Beginners where I’ll answer all of your resin project questions!
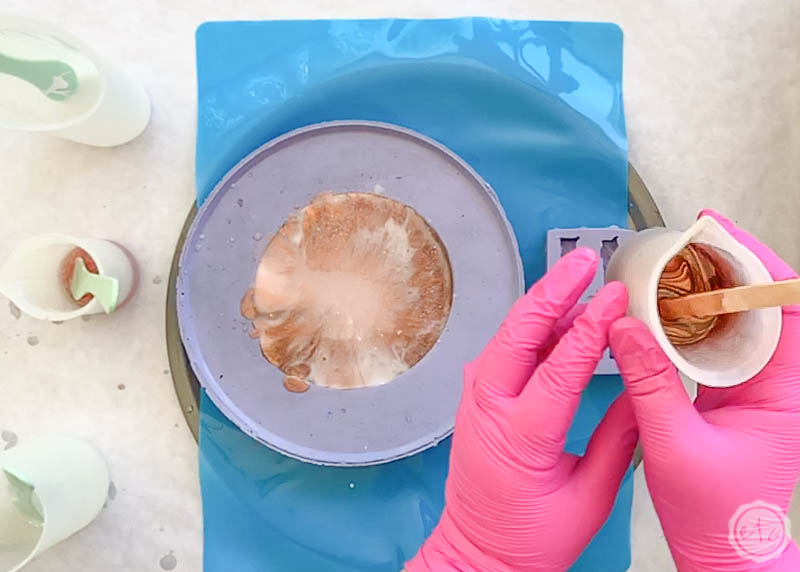
Step 1: Mix your Resin
Ready to rock? Let’s get mixing!
Start by setting out your silicone cups and putting your paint inside. That way you don’t have to waste resin curing time dripping color into cups. Since we’re using an oil based paint the color is very very strong… you’ll only need a few drops to color an entire cup of resin.
Once your color is ready to go it’s time to mix! Go ahead and mix about 30 ml per knife rest in your little silicone cup. Make sure to scrape the sides and bottom so the paint really gets mixed in properly. If you’ve never mixed resin before go ahead and follow my how to mix resin tutorial… it will walk you through all the steps!
Once it looks thoroughly mixed go ahead and give your resin about 2 minutes to sit… this will bring all the little micro bubbles to the surface of the resin. Now you can use your heat gun to pop any micro bubbles.
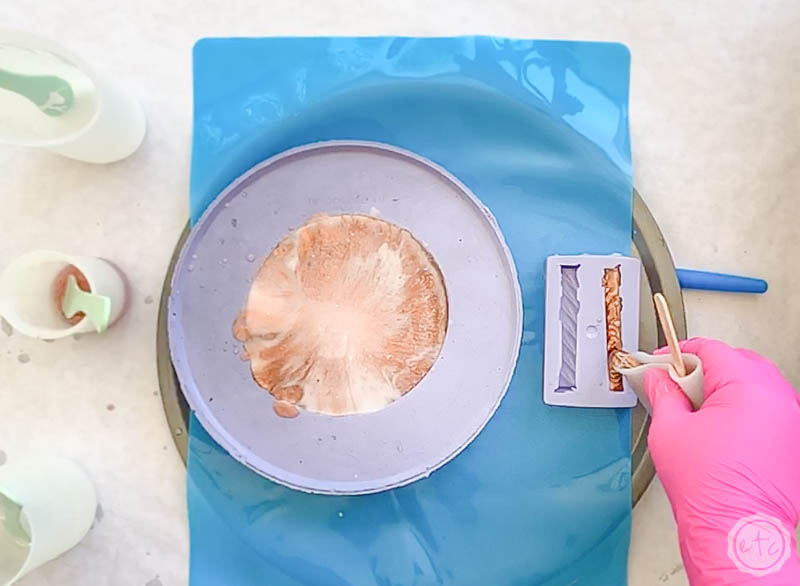
Step 2: Pour your Resin
Now let’s start pouring our resin into the mold (now that’s a mold! This little silicone mold came out perfectly and I can’t wait to share the entire process with you!I made this one myself… and I’ll share the tutorial on how you can make one soon so stay tuned!).
Make sure to pour your resin slowly in a thin stream… from as high up as you can manage. This little mold is fairly smooth but it still has lots of little spaces for bubbles to get trapped (although it’s not as bad as the succulent molds I used for this project)… slowly pouring a little resin at a time will help reduce the bubbles that form at the bottom of the mold.
Which is good since the bottom of the mold is the front of our knife rests!
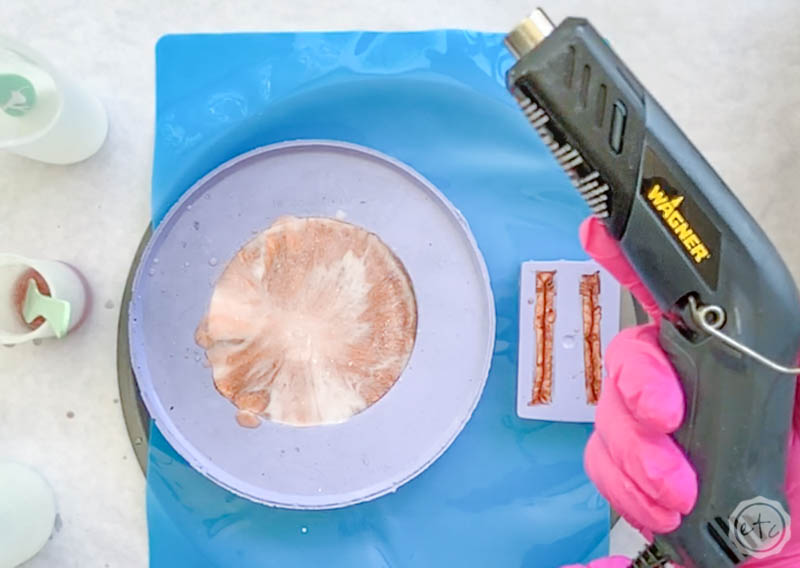
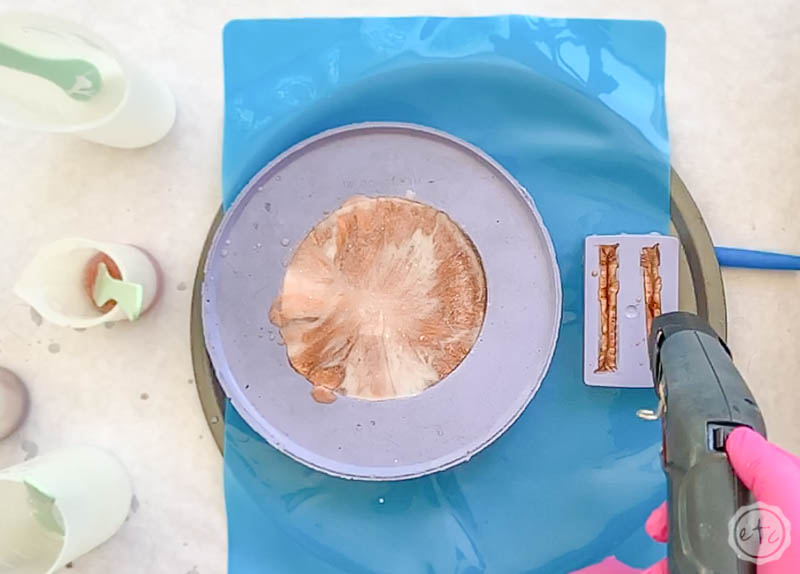
Step 3: Pop those Bubbles
Once your knife rest mold is full alllllll the way to the top you’ll want to pop any remaining bubbles. Take your heat gun and go over the entire surface area until you don’t see any bubbles left.
This should be pretty quick but typically the smaller the mold the more bubbles that form so watch the mold and zap any bubbles you see form. One more tip? Carefully pick up the mold and gently twist it like you would if you were demolding… this will help any trapped bubbles come to the surface.
Just don’t squeeze too hard and overflow it!
Once all the bubbles are gone go ahead and move your mold to a clean dry room and cover it to keep dust (and dog hair!) out of your resin. Then let it cure for a full 24 hours!

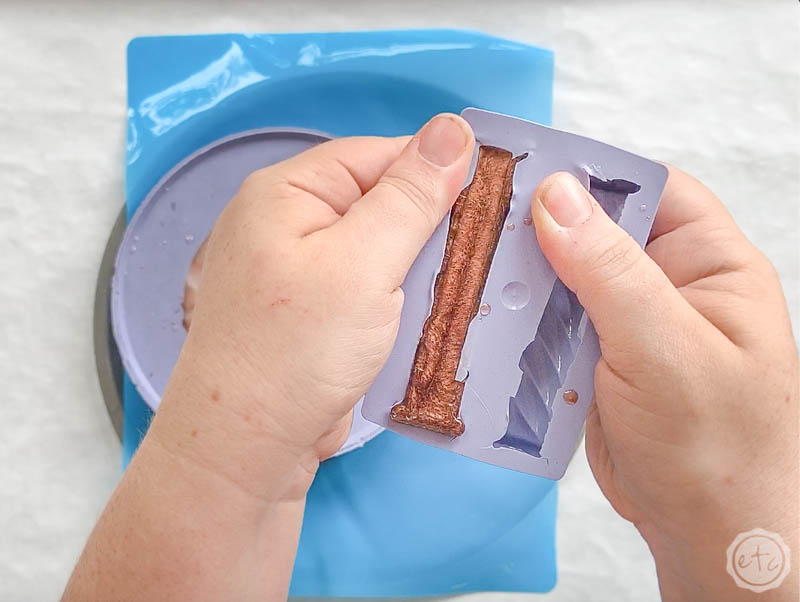
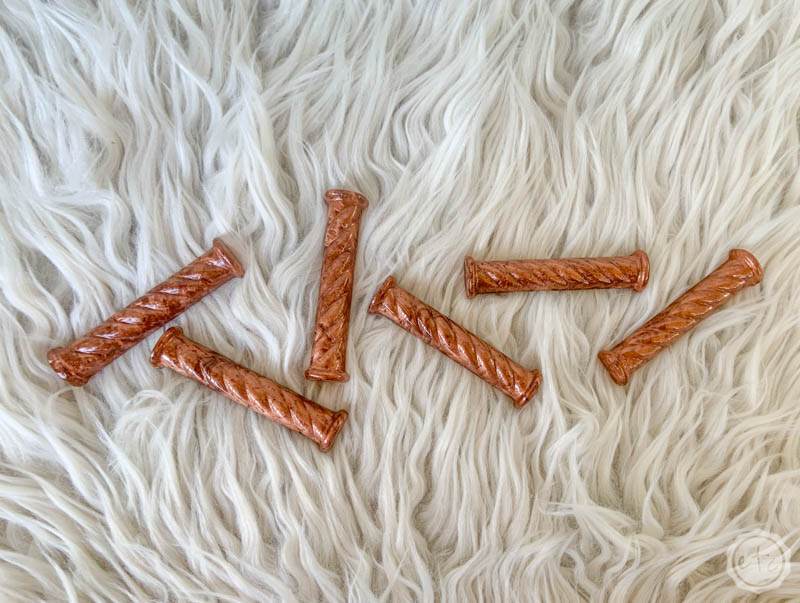
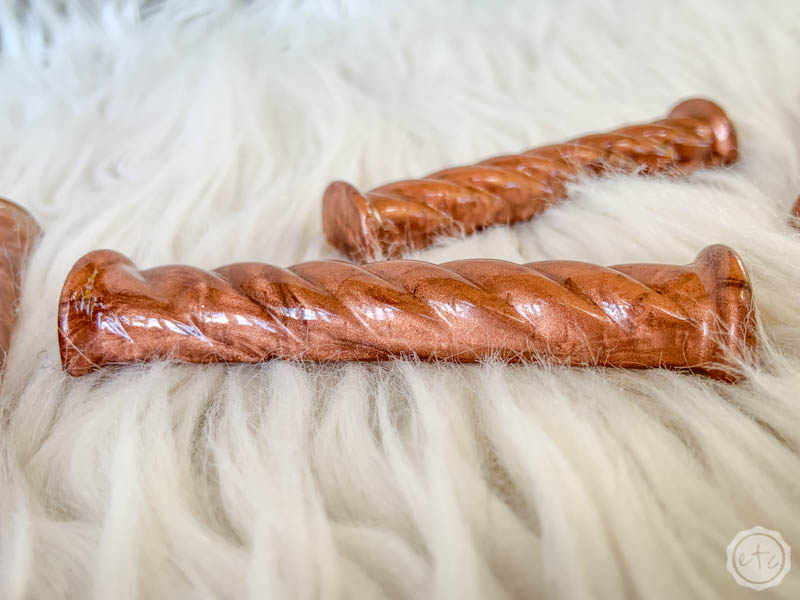
Step 4: Demold your Knife Rests
Now it’s time for my favorite part… releasing these beauties from the mold! They release so cleaning it’s a blast to take them out of the silicone!
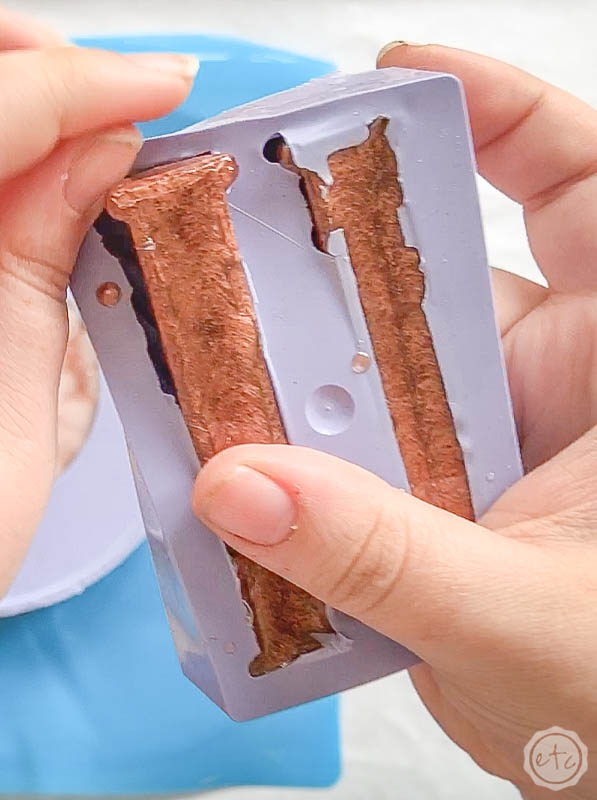
Start by gently pulling the silicone back from the knife rests on all four sides… work your way around and you’ll feel it release.
Once you’ve done all four sides try to get under one edge of the knife rest… then you should be able to pull it free!

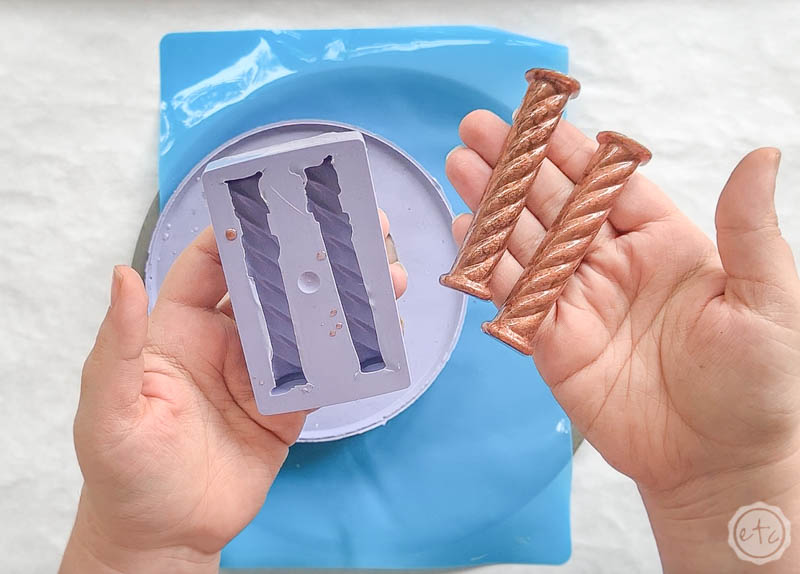
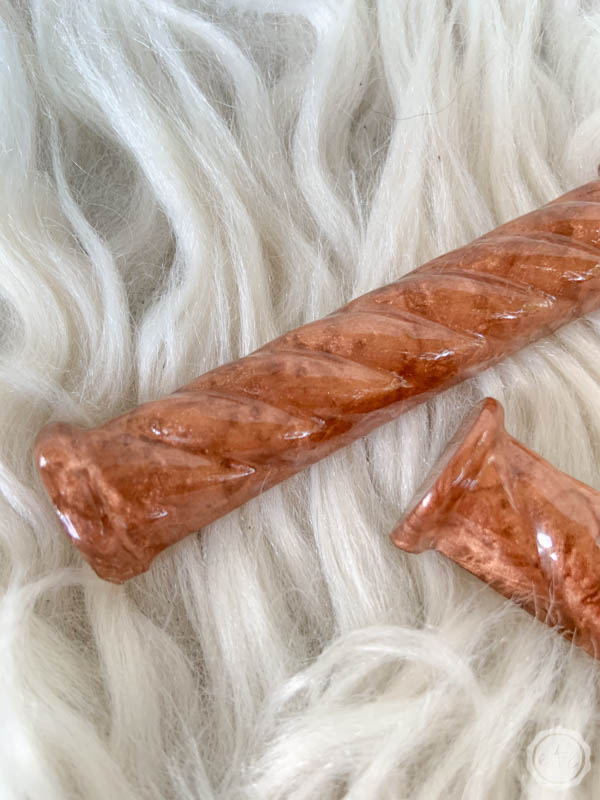
Step 5: Finishing Touches
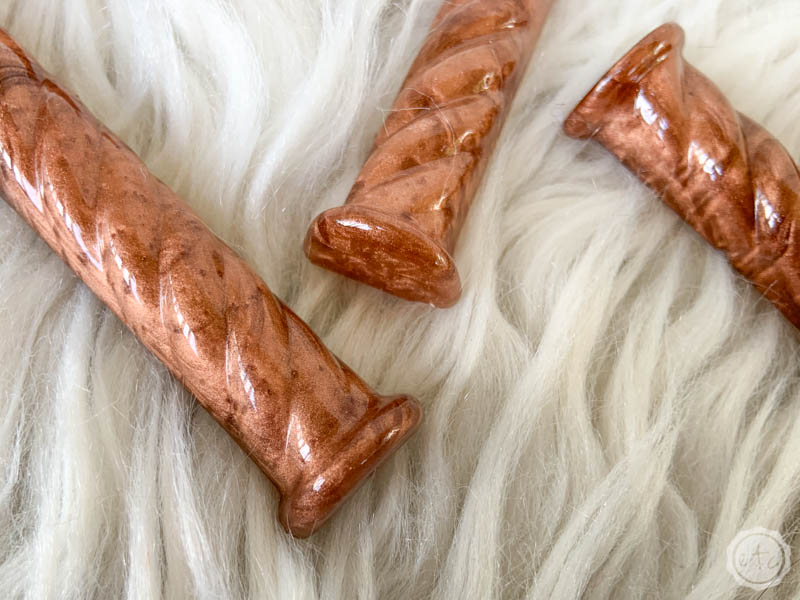
Perfect darling! At this point you have a few options… if your knife rests are absolutely perfect straight out of the mold (like these are!) then you’re good to go!
Sometimes you’ll have a few places that need sanding though (this just depends on the quality of your mold… I have another mold that didn’t turn out as well from when I was learning how to make molds… I still use it but I have to do a little work on the finished pieces). Once you’re done sanding you can put a top coat of resin on your little knife rests to get rid of the sanding marks and make them beautiful again.
If you want to spray these babies with a food safe clear coating this is the time to do that as well!
Otherwise go ahead and set them aside for the full 7 days to finish curing before using them on a table.

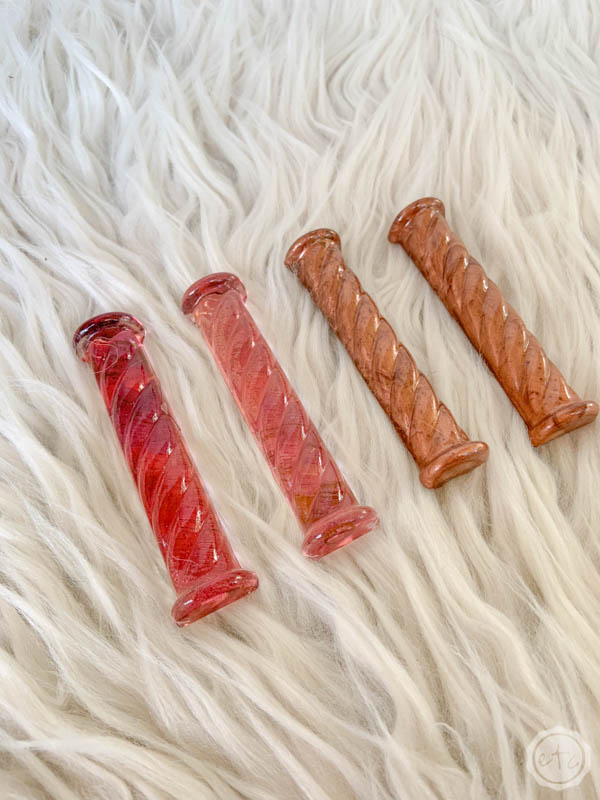
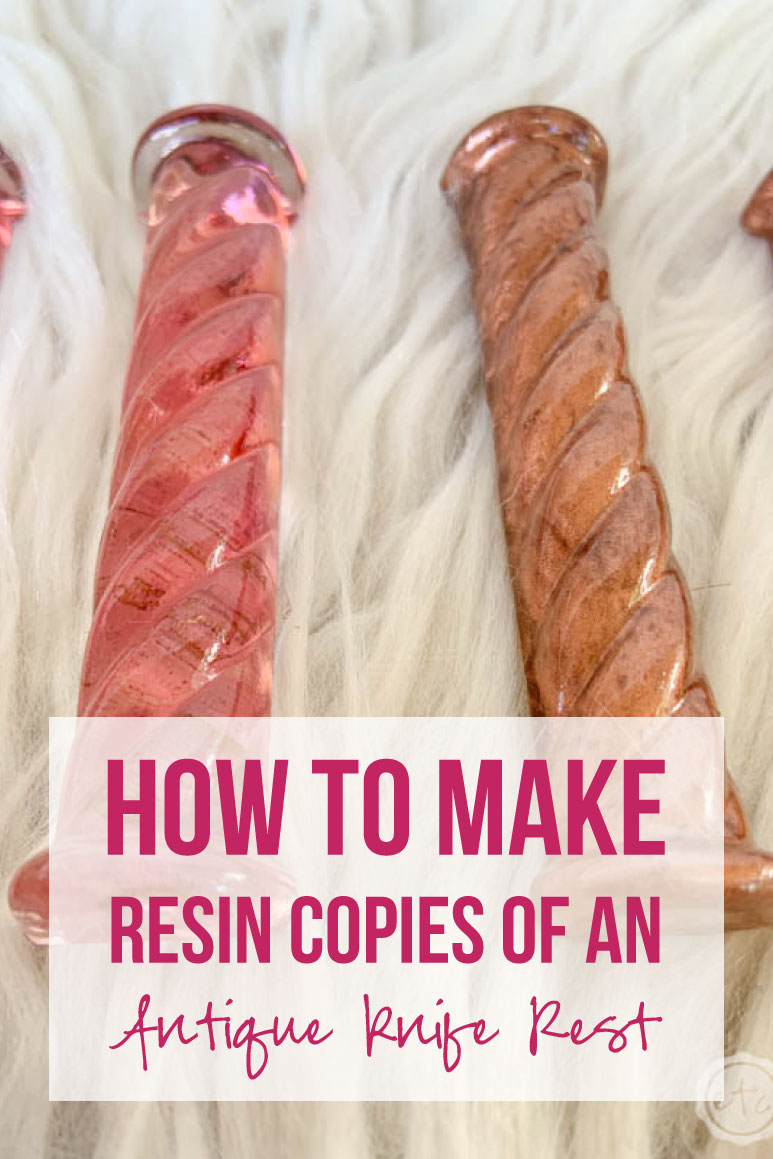
Now just look at the comparison! The original pink knife rests from Hungary are on the left… they’re a glass while the copper knife rests are resin.
But don’t they look like twins?! If I really wanted them to be identical I could find a similar acrylic paint color and cast them with a slightly transparent look.
They would be twins!


Looking for more resin projects? I’ve got you covered!


