


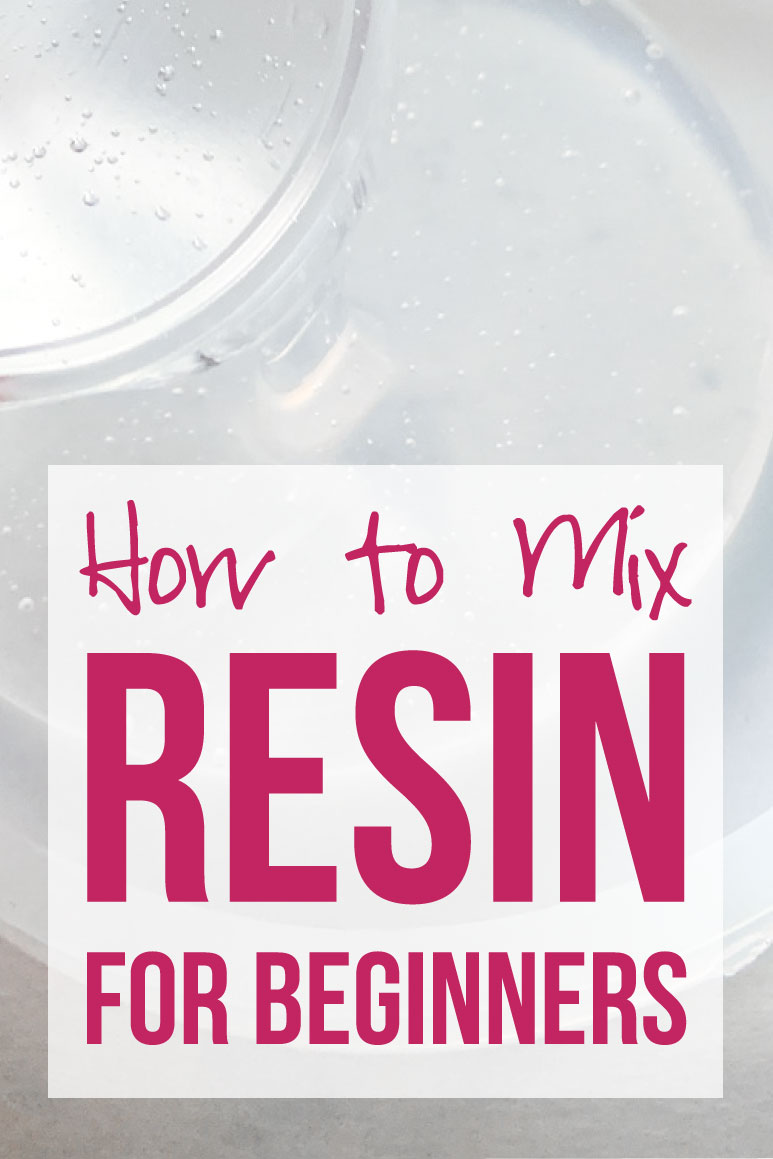
If there’s one thing I know about resin it’s that it can be super intimidating. Especially to beginners! I won’t tell you how easy it is (there’s definitely a learning curve) but I will tell you how fun it is… and how quickly you can pick it up if you’re willing to jump in and give mixing resin a try.
When you start to mix resin the first thing you should know is that not all resin is the same. Some is meant to do large projects, some is meant for small bevels (jewelry pieces)… and all of this resin has different instructions.
Each and every resin will have it’s specific instructions on the box so you don’t have to worry… but regardless of your resin the directions will be identical or very similar. Most resins have a part a and a part b that have to be mixed together in a 1 to 1 ratio for about 2 minutes. Once mixed you’ll have a window of 15-45 minutes before the resin is toooooo hard to work with.
Depending on your resin you may need a 1 to 2 part ratio, or perhaps you’ll need to work super fast to complete your piece in a 15 minute window. Either way whenever you try a new type of resin always start by reading the directions on the box.
Today I’ll be showing you how to use Amazing Clear Cast Resin which has a 1 to 1 part ratio, 30 minutes of work time and 24-48 hours before you can remove your piece from the mold. It’s a pretty good resin to start with and easy enough to work with.
Ready to get started?
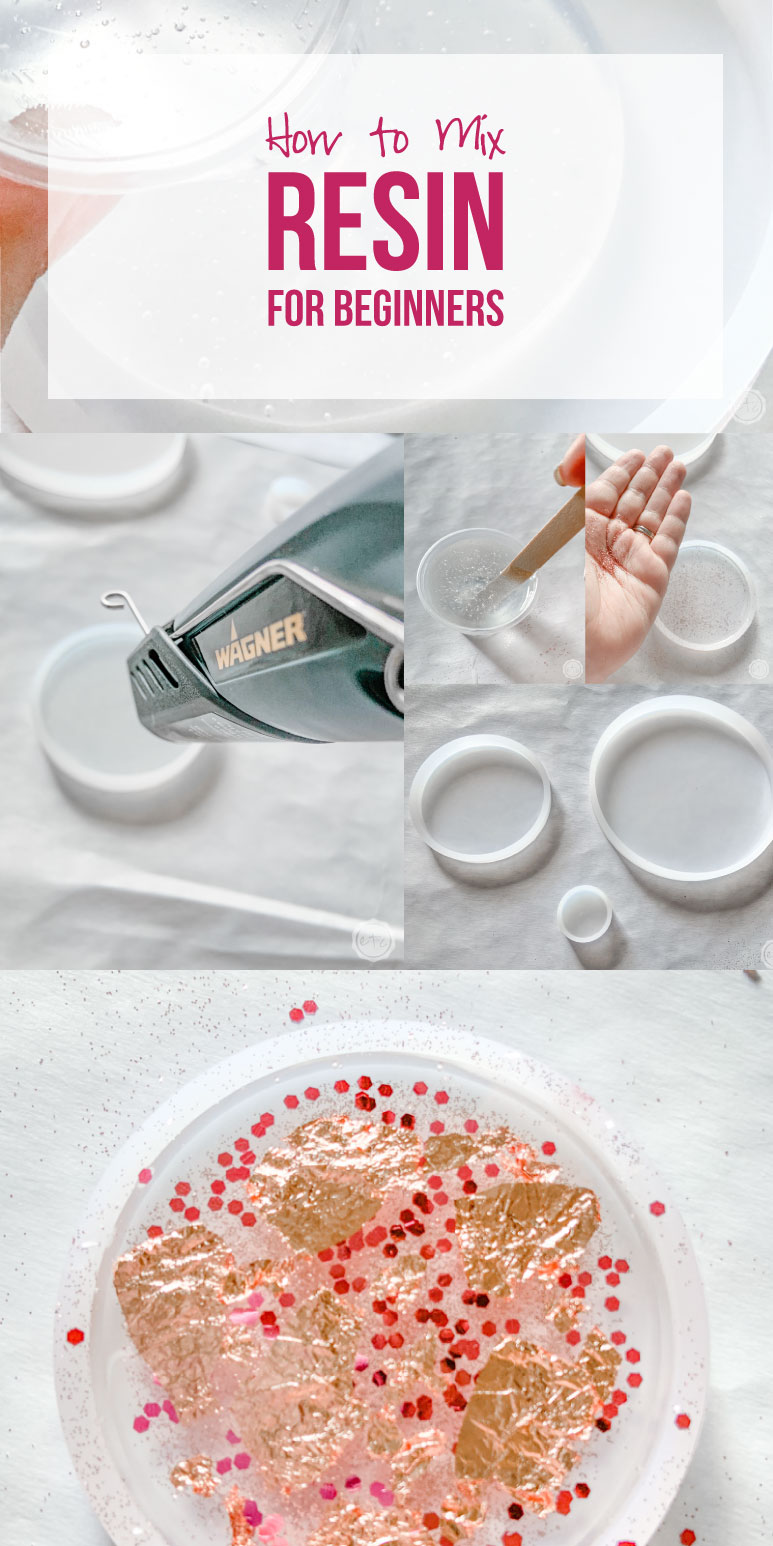
Supplies:
- Amazing Clear Cast Resin
- Respirator/Mask
- Gloves
- Wagner HT400 Heat Gun
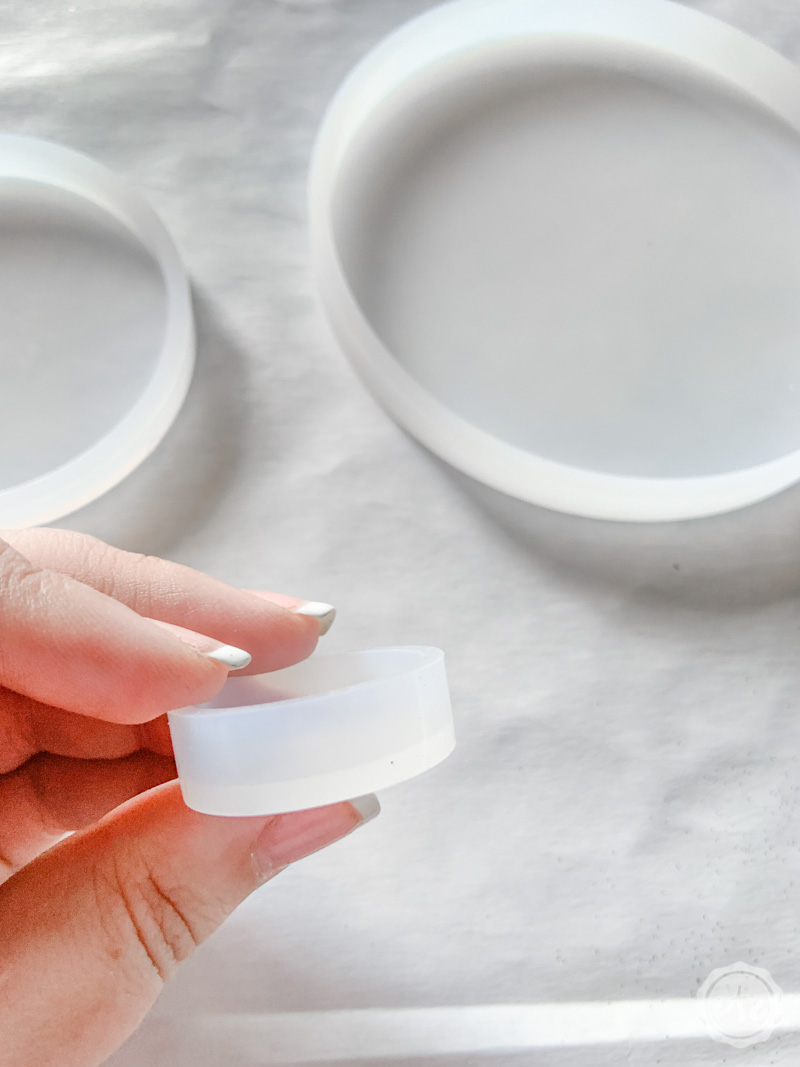
- Silicone Mold (I used these coaster molds for this project)
- Freezer Paper
- Baking Pan
- Small Mixing Cups
- Silicone Measuring Cup/Larger Mixing Cups
- Popsicle Sticks
- Toothpicks
- Plastic Spoons
- Inclusions: Fine Glitter, Chunky Glitter, Rose Gold Flakes
Not sure what the heck inclusions are? Not sure where to find molds? Confused about where to start with resin… not even sure what to buy? This post will teach you everything you need to know about mixing resin but if you want to go back to the beginning check out my Resin 101 Post. It’s a complete guide to getting started with all things resin.

Step 1: Prepare your Surface
Start by prepping your surface, cover the table you’re using with freezer paper and gather all of your supplies. You need to work in a well ventilated area so if you’ll need to move your resin to cure for the full 24 hours I suggest covering a baking pan with freezer paper so that you’ll be able to easily move your molds.
Resin doesn’t give you a lot of wiggle room on the drying time so once you start you won’t want to dart off to the other room to grab glitter… get everything you’ll need now.
Then put on your respirator so you’re ready to rock.
Trust me on this one… the first time I used resin I didn’t think I needed a respirator and I had a massive headache 15 minutes in (not to mention sticky fingers). Wear your respirator (and gloves!) it’s worth it.

Step 2: Mix Your Resin
Let’s jump right in. For this little “how to mix resin” demo I grabbed an easy to use coaster mold… you can use any silicone mold you have handy but these little coasters are a fun beginner level project that can really turn out amazing!
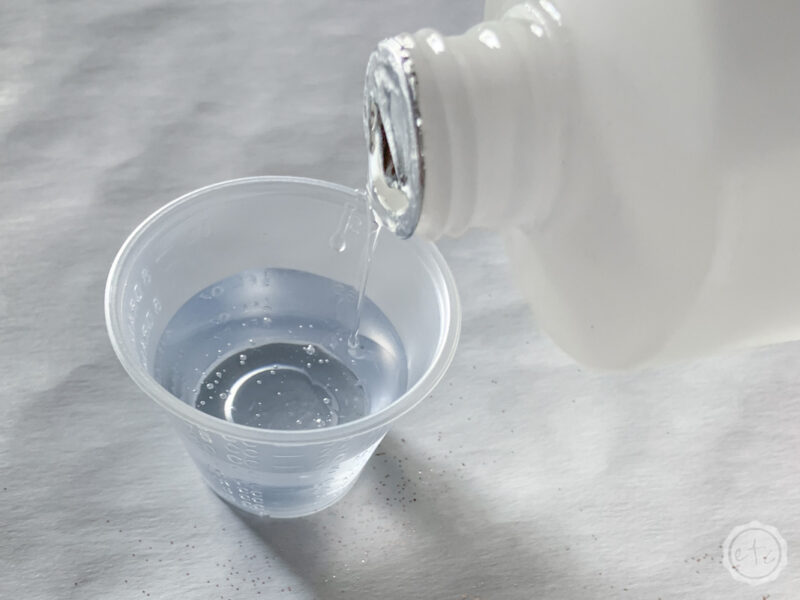
To start I picked the second smallest coaster and started by mixing 30ml of resin. That means we’ll need 15ml of part a and 15ml of part b.
Start by pouring the 15ml of part a into your tiny measuring cup.
Now take bottle b and add 15ml of part b on top of the part a in your mixing cup. You’ll see how they sit one on top of the other… kind of like oil and water.
That’s what we need to mix together!

Remember that if you have your measurements off the resin won’t cure… if you don’t mix them together thoroughly (or long enough) the resin won’t cure. So be careful to measure your portions carefully and when it comes time to mix… mix it real good y’all.
Ready? Set? Mix!
Take a popsicle stick and mix your little measuring cup for 2 minutes. Make sure to mix from the bottom so that you get all of the mixture from the bottom and the sides thoroughly mixed.

Step 3: Pour the Resin into your Mold
Once you’ve mixed your resin completely go ahead and pour it directly into your mold. Later on you’ll learn techniques where you can mix fun things into your resin first (like the second alcohol ink technique I used in this tutorial) but for today we’re going straight into the mold.
Make sure that the resin spreads all the way out into the corners of the mold… you can use your popsicle stick to push the resin around the edges of the mold if need be. We definitely want full coverage.


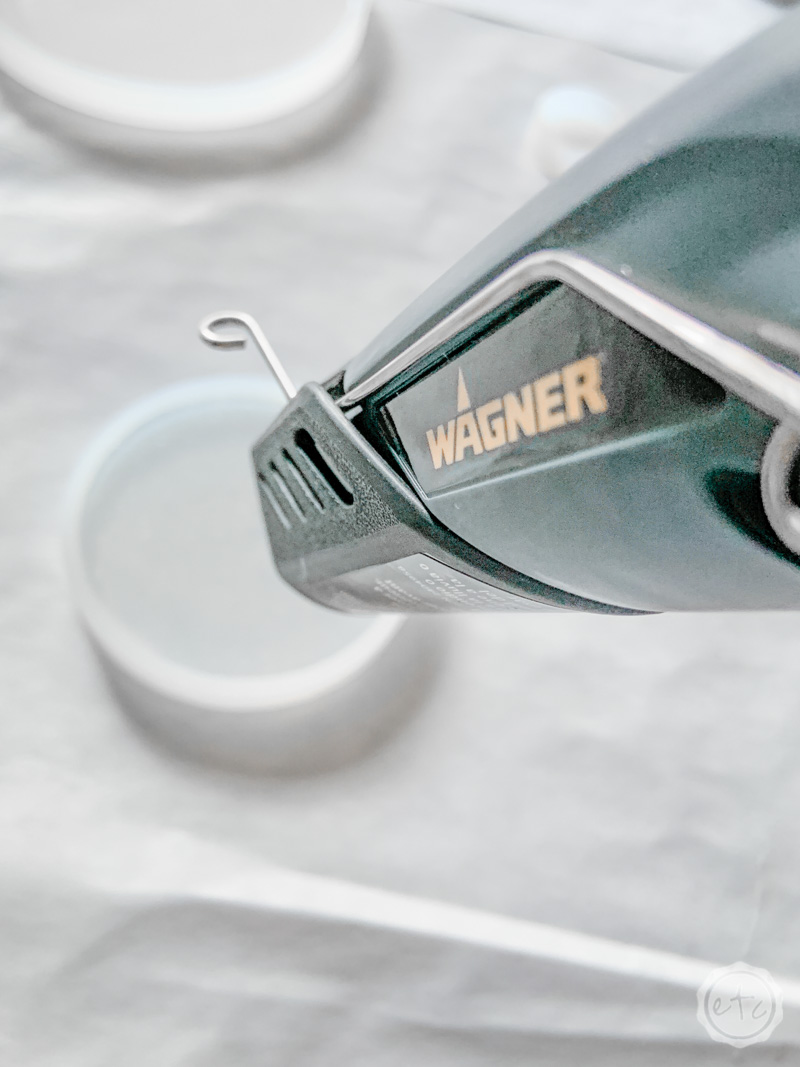
Step 4: Pop the Bubbles
This is my favorite part!
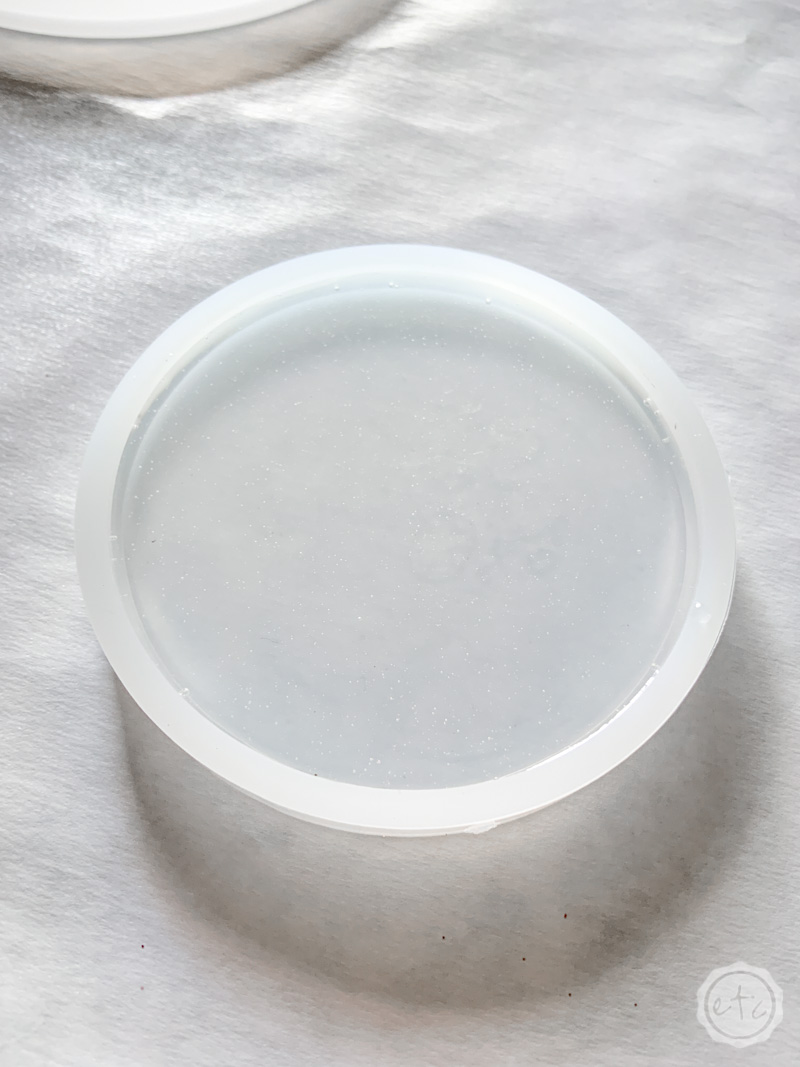
One your resin is in your mold you’ll notice quite a few bubbles in the liquid. Take your heat gun (I use this little Wagner HT400 model since it has multiple settings and works for all my craft projects) and pass it over the resin on the low setting.
You’ll see all of the little bubbles rise to the top of the resin and pop! Just take a look at the photo above to see all the bubbles in the freshly poured resin… then scroll down for the crystal clear, bubble free photo!
Once all of the bubbles are gone your resin should be crystal clear and ready for a few inclusions.
Looking for ideas? Here’s my master list for amazing budget friendly items you can add to your resin.
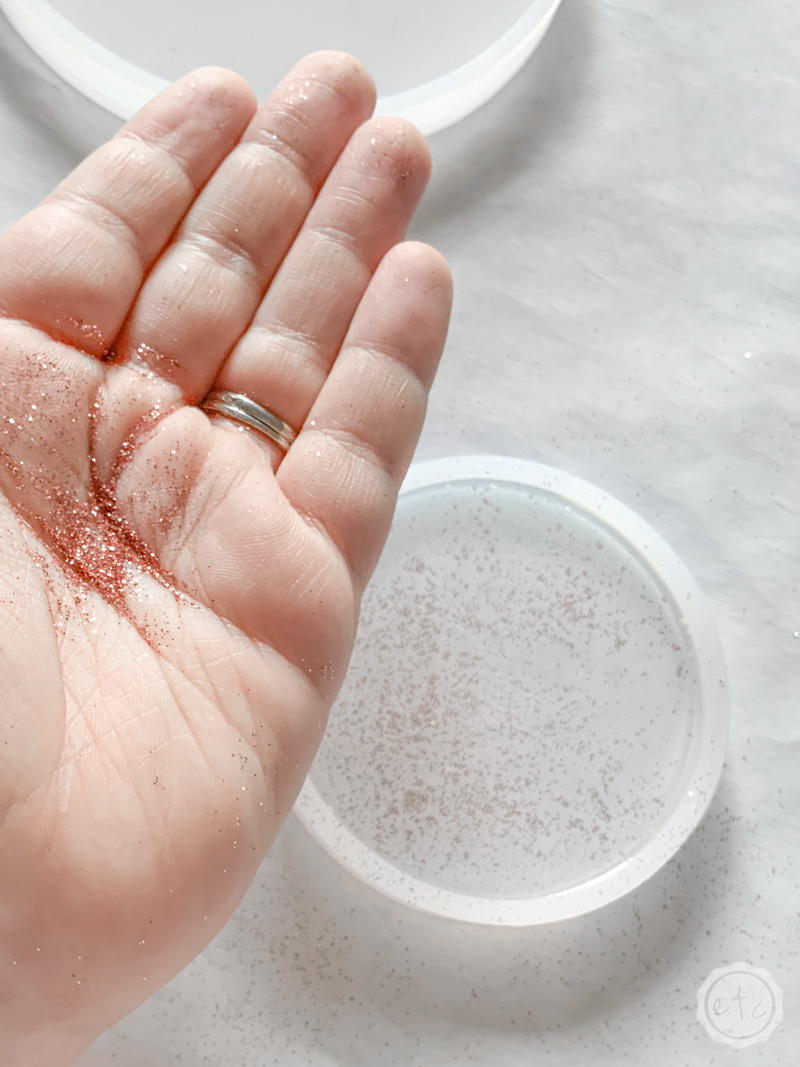
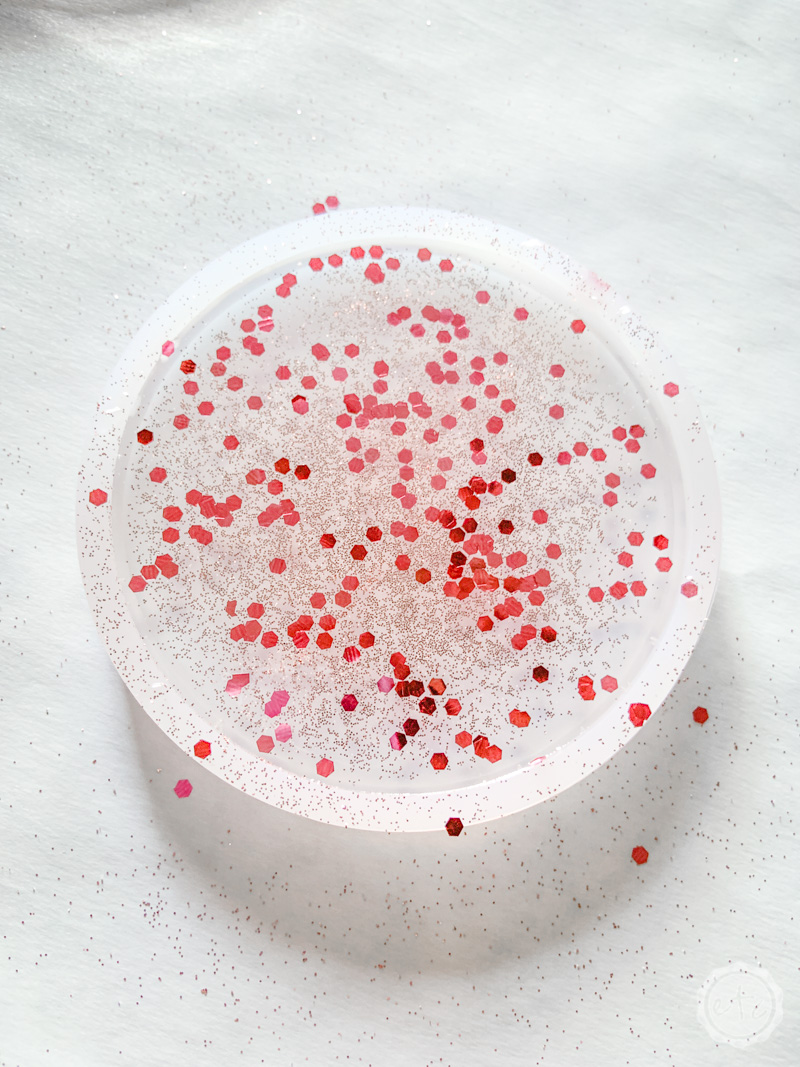
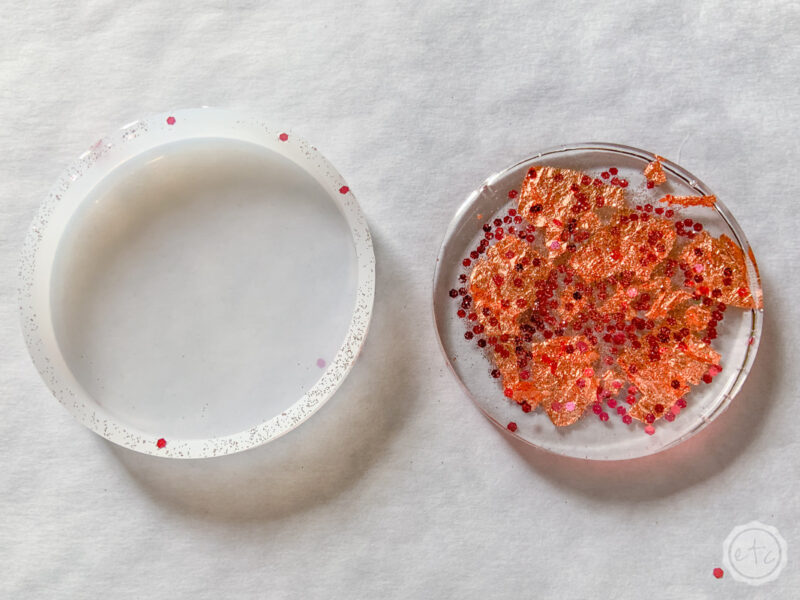
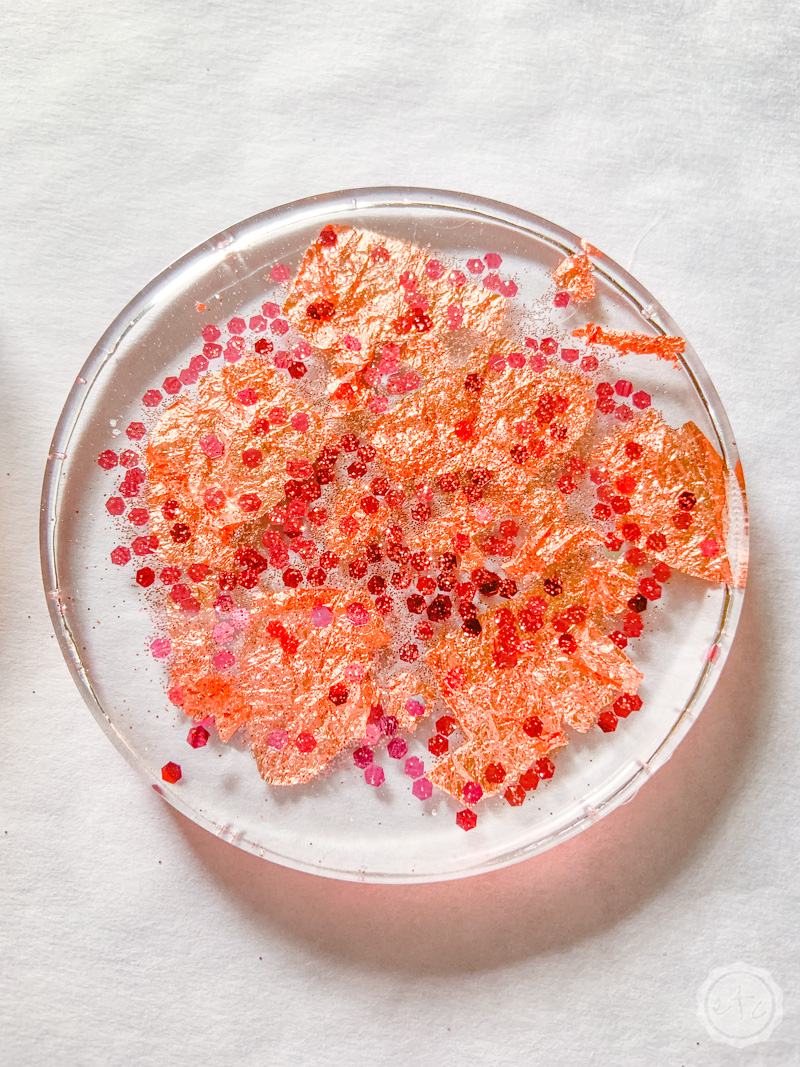
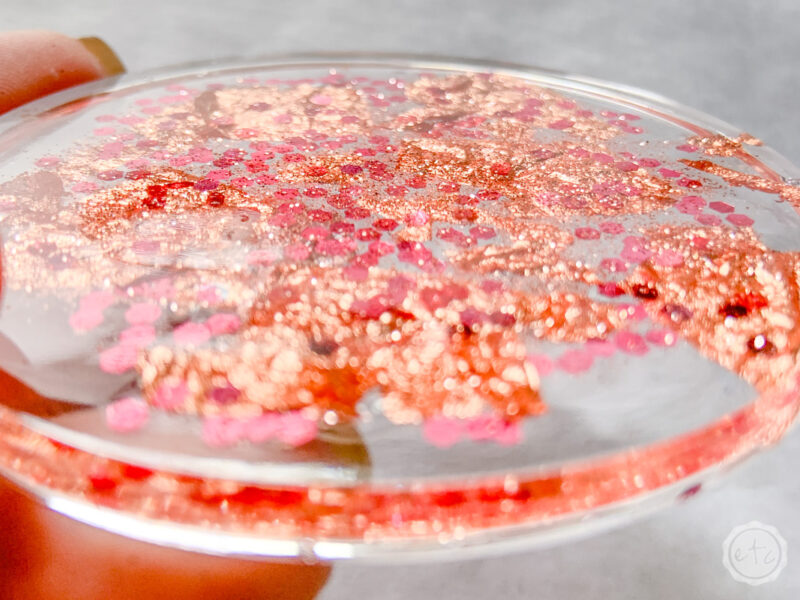
Step 5: Add Inclusions!
Now it’s time to have a little fun… adding inclusions! For this project I picked a simple selection of fine glitter, chunky glitter, rose gold flakes. (Check out my list of 25 fun inclusions to put inside your resin projects for even more ideas.) All of these items can be added once your resin is in the mold… and looks amazing when dry.
I always add the inclusions smallest to biggest (other wise you wouldn’t be able to see the small glitter behind the huge rose gold flakes!). Remember that the front of the coaster is against the mold so we’re actually adding all of these fun materials to the back of our coaster.
So start by sprinkling your fine glitter all over the coaster, then add a sprinkling of chunky glitter on top of that. Finish it off by laying small and large pieces of rose gold flake across the surface.
Easy peezy!
Once you’re done with your little coaster it’s time to leave these babies to do their thing. It will take 24-48 hours to fully cure so go ahead and let them sit for a while. If you are working in a space where your resin can cure without being bothered then this is the point you get to walk away.
If you’re working outside or in a well ventilated area that has a lot of traffic move your resin somewhere it won’t be messed up for the next 24 hours. This is one reason I like to lay my freezer paper on a baking pan… it’s super easy to pick up and move.

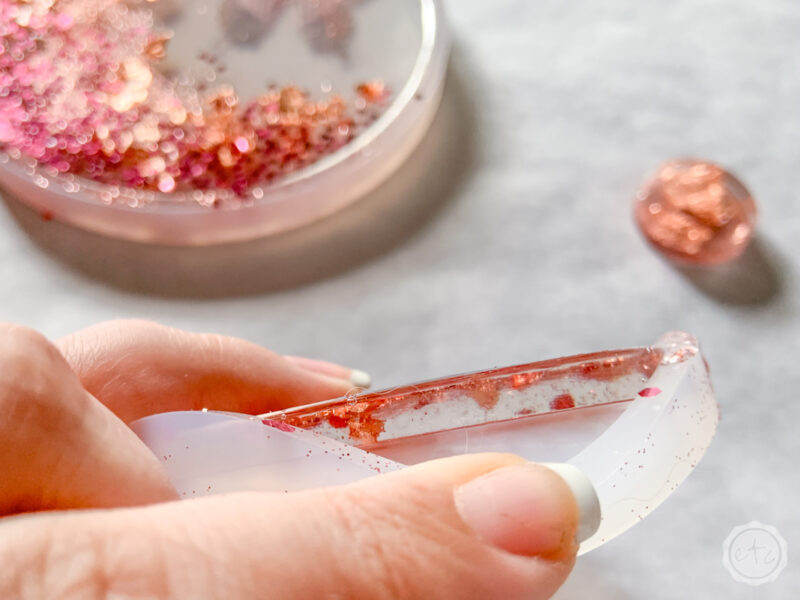
Step 6: Remove from the Mold
Once your resin is completely cured you can remove it from the mold. Luckily this is a pretty easy process.
Simply start to peel the mold back from your resin… if the resin was mixed properly and it’s all the way cured you should see a clean release on all the edges.
If the resin is still tacky and does not feel smooth and dry to the touch then leave it alone and come back the next day. If the resin feels crystal clean and dry then go ahead and completely remove the mold… it should leave you with a shiny, beautiful resin coaster!
Check it out!
Ready to take your project to the next level? CLICK HERE to learn How to Layer Resin to add even more depth to your resin pieces!
Looking for more resin tutorials? I’ve got you covered!


[…] Need a little help? Start at the beginning with my easy how to mix resin tutorial! […]