


So maybe I’m crazy. Maybe everyone already knows how to do this but y’all when I first saw this little tip I was shook. Completely flabbergasted. Basically if you’re in Cricut Design Space and you need to line up items on two separate cutting mats there’s a quick and easy way to do that!
I would always create a boundary box or put the item on the 1 inch line or just try to eye ball it… but that doesn’t always work and you end up with cut lines that don’t match the rest of your project.
Luckily Cricut has made most projects so that you can cut and whatever (print, foil, engrave) on one cutting mat. But every once in a while you need to line things up.
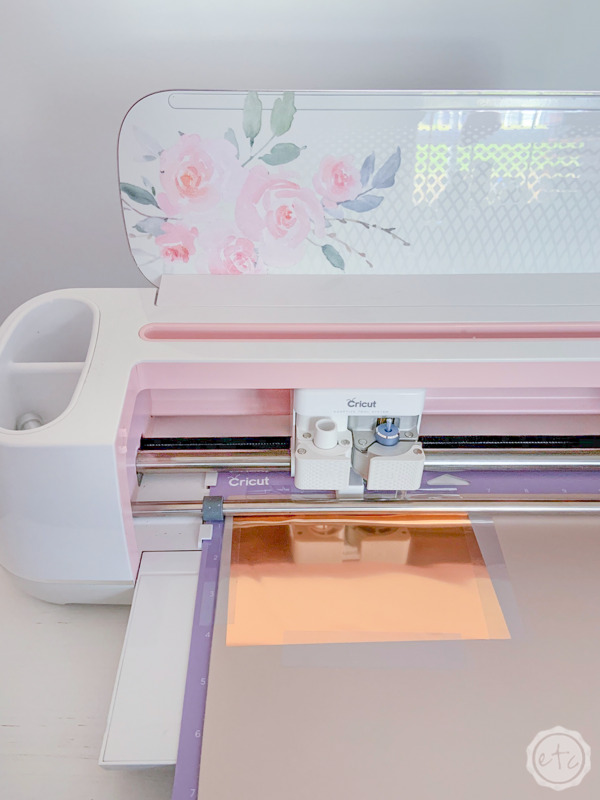
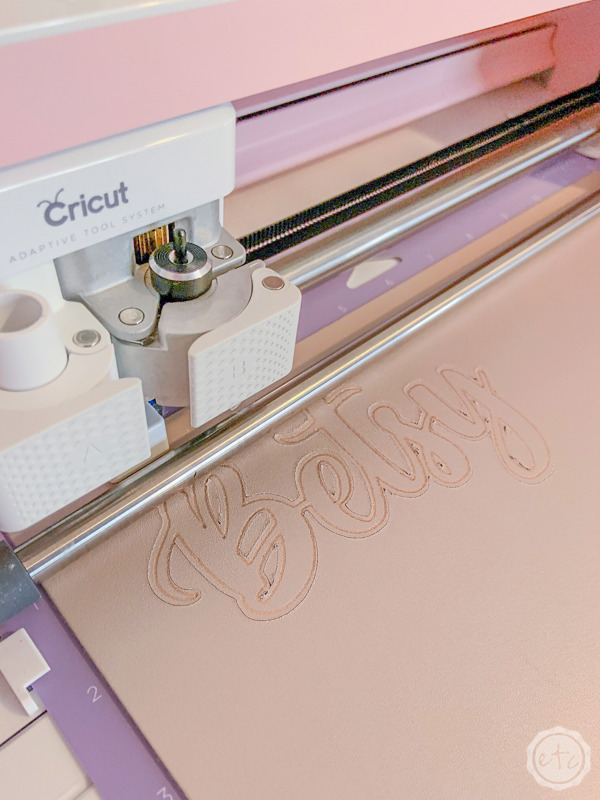
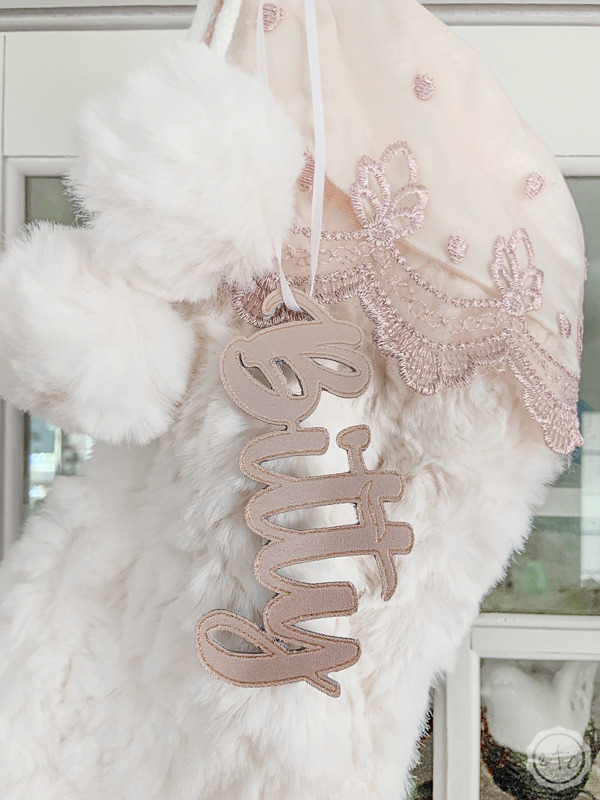
Usually I have this problem on print and cut projects or worse, foil and cut projects. Just take a look at my pretty rose gold metallic leather stocking tags… you can’t foil on metallic leather.
You can’t foil on genuine leather.
But you can line up a foil layer and a cut layer… and foil and then cut on metallic or genuine leather.
Tricky, tricky!
Let’s jump in.
Ready to take the leap but not sure which machine is right for you? Check out my Explore Air 2 and Maker comparison before pulling the trigger. I go over the pro’s and con’s of each machine and even have an easy to read check list of each machine’s features so you can decided which cutting machine is perfect for you.
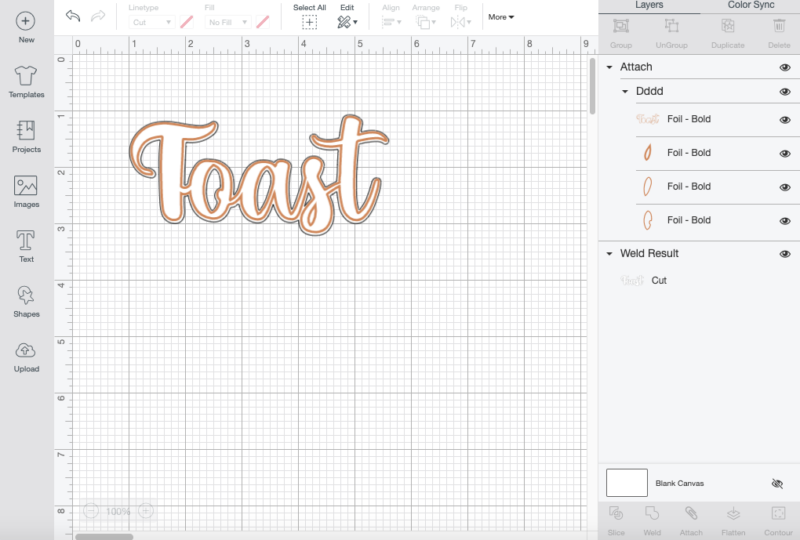
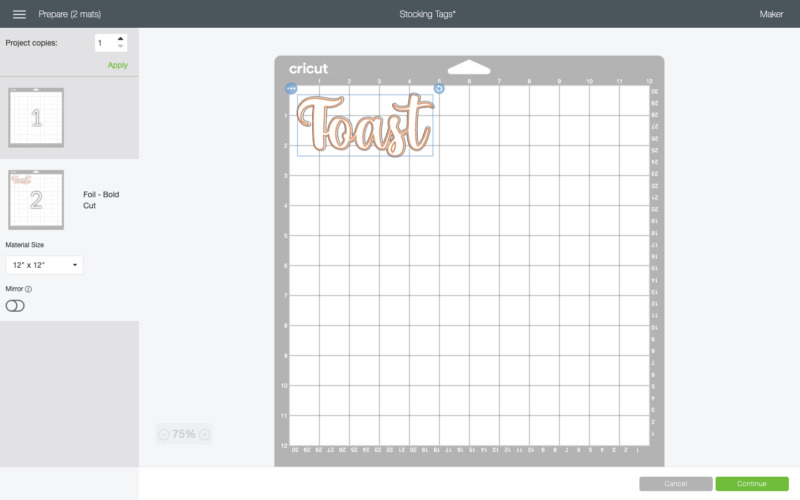
So in this tutorial I wrote out the word Toast (okay so it’s one of my stocking tags from the Christmas Stocking Tag project up above. Pretend it’s just the word toast). Then I copied and pasted the word so I had two copies.
Then I made the top “toast” a foil layer and left the bottom later a cut layer.
Perfect! Now if we could foil metallic leather I could attach the two, hit go and cricut could take care of the rest. But since we can’t foil metallic leather we’re going to leave both words separate.
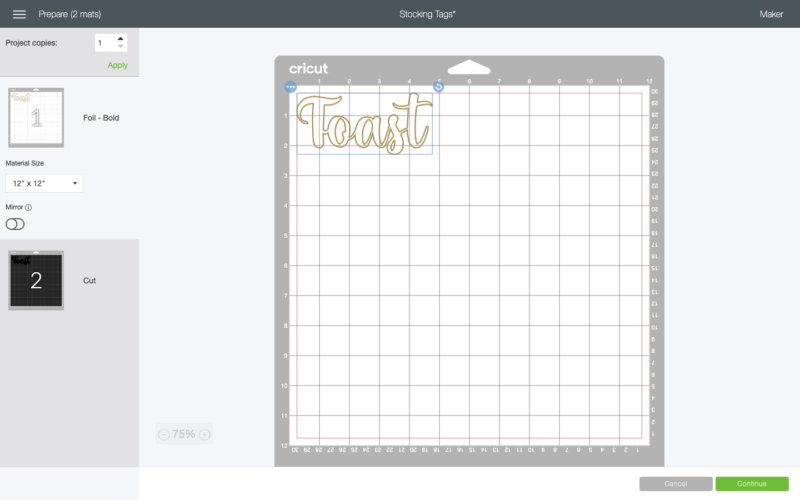
That way when we hit make it we’ll have one cutting mat for our foil layer and one cutting mat for our cut layer.
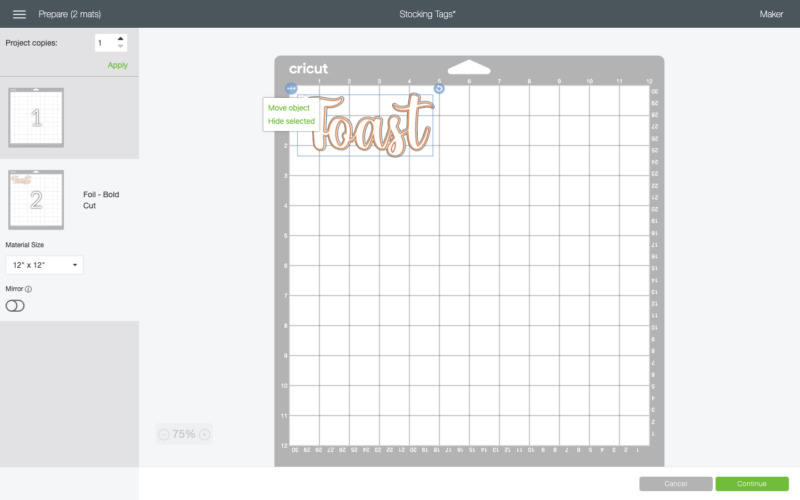
For the first step simply move the foil layer a bit on the cutting mat until the 3 dots appear over the top left hand corner.

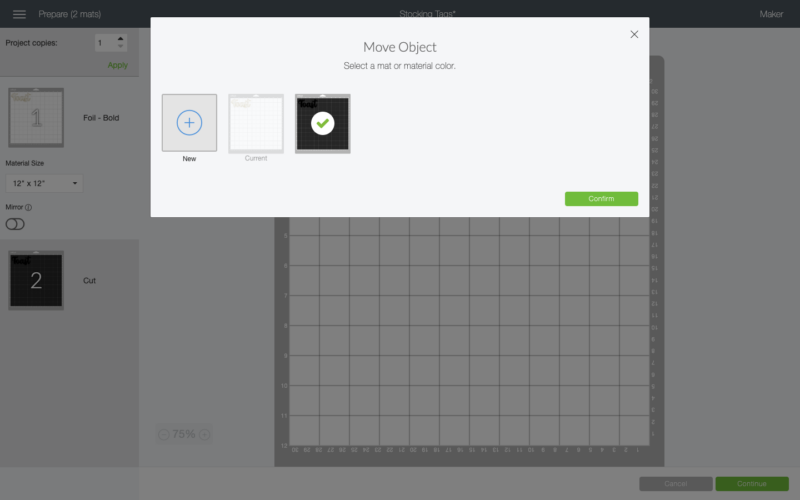
Go ahead and click on the 3 little dots and a drop down menu will appear. We want to click “move object”.
Now a move object window will appear. There should be 3 items on this screen: a new cutting board button, the current first cutting mat and the second cutting mat. Since we’re already on the first cutting mat with our foiled object we want to click the second cutting mat.
Then click the green confirm button.
Perfect!
Now we have both of our items on the second cutting mat. The first cutting mat is completely blank.
If you’re ever confused about where your items are just take a peek at the left hand column and check out where the foil and cut commands are. In this case foil and cut are both on the second cutting mat.
Since both our foil and cut items are currently on one mat go ahead and move the foil layer until it lines up perfectly on top of the cut layer. You’ll also want to make sure that both the foil and cut items are in the right spot on the virtual cutting board to be cut on the actual cutting board (basically if you want to move these babies, now is the time).
Once you’re happy with the positioning go ahead and click on those 3 dots again. The drop down menu will pop back up and we can click move object to go back to the move object screen.

Since both of our items are on the second cutting mat our current mat will be mat number two… and since we want to move our foil layer back to the first mat we’ll select mat number 1. Then hit confirm to make the change.
This will move your foiled item back to the first mat in the exact same location that you placed it on mat number two. Which means your foil and cut items are still lined up.

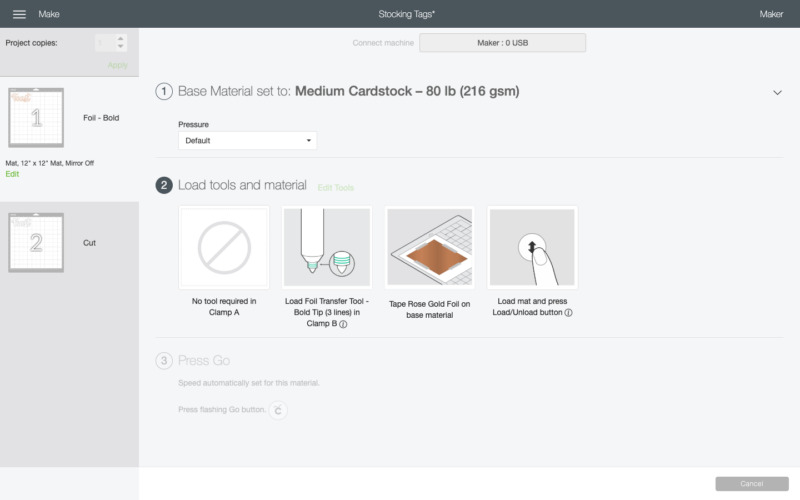
Now you can click go! Insert your metallic leather and foil/cut both virtual cutting mats on the same physical cutting mat without any problems. Everything should line up perfectly!
Beautiful darling!
I love to use this handy little cricut trick to foil my leather projects… what do you use it for?


Thank you!! I was struggling trying to eyeball it!