

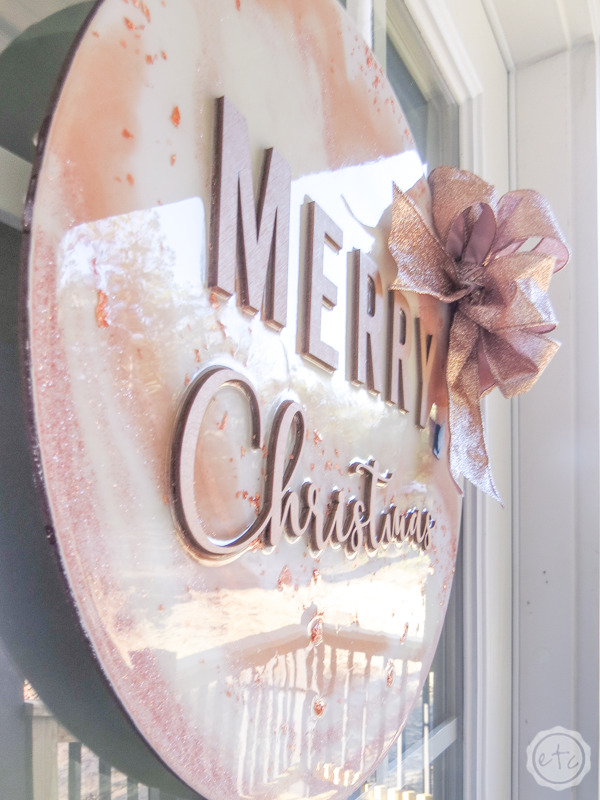
Every once in a while a project just tells you exactly what it wants to be… when I saw this little 3d Merry Christmas Unfinished Wood Door Hanger on Amazon I knew exactly how it would look covered with resin and hanging on my door.
It really was less of a question of what to do with it and more of a “how quickly can it get here so that I can start on this?” After all, I’ve already poured resin onto several plywood pieces and know it looks amazing! Just check out the top of this little dog bowl stand or even the flat tops of these storage containers!
Luckily if you’ve never done a large scale resin pour it’s not nearly as stressful as you think it will be! You’ll need a little planning and a little patience… and I’ll walk you through all the steps!
Let’s get started.
Supplies:
- Amazing Clear Cast Resin
- Respirator/Mask (resin graded filters)
- Gloves
- Wagner HT400 Heat Gun
- Freezer Paper
- Silicone Mat
- Silicone Mixing Stick
- Small Mixing Cups
- Silicone Measuring Cup/Larger Mixing Cups
- Reusable Silicone Stir Sticks
- Rose Gold Craft Paint
- Parchment Craft Paint
- Rose Gold Glitter
- Copper Oil Based Paint
- Rose Gold Flakes
- White Linen Chalk Paint
- Metallic Rose Gold Spray Paint
- Merry Christmas Unfinished Wood MDF Shape Canvas
- Staple Gun
- Low Profile Staples
- White Fur Wired Ribbon
- Rose Gold Wired Ribbon
- Magnetic Heavy Duty Rose Gold Wreath Holder
DIY Rose Gold Resin Door Hanger
Step 0.5: Prep your Unfinished Wood Pieces
Before pouring onto plywood or unfinished wood we need to do a bit of prep work. Basically we need to seal our wood with a bit of paint. Otherwise the wood will drink the resin like a glass of water on a hot day in the middle of summer.
Trust me. You don’t want to throw away resin on a thirsty board!
You don’t need anything fancy… really any type of paint or primer will do. In this case I painted the wooden round with a bit of white linen chalk paint I had on hand. I also painted the letters for this project with a bit of metallic rose gold spray paint! Once these babies dried it was resin time!
I went ahead and put my wooden round inside the box that the piece arrived in (on top of a few lids to keep them up off the cardboard). Then we were ready to rock!
Just getting started with resin? Download my free resin supply list and make your first project today!
Step 1: Mix your Resin
Alright y’all let’s get started! First things first… you always want to keep your resin stored in a clean, dry, room temperature location. But sometimes (even when you know what you’re suppose to do) you leave your resin on the front porch over night.
Which doesn’t exactly work when it’s December and you’re working on a Christmas door hanger! I mean… it’s cold outside y’all!
Luckily there’s an easy fix. You definitely don’t want to work with cold resin (it will drastically cut down your work time and may not cure properly) instead fill a bucket with hot water and set your resin containers inside. Let them sit for 20-30 minutes and your resin will come up to temperature quickly!
Honestly giving your resin bottles a hot water bath before any project is a good idea… it helps minimize the bubbles!
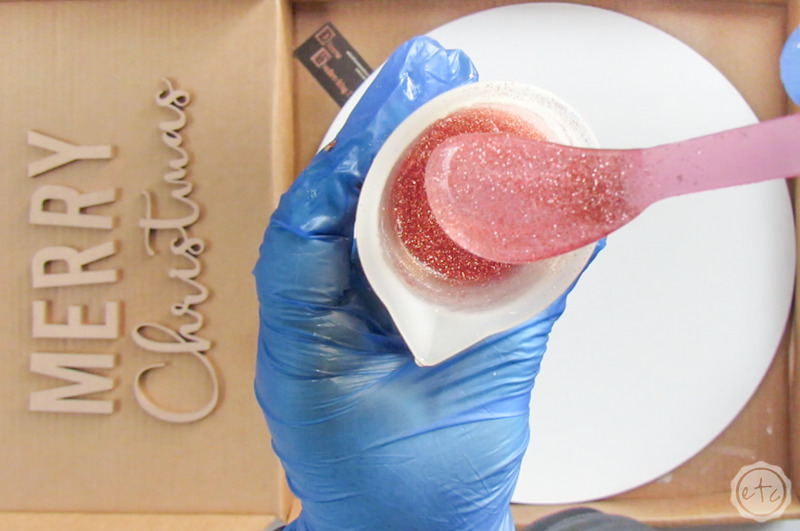
Once your resin is room temperature go ahead and mix about 500ml of resin in a large mixing cup. (If you need a walk through for mixing your resin you can check out my How to Mix Resin post here). Once your 500ml is ready to rock go ahead and separate it out into your smaller mixing cups.
For this project I mixed about 100ml of clear with rose gold flakes, 150ml of white, 100 ml of blush, 50ml of copper and 50ml of rose gold glitter. I always leave a bit of clear in my large cup until the end. That way when you run out of a color and need to add a bit more white or a bit more rose gold… you can simply make your color white (or rose gold!) and keep on rocking.
Step 2: Pour your Resin
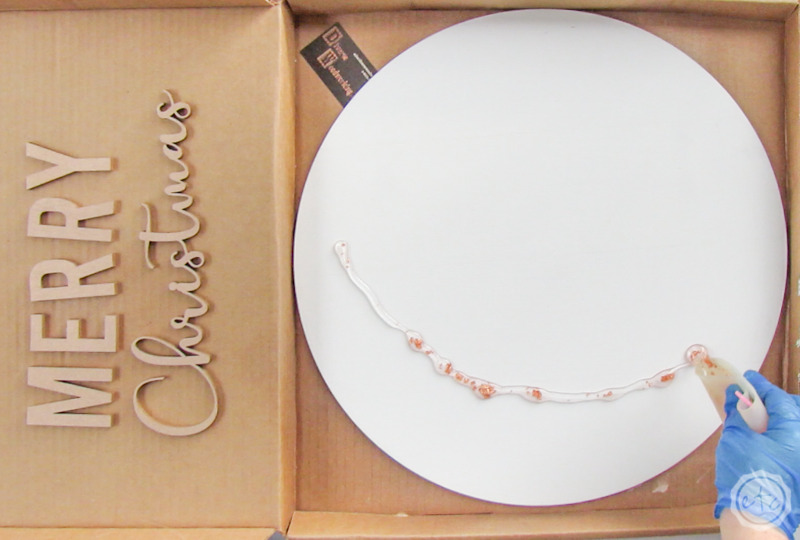
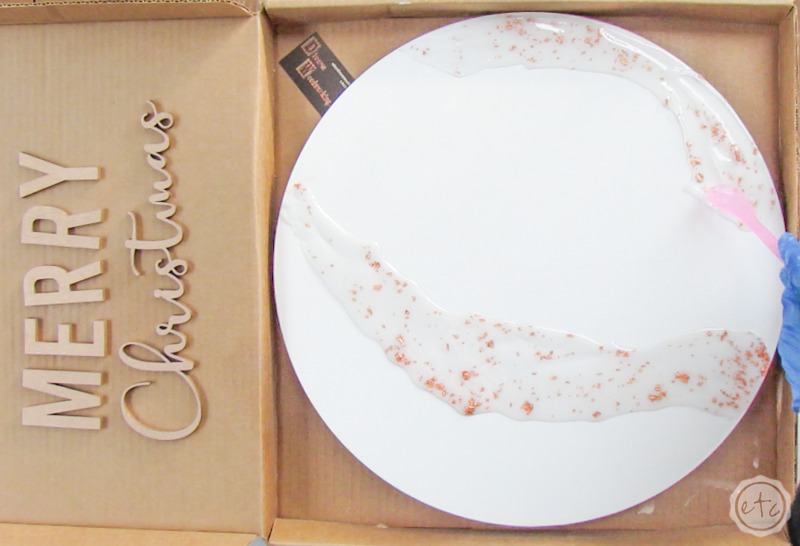
Now it’s time for a little fun! It’s time to start pouring resin directly onto our wooden round!
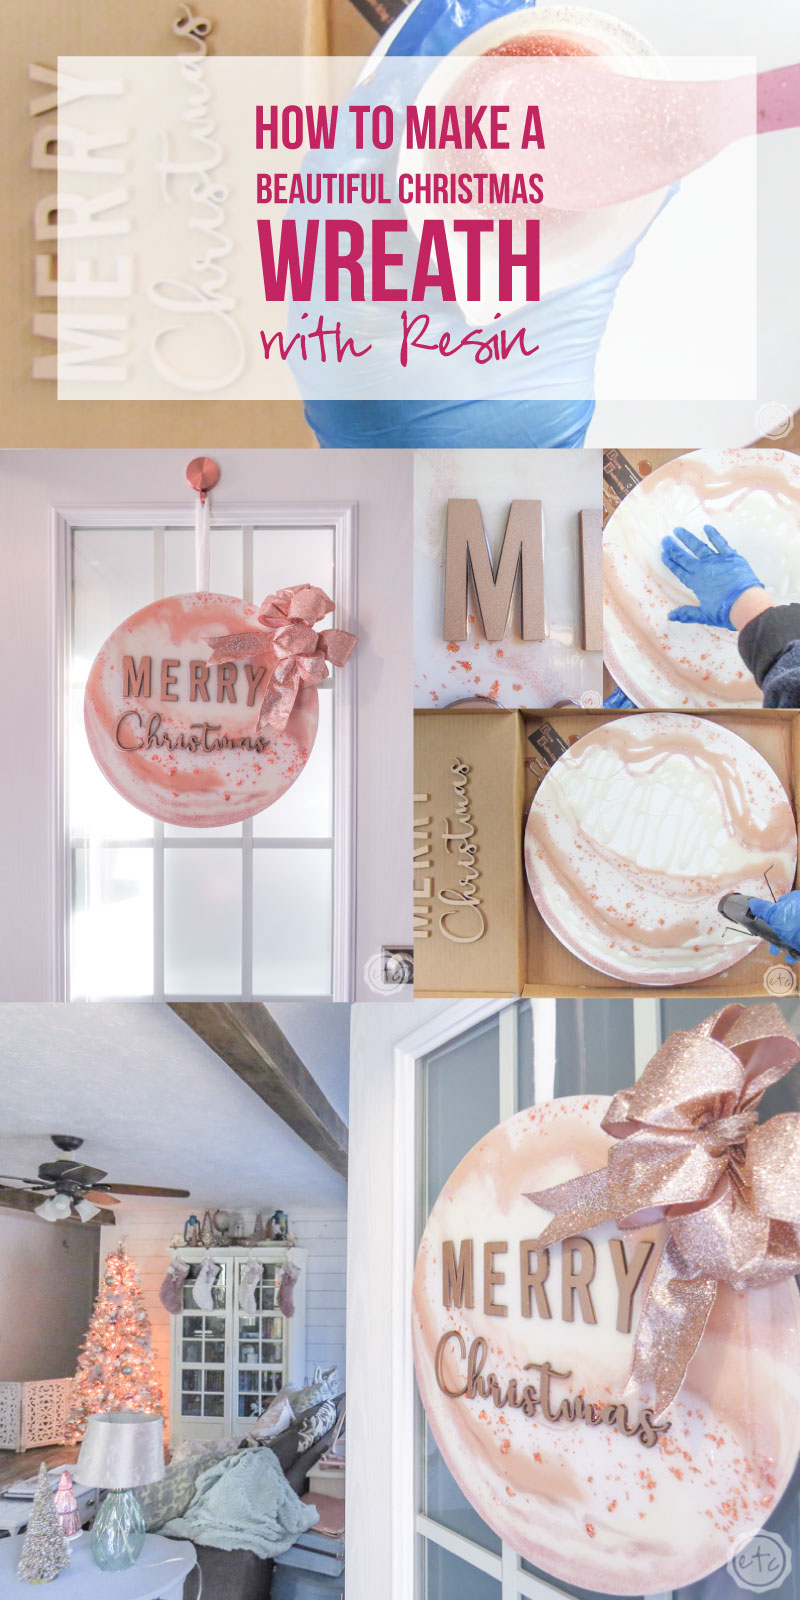
There’s no specific pattern we need to follow here but I do like to use large sections of color underneath the areas where the letters will go! That way they’ll be easy to read. In this case I started with the clear & rose gold flake resin, then I added a bit of the blush and I filled in the larger areas with the white resin.
Once you have those areas in place you can place thin streams of the copper and rose gold glitter at the areas where the solid colors meet! Don’t worry too much about filling in the entire surface at this point… we don’t want too much resin on the surface or the resin will start to fall off the edges. Instead we’ll spread out the resin to fill the surface in the next step.
Step 3: Spread the Resin & Pop any Bubbles!
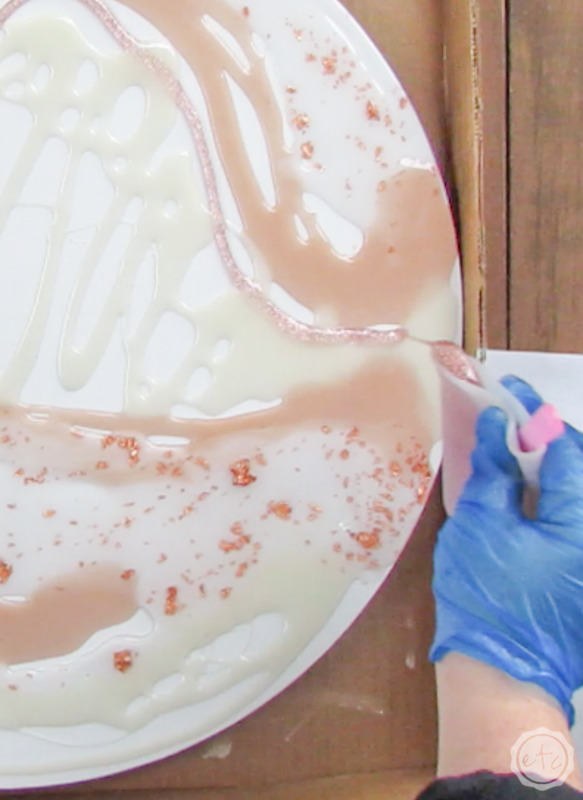
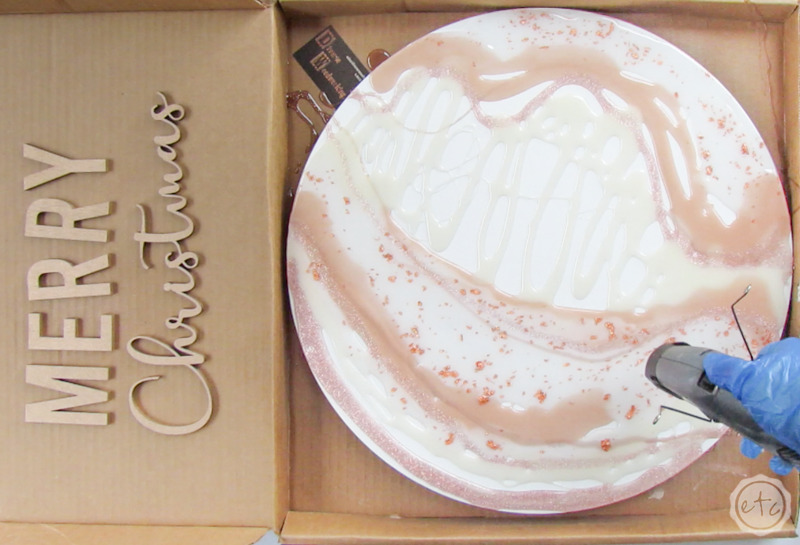
Looking good! Now that our wooden round is covered with resin it’s time to spread all that sticky resin out. Grab your heat gun and turn that sucker on high. Then carefully run your heat gun across alllllll of the resin. This will help to pop any bubbles that are still in your resin and it will help to spread it out and blend all the edges together.
Once the resin is warm go ahead and spread the resin out. You can use one of your reusable stir sticks to spread out all of the resin or you can use your hand. I find that with large projects like this your hand is the easiest solution… just make sure that you’re wearing gloves. You do not want resin to directly touch your skin.
Start by spreading out the white resin and then move on to the rest of the resin… make sure that there aren’t any dry spots and all of the resin is touching! By the end of this process your gloved hand will be *ahem* quite sticky so you’ll want to remove your glove before reaching for your heat gun again.
Otherwise your actual heat gun will get quite sticky!
Then carefully run your heat gun over the entire piece again, third times the charm and you’ll want to remove any bubbles that popped up when you were blending the resin.


Step 4: Add the “Merry Christmas” Lettering
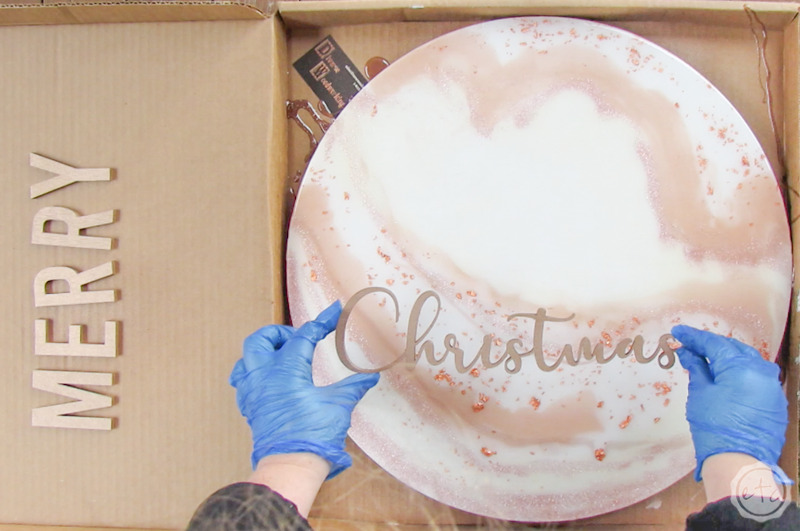
It’s time for the letters!!!! While the resin is still wet we’re going to add our words directly to the resin. Starting with the “Christmas” section since it’s all one piece.
Try to take into account how readable the letters will be with what’s underneath them as you place the word… move it around in the air and only place it down once you’re happy with it’s location.
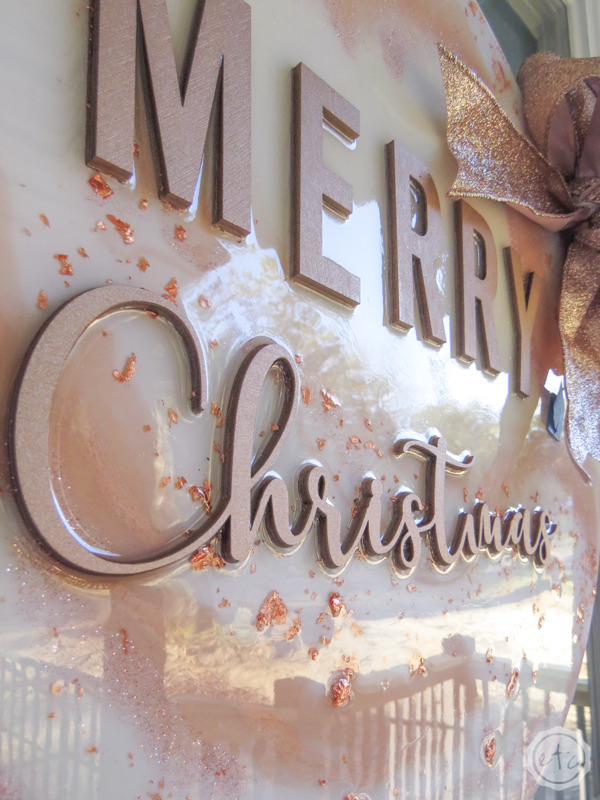
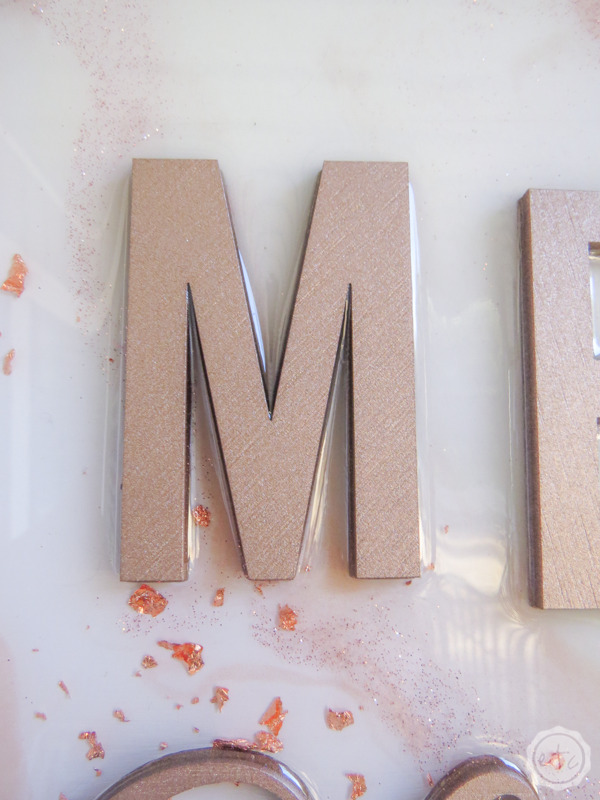
Once the word is in the resin take the end of a paintbrush or pencil (or chopstick!) and firmly press down along the word so that each letter is embedded into the resin. It should sink down so that it’s inside the resin with only the surface of the letters above the liquid.
Once the resin cures the words will be glued in place so make sure you like it’s location… and try not to move it around too much so that you don’t blend the colors unnecessarily!

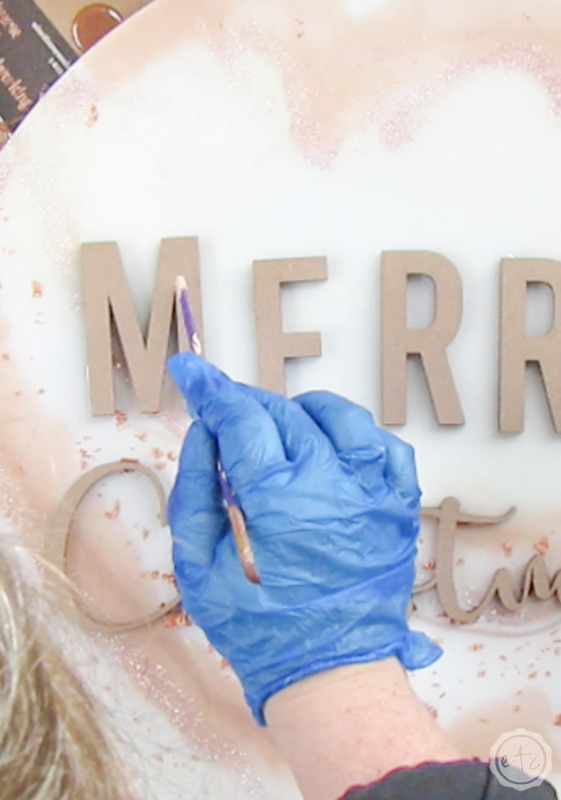
Once you’ve added “Christmas” you can move onto “Merry”… since all of the letters in Merry are separate they’re a little harder to place! Start with the middle r and then move out from there. These letters should be more in the white section of the piece so you can nudge them around a smidge to straighten them.
Just use the tip of your paint brush to carefully place them, straighten them, and then push them down into the resin. And make sure they’re really straight. My y on the end of merry was not quite as *ahem* straight as I would have liked.
Once all of the pieces are in place you’re good to go. Shut the lid of the box (making sure that it does not touch the resin) and leave it to cure for at least 24 hours. Once it’s cured you’re good to go! We can turn this bad boy into a door hanger!

Step 5: Add Ribbon and a Box
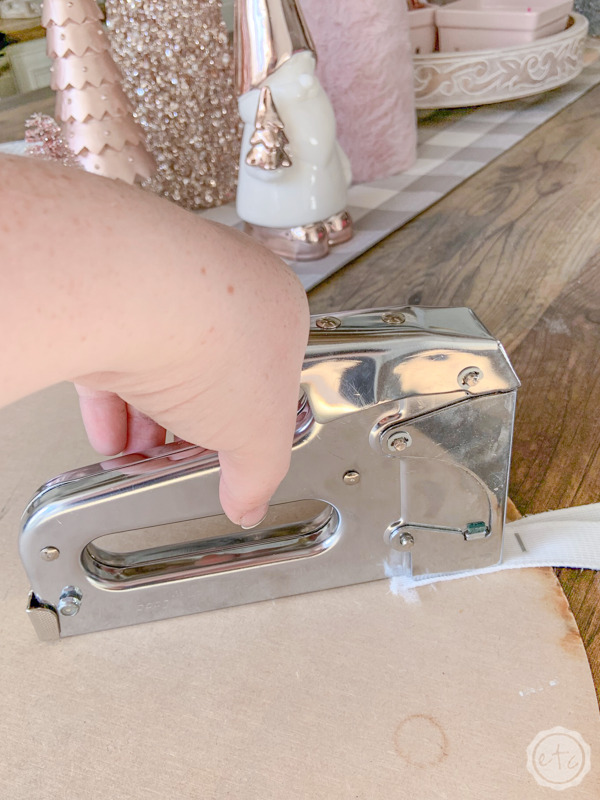
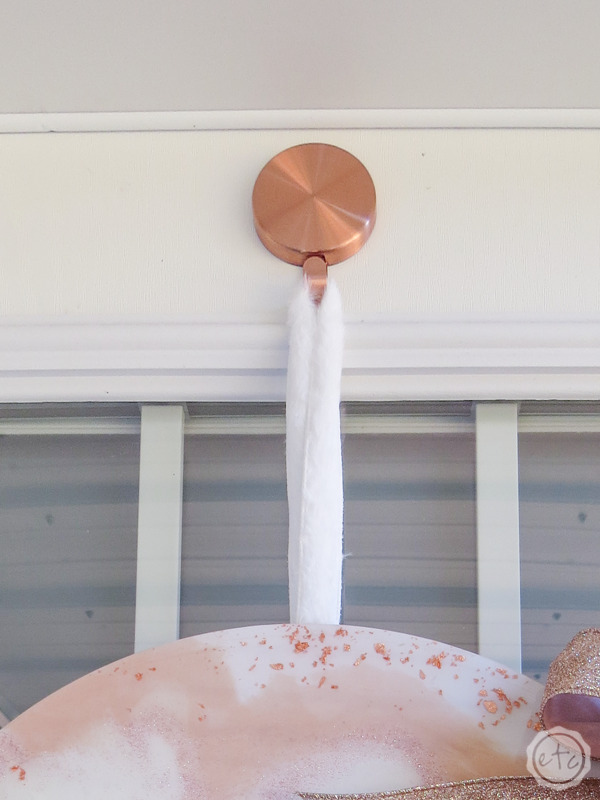
This is the best part… the end! I love when a project comes together!! Once your resin is 100% cured you can flip that bad boy over and use a staple gun to add a ribbon to the top.
It’s the perfect way to hang your new door hanger!
The finishing touch is a big rose gold bow… this little bow was easy to attach! I simply took the twist tie ends that I used to make the bow and taped them to the back of the door hanger. This let the bow be on the edge of the door hanger with just the ends going towards the letters.
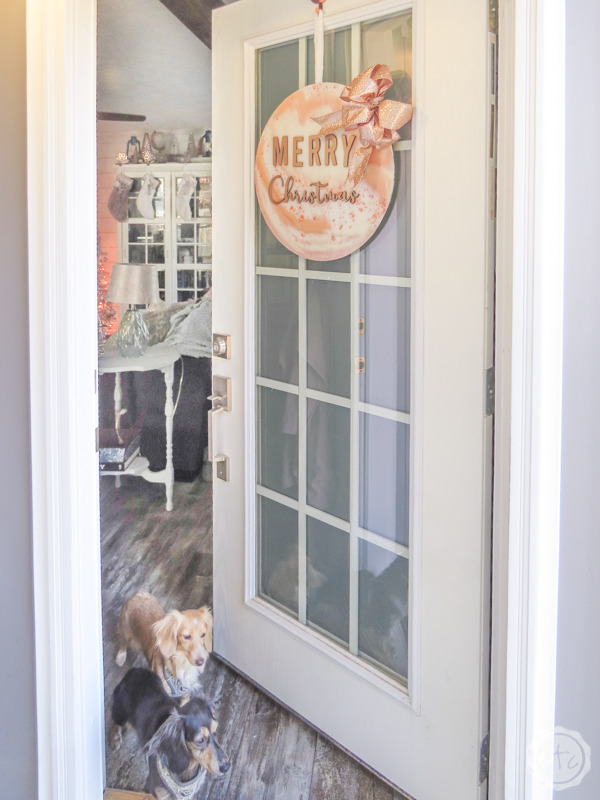
The bow is the finishing touch so now we can put this baby up on the front door! Beautiful darling!
I absolutely love how this baby turned out… it looks so cute on my front door! Exactly how I pictured in my head!
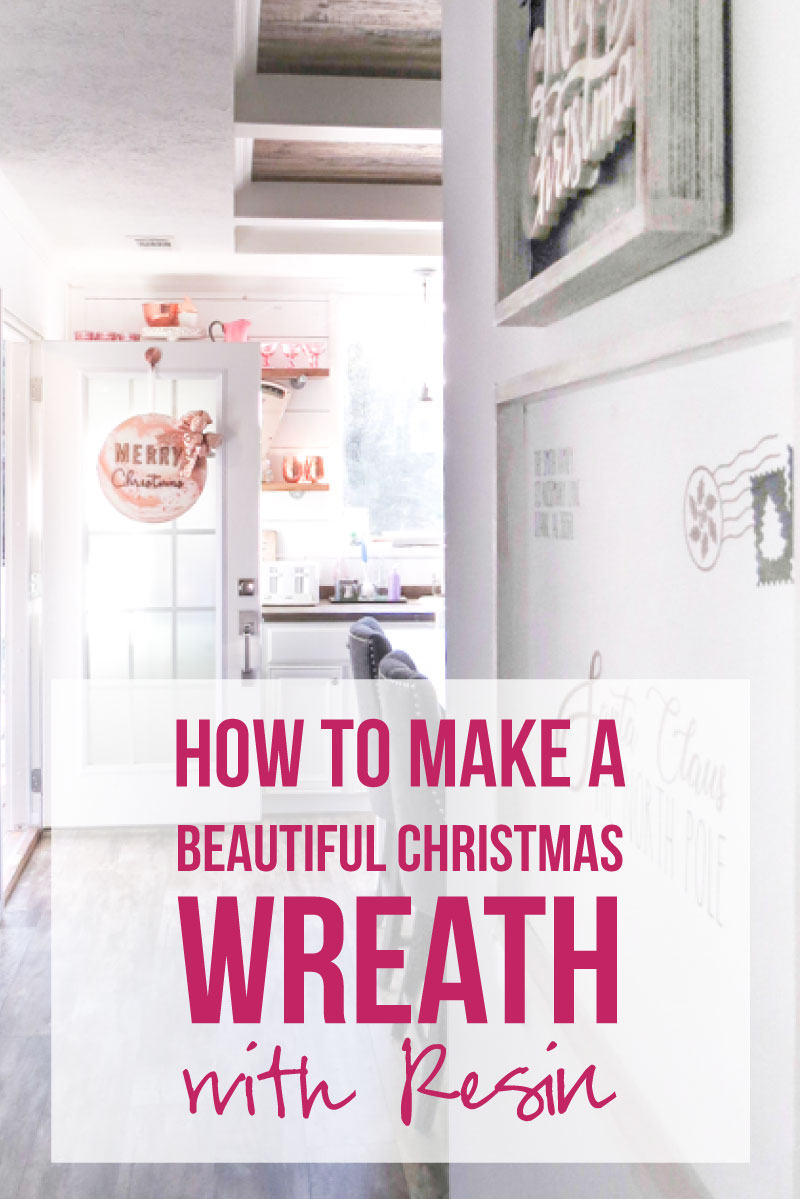
And yes… I will be doing a Christmas home tour soon! It will be a minute before everything is done but in the meantime you can check out my tutorials for the blush faux fur stockings, the beautiful rose gold Christmas Tree, the Dear Santa Letter sign and even the Merry Christmas resin sign on the black chalkboard!
Score!




Looking for more resin projects? I’ve got you covered!









Leave a Reply