

After last week’s valentines day inspired resin hearts (with their tiny little conversation hearts!) I decided I wasn’t done making Valentines day pieces. Instead I ordered a mold for this cute little feather dish! It’s the perfect little piece to organize make-up or tiny planning supplies in and with a few Valentines Inspired colors it may even be the perfect gift for that special someone this year.
Luckily this project is pretty easy to do… so even if you’re not a resin expert you could whip one of these up.
Valentines day gifts for everyone!!
Let’s get started.
Supplies:
- Amazing Clear Cast Resin
- Respirator/Mask (resin graded filters)
- Gloves
- Wagner HT400 Heat Gun
- Freezer Paper
- Silicone Mat
- Baking Pan
- Small Mixing Cups
- Silicone Measuring Cup/Larger Mixing Cups
- Reusable Silicone Stir Sticks
- Red Alcohol Ink
- White Alcohol Ink
- Pearl Alcohol Ink
- Copper Alcohol Ink
- Feather Dish Mold
Just getting started with resin? Download my free resin supply list and make your first project today!
How to Make a Resin Feather Dish for Valentines Day
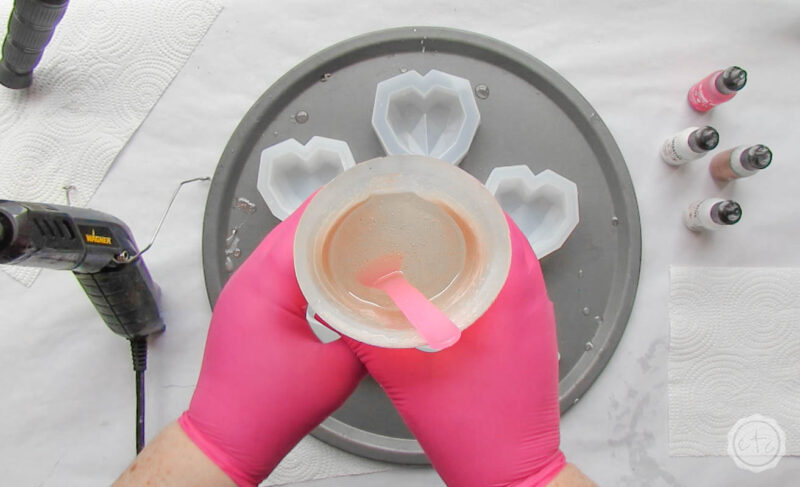
Step 1: Mix Resin
Ready to jump right in? We need about 100ml of clear resin for this project (we’ll add color later) so you can mix it alllll up in one silicone cup! A good portion of this project will be clear so make sure to minimize the bubbles as much as you possibly can.
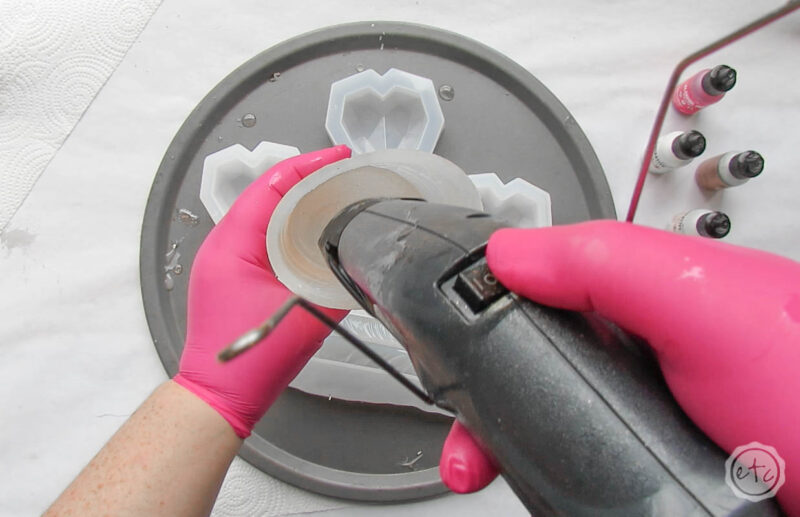
So mix slowly, stir from the bottom and then let it sit in the cup for a few minutes before pouring. This will let as many bubbles as possible rise to the surface. You can use your heat gun to help any bubbles close to the surface pop before you move on to pouring the resin into the mold.

Bonus Tip: If you’ve never mixed resin before it’s not nearly as intimidating as you’d think! I’ll walk you through all the steps here in my How to Mix Resin for Beginners Tutorial.
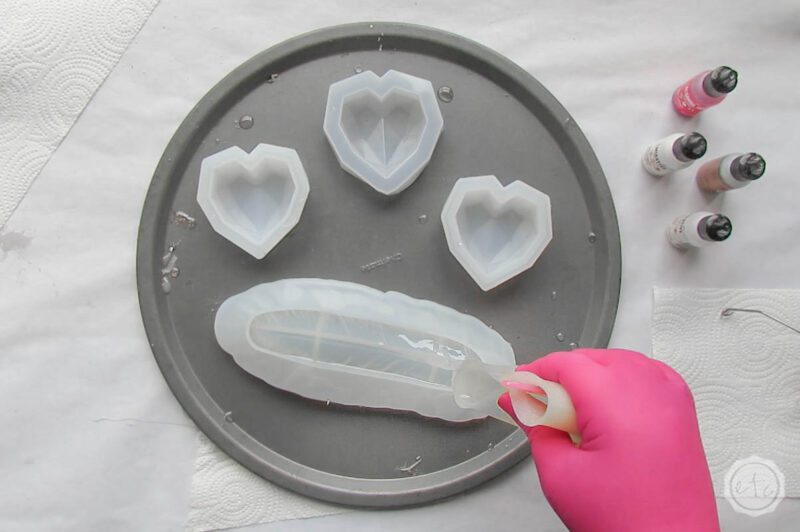
Step 2: Pour Your Resin
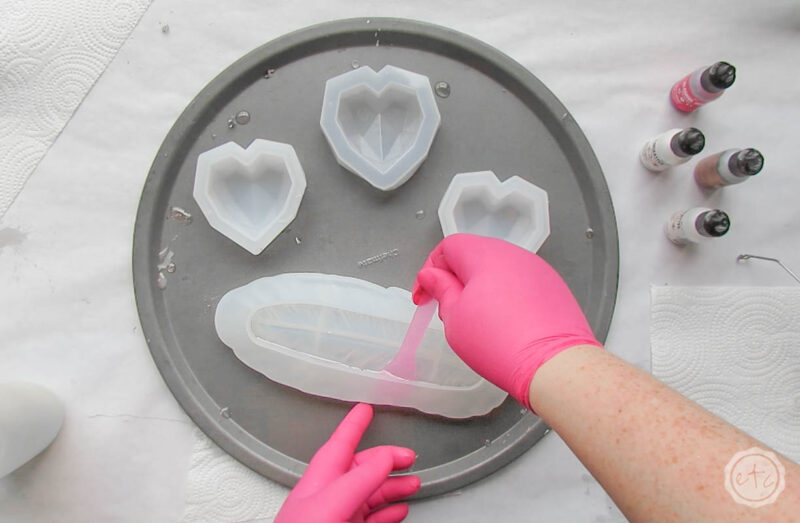
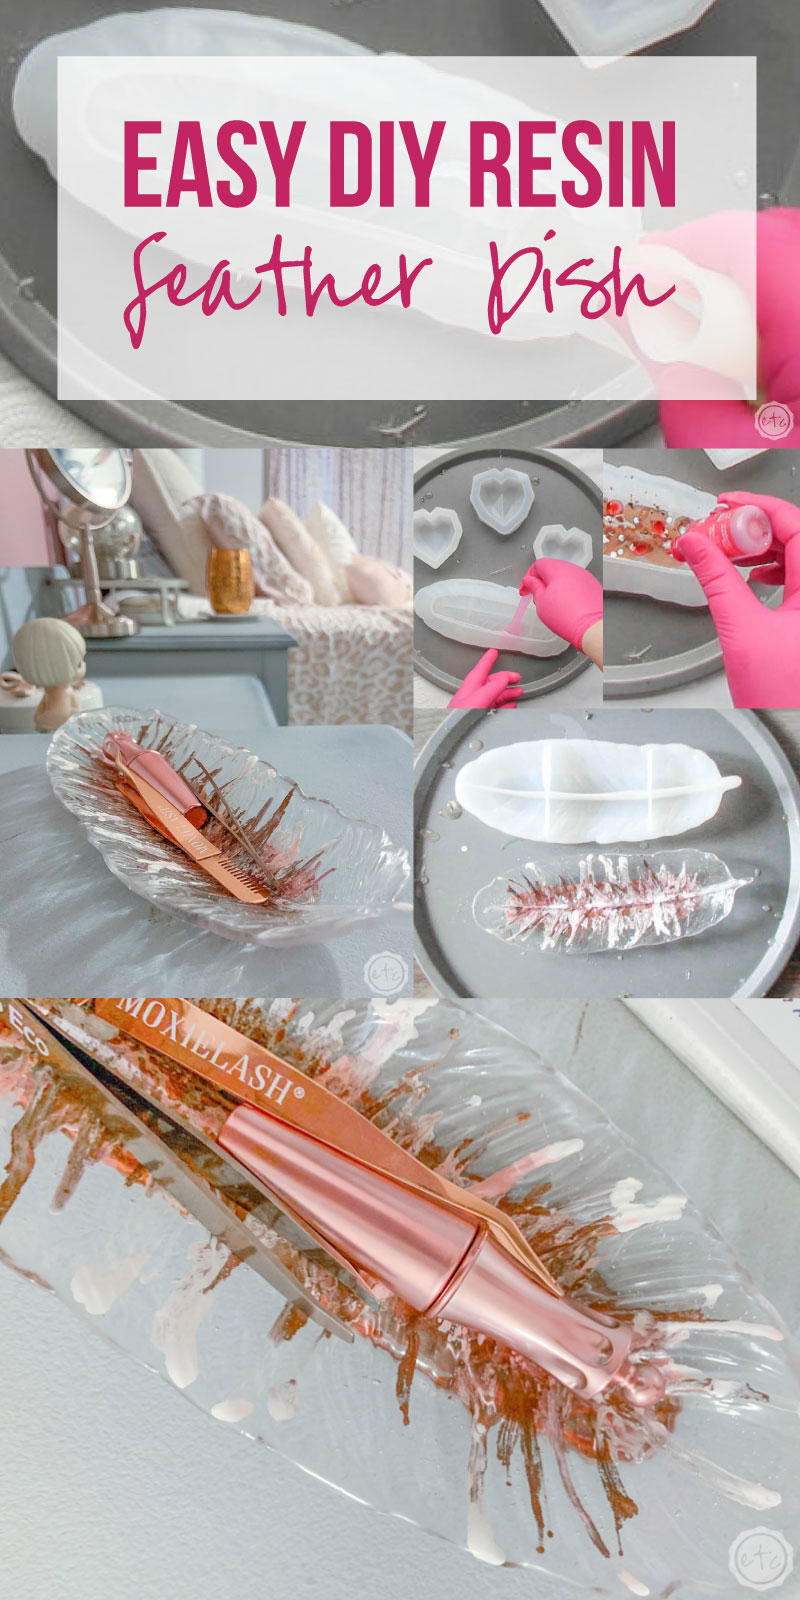
Alright y’all… it’s time to pour! For this little feather dish pouring is the easy part! Make sure your mold is level all the way across and then fill it up! You’ll want to pour the resin in a thin stream to avoid as many bubbles as possible and don’t stop.
We want to fill the entire mold up to the top!
Since this little mold has “pockets” or portions of the mold where the resin can go down inside the silicone and sit we need to make sure to work alllll of the bubbles up and out of the resin. We don’t want bubbles to settle down inside the mold because those bubbles will turn into holes in our finished feather.
Not good.
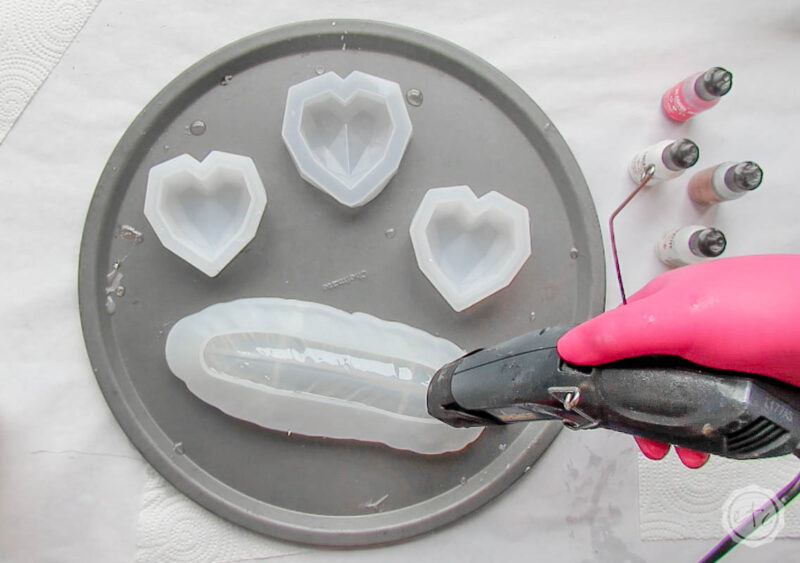
Instead I used my fingers to gently squeeze along the edge of the the mold and push the bubbles up to the surface… once they’re at the surface and you can pop them with your heat gun! If there are stubborn bubbles that don’t want to come to the surface you can use a stir stick (or even a toothpick) to help funnel them up and out of the piece.

Bonus Tip: In this case it’s tempting to use a torch to get all the bubbles throughout the mold but keep in mind that a torch gets really hot… and can actually melt the resin and silicone together. A heat gun is always my tool of choice when working with a silicone mold!
Step 3: Add your Alcohol Ink!
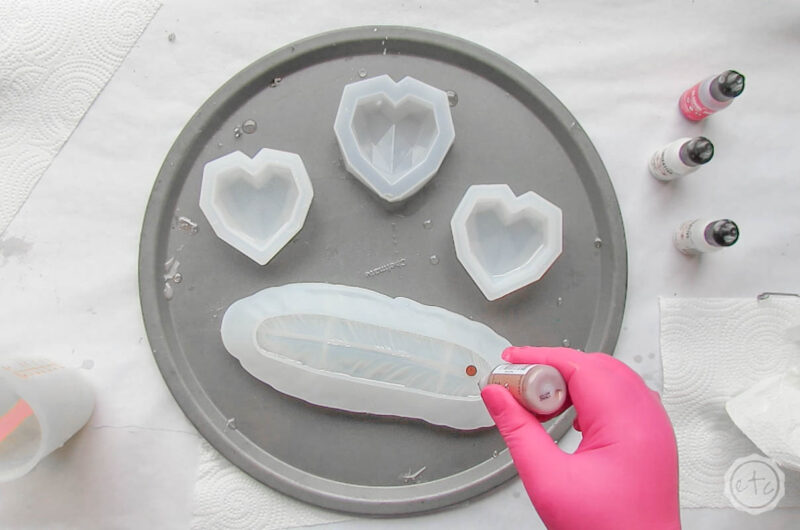
Ready for the fun part? I decided to use a bit of alcohol ink for this project… since I thought the alcohol ink falling towards the tips of the feather would look a-m-a-zing.
And it does!
Of course, when working with alcohol ink there are a few different techniques (read all my alcohol ink technique tips here). In this case we’re going to use a solid color and white to make our alcohol ink fall down into the piece and reach towards the front.
White alcohol ink is heavier than colored so if you only use colored it tends to stay at the top/back of the piece… the white is heavy and will fall to the bottom/front of the piece. And when the white goes through the colored inks it pulls the colors with it.
Which is awesome!
So in this case we’ll put dots of copper ink all the way across the surface and then come back to add a drop of white in the center of each copper dot. Make sure to shake each alcohol ink bottle well before you get started… and feel free to repeat the layers as many times as you like.
In this case I did 3-4 layers of each color before moving on.


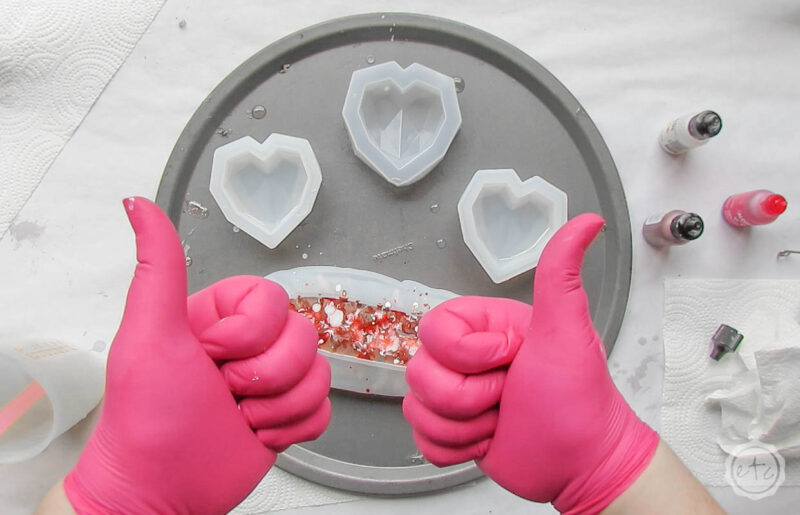
Speaking of more colors! Once I had done a few layers of the copper and white I felt like it was missing something… it needed just a little something something. So I grabbed a little red (this is a valentines day project after all!) and added 2 layers of red, followed by both the white and pearl pigments.
The pearl may not show up at all but I thought it would add a little extra bling!

Step 4: Pop any Bubbles
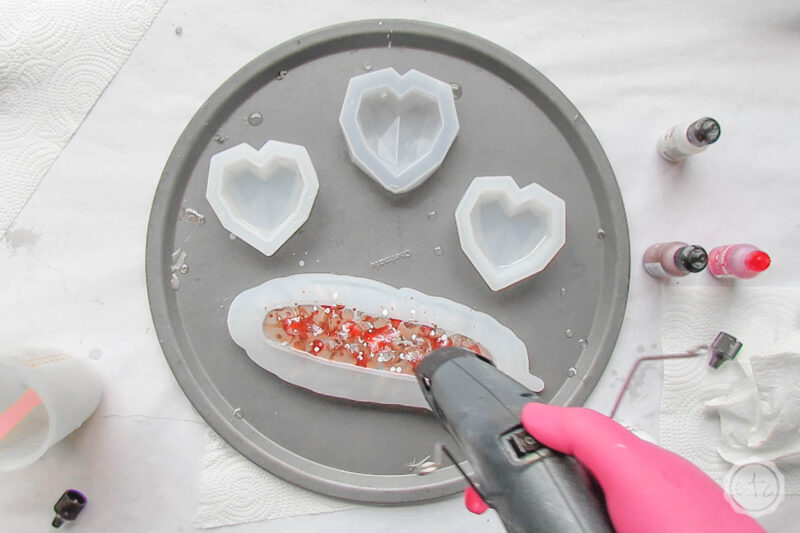
Now that we’re done with all the alcohol ink I’m going to use my heat gun to pop any new bubbles that have worked their way to the surface. Just be careful when doing this that you don’t go too quickly… we don’t want to stir up the alcohol inks and change the pattern.
Once you’ve done a pass or two we’re good to go!
Go ahead and cover the entire piece with a bit of cardboard and leave it to cure overnight… we’ll come back and un-mold these babies in the morning!
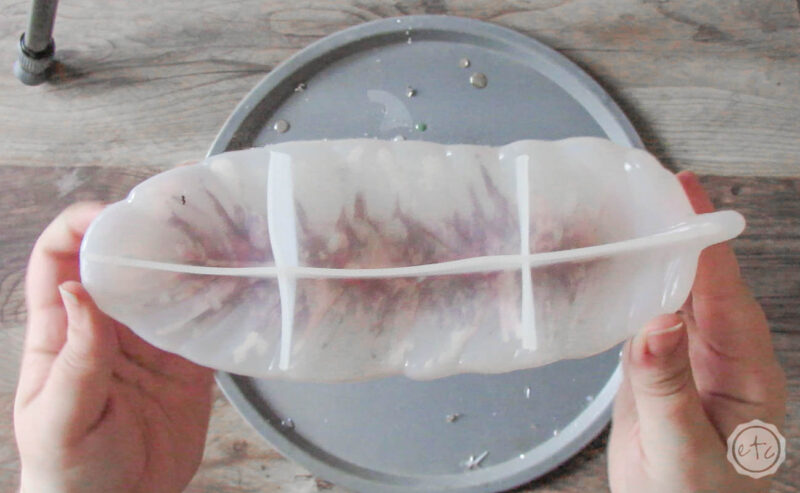
Step 5: Un-Mold your Resin Feather
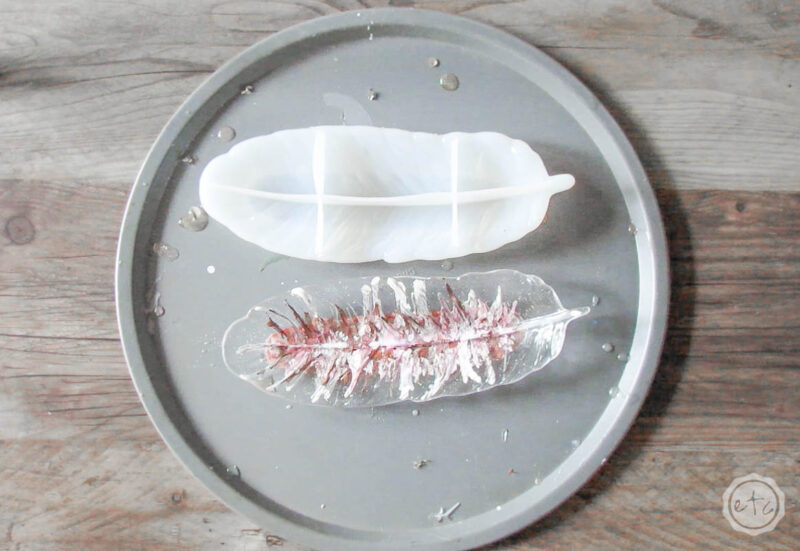
Let’s pop this baby out of the mold! Now that everything’s cured it’s time to take the silicone mold off the piece so we can see how those alcohol ink drips actually turned out!
Although you can kind of get a preview through the mold… and it looks awesome!
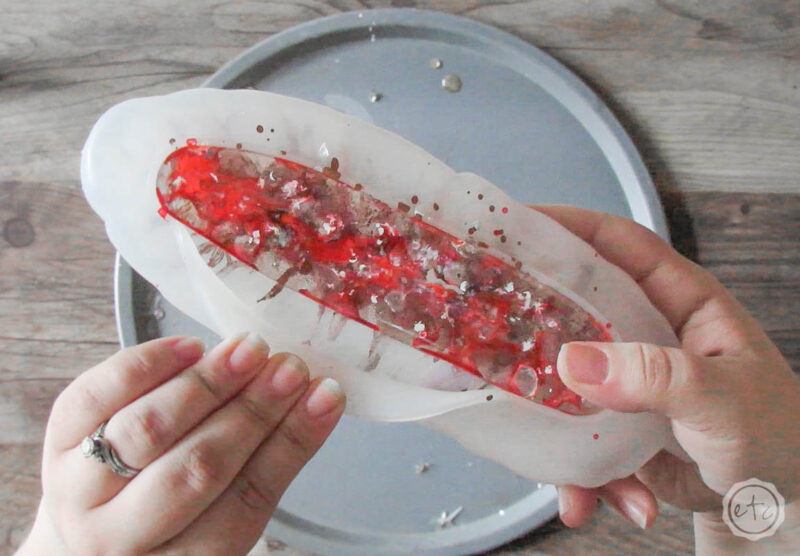
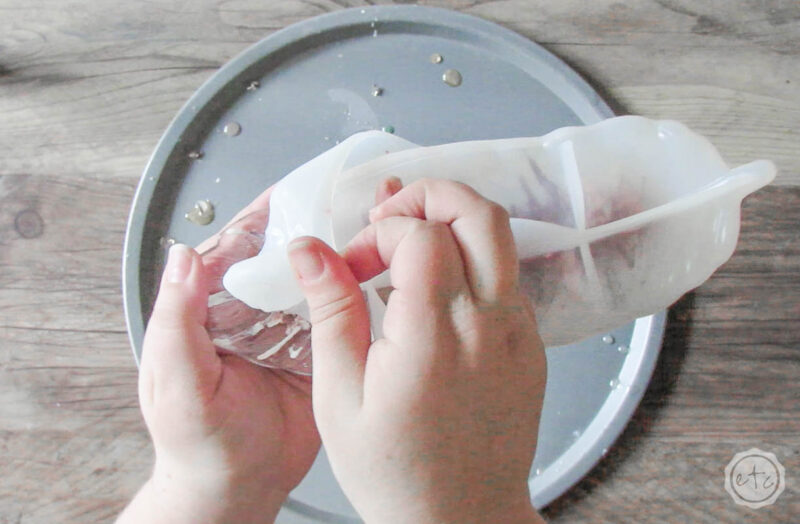
I started by carefully peeling back the silicone all the way around the top of the mold… that way you don’t have to fight with it as you pull the mold away from the resin. Once the resin is loose all the way around the base of the feather dish go ahead and start to pull the mold over the edge of the piece.
I went with the end of the piece since it’s the narrowest and therefore the easiest… it’s also the furthest away from the stem of the feather which I thought might be harder to un-mold first.
Once you have the end free it’s super easy to peel the mold alllllll the way off the piece. Then you just have to put the silicone mold back the way it started (right side out) and you’re done!
Finished!
Ready to make another piece!
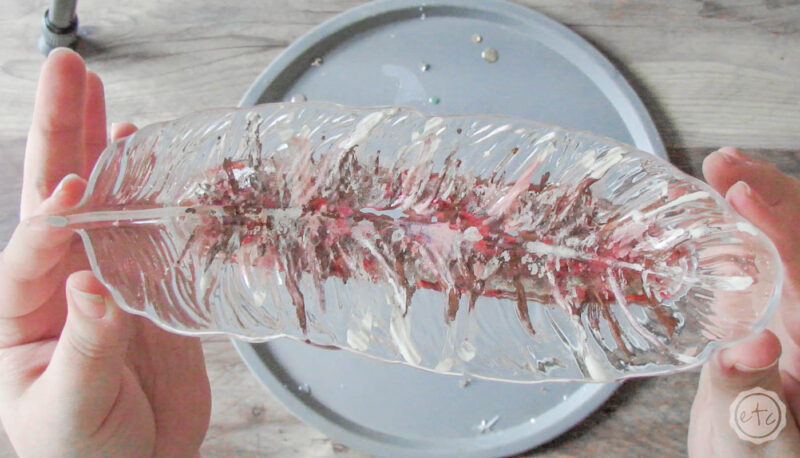
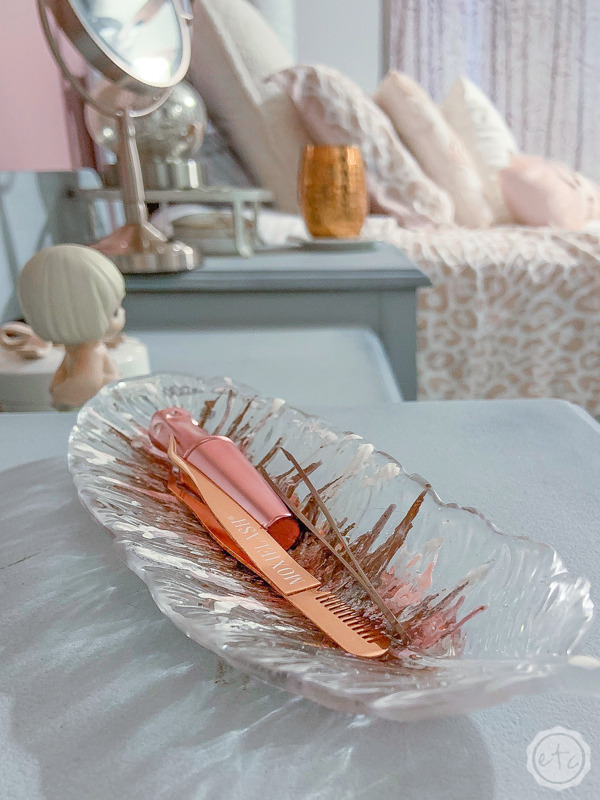
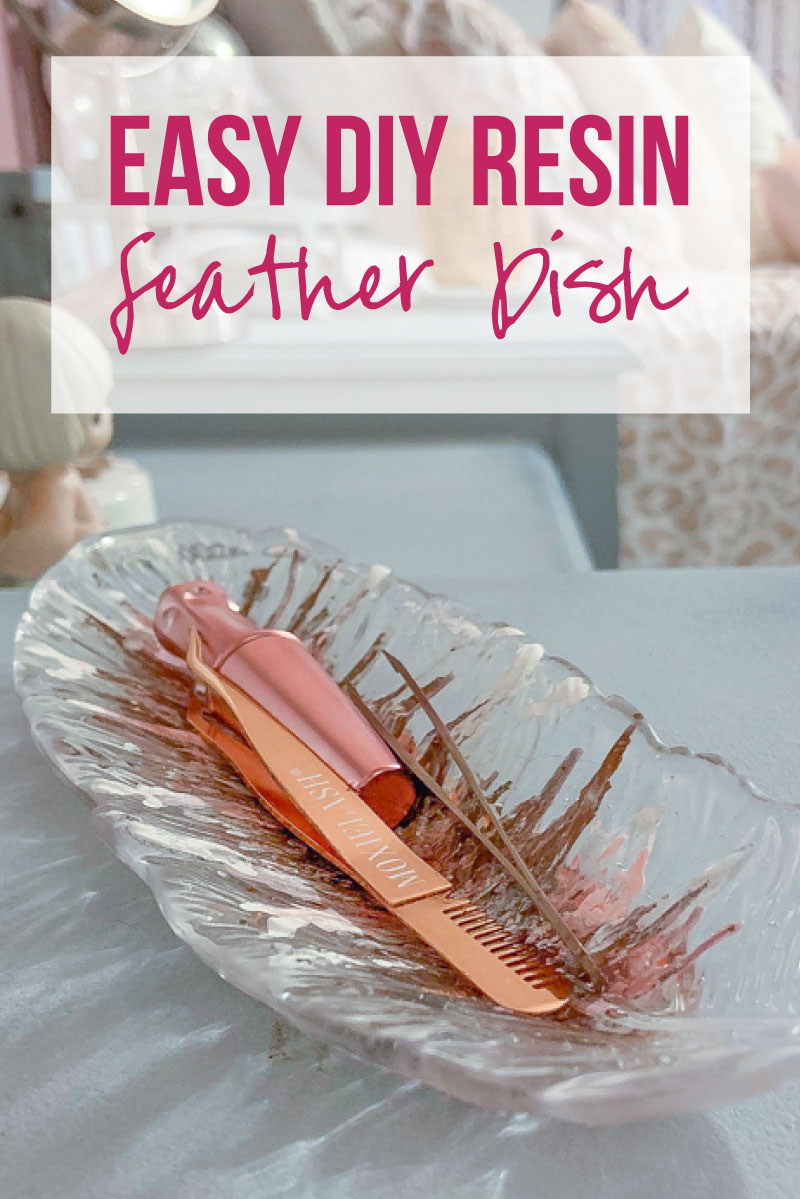
I absolutely love how this little feather dish turned out! I think I’m going to make a few for all my girlfriends… friend Valentines Day gifts are the best!
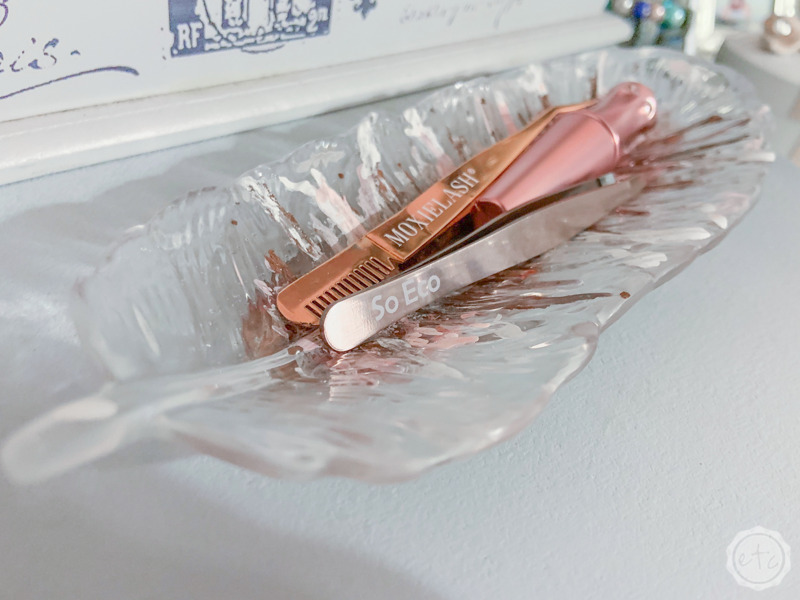
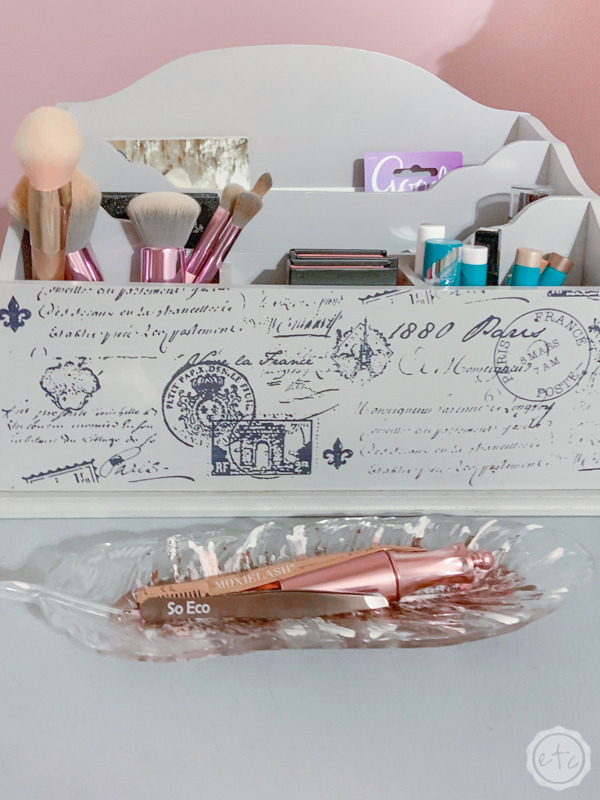
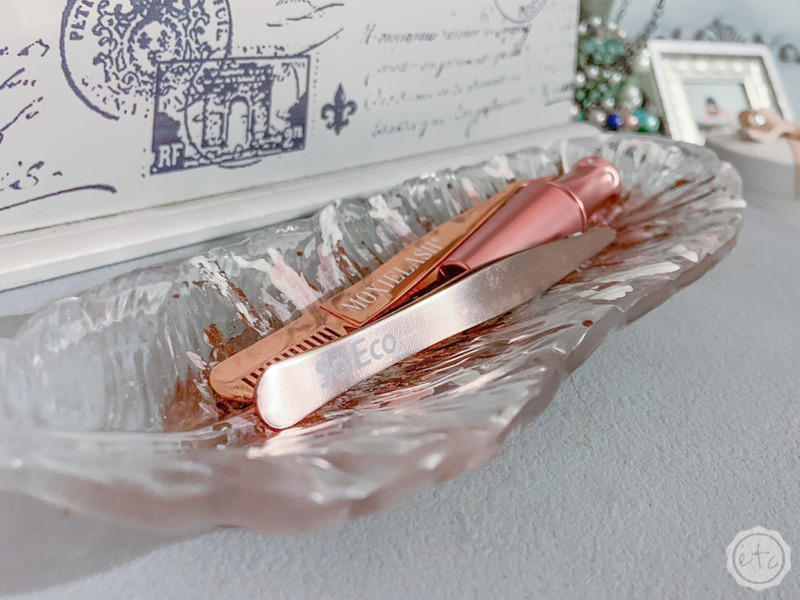
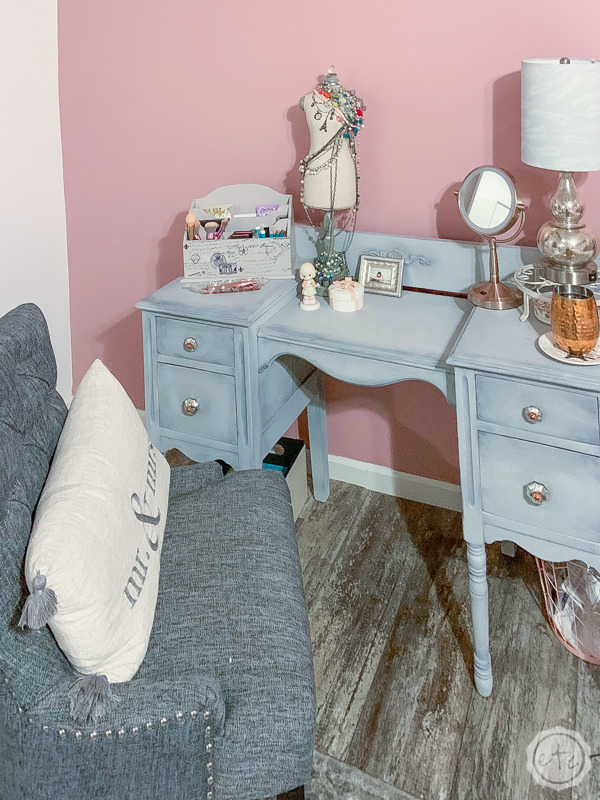
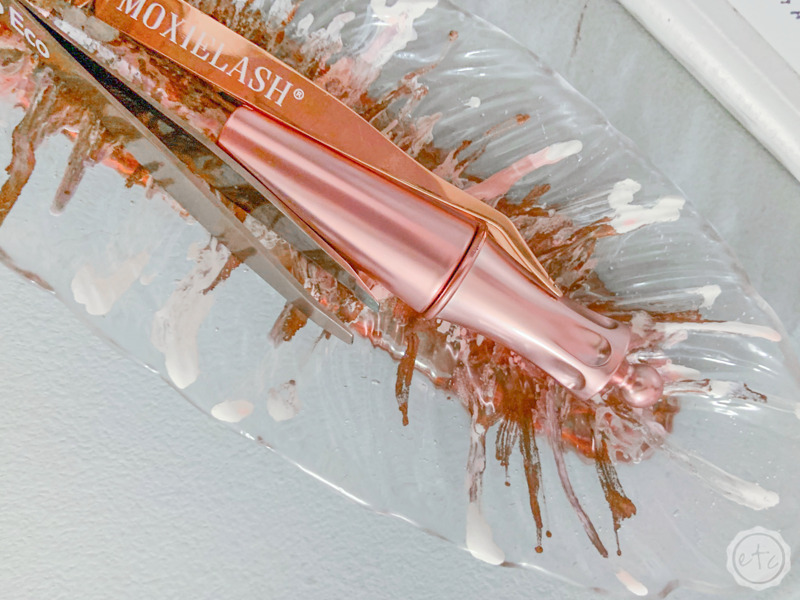
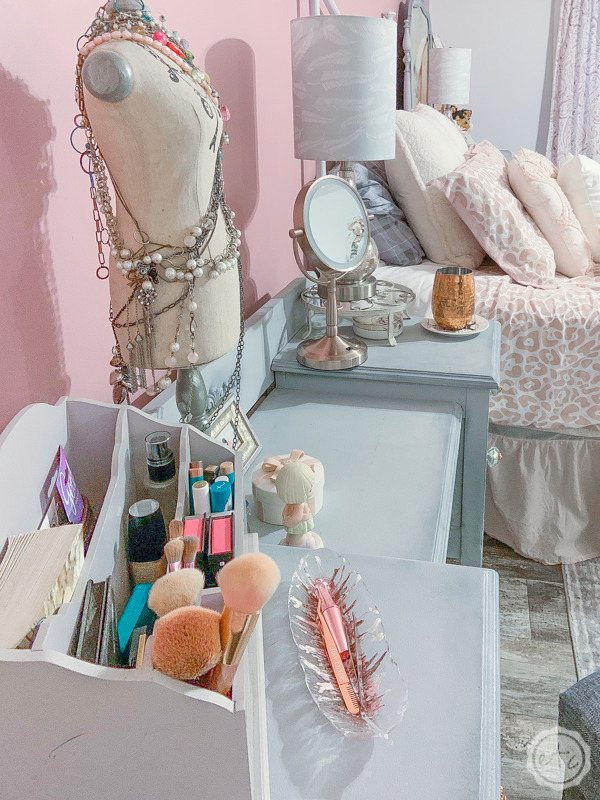
In the meantime I put mine on my vanity to corral the tweezers and extra liner I’m always reaching for when I put on my magnetic lashes. These babies keep rattling around in my drawer or getting lost in my organizer so maybe this will keep this close at hand.
Worth a shot!


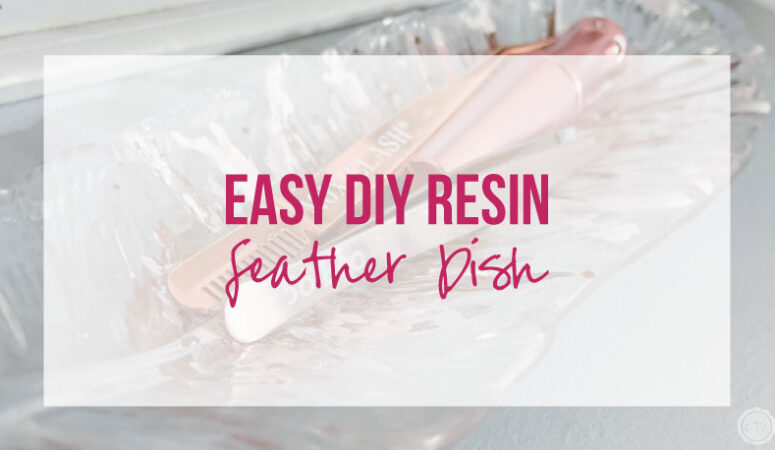
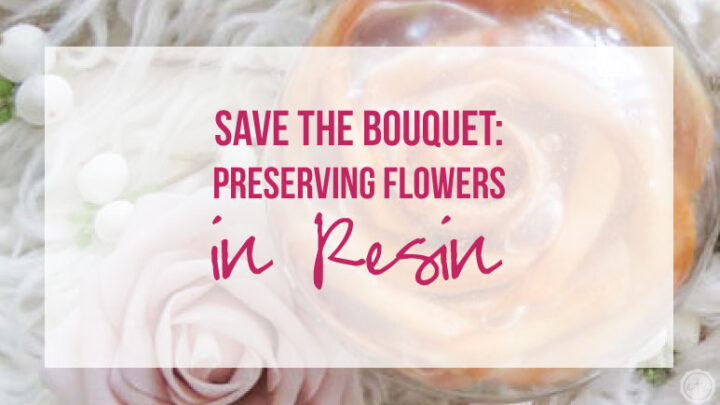
Looking for more resin projects? I’ve got you covered!







Leave a Reply