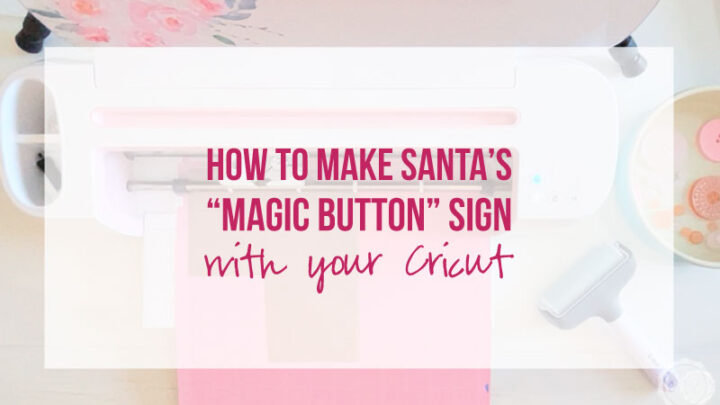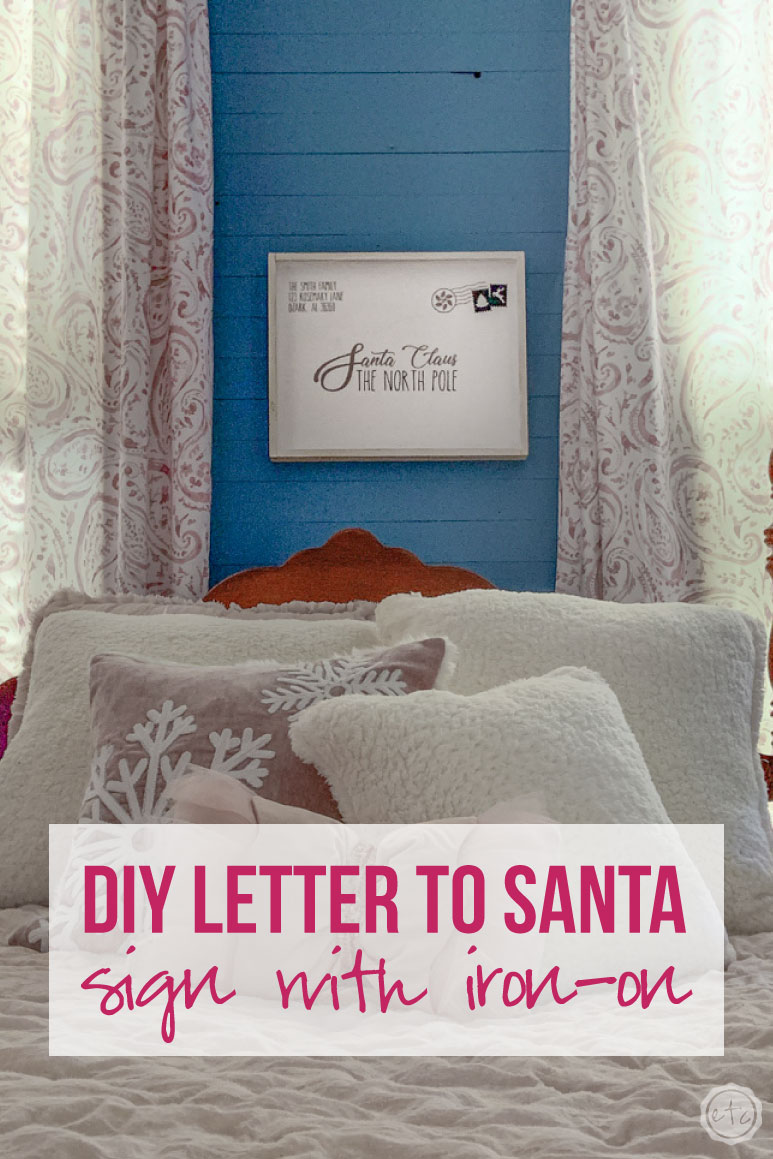


I am absolutely in LOVE with this cute little DIY letter to santa! It’s a simple sign but the metallic rose gold really gives it a little something extra. But the best part? This little wood sign only took about 10 minutes to put together!
Score!
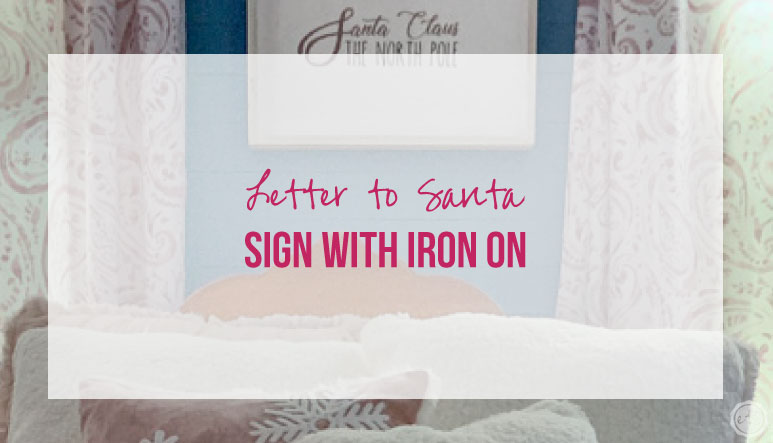
Ready for the full tutorial? Let’s get started on making one of these little signs for your own house.
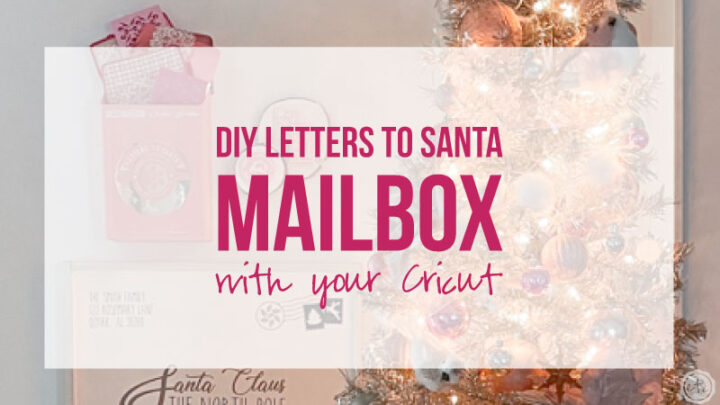
Psst… it’s future Betsy coming to you with an update! I loved this little sign so much that I made a few pieces to go with it! Check out this Resin Postage Stamp Sign or this Letters to Santa DIY Mailbox for a few more fun Christmas ideas!
Supplies:
- Cricut SVG Files (FREE at the bottom of this post)
- Cricut Maker
- Fine-Point Cutting Blade
- Standard Cutting Mat (that’s the green one! Even though I used the fabric mat for this project)
- Mini Easy Press
- Weeding Tool
- Metallic Rose Gold Iron On
- Black Iron On
- White Sign (preferably with edges)
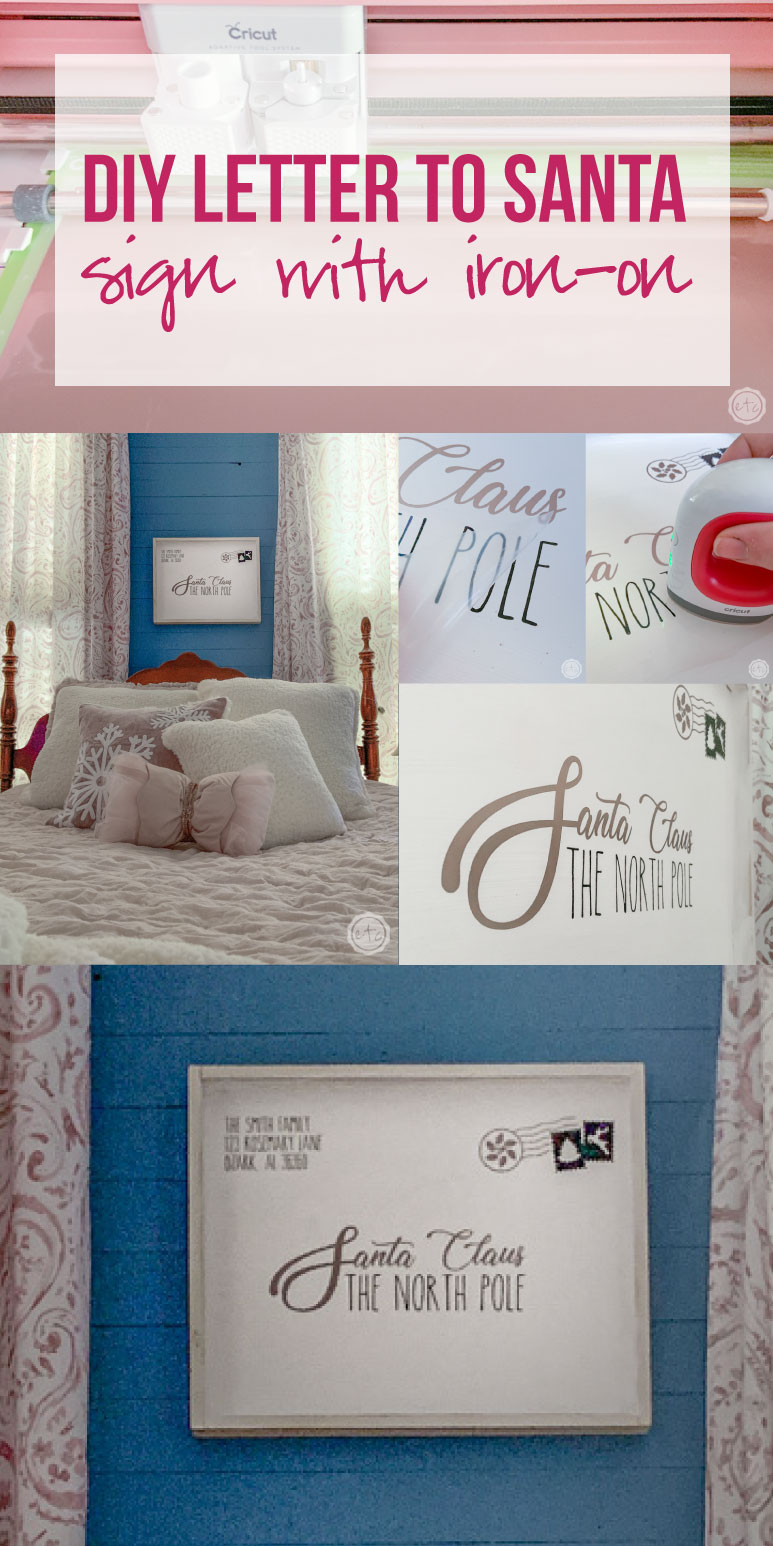
Step 1: Cut Out the Design
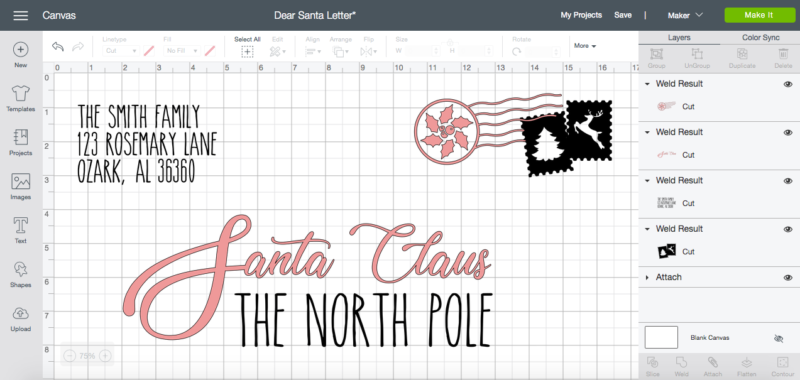
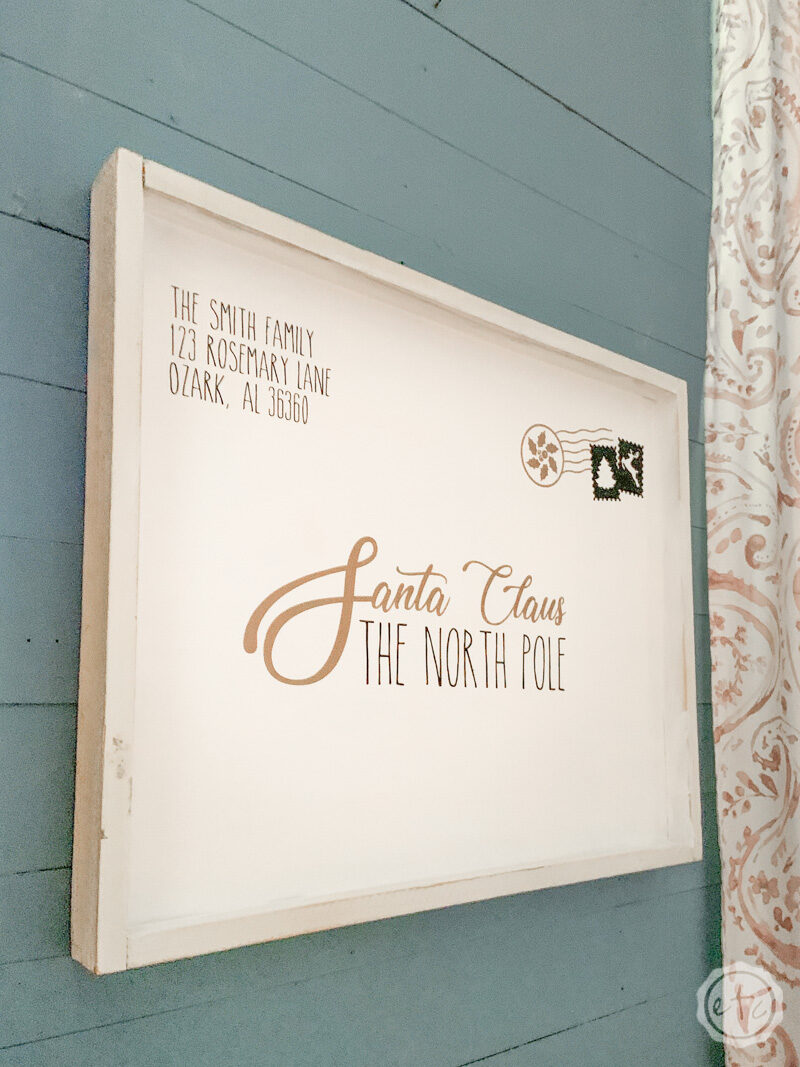
Go ahead and download your SVG’s from the bottom of this post and then upload them to cricut design space. I’ve color coded the SVG file to cut the “Santa Claus” and post mark in rose gold and the rest of the items in black.
That will make cutting these babies out super quick!
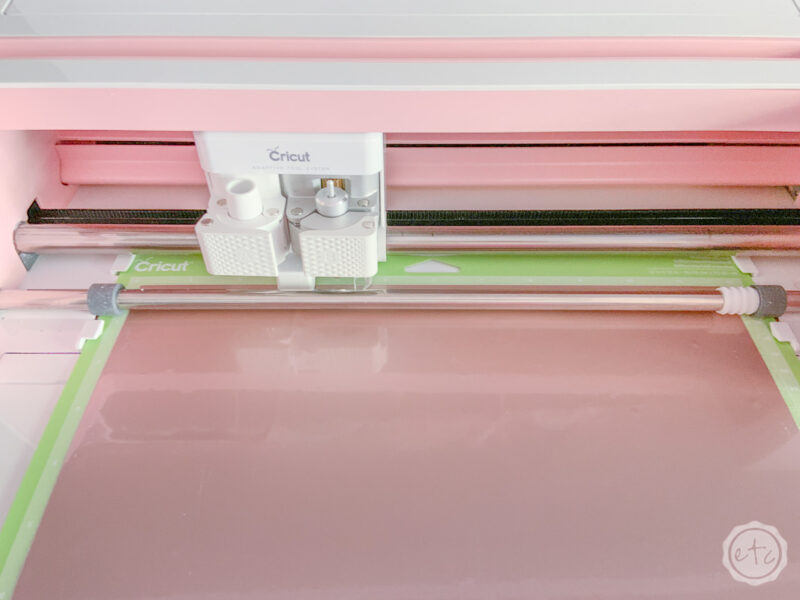
Make sure to mirror your design so that the words cut out properly, pop your iron-on onto a standard grip mat and then cut the entire design out with a standard cutting blade.
The black iron-on and the rose gold took about 3 minutes to cut out total! That’s pretty darn fast!


Step 2: Weed the Iron On Vinyl
Ready for weeding? Use your little weeding tool to take all of the negative bits and bobs out of the design. You want your letters and stamps to be left on the carrier sheet and the tiny insides or the o’s and e’s to be long gone.
This step is probably the most tedious… although you can pull most of the outside vinyl off in one fell swoop.
Easy peezy.

Step 3: Iron On Your Design!
Ready to put this baby together?! Now that everything is weeded and ready to go you can cut all the pieces apart so that you’re good to go.
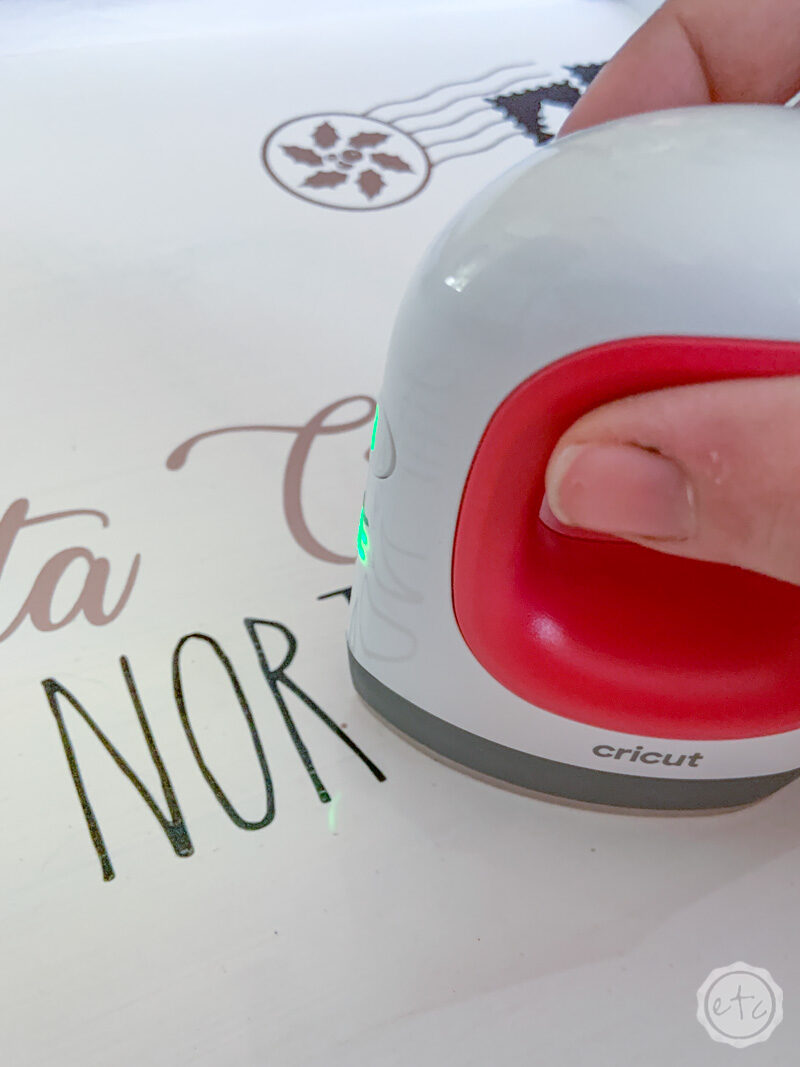
Now it’s time to iron these little iron-on pieces onto your wood sign. Go ahead and heat up your mini easy press… put it on the middle heat setting and let it heat up.
In the meantime you can take all of the little pieces and lay them out on your sign. Cut the plastic carrier sheet so that the “Santa Claus” and “The North Pole” pieces fit together perfectly.
The little stamp set will need to be ironed on in two steps: first the rose gold and then the black. So when you cut the black stamps leave a little of the plastic carrier sheet to the left of the stamps to protect the rose gold stamp as you’re ironing the black stamps on.
Now that all of our pieces are laid out properly and our little easy press is hot… let’s put this baby together.
Go over easy letter for about 5 seconds with the mini easy press on medium heat. Make sure to do the entire word/stamp section/row and then let it cool down for a couple seconds.
Once it’s cool to the touch you can start to peel back the carrier sheet leaving the iron on behind! If any of the little letters aren’t quite bonded to the wood simply press them down with the easy press (over the carrier sheet) for a couple seconds… then peel up the carrier sheet!
Work your way around the entire sign making sure all of the pieces are bonded. The stamps will go down in two parts… the rose gold stamp and then the black stamps! Just make sure always to have a plastic carrier sheet in-between the easy press and the iron-on.
The easy press will melt the iron-on!


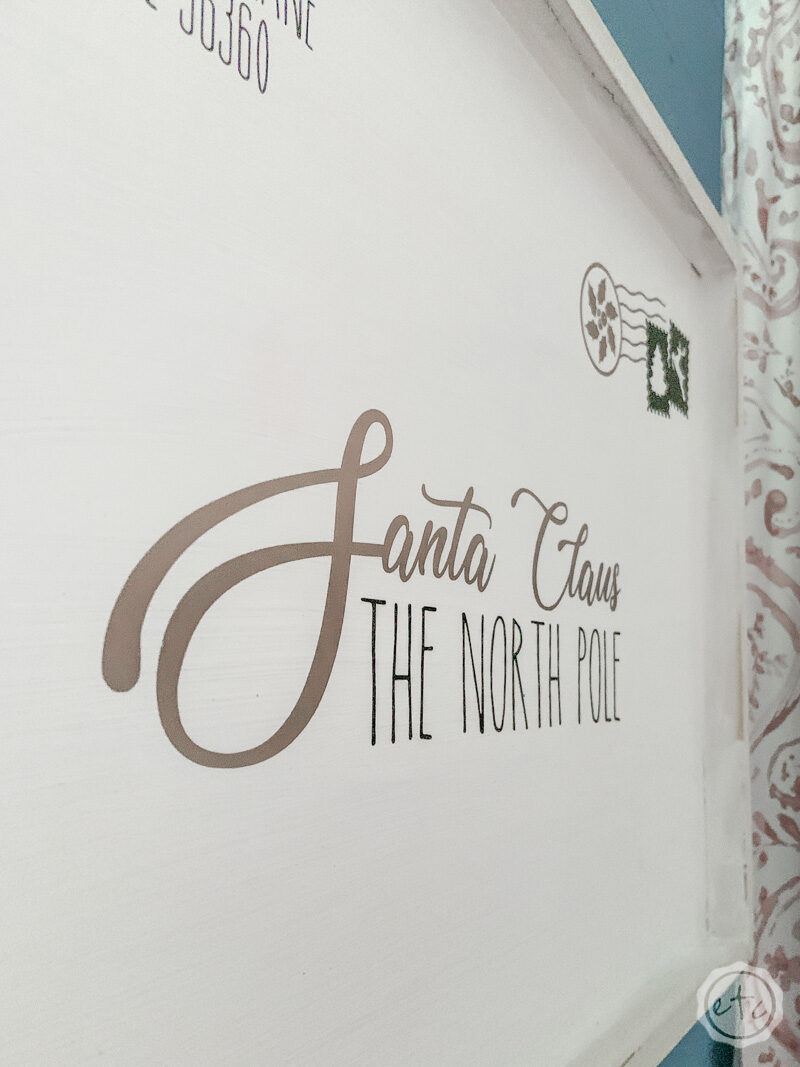
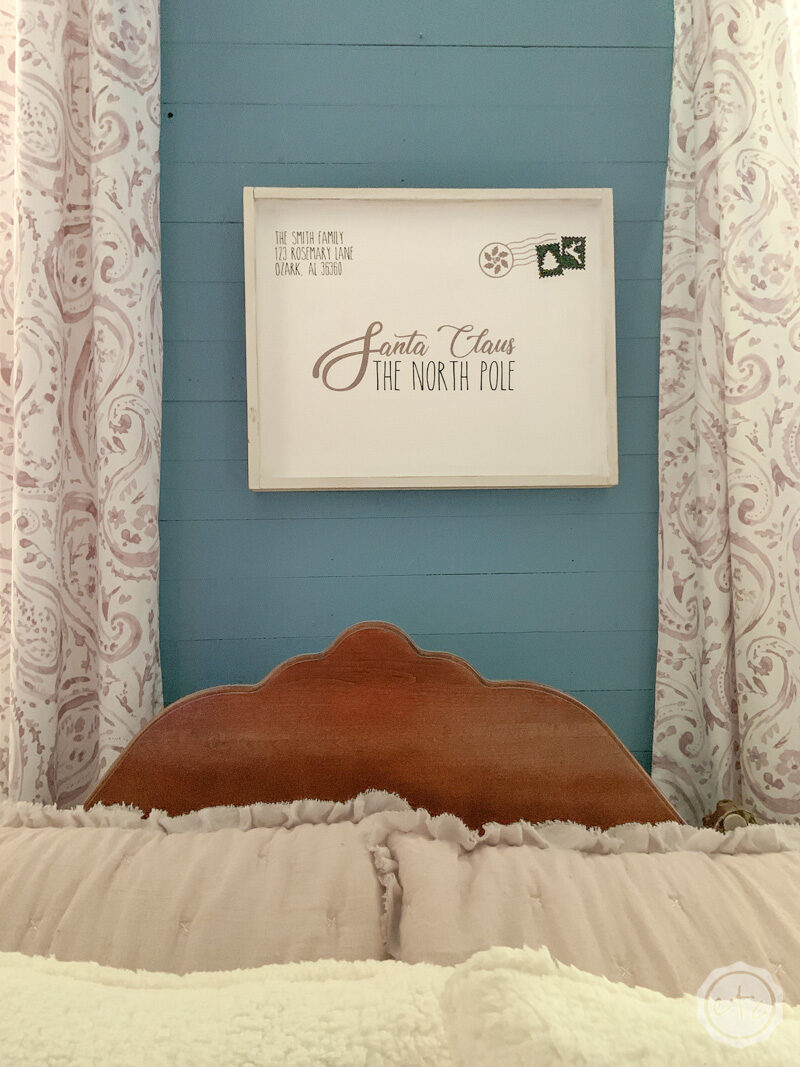
Ready for the big reveal?
I hung this little wood sign over my bed (that I recently updated for winter! Look for that next week) and absolutely love it!
It definitely helps tie the white sherpa and the blush comforter together… and the rose gold is definitely my jam.
Plus I love that it only took 10 minutes… since most of my projects take a couple million years to put together.
Enjoy!


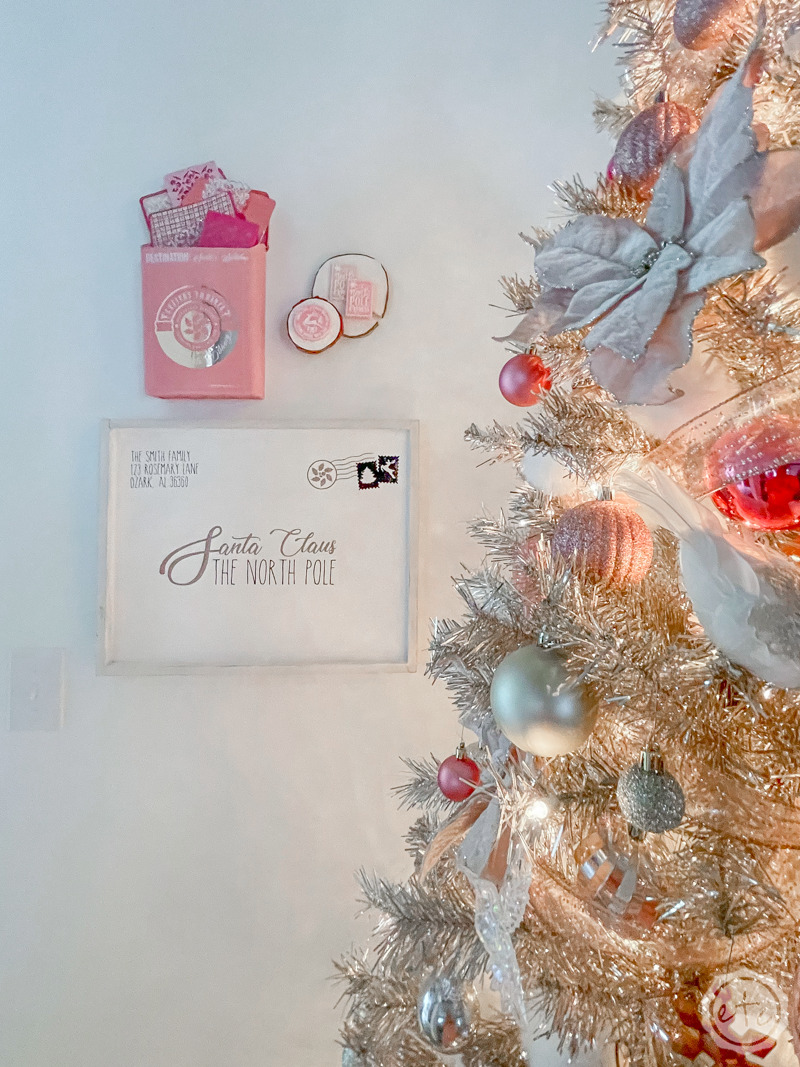
Before you go here’s a few pictures from future Betsy… the entire wall grouping I made dedicated to this very “Dear Santa” sign!
Check out this Resin Postage Stamp Sign or this Letters to Santa DIY Mailbox for a few more fun Christmas ideas!

Looking for more rose gold holiday goodness? These posts are for you!