
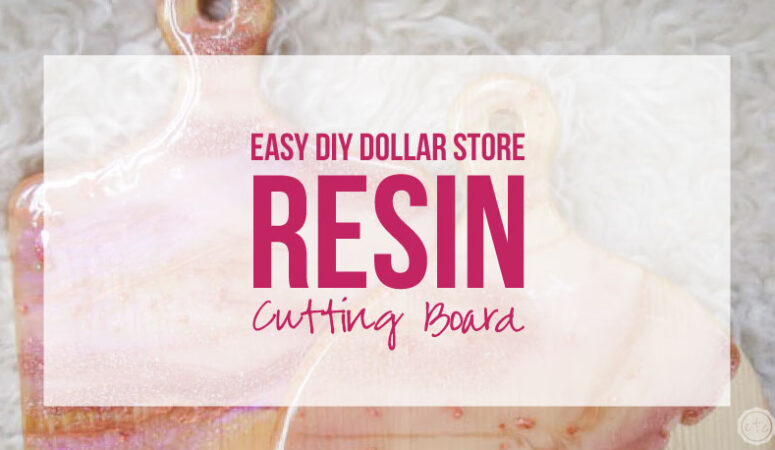


If you’ve been working with resin for a while (or even following along with resin artists on Instagram or Pinterest!) you’ve probably seen the beautiful resin cutting boards that are super trendy this year! Of course, they also have a super trendy price tag… because resin can be time consuming!
Luckily making a resin cutting board can be an easy beginner project… so if you want to tackle making one yourself you’re in the right place.
I’ll show you how to make a pretty rose gold and blush cutting board with a resin overlay… the fun and easy way! Then you can follow this tutorial to make the matching trivets and you’ll have a matching set!
Supplies:
- 1-2 Cutting Boards
- Amazing Clear Cast Resin
- Respirator/Mask (resin graded filters)
- Gloves
- Wagner HT400 Heat Gun
- Freezer Paper
- Baking Pan
- Silicone Mat
- Silicone Mixing Stick
- Small Mixing Cups
- Silicone Measuring Cup/Larger Mixing Cups
- Reusable Silicone Stir Sticks
- Pink Pearl Craft Paint
- White Alcohol Ink & Pearl Alcohol Ink
- Rose Gold Glitter
- Copper Oil Based Paint
- Rose Gold Flakes
Easy DIY Dollar Store Resin Cutting Board

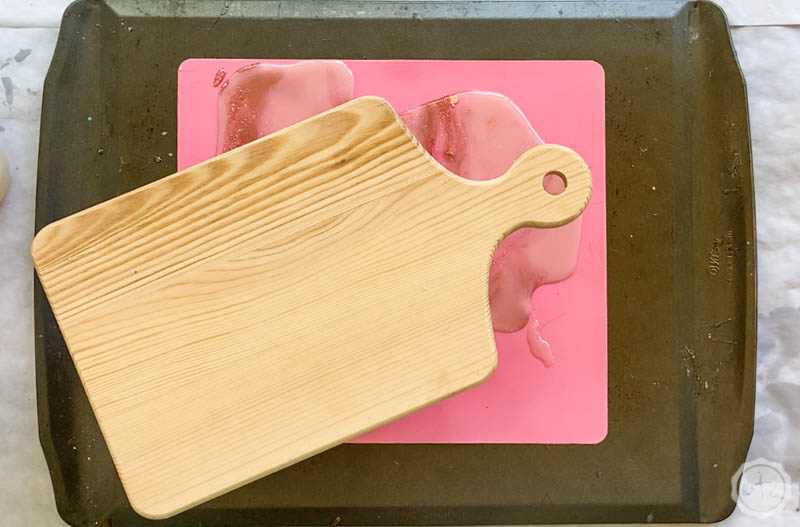
Step 1: Prep your Piece
When it comes to making a cutting board you have a couple of things to consider… the main one being that resin is going to drip off the sides and create a big mess underneath.
That’s ok but we need to get ready for it! I like to lay down freezer paper to protect my work space and then use a baking tray with a silicone mat under my project. The silicone mat will catch most of the overflow resin and since it’s silicone you can easily peel up the extra resin once it’s cured and you’re ready to go again!
On the other hand any resin that drips off your cutting board will make little drips on your actual cutting board! You can handle this a few ways but the easiest two are 1) let it drip and then use a sanding tool (like a little handheld dremel) to sand down the drips so that you’re back to the cutting board or 2) carefully add painters tape around the bottom edge of the cutting board so that you can simply peel the tape (and the drips!) off your piece.
Using the dremel is much easier and faster than adding blue tape around a curved edge BUT the dremel will leave you with a slightly different texture to the exposed cutting board. Since this is the back of the cutting board that doesn’t bother me but everyone has their own opinion!
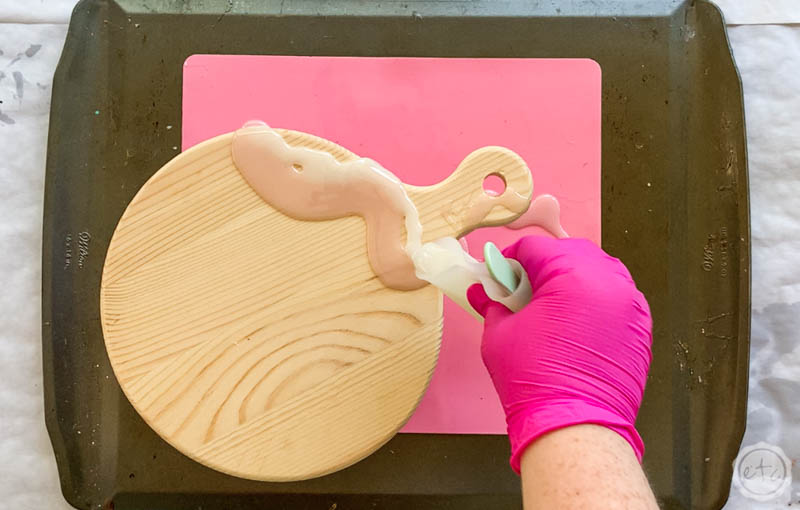
Once you have your cutting board ready to rock you’ll want to place it on a sturdy cup (preferably a silicone one!) so that it’s above the work surface and resin can drip off the sides… then it’s time to mix our resin!
Start by mixing about 500ml of resin in a large silicone cup (this is enough resin for two cutting boards… you can cut the amount in half if you’re only making one!). Once your resin is mixed you can separate it out into the smaller silicone cups with the proper colorants and glitters… I ended up with 100ml of blush, white, clear with rose gold flakes and interference violet and only 30ml of copper and rose gold glitter.
That left about 40ml of clear resin in my larger cup which can act as backup if I run out of a color!
Perfect!

Bonus Tip: If you’ve never mixed resin before you can follow my tutorial for how to mix resin here! Enjoy.
Step 2: Pour your Resin
Let’s get ready for a bit of fun!
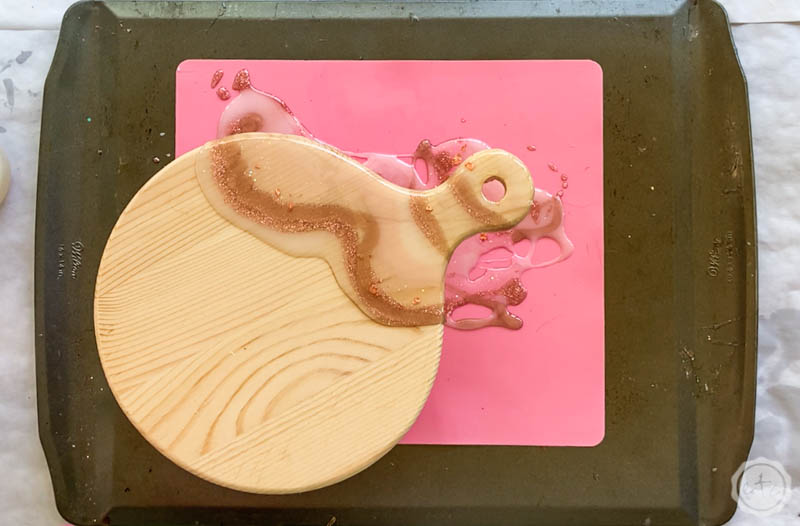
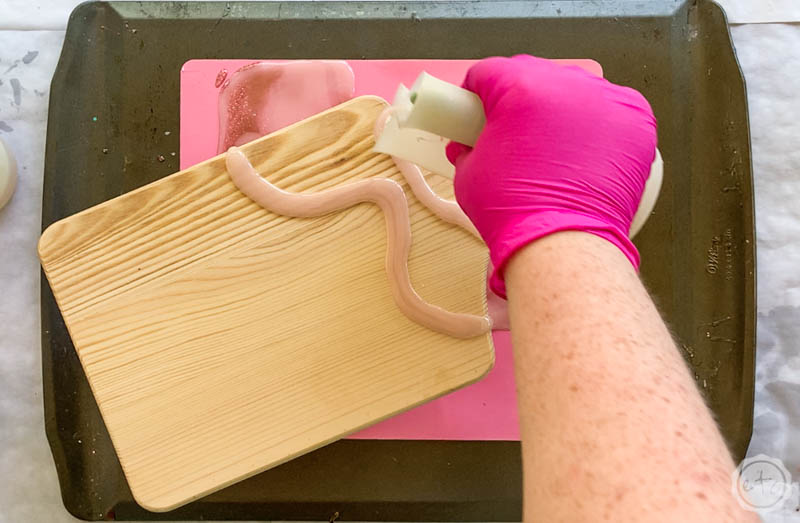
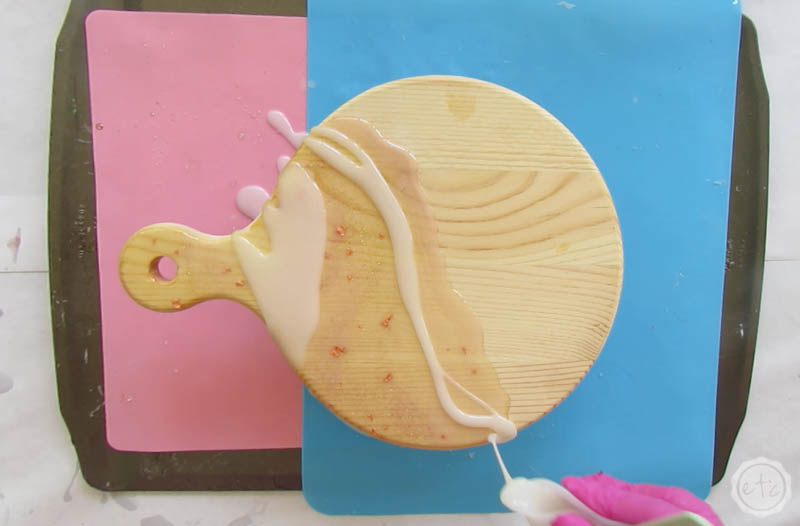
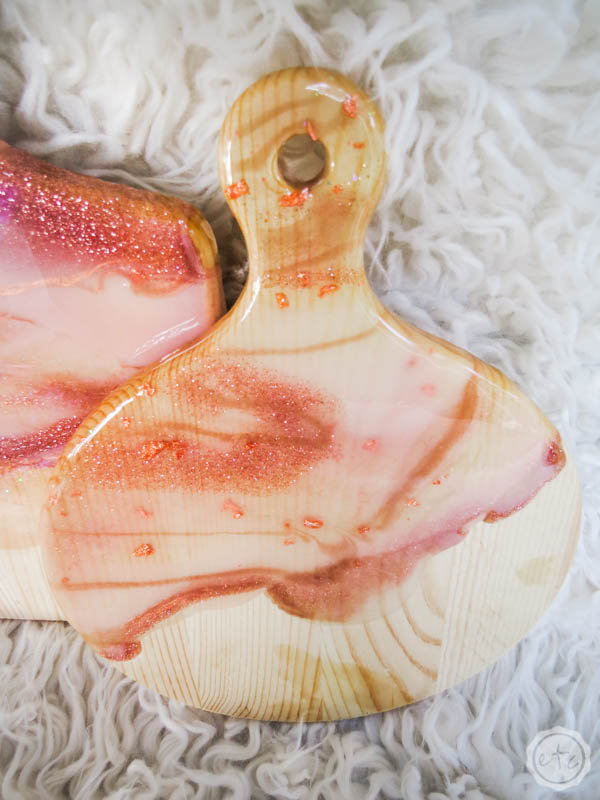
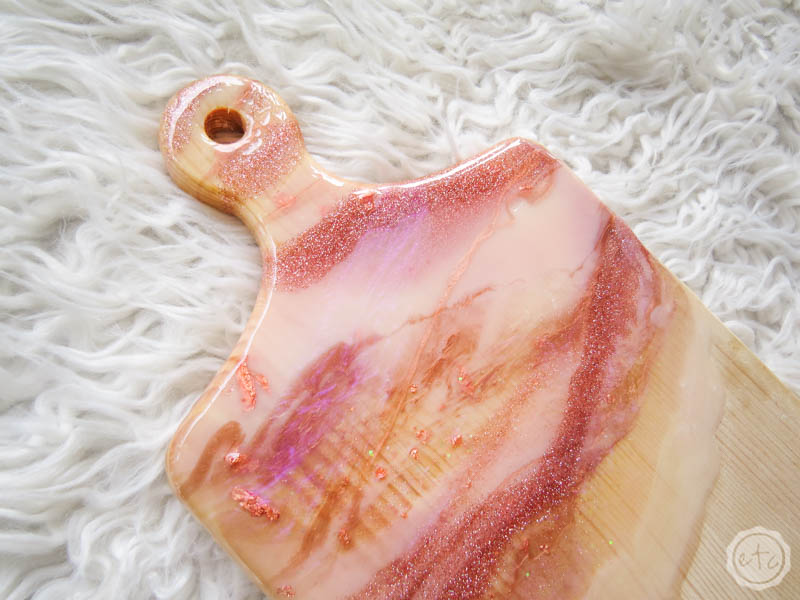
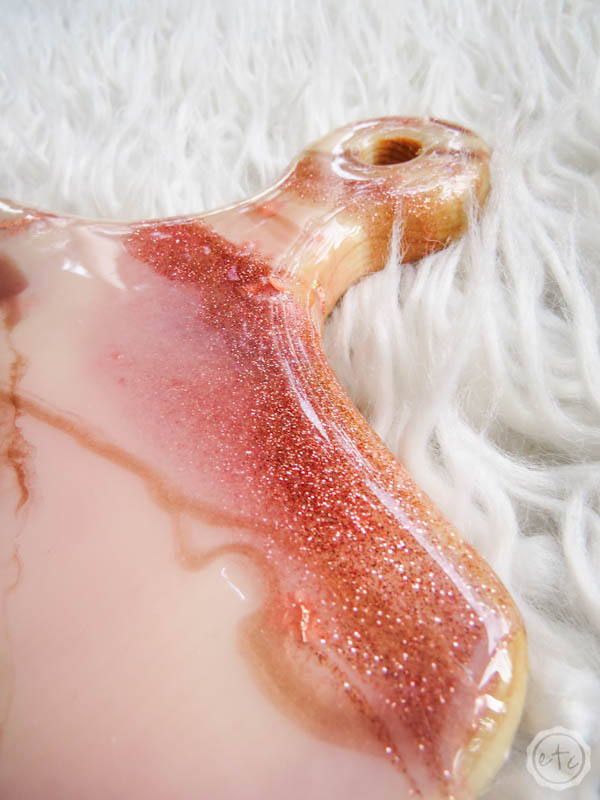
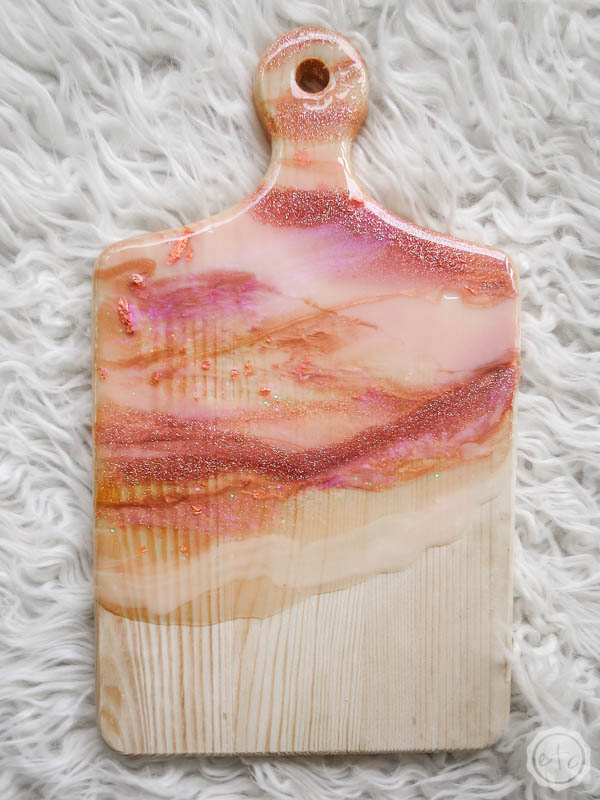
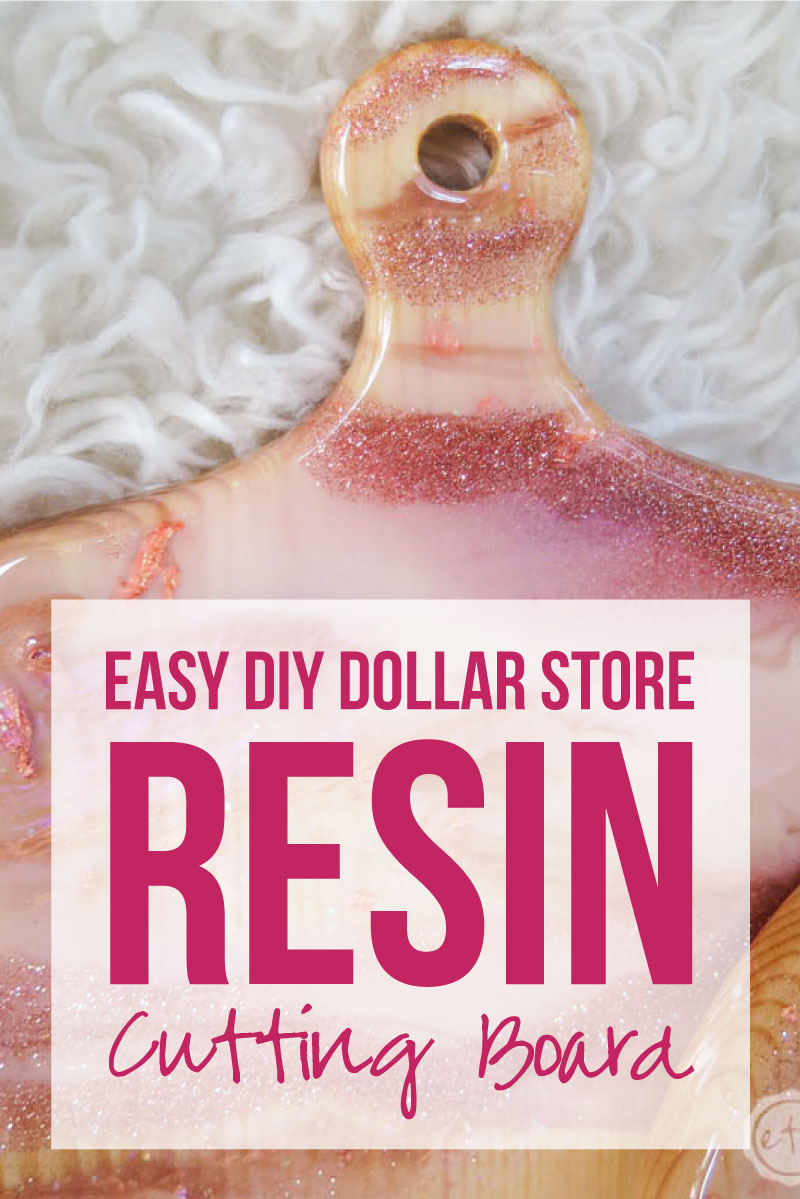
At this point we can start to pour our resin onto our actual cutting board… starting with the basic colors (the white, blush and clear with rose gold flakes) then you can add the darker colors (like the copper and rose gold glitter) in thinner sections across the seams of the larger areas.
This creates a nice geode like look with the glitter/metallic copper looking like veins in the rock. Of course, as the resin keeps dripping off the sides the top will look a little different… just keep adding resin as it settles until you’re happy with how it looks!
Then it’s time to add the interference violet color! This is a color shifting pigment (although it looks white in the mixing cup!)… once you add it to the project it will start to pick up the hues of the colors around it and you’ll see how pretty it is in person. I like to add this color to my white areas so that it can really stand out!
Perfect darling!
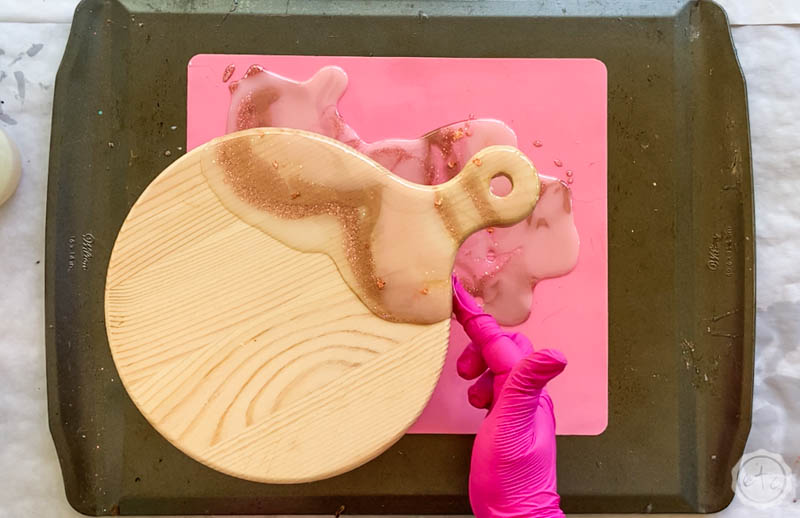
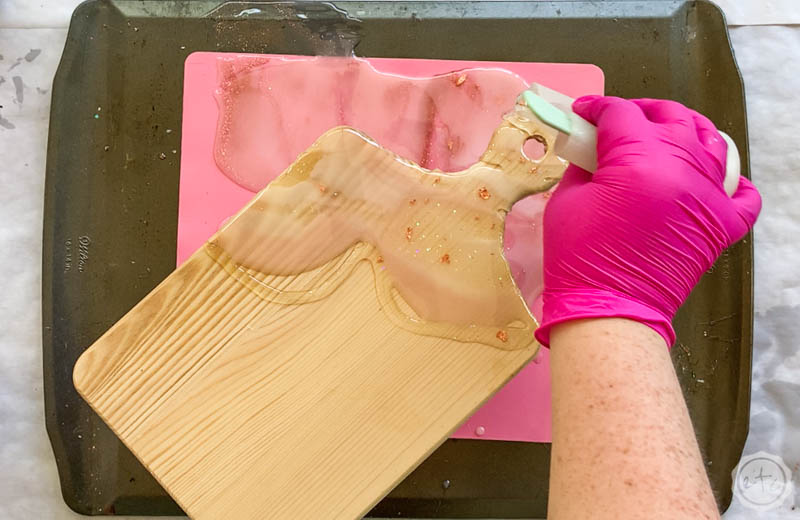
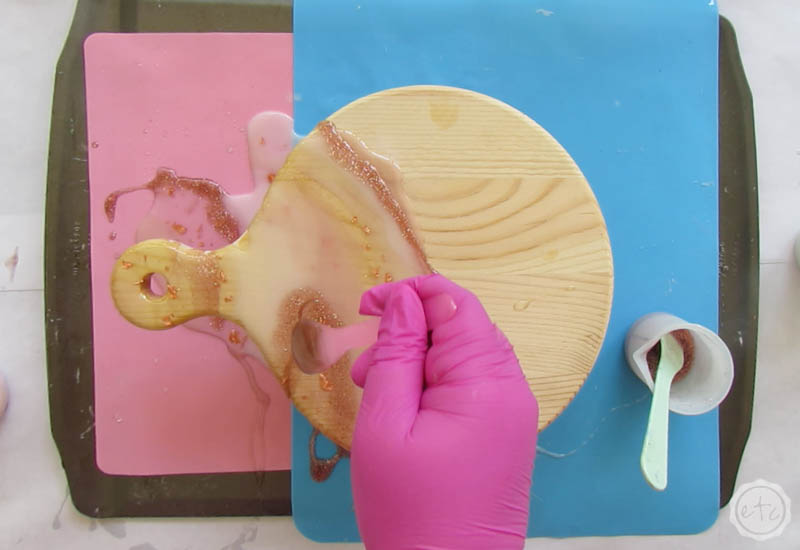
At this point you can use your gloved finger to carefully smooth resin all along the edges… this will make sure that it’s smooth on all of the sides and it will help keep the drips on the bottom to the minimum!
Now go ahead and repeat this process for your second cutting board… then set both cutting boards aside to cure for about 6 hours. Making sure to cover them with cardboard so little pieces of dust or hair don’t cure into the resin!

Step 3: Add a Second Layer of Resin
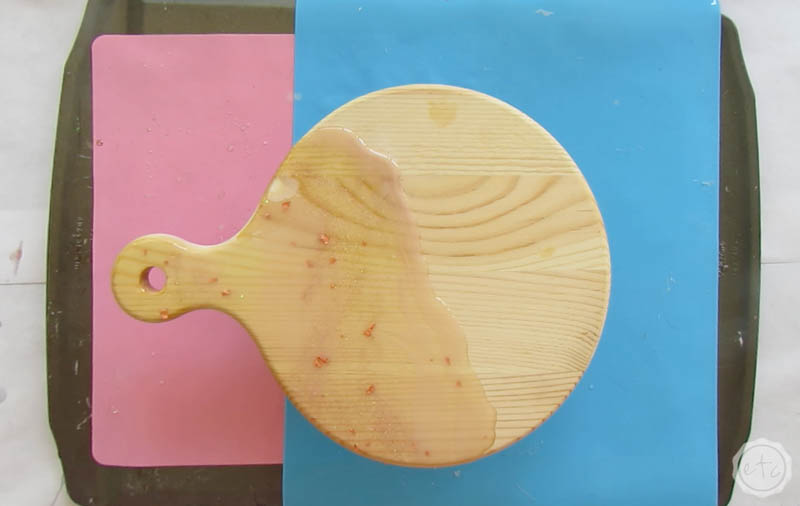
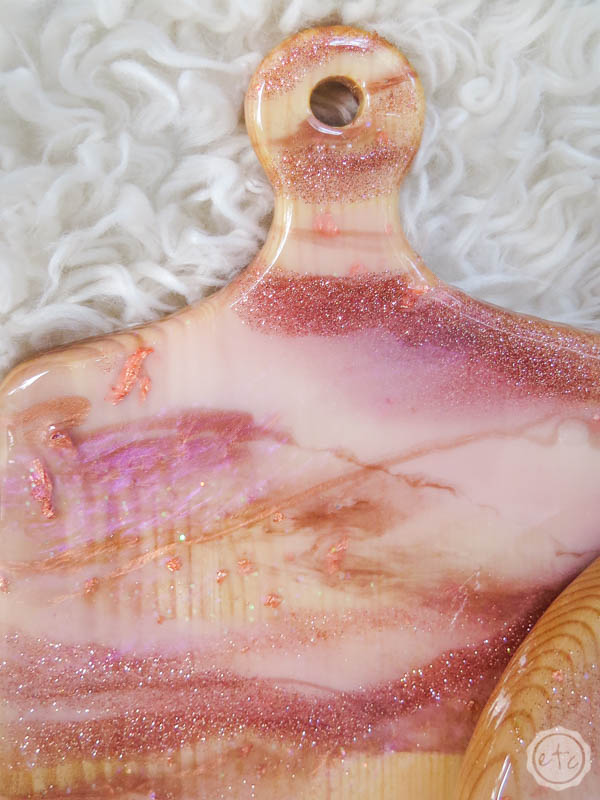
Here’s where the magic happens… during the second layer. Now that the first layer of resin has dried you can see how much the wood has taken in the resin leaving us with a very monochromatic look to our resin.
Not the vibrant colors that we want!
Of course, resin is expensive so if you want to stick to only one layer of resin you can paint the area of your cutting board under the resin FIRST. This will seal off the wood and prevent it from absorbing the resin… the resin will stay on top of the paint and the vibrant colors will stay vibrant.
But you won’t be able to see the wood grain through the resin… and you will be able to see paint.
Which is why I prefer a 2 layer resin process for my little cutting boards!
Luckily the second layer is identical to the first… mix 500ml of resin and separate it out in the same ratios of color. Then start to pour your resin directly onto your cutting board!
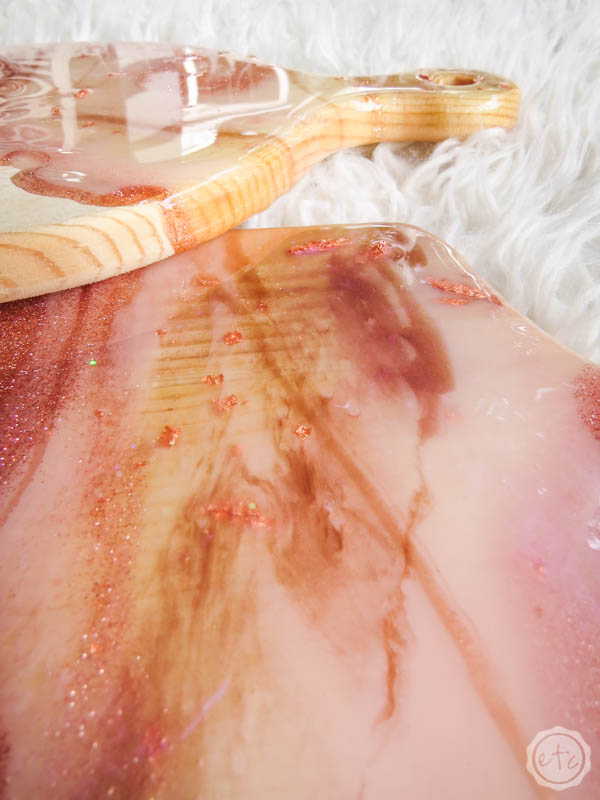
Make sure to watch how you pour the second layer since you’ll be able to see the first layer through any clear areas of resin… this leaves a really pretty dimensional look that you can’t re-create! I just love all the layers.
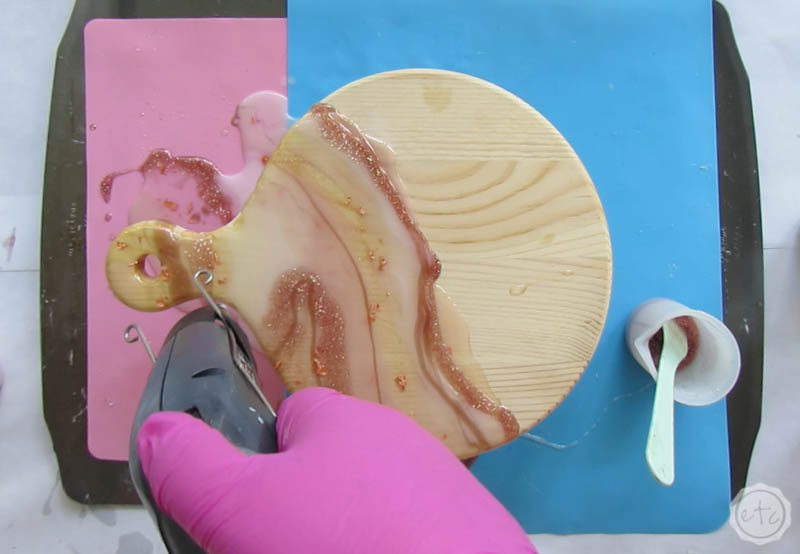
Once all of your resin has been poured make sure to pop any bubbles that have risen to the surface with a heat gun. Then cover your cutting boards and let them dry for a full 24 hours.
Beautiful darling!!!
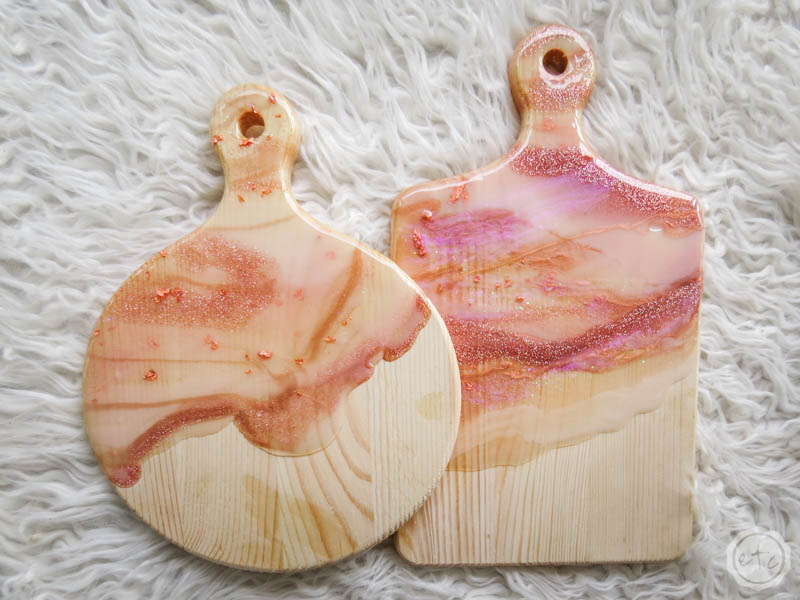
Ready for the close-ups?
Can you see the small differences here? I used interference violet on the rectangular cutting board but left it out on the circular cutting board. I just love how it gives the entire piece a pretty glow!
One last note… since these are cutting boards you may want to use them for food eventually. If so you may want to keep the resin higher up on the piece (covering mostly the handle and the top of the board) because a knife will leave divots in your resin that you may not be a fan of! On the other hand if you’re planning to use these cutting boards for food remember that Amazing Clear Cast resin is only food safe after curing for a minimum of 7 days and cannot go in the microwave or dishwasher.
Handwash only baby!
Ready for the pretty after shots?!


Looking for more resin projects? I’ve got you covered!


Leave a Reply