


I have been in a mood lately… a making metal infusible ink sign mood. Which you can tell by this adorable ocean themed sign or this really cute pineapple sign OR this really really cute happiness is homemade sign.
Pick your poison.
But regardless of the sign I keep getting messages saying “I love your sign but I’m not a fan of the __insert color here__” Y’all the best part about a svg is that it’s just that… an svg. Which means you can cut that design file out of whatever you want!
Infusible ink, vinyl, iron on, cardstock… whatever. you. want. Including a different color infusible ink from the one I picked.
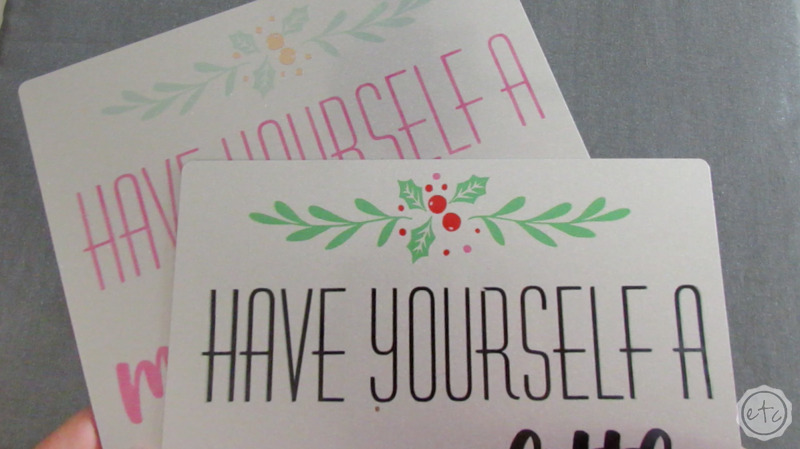
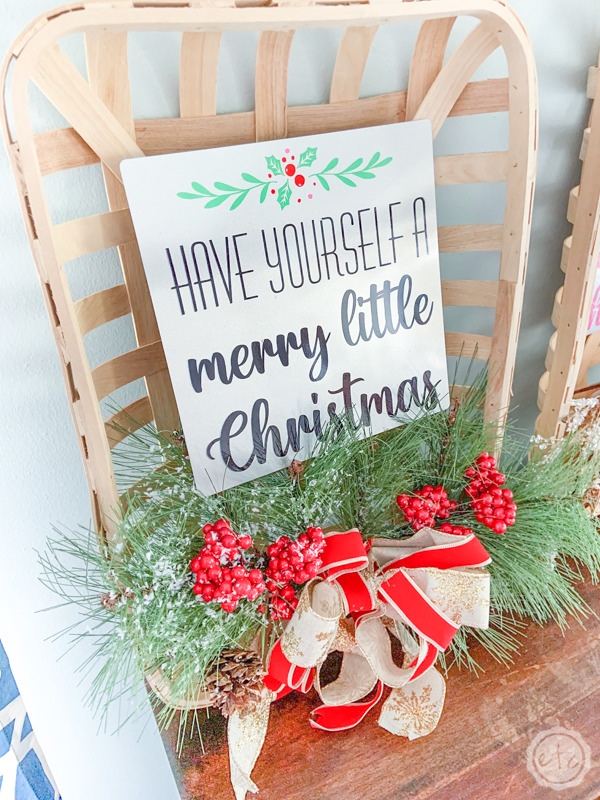
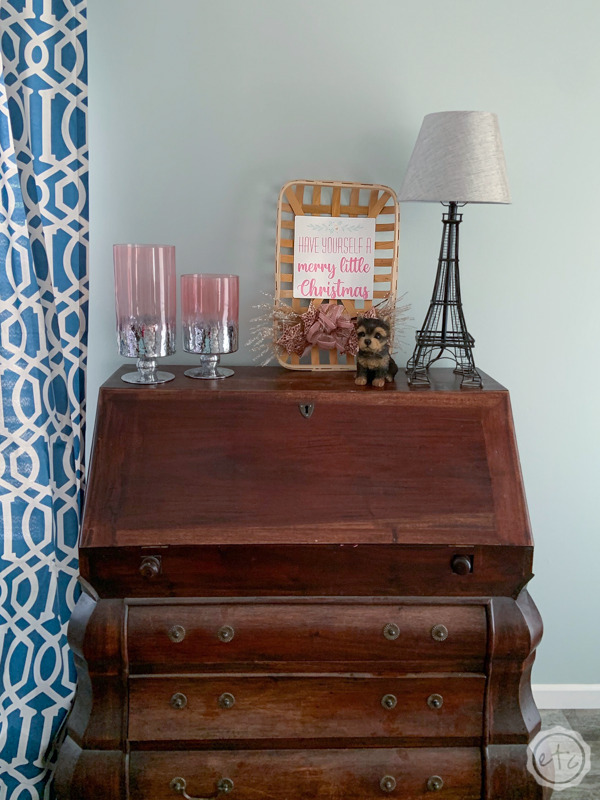
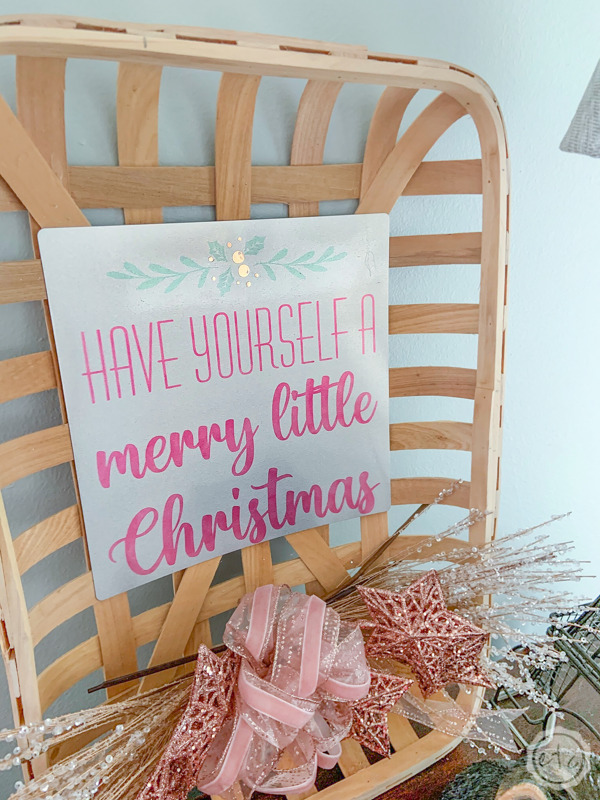
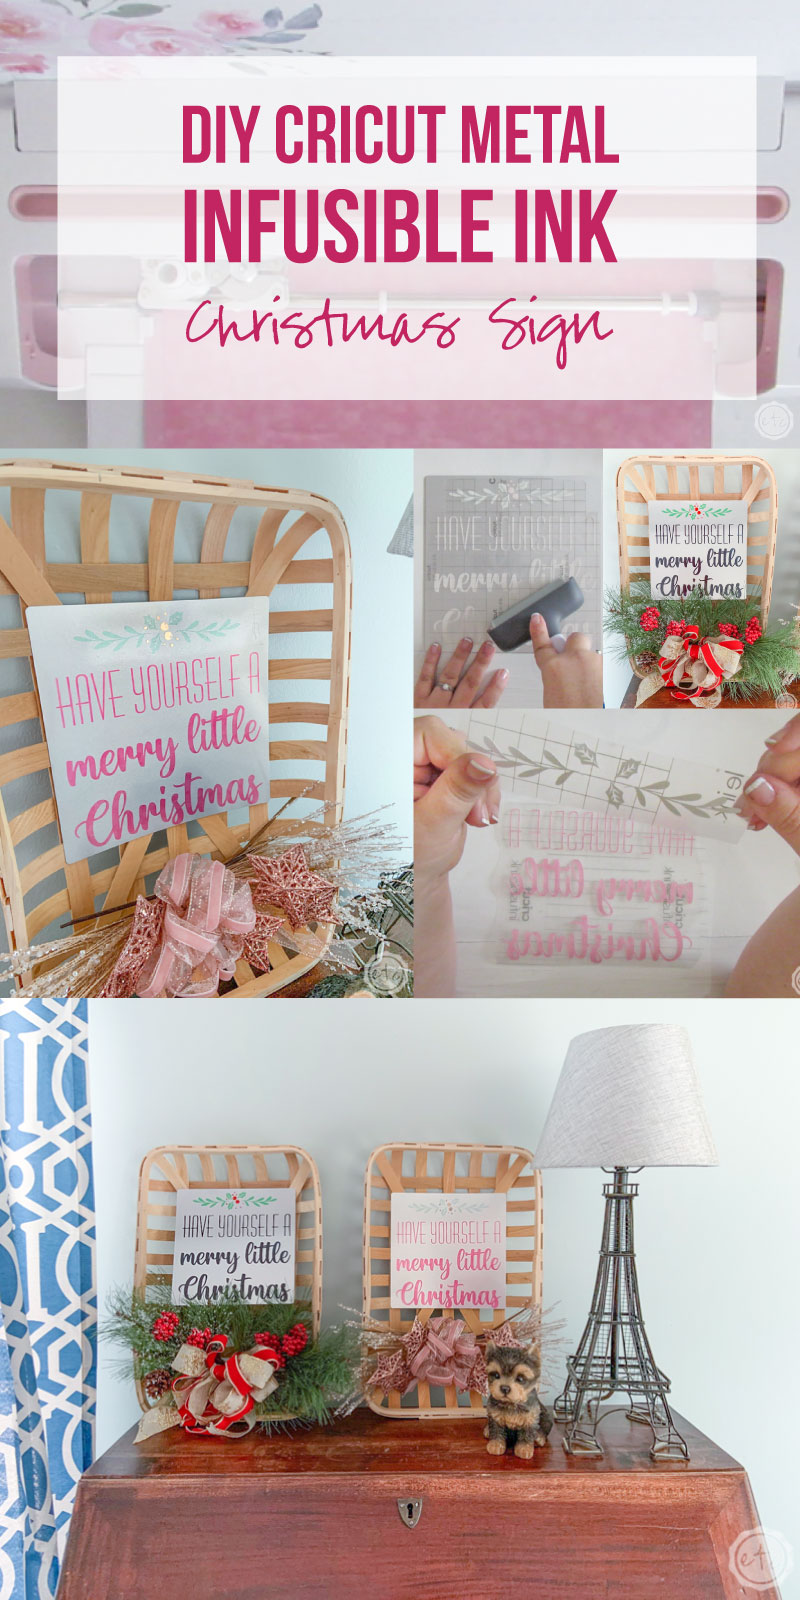
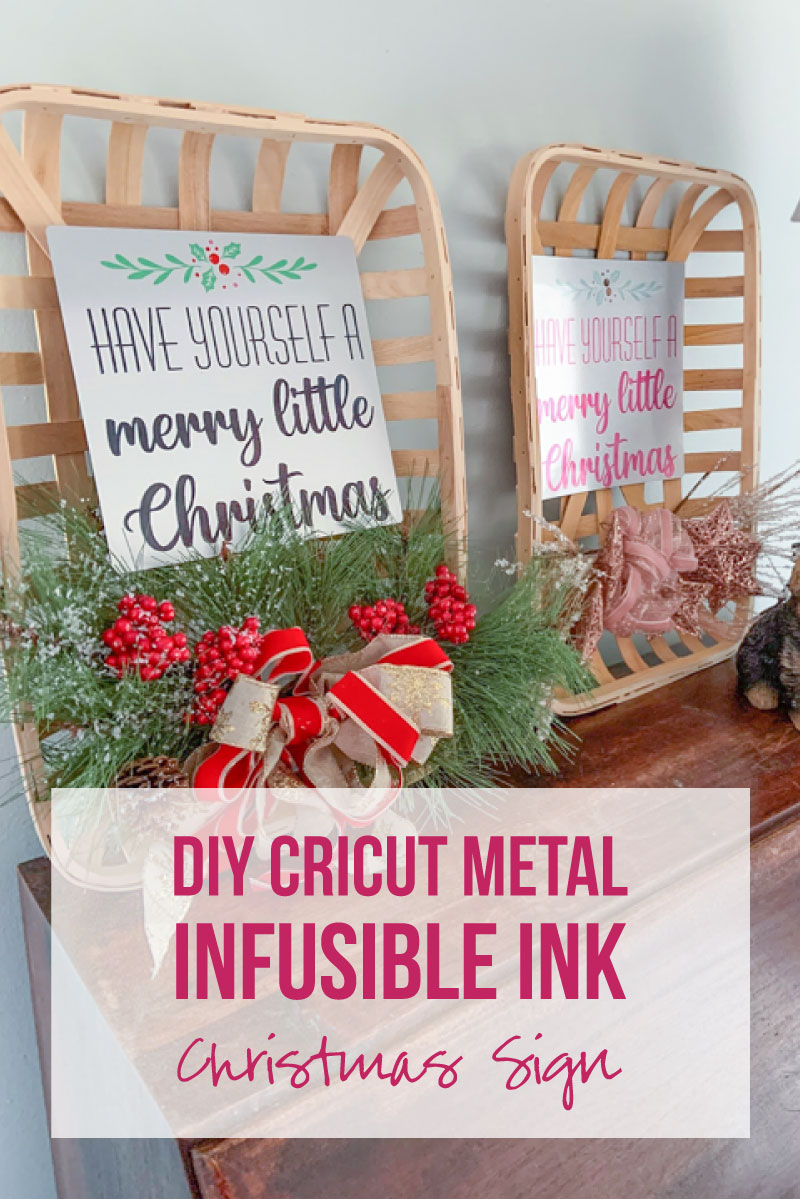
So I thought today we’d take one of the SVG’s from my 10 FREE Christmas SVG set and we’d make a fun little metal infusible ink sign: two ways. We’ll make one in my signature blush and rose gold colors and we’ll make one in a traditional red and green color set.
I can’t wait to see how they turn out!
Supplies:
- Cricut Maker
- Fine-Point Cutting Blade
- Standard Cutting Mat (that’s the green one!) or Fabric Grip Mat (that’s the one I like to use!)
- Cricut SVG (FREE at the bottom of this post!)
- Cricut 9×9 Easy Press
- Cricut Easy Press Mat
- Heat Resistant Washi Tape
- Aluminum Sheet Cricut Blank
- Infusible Ink Sheet
- Black (Red & Green Option)
- Green (Red & Green Option)
- Red (Red & Green Option)
- Pink (Pink & Rose Gold Option)
- Teal (Pink & Rose Gold Option)
- Rose Gold Adhesive Foil (Pink & Rose Gold Option)
- Small Tobacco Basket
- Pine & Red Berry Stem
- 2 Rose Gold Star Pick
- 2 Rose Gold Berry Stem
- Floral Wire
- Ribbon
- Glue Dots
FYI I’ve included allll the color options above for both the blush and rose gold project and the red and green project so you don’t need the entire supply list unless you’re making both projects. Yay!
Ready to take the leap but not sure which machine is right for you? Check out my Explore Air 2 and Maker comparison before pulling the trigger. I go over the pro’s and con’s of each machine and even have an easy to read check list of each machine’s features so you can decided which cutting machine is perfect for you.
Have Yourself a Merry Little Christmas Infusible Ink Tutorial
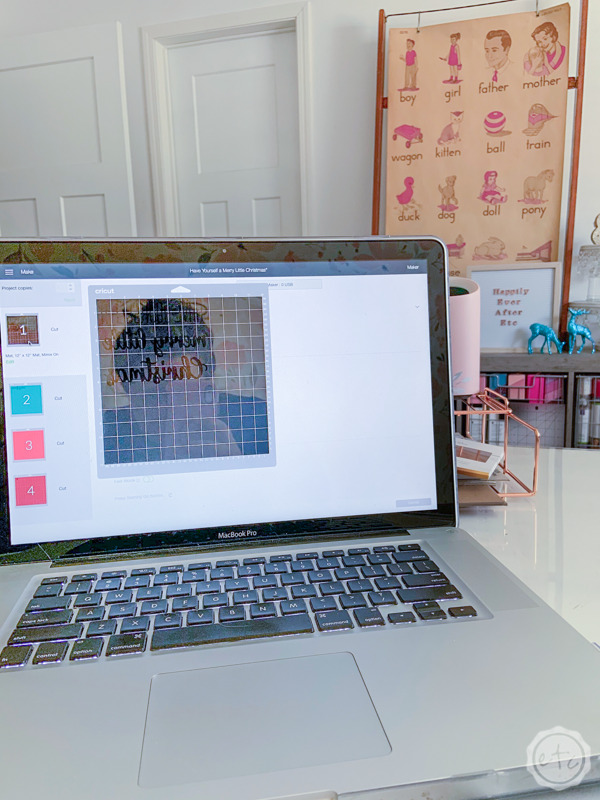
Step 1: Upload your SVG to Cricut Design Space
First things first, if you haven’t downloaded my free SVG’s you will need those to get started. So go ahead and download them for free at the bottom of this post and then upload the “Have yourself a merry little Christmas” SVG to Cricut Design Space.
If you need a little help you can follow my full tutorial (there’s even a video walk through!) right here.
Once everything is uploaded we need to get it all together (and I don’t mean metaphorically) I mean literally. Let’s grab all the like colors and weld them together. In this particular SVG there is one color for the words, one light green for the branches, one dark green for the holly leaves, one dark red for the holly berries and a lighter pink for a few of the dots.
Which means there are 5 colors all together. I decided to simplify that for the sake of this project and just welded all the green together. We’ll just cut the branches and leaves out of one color. You can do the same for the holly berries and the dots if you want to simplify things further.
Then it’s time to hit go!

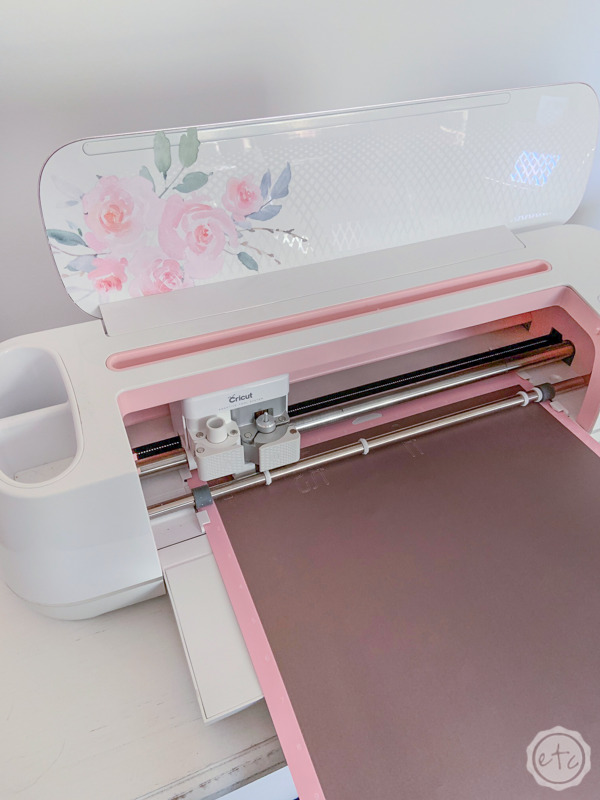
Step 2: Cut your Infusible Ink
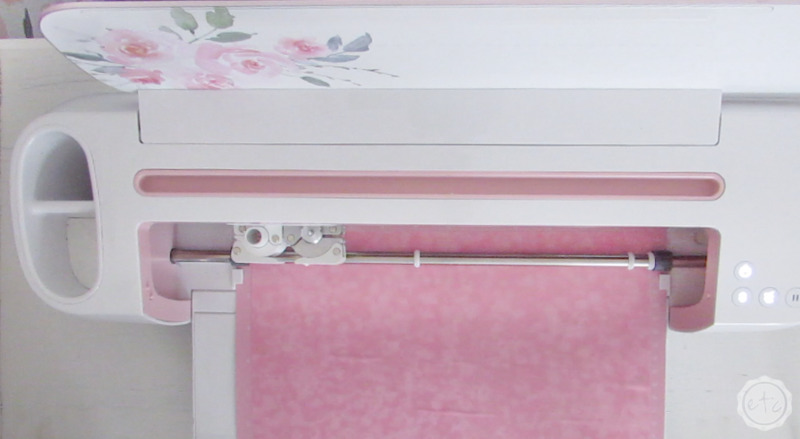
Let’s start with the largest area: the words. For my first project I cut these babies out of black infusible ink so I simply loaded an entire infisuble ink sheet onto a cutting mat and hit go.
Of course, for infusible ink you will need to move your star wheels all the way over and make sure to mirror your design. If you don’t remember to do these things don’t worry… Cricut will remind you before you hit “go”.
A few things to remember when working with infusible ink. It’s ink. Literally ink. Which means if you touch it with wet hands the ink will run. If you leave it in the sun too long the ink will fade. Make sure to only handle your infusible ink sheets with clean dry hands and you’ll be good to go!
Go ahead and cut all of your infusible ink and then carefully cut the excess infusible ink off and put it back inside the black plastic bag it came in. That black bag helps protect the ink from the sun while it’s in storage so it’s kind of important.
Who knew!
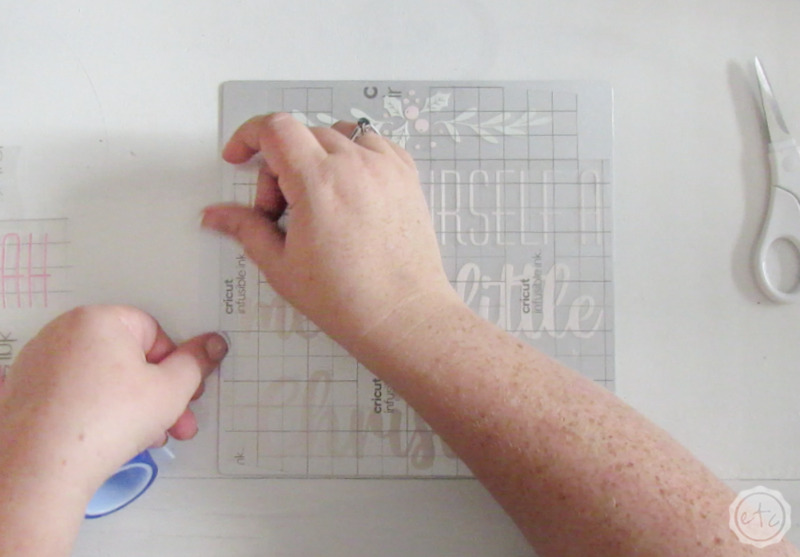
Quick tip: Remove your infusible ink from the cutting mat by flipping the cutting mat over on a clean dry surface and curing the cutting mat away from the infusible ink. This will help your ink from getting tooooo curly in the process.
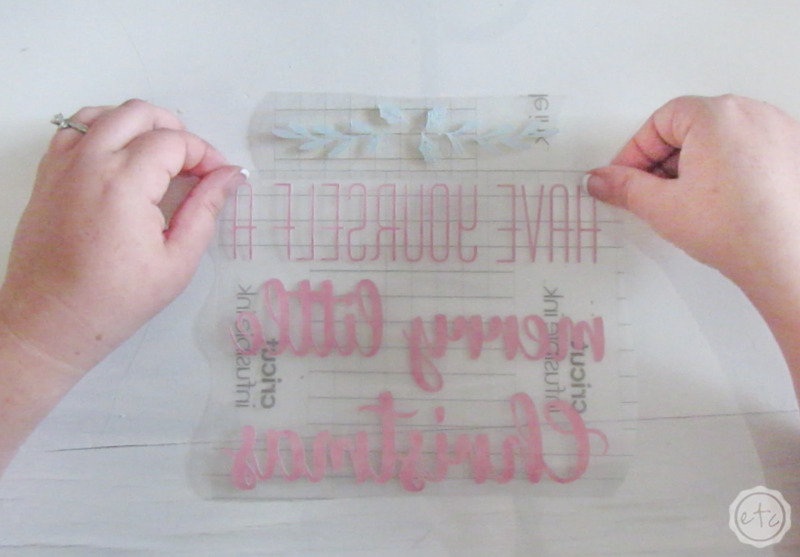
Step 3: Weed your Infusible Ink
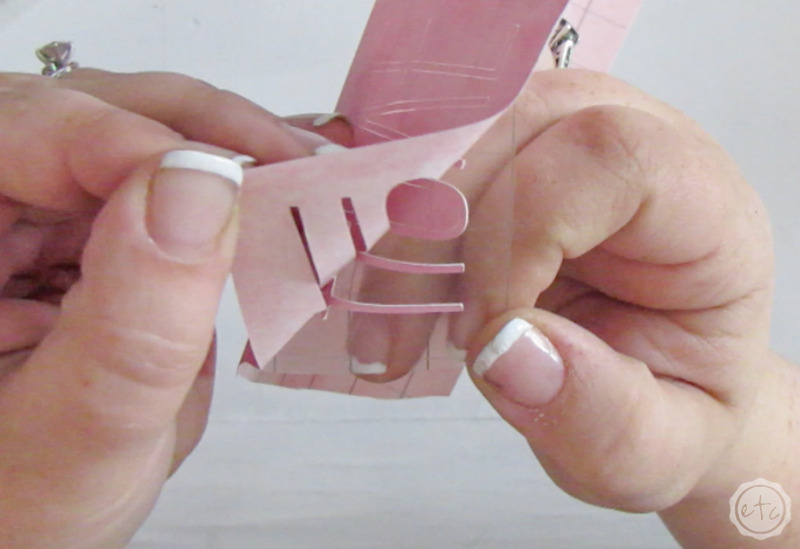
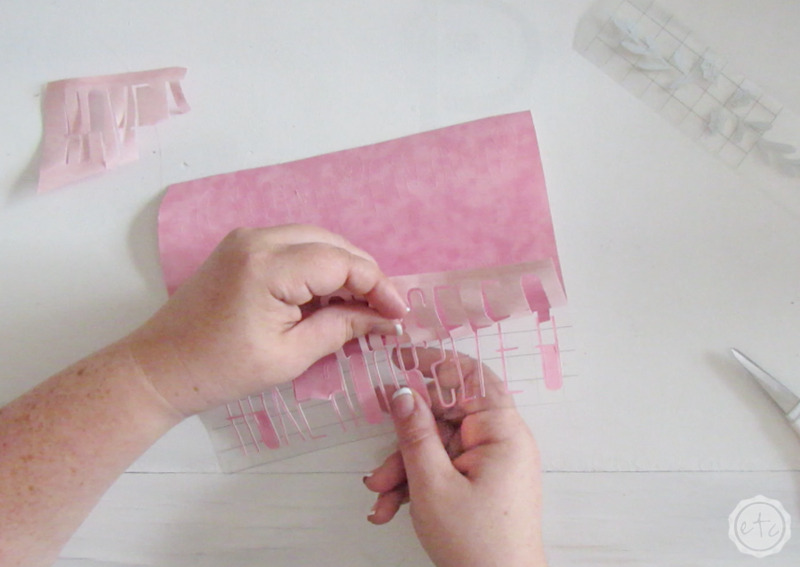
Now that everything is cut out we can go ahead and weed the design. Since we’re working with infusible ink there are a couple differences from weeding vinyl… mainly you don’t want to use a weeding tool since it can hurt the material.
Luckily infusible ink is thicker than vinyl so you can usually peel off the excess material without a problem. Just use your fingers to take up the negative material.
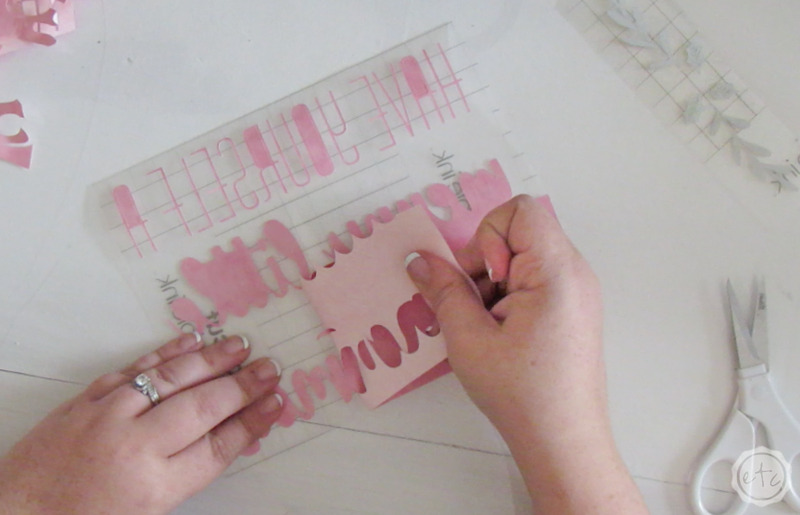
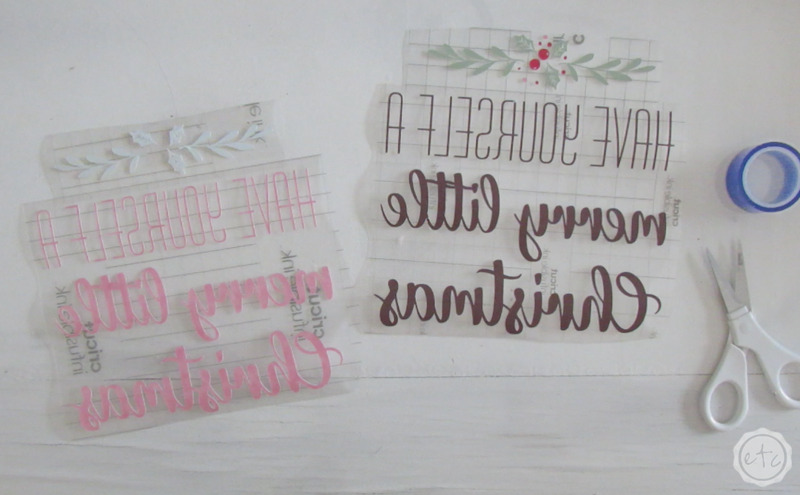
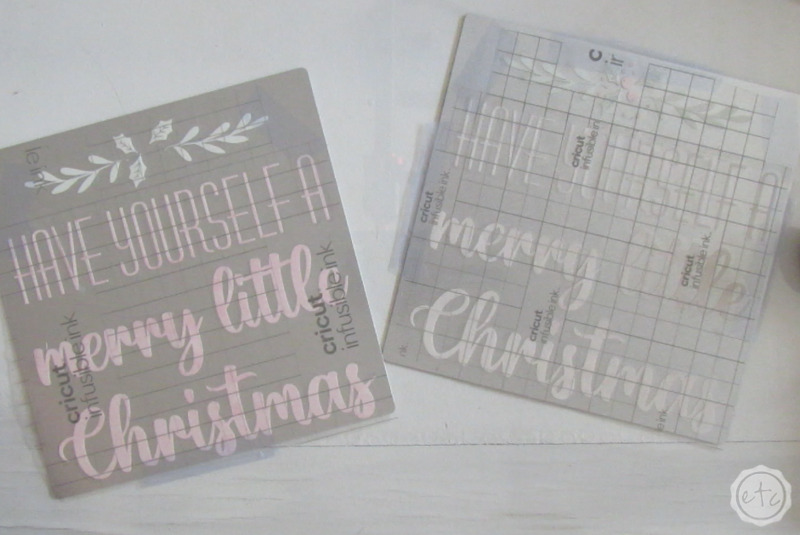
Once you have all the excess material removed you can merge your transfer sheets so that all the pieces are exactly where you want them to be. You can only iron on infusible ink to your aluminum once so your carrier sheet needs to have your design perfectly aligned with all the pieces before you heat it up.
I do this by cutting the carrier sheets and then sticking them together (you can use a bit of heat resistant tape to tape them together if need be).
Now you’re ready to rock!

Step 4: Prep Your Metal for Infusible Ink
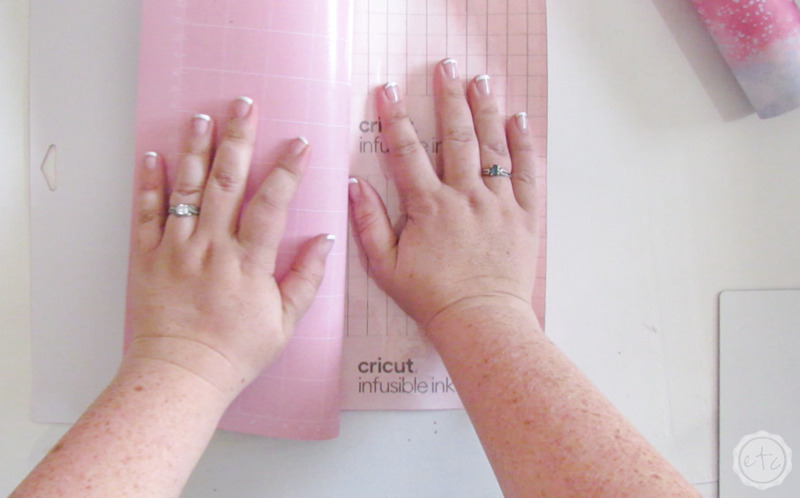
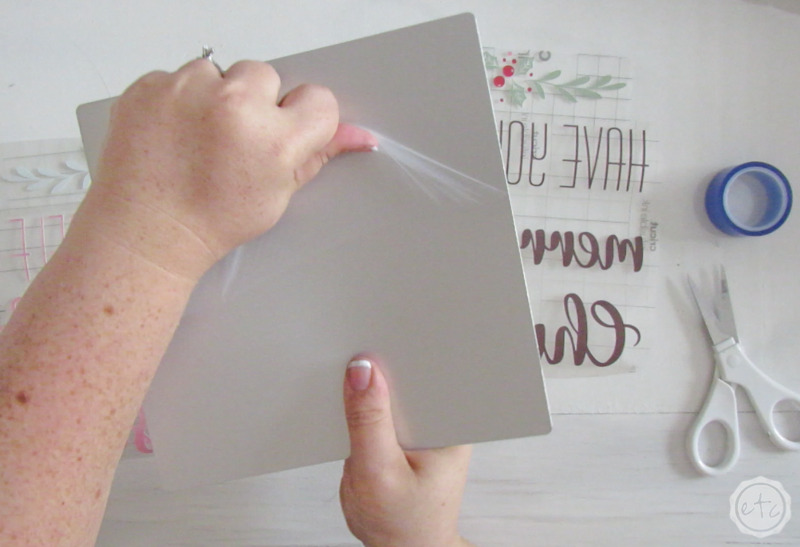
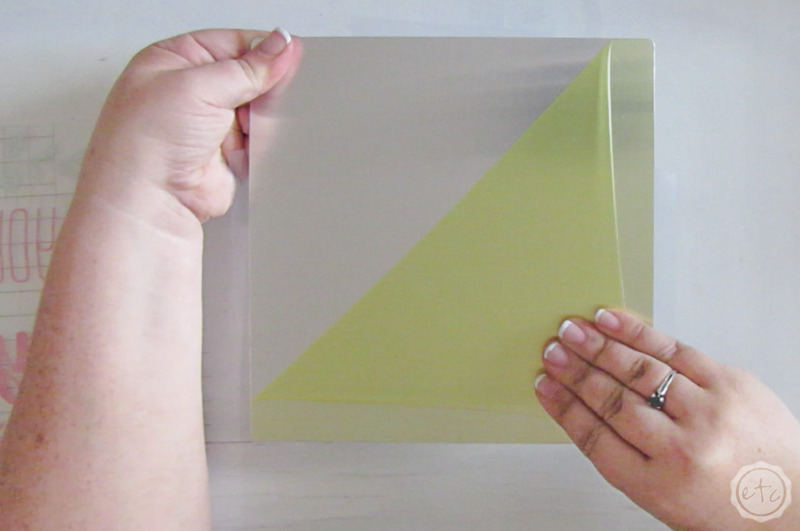
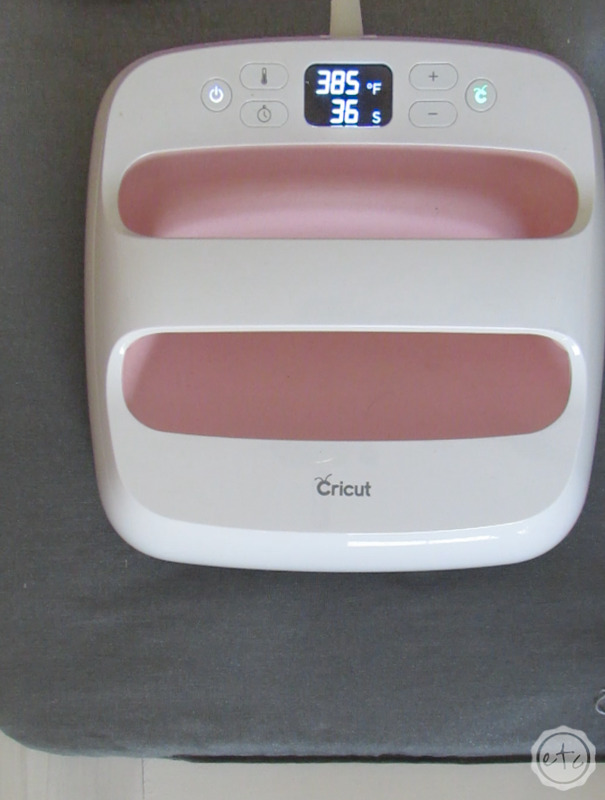
Ready to heat this baby up? Go ahead and plug in your easy press and set it to 385 degrees and 40 seconds. Then peel the protective film off both sides of your aluminum sheet!
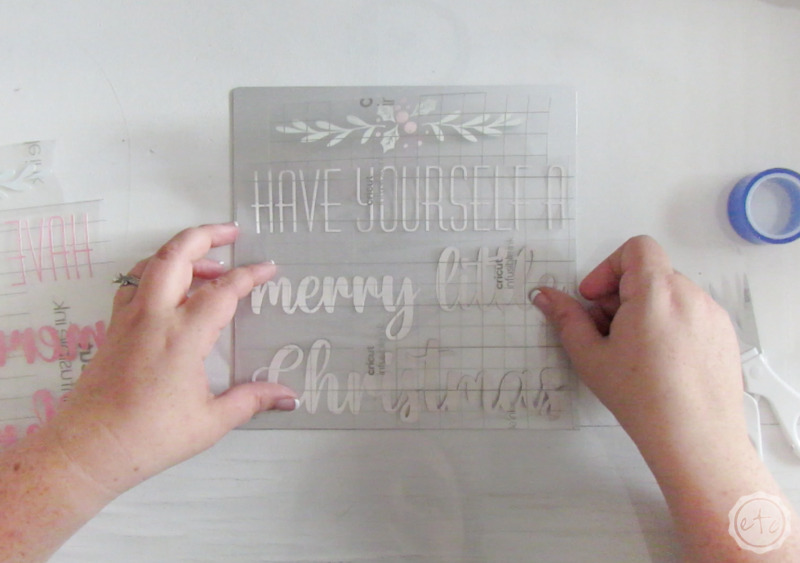
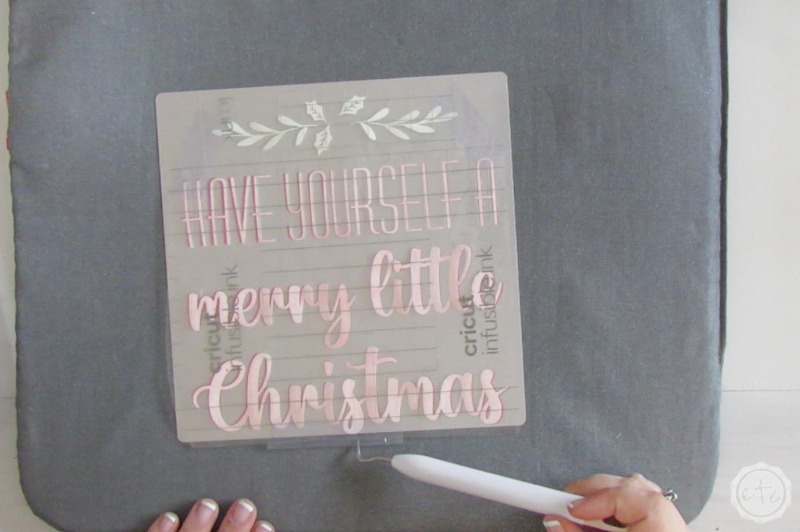
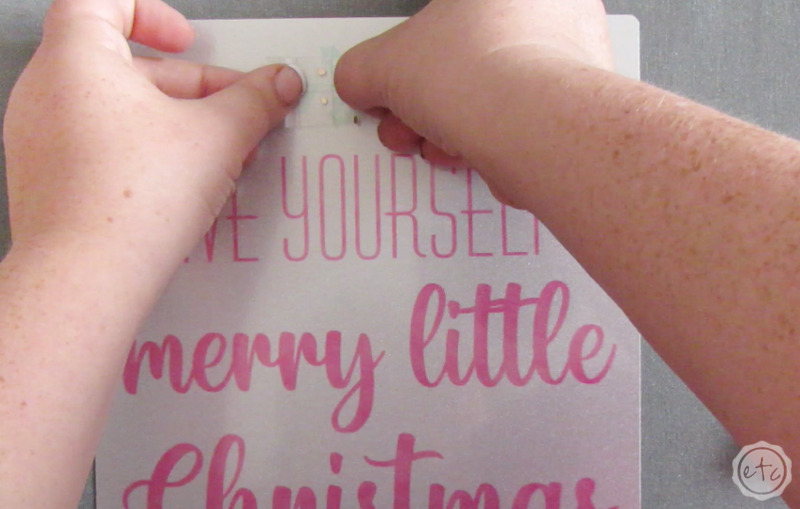
Just be careful, the protective film is clear on one side of the aluminum and a goldish yellow on the other side… infusible ink can only go on the clear side. So I like to remove the clear film, smooth out my design and tape it down… then remove the goldish yellow film from the other side.
The good news is that carrier sheet is fairly sticky so your design will stick fairly well to the aluminum all by itself but you want to make sure the infusible ink sheet doesn’t move at all during the heating process so use a little bit of heat resistant tape to secure the design to the aluminum sheet.

Looking for even more infusible ink on aluminum projects? I go over all the basics with this cute little “Happiness is Homemade” sign.

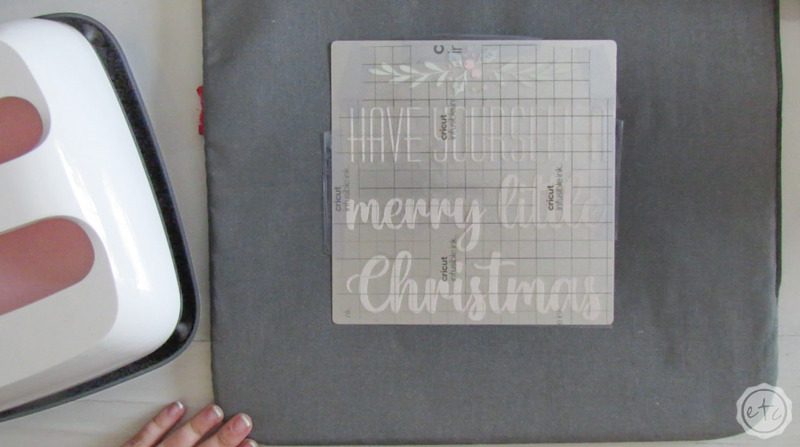
Step 4: Use your Easy Press to Apply Your Design
Once the design is taped down and your easy press is hot you’re ready to go! Pick up your easy press from it’s base and then carefully place it down over your design. Make sure to be very very steady and place the easy press straight down then quickly remove your hands and steadily press the button.
Basically lower it down, hit the go button and then let it sit. You don’t want to apply any pressure while the 40 second countdown is going so gently put it in place and then let it be. Once the timer goes off gently lift the easy press up and put it back on the stand.
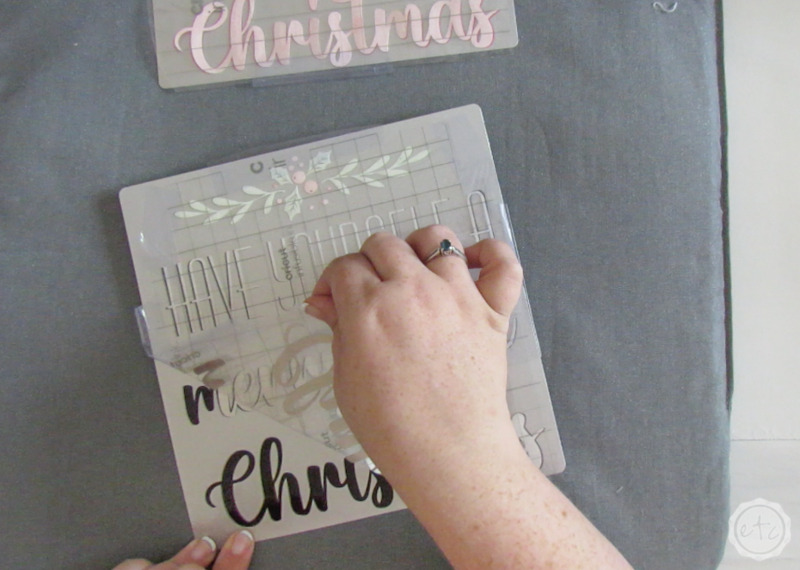
You can see the infusible ink sheet has already lifted off the material! How cool is that?
The aluminum is super hot at this point so leave it alone for a couple of minutes to cool down… I like to use a tool to move it to the other side of my work surface so that I can heat up my second project while my easy press is still hot.
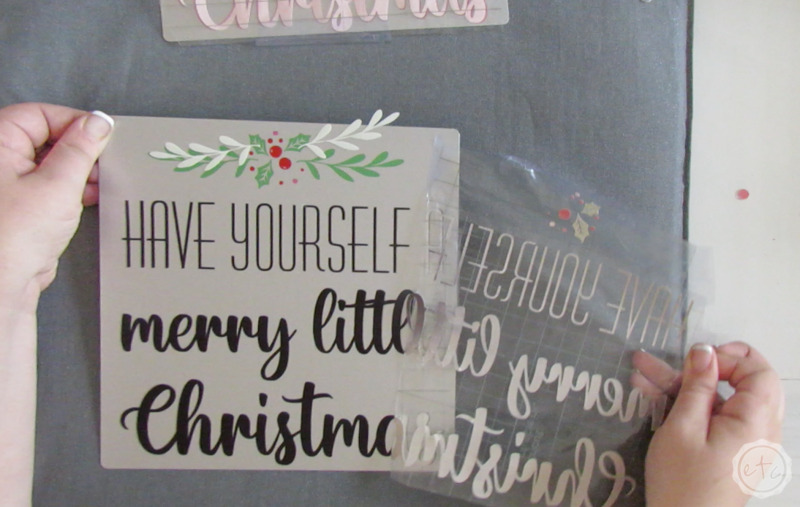
Then once you’re done heating up the second project you can remove the carrier sheet from the first one!
Beautiful darling!

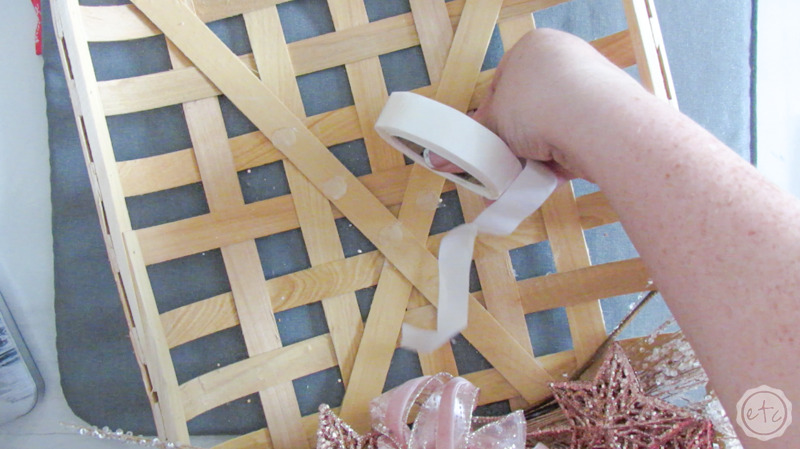
Step 5: Add your Metal Sheet to your Tobacco Basket
It’s time to bring it all together! At this point I grabbed a big twist tie (or a bit of floral wire) and made a bow to go over my greenery… then I placed the twist tie through the tobacco basket and twisted it around the back to secure the whole thing in place.
Easy peezy.
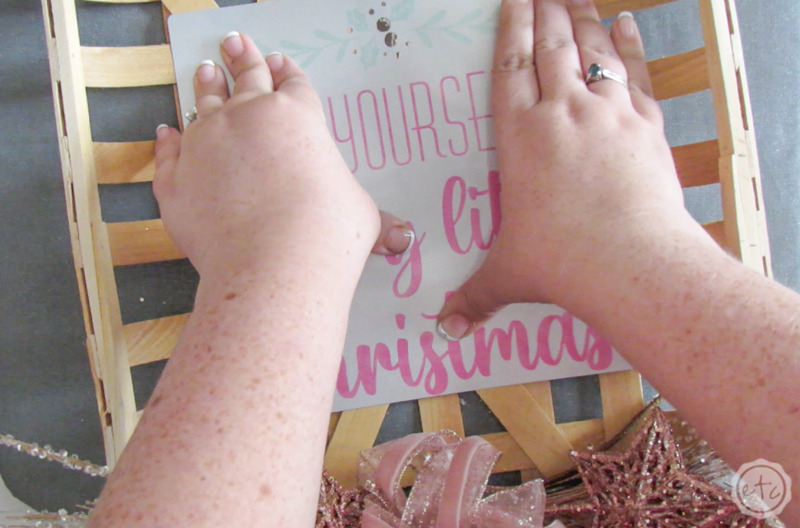
Then you have two options: you can simply place your metal sign into the greenery and lean the sign against a wall or shelf OR you can use a few glue dots to secure the infusible ink sheet to the basket.
It just depends on what you’re doing with your finished piece!
Of course, once the sign is in place we’re finished, volia!
Now you just have to leave a comment down below and let me know which piece you like more: the red and green… or the blush and rose gold!


Looking for more rose gold holiday goodness? These posts are for you!


Leave a Reply