


I’ve made quite a few resin projects this holiday season… and I like quite a few of them! This large resin door hanger for the front door is pretty awesome… but I think this little Merry Christmas sign may be my absolute favorite.
I just love how the resin turned out!
This mold is absolutely a dream to work with, it’s made of a thick silicone and that makes demolding easy and leaves your piece with a shiny glossy finish.
But mainly I love all the loops and swirls that this particular mold has. I want to make a million of these little Merry Christmas pieces… they’d be great for all kinds of projects! Wreaths, signs, even free standing script work to tuck in a Christmas tree or on a shelf.
The best part? It takes very little resin to whip this baby up! Let’s get started!
Supplies:
- Amazing Clear Cast Resin
- Respirator/Mask (resin graded filters)
- Gloves
- Wagner HT400 Heat Gun
- Merry Christmas Silicone Mold
- Freezer Paper
- Silicone Mat
- Baking Pan
- Small Mixing Cups
- Silicone Measuring Cup/Larger Mixing Cups
- Reusable Silicone Stir Sticks
- Blush Paint
- White Paint
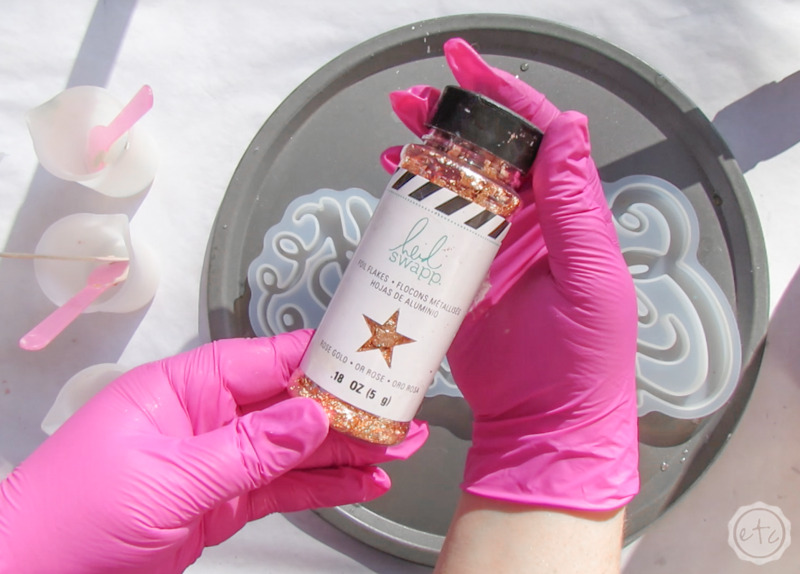
- Rose Gold Flakes
- Blank Wooden Sign
- Gorilla Glue
Just getting started with resin? Download my free resin supply list and make your first project today!
Resin Merry Christmas Sign Tutorial

Step 1: Mix Your Resin
For this project we’re going to need a few different colors! I wanted colors that would blend together without leaving a huge difference in color while still being distinctively different.
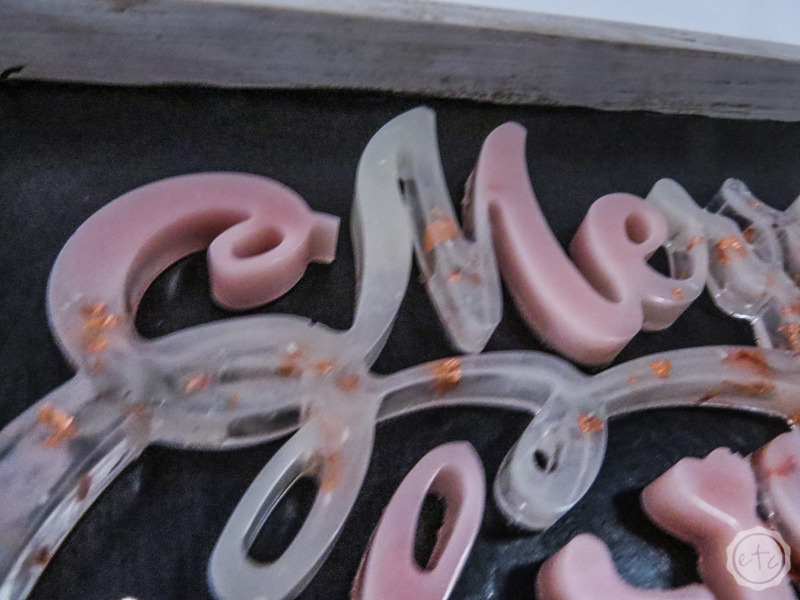
So I went with a blush pink, a white and my standard: clear with rose gold flakes!
I mixed about 100ml of each color (and had a bit left over that I used for these adorable light bulb gift tags) and made sure to pop as many bubbles as possible in each cup. Since it’s December and the air is *ahem* a bit chilly you’ll want to make sure that your resin is kept at room temperature when you’re not using it… and if it’s a bit cold you need to warm it up before you start to mix.
Cold resin is a recipe for bubbles!
Luckily there’s an easy solution… run a bit of hot water into a bucket and give your bottles of resin a 20 min bath! Literally setting your resin containers in the warm water will help to raise their temperatures until the resin is room temperature and as bubble free as possible!

Bonus Tip: If this is your first resin project and you need a little help you can follow my full how to mix resin for beginners tutorial right here.
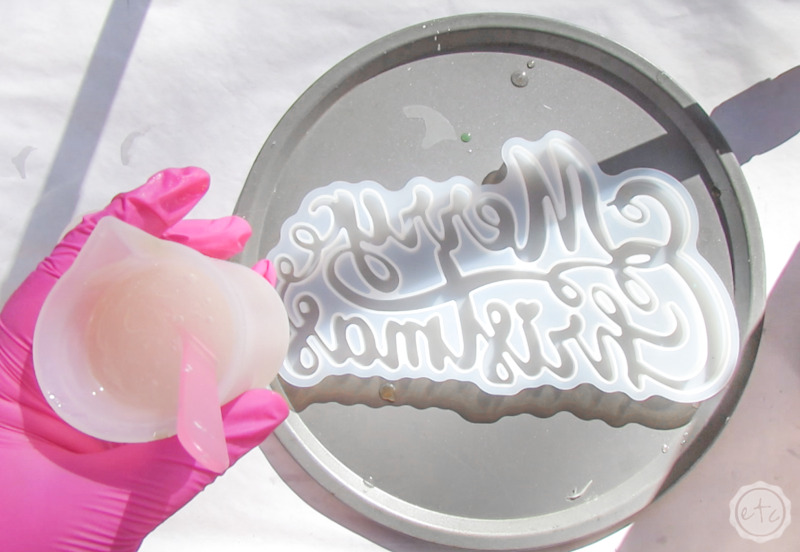
Step 2: Pour your Resin
Once your resin is ready to rock you can start pouring! I started with the blush pink resin and poured it every couple letters… I didn’t want a specific pattern for this piece but instead was going for a more organic marbled look.
If you’d rather have a pattern start now by pouring your pink in specific spots!
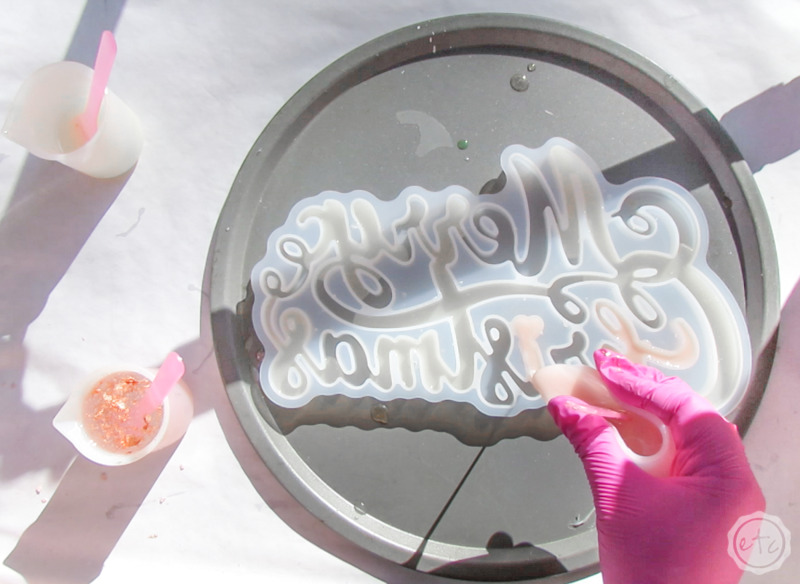
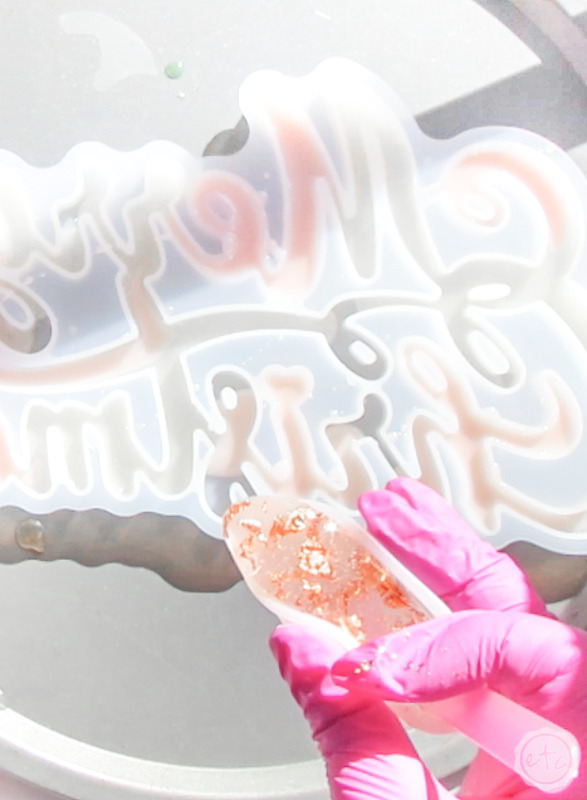
Of course, since we’re not filling the entire mold with blush resin it will start to spread out as we move from one spot to another… that’s alright. Once you’ve added about half your blush resin go ahead and add your clear & rose gold flakes… you’ll add about half your resin and then move on to the white.
I found that once my white was added the mold was about halfway full… and I was able to add the other half of my colors to the mold to keep the colors in their original location without them spreading toooo far.
Plus I added a bit of white to some of the clear areas for a pretty smokey effect when the colors blend.
Score!

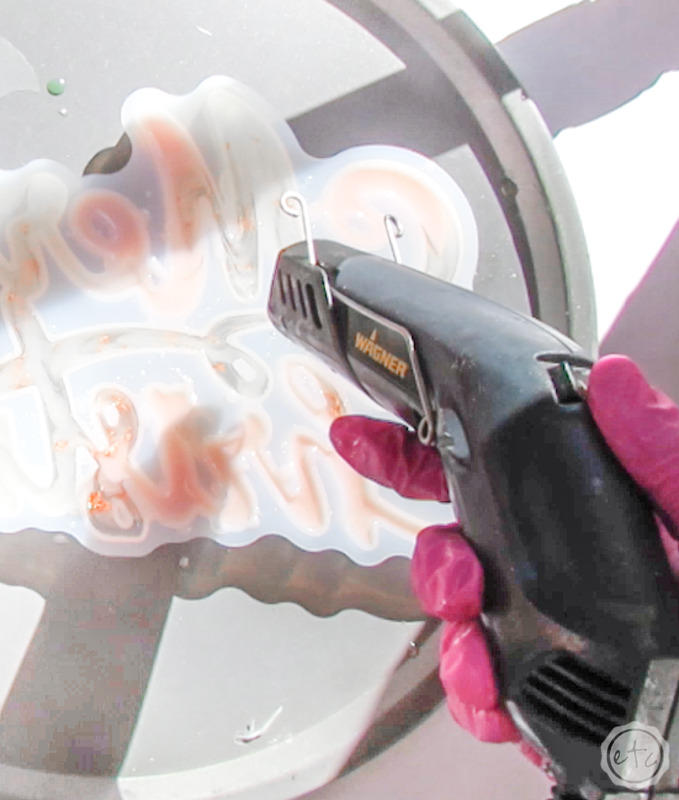
Step 3: POP Those Bubbles
Alright y’all, we’re using clear resin so any bubbles left in our resin will be visible in the finished piece. Luckily we have our handy dandy trusty sidekick: our heat gun!
Go ahead and turn that baby on high and then pop those bubbles!
The heat gun will help to blend the colors a bit so don’t leave it in one spot for too long… just keep it moving and watch as all those little micro-bubbles that have risen to the surface of the piece pop.
I never get tired of this step… no matter how many resin pieces I do!
At this point we’re cooking with gas… which means it’s time to put this baby aside to cure. Cover it with a bit of cardboard or plastic to make sure nothing falls into the resin while it’s curing and leave it to cure for at least 24 hours.
Bonus Tip: If a bug or bit of cat hair does happen to fall into the resin while it’s curing that’s alright… I can show you how to fix it. Just follow my easy how to remove dust from resin tutorial.
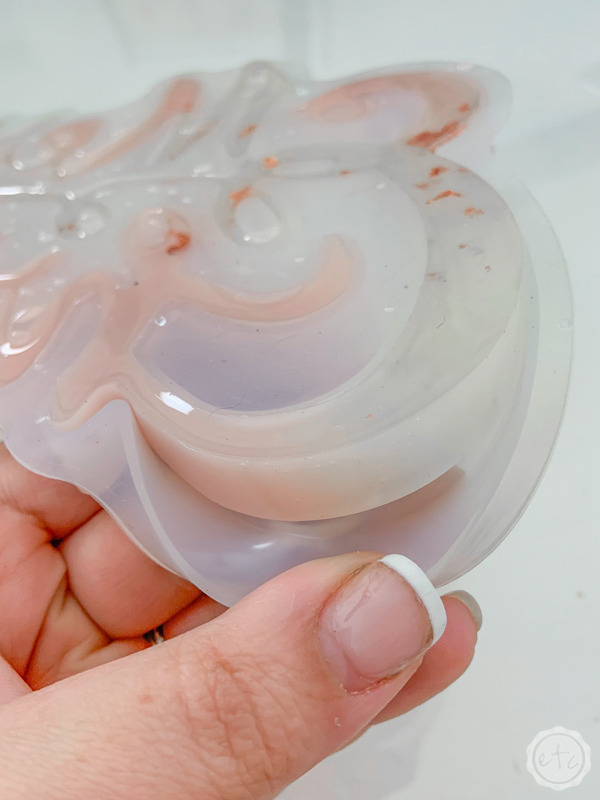
Step 4: Demold your Piece
Y’all this is the most interesting piece I’ve ever demolded. I didn’t think about it when I was pouring the resin but all the swirls and flourishes that I love about this piece need to be removed from the silicone.
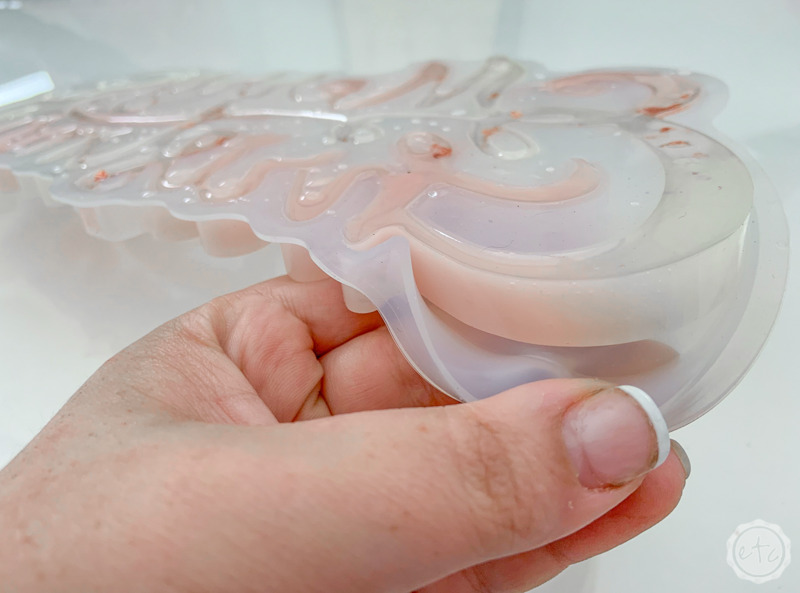
Luckily the silicone is very sturdy so it demolds quite easily… if a little tediously at times. Just keep working your way around the mold pulling the silicone away from the resin and carefully popping out the small portions inside the words one at a time.
When in doubt introducing a bit of air to the mold is all you need… pull from the bottom of the mold, push from the top and you’ll get there! I’ve included a few pictures but if you want to watch the entire process it’s in the full video tutorial above!
Bonus Tip: Ready for one last tip? Since this mold requires quite a bit of pulling and maneuvering to demold you’ll want to make sure that your resin has truly cured before you try to demold it… if you start to demold it and find that it’s not quite cured yet and your resin is bending under the pressure that’s ok. Simply keep going and then straighten the resin out at the end. Once it’s straight leave it alone for another 24 hours to cure in that straightened position and you’ll be good to go!
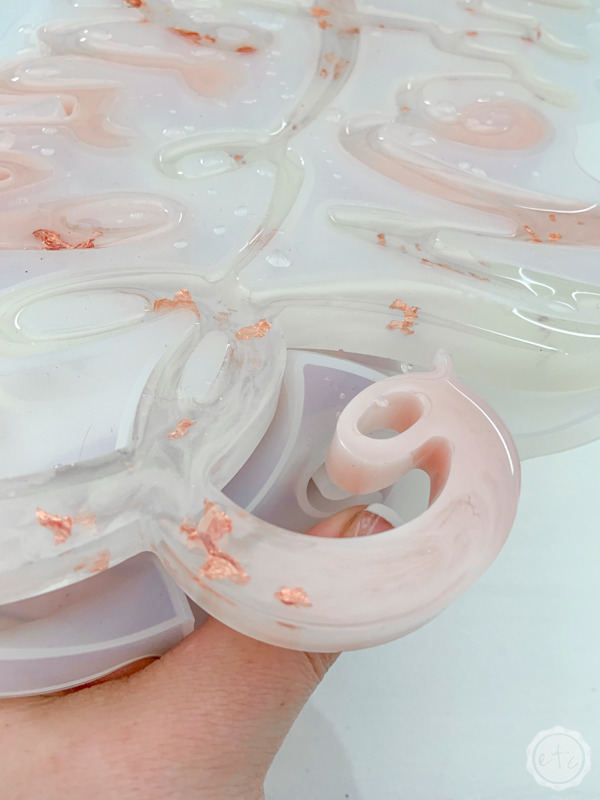
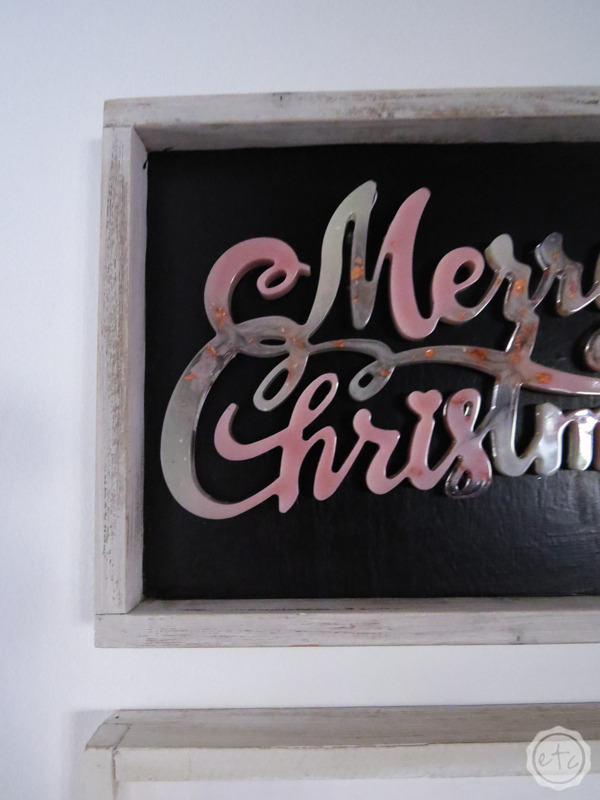
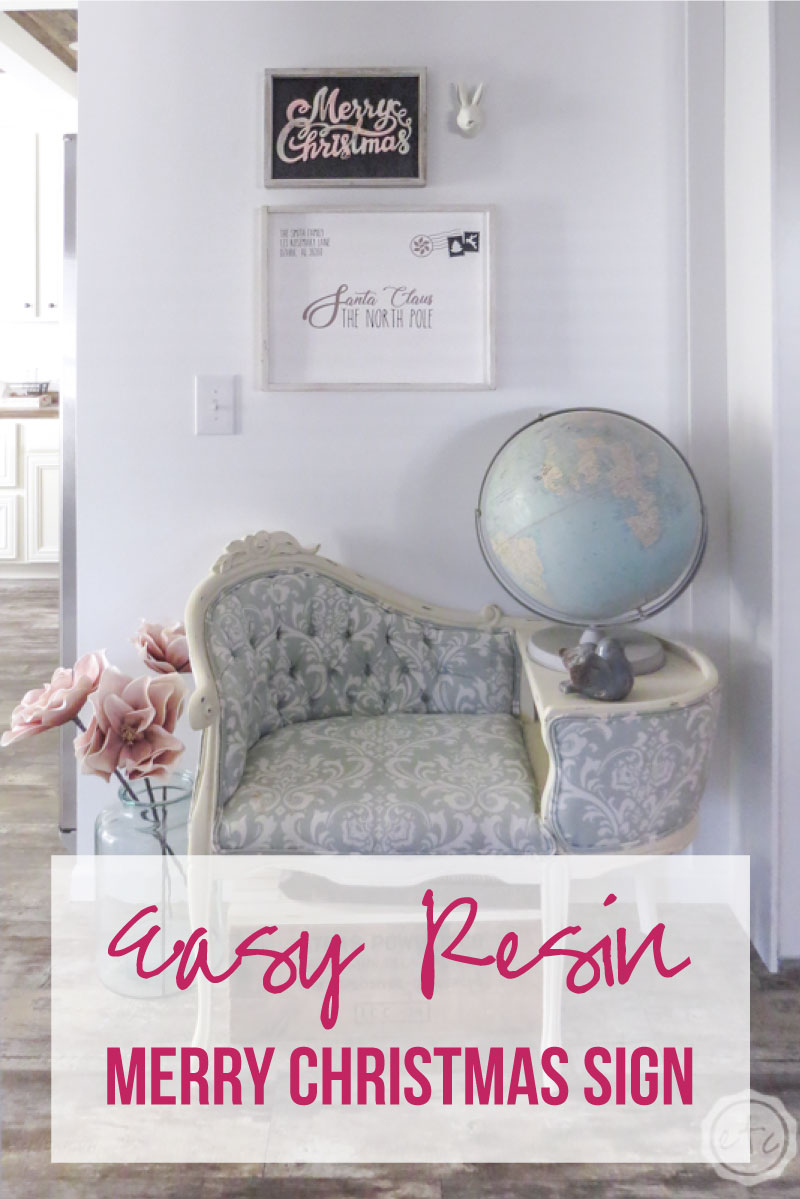
I absolutely love how this little resin piece turned out! It’s absolutely my favorite new holiday piece… and I’ve made a few more since this first one (make sure to check out my Instagram for the inside scoop on how this piece looks in different colors!).
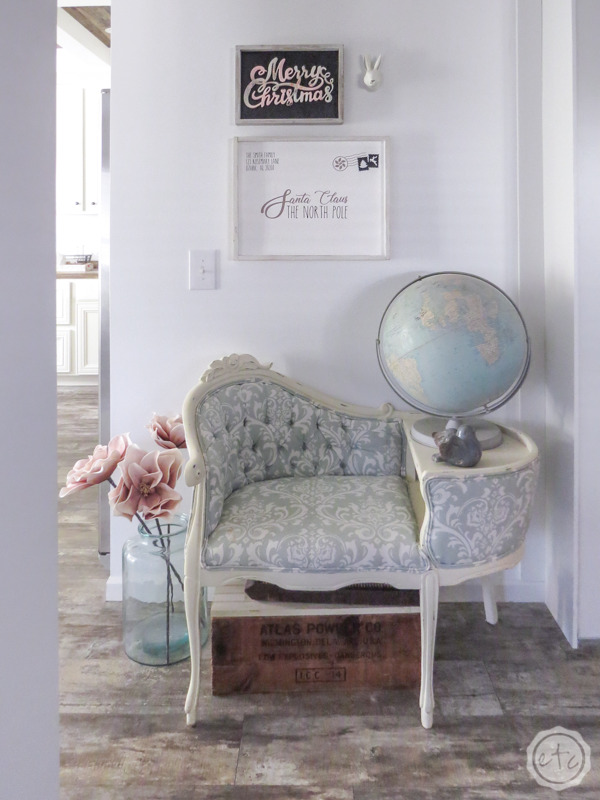
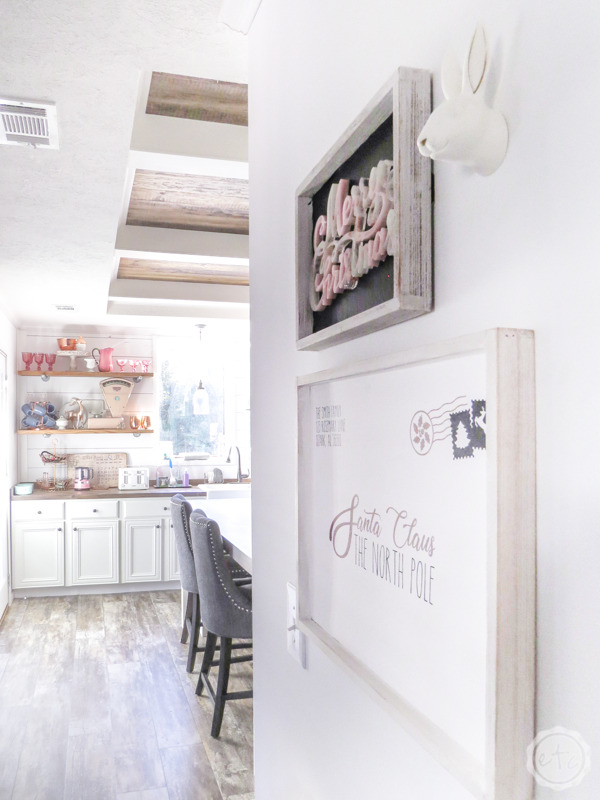
In the meantime I decided to add this particular little resin piece to a sign blank I had waiting around! I painted the background black so that the clear/white/blush… *ahem* light colored resin would really pop off the back and then glued the resin on with a bit of gorilla glue.
Then I hung it above my little DIY Letter to Santa sign and screamed because it was so darn cute! Let me know what you think down below!
Oh and if you want to make the resin door wreath I have a full tutorial for that as well… you can check it out here!


Looking for more resin projects? I’ve got you covered!


Leave a Reply