• House Tour
    • Reveals
  • About
    • Smith Life
    • Disclosure and Privacy Policy
      • Terms and Conditions
      • Store Affiliates
  • Contact Me
    • Want a Button?
  • Shop
    • Floral Printable Planners
    • Paint eBooks and Packages
    • Wedding Binders & Extra Printables!
    • Planner Bundles
    • Planner Accessories
    • Home Decor Printables!
    • Cart
    • Bloglovin
    • Facebook
    • Instagram
    • Pinterest
    • Twitter
    • YouTube

Happily Ever After, Etc.

Creating Our Own Fairytale

  • Happily Ever After, Etc.
  • Home
  • Home Decor
    • My Home
    • Paint
    • Before and After
    • Tablescapes
    • Mood Boards
    • Furniture
  • DIY & Crafts
    • New to Cricut – Start Here
    • Cricut Projects
    • Resin
    • Scrapbooking
  • Organization & Planning
    • Cricut
    • Organization
    • Planner
  • Wedding
    • Cricut Wedding Projects
    • Free Wedding Binder
    • Bride Bag- The Ultimate Wedding Planner

Easy Christmas Decorations: Target Dollar Spot Sled & Adorable SVG’s

Hey y'all,

I have amazing news!! Every single month I give you fun and easy to use svg’s (you can grab my 10 FREE Christmas SVG’s here or the fabulous Fall SVG’s I made last month here) but hold on to your hats because they’re about to be blown away.

My friend Michelle over at Weekend Craft has launched the cutest, the most amazing, the bestest SVG club around. It’s a membership site where every month you’ll get 8-10 rocking new SVG’s, a fun and fabulous crafting night where she’ll personally walk you through making one of them into something fantastic and you’ll get an all access pass to her exclusive facebook group where all the coolest svg cats hang out to talk shop.

Okay so the facebook group is actually just a whole bunch of us who like to share cricut tips and ask questions but it’s still a cool place to be and you should join so you get to hang out with us.

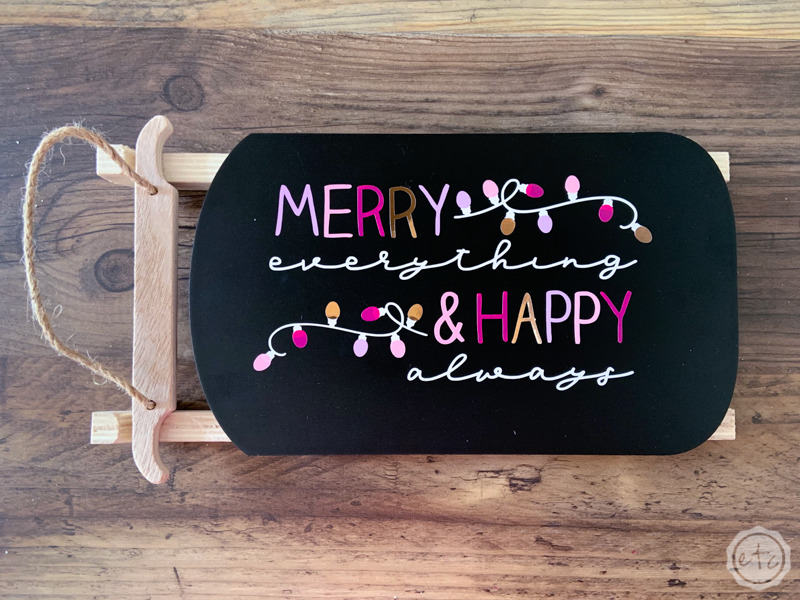
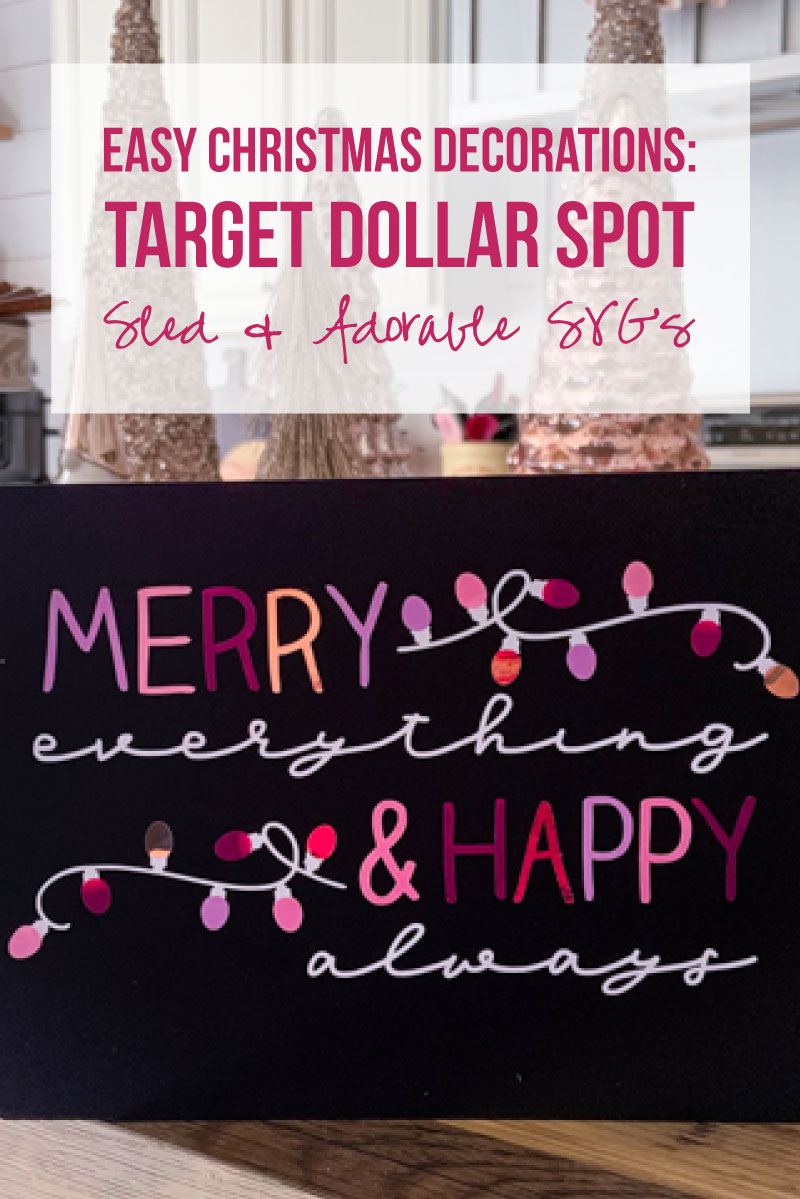
Today I’m going to be making one of her really cute Christmas SVG’s and showing you how to put it on an adorable target dollar spot sled (hello adorable sled… that I bought 3 of because I knew you’d be awesome).

If you’d like to sign up for the super awesome SVG membership site and join the darkside (we have svg’s, not cookies) you can sign up here.

And full disclosure she’s not paying me anything to talk about her site, or her svg’s or her cat (although she has two adorable cats that you’ll probably get to see if you join crafting night) BUT she is basically my blogging bff and we talk like eight million times a day so you know that she has cool stuff.

Alright, I’ll put my soap box away… let’s make this thing!

Supplies:

  • Cricut Maker
  • Fine-Point Cutting Blade
  • Standard Cutting Mat (that’s the green one!) or Fabric Grip Mat (that’s the one I like to use!)
  • Cricut SVG Files
  • 4 Colors of Permanent Vinyl
    • White
    • Light Pink
    • Hot Pink
    • Light Purple
  • Rose Gold Adhesive Foil
  • Transfer Tape
  • Weeding Tool
  • Scraping Tool
  • Brayer
  • Small Sled or Sign

Ready to take the leap but not sure which machine is right for you? Check out my Explore Air 2 and Maker comparison before pulling the trigger. I go over the pro’s and con’s of each machine and even have an easy to read check list of each machine’s features so you can decided which cutting machine is perfect for you.

Cricut Merry Everything and Happy Always Tutorial

Step 1: Upload your SVG to Cricut Design Space

Alright all you cool cats and kittens let’s get cracking! Once you’ve downloaded your SVG from Michelle’s site go ahead and upload that SVG to Cricut Design Space.

If you need a little help you can follow my full tutorial (there’s even a video walk through!) right here.

This particular SVG comes in a solid color version and a colorful version. Of course, I picked the colorful version! Which means that once everything is uploaded we’ll need to weld each color individually to make sure that everything cuts where it’s suppose to.

Other wise we’ll have to put each letter in place one at a time and no one wants that.

Simply select all the light green items and press weld, then all the dark green items, then all the red… and so on and so forth. When you’re all done you should have 5 layers all welded together.

Perfect darling!

Now select all 5 layers and make sure that the size of the over all piece is the right size for your sled. In this case we want the width of our cut file to be about 6.5 inches wide.

Once you’ve sized your project we’re all sit… hit make it!

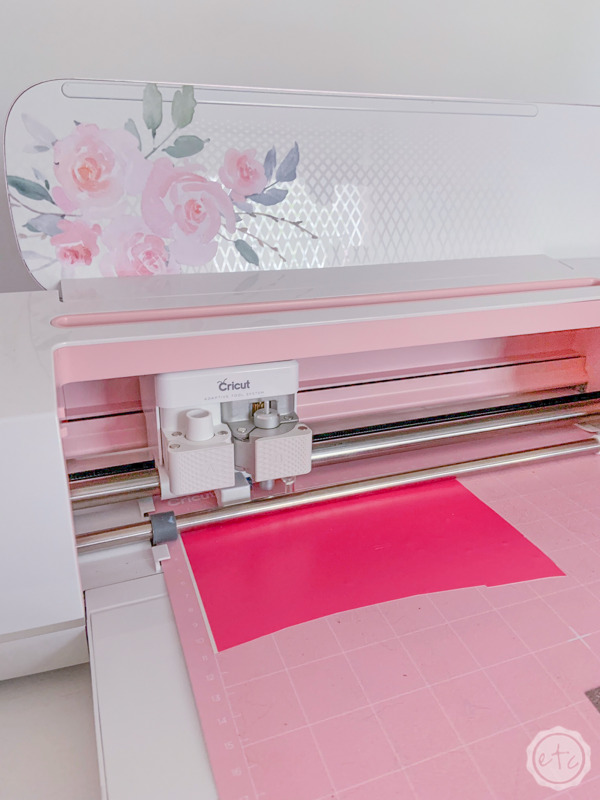
Step 2: Cut Your Vinyl

Since we’re cutting vinyl everything is fairly straight forward, we don’t have to mirror anything, or move anything, or do anything special. Simply select permanent vinyl and hit go.

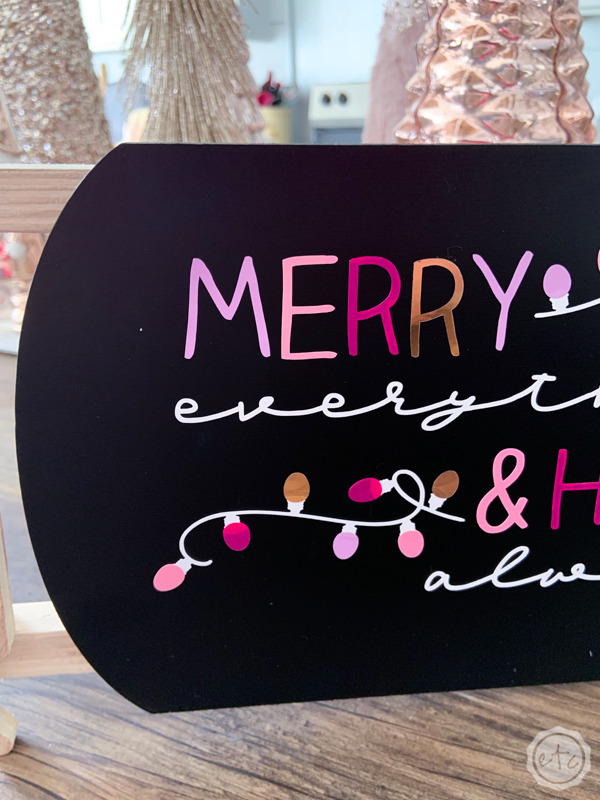
Your Cricut will tell you that you’re cutting 5 different colored mats (which makes sense since we had 5 welded colors). So I picked white vinyl for the main writing and 4 different coordinating pinks and rose golds for the bulbs and letters.

Keep in mind that since our sled is black we want to use lighter colors so they’ll show up.

Go ahead and cut all 5 colors of vinyl to be 4 x 6 and load them onto your cutting mat. Since we’re not cutting full 12 x 12 areas I went ahead and loaded 2 colors on each mat. One on the upper left hand corner like normal and one on the bottom right hand corner.

This way we can use one mat twice: simply turn it around and load it from the other side when it’s time to cut the second sheet of vinyl. Work your way through all 5 cutting mats (making sure that the white vinyl gets used for the mat with the string lights and words) and then it’s on to the next step.

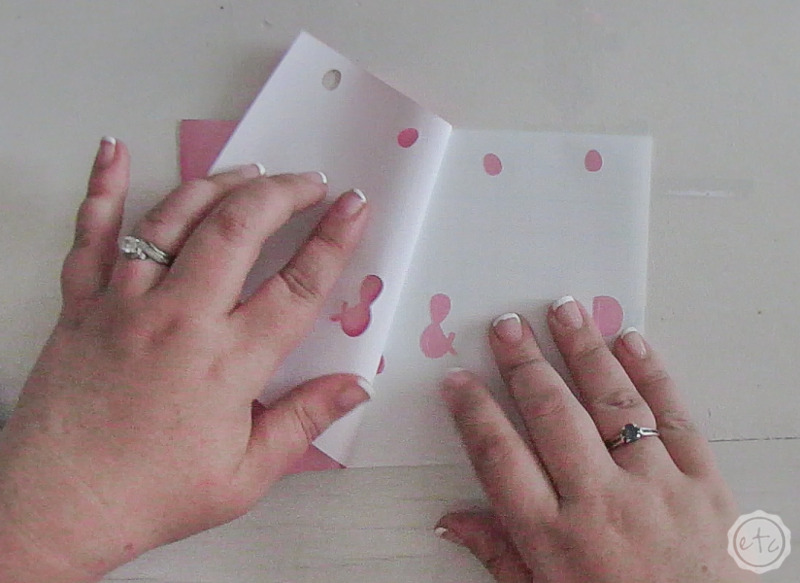
Step 3: Weed your Vinyl

Ahhh weeding. My mortal enemy. How I hate thee.

Honestly it’s not that bad but it does drive me crazy! Go ahead and start by taking all 5 vinyl sheets off their cutting mats. Make sure to do this by turning the cutting mats over and carefully peeling the cutting mat away from the vinyl. This will help the vinyl from curling in on itself any more than it already has.

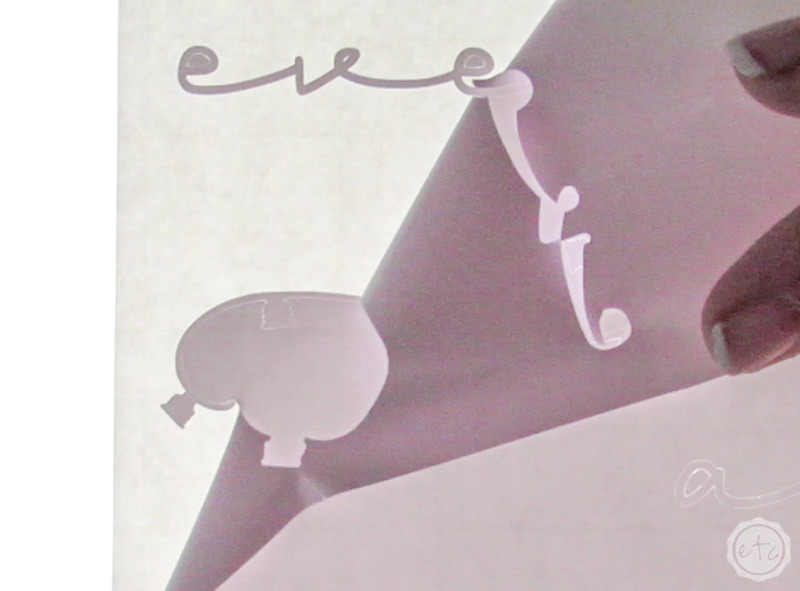
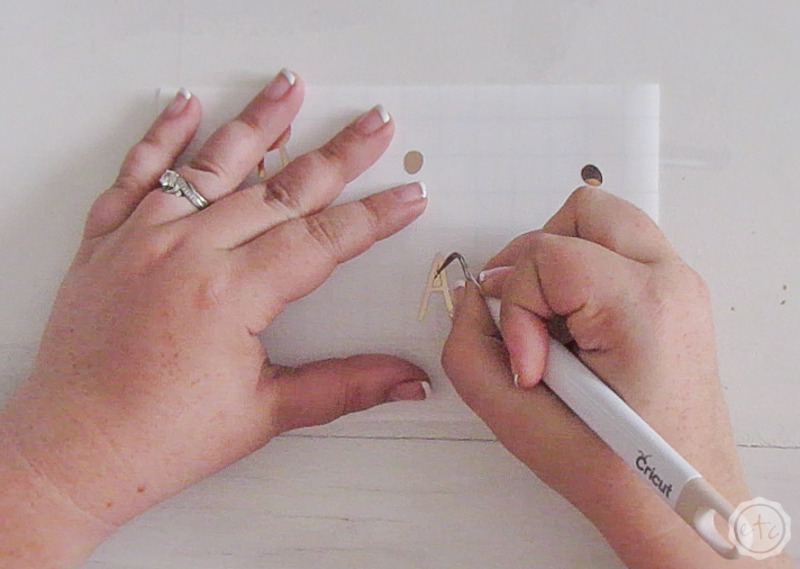
Now you can go ahead and weed all 5 sheets! Start by pulling off the excess vinyl (make sure not to remove any letters of light bulbs that you will need for the project!) and then go in with your weeding tool and carefully remove the middle of all the o’s, the inside of the l’s, the space inside the &.

Basically anything that’s not suppose to be there. Negative space y’all, remove the negative space.

Oh and use a Light Pad for the white vinyl. It makes it so. much. easier.

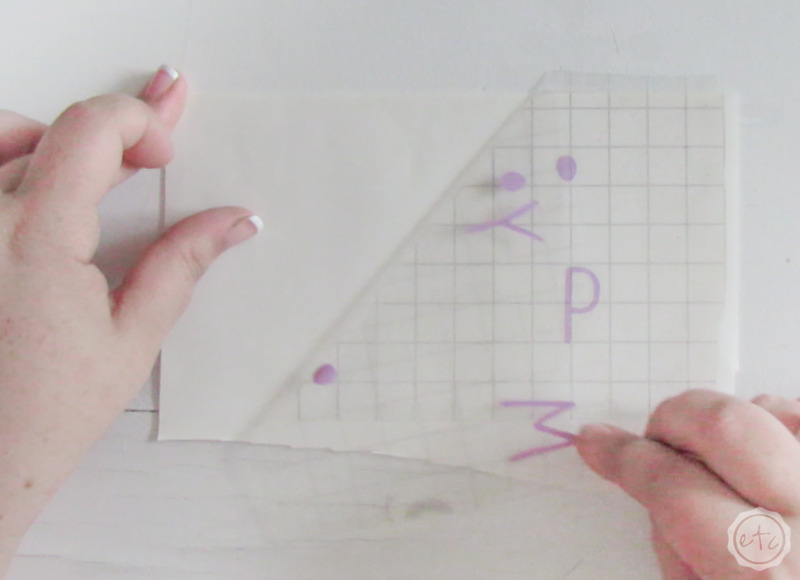
Step 4: Transfer Tape!

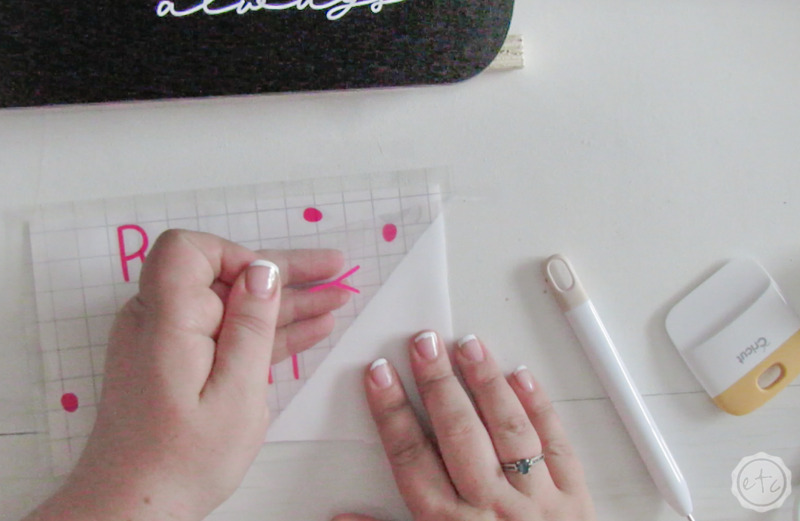
Ready for the magic to happen? Start by cutting a 4 by 6 section of transfer tape and dog ear the corner to make it easier to peel up. Then line it up over your white vinyl and press that baby down.

I like to use a scraping tool so that you can really smooth the transfer tape into place.

Then carefully peel up the transfer tape with the white vinyl on it and discard the carrier sheet. Now you should have your white vinyl letters on your transfer tape… perfect!

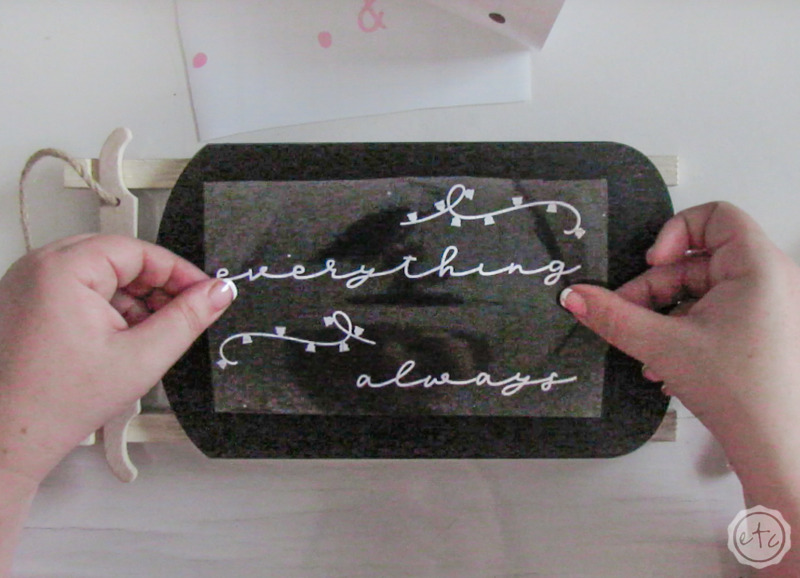
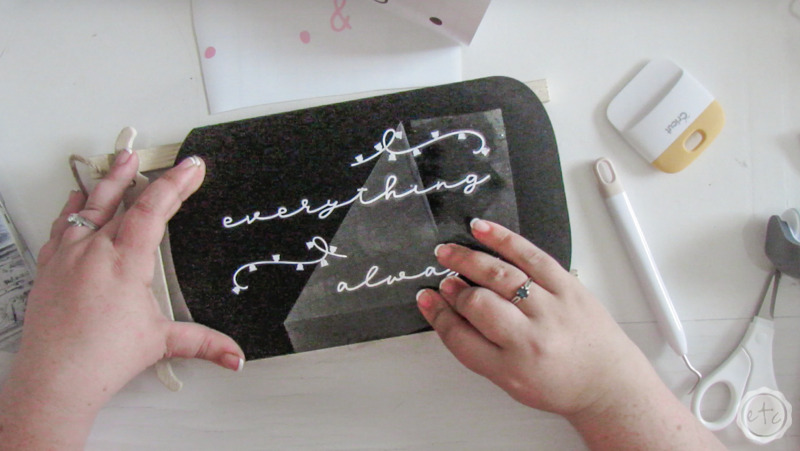
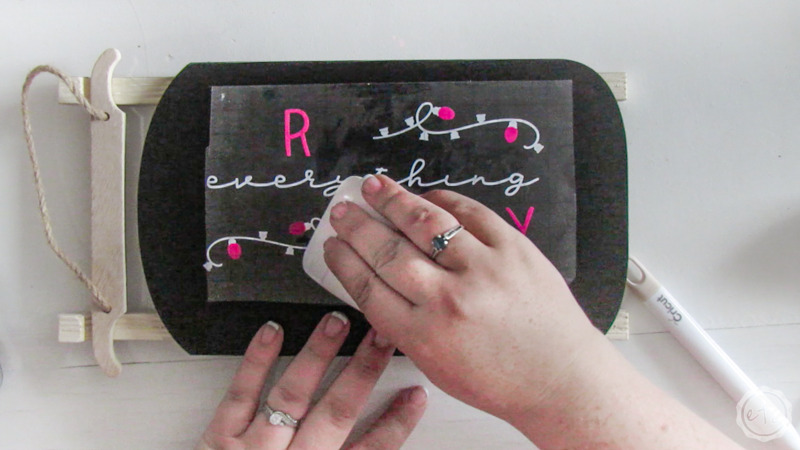
Carefully line up your vinyl on your sled and smooth the transfer tape out with your fingers. Then smooth it out with your scraping tool… then peel up your transfer tape but this time the vinyl letters should stay on the sled. Every once in a while I’ll have a letter that tries to come up with the transfer tape, just scrape it back down and keep going.

Beautiful!

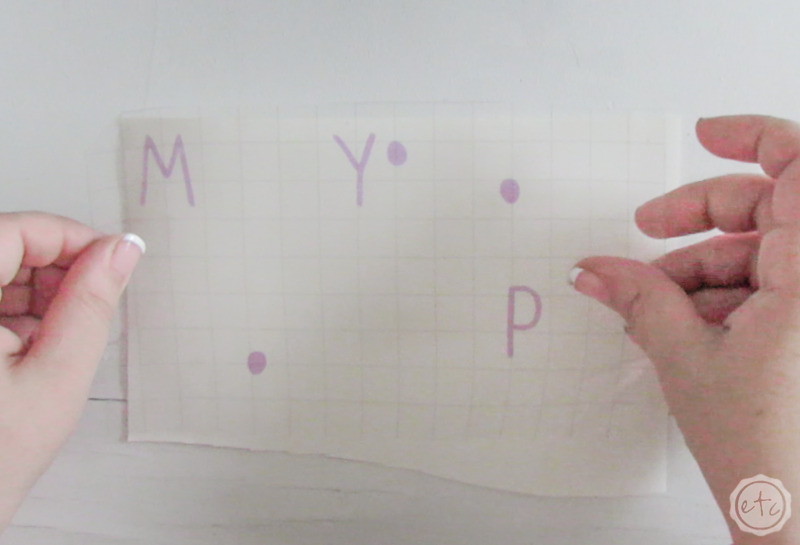
Now we’re going to rinse and repeat… do the exact same steps for the other four colors. You can use the same piece of transfer tape for the entire project (I find they’re sufficiently sticky for more than a few transfers).

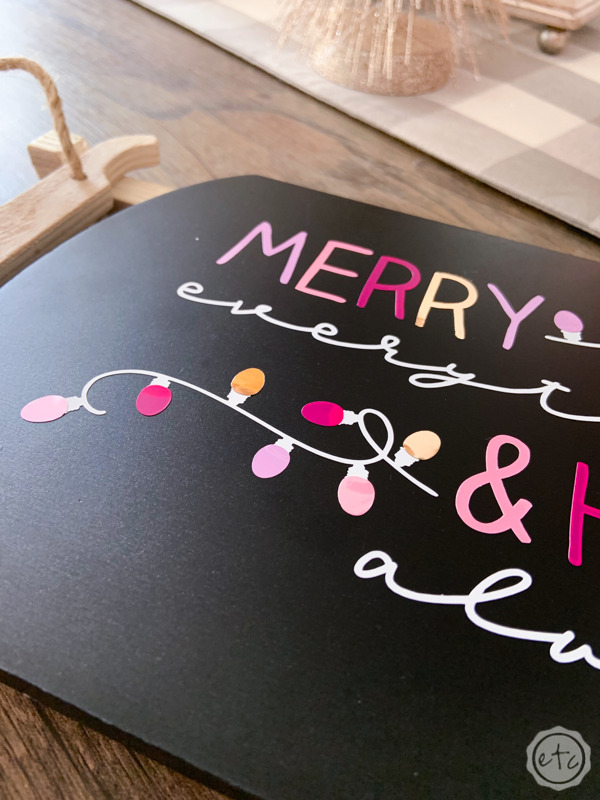
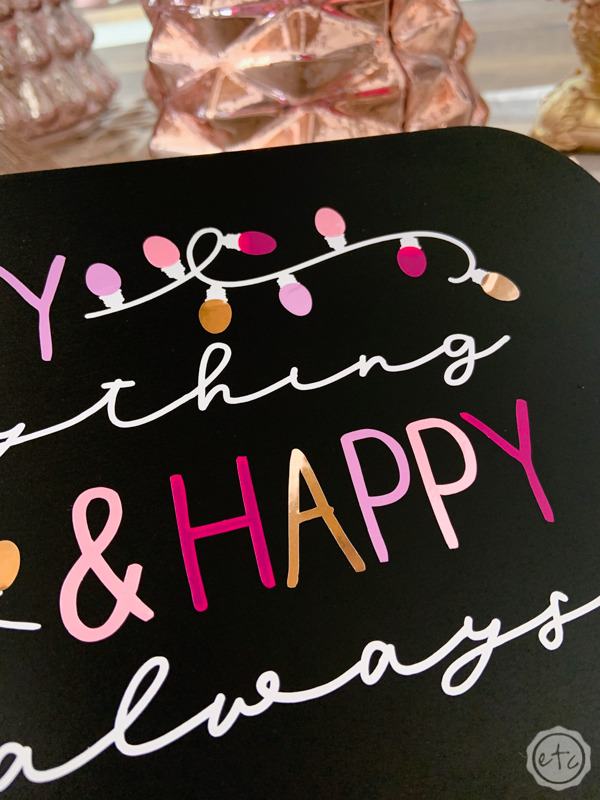
Simply make sure that your little light bulbs are lined up on the light string before you scrape them down! As long as the light bulbs are lined up the letters should be too… which is AWESOME!

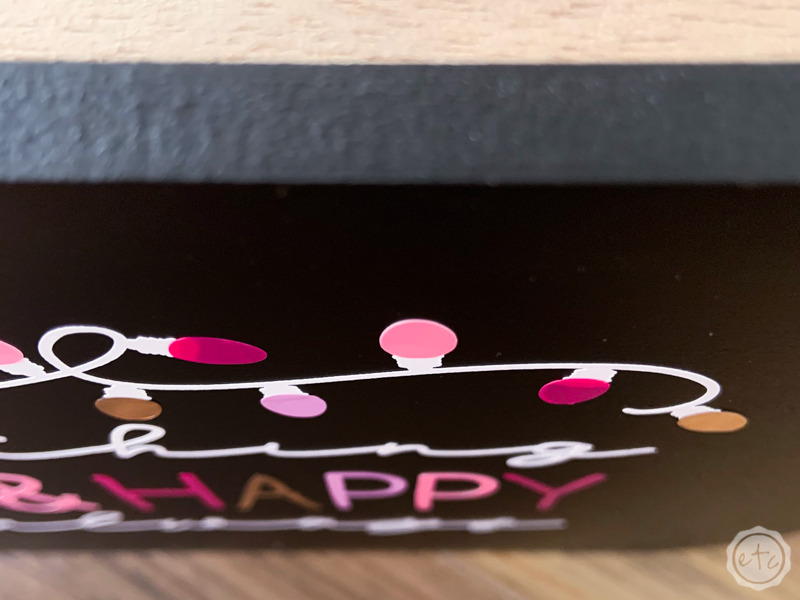
Just look at how awesome that is!

Of course, there are tips and tricks to layering vinyl but I find going slow to be easy enough. If you need a little help you can put parchment paper over 3/4 of your sled, line up your transfer tape, scrape down the portion of the sled that’s visible, remove the parchment paper and scrape down the rest of the design.

Since the vinyl/transfer tape won’t stick to the parchment paper it gives you more opportunity to lift the vinyl and readjust.

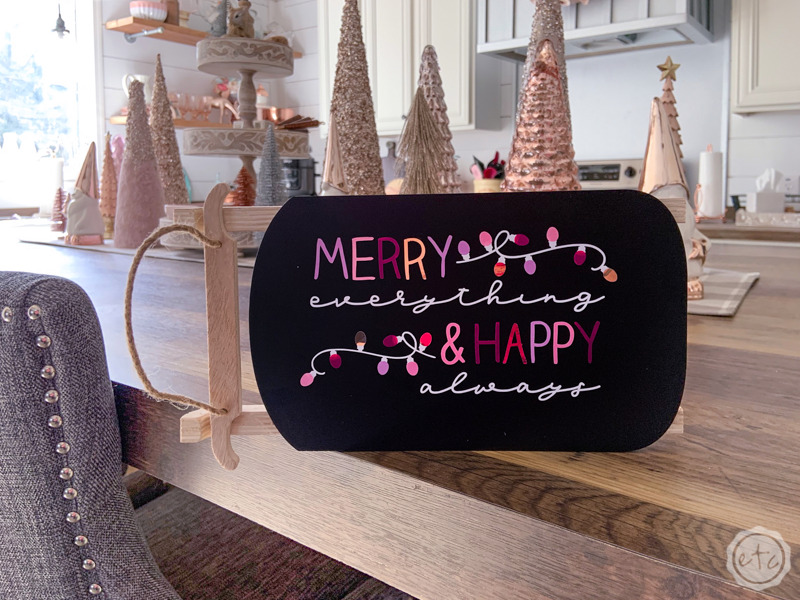
Once all 5 layers of vinyl are in place you’re done!

I absolutely love how this turned out!! I’m not 100% sure where I’m going to put this bad boy so for now I thought it would make it’s home in my mercury glass tree forest.

AKA the kitchen island.

Didn’t it turn out so cute!

If you want to make your own (or check out the other 9 SVG’s for the month head over to Michelle’s SVG club and become a member. You won’t regret it!

Looking for more rose gold holiday goodness? These posts are for you!

You are invited to the Inlinkz link party!

Click here to enter
You made it through the entire post? That means you're one of my new favorite people! I'd love to be friends and see what else you would like to read about! Leave me a comment and then sign up for your very own FREE paint planner.... so that you can keep track of every single paint color with ease!
Welcome back! I'd love to be friends and see what else you would like to read about! Leave me a comment and then sign up for your very own FREE paint planner.... so that you can keep track of every single paint color with ease!

Show me some LOVE y'all:

  • Facebook
  • Pinterest
  • Twitter
  • Email

Related

«
»

Cricut, Holidays, Home Decor 0

Leave a Reply Cancel reply

Your email address will not be published. Required fields are marked *

sidebar betsy I'm Betsy, Home Decor Enthusiast, Yorkie Mama, Crafter, Blogger, Picky Eater, Chief Mess Maker, Antique Hoarder and Graphic Designer. You can generally find me working on (attacking with a paintbrush) the 3 bed, 2 bath home we are currently renting! Our home might not be perfect but it is ours & if you hang out long enough you'll see that what we lack in know-how we make up for in passion!
Shop My Craft Room

Shop My Home

Featured Articles

15 Fabulous Ideas to Organize your Laundry Room
25 FREE Printables For Your Home!
What to do with EXTRA Paint with Happily Ever After Etc
10 Ways to Make Your Bed EXTRA Comfy with Happily Ever After Etc.
Ready to Pick your Perfect Paint Color? We'll help you with our 6 Day FREE E-Course

Hey y’all,

Profile

I'm Betsy, Home Decor Enthusiast, Yorkie Mama, Picky Eater, Chief Mess Maker, & Graphic Designer...

A Little Note!

Many of the links on Happily Ever After, Etc. are affiliate links. If you purchase a product after clicking an affiliate link, I receive a small percentage of the sale for referring you, at zero cost to you! How awesome is that? Purchasing through affiliate links is an easy, painless way to help out your favorite bloggers. Thank you so much for your continued love and support! Read the full disclosure here!

Instagram

The number one question people ask when they watch The number one question people ask when they watch my new home tour on YouTube? Why is there so much clutter... um excuse me I like stuff! The second question? How did you frost the doors? Don’t worry... I wrote out the whole process, check out the step by step tutorial on the blog!
With Christmas fast approaching I’m having secon With Christmas fast approaching I’m having second thoughts... about taking down my holiday decorations! I absolutely love all the blush and rose gold this year and think I might have to add more pink to my every day decor. Until then maybe it will just stay Christmas at the Smith house! Tutorials for both the “Merry Christmas” resin sign and the “Dear Santa” Cricut sign are in my profile! #pinkchristmas #pinkchristmastree #pinkchristmasdecor
Well y’all Christmas is coming up quick... which Well y’all Christmas is coming up quick... which means I need to get a move on with all that wrapping! I got a jump start this morning after whipping up a few little resin light bulbs! Check out the full tutorial over on the blog if you’d like to wrap your presents with a few resin goodies this year... and tell me in the comments below. Are you finished wrapping or (like me) are you still getting started? #pinkchristmas #pinkchristmasdecor #resinchristmas #giftwrappingideas
Ready for another fun and easy resin project? Thes Ready for another fun and easy resin project? These little Christmas trees are the perfect beginner level project so if you’ve never done resin before don’t let it intimidate you!! Grab your heat gun and jump in... I’ll walk you through it! Check out the full blog post for these little guys on the blog (link in profile!)
If you haven’t joined Michelle at @weekendcraft If you haven’t joined Michelle at @weekendcraft SVG membership then WHAT ARE YOU WAITING FOR?! I am obsessed with all the cute svg’s and y’all she is doing a live craft night every month to walk you through making one of her designs... and the first craft night is tomorrow! She’ll be making this “Merry everything and Happy always” SVG and it’s so cute! You don’t want to miss it! See you there! 

(Also who noticed the sneak peek at my new kitchen?!)

#cricutsvgfiles #christmassvg #cricutsled
Well y’all I’m getting this close to unpacked Well y’all I’m getting this close to unpacked in my new house!! And since I’m a blogger Christmas is going up! So here’s the question... do you want a 1 month house update or do you want to wait for the Christmas tour? #lulamaefarmhouse #rosegoldchristmastree #newhouse
Well it’s still a work in progress but I finally Well it’s still a work in progress but I finally have a house!! They have to put it together and do all the detailing before I get keys... but we’re in the end game now! Check out my stories for a sneak peek at the moving process... full YouTube video coming soon!
#ad how amazing did these little fall coasters tur #ad how amazing did these little fall coasters turn out?! Plus I absolutely love the matching tray! The best part? This is such a quick and easy resin project... a silicone mold, a little resin and your trusty heat gun and I promise you can make this baby!! Link in profile for the tutorial!! #fallresin #resinforbeginners #cheetahprint
Okay... is it bad if you just want to make coaster Okay... is it bad if you just want to make coasters in the same mold with the same technique but different colors?? They turn out soo differently! Just a sneak peek of my fall coasters and the blush ones I made last year!
Happy #nationaldogday to the fur babies that are ( Happy #nationaldogday to the fur babies that are (literally) behind (beside... or underneath!) all Of my projects! These sweet little cuddle muffins make everything better 😊🐶😘
GIVEAWAY CLOSED Our winner is @kamikvega Check you GIVEAWAY CLOSED
Our winner is @kamikvega Check your inbox girl, this little machine is headed your way! Thanks to everyone who participated... I can’t wait to see where we go from here!

🥳📦🥳 GIVEAWAY🥳📦🥳
If you have loved all of the Cricut projects I make here is your chance to win a Cricut Joy of your very own! If you’re ready for a little craftiness (maybe a little time to relax) then this giveaway is for you! I’m teaming up with a few of my cavities crafty bloggers so that one of you can win your very own mini crafting machine. Good Luck!!!!

TO ENTER GIVEAWAY:
1.) Follow
@creativeramblings 
@weekendcraft 
@craftylumberjacks 
@this.is.tisa 
@justcallmehomegirl 
@happilyeverafteretc
@lovebird_heartworks 
2.) Like this post
3.) Tag a friend in the comments.
.
.
.
Hurry! Giveaway ends Saturday 8/29/20 at 11:59PM PST. Winner will be notified via Direct Message. Share or tag a friend who'd love to win a Cricut. .
.
.
This contest is in no way affiliated with or sponsored by Instagram or Cricut. To enter you must have a U.S shipping address.
A little peek into the fun summery Tablescape I pu A little peek into the fun summery Tablescape I put together for a little garden party! Want to check out the full table? Wondering where to find all the pieces... click the link in my profile for all the details!
#ad Did you know you can put infusible ink onto al #ad Did you know you can put infusible ink onto aluminum? It's sooooo simple... honestly it's one of the easiest projects I've ever done. Even if you've never used your Cricut before you. can. do. this. I'll show you how every step of the way! Follow along with the full tutorial video over on YouTube! The best part? These little aluminum signs look amazing as part of a larger project! Check out how I added mine to a larger resin wave project on the last slide! @officialcricut #cricutcreated https://lnk2.io/wvMllZf
Okay so It’s no secret that I’ve been obsessed Okay so It’s no secret that I’ve been obsessed with resin for a while now but this week I’ve been playing around with resin waves! Including this tiny resin sea shell! Check out the link in my profile for the full tutorial!
After a lot of struggle, loss and frustration I am After a lot of struggle, loss and frustration I am finally dotting the i’s and crossing the t’s on my next chapter. Yesterday I went and signed the million and one papers to close on my new house! I cannot wait to share the moving (and decorating) process with all of you... next step: keys! #firsttimehomebuyer #newhouse
Load More... Follow on Instagram

Copyright © 2021 · Darling theme by Restored 316

Copyright © 2021 · Darling Theme on Genesis Framework · WordPress · Log in · Privacy Policy

loading Cancel
Post was not sent - check your email addresses!
Email check failed, please try again
Sorry, your blog cannot share posts by email.