


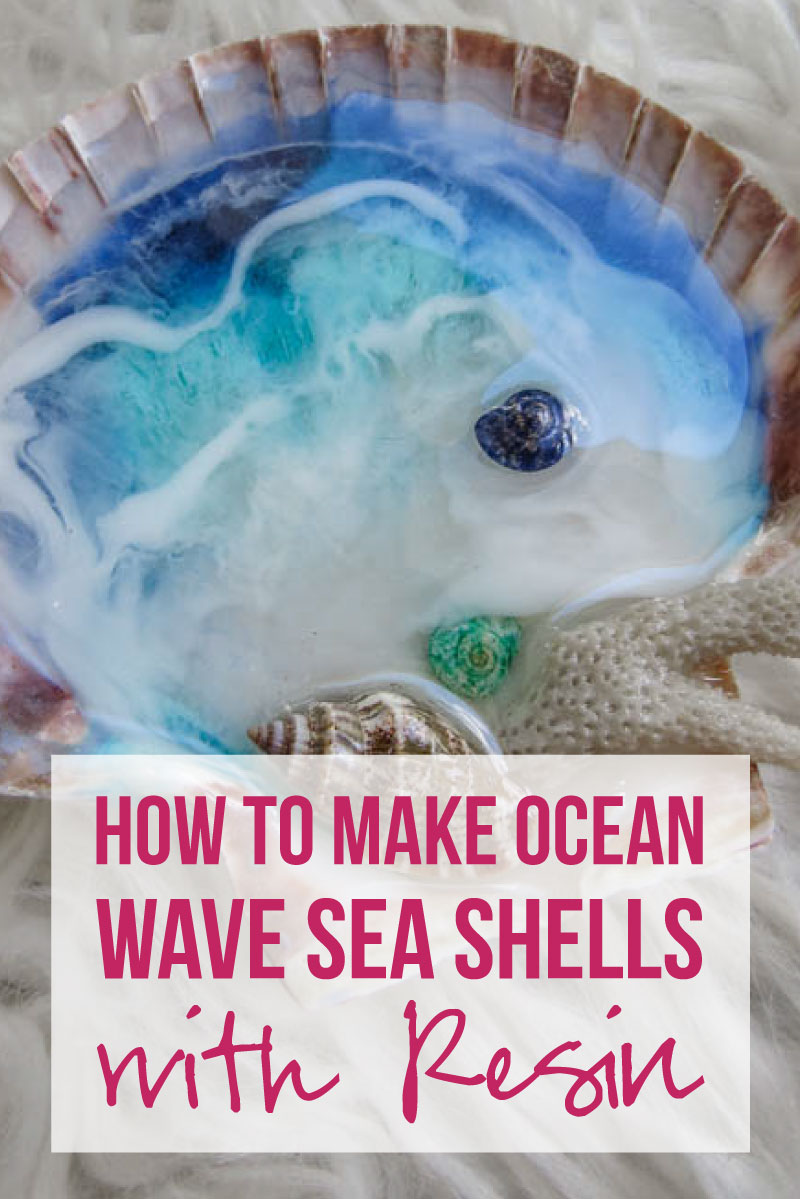
This little resin project is the perfect solution for those shells you brought home on your last beach vacation! It’s adorable, easy to do (yay beginner level projects!) and gives your shell a flat top so that you can easily rest jewelry inside!
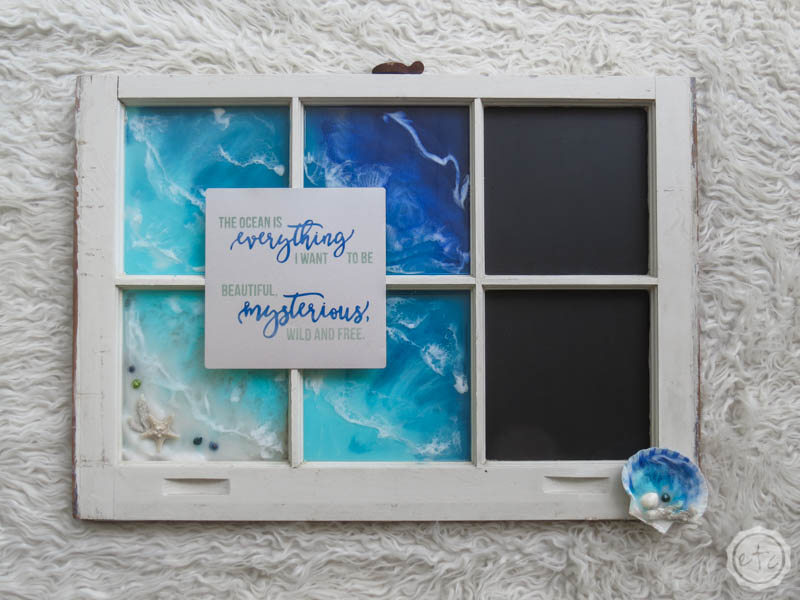
I mean it’s pretty enough to simply be an art piece (how cute would this little shell be hanging in a wall gallery!) but I love seeing them used as jewelry holders since it gives these babies born form and function.
The best of both worlds if you will…
Of course, it’s a pretty simple process but if you’ve never used resin before don’t worry. I’ll walk you through it. Let’s get started.
Supplies:
- Amazing Clear Cast Resin
- Respirator/Mask (resin graded filters)
- Gloves
- Wagner HT400 Heat Gun
- Freezer Paper
- Silicone Mat
- Baking Pan
- Small Mixing Cups
- Reusable Silicone Stir Sticks
- Disposable Medicine Cups
- Popsicle Sticks
- Scallop Sea Shell
- Small Coral Pieces
- Small Shells
- White Sand
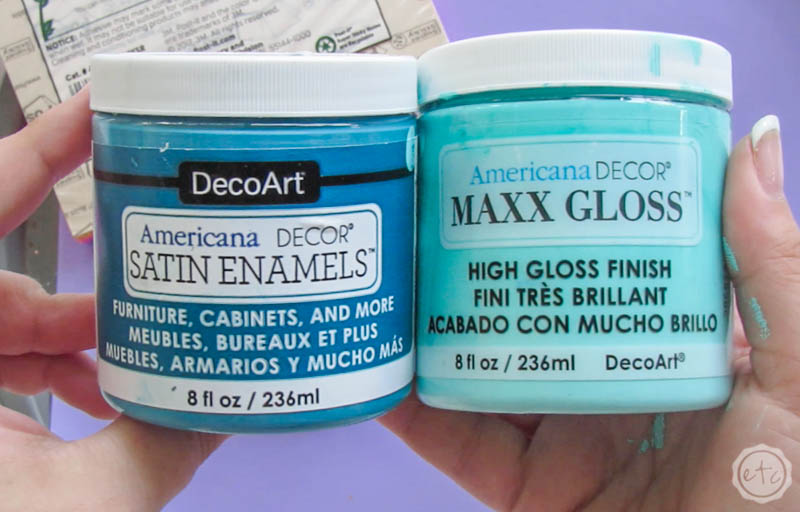
- Teal Paint
- Navy Paint
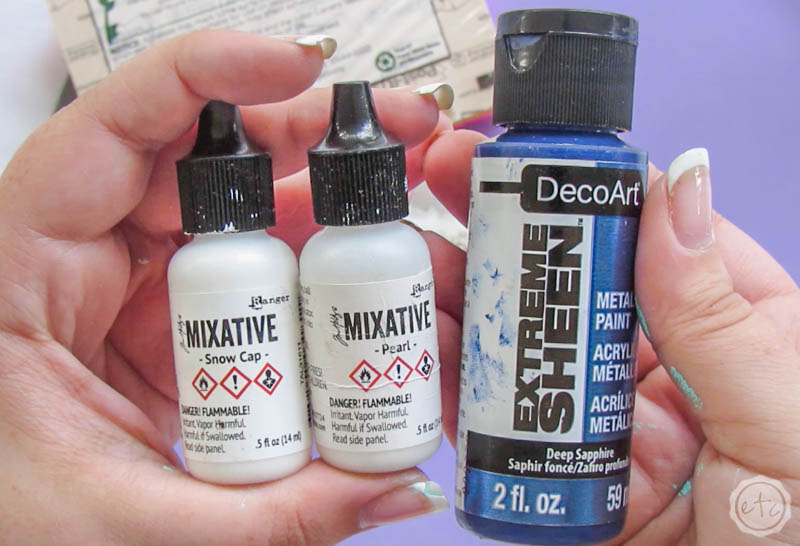
- White Alcohol Ink
- Pearl Alcohol Ink
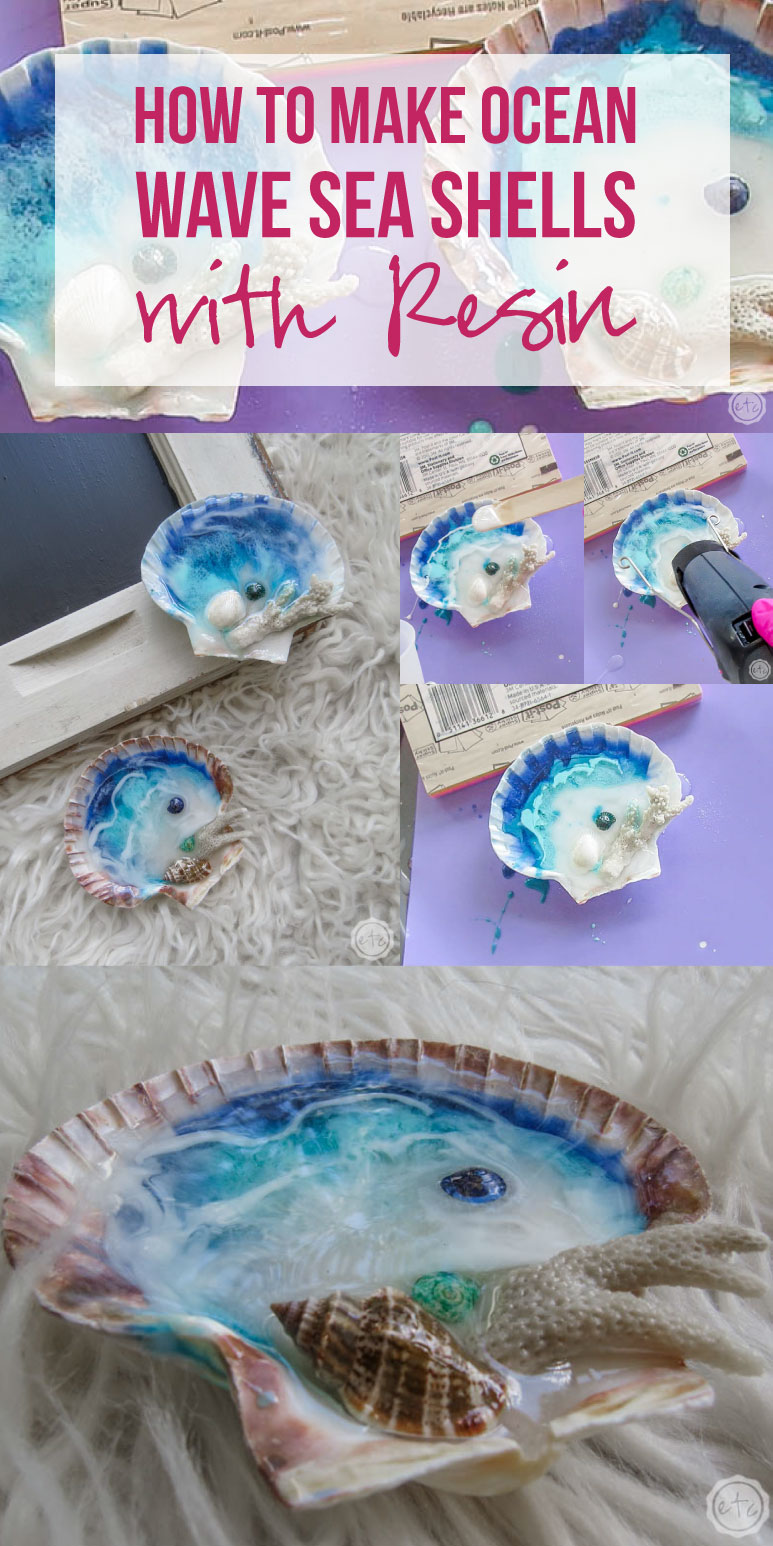
How to Make Ocean Wave Sea Shells with Resin
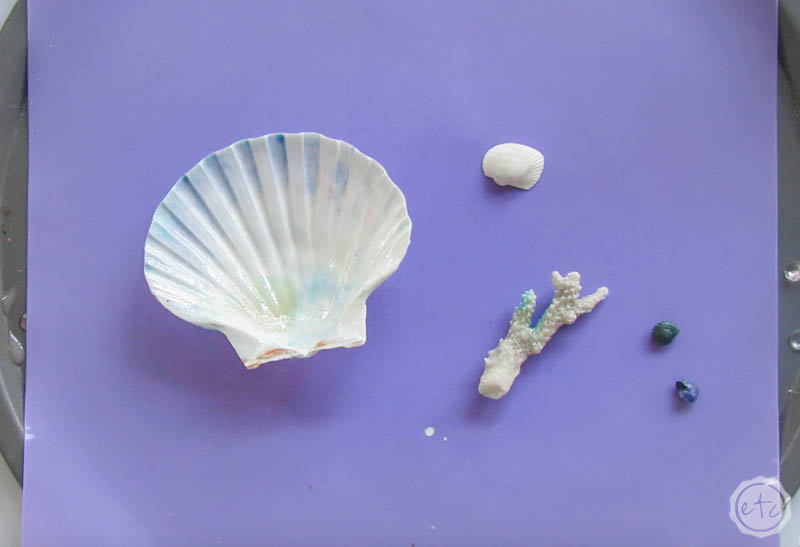
Step 1: Arrange your Shell!!
Okay y’all before we break out the resin we need to get our little shell ready. I want to add a few little coral pieces and other shells to my scallop so we want to make sure those are in place first.
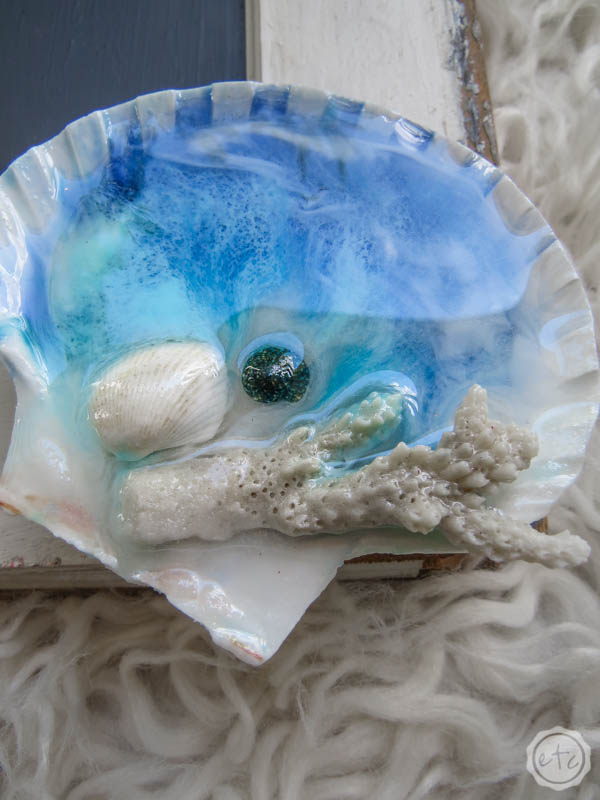
One little tip? Your scallop will have a little beach area and then the waves that will wash out to sea. In this case I decided to make the beach be the bottom of the scallop and the curved part of the shell be the sea… but you can turn this baby around.
I’ve seen people with smaller shells make the curved portion of the shell the beach and the flat portion the waves. Either way works!
Start by adding in sand. In this case I’m just using a white sand I picked up at a local craft store (bonus points if you actually brought sand home from the beach with your shell!).

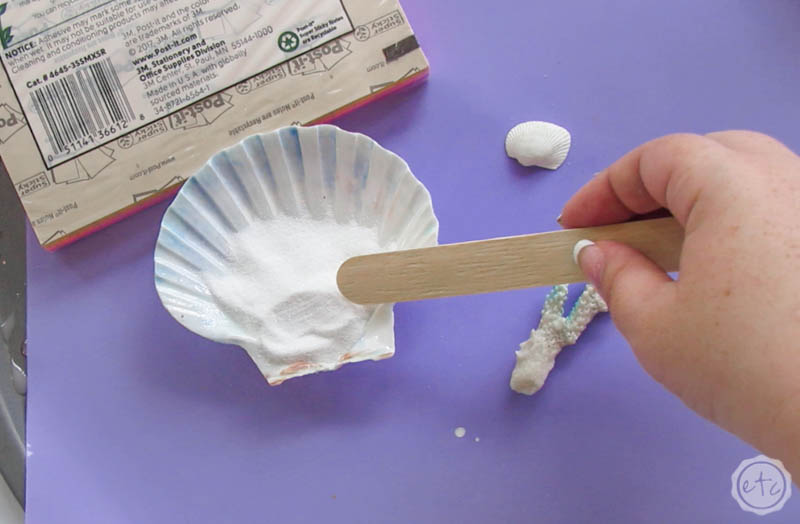
Simply fill up the curved part of your shell until the sand makes a flat surface across the top.
Beautiful darling!
You can use a popsicle stick to smooth out the sand (or your finger!) and then start to add in your little coral and shell pieces.
Move them around until you’re happy and then you’re ready to move on to the next step!

Step 2: Add your Resin!
Alright y’all get ready for the fun part! For this little shell I grabbed a navy, dark teal and a light teal for my waves as well as a white alcohol ink (and my pearl alcohol ink because… why not). You’ll also use clear resin so to start with mix about 150ml of clear resin in a silicone cup.
Then separate out your colors into smaller cups. You’ll want about 30ml each of the navy, dark teal and light teal. Then separate out about 10ml of white resin. That should leave 50ml of clear in your original silicone cup.
Perfect!
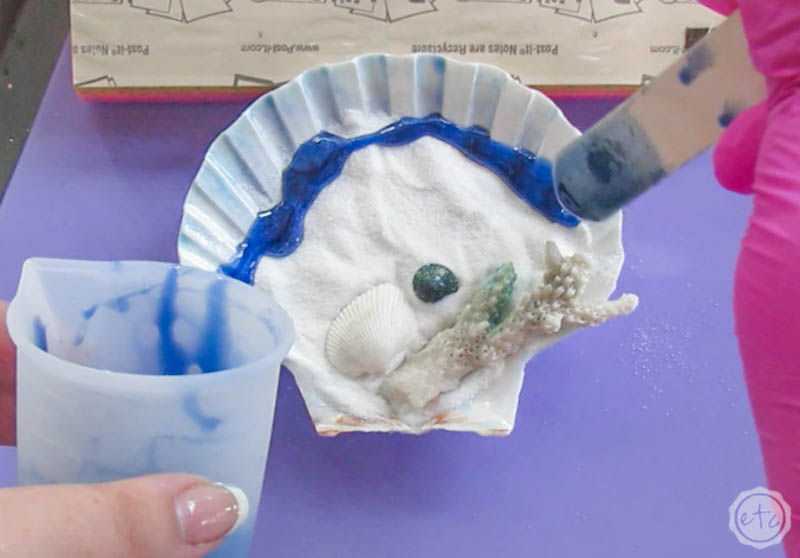
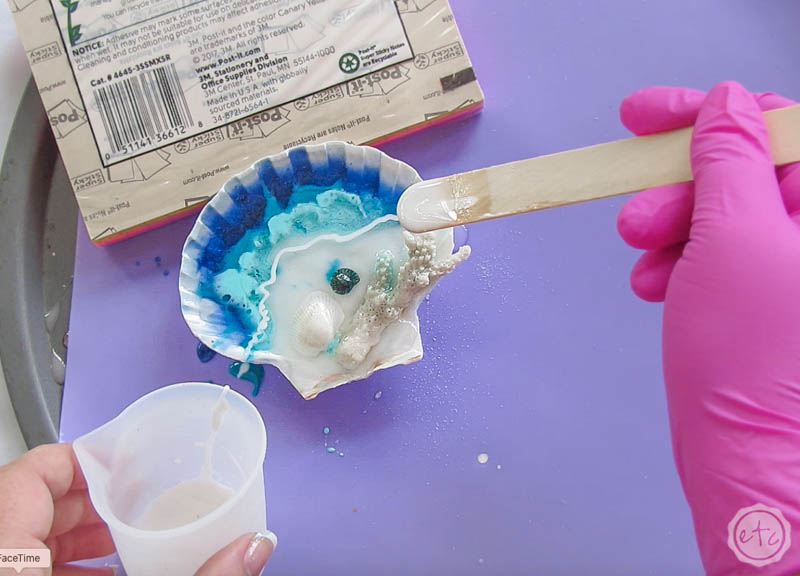
Now we’re ready to start adding our layers. Use your stir stick to start laying resin down across the top of your sand. You’ll add navy first, then directly under that the dark teal… then the light.
You want each section to be thick enough to be seen… about 1/2 a centimeter if you’re getting really technical. Don’t worry too much though… you can always add a bit more if you need to.

Bonus Tip: If you’ve never mixed resin before and need a little help you can follow my how to mix resin for beginners tutorial right here.
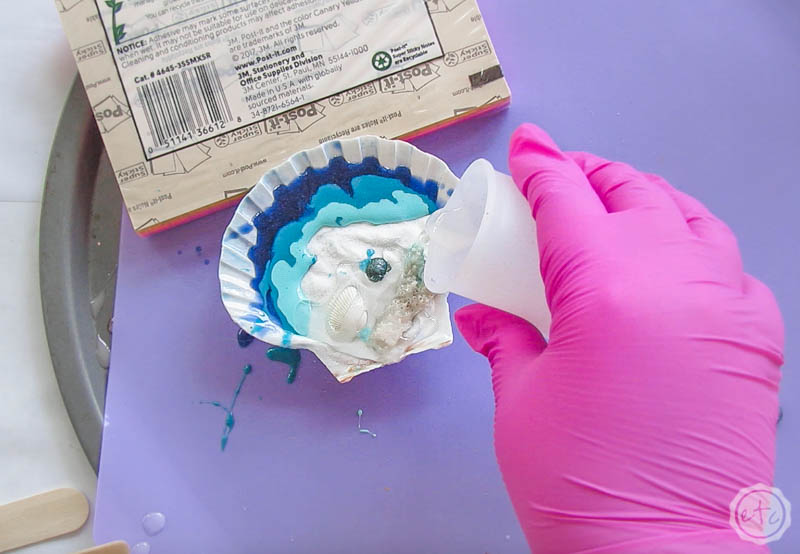
Okay, now that our colors are in place it’s time for the clear resin. Start by flooding the beach… make sure to cover the shells and sand so that it’s firmly resined into the shell.
The resin will flow down off the shells and start to push the other colors back… that’s fine. Just focus on covering the shells and let the clear resin mix with the colored.


Now before you put the clear resin away add a bit to the top of the curve… this will force the colored resin back down towards the clear resin so that it’s back in the middle.
It also adds clear resin to the top of the colored resin which can give you some cool effects (like the cells that you see forming between the layers!).
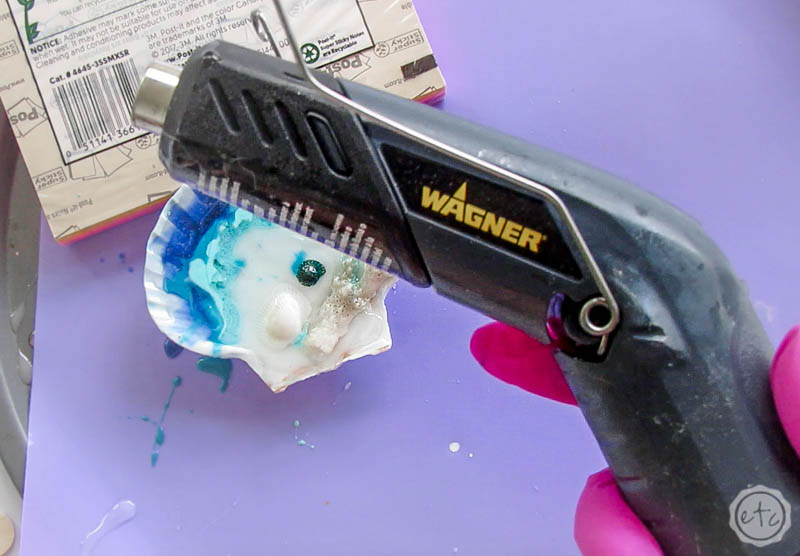
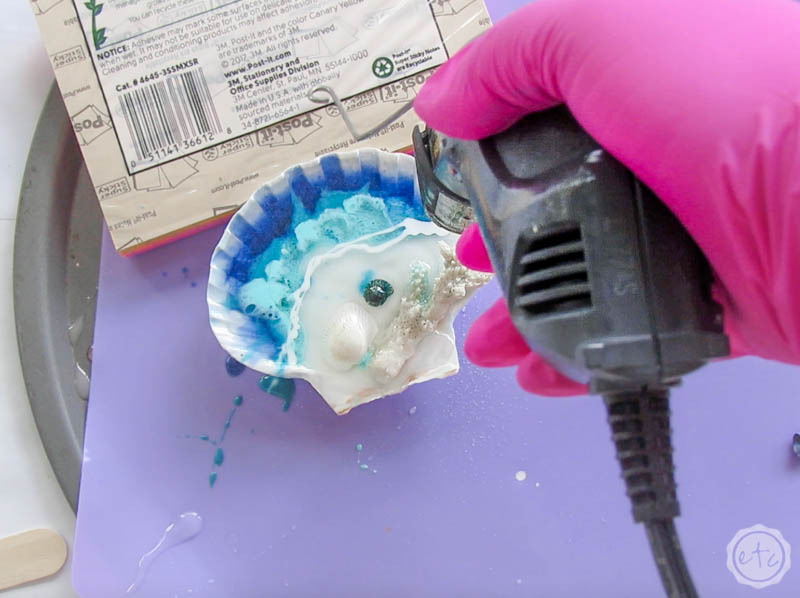
Now take your little heat gun (the wagner ht400) and simply pass it over all the resin to pop any bubbles in the surface of the resin. Once it’s bubble free we’ll move on to the next step… just be careful not to overheat the resin too much or mix the colors.
Simple, quick passes will pop the bubbles while leaving the resin more or less where it was.
Step 3: Add your First Wave!
Now it’s time for the fun… add a bit of white resin across the front of the colored resin.
You want to use a small stir stick for this and make the lines fairly thin so that we can make the waves pretty but not overwhelming.
This scallop is a small piece after all!
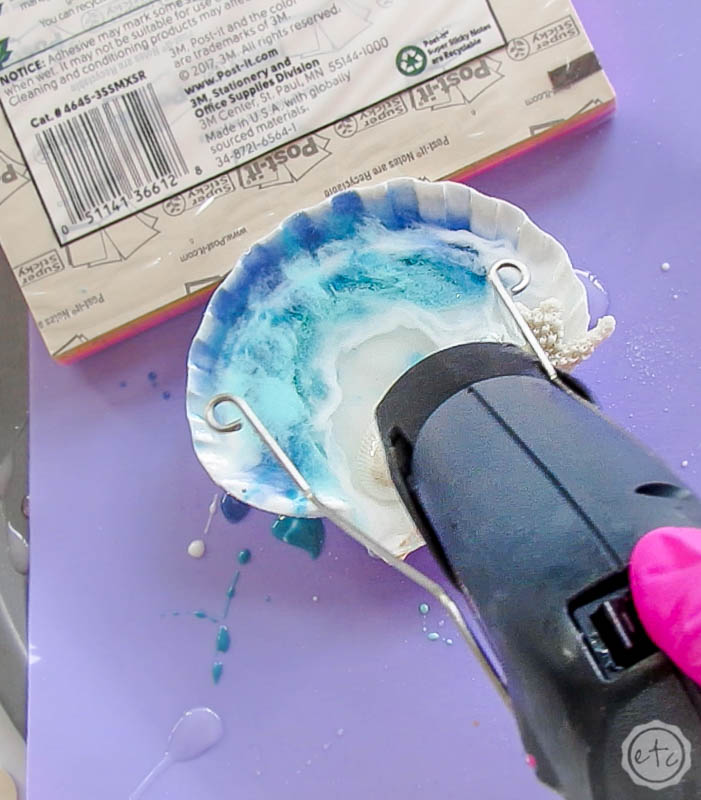
Once you’ve added the white resin simply use your heat gun to spread it out… only a few seconds over each part of the white and then let it sit. After a minute or two you’ll see the spread out resin start to form cells.
That’s what we’re looking for!

Now do the same thing a little further up! This second wave is pretty but here’s a tip I’ve learned now that I’ve made a few more waves… the waves look clearest over clear resin.
When you add a wave over colored resin (like I’m doing here) it gets a little cloudy. So if you’d rather wait and NOT ADD THIS SECOND WAVE right now I’ll show you how to add a second wave in a second layer.
Whether you add the second wave now or later we are done with this layer of resin… go ahead and cover your shell and leave it to dry for about 4 hours. Then we’ll come back and add the finishing touches!
Step 4: Add a Second Layer of Waves
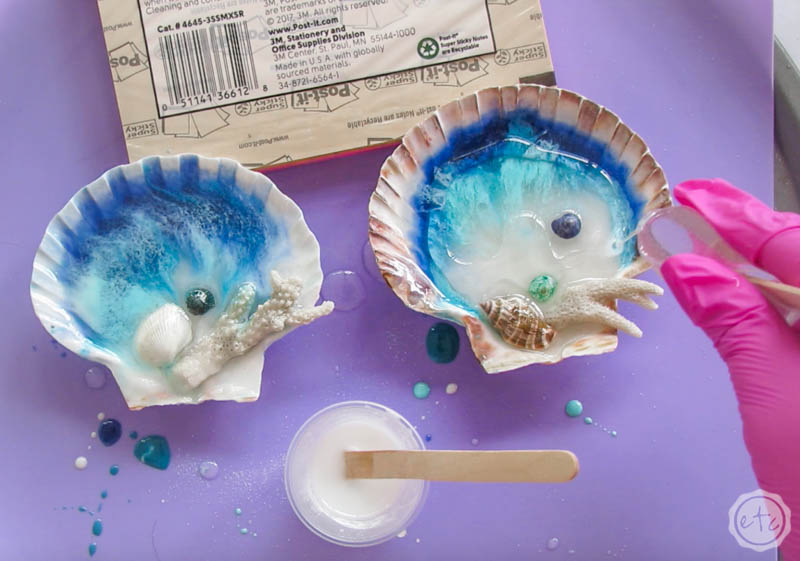
Okay y’all our little shell has cured and we’re ready for the second layer of resin.
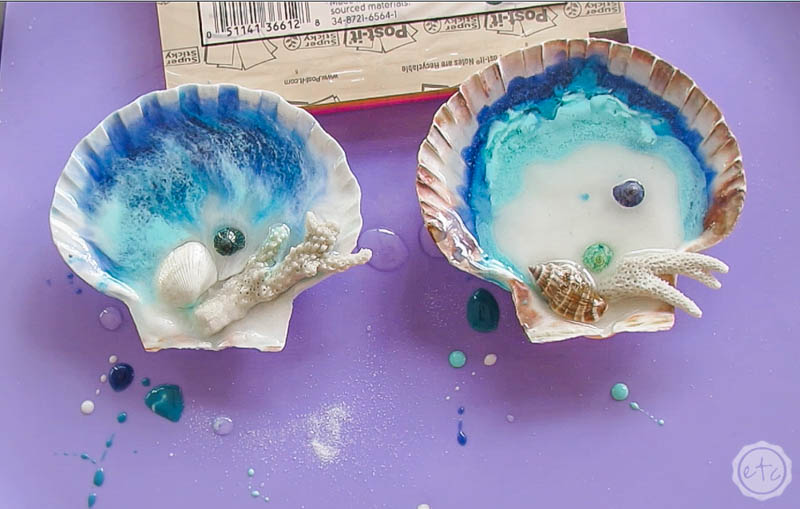
Just so you know exactly where we are the Shell on the left is our original shell. It has two layers of waves, exactly how I showed you in this tutorial. You can see how the waves are pretty but they completlely took over the waves, leaving it hard to see the colors underneath.
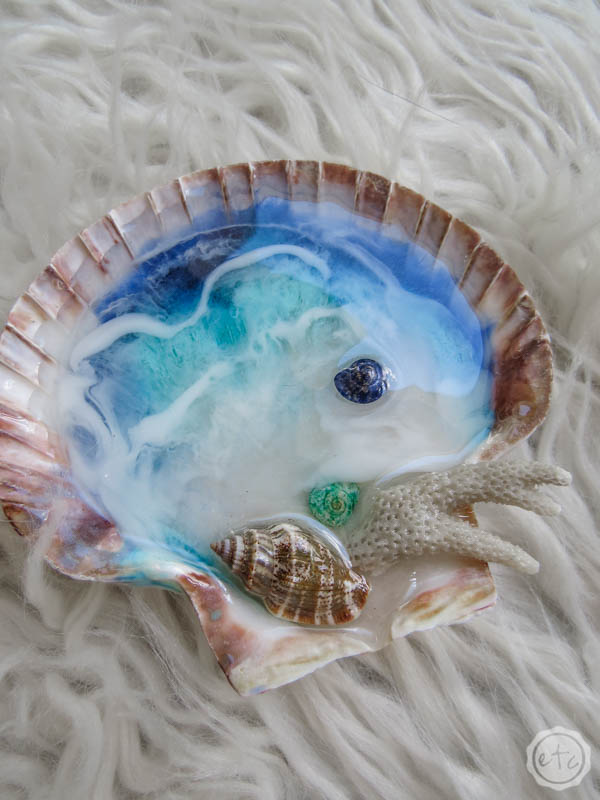
The shell on the right was made with the same process but we stopped right before adding the waves. We simply added the colored and clear resin and then let it cure.
Now we’re going to add a clear layer of resin and a few more waves to both shells and you can decide which technique you like better!
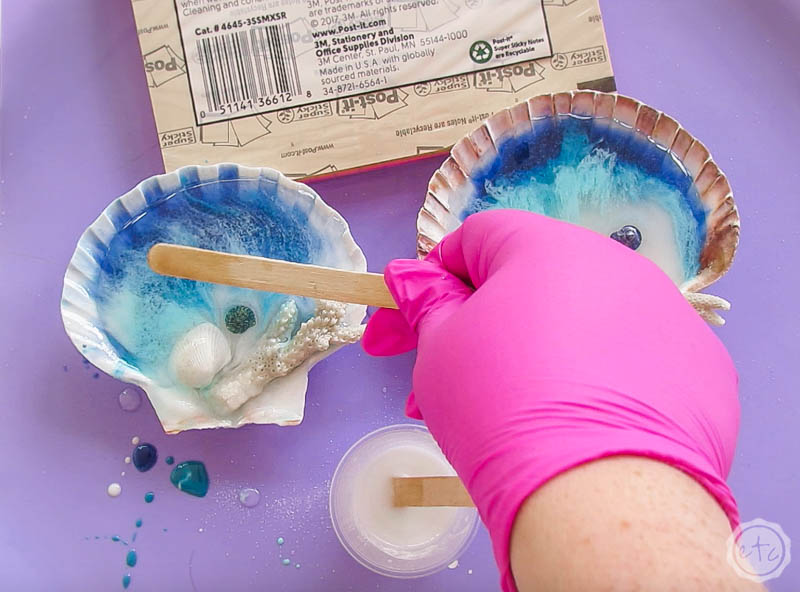
Start by mixing about 15ml of clear resin and spreading it over your entire resin area. Use your popsicle stick to make sure it gets pushed into all the corners from the shells on the beach to the tip of the blue waves.
Now we’ll add the white!
Same as before we’ll add a line of white over the edge where the colored resin and the clear resin meet.
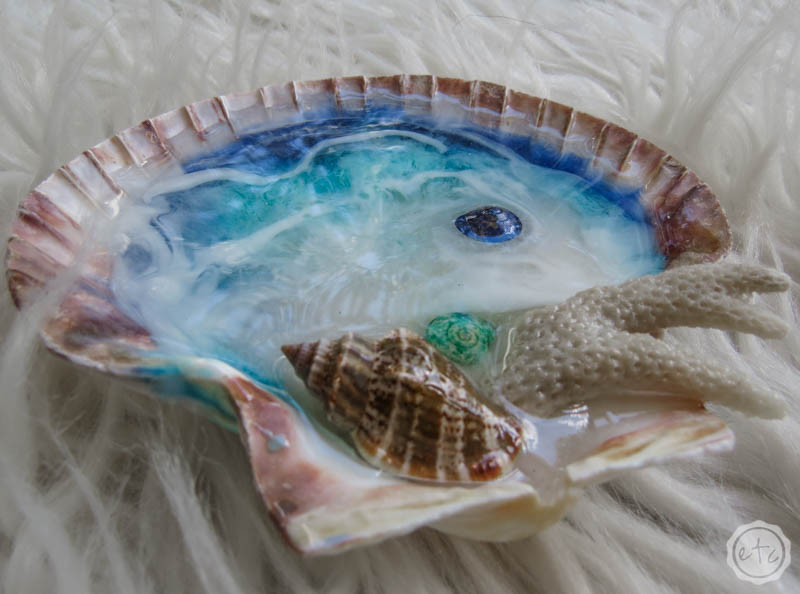
Then use your heat gun to spread out the resin and wait a few seconds for the shells to show up. Beautiful!


Now you can add a second wave a little higher up! See how these waves are a bit more definied and don’t mix with the colored resin? You’ll still get the pretty cells of a foamy wave but you should be able to see the colors underneath.
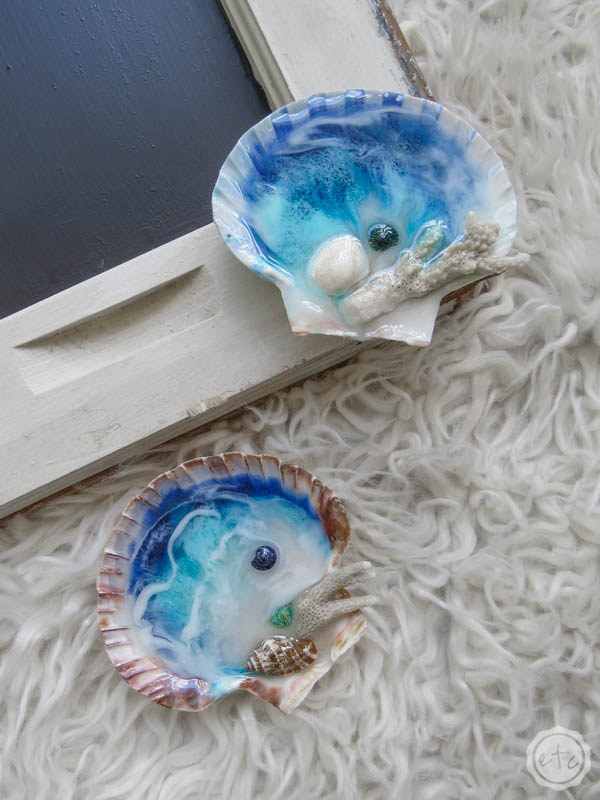
Of course, both techniques are pretty… the shell on the left looks like a beach of a stormy day and the beach on the right is a bit calmer. Luckily with the two shells side by side you can tell exactly what you like and make your shells accordingly!
Enjoy!

BONUS: This little shell is part of a larger project! Follow along if you want to make each project:
How to Make Ocean Waves | Ocean Themed Aluminum Sign | Ocean Wave Sea Shell | Ocean Wave Chalkboard Window
Looking for more resin projects? I’ve got you covered!


Your lesson was nice and clear, now I need to try!