
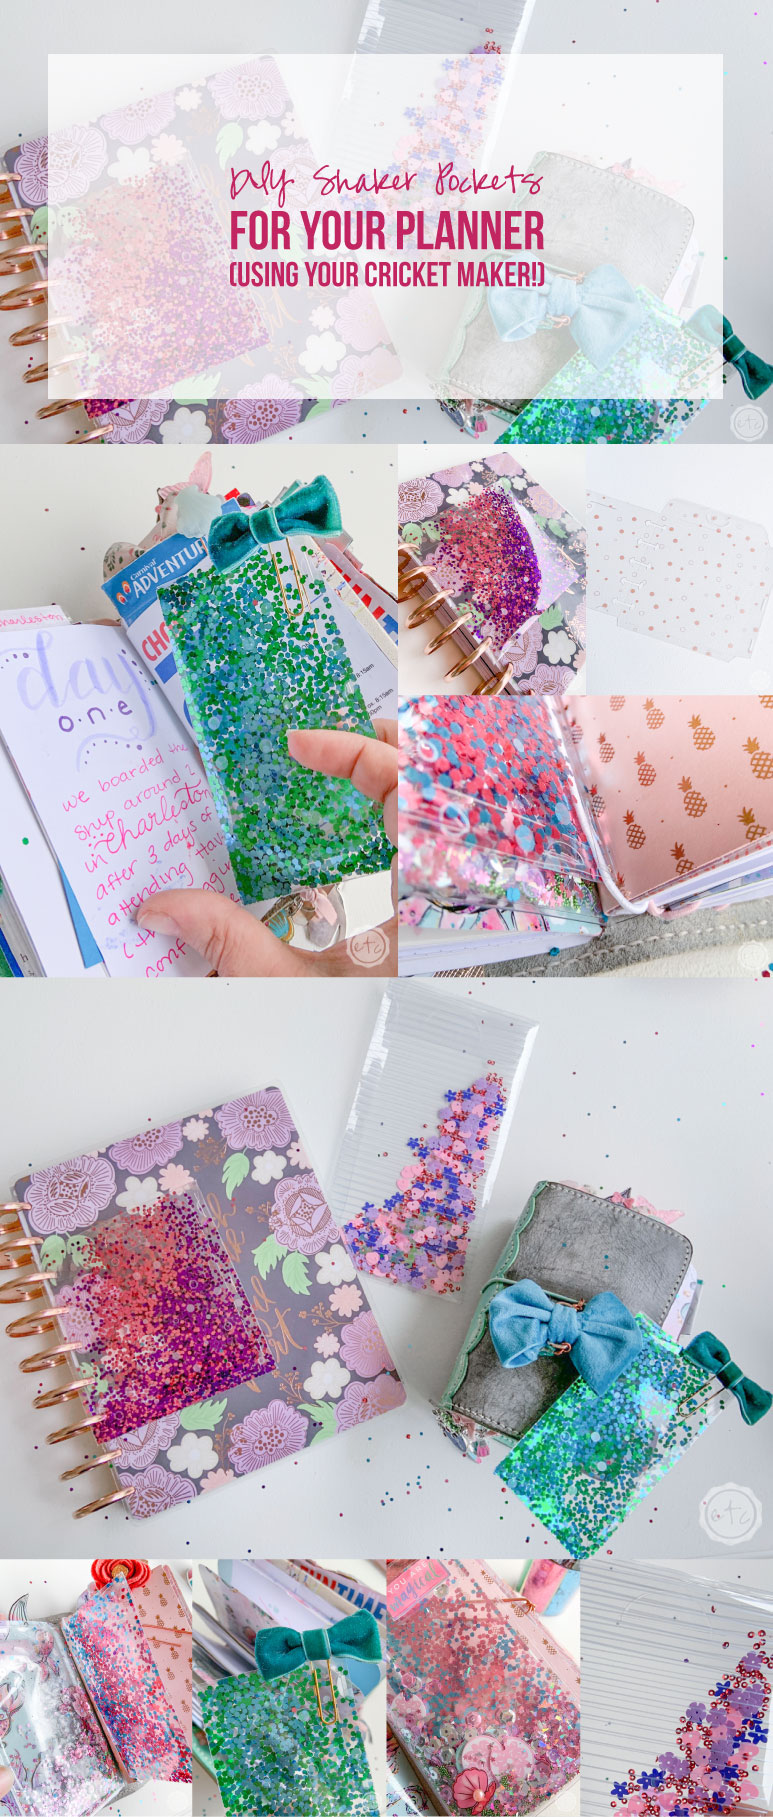
This is a sponsored conversation written by me on behalf of Cricut. The opinions and text are all mine.

I don’t know about y’all but I am in love with shaker pockets. They are completely useless… not a bit functional but they’re oh so pretty! I love the way they add movement to your planner in a way stickers just can’t. I think I have at least one in each of planners by now. Of course, the biggest question isn’t how much we love shaker pockets (ALOT!) but how best to make them.
There’s so many options: A fuse tool will leave you without seams (which is awesome) but it’s a one trick pony kind of tool… only good for fusing plastic. Washi tape will seal the edges of your plastic for a quick and easy shaker pocket… but then you have wahsi tape on the edges of your shaker pocket!
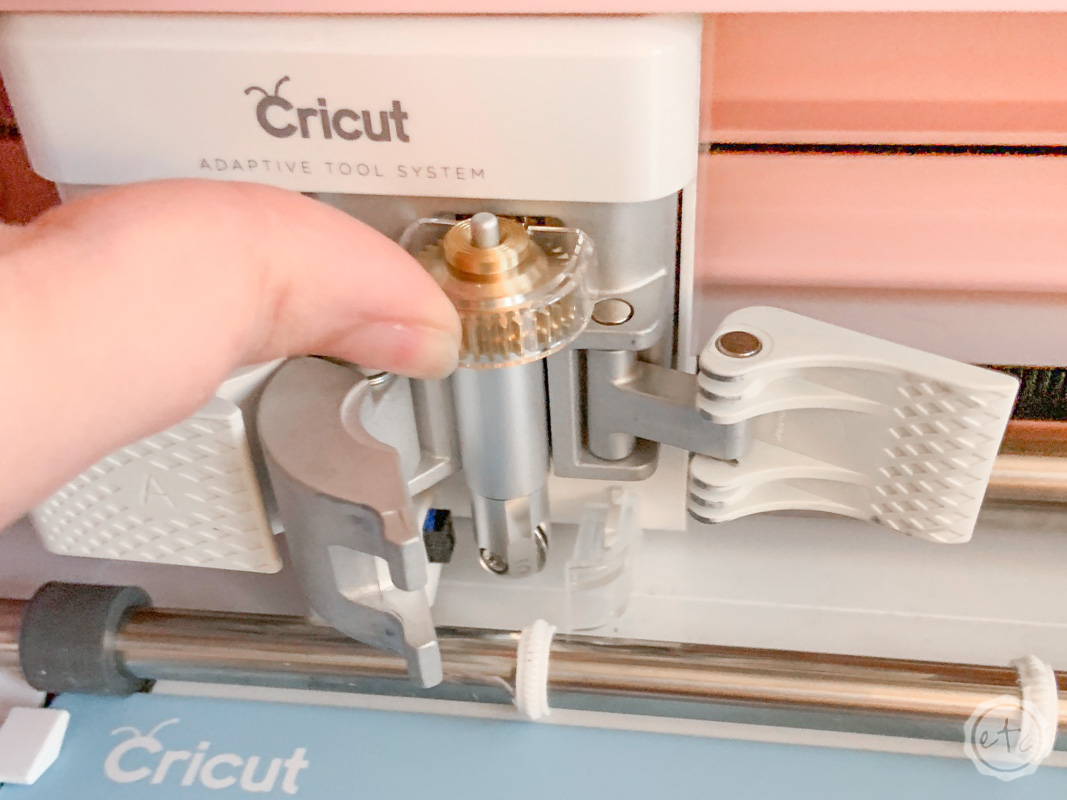
So when I unpacked my Cricut Maker I knew I had an opportunity to make a fun, new shaker pocket. In order to ditch the fuse tool we need a strong enough material to make small latches… acetate is the perfect option. Of course, that wasn’t an option before (since it would just snap when you tried to fold it) but the Maker’s new scoring wheel makes it easy to make clean bends.
Score!
Supplies:
- Cricut Maker
- Fine-Point Cutting Blade
- Standard Cutting Mat (that’s the green one!
- Scoring Wheel
- Cricut Cut File
- Foil Acetate
- Chunky Glitter
- Sequins
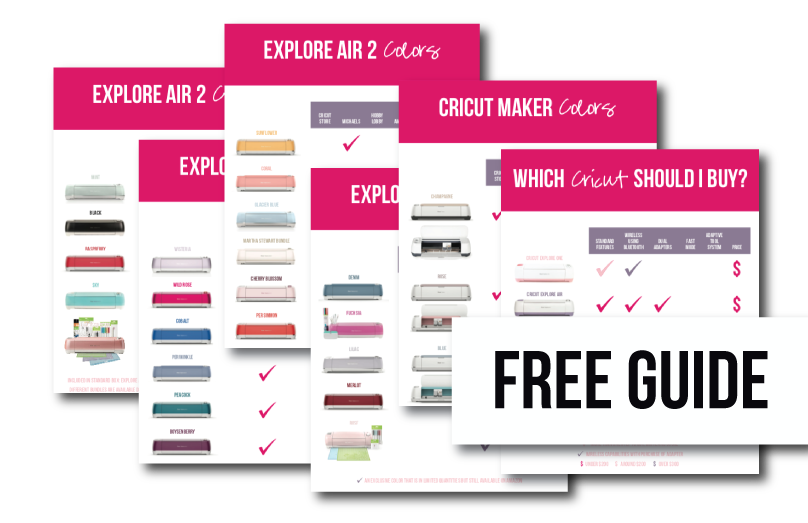
Need help picking your perfect machine? I’ve got you covered!

Step 1: Cut and Score Your Acetate
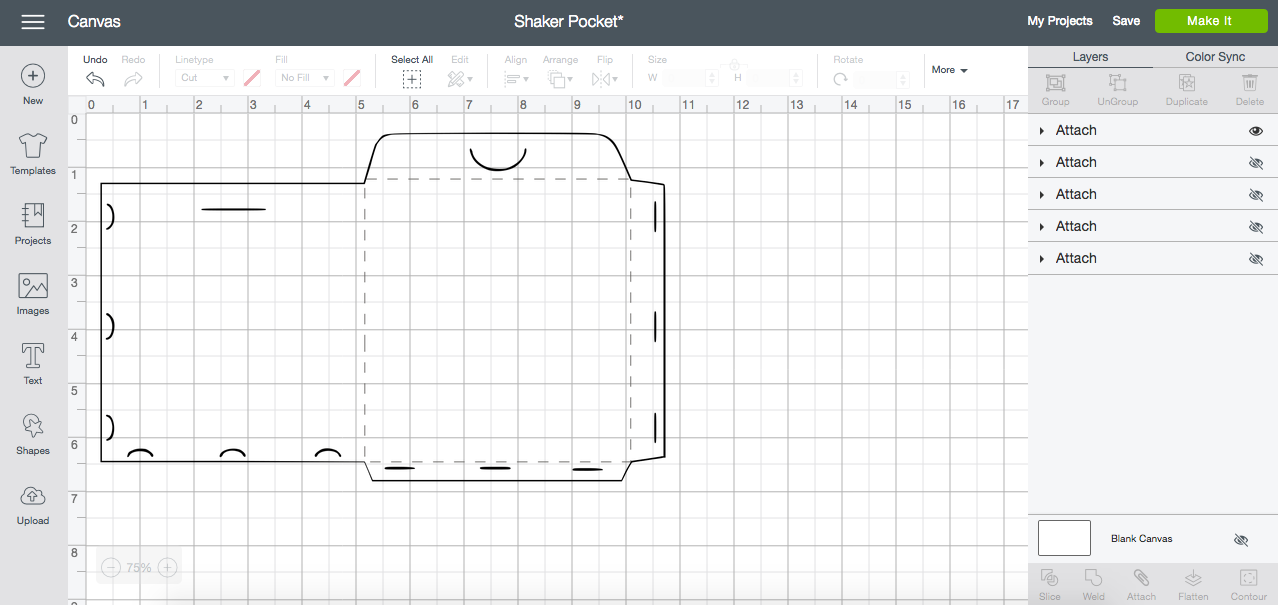
Alright y’all we’re jumping right into the fun stuff! Open your Cricut Cut File in Cricut Design Space (I’ve included the files for 3 different sized shaker pockets below)… and then decide which shaker pocket you’re going to make. You’ll notice 3 different sizes (one for a personal sized planner, one for a pocket sized planner and one for a Happy Planner)… so make sure the one you want to make is turned on and the other three are turned off.
Just click the little eye to the right of each shaker pocket and you’ll be able to turn them on and off. Then load your acetate onto the mat!
When working with acetate you’ll notice a thin film covering the entire 12 x 12 square… that’s protecting the foil and the clear acetate from scratches! You’ll want to peel it off before loading your acetate onto the mat.
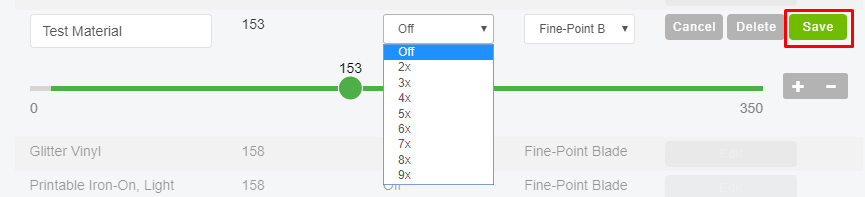
Now we’re ready to get started… go ahead and click “make it.” You’ll select your material from the list of all the materials… just type foil acetate into the search box and it will pop up. Even though the foil acetate is already loaded I went through 3 sheets of acetate trying to get the settings just right… the standard settings don’t quite cut all the way through.
Just click edit and adjust the settings. I turned the 2x to 3x and turned the pressure settings all the way up to 350. That seemed to do the trick! Now you can click go… you’ll start with the scoring wheel loaded into slot B and then Cricut Design Space will tell you when to switch to the fine-point blade.
(Psst…. looking for a bit more info? I did a full tutorial on how to use the scoring wheel here. Hope it helps!)

Step 2: Fold and Latch
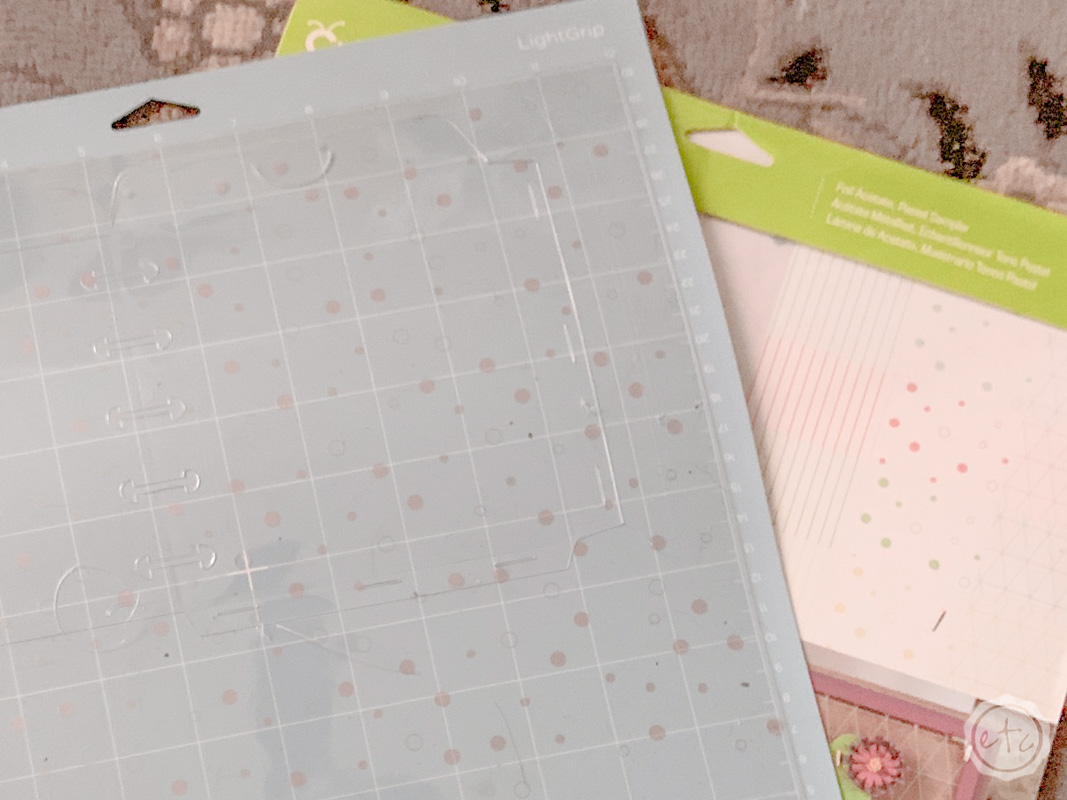
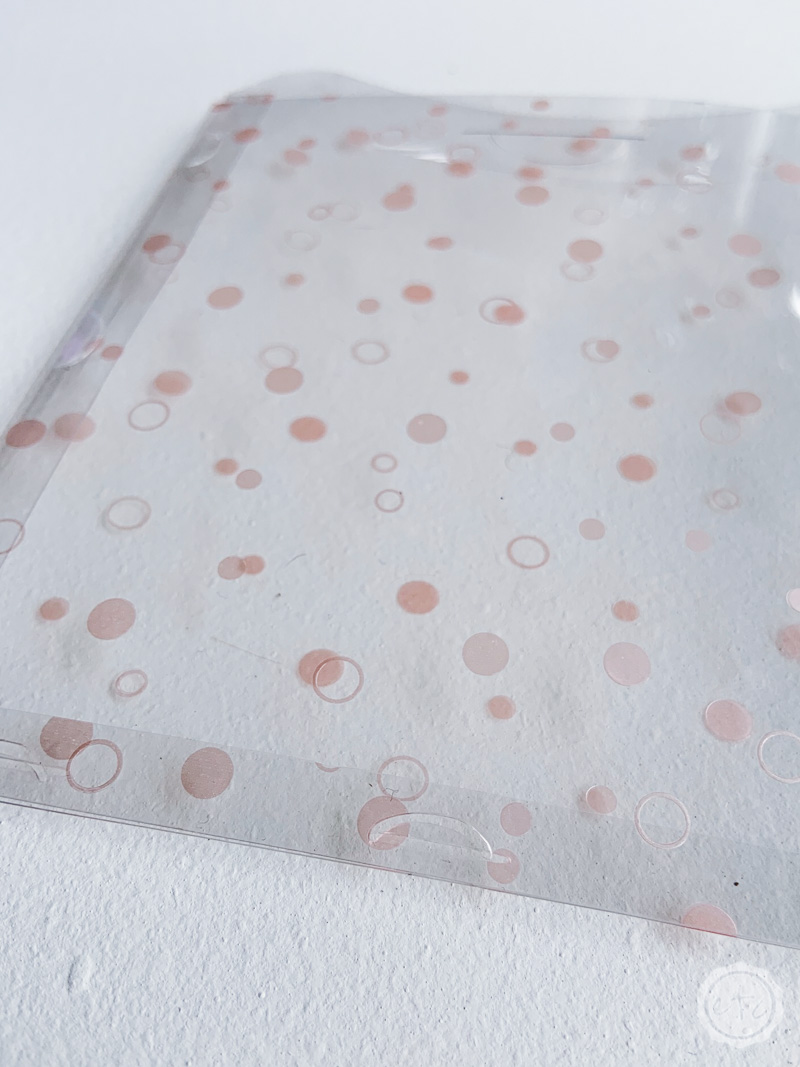
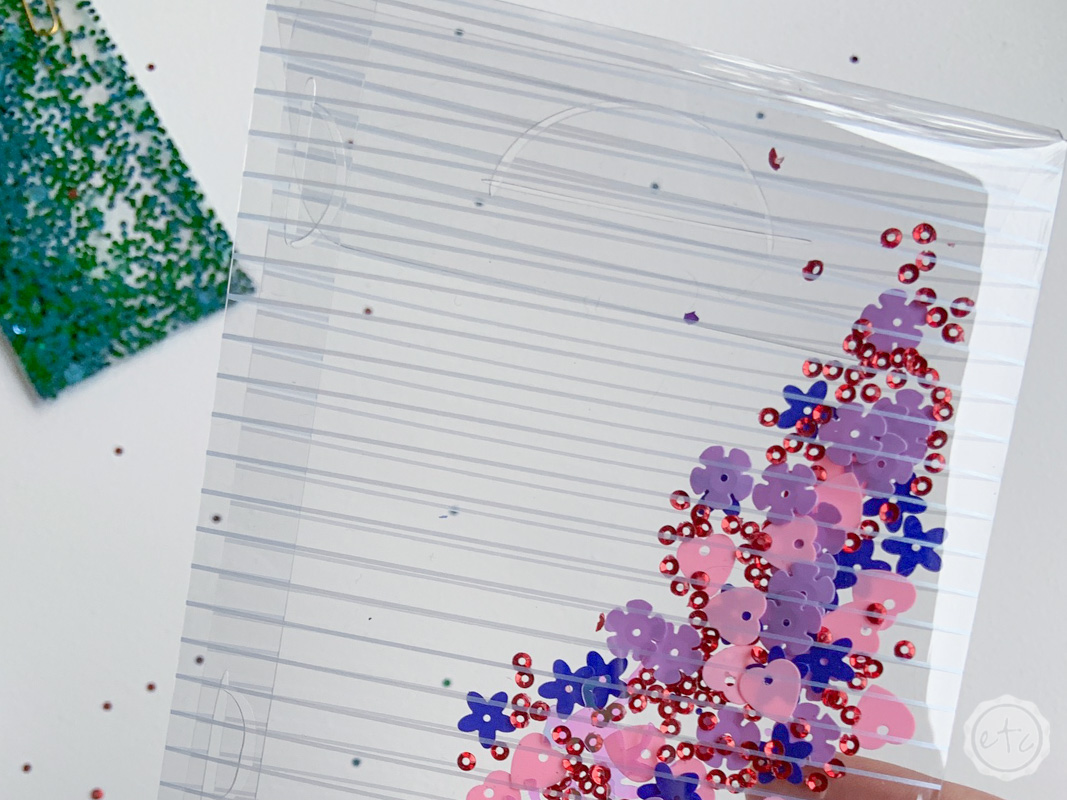
Ready for the fun stuff?! Go ahead and peel your acetate off the Cricut Mat… the shaker pocket should pop easily out of the extra acetate left on the mat. I tried to get a good close up shot but score lines are hard to take pictures of!
You may just be able to see the square of score lines below… the square just inside the flaps. Of course, each of the little cut lines that form the latches has a little piece of plastic that needs to come out… the negative space we just cut! Go ahead and get all those extra pieces of plastic out before we start folding.
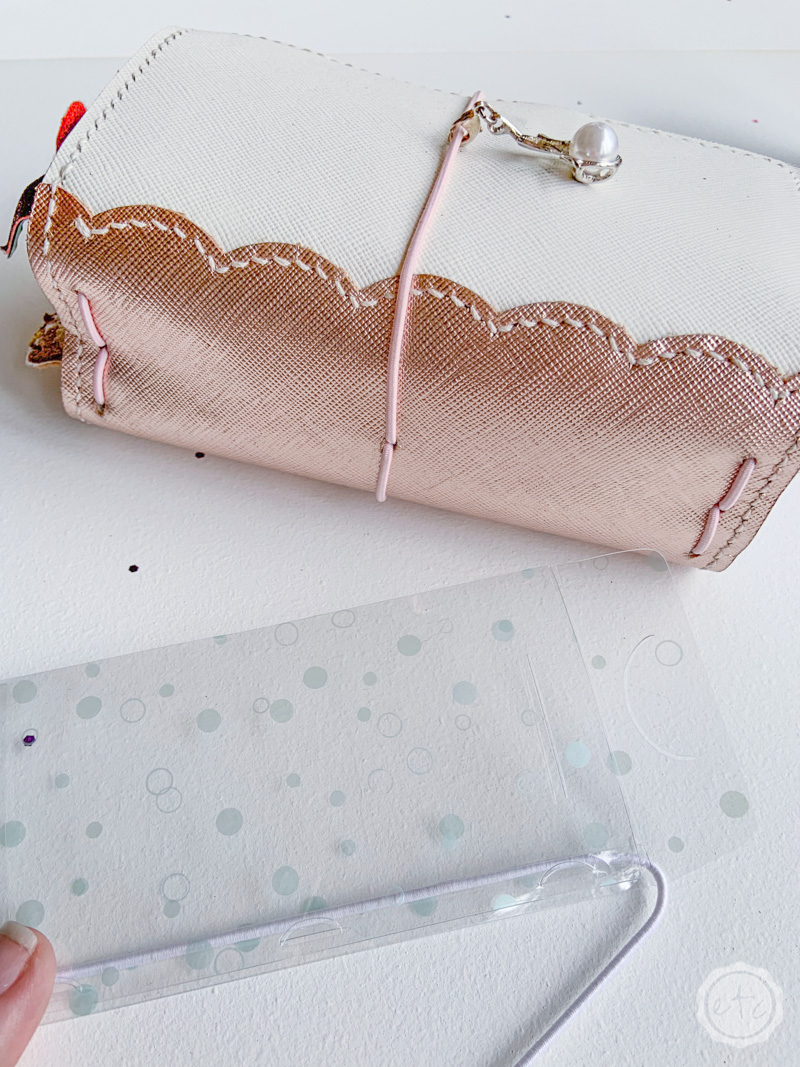
You’ll be left with a nice clean piece of acetate that’s ready to be folded!
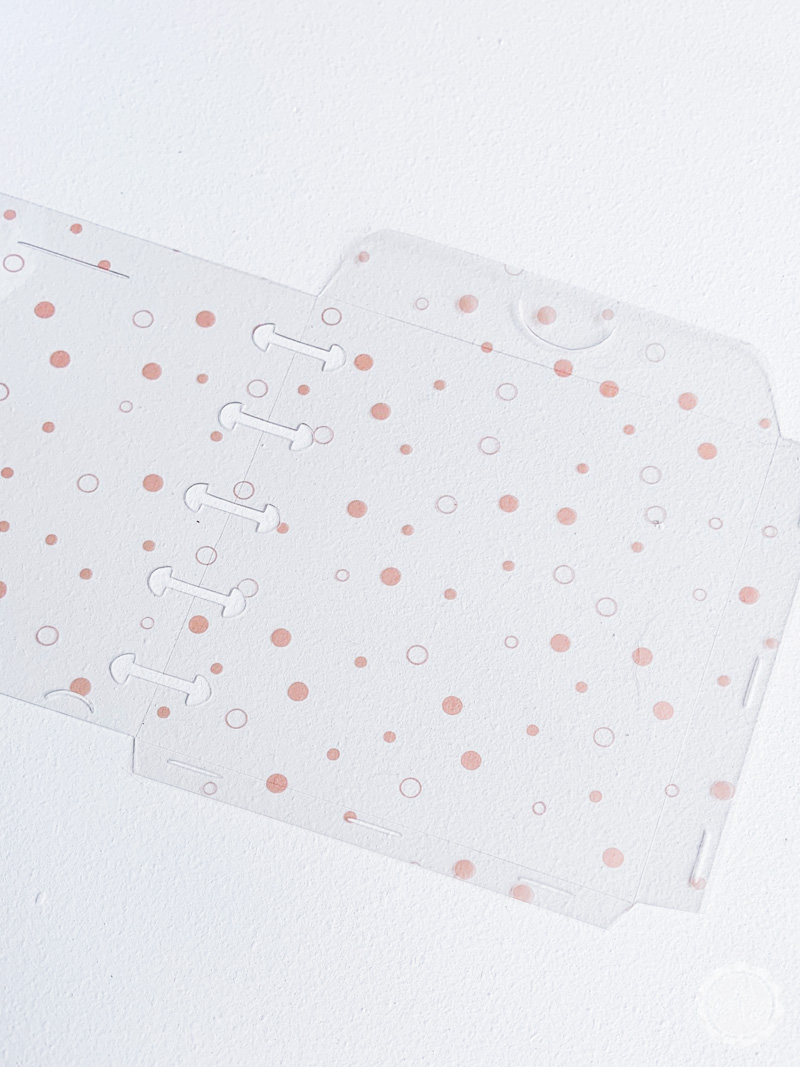

Now we’re ready to start folding! I folded the tiny bottom flap first followed by the side flap… then I latched the two sides by placing the little half circle through the corresponding slit. Luckily the score marks make it easy as pie to fold because some of these tiny latches on the tiny pocket sized shaker pockets are miniscopular.
I’m talking tiny y’all.
Latch all the little latches on the bottom and then the side before moving on to the next step. (I’m acting like it’s a million latches… it’s like five).

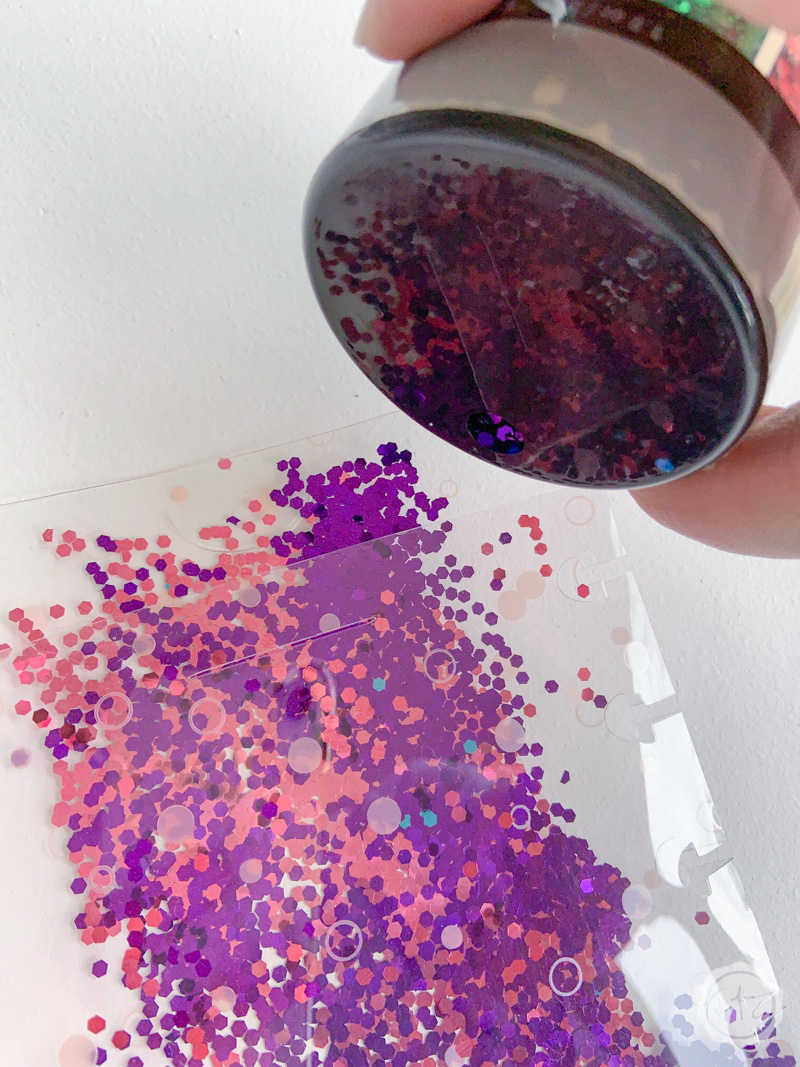
Step 3: Fill Your Shaker Pocket!
Now it’s time for the fun part… filling your shaker pocket with alllllll the good stuff. A good chunky glitter is the best base… and if that’s all your looking for you can stop there! A large sequin adds a bit of dimension and there are sequins in a million different shapes to add a bit of fun.
Really you can go crazy at this point.
Little die-cuts, stickers, beads, seed pearls, bits of vellum or confetti. The possibilities are endless.
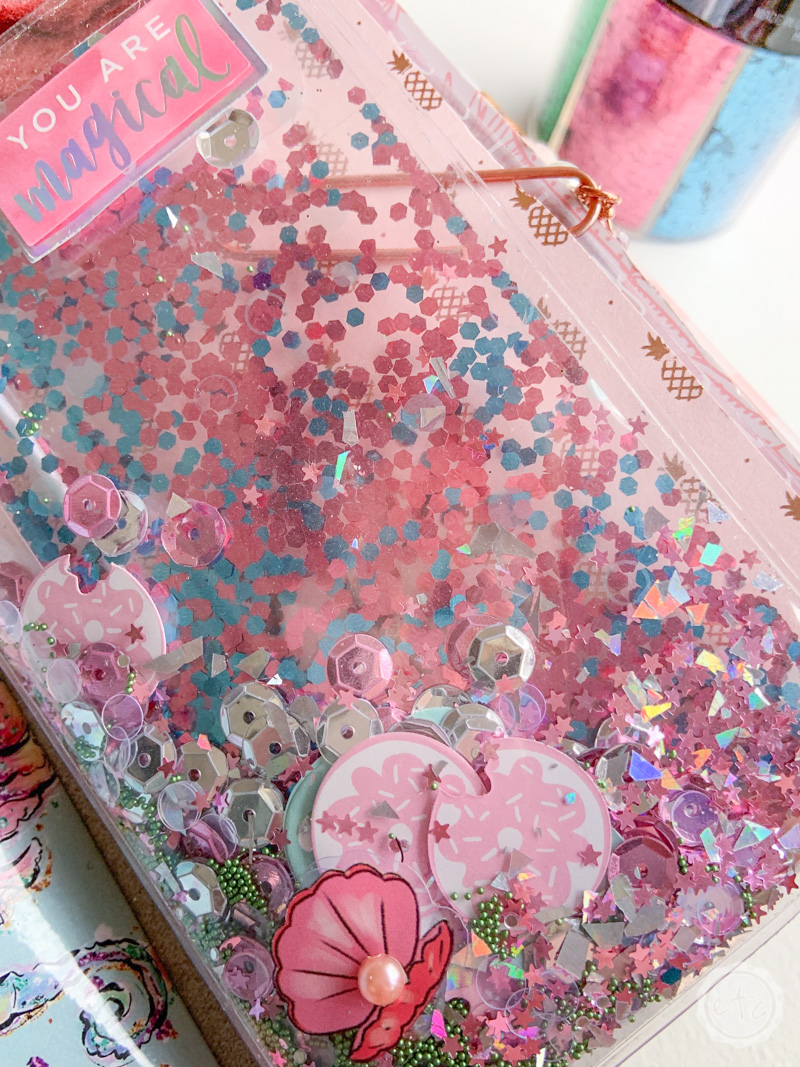
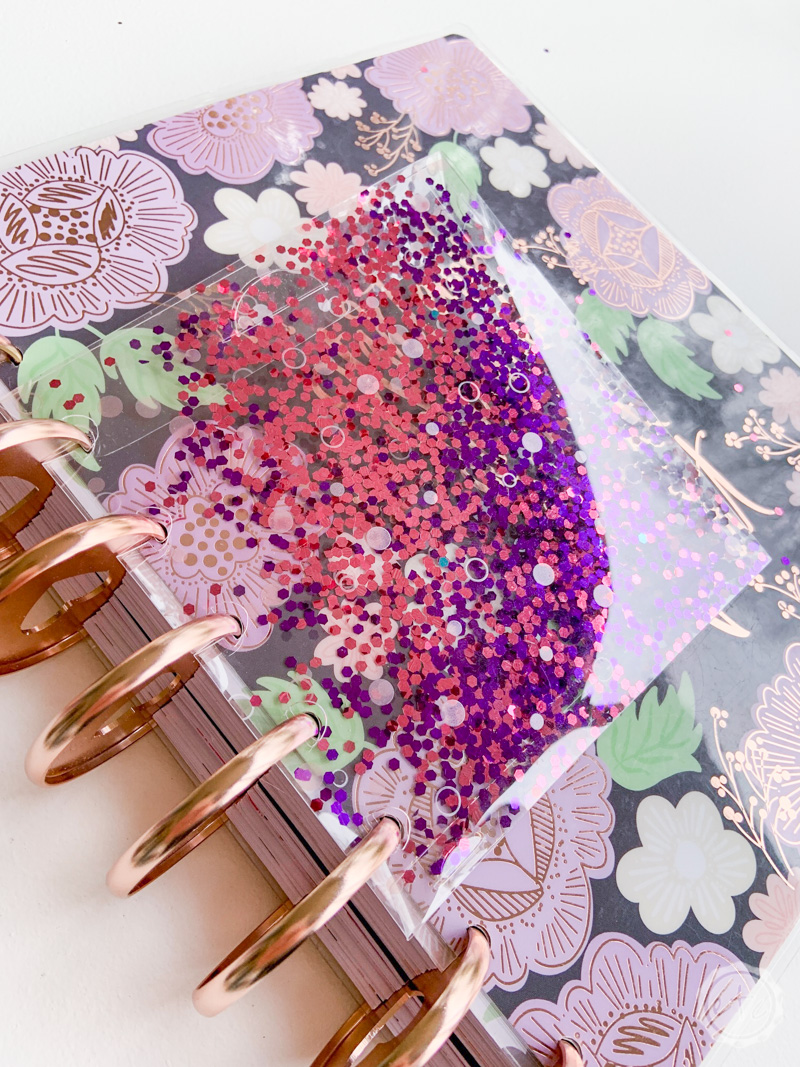
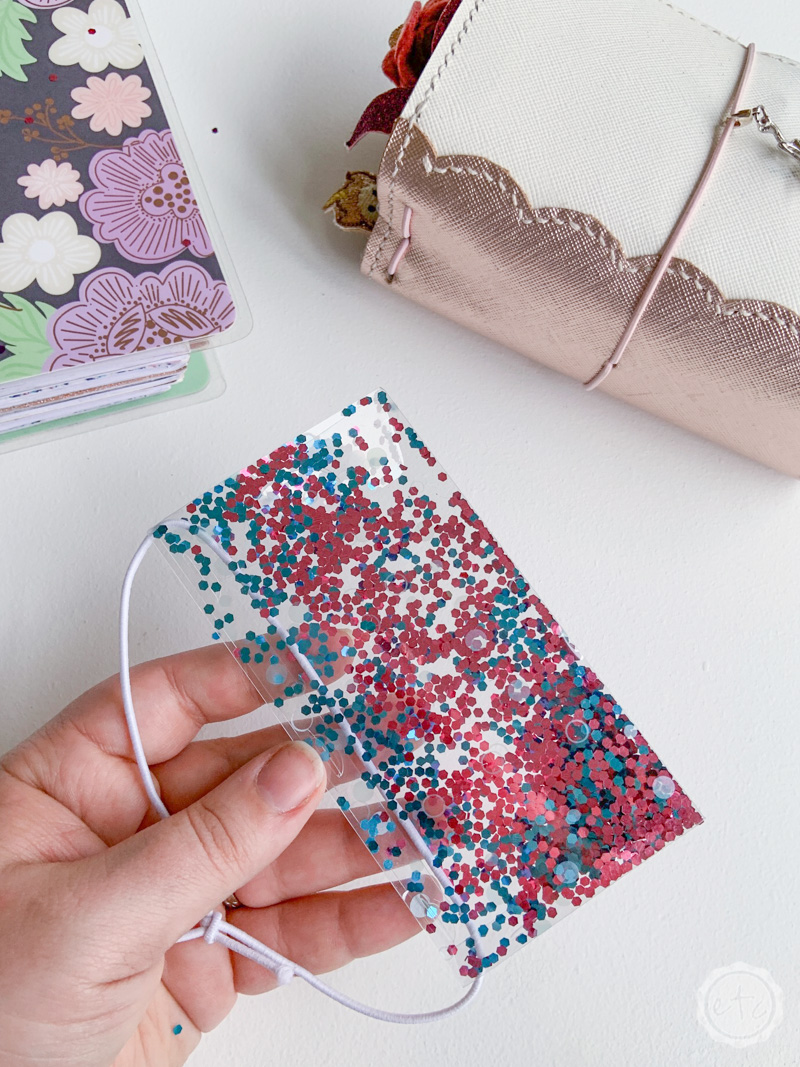
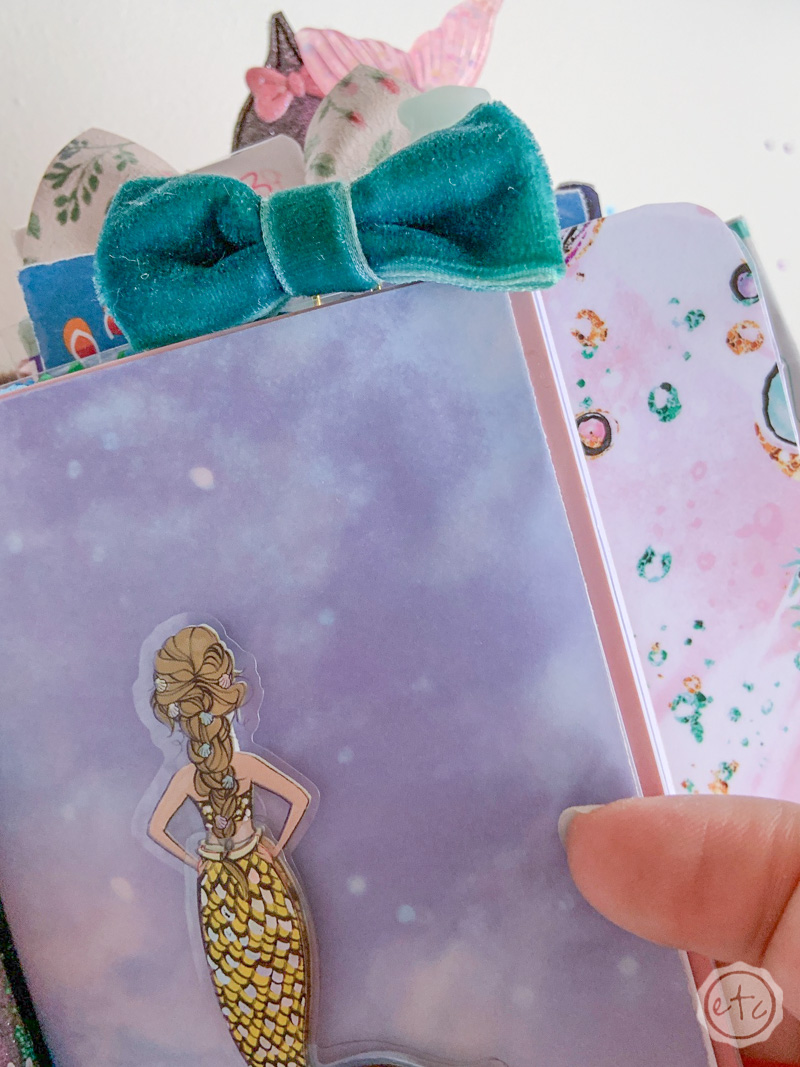
I decided to add a fun chunky glitter to two of my shaker pockets and a mix of confetti glitter to the third. I think they turned out so fun!
Of course, once you add your glitter you can go ahead and close the top flap to your shaker pocket… which is great because the side latches don’t like to stay shut with the top open.
Step 4: Add Your Shaker Pocket to Your Planner
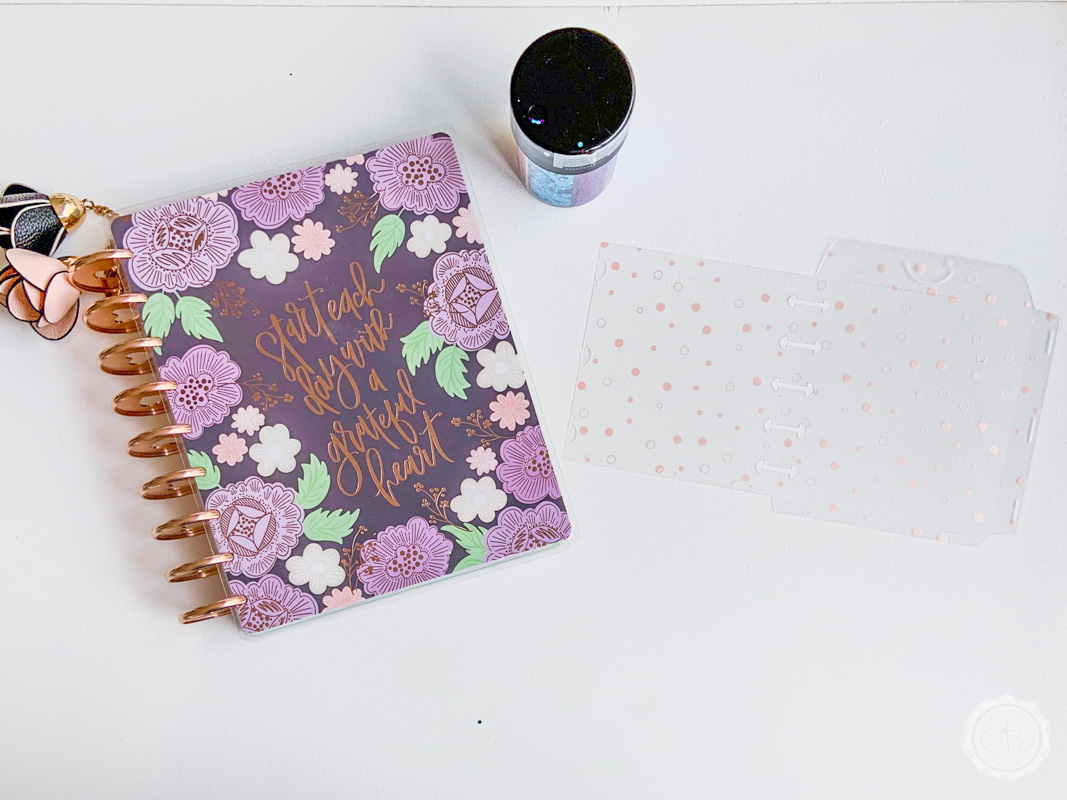
If you use a Happy Planner this step is as easy as snapping your shaker pocket into place… it took a couple minutes (ahem) of trial and error but I finally got the slots for the Happy Planner spine to line up just perfectly on those little shaker pocket cut outs.
It was oh so satisfying to watch those little cut outs line up and snap perfectly into my Happy Planner.
On the other hand there are a couple solutions to adding a shaker pocket to your Travelers Notebook! You can use a jump band… simply add the jump band into your shaker pocket before you close up all the latches. Then you can slide the jump band into place at this point for the cutest little addition to your planner.
Just make sure not to pull the jump band tooooo tight since the little latches are only so strong.
They will open.
You will have glitter everywhere.
Yes, I am speaking from personal experience.
Thank goodness it was a nice day and I decided to fill these little shaker pockets with glitter on the porch.


Ready for the third option?
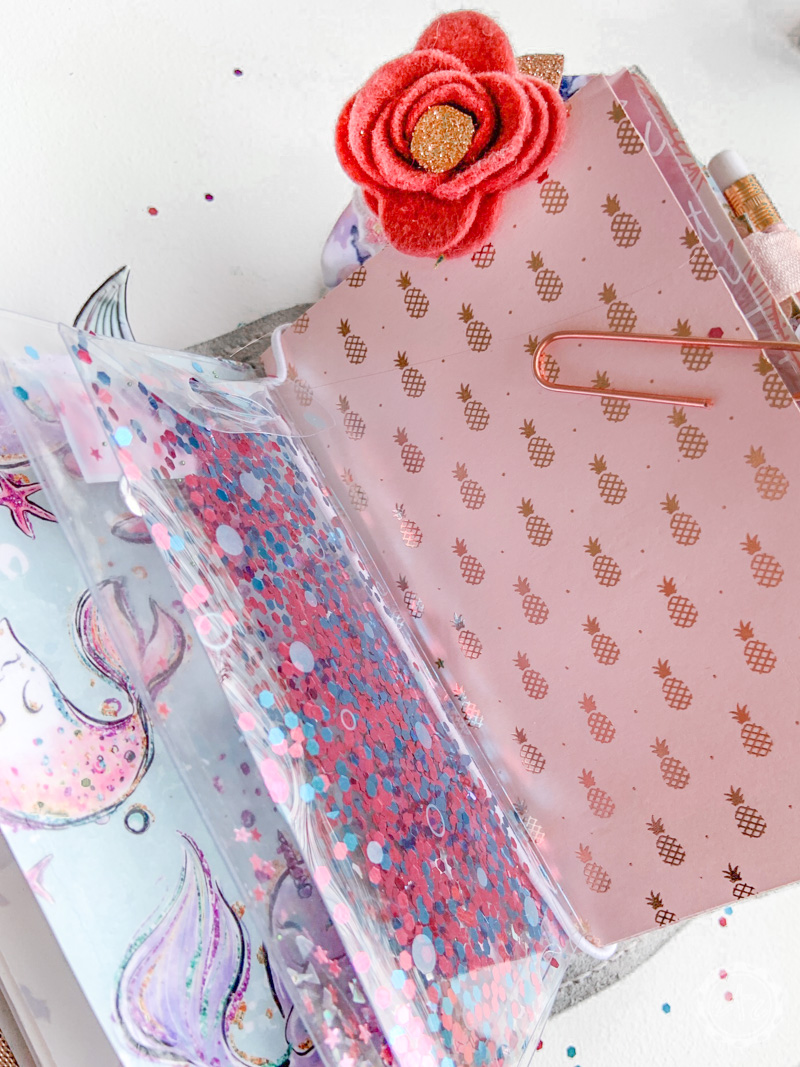
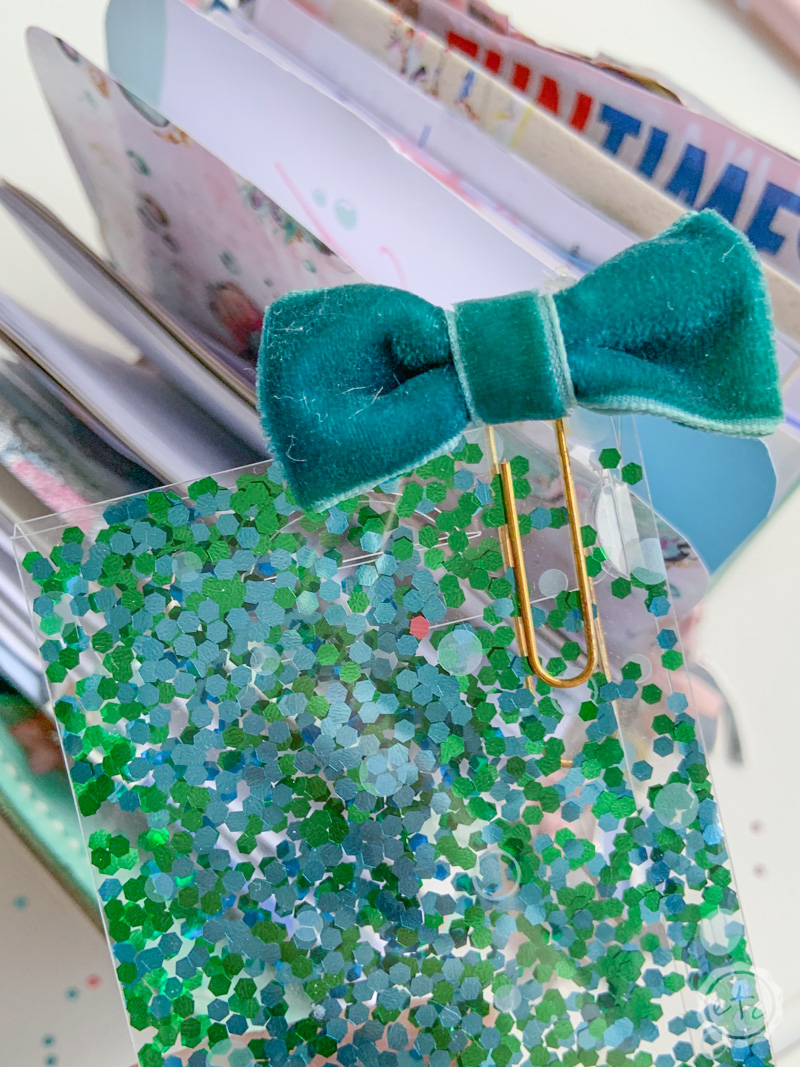
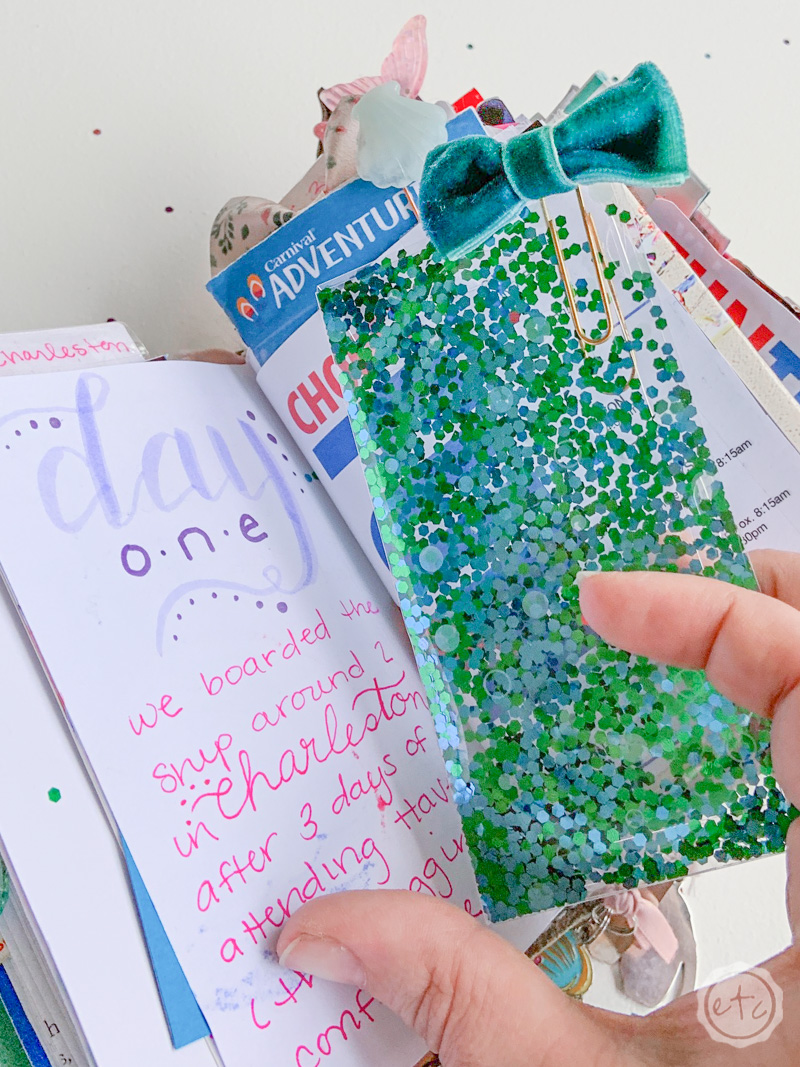
Add a fun paperclip to the top of your shaker pocket and it becomes a cute bookmark!
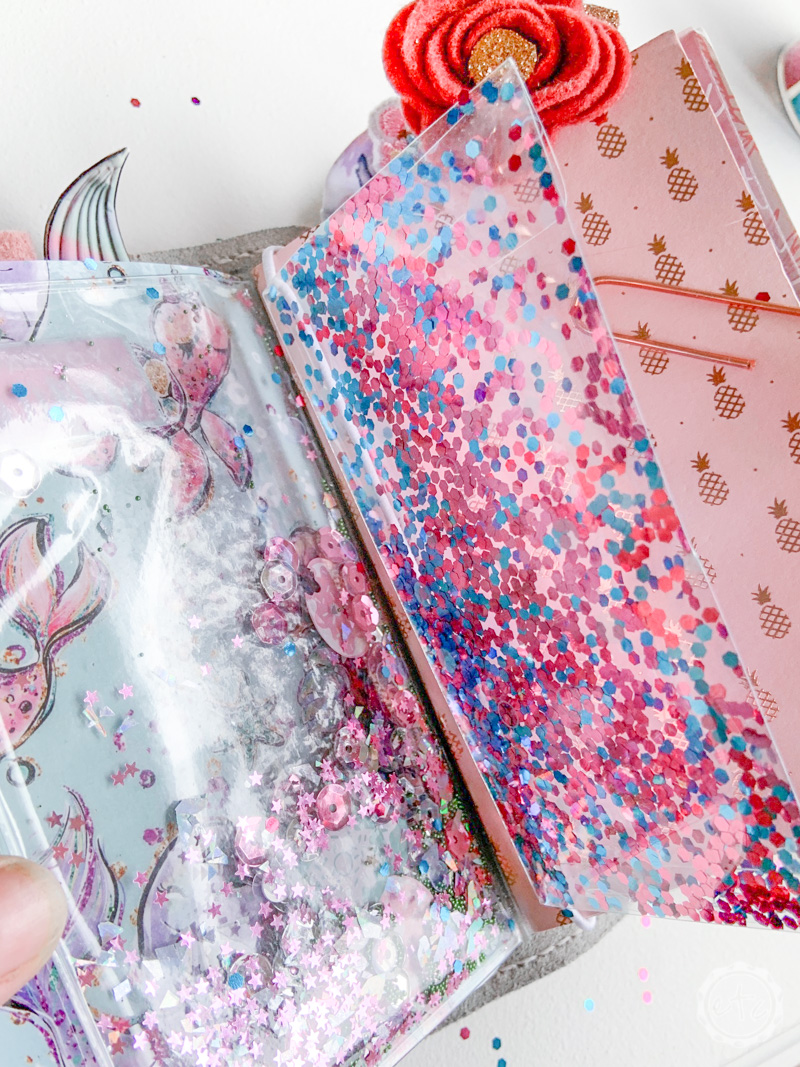
I really like this option for my cruise travelers notebook where I’m constantly adding things and changing the notebook as I travel. It will help me keep my place. Plus it’s super cute! The foil acetate adds an extra special touch to the little shaker pocket… it wouldn’t be nearly as cute with blank acetate.
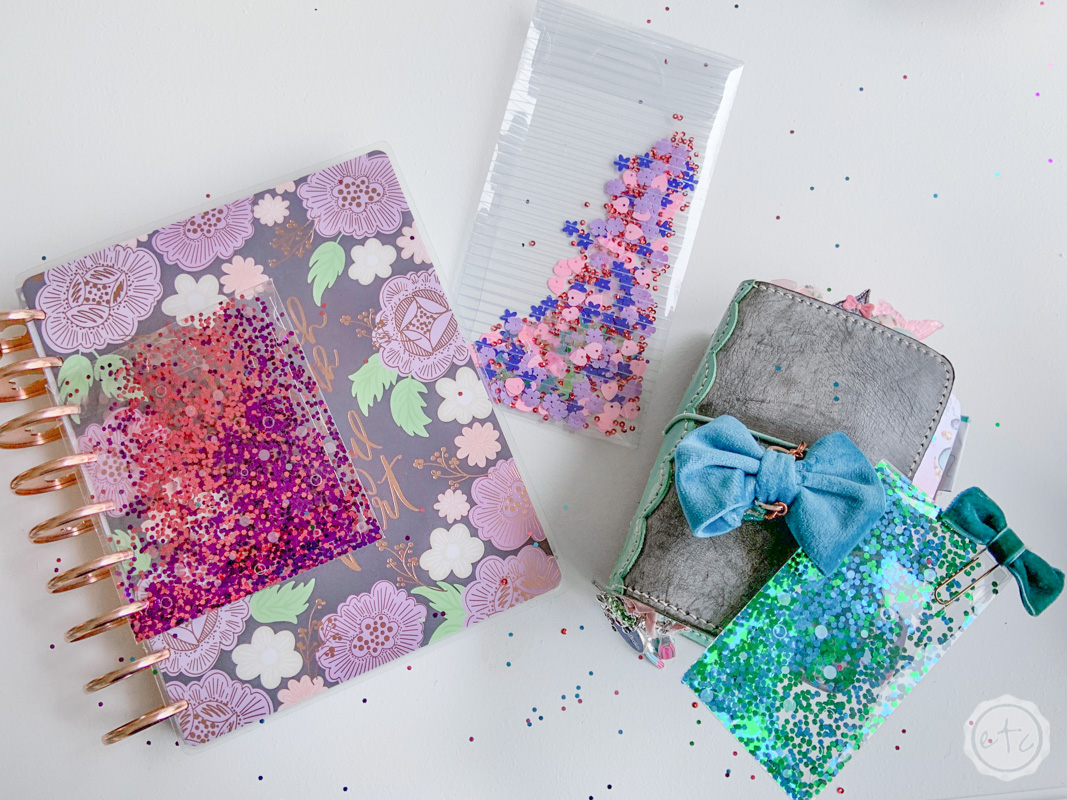
I don’t know about y’all but I think the little pocket sized shaker pocket is my favorite… probably because it’s so tiny. Followed closely by the shaker pocket for my personal sized planner.
But that may just be because I love those chunky sequins!
Which one is your favorite?
Don’t forget to pin!


Get Your FREE PDF Guide!

Don't forget to snag your free PDF Guide to buying your first Cricut!

Leave a Reply