


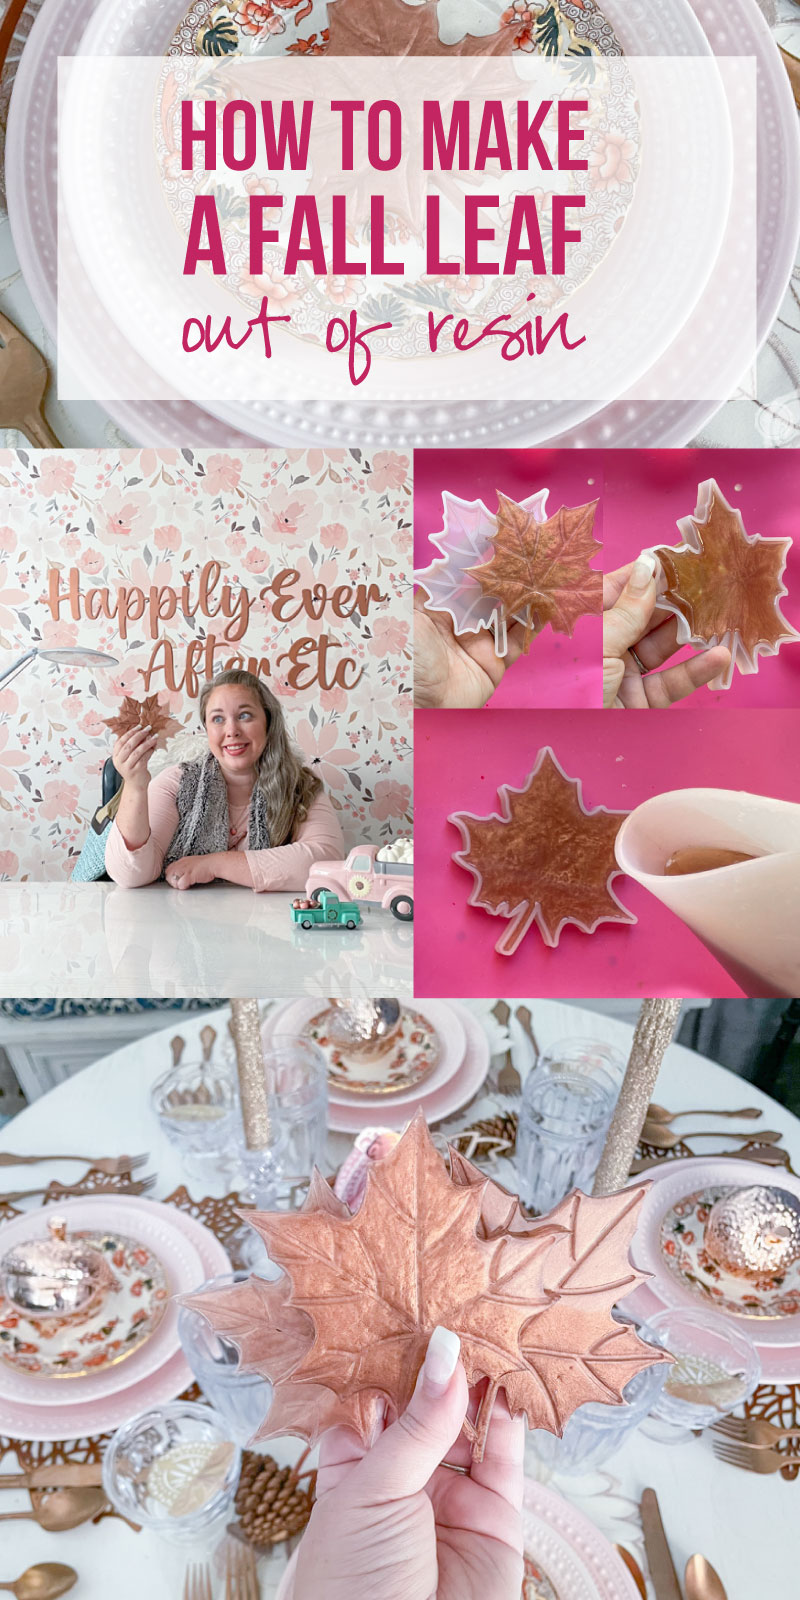
Ready for a fun fall project? This little fall leaf is a fun and easy beginner level resin project that would look cute in sooooo many different ways: coaster? centerpiece? on a fall table? hanging from the ceiling? I’m definitely going to need a few of these!
Of course, the best part about resin is that you can whip out a mold and make fun decor pieces for your home that match perfectly to any occasion! I wanted these little leaves to work for fall and match my copper fall table… so metallic copper fall leaves it is!
You could make yours with a different color or concept all together! How fun is that?
Of course the best part of Fall is the friends (and food!) that go with it… so at the bottom of this post I have a little collection of fun Fall themed projects from my friends to share. Including this post there are 7 fun Friendsgiving projects you can add to your Thanksgiving table or decor. I’m sure you’ll love all of them!
Let’s get started!
Supplies:
- Total Boat Maker’s Epoxy Resin
- Large Leaf Silicone Mold
- Copper Testers Brand Paint
- Copper Leaf Flakes
- Respirator/Mask (resin graded filters)
- Gloves
- Wagner HT400 Heat Gun
- Freezer Paper
- Silicone Mat
- Baking Pan
- Heart Shaped Silicone Mixing Cup
- Small Mixing Cups
- Silicone Measuring Cup/Larger Mixing Cups
- Reusable Silicone Stir Sticks
- Toothpicks
- Paper Towels
Just getting started with resin? Download my free resin supply list and make your first project today!

Step 1: Mix Your Resin
First things first… before we start mixing we need to prep our work station. That means freezer paper for our workbench, gloves for our hands and a respirator for our face! I work outside (since you need a well ventilated space for resin and this is my easiest solution!) so I grab a baking pan and silicone sheet to easily transport my piece once it’s cured.
It can’t stay on the front porch to cure or things might get wonky (both temperature and dust wise… have you ever found a fly in your cured resin? I have!)
Once you have on your safety gear and are in your well ventilated space we’ll start mixing!
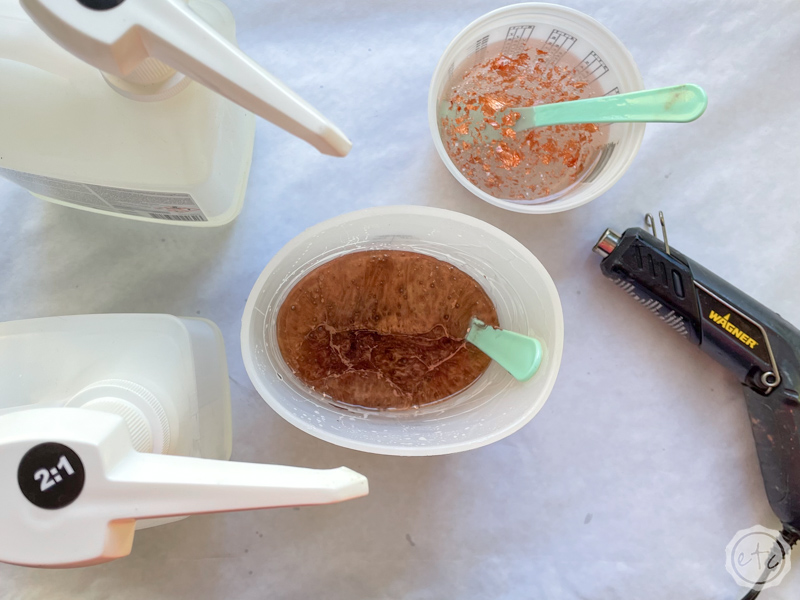
This little leaf needs about 60ml of resin… so that’s 30ml of part A and 30ml of part B. Mix those together slowly and thoroughly for 3 minutes and we’ll be good to go.
Quick reminder… once you’ve mixed your resin for the initial 3 minutes you can add your colorant. In this case that’s our metallic copper paint. You’ll add a few drops (10% colorant to 90% resin) and mix everything until it’s one solid color.
Perfect, darling!

Bonus Tip: If you’ve never mixed resin before it’s not nearly as intimidating as you’d think! I’ll walk you through all the steps here in my How to Mix Resin for Beginners Tutorial.

Step 2: Pour Your Resin
Alright y’all… ready for the fun part? Okay it’s all fun but this is where the magic happens!
Holding your silicone cup above your piece carefully pour your resin into your mold in a thin stream. The thin stream seems silly but it helps to eliminate bubbles… plus it keeps your resin from plopping out of the cup and in to your mold.
Which is startling and transfers all. the bubbles.
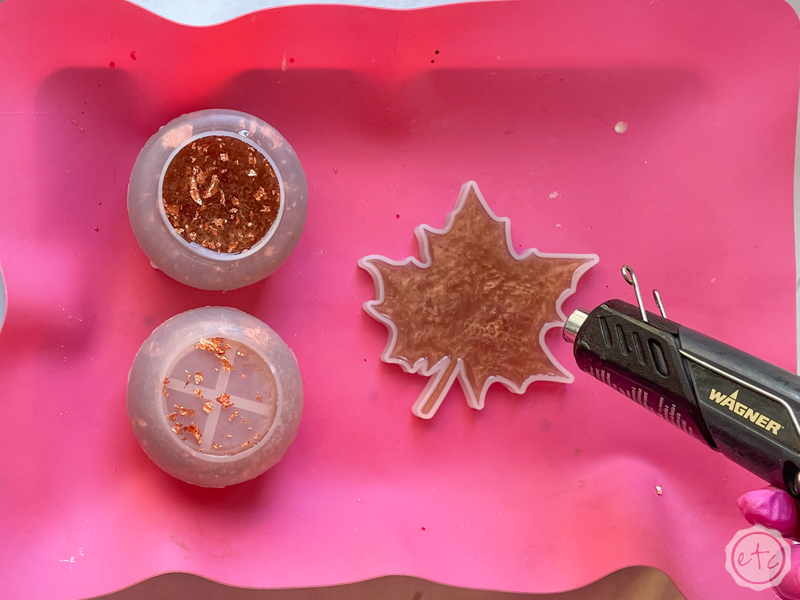
Make sure to fill the mold up to the top (but don’t overfill it!) and double check that all the nooks and crannies have resin. You can use your stir stick or a toothpick to help guide the resin down into the stem of the leaf if it’s having a hard time flowing into the smaller areas.

Step 3: Let Cure Overnight
Volia!
One saucy fall leaf coming up!! At this point avoid accidentally sticking your hand directly into the leaf (do as I say, not as I do) and use your heat gun to pop any bubbles that have risen to the top of the mold.
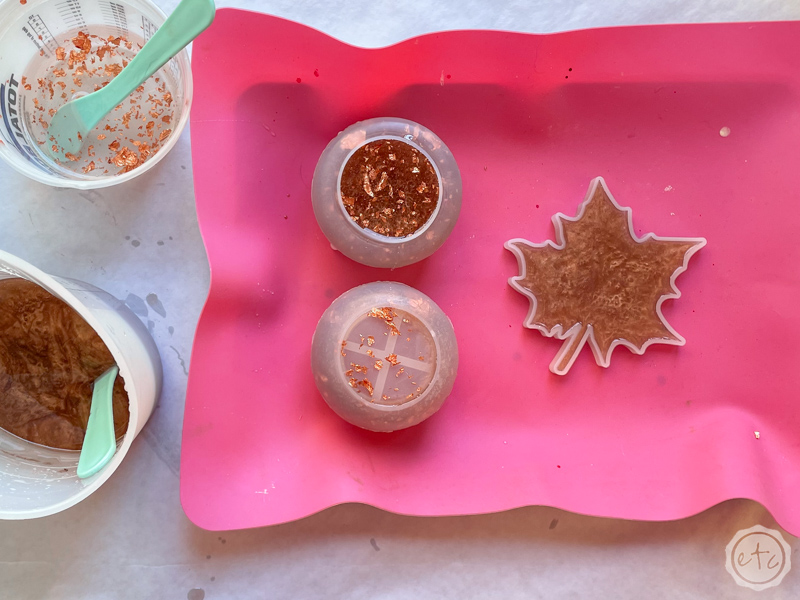
Then carefully carry it to a room temperature, behind closed doors, dust free location.
For me, that’s my guest bathroom with a box placed over top to keep the dust out.
Now all that’s left is making sure everything is level and then leaving it alone for 24 hours.
Easy enough!
Step 4: Un-Mold your Resin Piece
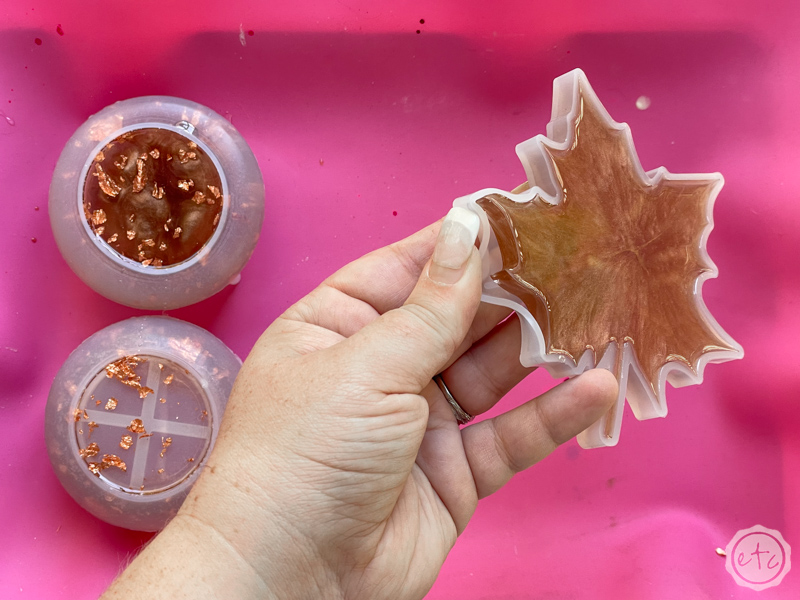
Ready to break that little maple leaf out of prison? This might be the best part… peeling back the silicone to finally get a peek at the front of your piece!
For a silicone mold the process is easy simply start by peeling back the silicone from one of the edges… then work your way around the outside of the piece. Each edge that you free gets you one step closer to seeing the finished piece!
Once you’ve done all the edges the front may be free or you may need to peel the silicone away from your little maple leaf… either way we’re at the finish line!
Isn’t he cute!? I love that the copper metallic paint gives the piece a fun color shift… it works really well in the resin. Unlike acrylic paint this copper is oil based so it doesn’t dry to a solid, flat color.
I LOVE IT!
At this point you can put your silicone mold away in a dry, flat place until you need it again or you can make another leaf! I want to add these to my copper fall table so I’m going to make a few more.


Step 5: Enjoy!
Did I already say I LOVE LOVE LOVE LOVE how it turned out? I made the next few with different amounts of pigment so that the finished leaves didn’t look identical. I love the natural look it gives them.
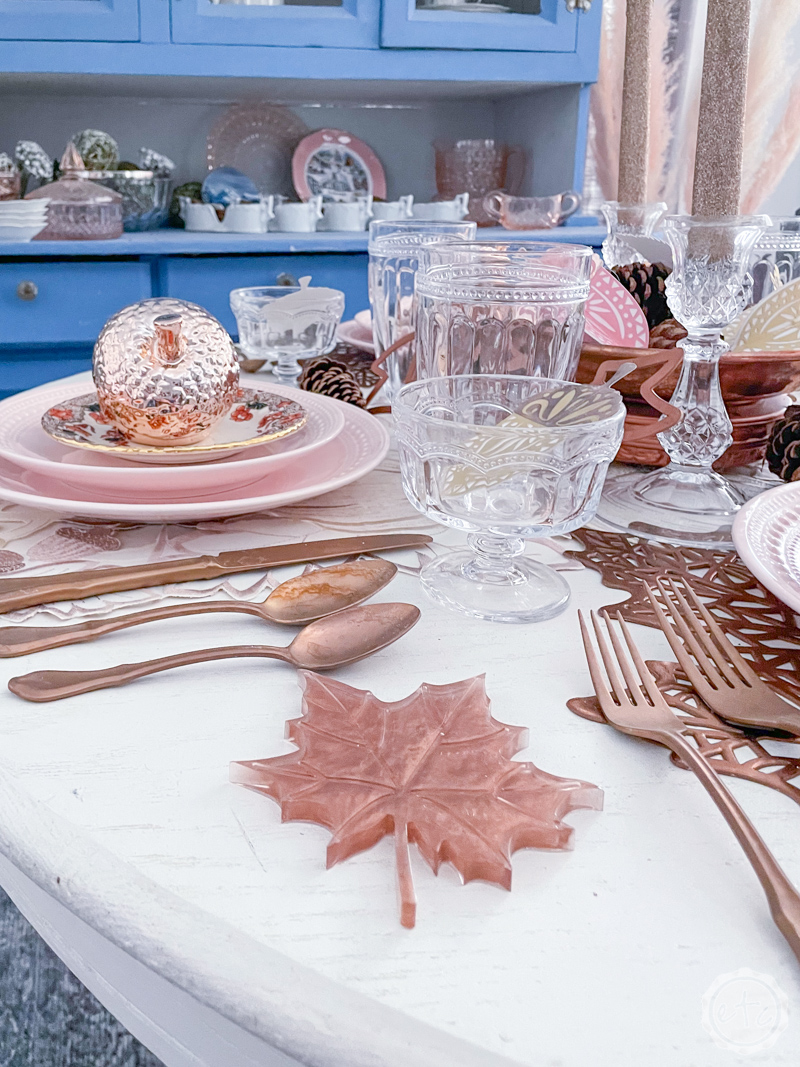
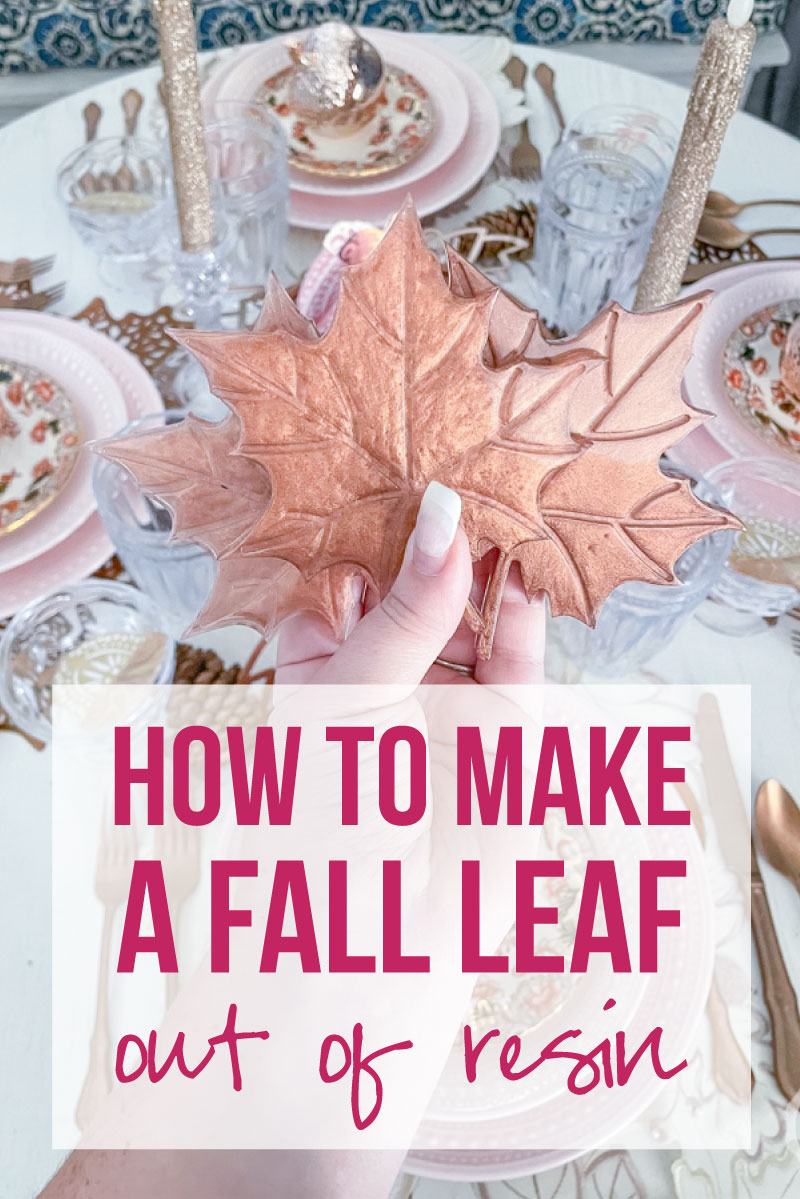
Once they were cured I took them alllllll in the dining room to see how I wanted to use them on my table.
(The color match? Perfect with the other coppers on the table!)

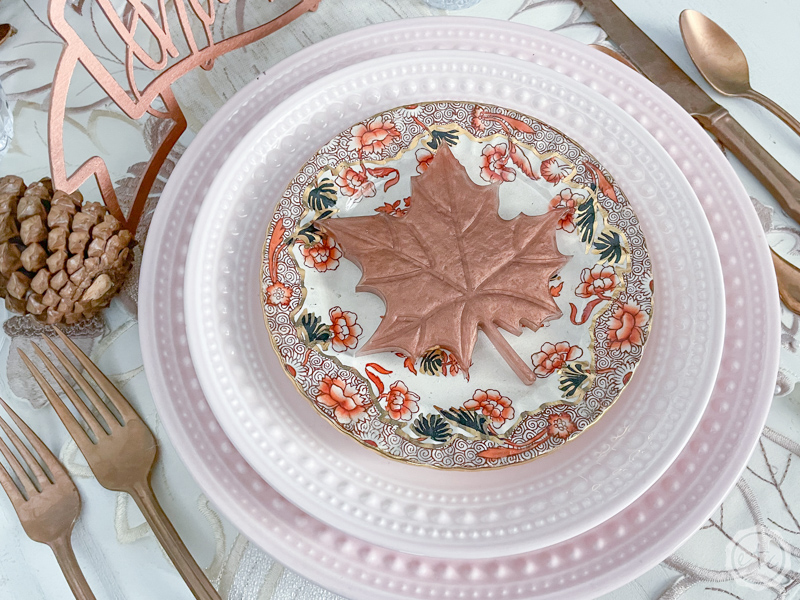
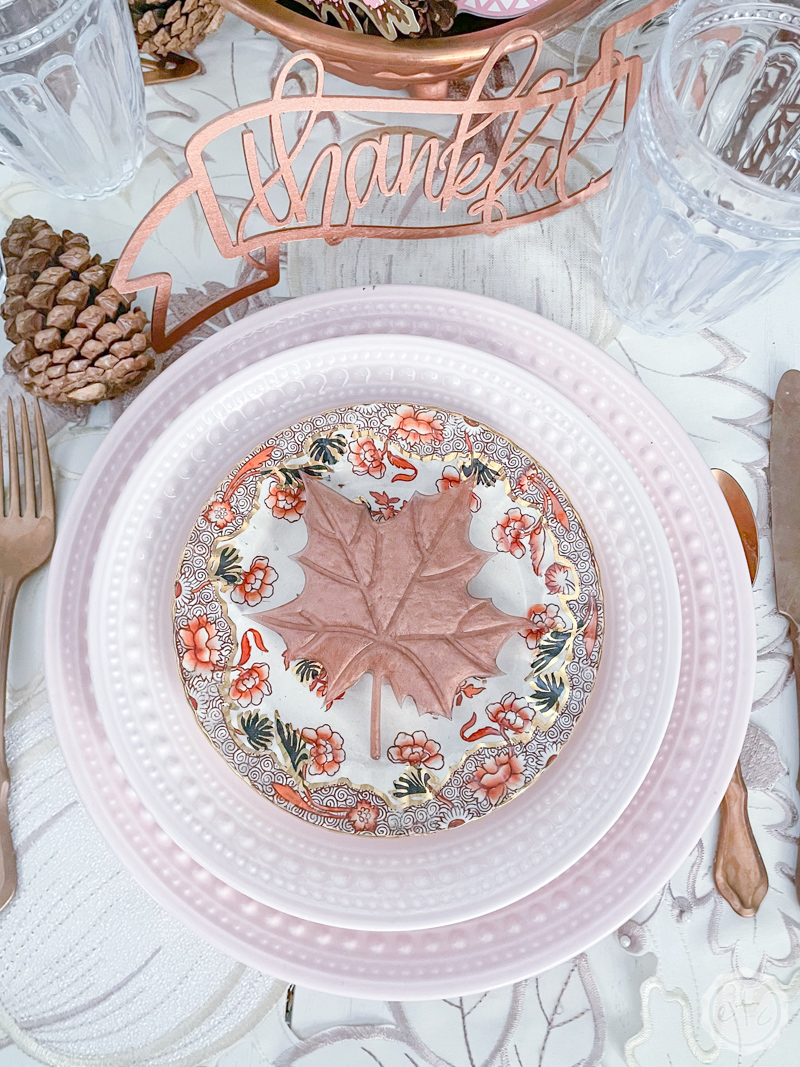
I thought about replacing my large metallic acorns as the place decoration… especially because I could easily add a name to this little fall leaf and make him a place card.
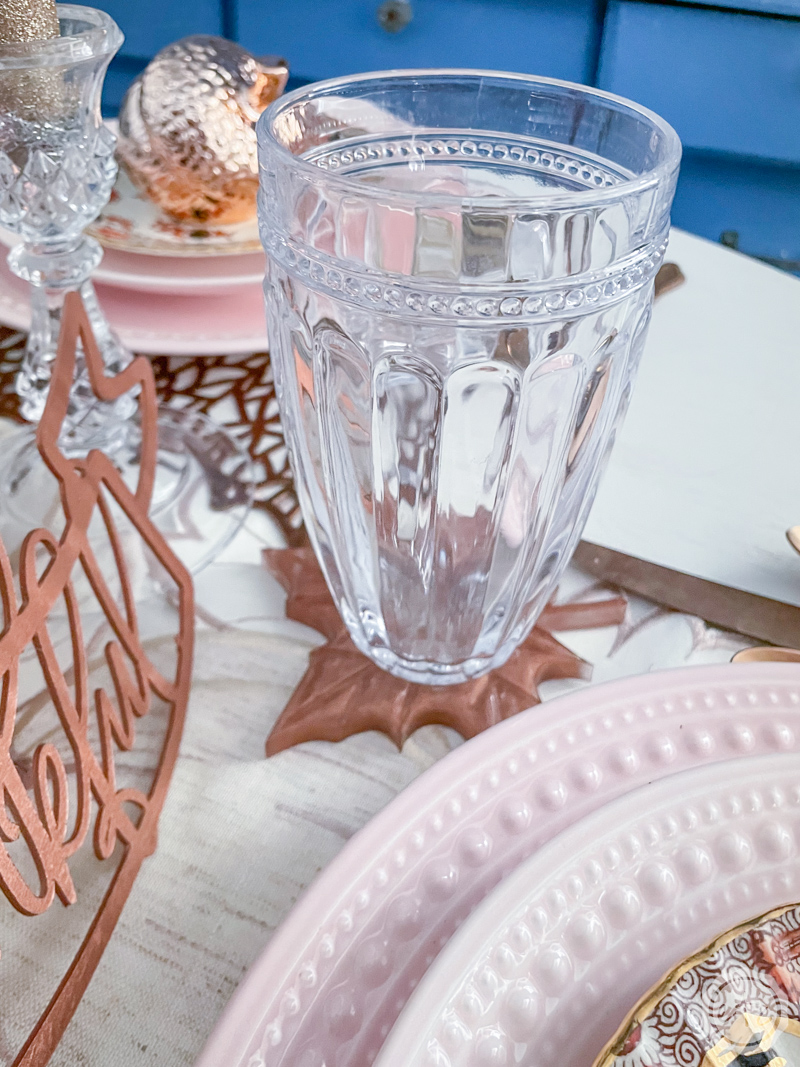
Or you can add him under your glasses as a coaster… this is less visible but my favorite of all the practical uses. I think I might leave these out on end tables as coasters once my thanksgiving table goes away for fall!

Last but not least they make super cute table decor! They match perfectly with the thankful banner script signs I made last year and the 3D acorns I whipped up for this years centerpiece.
This little table is getting crowded with my projects… I’ll have to use a few to decorate the island instead!
Ready for MORE Fall posts?
If you’re still looking for fun fall projects to try, recipes to bake or tables to set we have quite a few for you to choose from. My friend Juliet over at A Loverly Life was so sweet to put together this little Friendsgiving collection of fun Fall and Thanksgiving posts.
So if my little fall leafs don’t float your boat I’m sure there’s something here that will! Enjoy!
Looking for more resin projects? I’ve got you covered!


Betsy, this copper is brilliant! Love the multi-use of the leaf as a coaster. I’ve just added 3 resin projects to my to-do list. Thanks for the inspo!