

This little bear is perfect for fall… plus he’s a great beginner level project that you can tackle even if you’ve never mixed resin before. The best part is that the silicone mold has interest built right in with a mountain scene embedded in the mold… so you can pour a single color of resin into this mold and still have a piece that leaves people asking “how did you do that?!”. Plus it’s a keychain and who doesn’t love a good resin keychain?
They make me smile every time I see one on my key ring… although this little guy will be skipping my keychain altogether to be part of a fun fall themed mountain sign I made with my Cricut.
Head over here to see how to incorporate this little resin keychain into your very own Cricut sign (I love to make decor pieces that use resin and cricut decals… it’s literally the best of both worlds).
Ready to jump in?
Supplies:
- Total Boat Maker’s Epoxy Resin
- Small Bear Keychain Silicone Mold
- Copper Testers Brand Paint
- Respirator/Mask (resin graded filters)
- Gloves
- Wagner HT400 Heat Gun
- Freezer Paper
- Silicone Mat
- Baking Pan
- Heart Shaped Silicone Mixing Cup
- Small Mixing Cups
- Silicone Measuring Cup/Larger Mixing Cups
- Reusable Silicone Stir Sticks
- Toothpicks
- Paper Towels
Just getting started with resin? Download my free resin supply list and make your first project today!

Step 1: Mix Your Resin
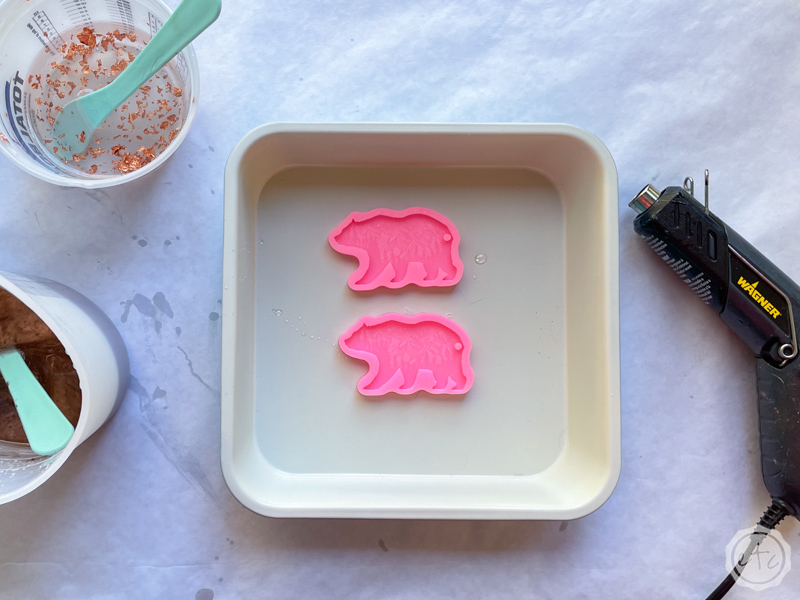
First things first… before we start mixing we need to prep our work station. That means freezer paper for our workbench, gloves for our hands and a respirator for our face! Seriously y’all… I know this is a small project but put a respirator on your face.
I work outside (since you need a well ventilated space for resin and this is my easiest solution!) so I grab a baking pan and silicone sheet to easily transport my piece once it’s cured. You do not want to carry a tiny bear mold full of liquid resin over your living room rug to find a place to cure…. a baking pan with edges is your friend here.
It can’t stay on the front porch to cure or things might get wonky (both temperature and dust wise… have you ever found a fly in your cured resin? I have!)
Once you have on your safety gear and are in your well ventilated space we’ll start mixing!
This resin keychain only needs about 20ml of resin… that’s 10ml of part a and 10 of part b. Technically you could probably get by with 15ml but who wants to measure out 7.5ml of part a? No one.
If you’re using pumps for your MakerPoxy one pump of A and one pump of B will work! Now mix those together slowly and thoroughly for 3 minutes and we’ll be good to go.
Quick reminder… once you’ve mixed your resin for the initial 3 minutes you can add your colorant. In this case that’s our metallic copper paint. You’ll add a few drops (10% colorant to 90% resin) and mix everything until it’s one solid color.
Perfect, darling!

Bonus Tip: If you’ve never mixed resin before it’s not nearly as intimidating as you’d think! I’ll walk you through all the steps here in my How to Mix Resin for Beginners Tutorial.

Step 2: Pour Your Resin
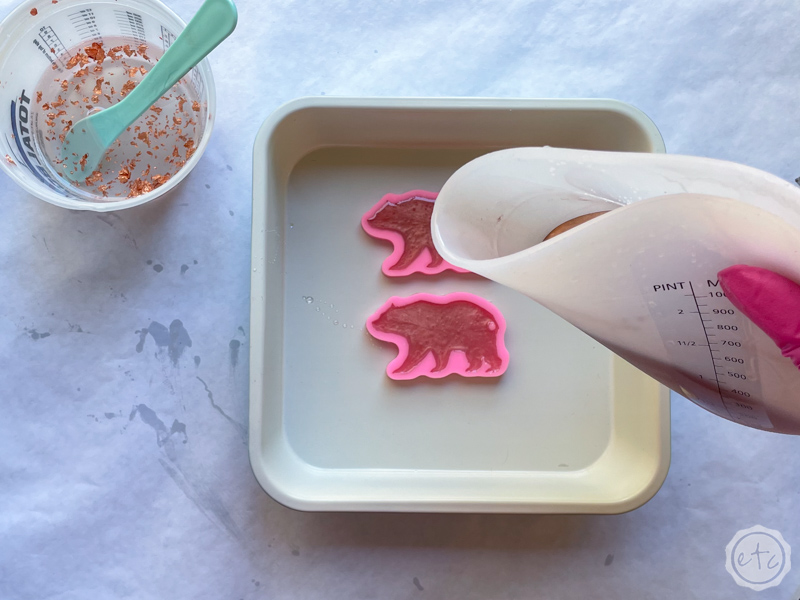
Now it’s time for the fun part… pouring your resin into your mold. The little bear himself here will do most of the work. You just need to pour your resin in a thin stream from high up to help eliminate bubbles. As it fills the mold set your resin aside and let it self level… you want it filled up to the very top!
Then you can use your silicone stir stick to push resin into all the crevices: the tiny feet, behind the keychain spot… the tiny bear nose! Make sure resin is filling the entire mold and then use your heat gun to pop any bubbles that are trapped in the resin.
Make sure you’re using a heat gun and not a torch as a torch can be known to melt a silicone mold… and that will NOT help us!
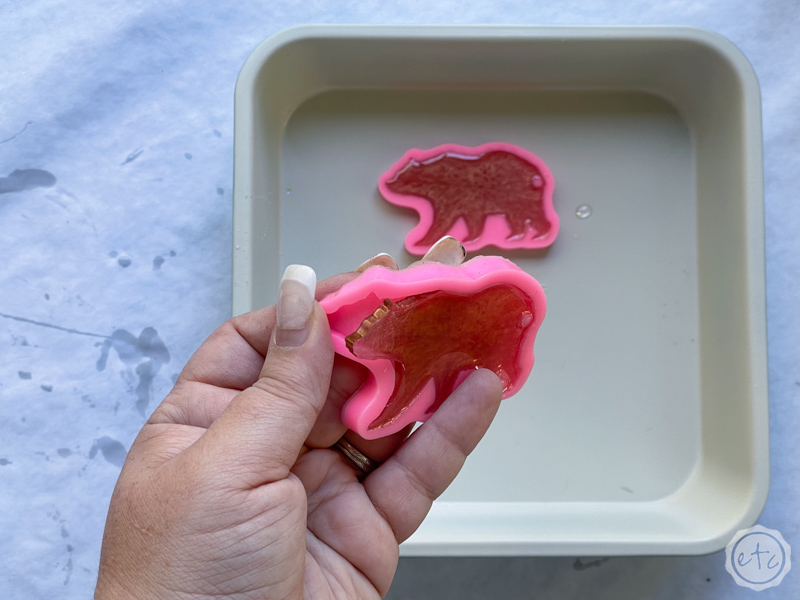
Once your mold (or both molds!) are full you can set them aside for 24 hours to cure… they’ll be dry to the touch after 5-6 hours but still bendy. Leave them flat to cure for at least a day if you want a cured (straight!) resin bear keychain.

Step 3: UnMold your Resin Keychain
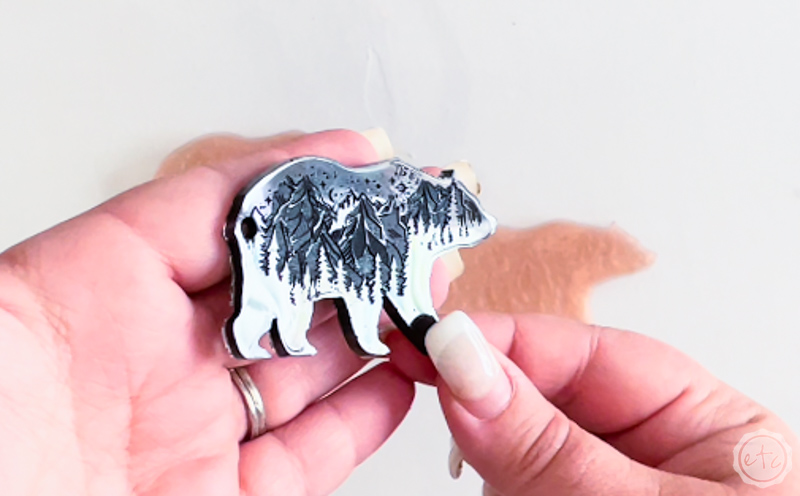
This is where the magic happens! Once your little bear is cured you can release him from his silicone prison by carefully pulling the silicone away from each side of the piece… it’s a small piece so that should pretty much do the trick.
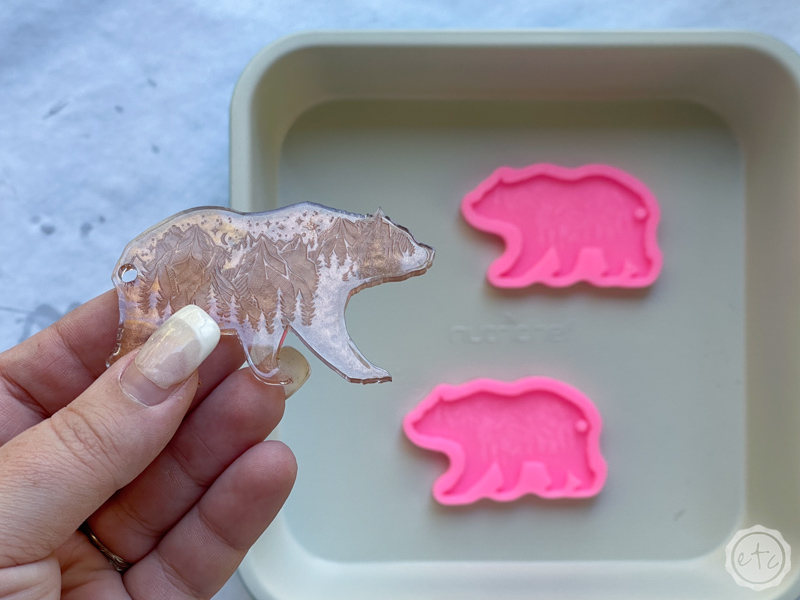
Now you have a resin bear keychain!
He’s SO cute!
I love the little mountains and the teeny tiny stars… and look at the moon!
I love it!

Step 4: Enjoy!
At this point you’re allllll set… you can add a keyring and hit the town. Or the trail? Seems like you’d go hiking a lot with this little bear as your keychain pal.
Maybe that’s just me.
I’m off to make a cute cricut sign with copper mountains that my resin bear friend can prowl across.
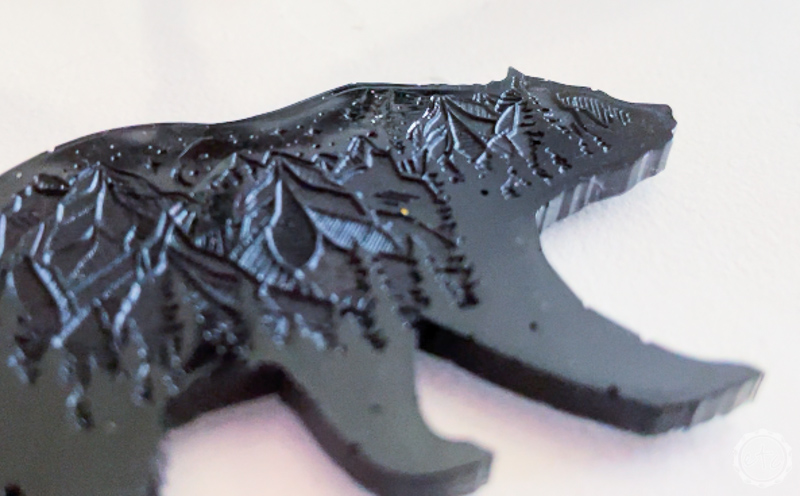
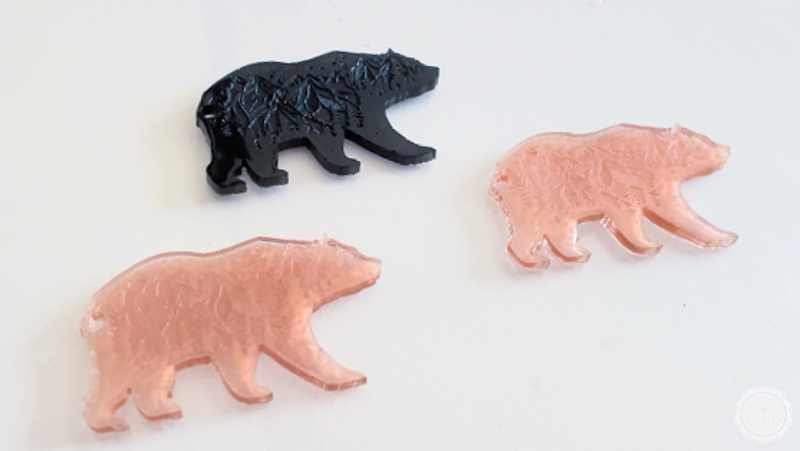
In the meantime here’s a few close up shots of the details this little bear has… I’ve even included a few that I made with black pigment (you can really see the details with a darker color!). If I were making these again I would add more copper pigment so that these little guys looked more like the little fall maple leaves I made for my fall tablescape.
Just a tip!



This little bear is perfect for fall… plus he’s a great beginner level project that you can tackle even if you’ve never mixed resin before. The best part is that the silicone mold has interest built right in with a mountain scene embedded in the mold… so you can pour a single color of resin into this mold and still have a piece that leaves people asking “how did you do that?!”. Plus it’s a keychain and who doesn’t love a good resin keychain?
They make me smile every time I see one on my key ring… although this little guy will be skipping my keychain altogether to be part of a fun fall themed mountain sign I made with my Cricut.
Head over here to see how to incorporate this little resin keychain into your very own Cricut sign (I love to make decor pieces that use resin and cricut decals… it’s literally the best of both worlds).
Ready to jump in?
Supplies:
- Total Boat Maker’s Epoxy Resin
- Small Bear Keychain Silicone Mold
- Copper Testers Brand Paint
- Respirator/Mask (resin graded filters)
- Gloves
- Wagner HT400 Heat Gun
- Freezer Paper
- Silicone Mat
- Baking Pan
- Heart Shaped Silicone Mixing Cup
- Small Mixing Cups
- Silicone Measuring Cup/Larger Mixing Cups
- Reusable Silicone Stir Sticks
- Toothpicks
- Paper Towels
Just getting started with resin? Download my free resin supply list and make your first project today!

Step 1: Mix Your Resin
First things first… before we start mixing we need to prep our work station. That means freezer paper for our workbench, gloves for our hands and a respirator for our face! Seriously y’all… I know this is a small project but put a respirator on your face.
I work outside (since you need a well ventilated space for resin and this is my easiest solution!) so I grab a baking pan and silicone sheet to easily transport my piece once it’s cured. You do not want to carry a tiny bear mold full of liquid resin over your living room rug to find a place to cure…. a baking pan with edges is your friend here.
It can’t stay on the front porch to cure or things might get wonky (both temperature and dust wise… have you ever found a fly in your cured resin? I have!)
Once you have on your safety gear and are in your well ventilated space we’ll start mixing!
This resin keychain only needs about 20ml of resin… that’s 10ml of part a and 10 of part b. Technically you could probably get by with 15ml but who wants to measure out 7.5ml of part a? No one.
If you’re using pumps for your MakerPoxy one pump of A and one pump of B will work! Now mix those together slowly and thoroughly for 3 minutes and we’ll be good to go.
Quick reminder… once you’ve mixed your resin for the initial 3 minutes you can add your colorant. In this case that’s our metallic copper paint. You’ll add a few drops (10% colorant to 90% resin) and mix everything until it’s one solid color.
Perfect, darling!

Bonus Tip: If you’ve never mixed resin before it’s not nearly as intimidating as you’d think! I’ll walk you through all the steps here in my How to Mix Resin for Beginners Tutorial.


Step 2: Pour Your Resin
Now it’s time for the fun part… pouring your resin into your mold. The little bear himself here will do most of the work. You just need to pour your resin in a thin stream from high up to help eliminate bubbles. As it fills the mold set your resin aside and let it self level… you want it filled up to the very top!
Then you can use your silicone stir stick to push resin into all the crevices: the tiny feet, behind the keychain spot… the tiny bear nose! Make sure resin is filling the entire mold and then use your heat gun to pop any bubbles that are trapped in the resin.
Make sure you’re using a heat gun and not a torch as a torch can be known to melt a silicone mold… and that will NOT help us!
Once your mold (or both molds!) are full you can set them aside for 24 hours to cure… they’ll be dry to the touch after 5-6 hours but still bendy. Leave them flat to cure for at least a day if you want a cured (straight!) resin bear keychain.


Step 3: UnMold your Resin Keychain
This is where the magic happens! Once your little bear is cured you can release him from his silicone prison by carefully pulling the silicone away from each side of the piece… it’s a small piece so that should pretty much do the trick.
Now you have a resin bear keychain!
He’s SO cute!
I love the little mountains and the teeny tiny stars… and look at the moon!
I love it!


Step 4: Enjoy!
At this point you’re allllll set… you can add a keyring and hit the town. Or the trail? Seems like you’d go hiking a lot with this little bear as your keychain pal.
Maybe that’s just me.
I’m off to make a cute cricut sign with copper mountains that my resin bear friend can prowl across.
In the meantime here’s a few close up shots of the details this little bear has… I’ve even included a few that I made with black pigment (you can really see the details with a darker color!). If I were making these again I would add more copper pigment so that these little guys looked more like the little fall maple leaves I made for my fall tablescape.
Just a tip!



Looking for more resin projects? I’ve got you covered!











Leave a Reply