

With all of the pretty SVG’s out there these days there’s only one question: what am I going to put all these SVG’s on? There are lots of options… like this little target dollar spot sled that I put an SVG on last week or even a cute little metal sign that I added to a tobacco basket for Christmas!
But that’s not enough… I made 10 FREE Christmas SVG’s this month alone so I’m always in need of more blanks! And since I just put my Christmas tree up I really wanted to make a few Christmas ornament blanks!
So I ordered a mold and broke out the resin.
It’s time to whip up a few resin ornament blanks and then we’ll have so many options to add our little vinyl decals!
I can’t wait!
Supplies:
- Amazing Clear Cast Resin
- Respirator/Mask (resin graded filters)
- Gloves
- Wagner HT400 Heat Gun
- Freezer Paper
- Silicone Mat
- Silicone Mixing Stick
- Small Mixing Cups
- Silicone Measuring Cup/Larger Mixing Cups
- Reusable Silicone Stir Sticks
- White Craft Paint
- Silicone Ornament Mold
Just getting started with resin? Download my free resin supply list and make your first project today!
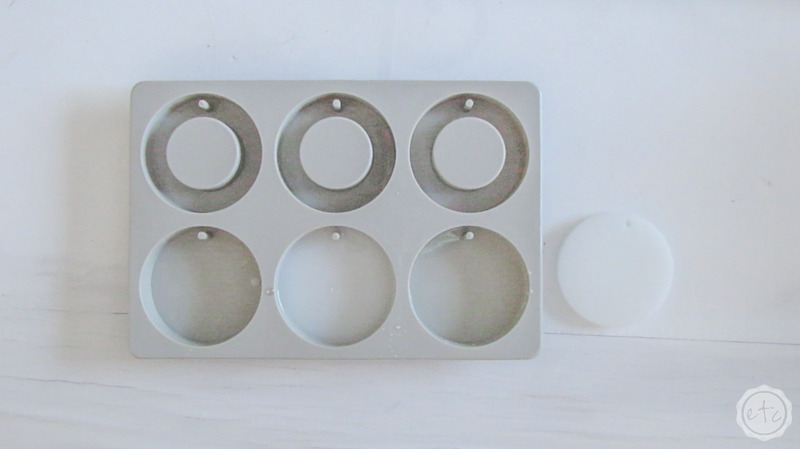
Step 1: Pour Resin
Alright y’all this little project is probably the quickest and easiest resin project you’ll ever make. Start by mixing about 90ml of white resin and pouring it into your molds… in this case I only used the solid 3 sections at the bottom of the mold and not the rings at the top (I need space for my SVG’s people!).
You’ll notice that 30ml per ornament will not fill up the mold and that’s ok… I’ve made a full mold and y’all it’s chunky. Too chunky. I don’t think you could fit an ornament hook through it let alone hang it on the tree without it pulling the branch off.
I learned quickly that in this case less is more and started to pour my resin in thin layers!
Once you’ve poured all your resin use your heat gun to pop any bubbles that may rise to the surface and then set the entire mold aside to cure. We’ll leave this little guy for about 24 hours… which should be more than enough time for the resin to set!

Bonus Tip: If you’ve never mixed resin before it’s not nearly as intimidating as you’d think! I’ll walk you through all the steps here in my How to Mix Resin for Beginners Tutorial.
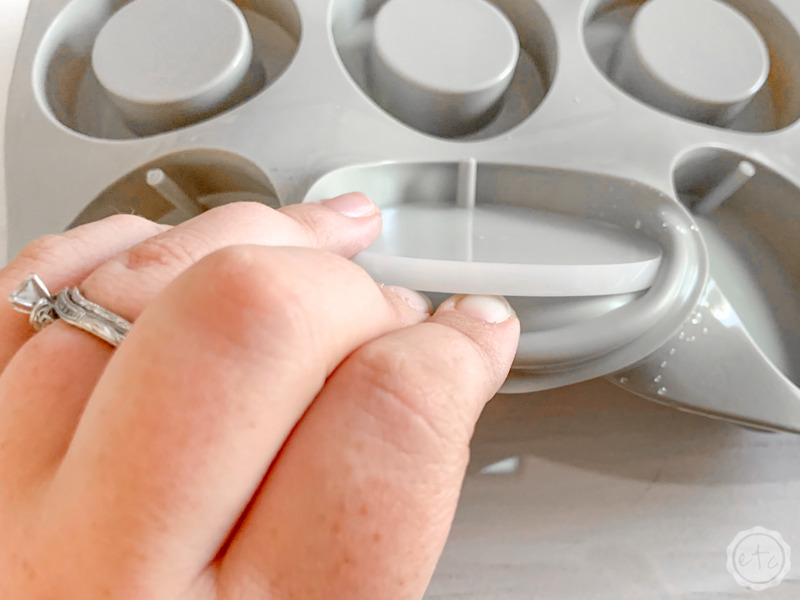
Step 2: Demold your Ornament
Ready for the fun part? Now that your ornament has cured you should be ready to pop that baby out of the mold!
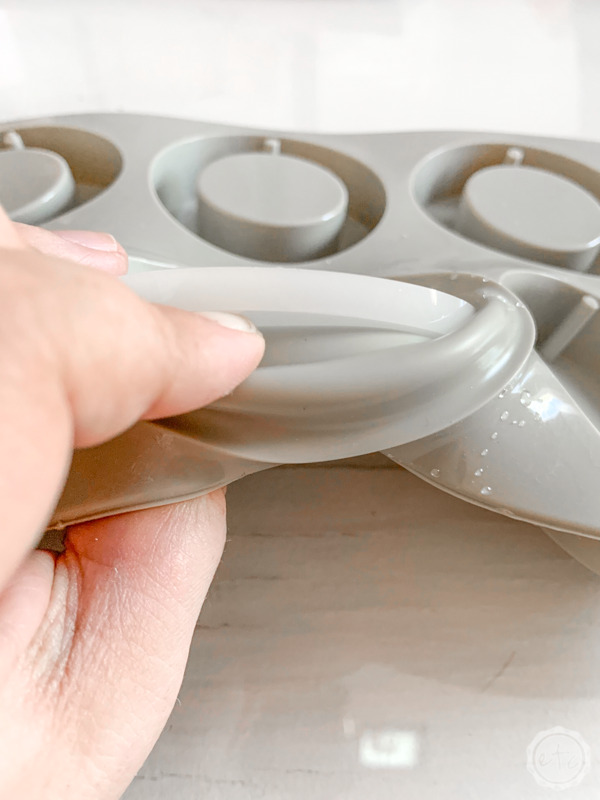
Carefully peel the silicone back from the resin and you’ll be able to grab the actual resin. I like to start at the bottom so that I can remove most of the ornament from the mold before tackling the little portion that will become the hole for our ornament hook.
Once you’ve popped out all 3 pieces you’re good to go! You can mix up a bit more resin and make more ornaments or move on to adding your SVG’s.
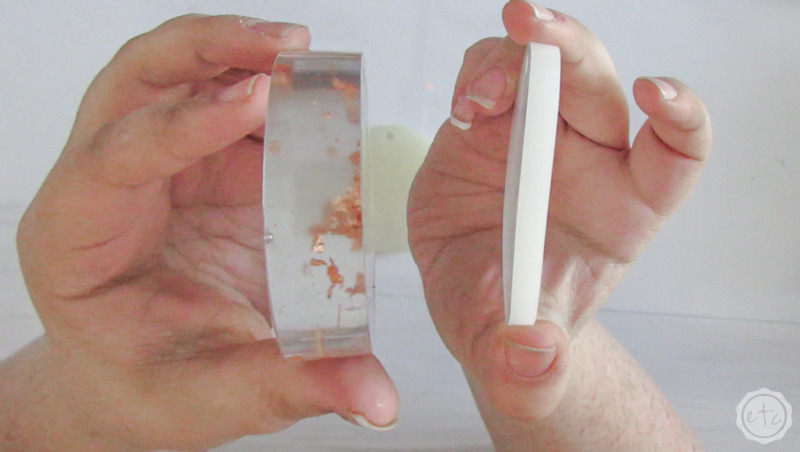
Here’s a quick look at a side by side view of two ornaments made with this mold. The left one is the full mold, I filled the entire mold with resin… and look at what a piece of resin it is!
That is one chunky little ornament!
The resin piece on the right is one of the smaller pieces that I only filled about a third of the way with resin.
You can definitely see the difference. The smaller version is much easier to hang on the tree!


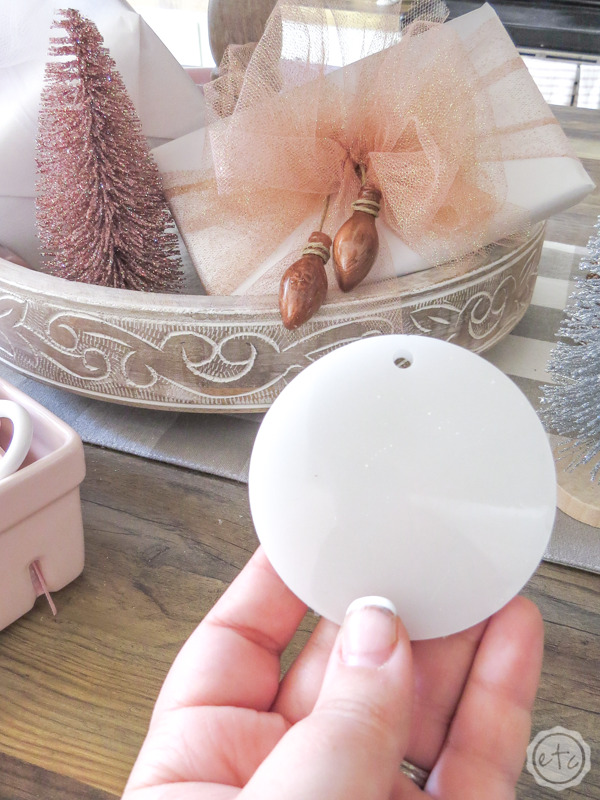

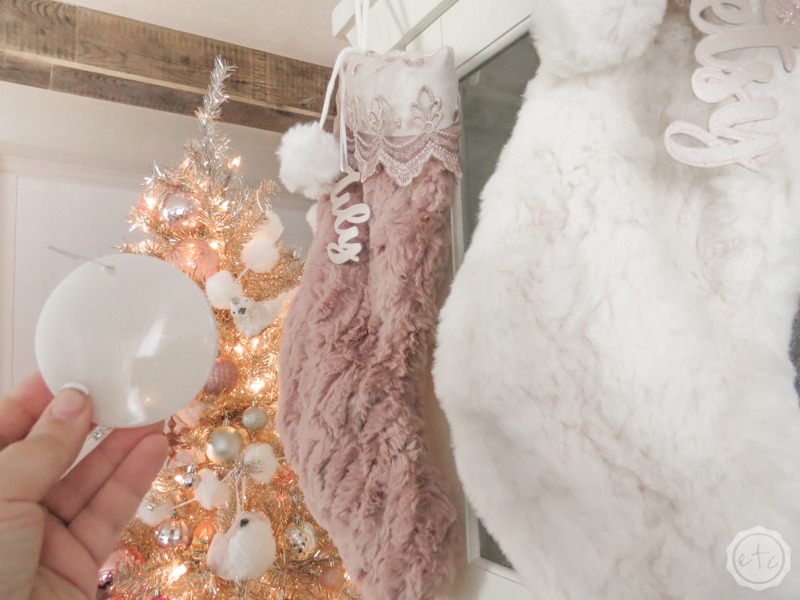
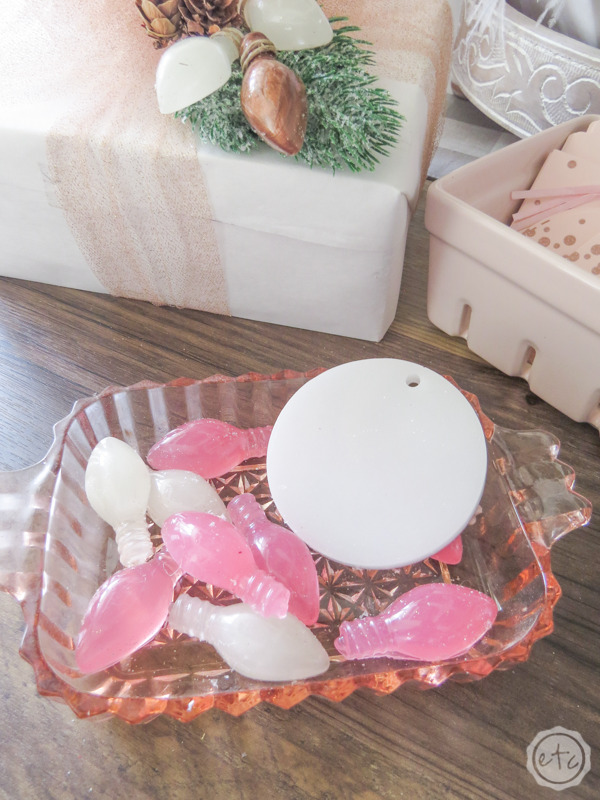
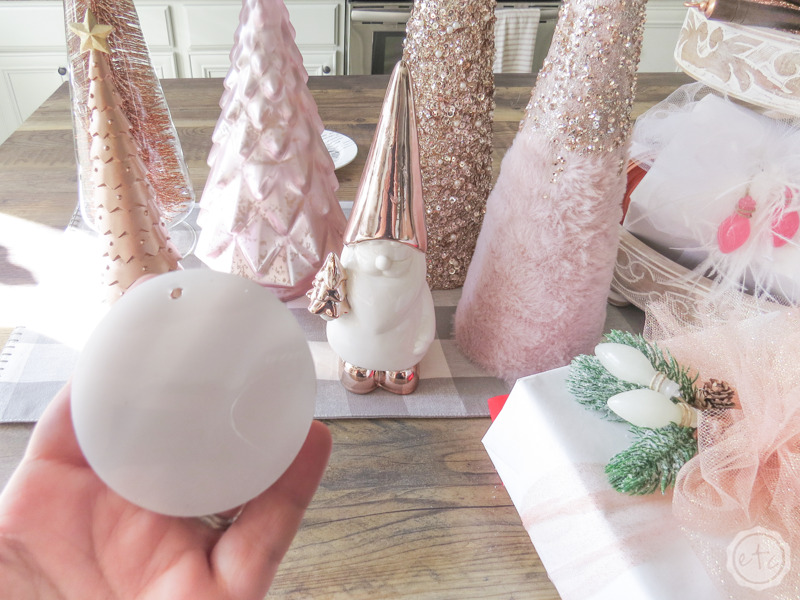
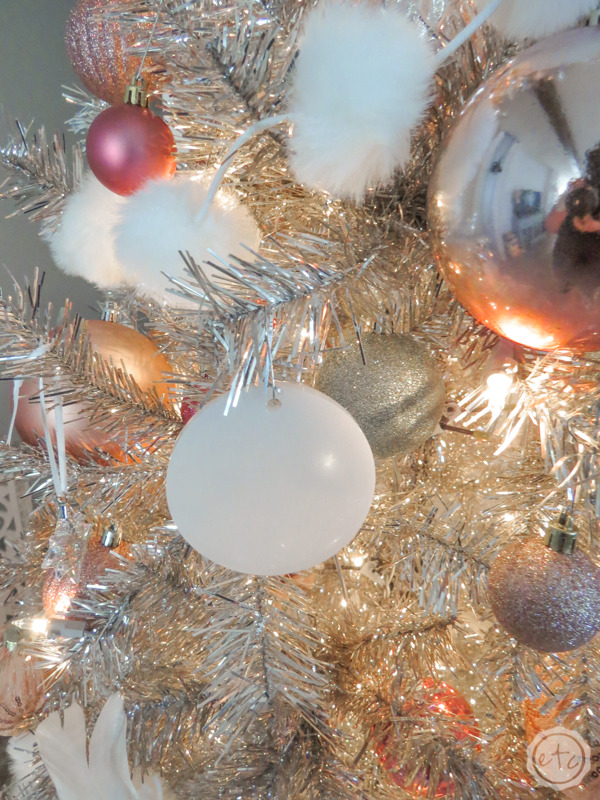

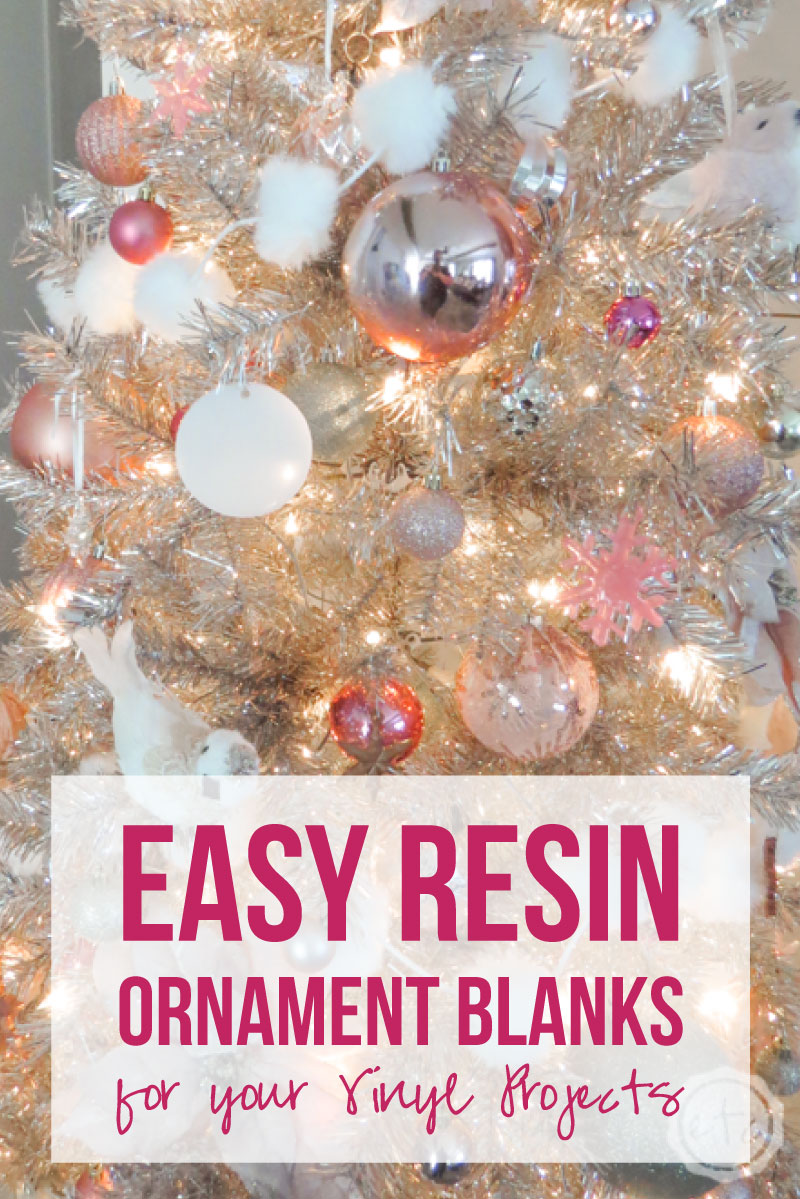
UPDATE: I absolutely love this little resin ornament blank mold and decided to make a few more blanks for my rose gold tree this year!
The tree itself is turning into a resin ornament tree with 5 different resin ornaments being the main focus… but that’s a story for another day! Instead of white I used a copper ink to make a few blanks this time and add a few adorable Christmas sayings!
They’re the same Christmas sayings I used on these acrylic ornament blanks (with resin backgrounds!) so now they match!
LOVE IT!



Looking for more resin projects? I’ve got you covered!











Leave a Reply