

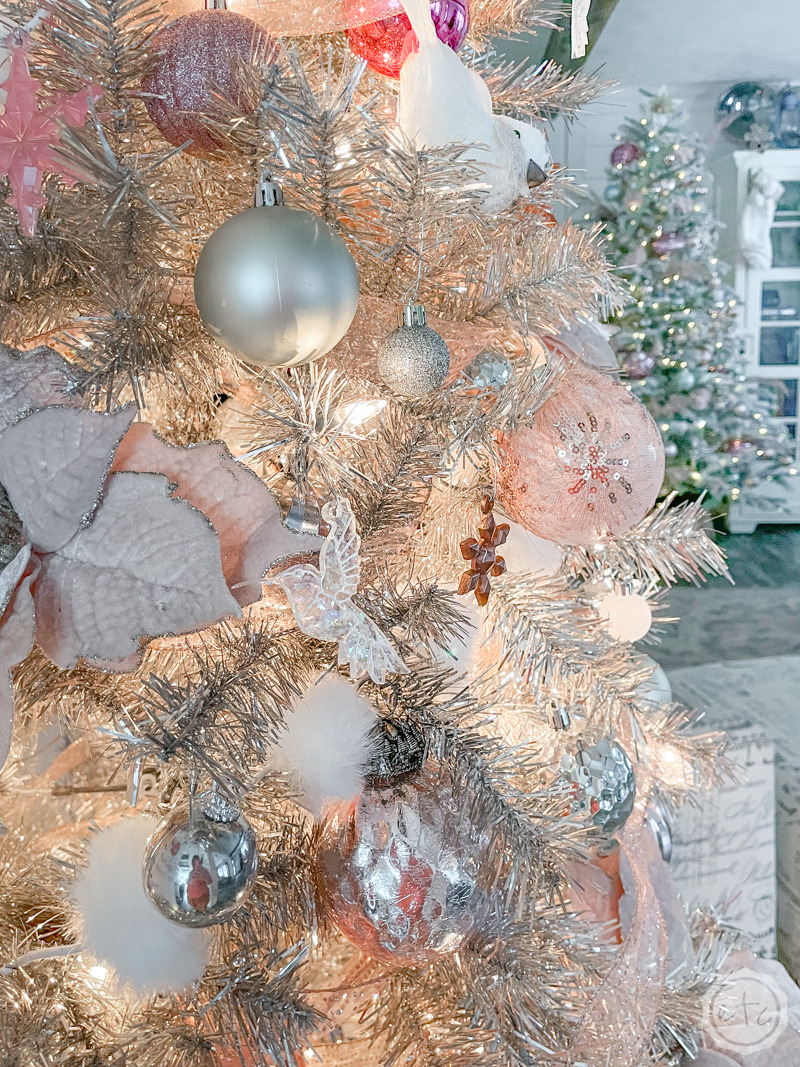
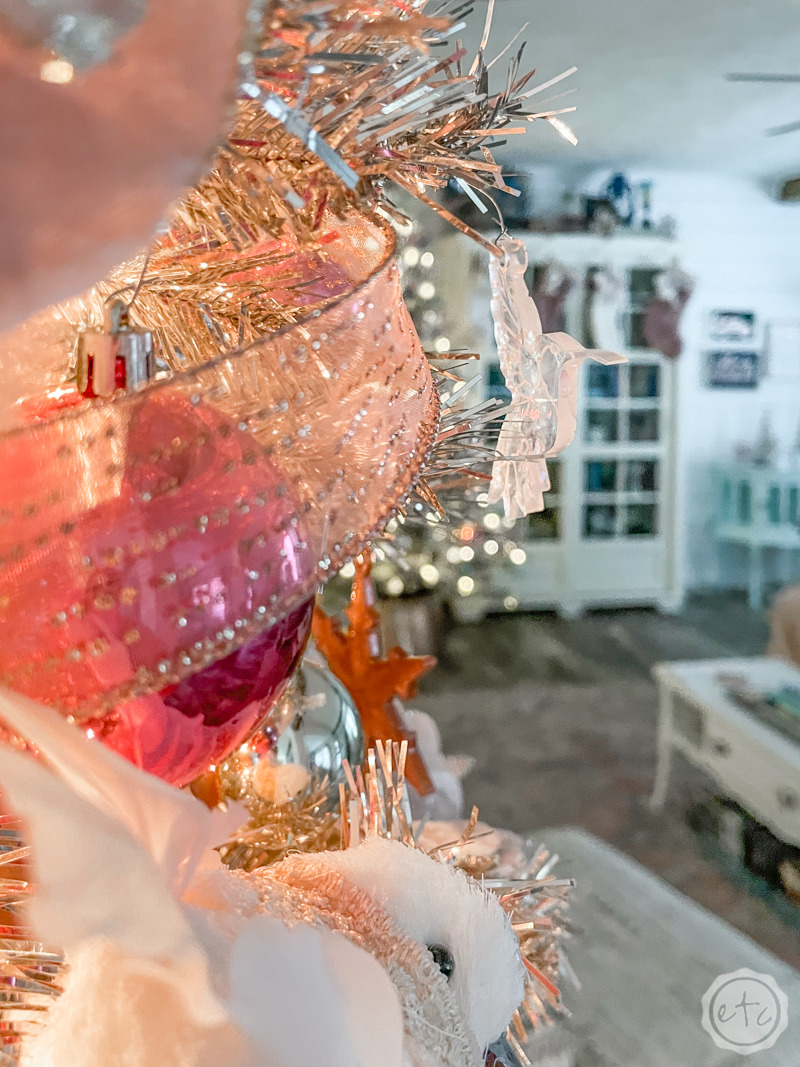
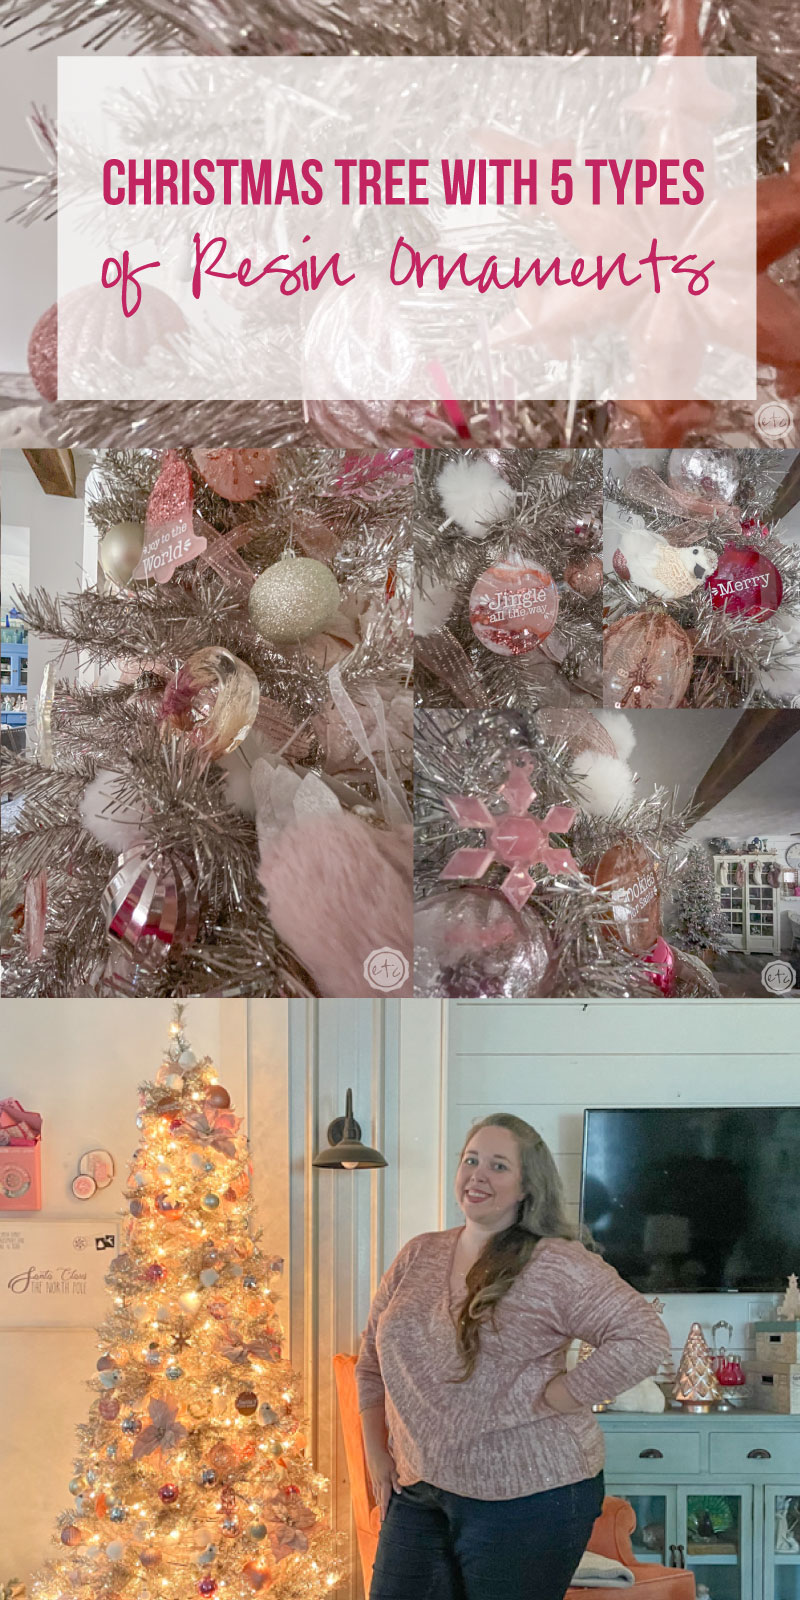
The last few years I have really struggled with decorating my rose gold Christmas tree… I’ve had a few versions that I loved (like last year’s tree when we focused solely on decorating a rose gold tree) but despite all that this year I feel like it’s finally hitting that sweet spot where it looks great! It looks amazing with the blush and sea foam Mary’s Angel’s tree across the room and I love how all of the ornaments are starting to pop (the problem with a rose gold tree is alot of ornaments just don’t show up… they’re meant to go against green!).
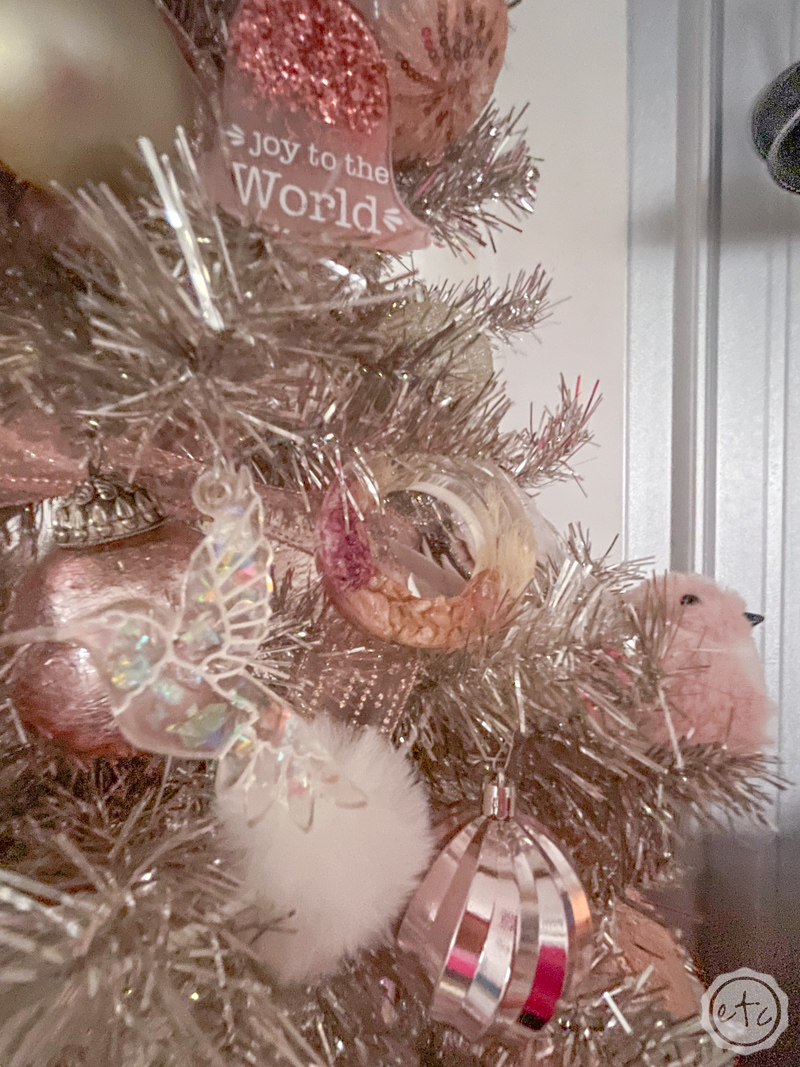
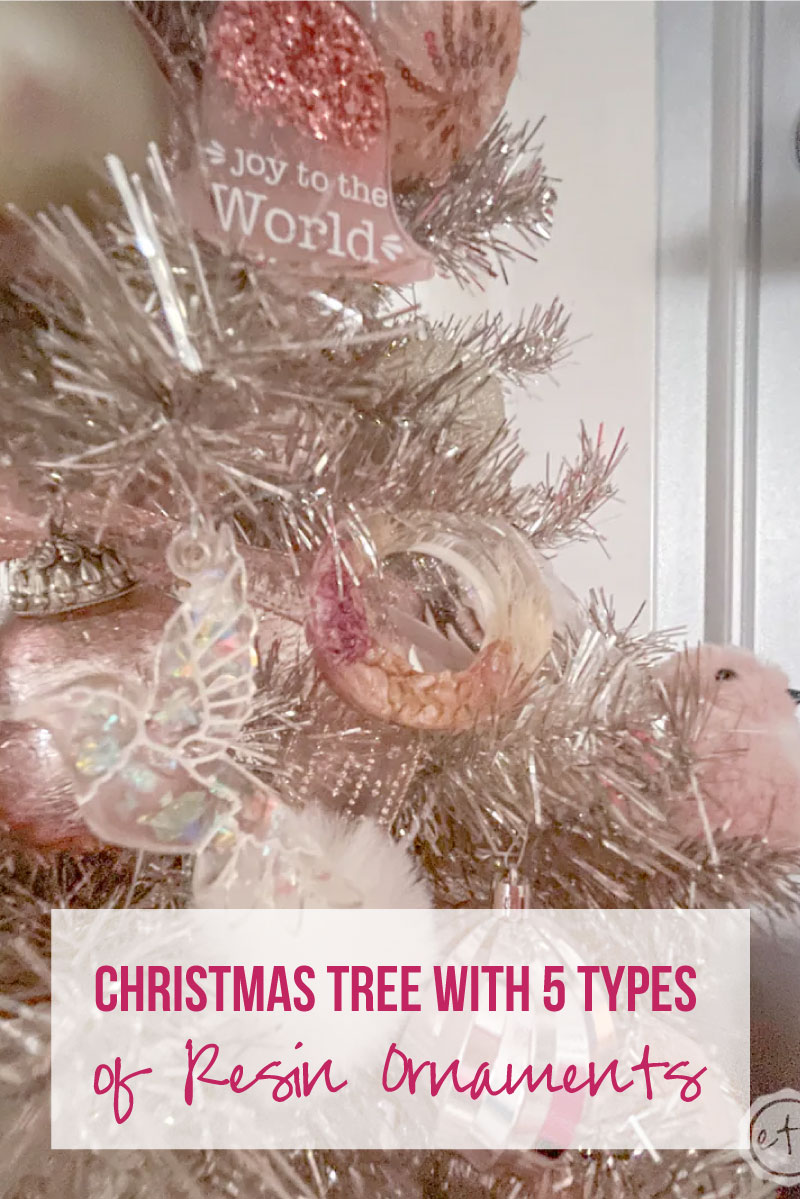
We built off the base of last year’s tree (using the same ribbon, garland, base ornaments and pink poinsettia’s) but we added more of our resin ornaments! I’ve slowly been making and adding resin ornaments to this tree for the last 3 years (little snowflakes, tiny hummingbirds!) but this year we went with larger statement ornaments with cute SVG’s!
I think these really tie it allll together.
Let’s take a look!
Supplies:
- 7.5 Rose Gold Christmas Tree
- Galvanized Tree Collar
- Fluffy White Pom Pom Garland
- Blush Poinsettia’s (these specific ones are from Pier One and sold out, there are similar ones here)
- Blush Pink Birds (these specific birds are from this year’s Cracker Barrel collection but are not available online… here are a set of pretty pink birds that are a similar color!)
- White Fluffy Birds
- Pink Mercury Glass Ornaments
- Pink and Copper Sequin Balls (These are from Hobby Lobby but there is not an online link)
- Set of 50 Shatterproof Champagne Dusty Rose & Rose Gold Balls
- Large Shatterproof Blush, Pink and Champagne Balls
- Tiny Shatterproof Blush Christmas Ornament Set Pink, Champagne and White Balls
- Resin Backgrounds on Acrylic Ornament Blank Tutorial
- Resin Ornament Blank Tutorial
- Resin Flower Ornament Tutorial
- Resin Hummingbird Ornament Tutorial
- Resin Snowflake Ornament Tutorial
Just getting started with resin? Download my free resin supply list and make your first project today!

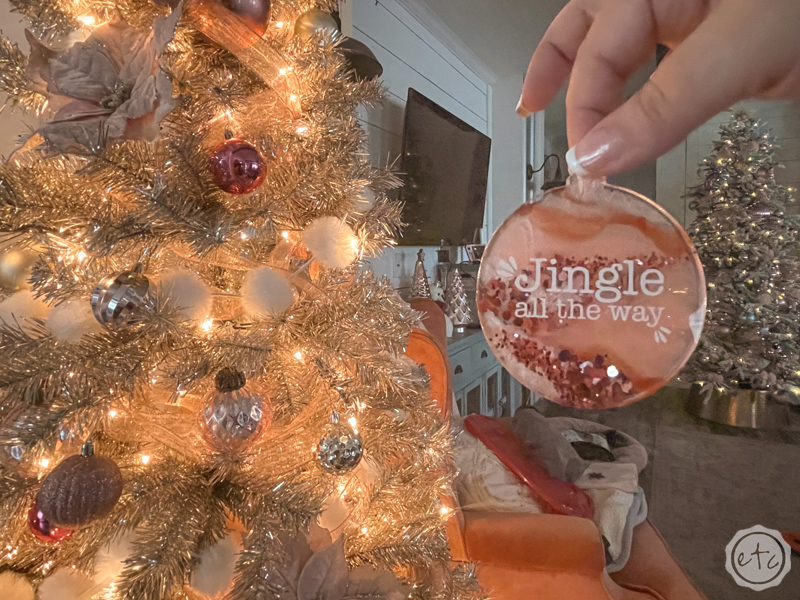
Resin Backgrounds on Acrylic Ornament Blanks
First things first… these little babies are soooo cute! They’re one of my new additions for this year and I love how they turned out. They’re actually ornament sized (as opposed to the small snowflakes and hummingbirds) so you see them right away.
They’re the main attraction if you will… and since I used an entire set of the acrylic ornament blanks to make these they’re are quite a few. If you follow the full tutorial I walk you through making each of the background designs: Marble, Alcohol Ink, Glitter, Solid and Glitter Ombre. I put all 5 types on my tree (mixed together) but you could easily make 10 resin marble ornaments and call it a collection.
Whatever floats your boat!
Check out the Resin Background on Acrylic Ornament Blanks Tutorial HERE.
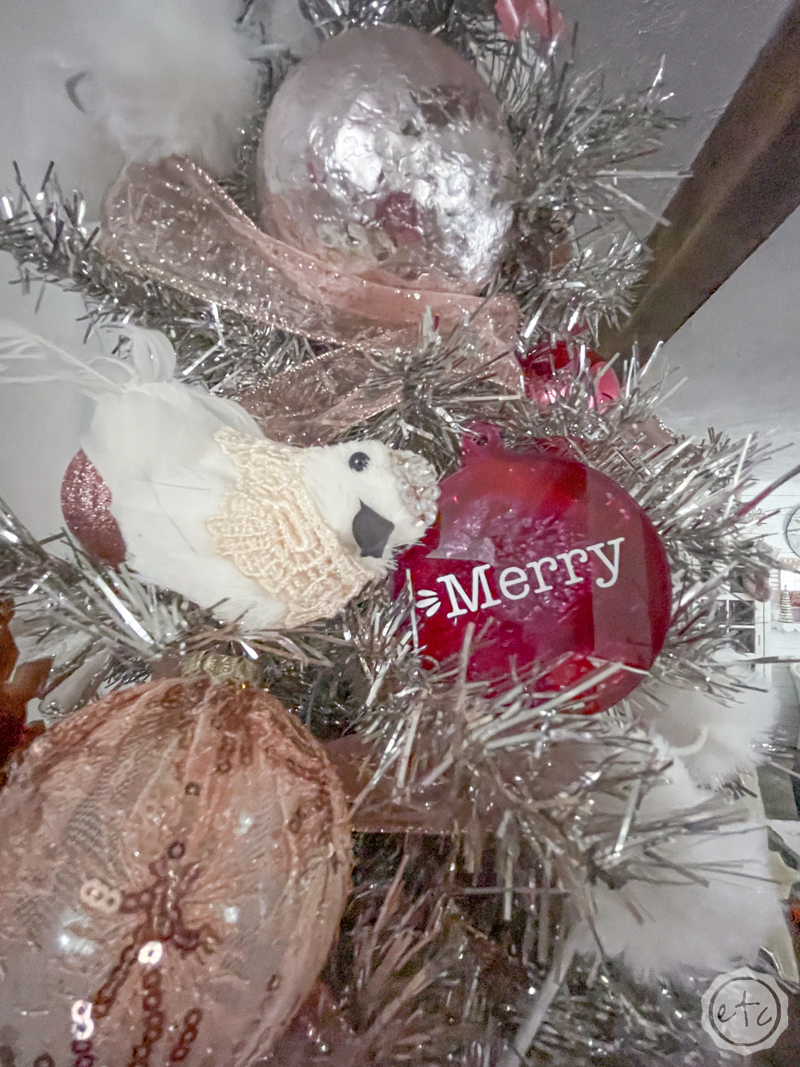


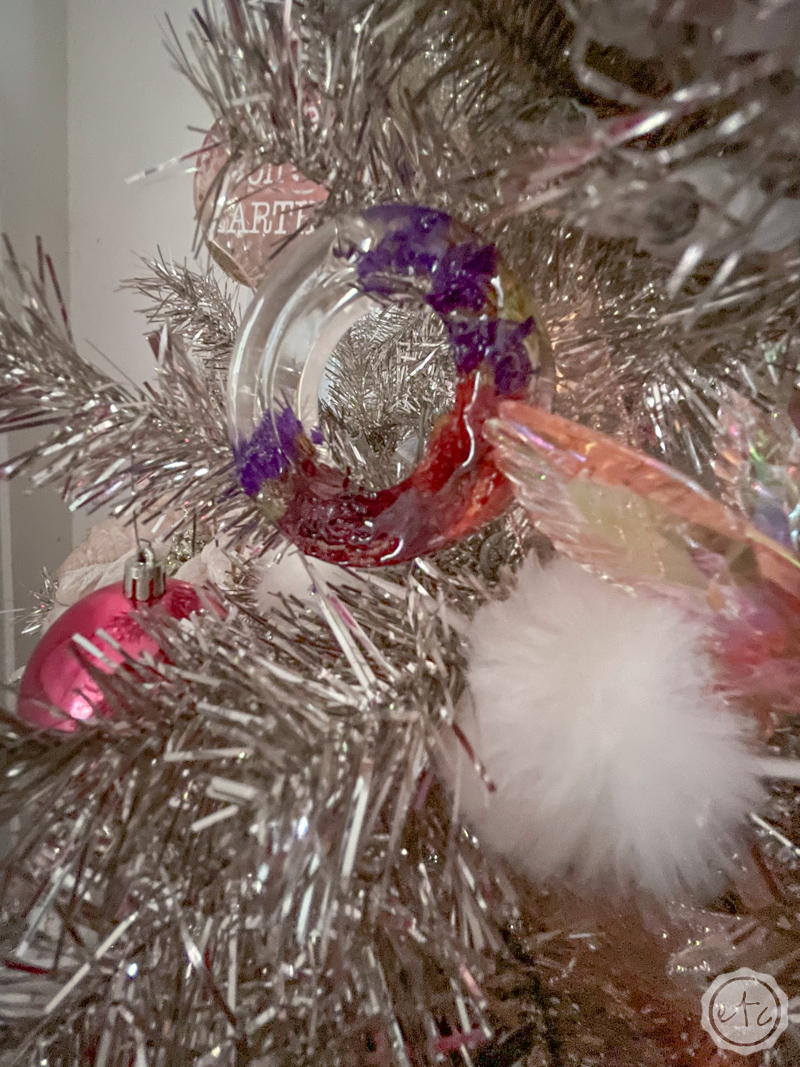
Resin Flowers Ornaments
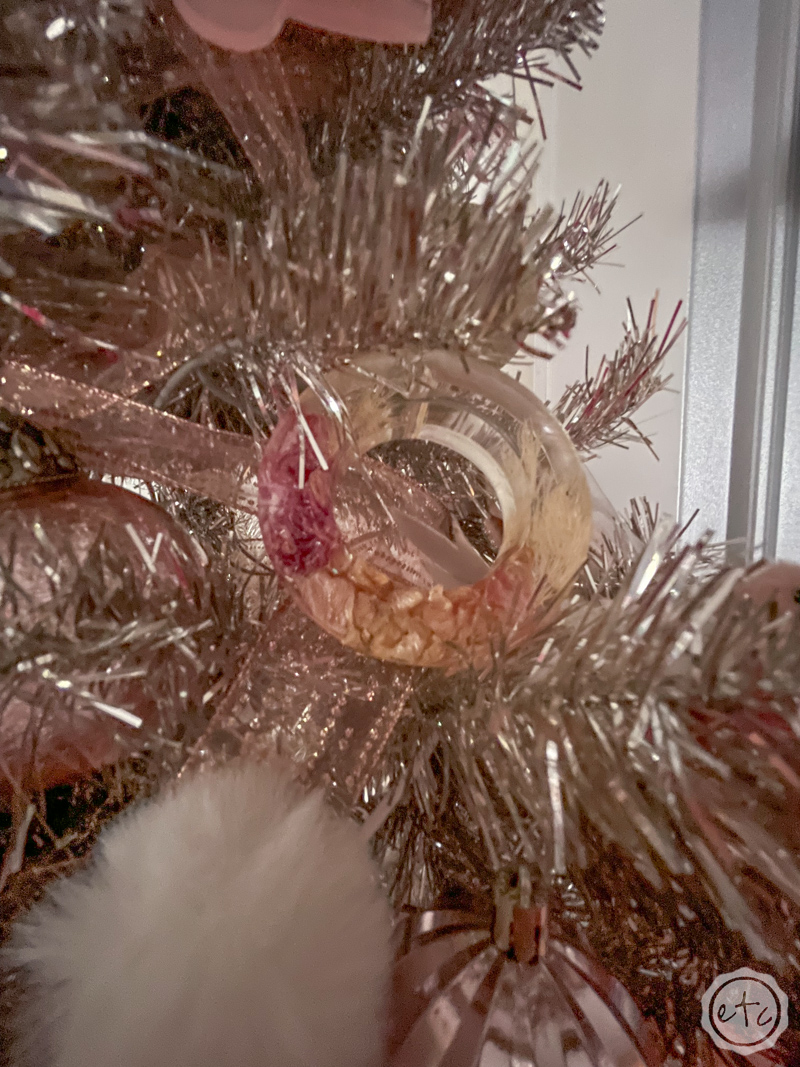
These ornaments might be my absolute favorite on the tree… at least for the sentimental value they hold.
PLUS they were simple to make… which is the absolute BEST!
I simply arranged dried flowers from my garden in a silicone mold and then added clear resin. I love that they’re flowers from my own garden and you could easily adapt the idea to make a meaningful gift for someone else. Try using flowers from their garden… or from a wedding bouquet.
How special! Plus one side is automatically flat from the front of the silicone mold so you could use your Cricut to add words: “My Garden 2022” “Rachel & Dileep October 8, 2021”.
I’m thinking about making a similar ornament each year until I have an entire garden tree (because I obviously need another tree *eye roll*)
Check out the Resin Flowers Ornament Tutorial HERE.


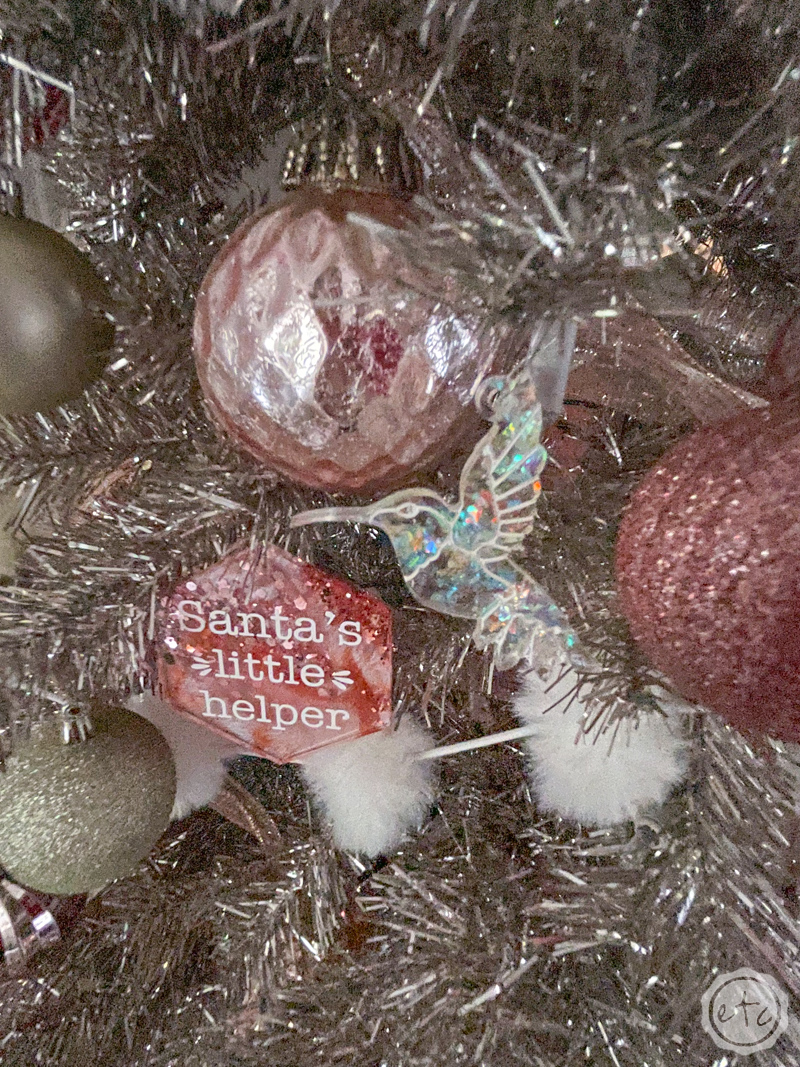
Resin Ornaments (Poured with a Silicone Mold!)
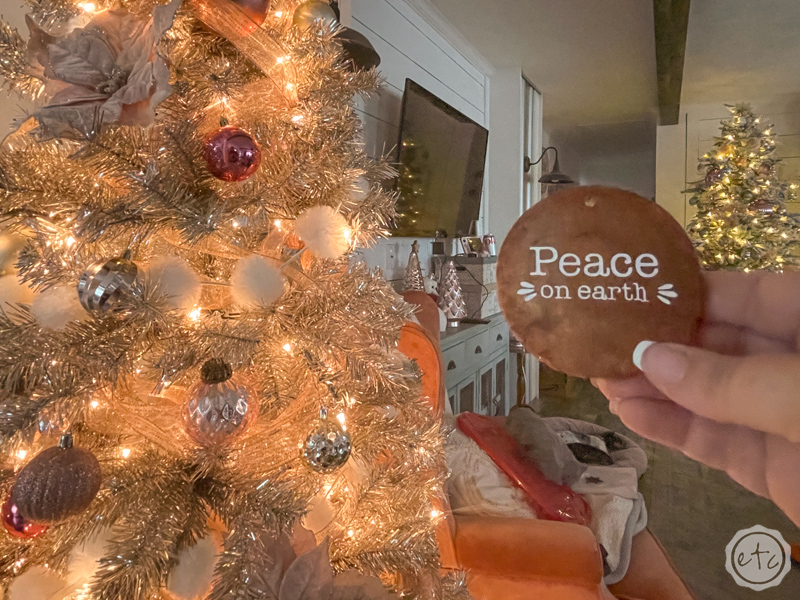
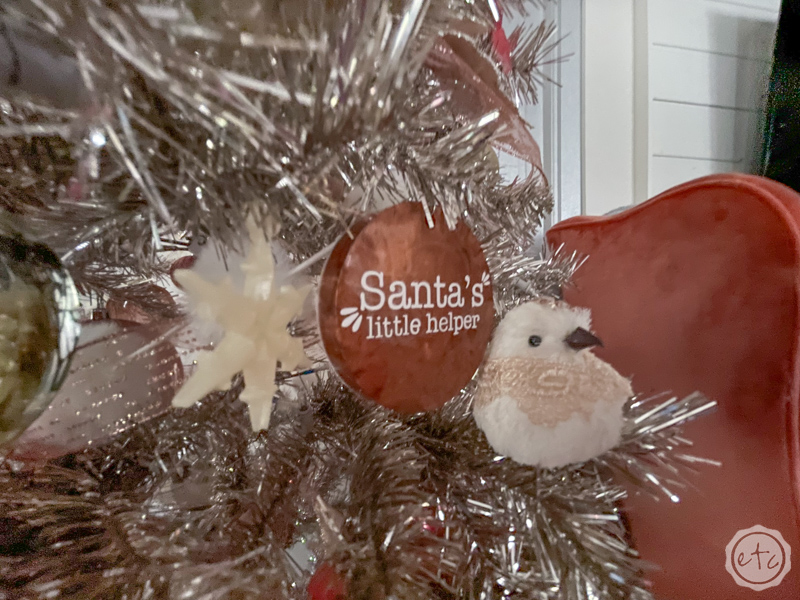
Now these are chunky boi’s! I used a copper metallic paint to pour these resin ornaments in the same mold from the resin flowers tutorial.
Which means the entire disk is made of resin… which is excellent because you don’t need to buy any acrylic blanks. The resin is your crafting blank. I used the same set of FREE Christmas SVG’s to personalize these (so that they matched the first set or because I had vinyl left over from that project… you decide which) but either way I love how they turned out!
And I DO think they help tie the tree together marrying the SVG’s from the acrylic blank ornaments with the copper from the resin snowflakes.
Winner, winner!
Check out the Resin Ornaments (Poured with a Silicone Mold) Tutorial HERE.
Resin Hummingbird Ornament with Holographic Flakes
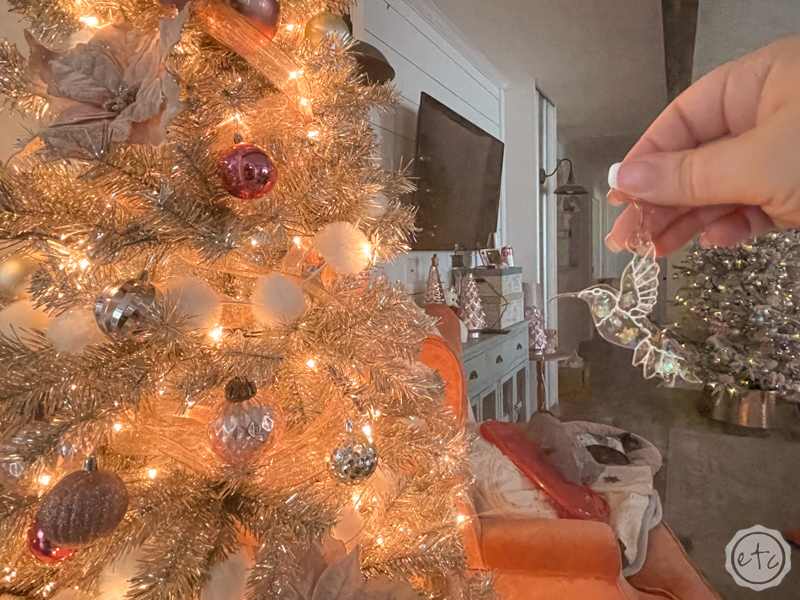
Oh man… as soon as I saw these little hummingbirds I knew I had to have them. I was trying to mimic a pair of holographic, crystal like hummingbirds I picked up from the store so the holographic flakes were a must.
They turned out perfect (even though they were 2d instead of 3d like the originals) and then I added a bit of white acrylic paint to make the carved lines on the front really stand out. They look wonderful during the day but at night with the lights shinning through the tree?
Perfection!
Check out the Resin Hummingbird Ornament with Holographic Flakes Tutorial HERE.
Resin Snowflake Ornaments
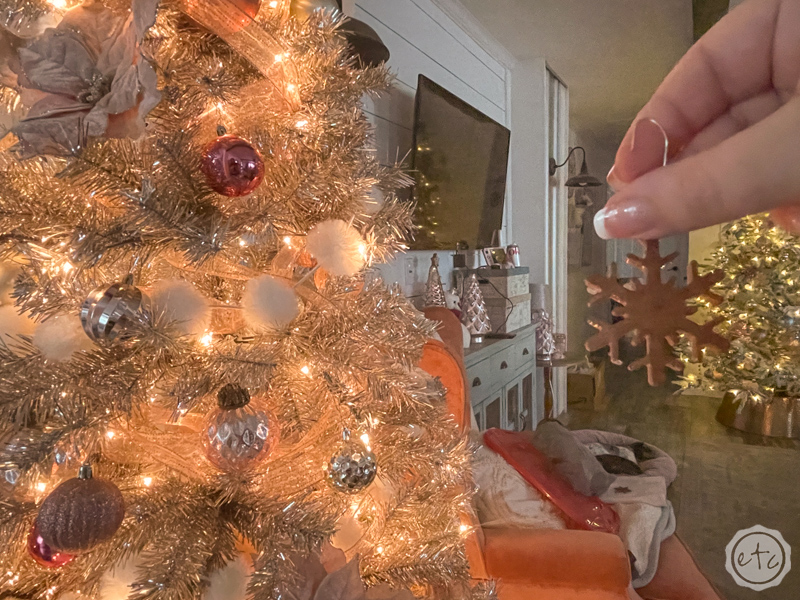
Ready for a super easy tutorial? These little snowflakes were one of the very first resin projects I ever made… the molds come in all different shapes and sizes so you can mix up one batch of resin and make an entire collection in 10 minutes.
Or make several collections in different coordinating colors over the course of a week since they need to cure in between pouring.
Whichever floats your boat.
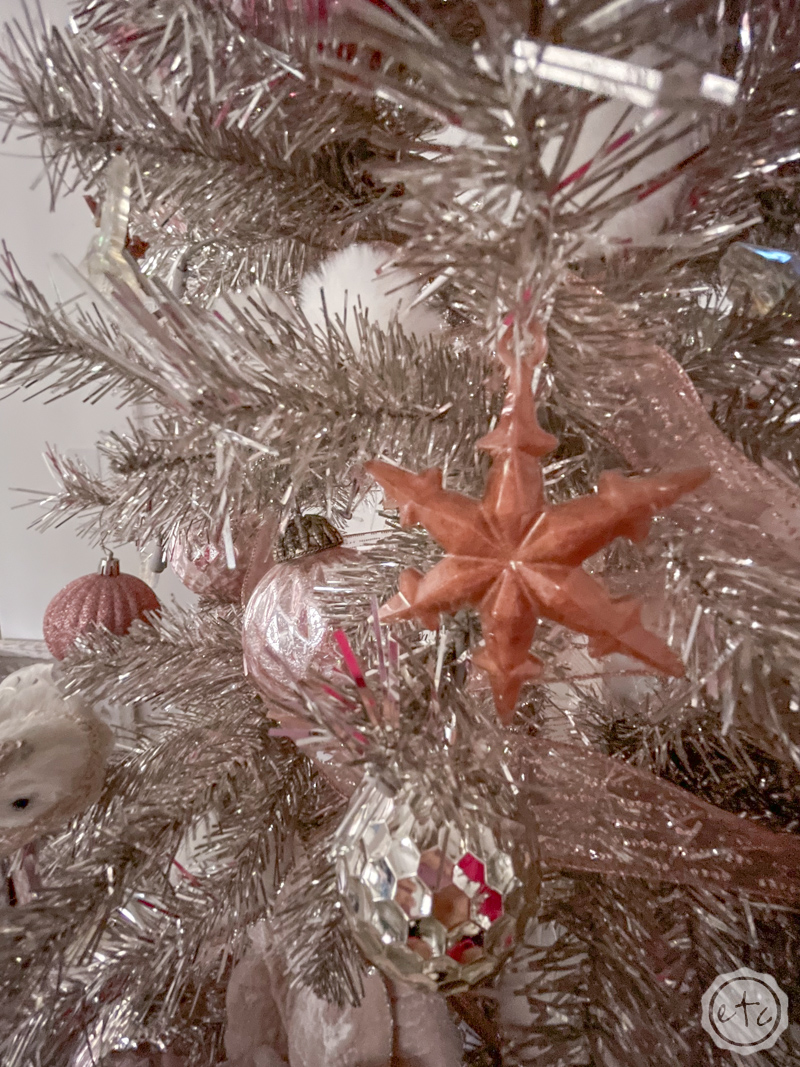
I ended up making copper, white and pink snowflakes which work perfectly with the rest of the tree. Which is perfect since I made these before I even purchased this rose gold Christmas tree and didn’t know they needed to work on a rose gold background.
Luckily the copper is dark enough to pop against the champagne toned branches and the pink and white contrast beautifully (the white more than the pink). I love all of them and the only adjustment I might make would be to make a set of these little resin snowflakes with the rose gold glitter resin from the marble ornaments up above.
That would be pretty!
Check out the Resin Snowflake Ornament Tutorial HERE.

Looking for more resin projects? I’ve got you covered!









Leave a Reply