


This little resin mold is truly one of a kind… it’s super easy to use and makes an adorable Christmas piece that stands up on it’s own! Which is pretty amazing for a resin mold… and even more amazing that on the day I put this together my Mama told me I should get a mold “for one of those x trees that go together and stand up on their own”.
So apparently she’s now a mind reader.
Either way I absolutely love how this little text based tree stands up on it’s own. Plus it’s pretty shallow so you won’t need too much resin.
Ready to get started?
Supplies:
- Amazing Clear Cast Resin
- Respirator/Mask (resin graded filters)
- Gloves
- Wagner HT400 Heat Gun
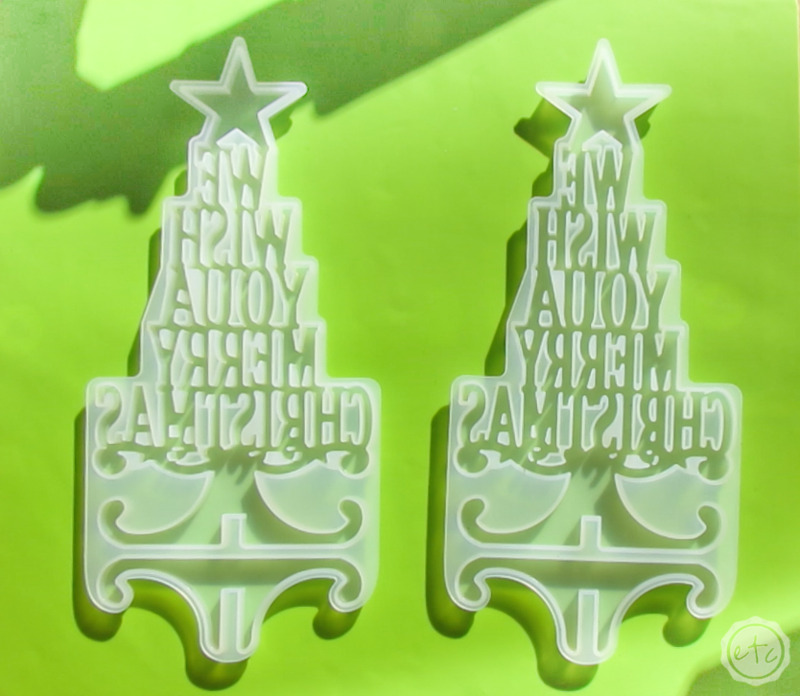
- We Wish You a Merry Christmas Silicone Mold
- Freezer Paper
- Silicone Mat
- Baking Pan
- Small Mixing Cups
- Silicone Measuring Cup/Larger Mixing Cups
- Reusable Silicone Stir Sticks
- Blush Paint
- White Paint
Just getting started with resin? Download my free resin supply list and make your first project today!
We Wish You a Merry Christmas 3D Sign Tutorial:
Step 1: Mix your Resin
When I ordered this little mold I did not expect it to come with two molds… but I figured what the heck. If I have two I might as well make two! Especially since I made both of them with resin left over from the adorable little Merry Christmas resin sign I made last week.
In fact if you were making this project from scratch I think about 30ml of blush and 30ml of white resin would do the trick. Although if I was making this project by itself and mixing resin specifically for this piece I think I would use two colors that had a bit more contrast.
Perhaps blush and copper? Or blush, copper and clear with rose gold flakes.
So that you could really see the difference in the different resins.
Either way you’ll only need a bit of resin to get started… go ahead and mix 30ml of any two colors you like and then we’ll move on! If you need a little help you can follow the steps in my how to mix resin for beginners tutorial to get started.
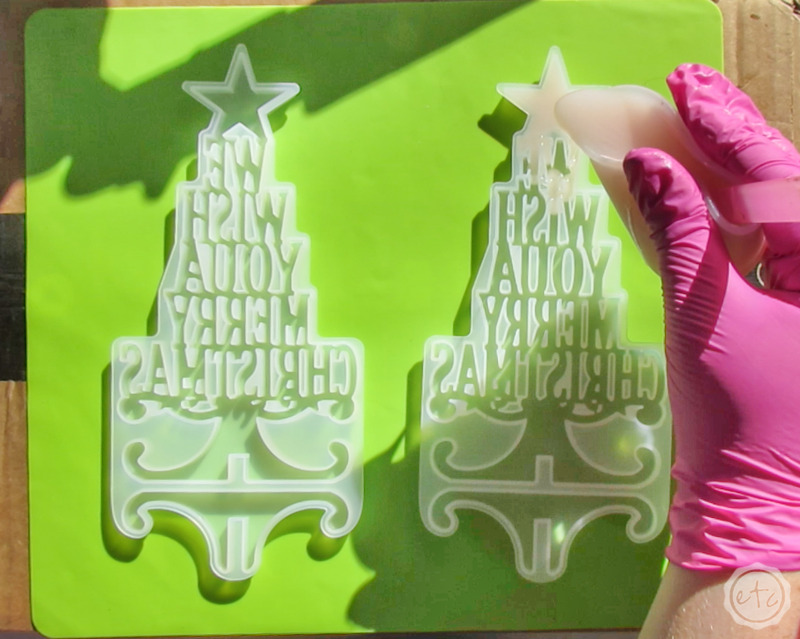
Step 2: Pour your Resin
Once your resin is mixed and ready to rumble start by pouring it into your mold. With all these letters I wanted to make sure that everything was easy to read… so I started by pouring blush into the top and bottom of my mold.
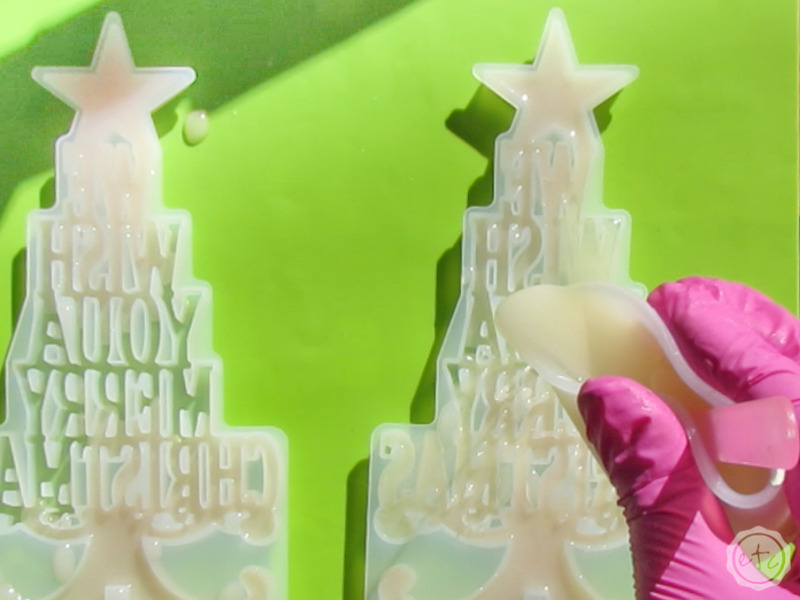
Then I added white or blush throughout the body of the quote so that both colors were evenly distributed and easy to read.
Make sure to add just a little white and a little blush until the resin is even with the top of the mold. You don’t want the resin to over-flow the mold and connect all the letters in the back.
No *ahem* I don’t know that from experience.

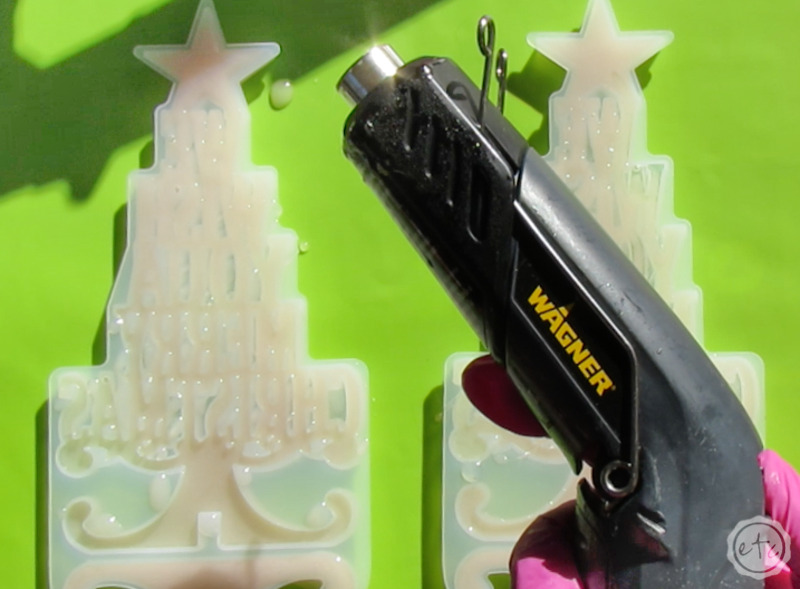
Step 3: Pop the Bubbles!
Once you’ve completely filled your molds it’s time to pop any bubbles that you might see. In tiny molds (like this one) with letters there are plenty of little nooks and crannies. Which is adorable in a finished piece… if all those nooks and crannies aren’t filled with holes where bubbles once stood.
Since bubbles are essentially just pockets of air any bubbles in a wet resin piece will become an empty hole in a cured resin piece. I also don’t know that from experience…
To be fair if you work with resin you will have bubbles… it’s just a matter of keeping them at bay as much as possible. And your best way to do that is your handy dandy heat gun.
Turn it on high and pop any bubbles that have risen to the surface of your resin. Since the letters in this mold do tend to trap bubbles it is also worth grabbing a toothpick and helping any larger trapped bubbles come to the surface so that you can zap them with your heat gun.
Die, bubbles, die!
Sorry, it got away from me for a minute.
Once all the bubbles are gone you can cover these babies with a bit of cardboard and leave them to cure for about 24 hours. Then we’ll take them out of their mold!
Step 4: Demold your Piece
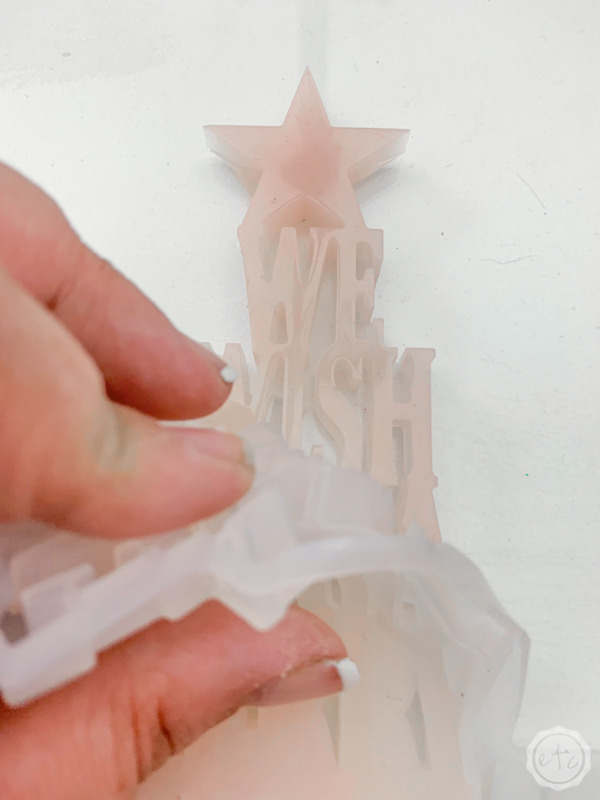
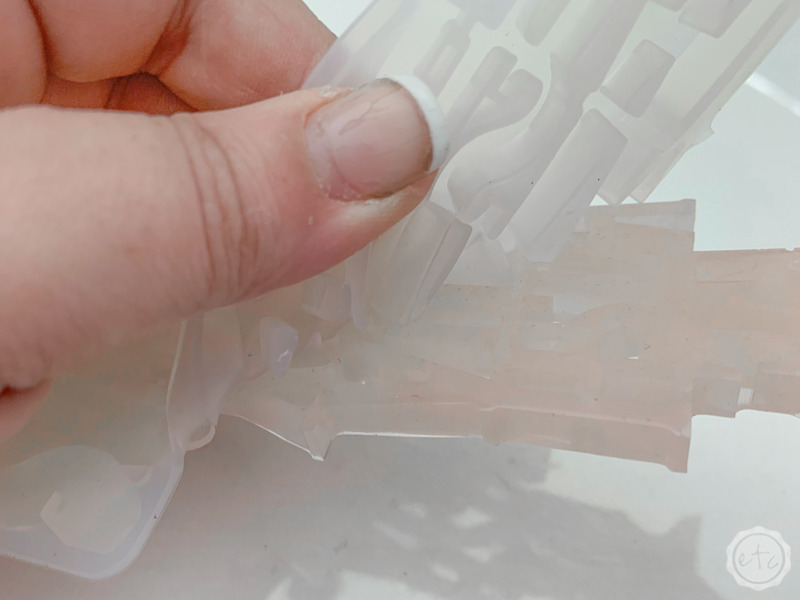
After 24 hours if your resin is cured you can take the silicone mold completely off your piece! In this case the letters create lots of little tiny spaces and divots… so I find it easiest to demold this baby slowly and carefully.
Especially if the resin is still easy to bend!
Lay your piece flat and carefully peel back the silicone from the top of the mold… then continue to pull the silicone down and away from the resin. Even with all the little nooks and crannies this mold isn’t too hard to remove… just watch what your doing and you should be fine!
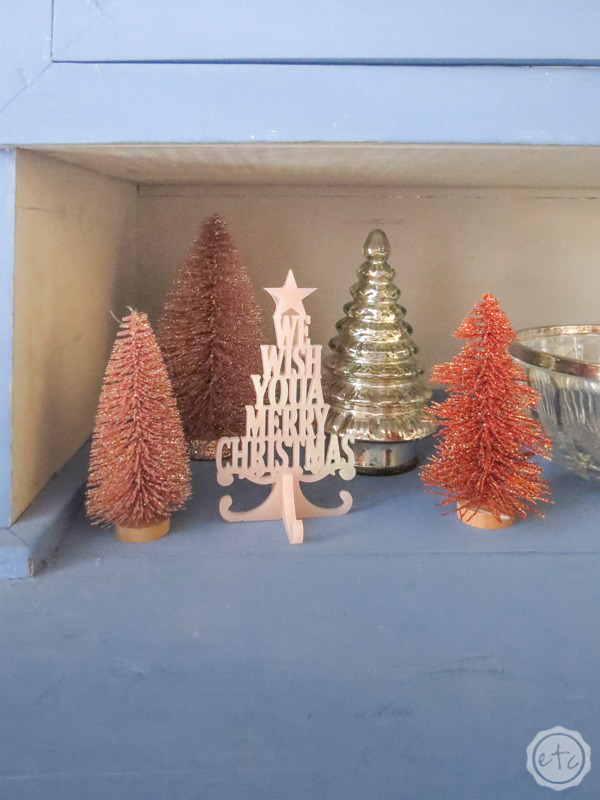
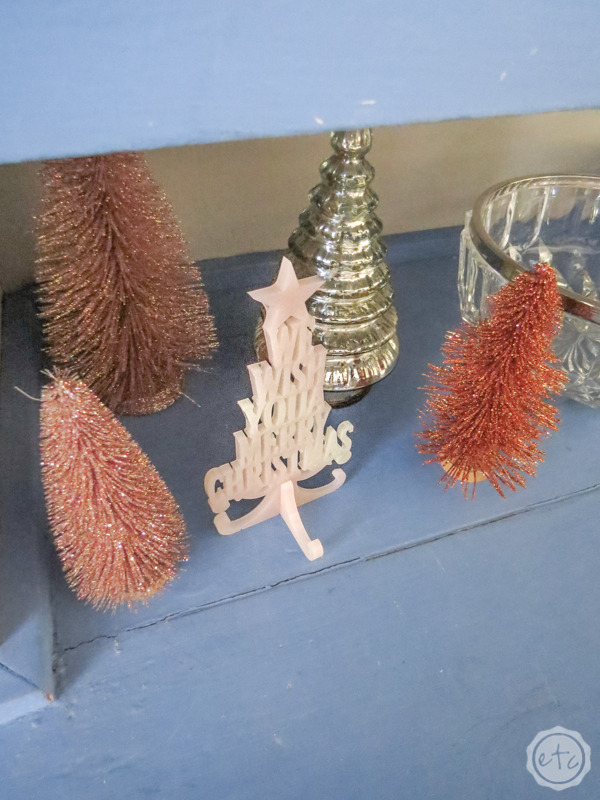
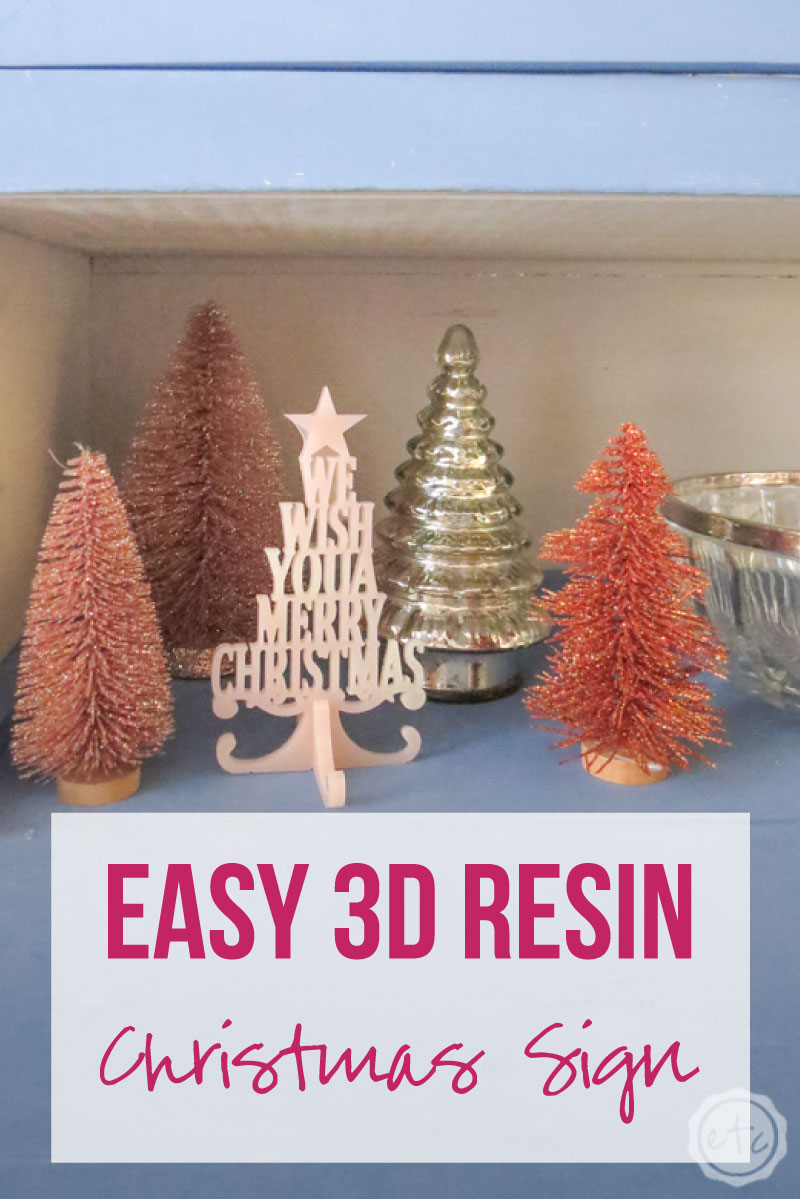
Once your piece is demolded you can put the little stand together and you’re ready to go! A cute little tree that says “we wish you a merry Christmas” for all your guests to see… and since you made two you might even have a gift for one of your friends.
This little piece would make an adorable gift!

I cannot get over how cute this little sign is! I just love how it stands up… and even with the light colors the negative spaces between the letters make it easy to read.
Which I was kind of worried about!
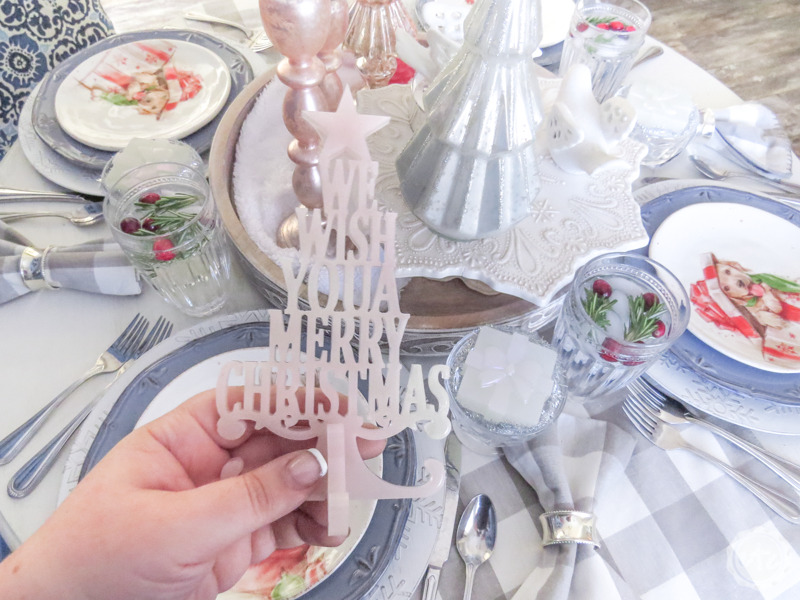
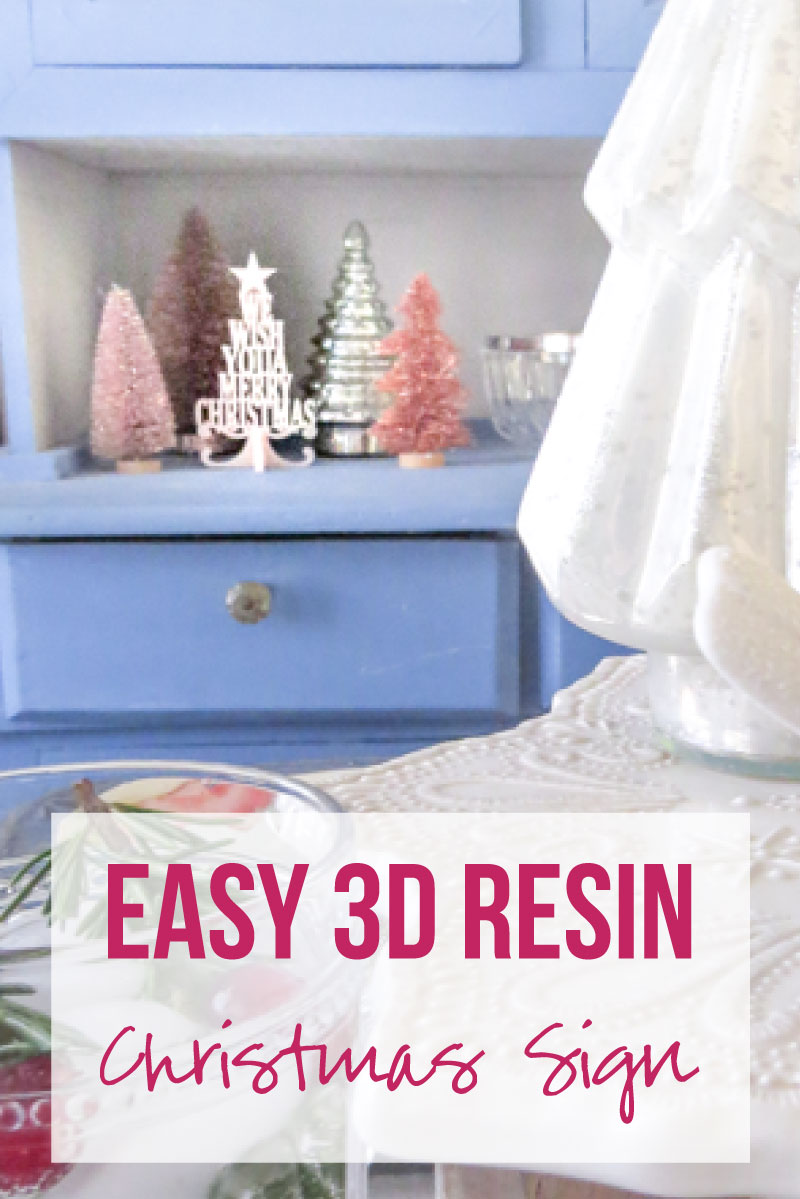
I tucked this baby on my pie safe in the back of this year’s pastel inspired Christmas tablescape. Want to know a secret? This little “we wish you a Merry Christmas” sign isn’t even the only resin piece on the table… there are several tiny resin Christmas trees and the little presents in the dessert bowls? Yup tiny resin presents!
Score!


Looking for more resin projects? I’ve got you covered!


Leave a Reply