This is a sponsored post for Wagner but all opinions are 100% mine!

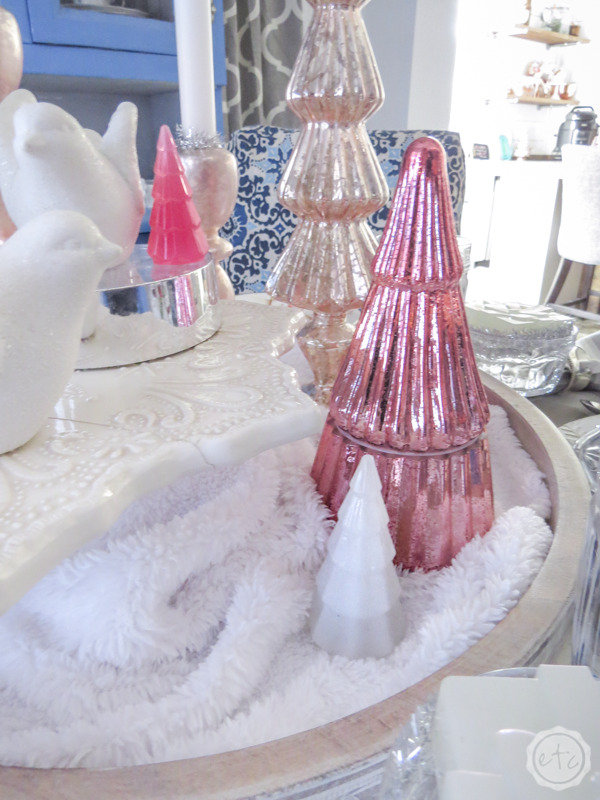
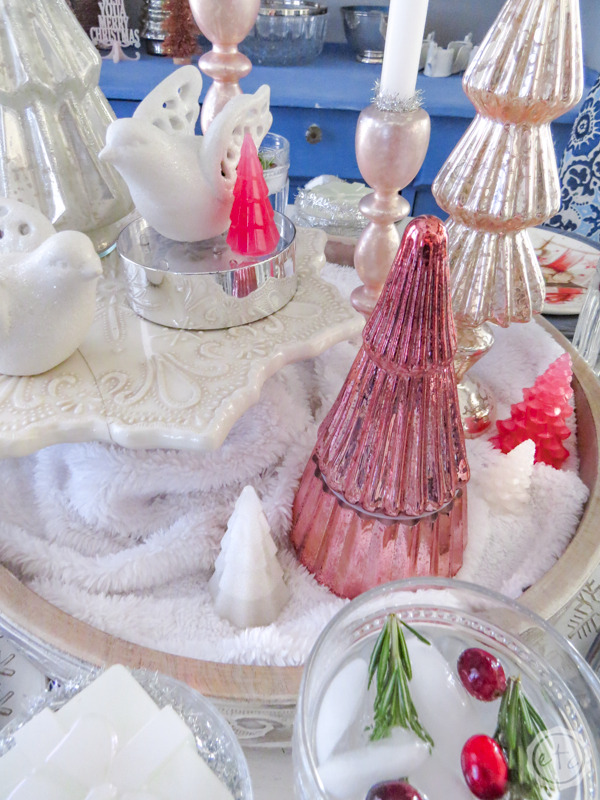
Last year I became obsessed with rose gold mercury glass trees… they’re just so pretty! So this year I wanted to put them everywhere… on the island, above my blush faux fur stockings and on my Christmas tablescape. My tablescape was turning out amazing but I all of my trees were rather large… I needed a few tiny trees to finish out my forest.
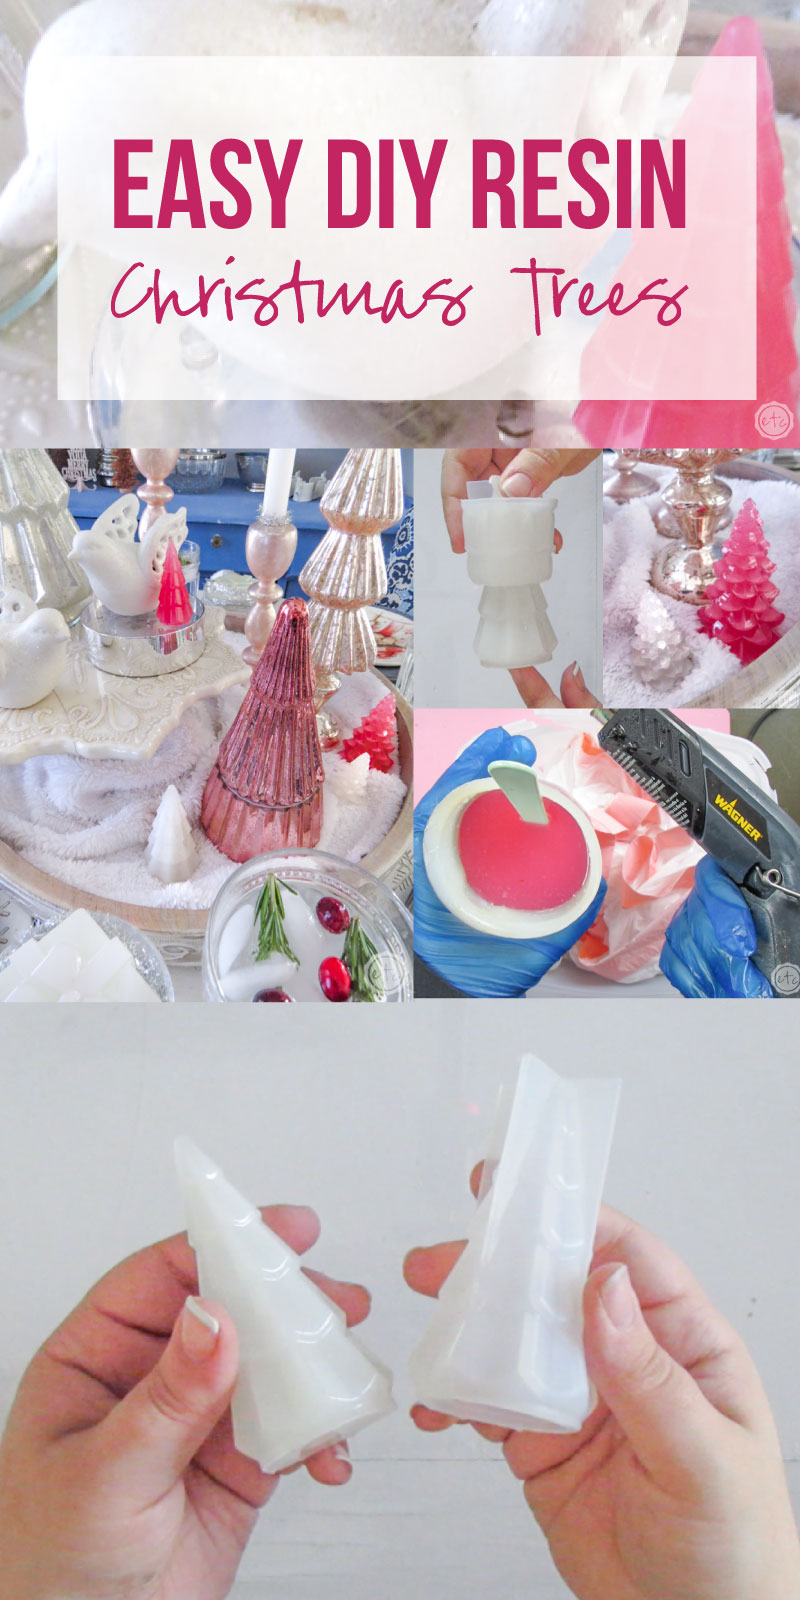
And since I couldn’t find any teeny tiny 3″ mercury glass trees I decided to make a few instead… which brings me to my brand new little tiny resin Christmas trees!
This is a very quick and easy beginner level resin project so if you’ve never tried resin before don’t be scared… I’ll show you exactly how to make these babies without any problems.
Let’s get started!
Supplies:
- Amazing Clear Cast Resin
- Respirator/Mask (resin graded filters)
- Gloves
- Wagner HT400 Heat Gun
- Silicone Christmas Tree Mold
- Dark Pink Craft Paint
- Silver Craft Paint
- Freezer Paper
- Silicone Mat
- Baking Pan
- Small Mixing Cups
- Silicone Measuring Cup/Larger Mixing Cups
- Reusable Silicone Stir Sticks
Just starting your resin toolbox? Check out my post on what to buy to get started with resin here!
Easy Resin Christmas Tree Tutorial:

Step 1: Prep Your Space
Once you mix your resin you have a set amount of time to work with it before it cures and becomes hard as a rock so it’s really important to gather all of your supplies before you get started.
Trust me, you don’t want to be running around the house looking for glitter while your resin cures in the mixing cup. Been there, done that, got the t-shirt.
You don’t want the t-shirt.
So start by laying out a bit of freezer paper to protect your work surface… in a well ventilated area. Then place your baking pan (covered with a silicone mat) down with your molds on top of the baking pan. The baking pan just makes it easy to move your molds around without spilling resin. Which is especially important when you’re working outside.
My well ventilated area is my porch so at the end of pouring resin I’ll move my baking pan into the craft room to dry. That’s where the baking pan really shines!
If your resin can cure where you mix it then you can simply lay out your freezer paper and move on.
Now lay out your mixing cups, stir sticks (popsicle or reusable), alcohol inks, craft paints, glitters and heat gun. Put on your respirator and gloves and you’re ready to rock!
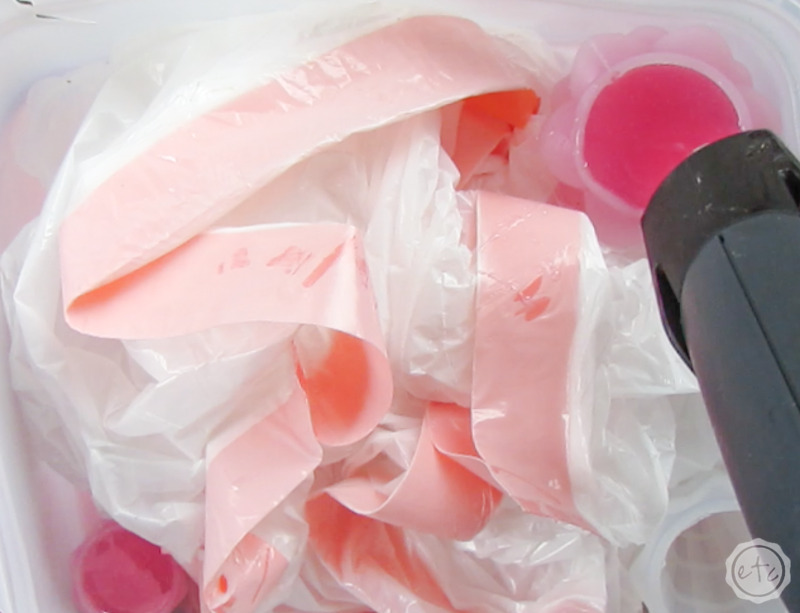
Bonus Tip: For this particular project our molds are tall and skinny… and don’t stand up very well on their own. The molds themselves do have cross pieces on the bottom to help them stand (and the ones on the smaller molds do seem to work well). I don’t particularly trust the stands on the larger trees. Instead I grabbed an old plastic container and put a tree in each corner with a few bags in the middle… the bags will hold the trees upright so that they can cure level.
Perfect!

Step 2: Mix Your Resin
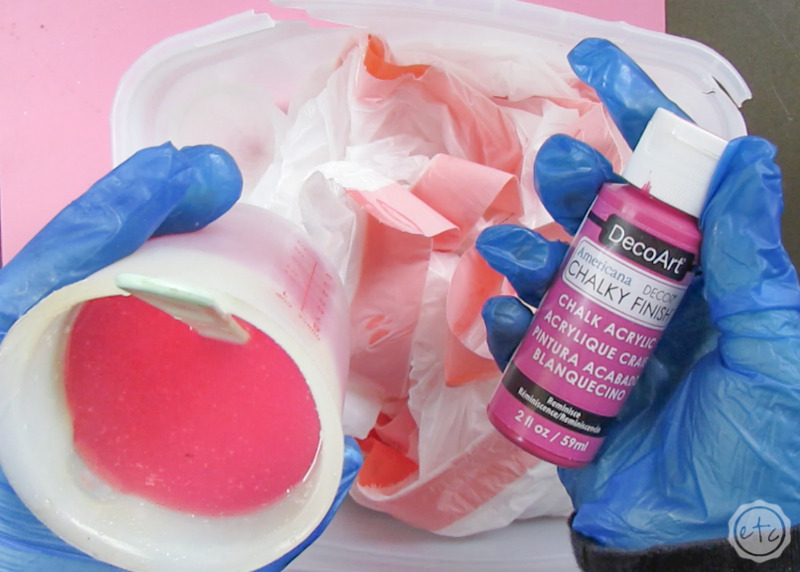
Now that our little molds are ready to rock we can go ahead and mix our resin. For these little trees I decided to do 2 pink trees and 2 silver.
Go ahead and mix your resin according to the mixing ratio (mine is 1:1) and you’re off to the races! If you’ve never mixed resin before and you want the full walk through you can check out my how to mix resin for beginners post here.
In this case you’ll want to mix about 50ml of pink and 50ml of silver. I definitely made toooo much resin and my 80ml of pink and 80ml of silver left me with more than a smidge left over.
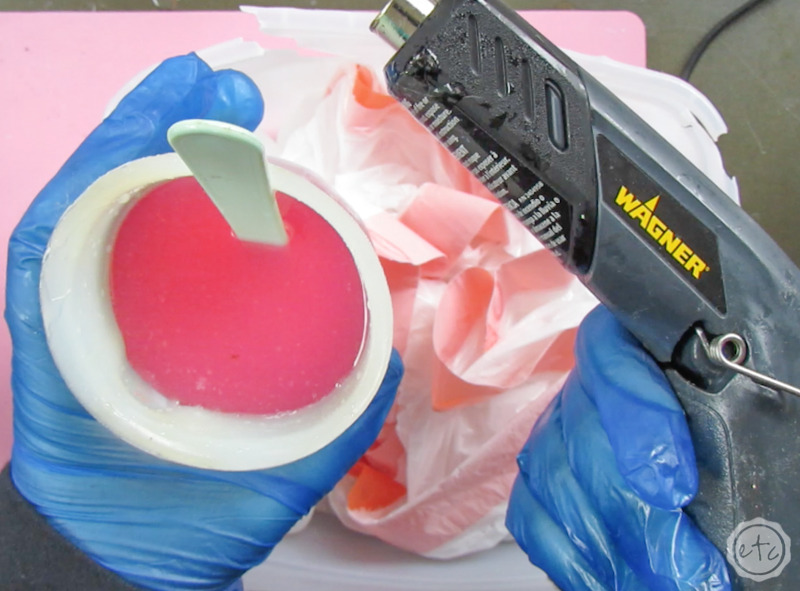
After you’ve mixed your resin go ahead and let it sit for about 2-3 minutes so that all of the bubbles can rise to the surface… then use your heat gun on high to pop any bubbles that come to the top of the resin. Since our little Christmas tree molds have lots of nooks and crannies we want to be extra careful to eliminate bubbles from this project… otherwise our finished trees will look less like cheddar cheese and more like swiss.
Step 3: Fill your Molds with Resin
Let’s get to the fun stuff… it’s time for resin y’all!
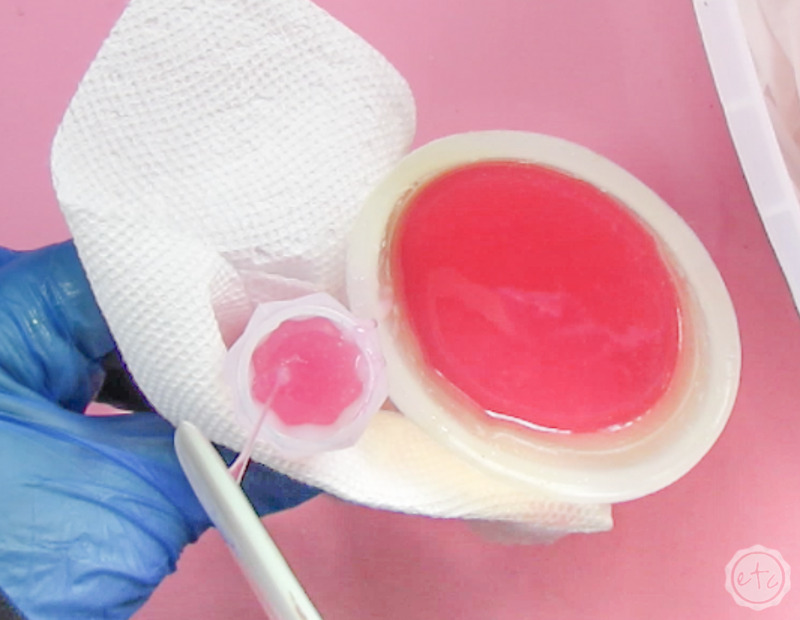
Since we’re officially on mission eliminate all bubbles from our resin we’re not going to simply pour the resin into the molds. Instead we’re going to use our stir stick to carefully spoon resin into each mold.
This way we can add a thin stream of resin from high up to each mold… and eliminate as many bubbles as possible.
Another tip is to fill each mold about 1/3 of the way and then use your heat gun to pop any bubbles that may have made it into the mold. Then add more resin and pop any bubbles at the 2/3 mark… and finally fill that bad boy up and pop any bubbles that come to the tippy top of the mold.
This should help to eliminate any bubbles that form in the little tiny branches along the way.
Just make sure that if you’re trying to pop bubbles in a silicone mold (like this one!) you’re using a heat gun and not a torch. A torch will completely melt your mold and you’ll be left with a sad melty goop… we want christmas trees not melty goop.
So for this project (and any other project with a silicone mold) your heat gun is your best friend.
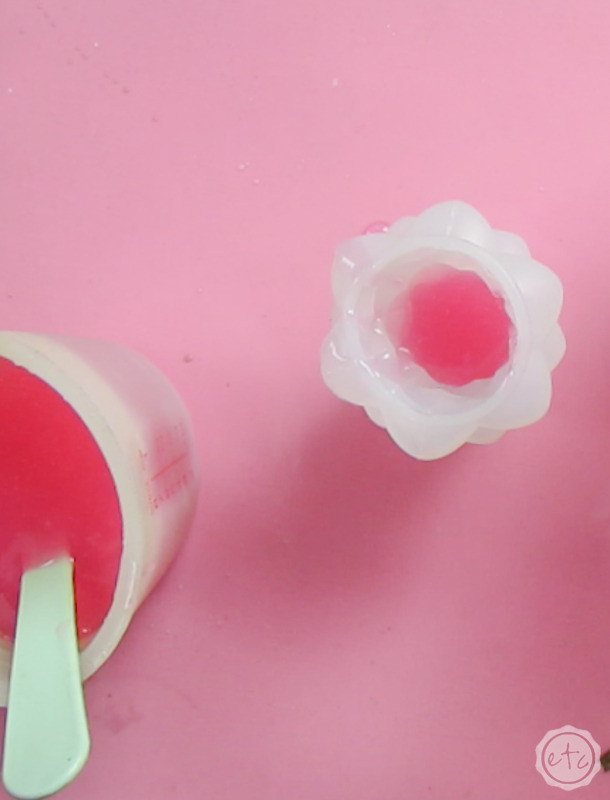

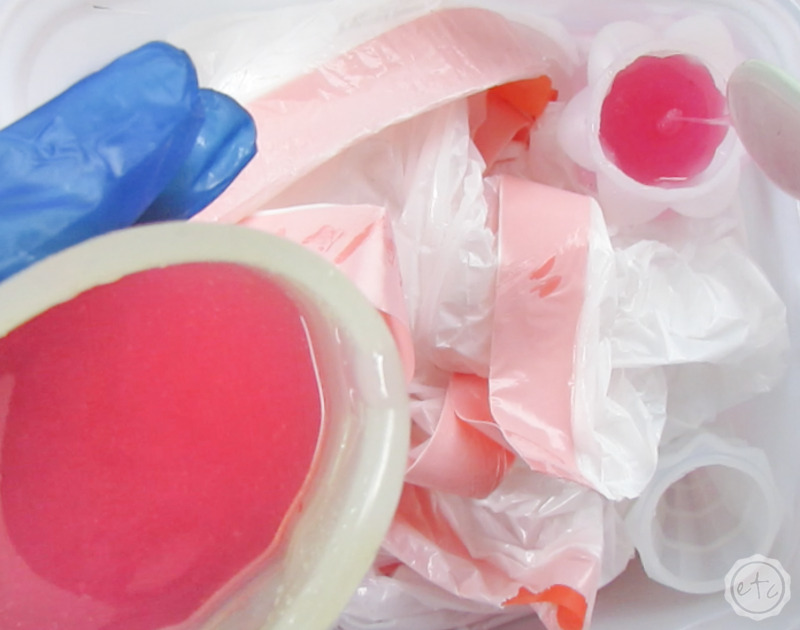
Once you’ve filled your mold all the way to the very top and popped all the bubbles you’re good to go! Make sure that you put your pieces in a clean dry (room temperature) space to cure. If possible you want to put something over them so that they can’t get yucky dust or cat hair inside the resin while they’re curing… trust me.
For some reason bugs love to dive bomb curing resin, go figure.
Make sure each mold is as level as possible in it’s little plastic container filled with bags and leave that baby to cure for at least 24 hours. See you tomorrow little resin Christmas trees!

Step 4: Remove the Silicone Mold
After 24 hours your resin should be cured and ready to be taken out of it’s little silicone mold.
This is literally the best part…
Start at the top and pull the silicone away from the resin allllllll the way around the base of the Christmas tree. We’re trying to let as much air into the mold as possible so that we can remove the mold all the way down.
Once you’ve loosened the mold from the base start to pull the mold backwards from the bottom until it folds over on itself. This always freaked me out when I saw it done… but silicone is stronger than it looks. Just go slow and steady and you won’t rip it.
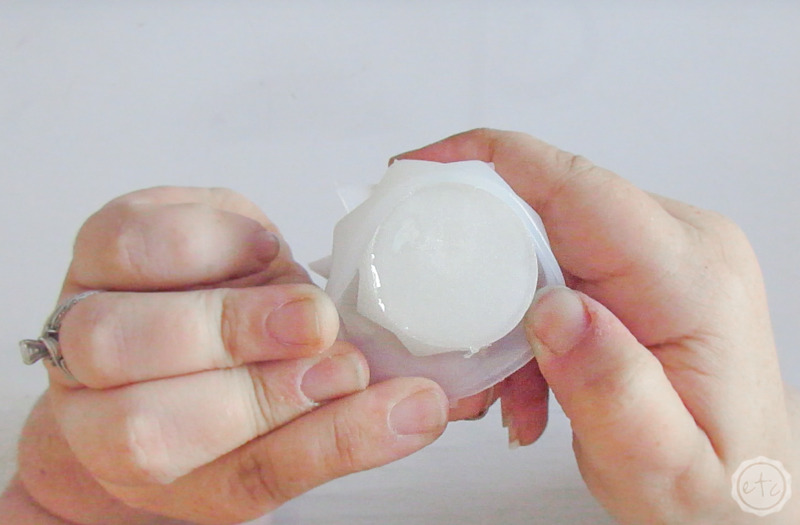
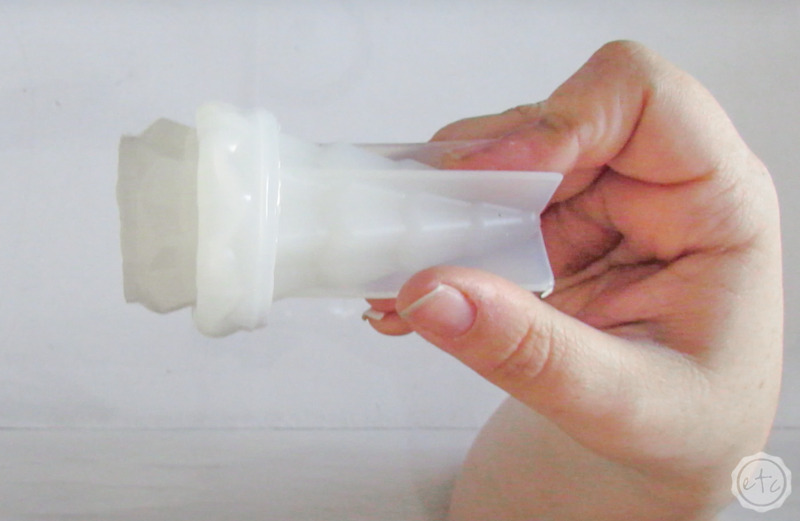
Once you have “cuffed” the mold back on the little tree you can slowly start to roll the mold down and off the tree. Honestly these little trees are pretty easy to de-mold and cuffing the mold in the first step is the hardest part.
At this point you should be good to go!
Just keep rolling until you have the mold all the way down and your little tree can pop out. Then roll your silicone mold back down until it looks normal… perfect darling!
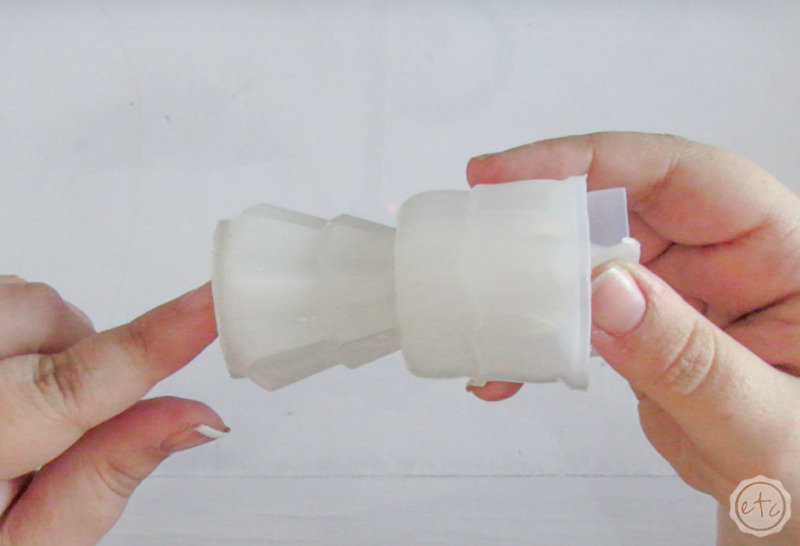

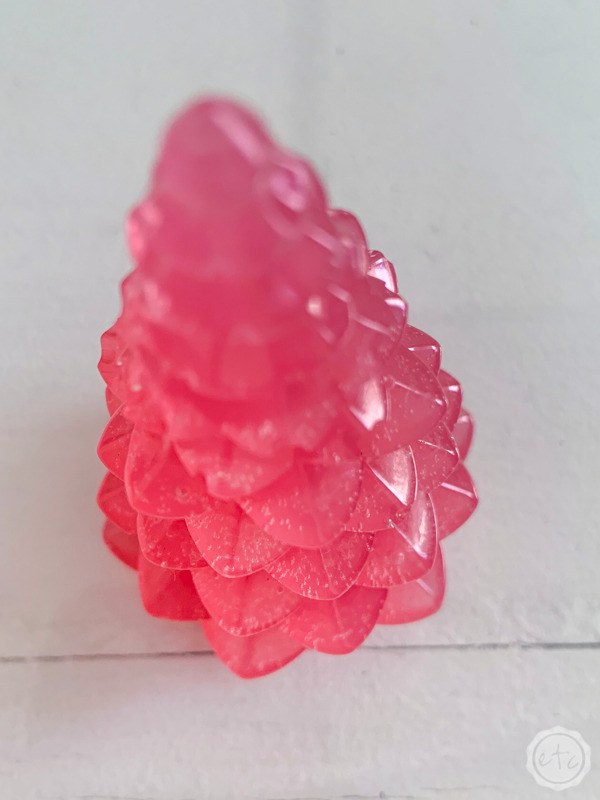
That’s it! Now you have an adorable resin Christmas tree (or four!) that you can add to your holiday decor.
I am in love with how these turned out and I think I might make a few more…
and by a few I mean a lot!
And jussssst in case you thought I was joking about the heat gun being your new best friend here’s a little look at two trees: the white one I made without a heat gun to pop the bubbles all the way up the mold and and the pink one I made using the method above (filling it 1/3 of the way with resin popping the bubbles, rinse, repeat!)
See the difference?
The white tree is missing the tips off of 90% of it’s branches… bubbles ate them all.





Looking for more resin projects? I’ve got you covered!










Leave a Reply