

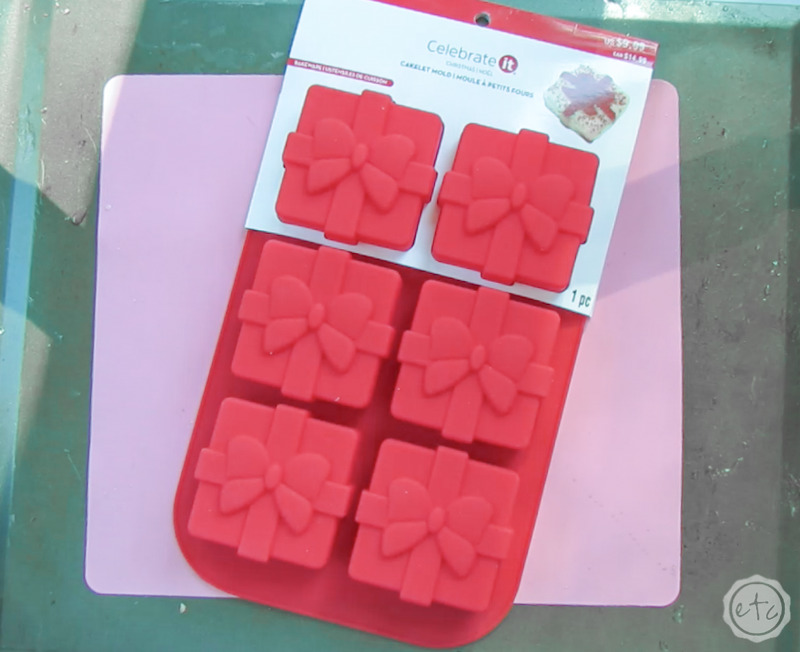
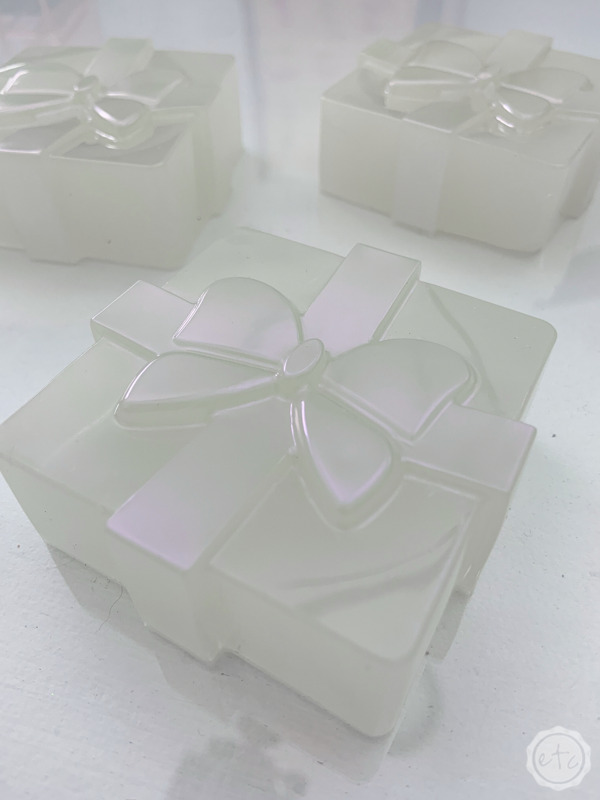
The best part about silicone molds? You can find them anywhere! Even if they aren’t specifically for resin you can use any silicone mold for your next resin project. So when I found this little present silicone mold at Michaels I knew it was perfect for resin (and my Christmas tablescape!).
Not for baking… for resin!
Of course, the main difference is that most resin molds have a glossy finish (so that your finished resin piece has a sheen) and some baking molds have a matte finish… that’s not necessarily a bad thing but it is something to keep in mind when planning your projects.
Don’t worry though, even if a mold has a matte finish you can easily add a topcoat for a glossy finish.
Luckily this little mold is fairly shiny (even if it’s not an extreme gloss finish) so all we need is a little resin, a little pigment and we’re ready to rock.
Let’s get started.
Supplies:
- Amazing Clear Cast Resin
- Respirator/Mask (resin graded filters)
- Gloves
- Wagner HT400 Heat Gun
- Silicone Present Mold
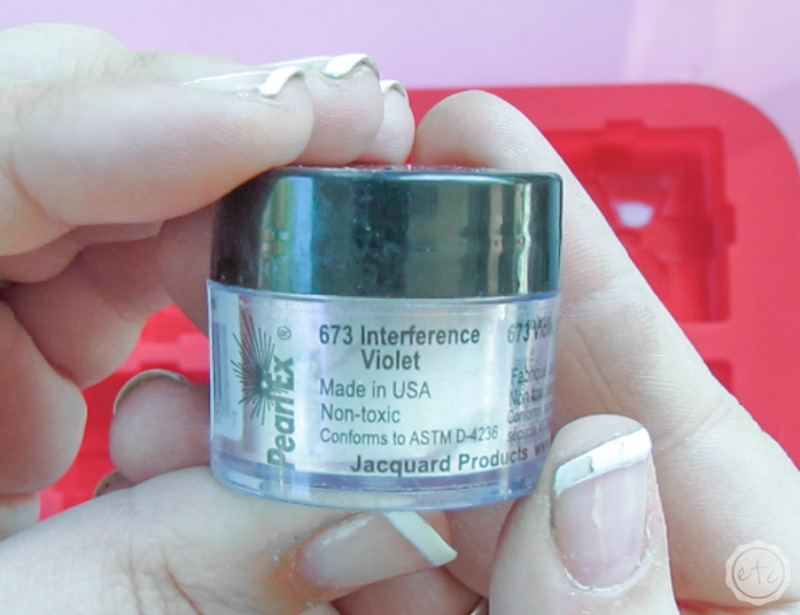
- Interference Violet Pigment
- Small Paint Brush
- White Craft Paint
- Freezer Paper
- Silicone Mat
- Baking Pan
- Small Mixing Cups
- Silicone Measuring Cup/Larger Mixing Cups
- Reusable Silicone Stir Sticks
Just getting started with resin? Download my free resin supply list and make your first project today!
Resin Christmas Present Tutorials:
Step 1: Prep your Mold
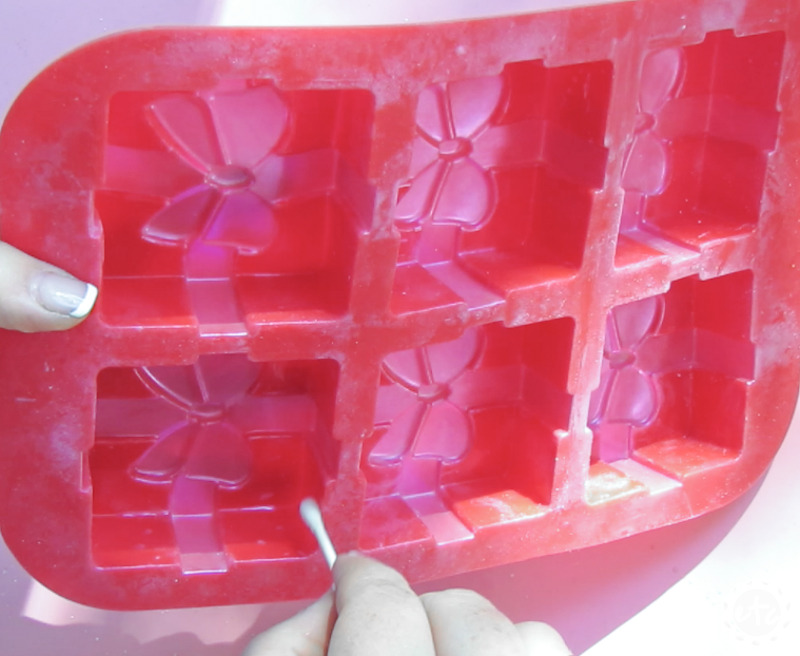
Since this little mold is quite detailed (look at that little bow!!) I decided the first step would be to dust the bow with a little pigment. Luckily this is a pretty easy process… if a little tedious!
For these little bows I picked an interference violet pigment (it’s a color shifting pigment so the colors of the bow will shift in the light!). It’s a really pretty color that I’ve only used a few times.
In order to “dust the bow” you’ll take a small detailed brush and load it up with pigment… then apply the pigment directly to the mold. This is a fun way to add different colored pigments to one mold with only one resin pour.
The pigmented area will be one color and the resin will be another.
Score!
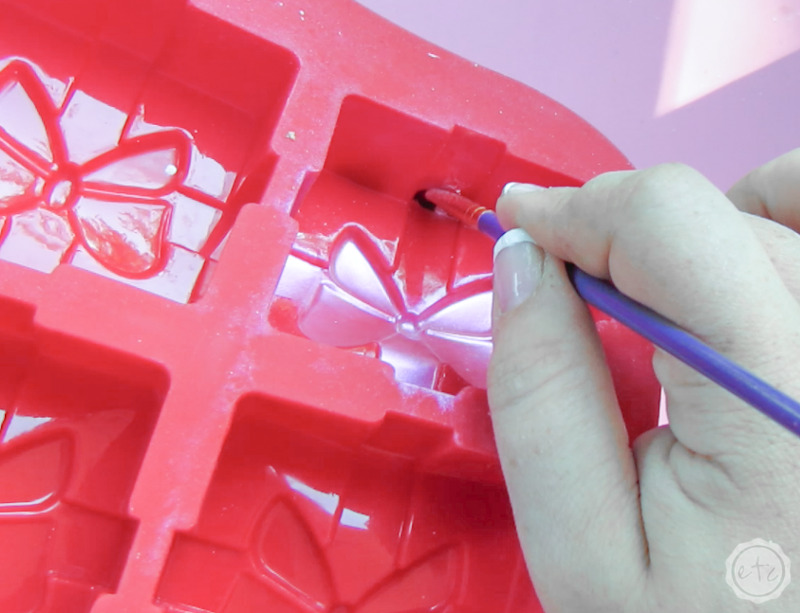
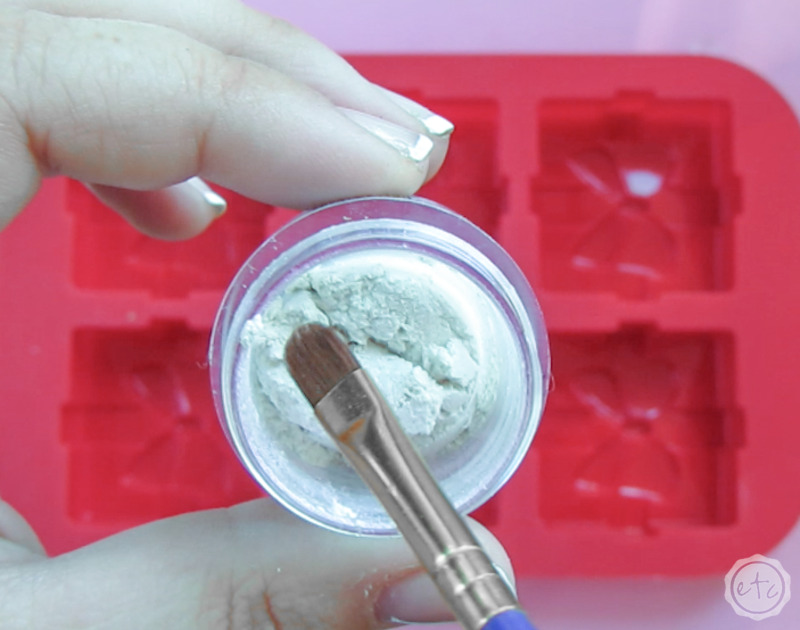
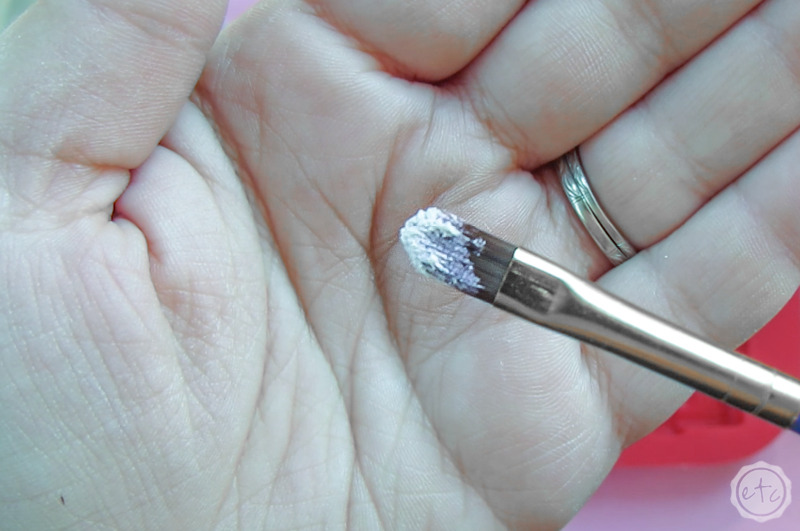
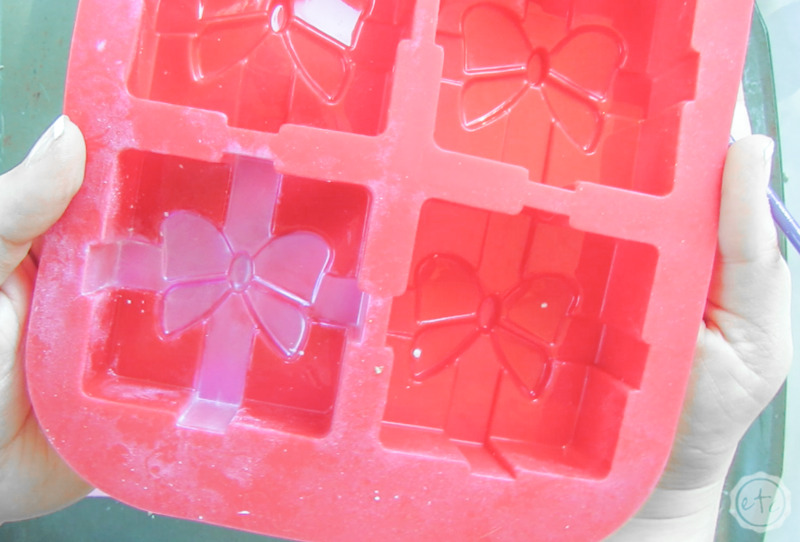
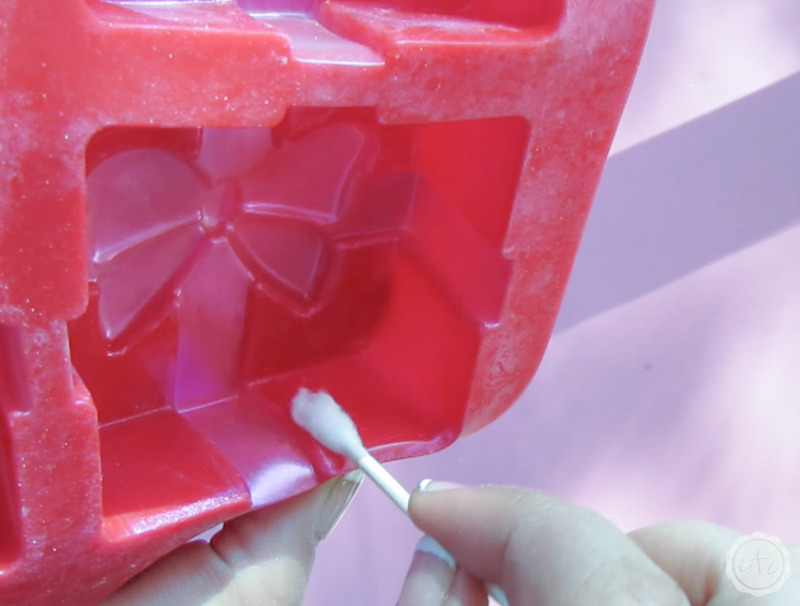
It will take just a minute to dust allll the bows but it’s not a hard process so just keep dusting. Once you’ve completed all 6 presents (or 4 if you only need a few!) you can grab a q-tip and a bit of rubbing alcohol to clean up any pigment that has escaped the bow.
The alcohol will take the rogue pigment right off the silicone… then use a dry q-tip to dry the silicone.
You definitely don’t want to pour resin onto a mold that’s wet with rubbing alcohol!
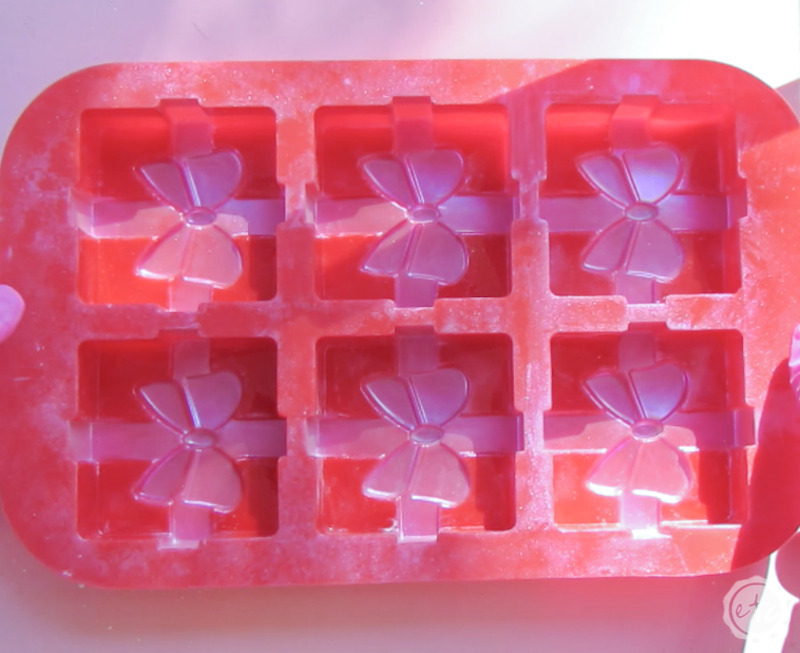
Step 2: Mix your Resin
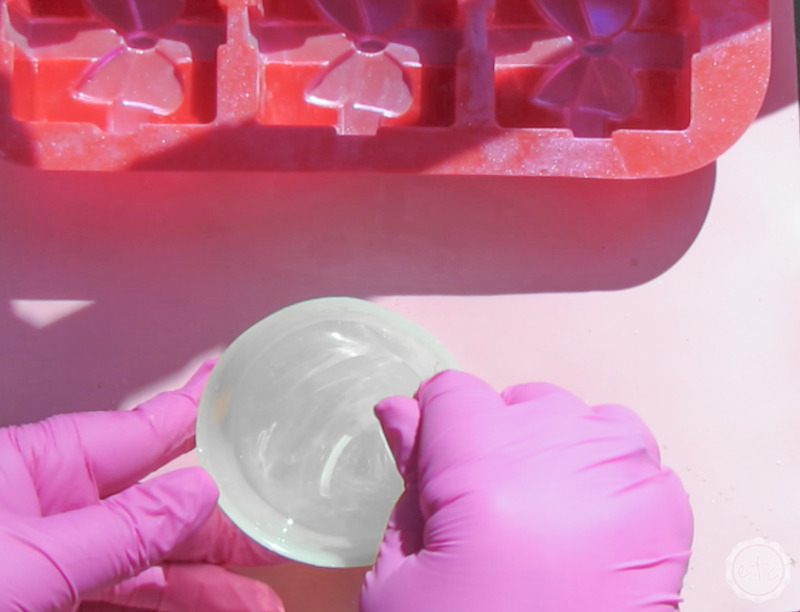
Now that our mold is ready to roll it’s time to add our resin. Full disclosure: if I was doing this project again I would not use white resin. It really does not show off the interference color to it’s best advantage. Instead I would use a solid color that coordinates with the rest of my project… in this case probably a pink or rose colored resin to play off the interference violet.
Of course, there are other interference colors if you’re going for a different vibe! Interference gold perhaps…
Back to the project.
I quickly learned that each present took about 80ml of resin so for all 6 pieces I mixed about 480ml (well I actually mixed 500ml and then had a bit left over that I used for a few of these adorable resin light bulb gift tags). Since all 500ml are white it was pretty easy to mix the resin (you can follow this how to mix resin for beginners tutorial if you need a walk through!).

BONUS TIP: Once your resin is mixed you’ll need to work steady but quickly… 500ml of resin all in one cup will cure much quicker than 100ml of resin in a cup. Remember that large quantities of resin cure super fast… if your resin starts to get super hot you’re running out of time. Looking for even more resin tips? Here’s my top 50 tips for working with resin… enjoy!
Step 3: Pour your Resin
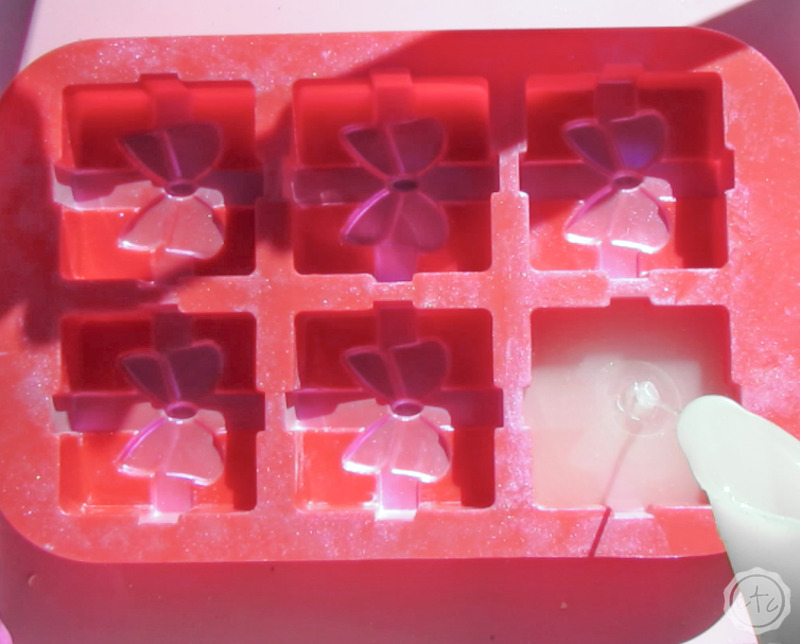
Ready for the big leagues?! Now that your resin is mixed and starting to kick it’s time to pour each of our presents. We want to avoid as many bubbles as possible (we don’t want the bows to have little holes but to be as crisp and clean as they can!).
So pour your resin slowly, in a thin stream from high up… this will help to eliminate any bubbles left in your mixing cup.
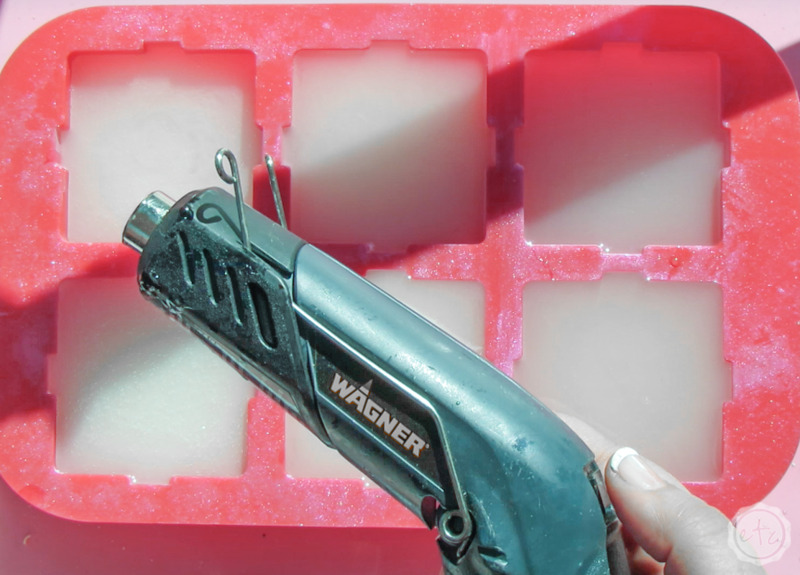
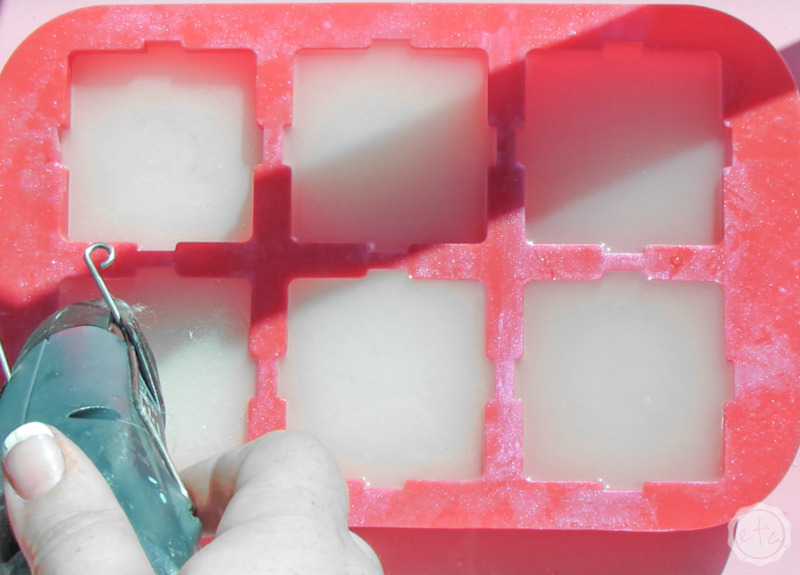
Once all of your little presents are full of resin it’s time for the big guns! Or more literally the little heat guns… grab your handy dandy resin bubble popper and go over each and every bit of the surface of your resin. You’ll see all the little micro bubbles that have risen to the top of the molds pop.
Score!
Now we’re done… go ahead and cover your mold to prevent hair, dust or little bugs from falling into your resin! I usually use a small piece of cardboard but plastic works too… you just want to protect your piece. Although if something happens you can always remove the offending piece of smudge with this technique.
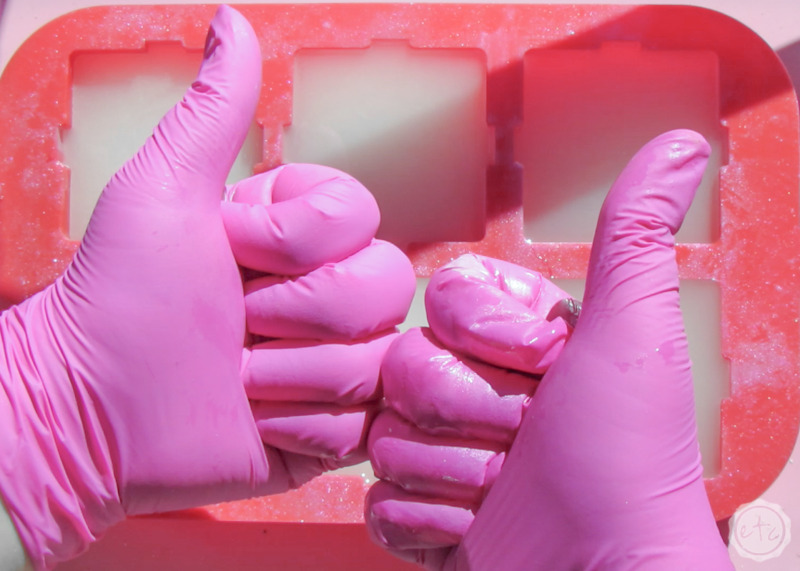
Place your mold in a clean, dry, room temperature location and leave it to cure for about 24 hours (although if it’s humid in your location these little guys might need a little more time to cure since they’re fairly deep!).
Step 4: Demold your Presents!
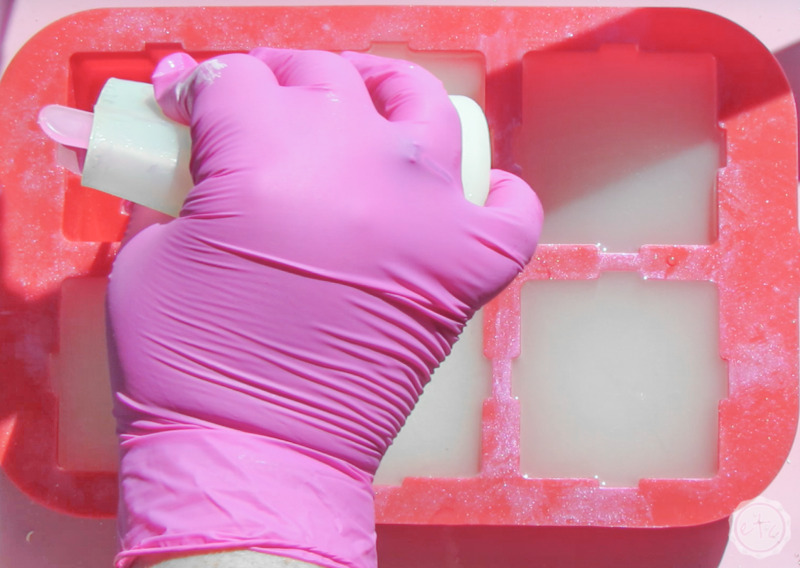
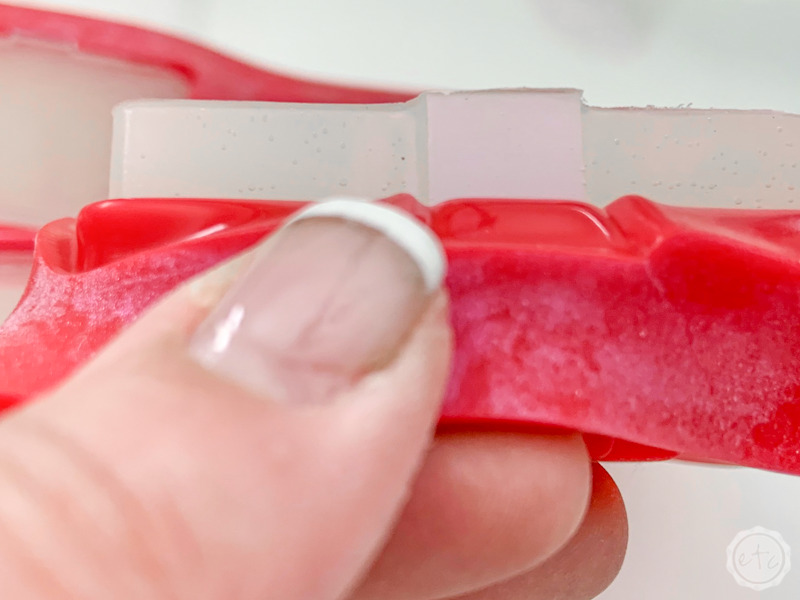
Ready for the fun part? Popping these babies out of their little silicone mold! Silicone molds are the absolute best to demold… it’s strangely satisfying to full the silicone away from the resin.
It’s also pretty easy… simply pull the silicone away from the resin on all 4 sides and the presents will pop out!
Now you’re done!
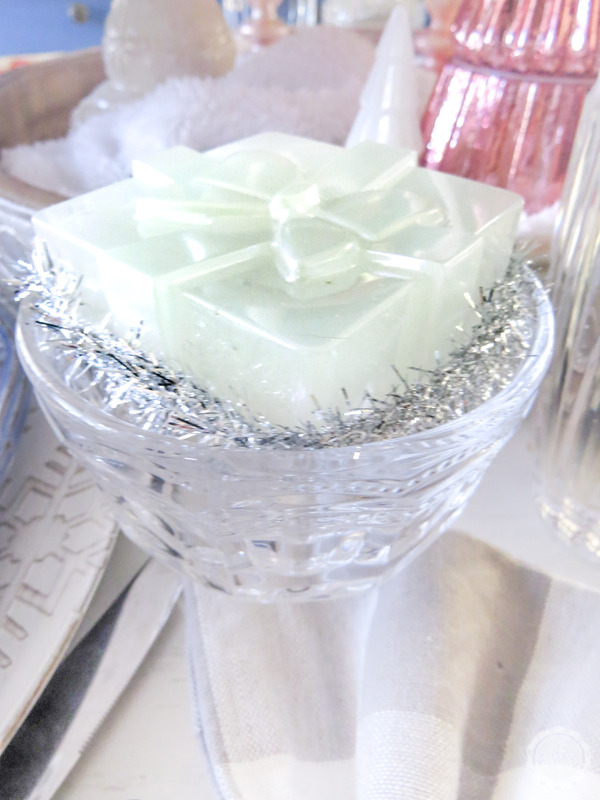
These little presents turned out so cute and I actually like the white version for my Christmas tablescape… the interference color definitely takes on the colors around it so they’re very silver and sweet. BUT I’m still thinking about making a few more with a pink color as the base to see that interference violet color really pop!
How adorable are these little beauties?
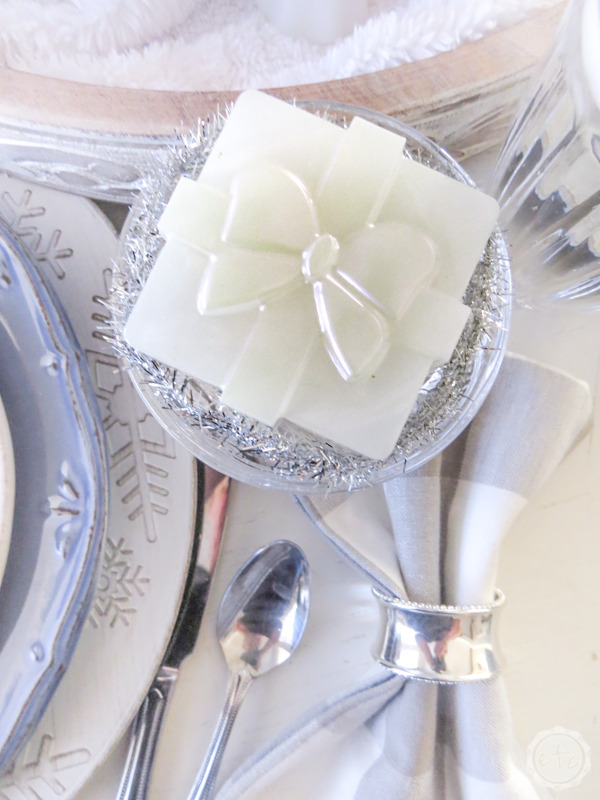
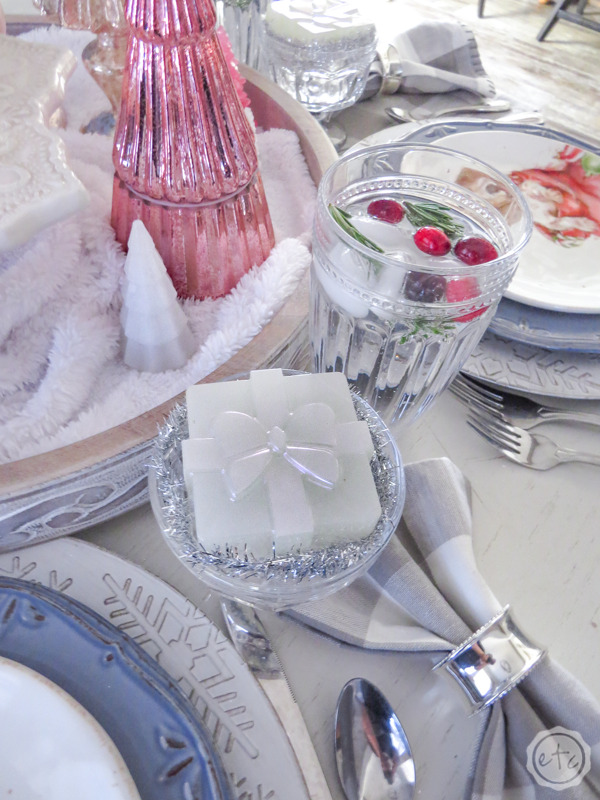
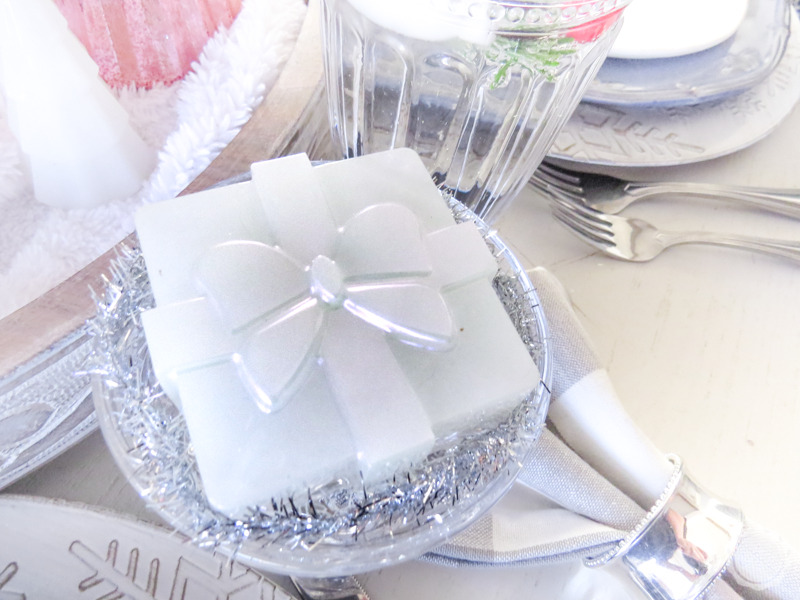
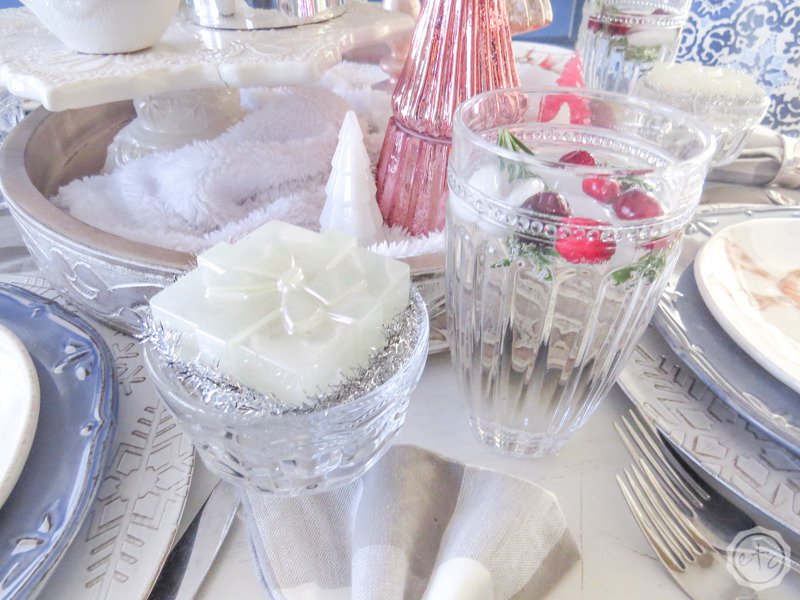
The little resin presents on this table aren’t the only resin project! The little resin Christmas trees are another quick and easy resin project you can whip up for the holidays!
And they look super cute with the presents!
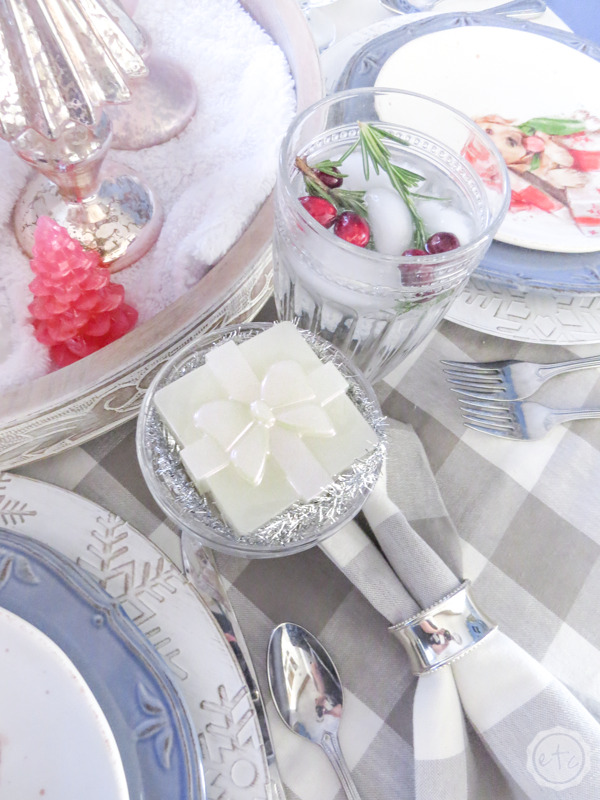
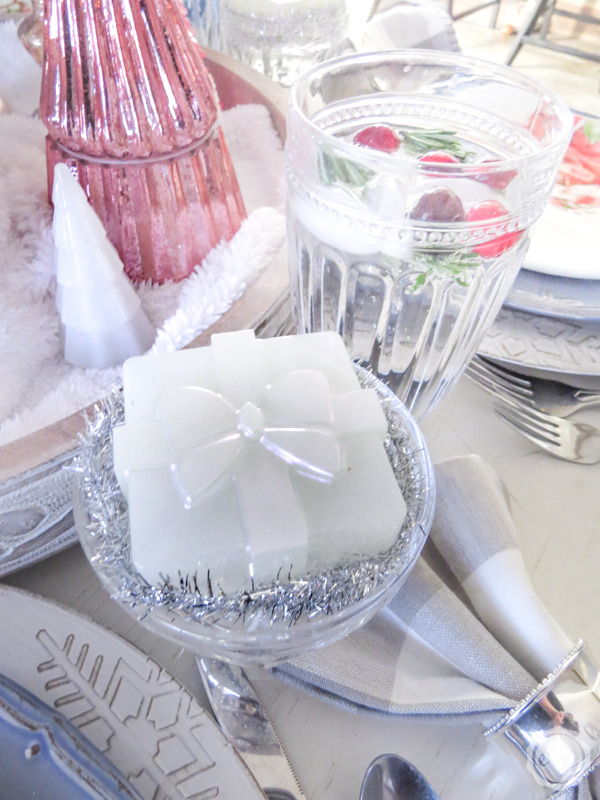


Looking for more resin projects? I’ve got you covered!










Leave a Reply