


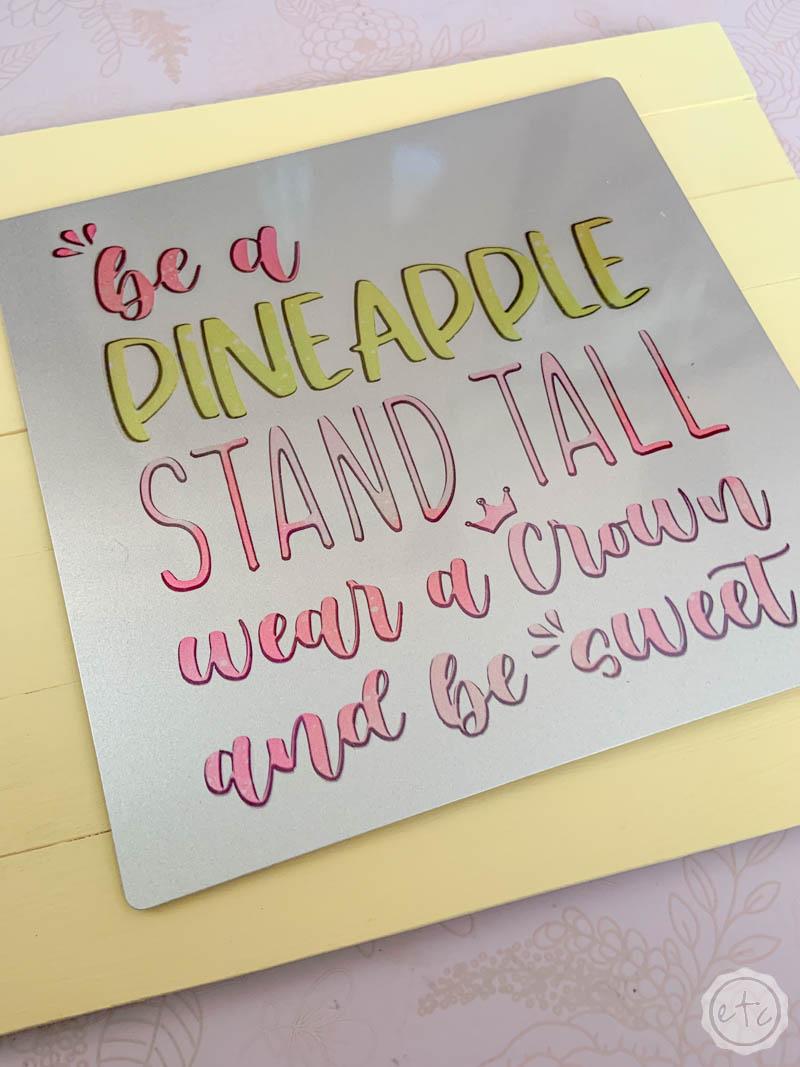
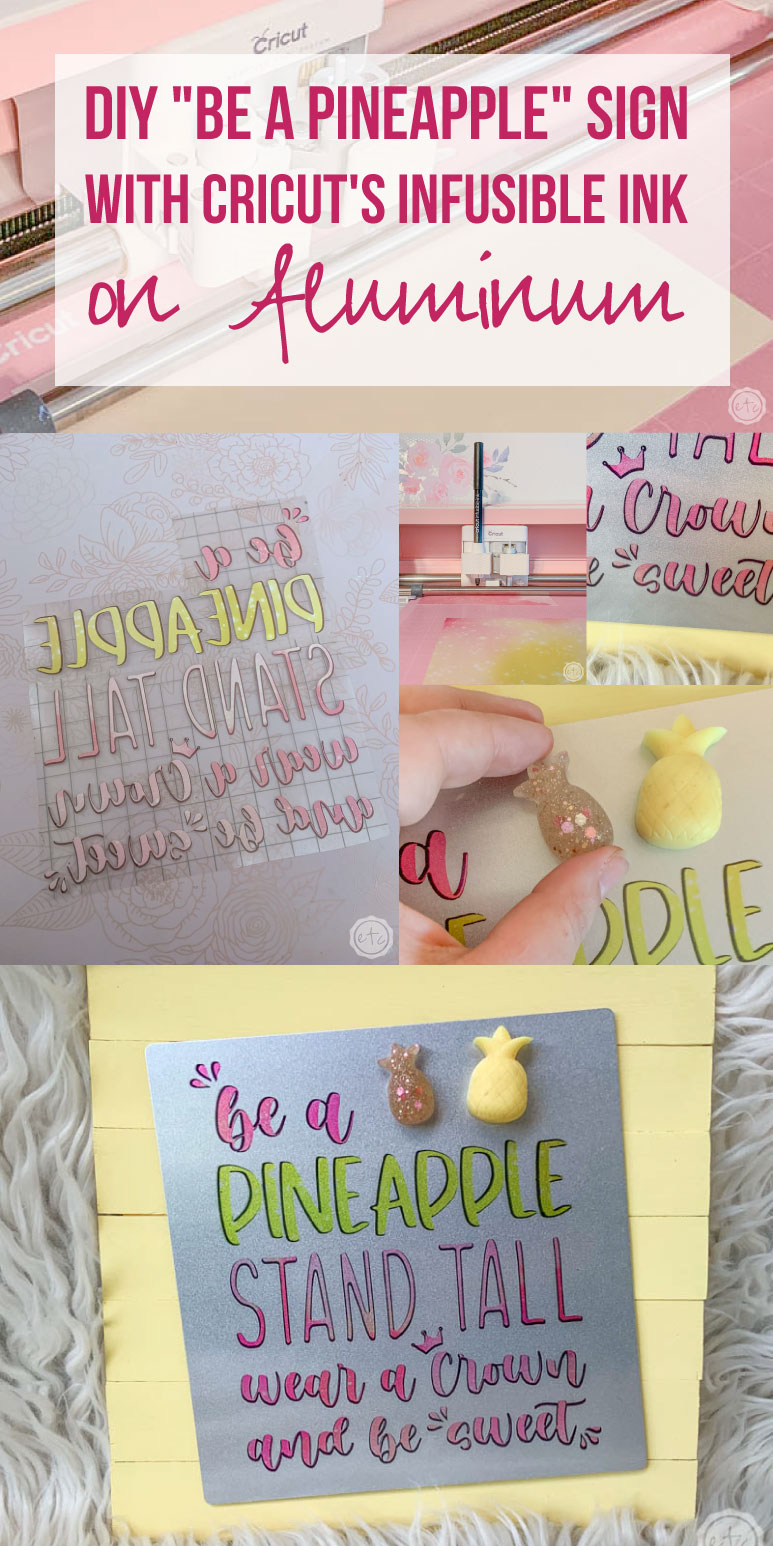
Now that I know you can put infusible ink on aluminum I’m ready to make all the projects! Which is why today I’m taking one of my favorite quotes and making a little aluminum sign!
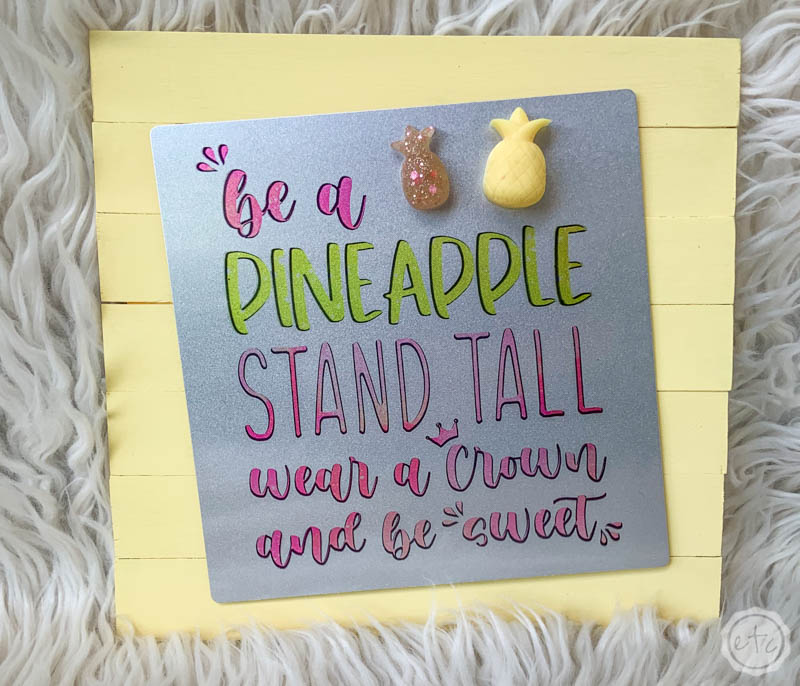
This little baby is quick and easy and looks super cute put all together!
For today’s post I’m going to be showing you how to cut out infusible ink and fuse it to your aluminum with an easy press… for the finished sign you’ll need a little pallet sign and a few resin pineapples. You can make the mini pallet sign using this tutorial and the resin pineapples are as easy to make as pouring resin into a pineapple shaped mold… but if you need steps for pouring resin you can follow my how to mix resin tutorial here.
Let’s get started!
Supplies:
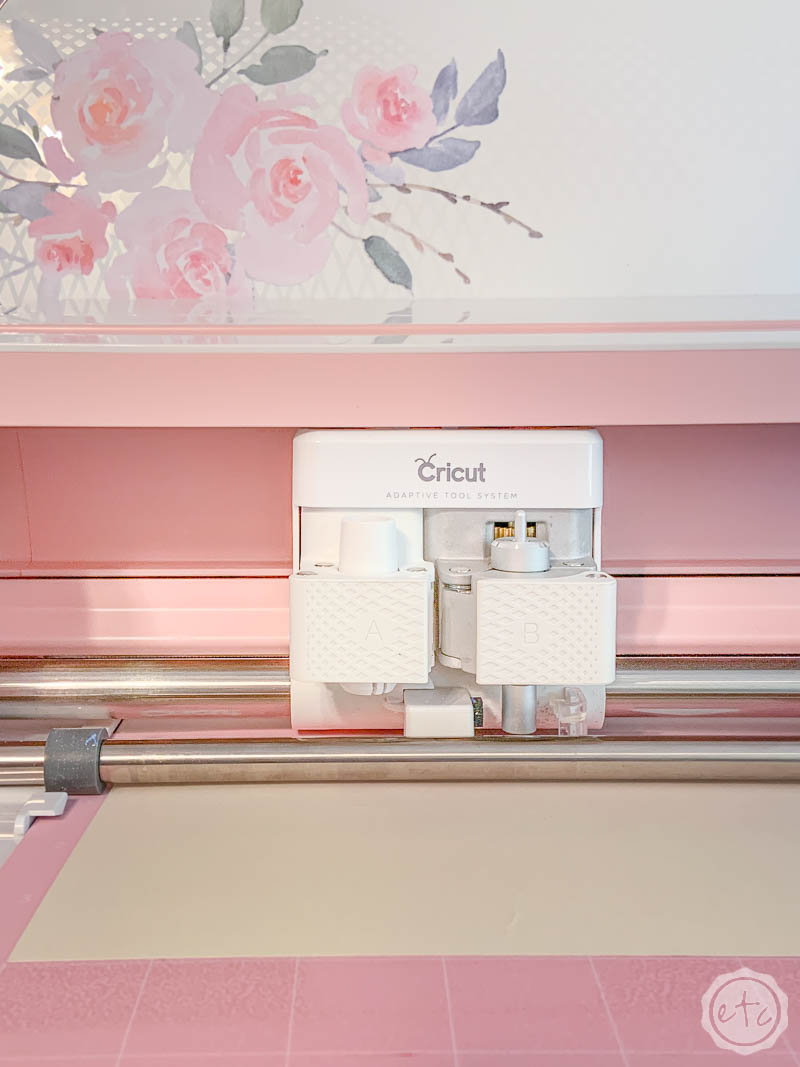
- Cricut Maker
- Fine-Point Cutting Blade
- Standard Cutting Mat (that’s the green one! Although I used a fabric mat since it was on hand!)
- Cricut Easy Press 9 x 9
- Easy Press Mat
- Strawberry Lemonade Infusible Ink Sheets
- Black Infusible Ink Pen
- Heat Resistant Tape
- Aluminum Sheet
- Cricut SVG Files (FREE at the bottom of this post)
- Mini Pallet Sign
- Glue Dots
- Resin Pineapples! (I used this mold to make the pineapples!)
Ready to take the leap but not sure which machine is right for you? Check out my Explore Air 2 and Maker comparison before pulling the trigger. I go over the pro’s and con’s of each machine and even have an easy to read check list of each machine’s features so you can decided which cutting machine is perfect for you.

Step 1: Cut & Write Your SVG’s
First things first… go ahead and upload your SVG’s to cricut design space. If you’ve never done that before it’s super simple but you can follow along with the steps here.
Once your svg is loaded into the program it’s time for a little tweeking. I started by welding all the layers (so pink with pink and yellow with yellow) and then duplicating the layers so that you have two copies of everything.
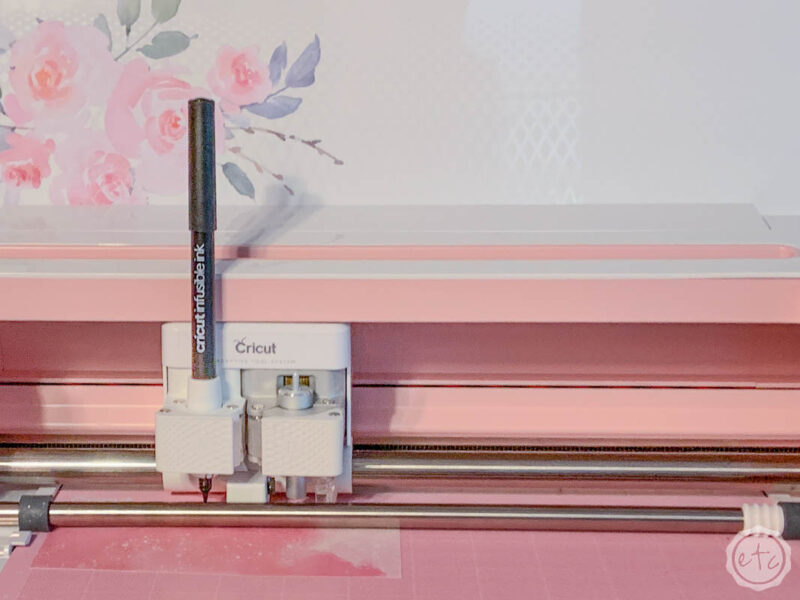
Now this is the tricky part. Label one layer as “cut” and one as “draw” This way you’ll outline the letters with your black infusible ink pen and then the standard blade will cut them out.
After you have everything assigned properly make sure to take layers a and b (cut and draw) and attach them so that they’ll cut and draw the exact same space on your cutting mat. Load your black infusible ink pen in clamp a and your standard cutting blade in clamp b and you’re ready to rock.
Once you have that ready to go you can click make it! Remember that you’ll need to mirror the design for infusible ink… and that infusible ink sheets are ink so make sure to handle them with clean dry hands to avoid messing up the ink.

Step 2: Weed your Design
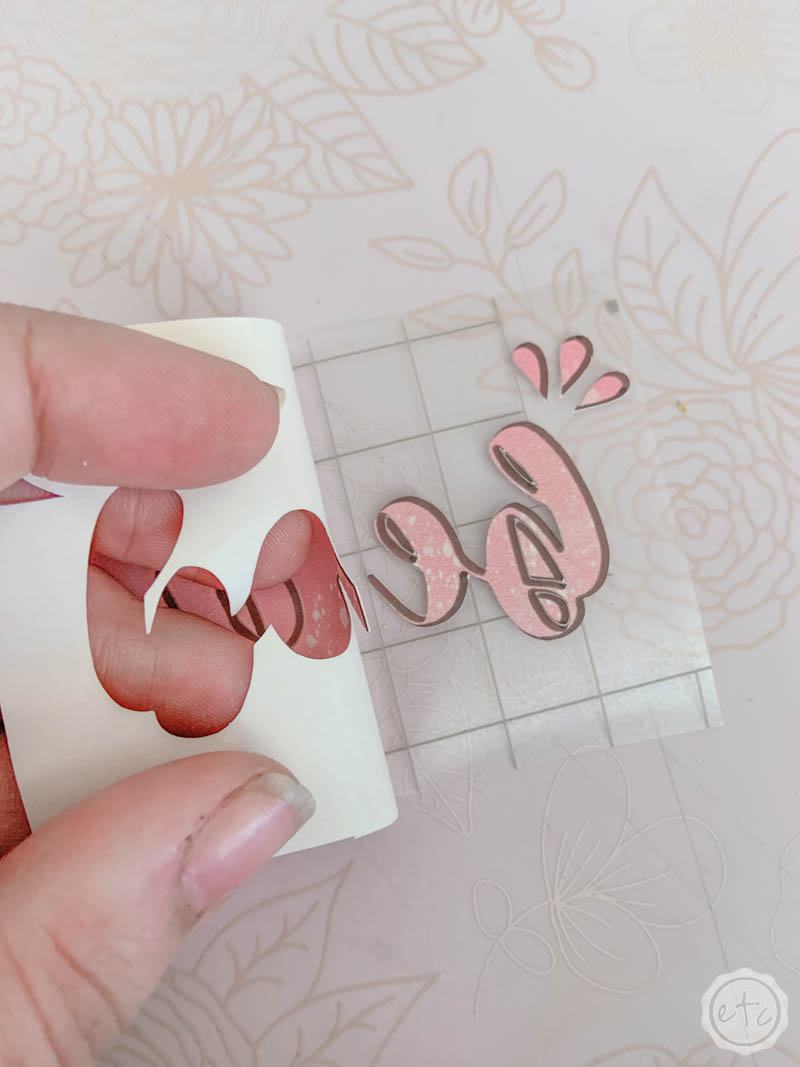
Now that everything is cut out we can go ahead and weed the design. Since we’re working with infusible ink there are a couple differences from weeding vinyl… mainly you don’t want to use a weeding tool since it can hurt the material.
Luckily infusible ink is thicker than vinyl so you can usually peel off the excess material without a problem. Just use your fingers to take up the negative material.
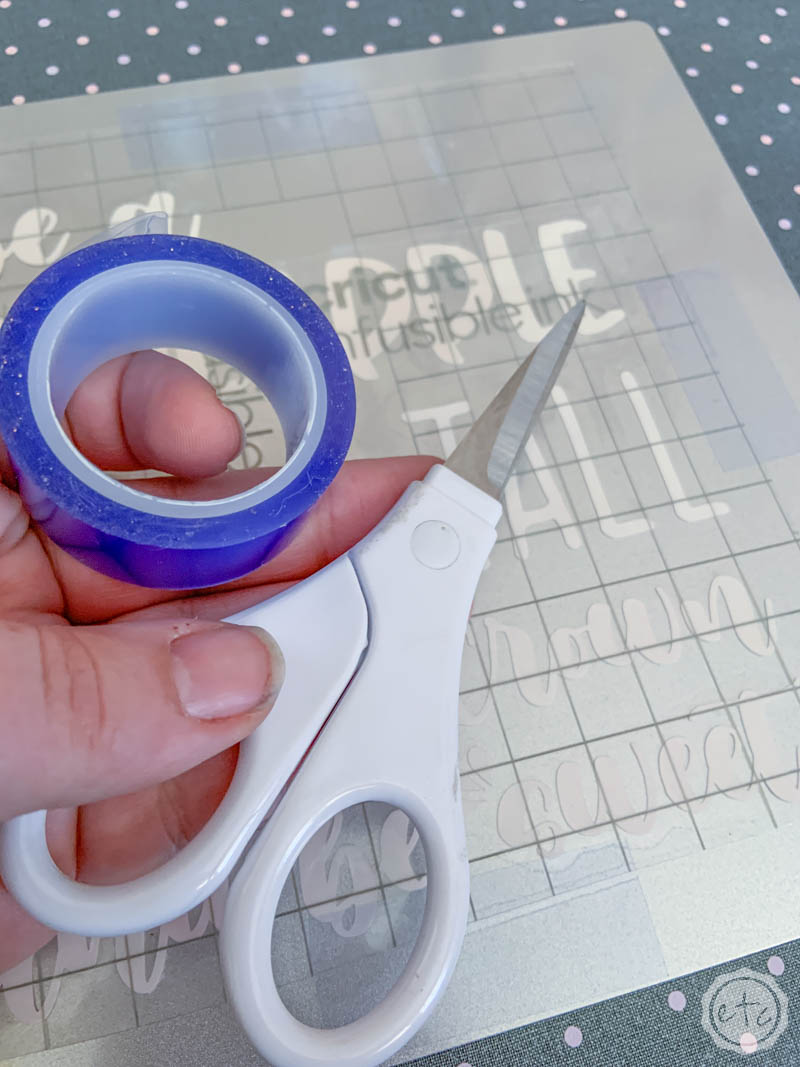
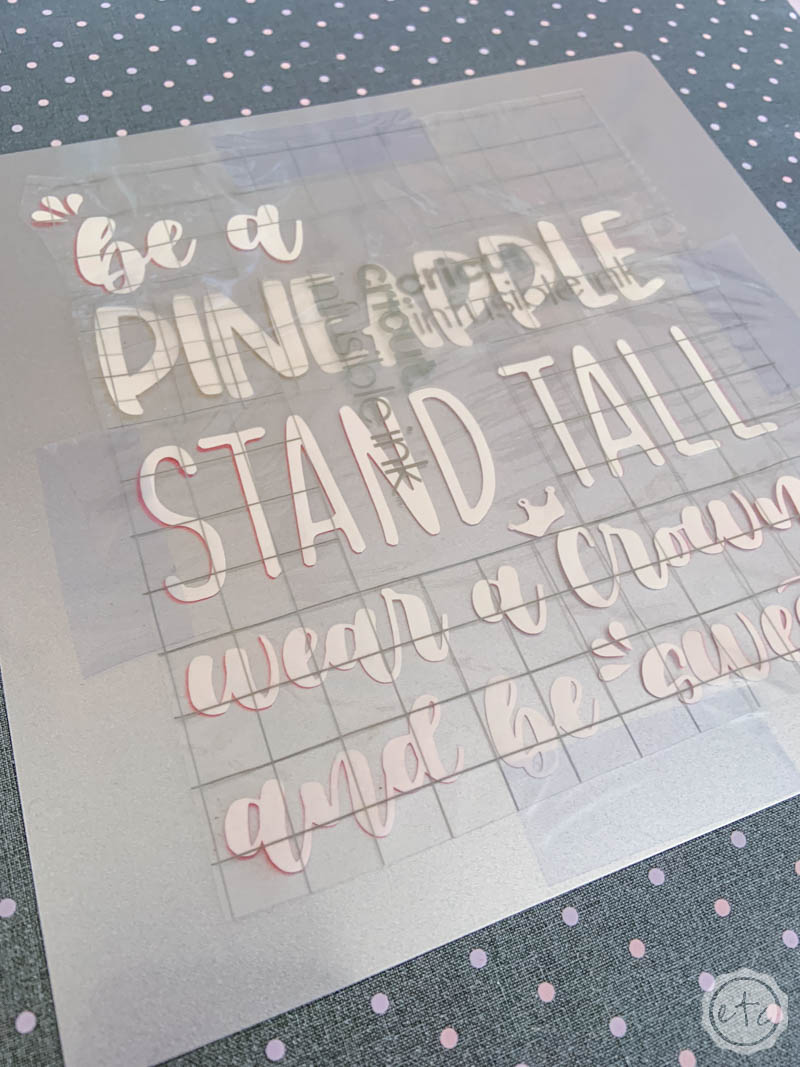
Once you have all the excess material removed you can merge your transfer sheets so that all the pieces are exactly where you want them to be. You can only iron on infusible ink to your aluminum once so your carrier sheet needs to have your design perfectly aligned with all the pieces before you heat it up.
I do this by cutting the carrier sheets and then sticking them together (you can use a bit of heat resistant tape to tape them together if need be).
Now you’re ready to rock!

Step 3: Prep Your Aluminum for Infusible Ink
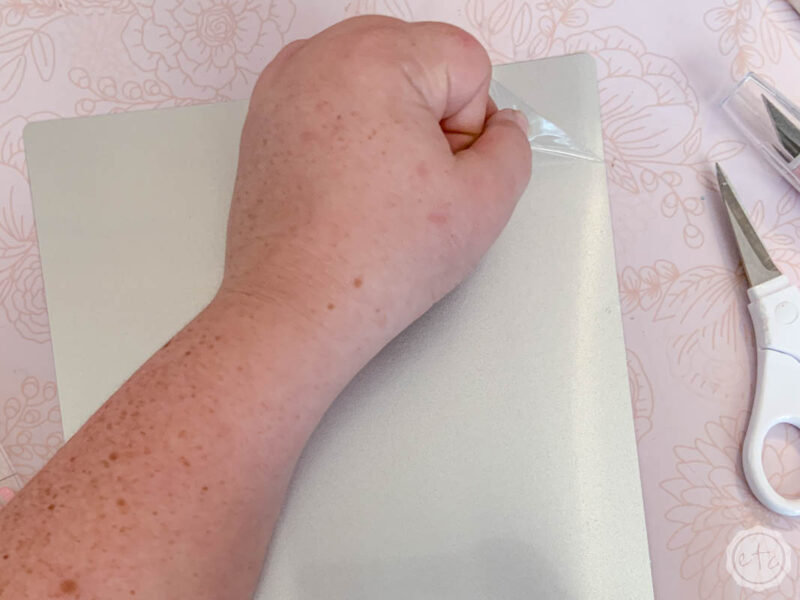
Ready to heat this baby up? Go ahead and plug in your easy press and set it to 385 degrees and 40 seconds. Then peel the protective film off both sides of your aluminum sheet!
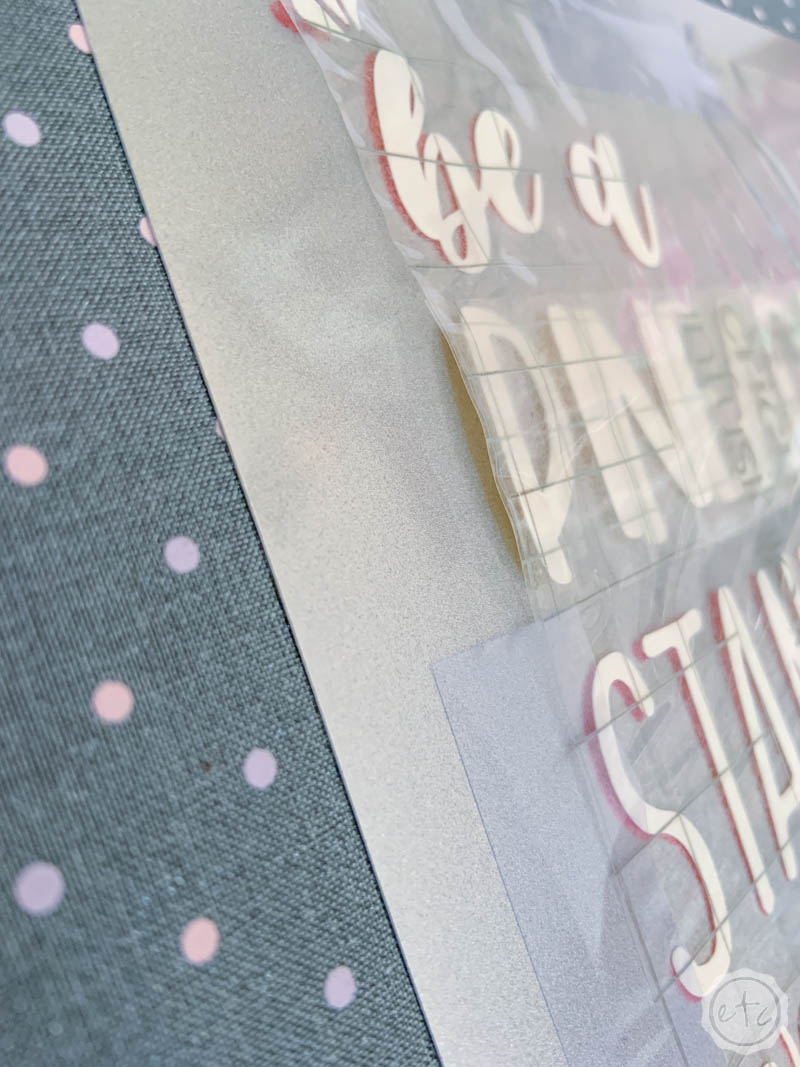
Once you’ve taken off the film you can smooth your little infusible ink sheet onto the aluminum. The carrier sheet is fairly sticky so it will stick by itself but you want to make sure the infusible ink sheet doesn’t move at all during the heating process so use a little bit of heat resistant tape to secure the design to the aluminum sheet.

Looking for even more infusible ink on aluminum projects? I go over all the basics with this cute little “Happiness is Homemade” sign.

Step 4: Use your Easy Press to Apply Your Design
Once the design is taped down and your easy press is hot you’re ready to rock! Put your freezer paper down over your design (to protect your easy press) and then carefully place the easy press down over the whole sandwich.
Set it down, hit the go button and then let it sit. You don’t want to apply any pressure while the 40 second countdown is going so gently put it in place and then let it be. Once the timer goes off gently lift the easy press up and put it back on the stand.
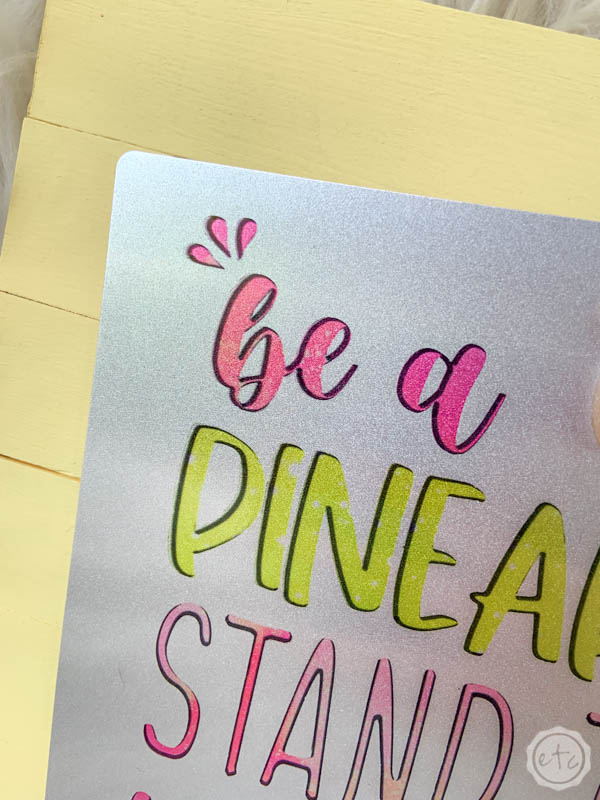
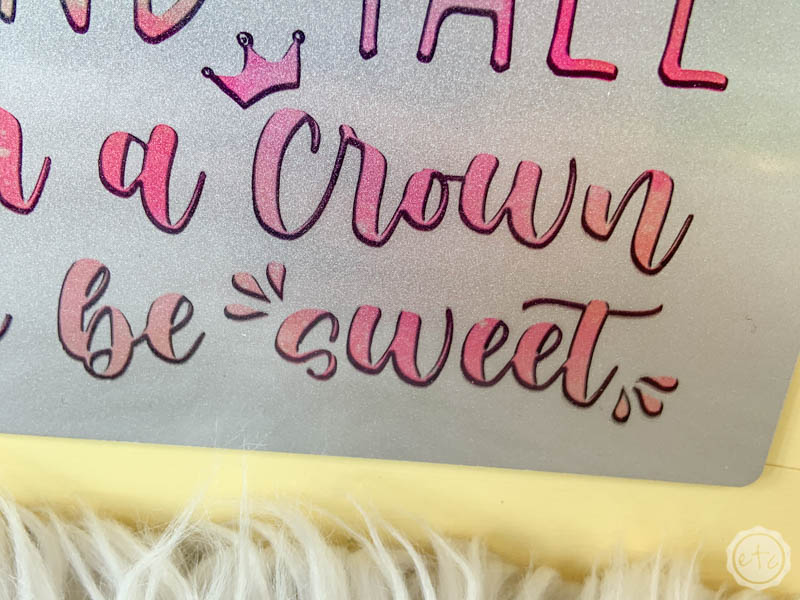
You can see the infusible ink sheet has already lifted off the material! How cool is that?
The aluminum is super hot at this point so leave it alone for a couple of minutes to cool down… then remove the carrier sheet!
Beautiful darling!

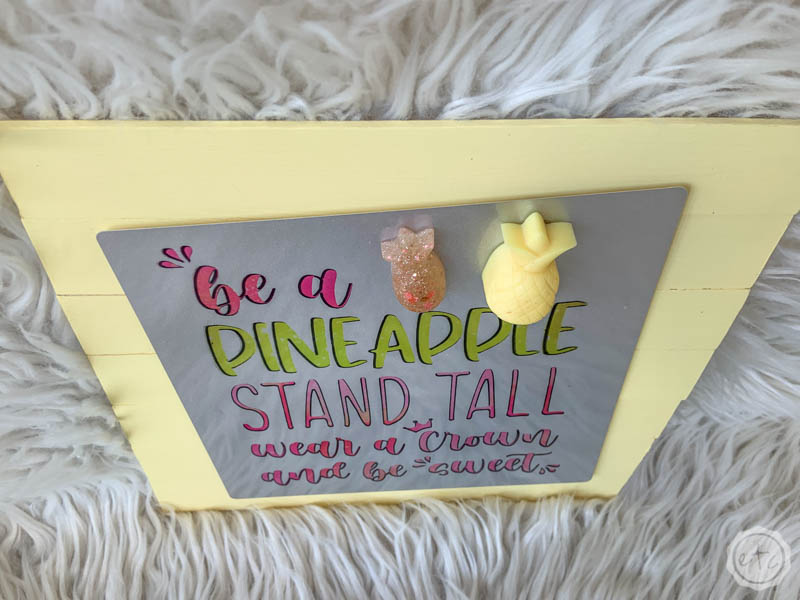
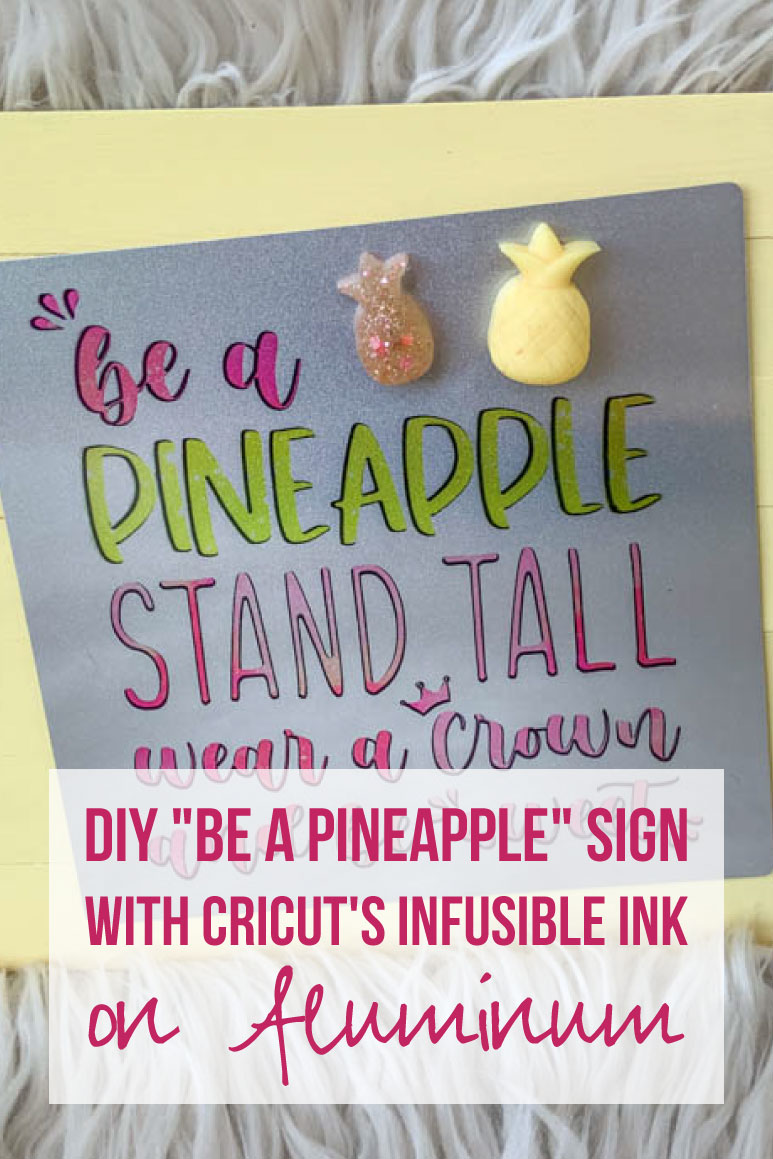
Step 5: Attach your Aluminum to a Mini Pallet Sign
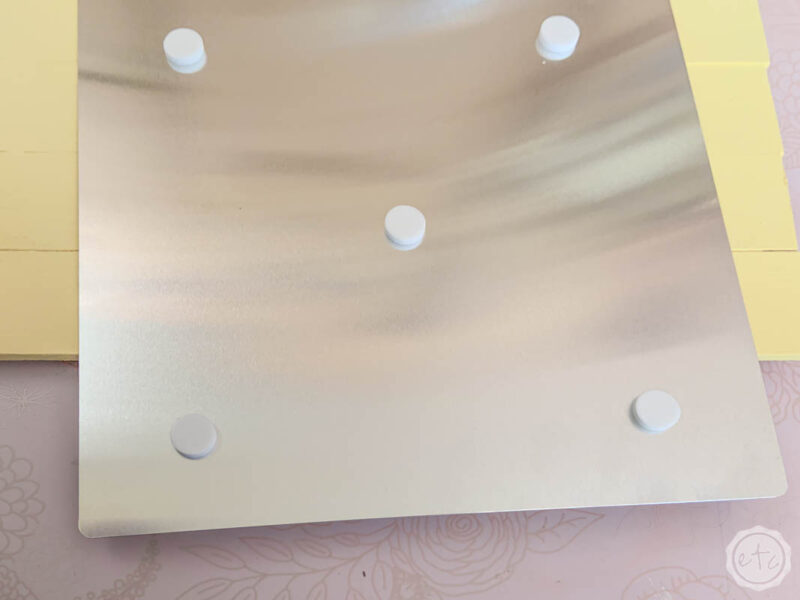
The little aluminum piece is adorable on it’s own but I thought it could use a little extra pop… so I made a little pallet sign and painted it yellow to match.
Then a few glue dots on the back of the aluminum sign was all I needed to attach the two together!
Easy peezy and just look how the frame makes the aluminum sign pop!
One last step and we’ll be done!

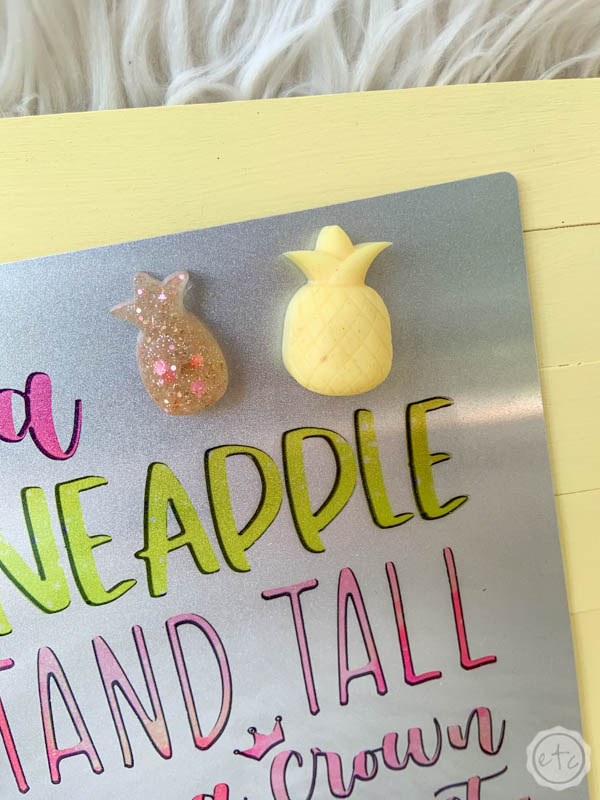
Step 6: Attach your Resin Pineapples
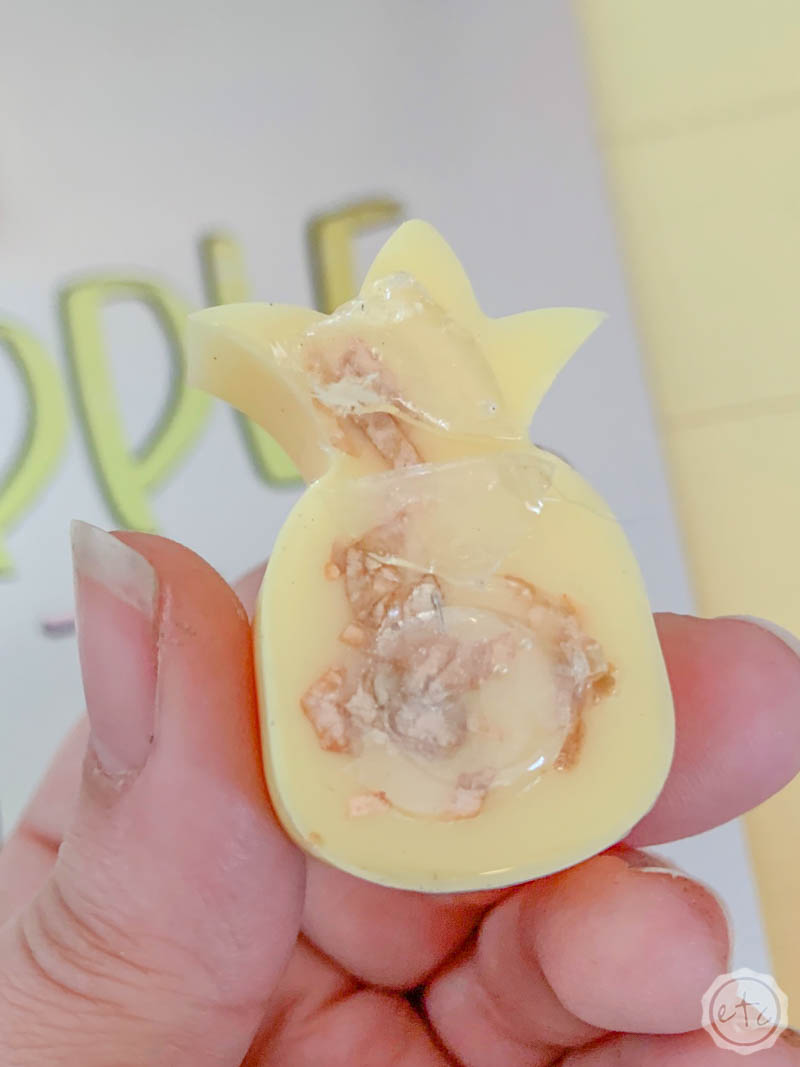
Last but not least I wanted to add a few 3D pieces… resin pineapples! These little guys were so quick and easy to make… I simply poured colored resin into a little silicone mold and let it harden! You can follow my how to mix resin for beginners tutorial if you’ve never mixed resin before.
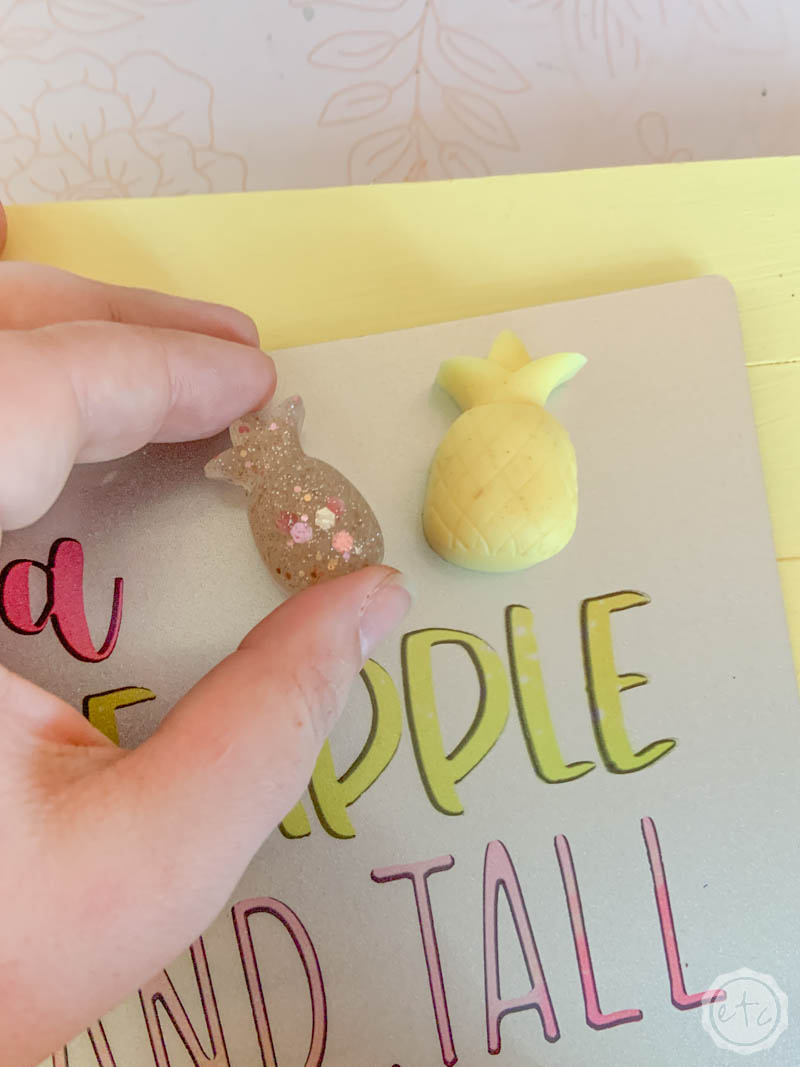
For this little sign I made one in yellow to match the pallet sign (I used the same butter yellow craft paint to color the resin and to paint the pallet sign so they definitely match!) and the second pineapple has a bit of pink craft paint and glitter to match the pink infusible ink sheets.
These babies looked so cute with the rest of the sign!
I added a few glue dots to the back and pressed them firmly in place. Perfect darling!
Now we’re finished… enjoy!


Looking for more resin projects? I’ve got you covered!


[…] add a little embellishment (like this adorable aluminum “be a pineapple” sign or this little farmhouse “Happiness is Homemade” sign and you’re good to […]