


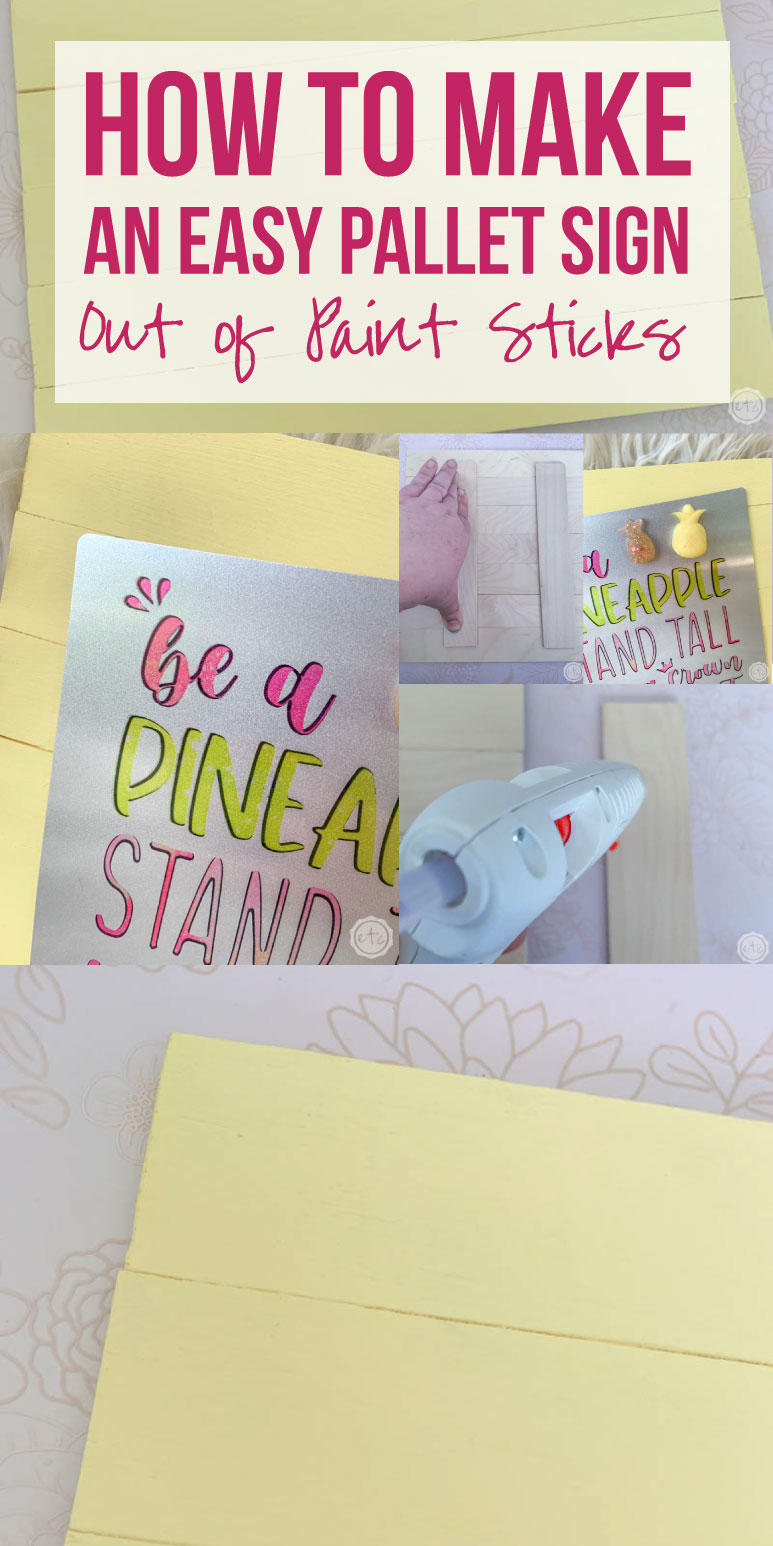
Today I have a quick and easy (budget friendly) sign DIY! You can make this little paint stick sign whatever size and shape floats your boat for a completely custom look.
Then add a little embellishment (like this adorable aluminum “be a pineapple” sign or this little farmhouse “Happiness is Homemade” sign and you’re good to go!
Supplies:
- 9 5 Gallon Paint Sticks
- Pen/Pencil
- Hot Glue & Hot Glue Gun
- Dremel Saw Max
- Portable Work Table
- Sanding Block
- Optional: Paint or Stain

Step 1: Lay Out Your Paint Sticks
Let’s get started!
This first step is easy… simply lay all of your paint sticks down flat on your work surface. I wanted all of my sticks tight together with no gaps but if you want spaces in between each stick you can add spacers (like a penny) between each piece to keep the spacing the same.
For this little sign I laid out 9 5 gallon paint sticks and made sure they were all flush on the right side. Then I moved on to measuring.

Step 2: Mark your Cut Line
Now that you’ve gotten your paint sticks laid out it’s time to cut them! But first we have to mark where to cut them! I am making this specific sign to be a background for a little aluminum sign I’m making… the aluminum is 8×8 so my pallet sign ended up being 10×10.
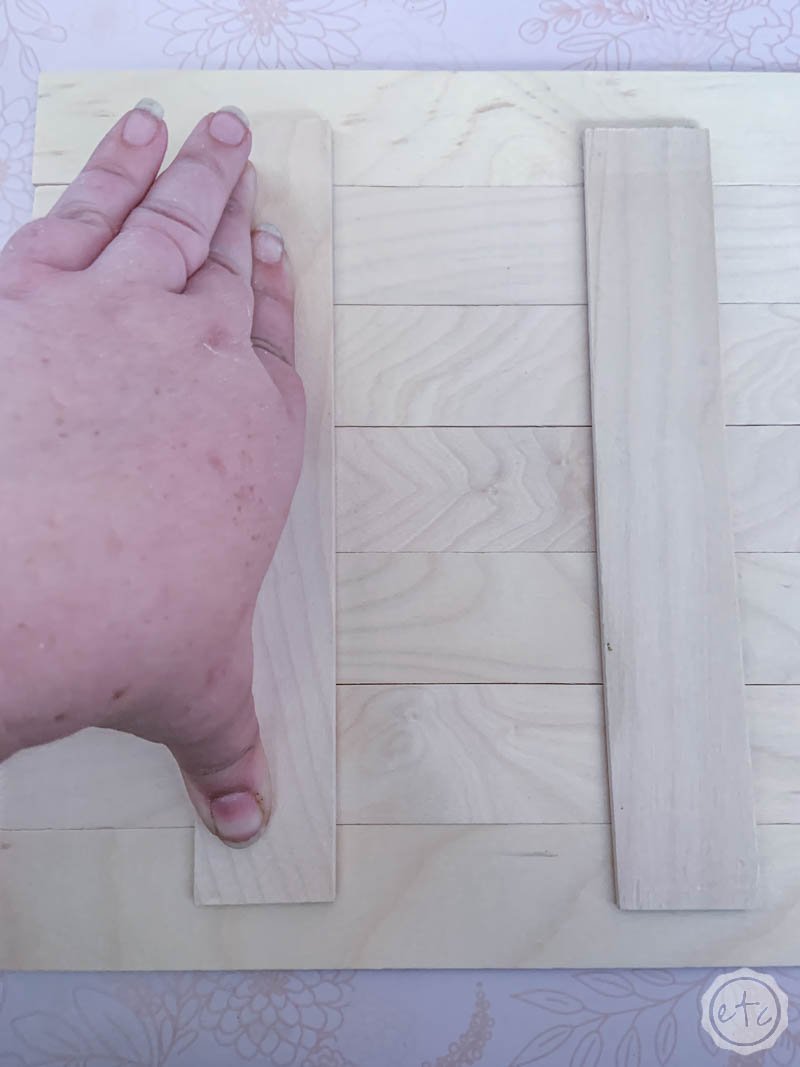
If you’re making a background for a specific piece (like I am) then place that item/sign/whatever on top of your paint sticks and make sure your cut sign will be the proper size for that item.
Otherwise you can simply use a ruler to measure out 10 inches and mark it!
Make sure to use a straight edge (like a ruler… or an extra paint stick) to draw a straight line across all 9 paint sticks so that you can cut them in a straight line.
Beautiful darling!
Now measure out 2 shorter paint sticks that will run vertically over all our horizontal paint sticks. Mark these babies with your pen and we’re ready to rock.


Step 3: Cut your Paint Sticks
Now it’s time to cut these bad boys!
You can use an exacto knife to cut these bad boys… and I have (check out these little magnetic printable frames) but I’ll be honest… it sucks. It takes a lot of pressure and elbow grease. I finally outsourced the exacto knife cutting to my hubby who was *ahem* not pleased.
This time I upgraded and cut my paint sticks with my little dremel saw max. (Now that I think about it that little dremel was a Christmas present my hubby got me *ahem* shortly after he had to exacto knife all those paint sticks last time…). This little saw is handheld and easy to use… I use it for projects all the time and it’s super easy.
My Mom even steals it for projects from time to time!
FYI this post is 100% not sponsored… I just really like this little guy.
Either way, go ahead and clamp your paint sticks down and cut them on the line. I used the built in clamps on my little portable work table… easy peezy!
Once they’re cut use a sanding block to smooth out those cut edges… then your ready to move on to the next step.
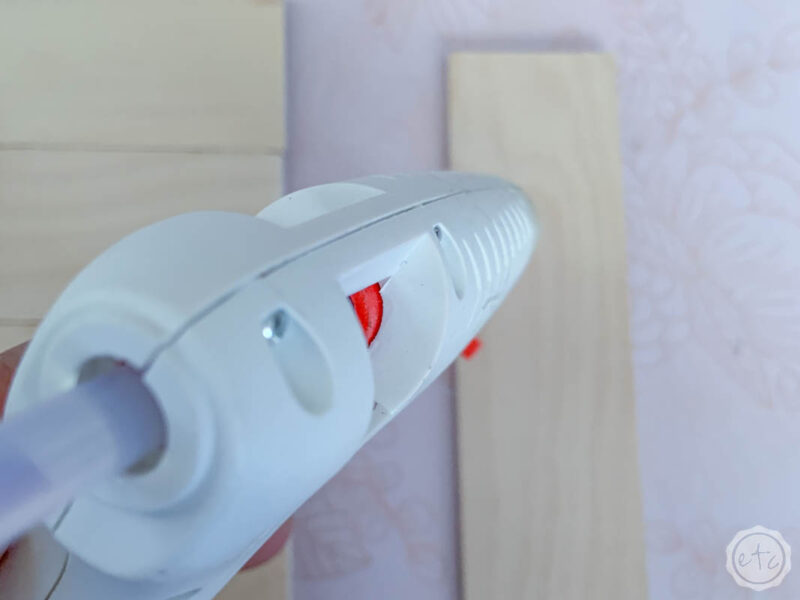
Step 4: Glue the Vertical Paint Sticks in Place
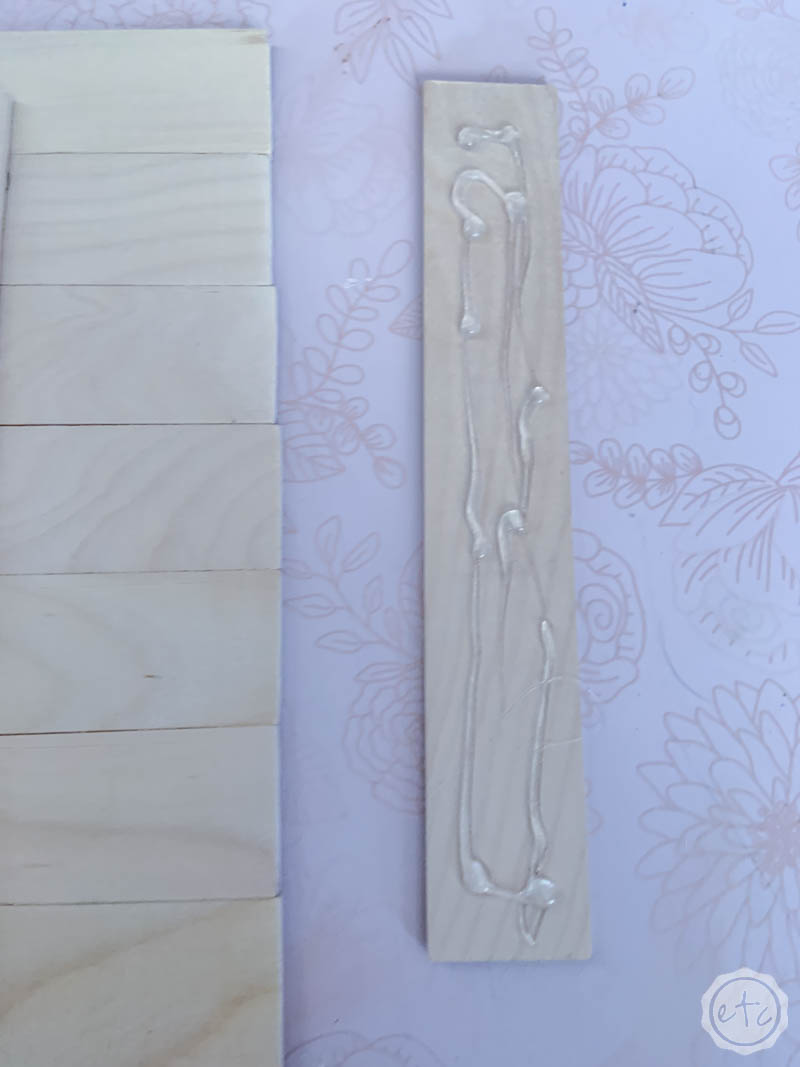
Alright ladies… on your mark get set heat up your glue gun! Once it’s hot go ahead and add hot glue all the way up and down the short paint sticks you cut earlier.
Now lay this guy down across all your paint sticks and press it down firmly!
You want your two vertical paint sticks to be evenly spaced across your little sign so make sure you’re placing them about 1/3 of the way in from the sides to keep things even.
Once the glue on the first vertical piece is set add glue to the second piece and press it into place.
Perfect!

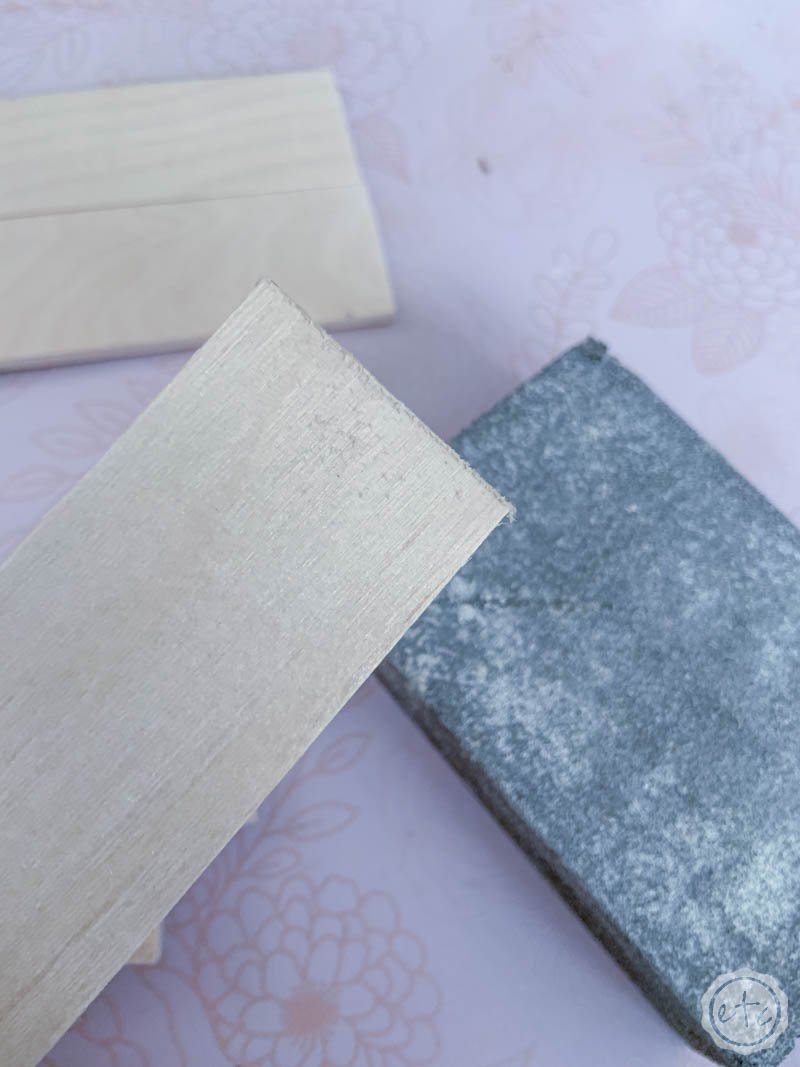
Optional Step 5: Paint your Sign
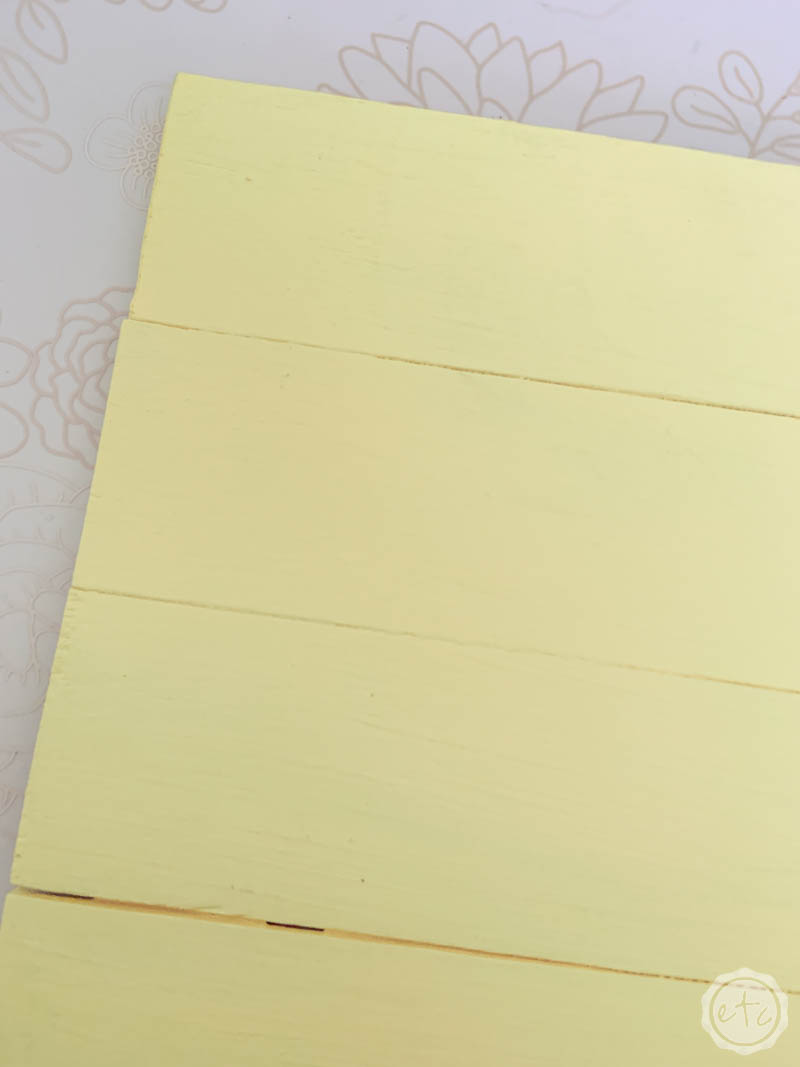
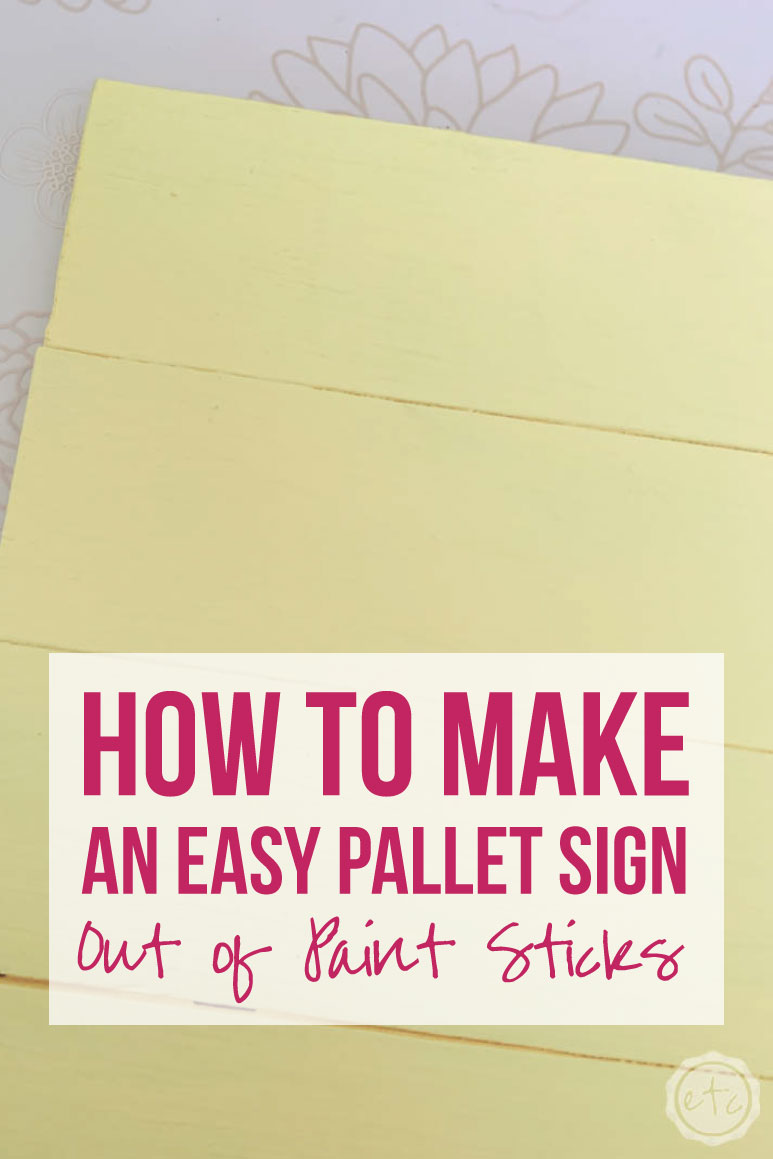
Now that your sign is finished (ta-da!) you’re ready to rock. You can leave the wood natural if that’s what you’re going for but I’m making a sign about pineapples so I wanted a bright and cherry yellow!
Paint or stain your sign and you’re ready to use it however you like… enjoy!
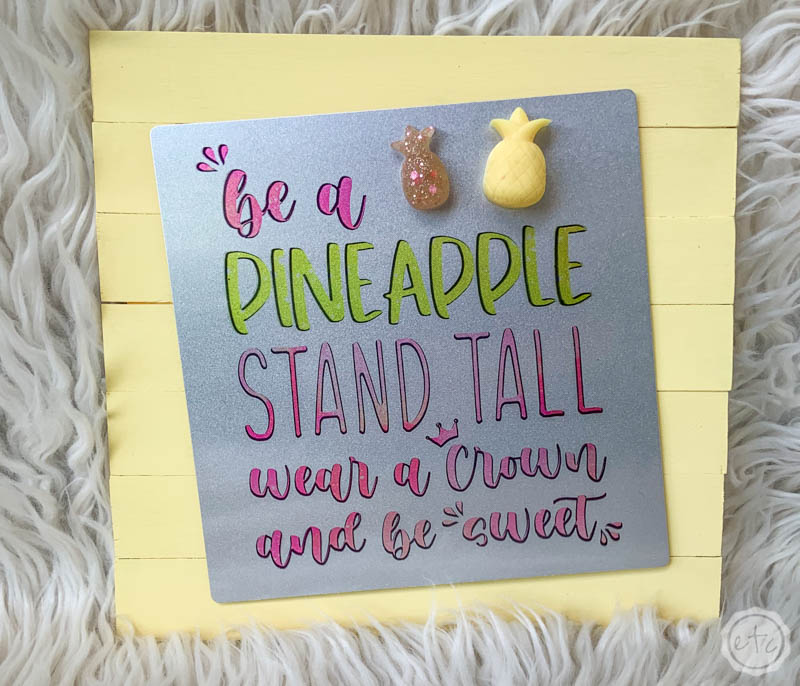
I added a little aluminum sign with a few resin pineapples! If you want to learn how to put infusible ink on aluminum to make this little sign you can follow the full tutorial here!
In the meantime don’t forget to pin!


[…] for the finished sign you’ll need a little pallet sign and a few resin pineapples. You can make the mini pallet sign using this tutorial and the resin pineapples are as easy to make as pouring resin into a pineapple shaped mold… […]