
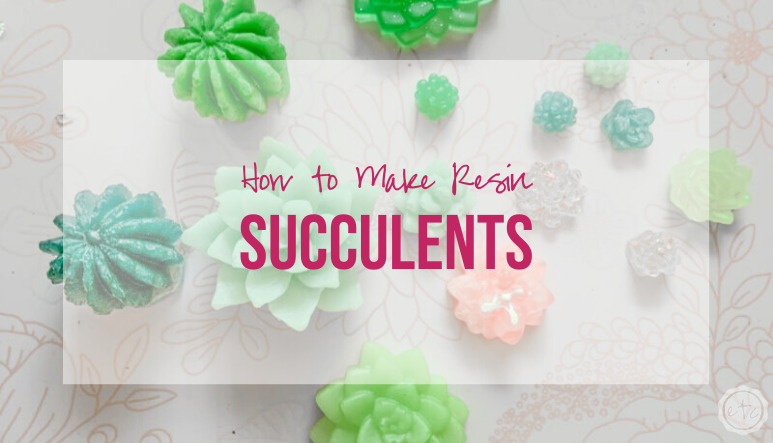


Ready for a fun and easy project? Resin succulents! These little guys are a great beginner project and you can use them for so many things… add a magnet to put them on the fridge, a keychain so they can dangle from your keys or even arrange them in a flower pot as a tiny succulent garden that you really can’t kill.
We’re going to be doing a few of those projects… but in the meantime we need a few succulents to work with! In the real world succulents come in all different shapes, sizes and colors (just check out this post on how to plant succulents or this post on where to buy succulents online if you don’t believe me).
Easy Resin Succulent Container Garden
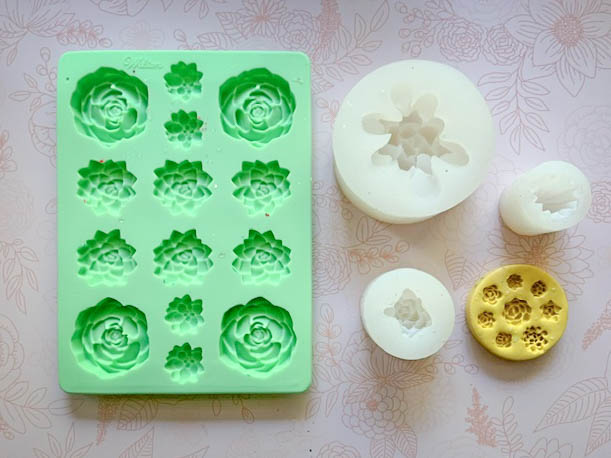
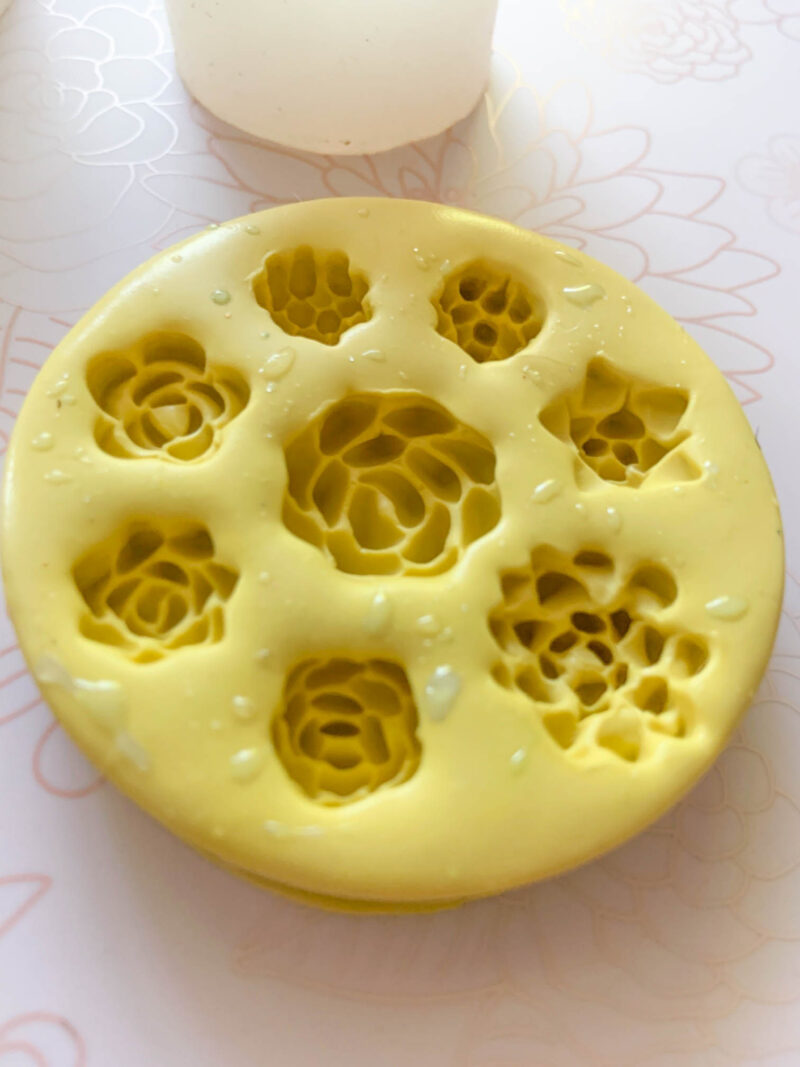
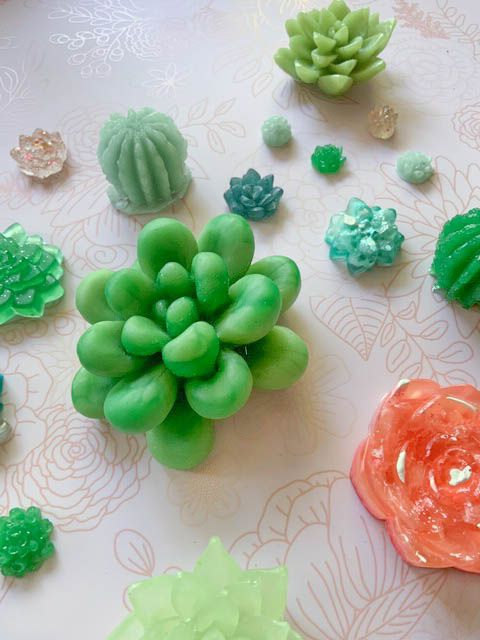
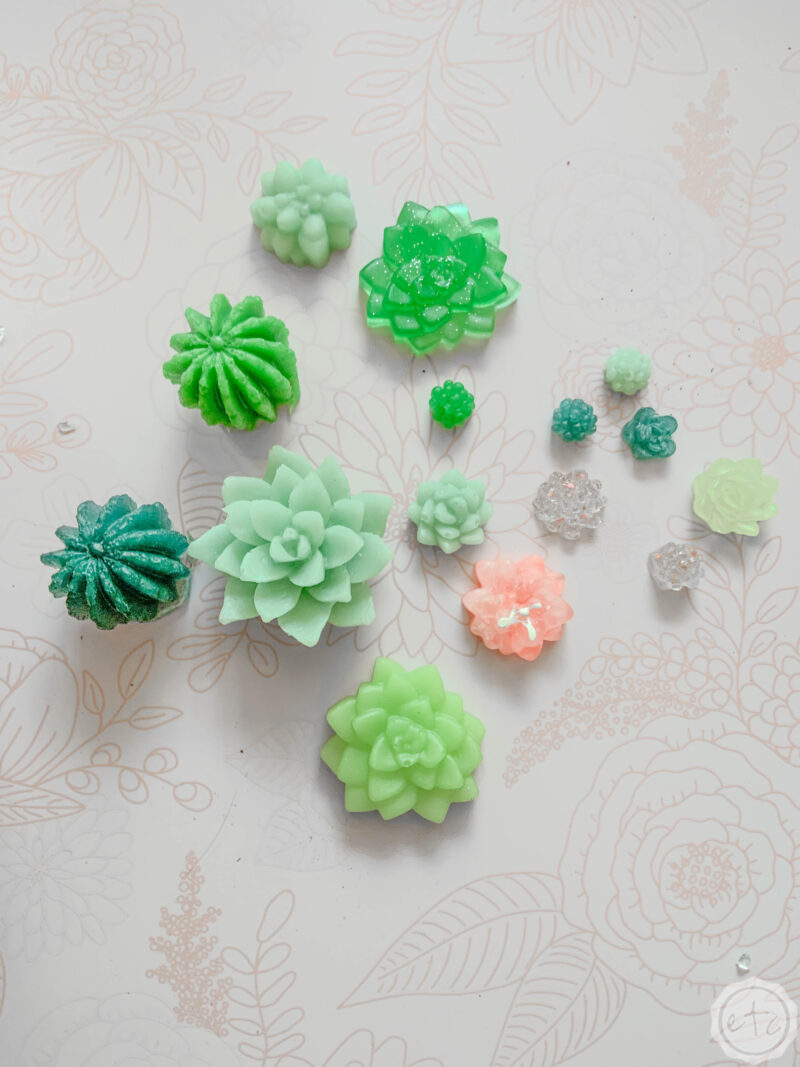
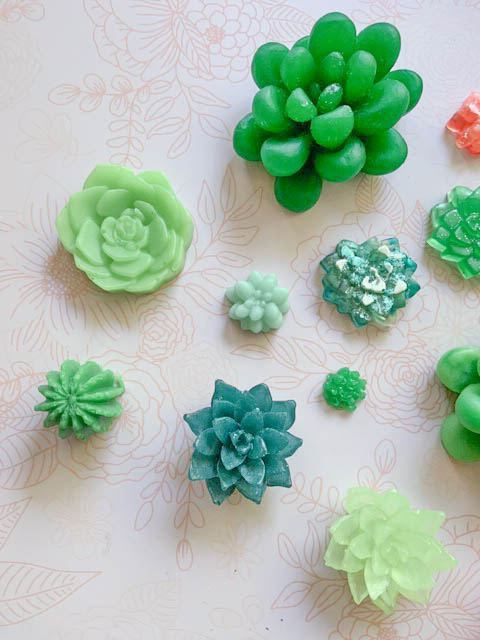
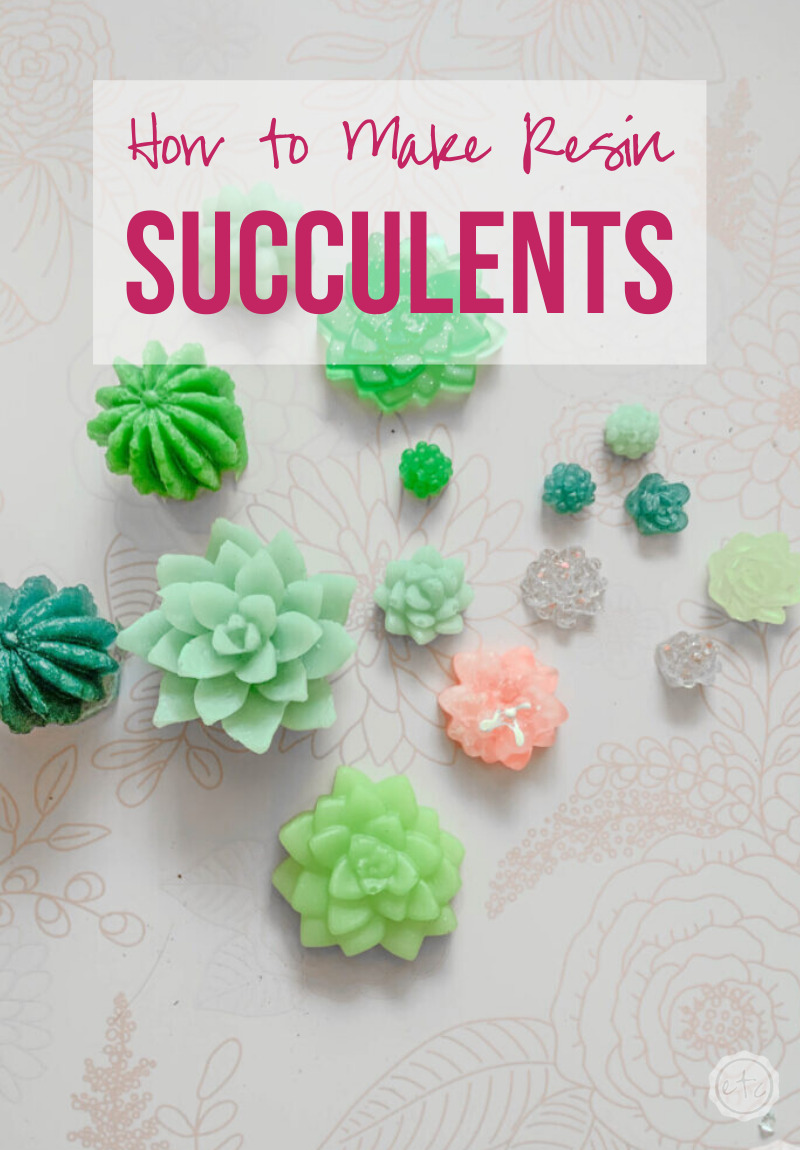
I want my little succulent garden to have a variety of shapes and sizes as well so instead of buying one mold and making a bunch of the same succulent I actually bought 3 different succulent molds so that I would have a bunch of different options.
Then I filled each mold with a combination of colors, techniques and pigments. Of course, if you’re looking to make a single keychain or magnet you may just want to pick your favorite mold and color and make a single succulent… whatever works for you!
Let’s jump right in!
Supplies:
- Amazing Clear Cast Resin
- Respirator/Mask (resin graded filters)
- Gloves
- Wagner HT400 Heat Gun
- Silicone Mold (Green Succulent Mold, Tiny Succulent Mold, 3 Unique Succulent Molds)
- Freezer Paper
- Baking Pan
- Small Mixing Cups
- Silicone Measuring Cup/Larger Mixing Cups
- Popsicle Sticks
- Toothpicks
- Inclusions: White Alcohol Ink, Pink/Green Alcohol Ink, Light & Dark Green Craft Paint)
Just starting your resin toolbox? Check out my post on what to buy to get started with resin here!
Step 1: Mix Resin
Alright y’all, regardless of what color technique you’re going to try the first step for this little resin project is prepping your area (you thought I was going to say mixing your resin didn’t you?).
Once you mix your resin you have a set amount of time to work with it before it becomes hard and unusable so make sure you have everything you need before you get started. You don’t want to be running around the house looking for glitter while your resin cures in the mixing cup.
Trust me… do as I say and not as I do, ok?
Start by laying out a bit of freezer paper to protect your work surface… in a well ventilated area. Then place your baking pan (covered with freezer paper) down with your molds on top of the baking pan. The baking pan just makes it easy to move your molds around without spilling resin.
So if your well ventilated area has a door then you may not need a baking pan… my well ventilated area is my porch so at the end of pouring resin I’ll move my baking pan into the craft room to dry. That’s where the baking pan really shines!
Now lay out your mixing cups, stir sticks (popsicle or reusable), alcohol inks, craft paints, glitters and heat gun. Put on your respirator and gloves and you’re ready to rock!
Go ahead and mix your resin according to the mixing ratio (mine is 1:1) and you’re off to the races! If you’ve never mixed resin before and you want the full walk through you can check out my how to mix resin for beginners post here.
Step 2.5: Alcohol Ink Succulents
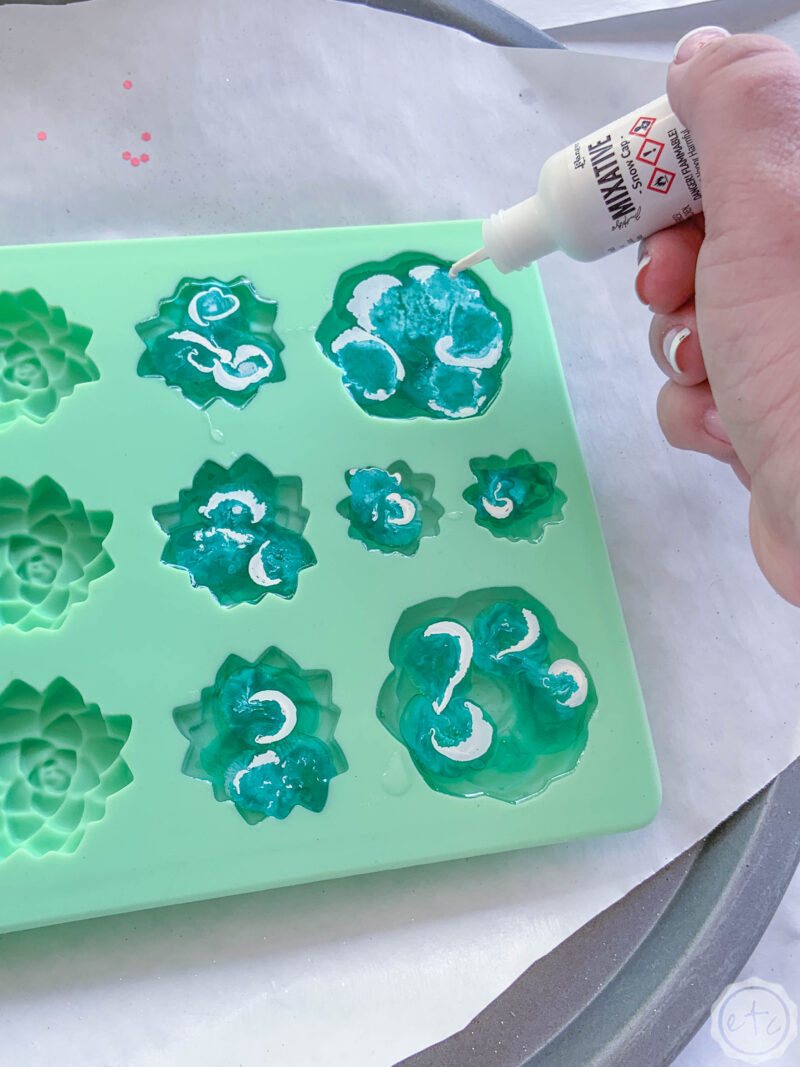
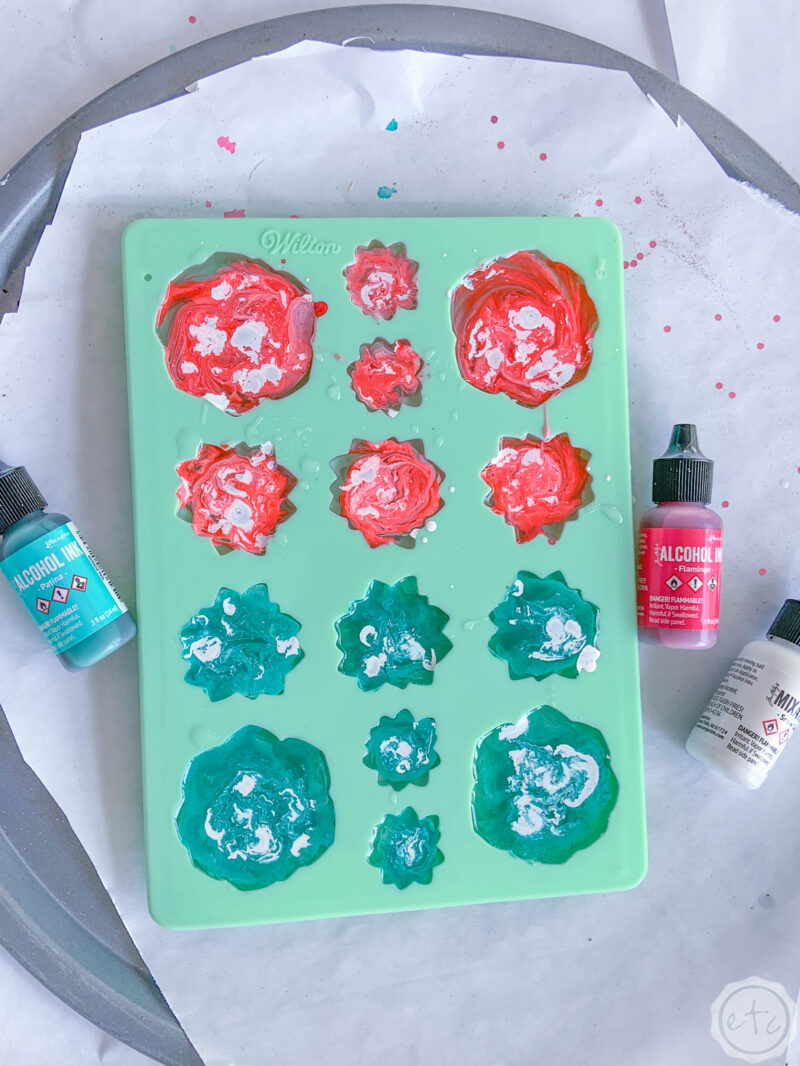
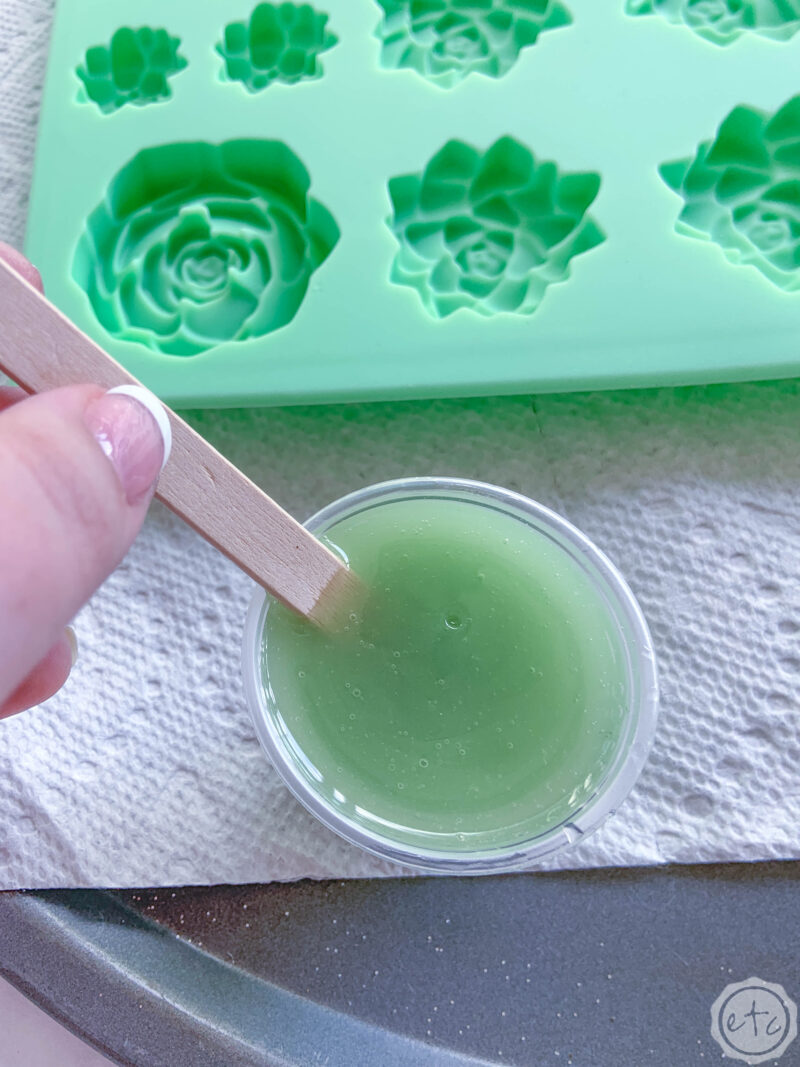
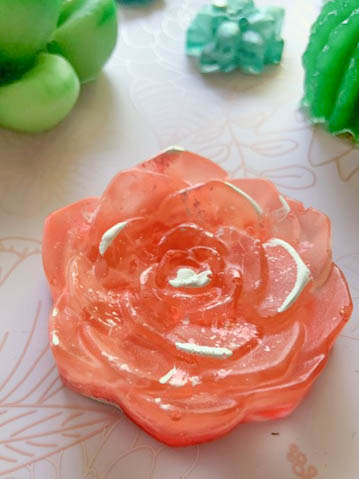
Now it’s time to whip up a few succulents! The first technique I tried was mixing alcohol inks for a few green and pink sucuclents.
There are plenty of ways to use alcohol inks in resin (you can check out my favorite 3 resin & alcohol ink techniques here) but for these little guys we’ll keep it simple.
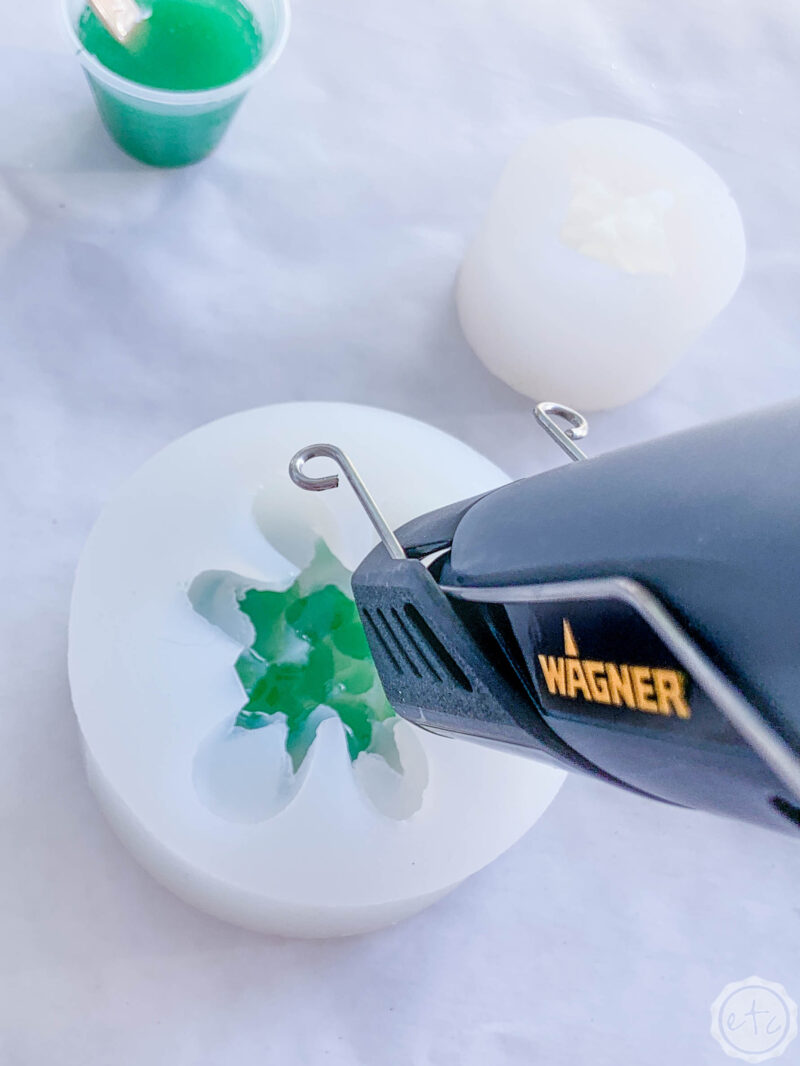
Pour your resin into the molds and use a heat gun to pop any bubbles you may see. Then start by adding a few green drops of alcohol link to each succulent. Now add a white drop of alcohol ink into the middle of each green drop!
Repeat this process about 5 or 6 times… green drop, white drop, repeat! Colored alcohol ink on it’s own floats so the white ink will help it travel all the way through the resin and color the entire succulent. Cool, huh?
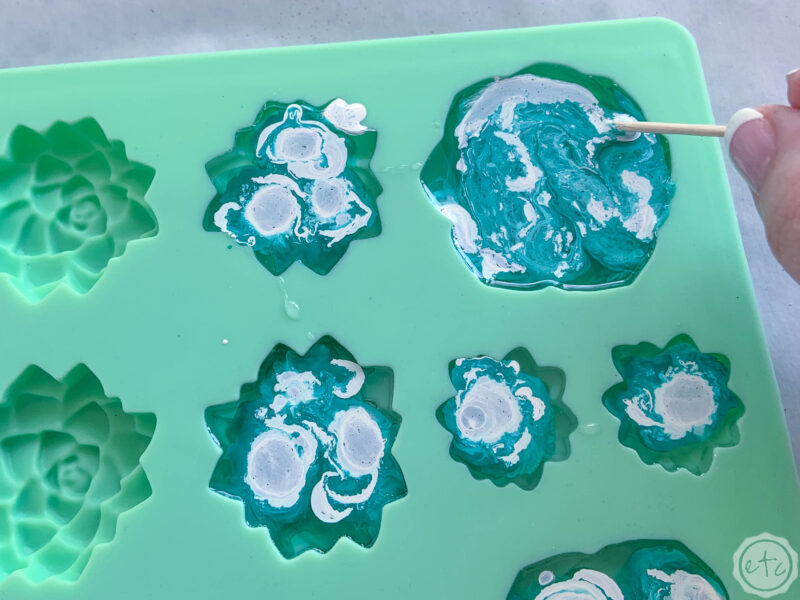
Once you’ve added all your layers take a toothpick and swirl all the colors together… beautiful darling!


Step 2.5: Craft Paint Succulents
Ready for the second look? These little guys ended up being my favorite (you can see the detail of the leaves on these!) and I went back to make a few in a blue/green and a slate green as well!
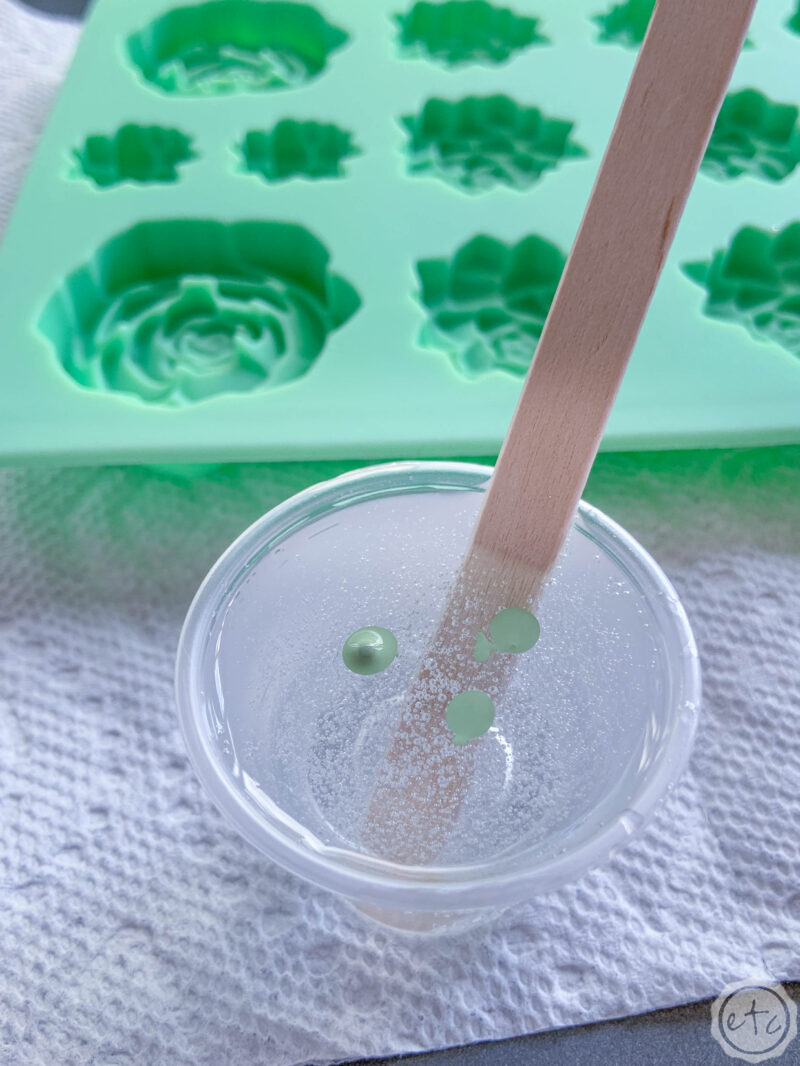
I started off with a simple light green and dark green craft paint (it doesn’t really matter on the brand so if you already have green craft paint chances are it will work just fine.
With craft paint a little goes a long way… and too much will ruin your resin making it unable to harden. The general rule is more than 10% craft paint to resin will render it useless… but for this project we’ll be way under that ratio with 3 drops of craft paint to our little 30ml cup of resin.
Trust me… you don’t need more than 3 drops!
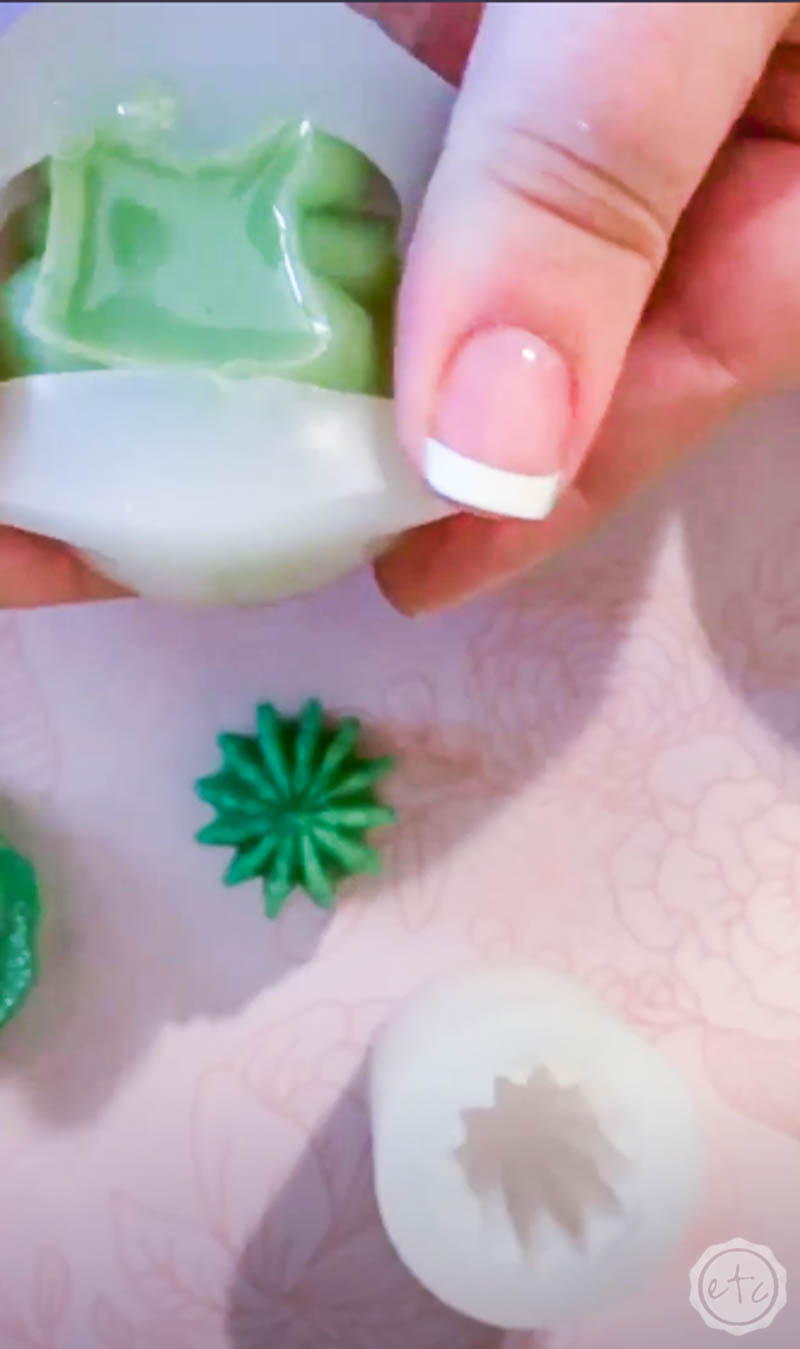
Once you’ve mixed in your craft paint go ahead and pour the resin into your mold and then use a heat gun to pop the bubbles.
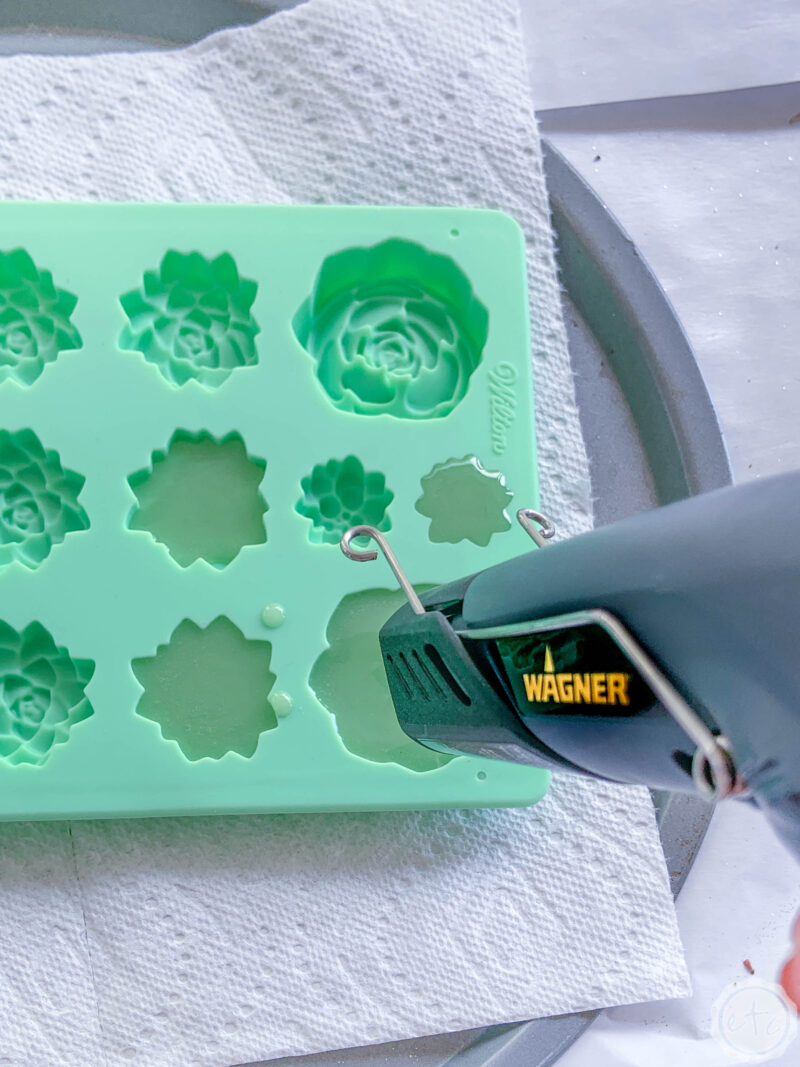
These green molds aren’t too deep but you can definitely get bubbles trapped in all of those little succulent leafs so you can use a toothpick to go through each mold and either pop the bubbles or move them to the surface where the heat gun can pop them.
If you leave the bubbles in they’ll settle at the tips of the leaves which means when the succulents are dry they’ll have little divots in the leaf tips where the bubbles where. Not really the look we’re going for.

While many people use a torch for popping bubbles in resin these tiny molds don’t work well with a torch… the silicone of the mold gets too hot and can melt to your resin. Then when you remove the resin the silicone rips free leaving your mold useless for the next project. Instead use a heat gun (this is the one I use) which is powerful enough to pop bubbles but won’t melt your mold.

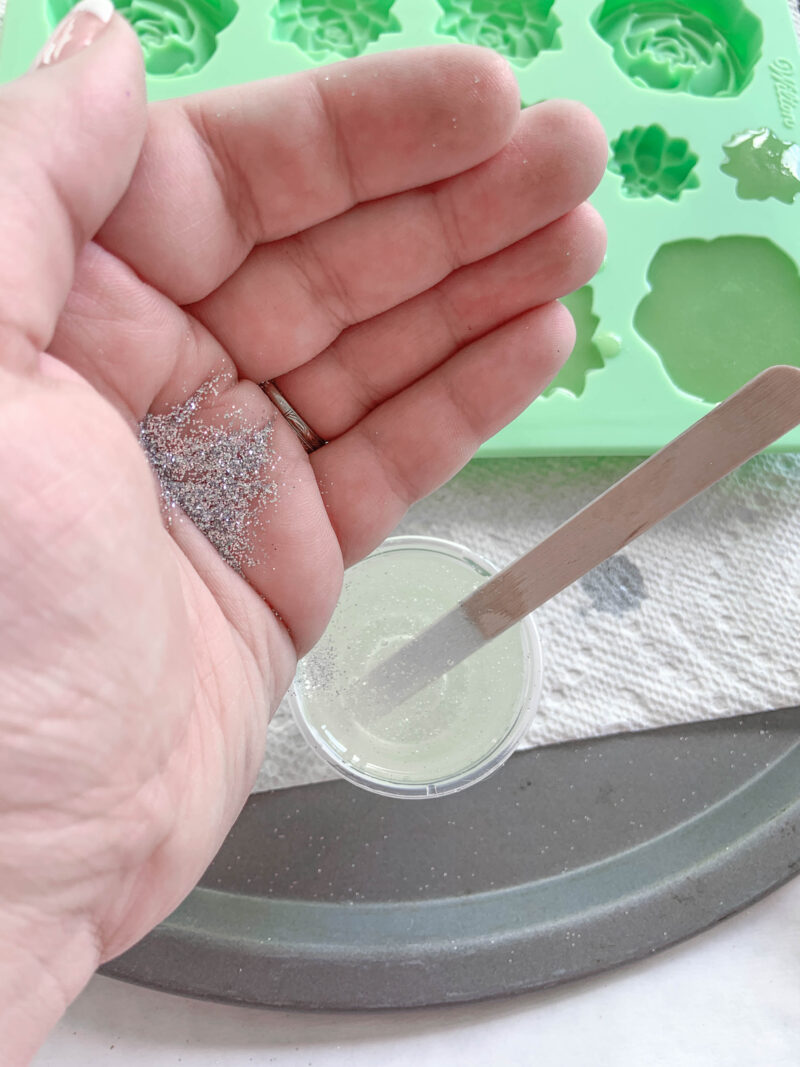
Step 2.5: Glitter Succulents
Now it’s time for my favorite inclusion… glitter. I’m pretty sure glitter makes everything better.
This little inclusion is hardly worth it’s own section but it is different from the standard craft paint succulents so here it sits in a section of it’s own. Basically once you’ve added your craft paint go ahead and add a bit of glitter for an extra special sparkly succulent!
You don’t need much (we’re not going for a completely glitter look… just sprinkle it in). It’s also worth a note that you’ll want to use fine glitter for this since chunky glitter tends to sink through resin and settle on the bottom of your mold (which in this case would be our succulent leaves).
A couple pinches and volia… sparkle succulents!
Looking for even more fun inclusions (inclusions = tiny things to put inside resin) for your resin projects? Here’s my list of 25 budget friendly resin inclusions for your next project.


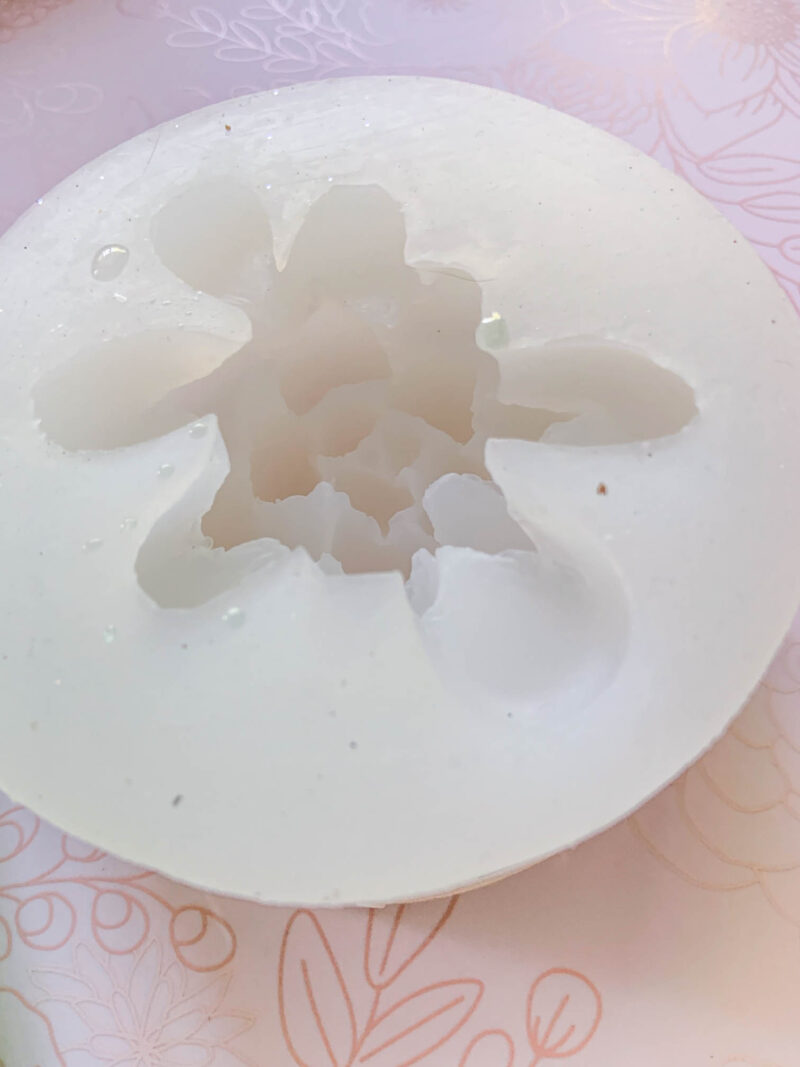
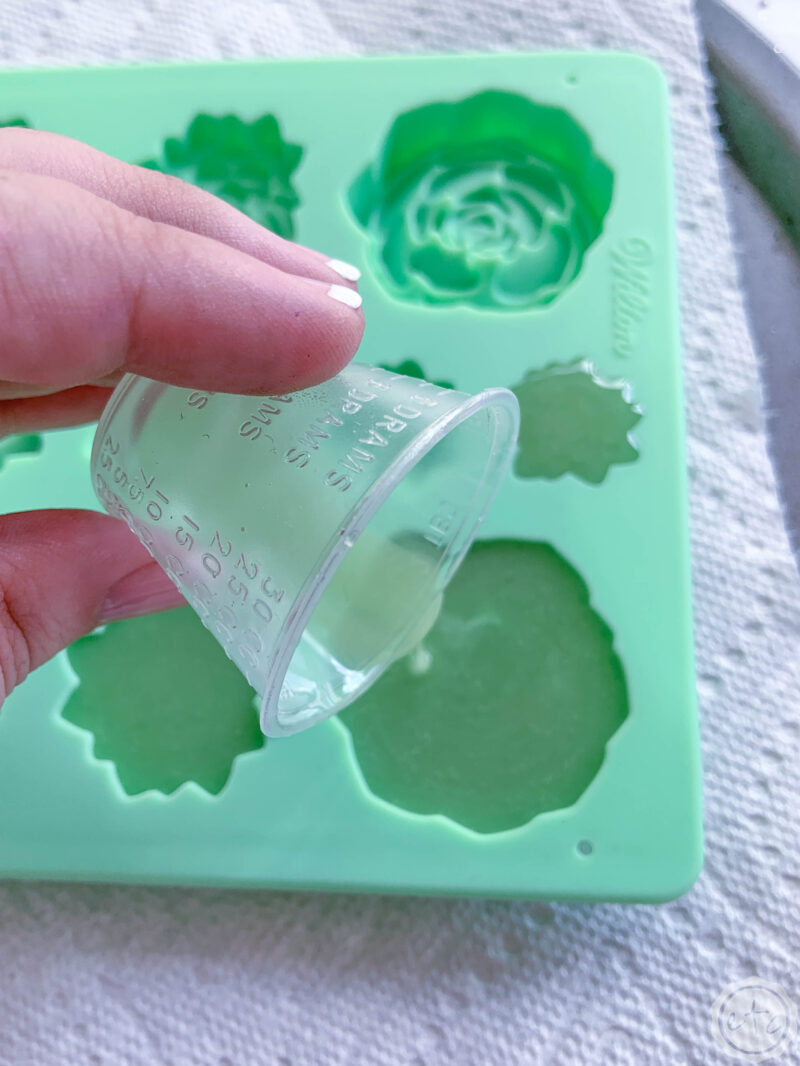
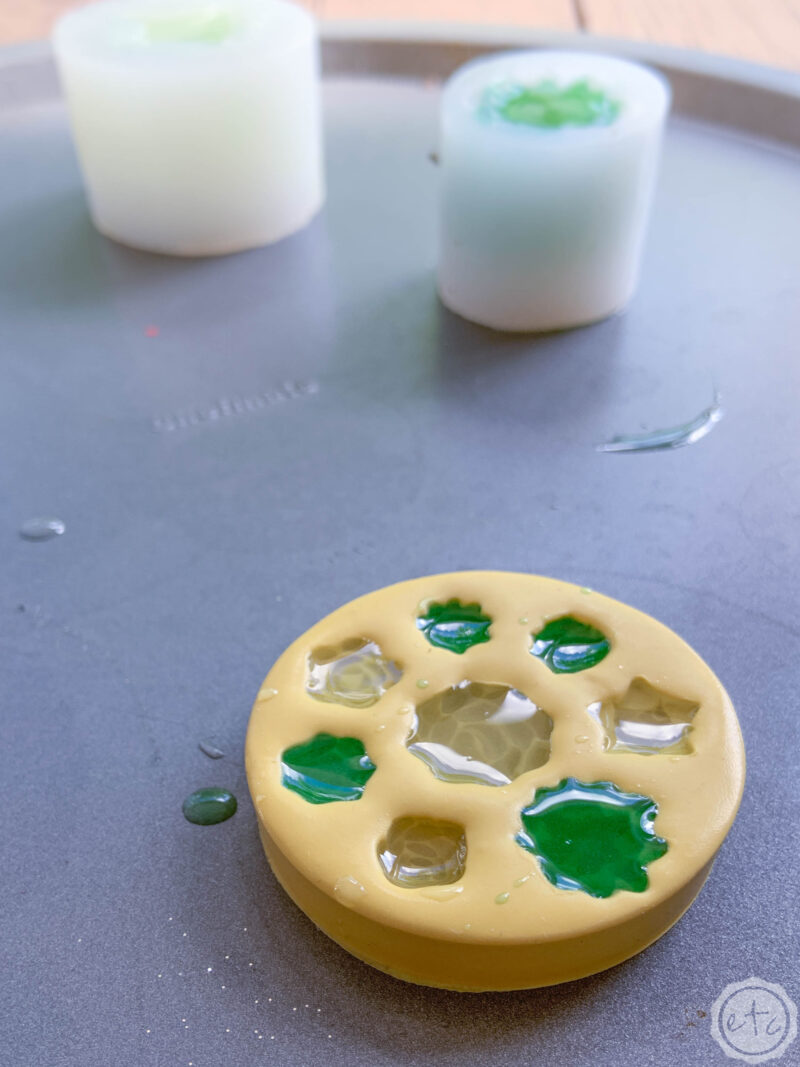
Just a note: so far I’ve mainly shown filling the larger green mold since it has multiple openings and you can make a lot of succulents with one pass. BUT these 3 little unique succulent molds have the absolute best shapes… so here’s a few tips for working with these uniquely shaped molds.
These specific molds are much deeper than the green mold so you’ll want to be careful to avoid bubbles.
Start by pouring your resin slowly into the mold in a thin stream from as far up as you feel comftorable. This will help eliminate any micro bubbles.
Secondly only fill the mold halfway and use your heat gun to pop as many bubbles down in the leafs as possible… then continue to pour in a thin stream from high up until the mold is full.
Once the mold is completely full use a toothpick to search all the little crevices for bubbles and your heat gun to eliminate as many bubbles as possible.
Then you’ll have beautiful bubble free succulents!
Ready for a peek at the tiniest mold? This little guy is made out of polymer clay and I bought it off a gal on etsy. I point that out because she hand makes these and the detail is a-m-a-zing. I am so impressed!
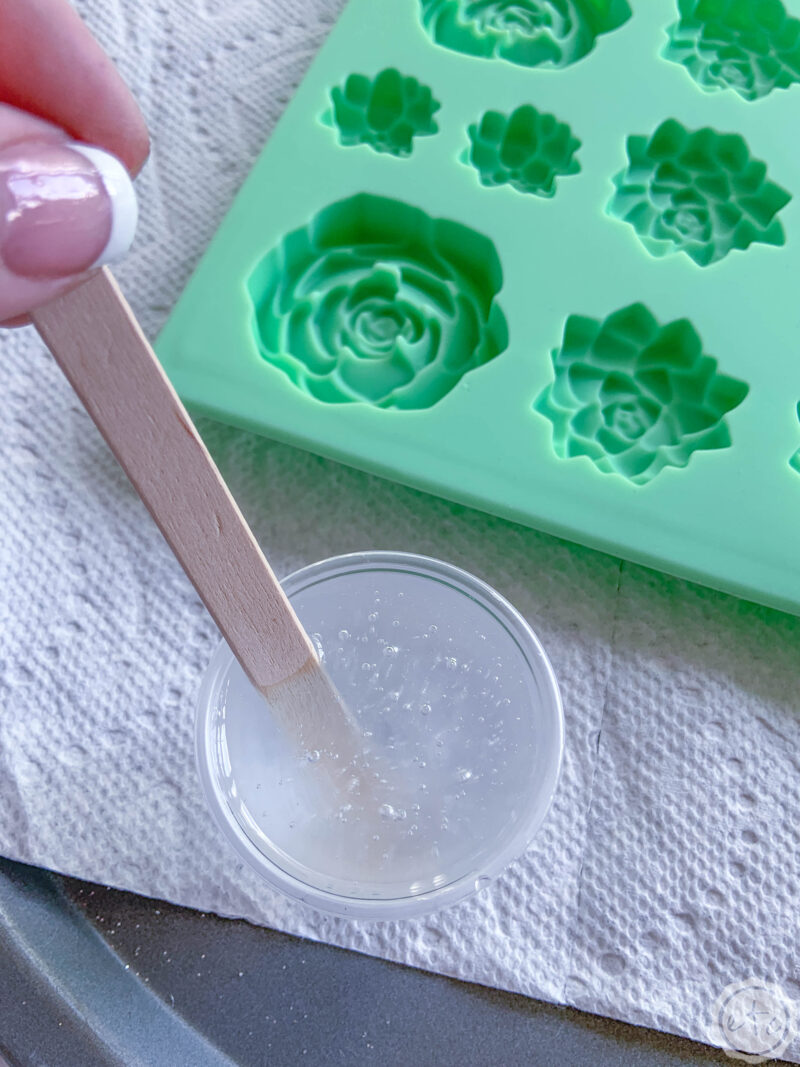
For these little molds you’ll fill them the same way as the larger mold except they’re miniscopular so if you try to pour from a cup they’ll fill up super fast. I find the easiest way to fill these little guys is to use a popsicle stick.
Scoop a little resin up with the end of your popsicle stick and then pour it into the mold in a thin stream from high up. Even doing this I had quite a few bubbles form in the little leaves of the all the molds… use a toothpick to get out as many of these as possible as you don’t want to heat up this mold more than necessary.

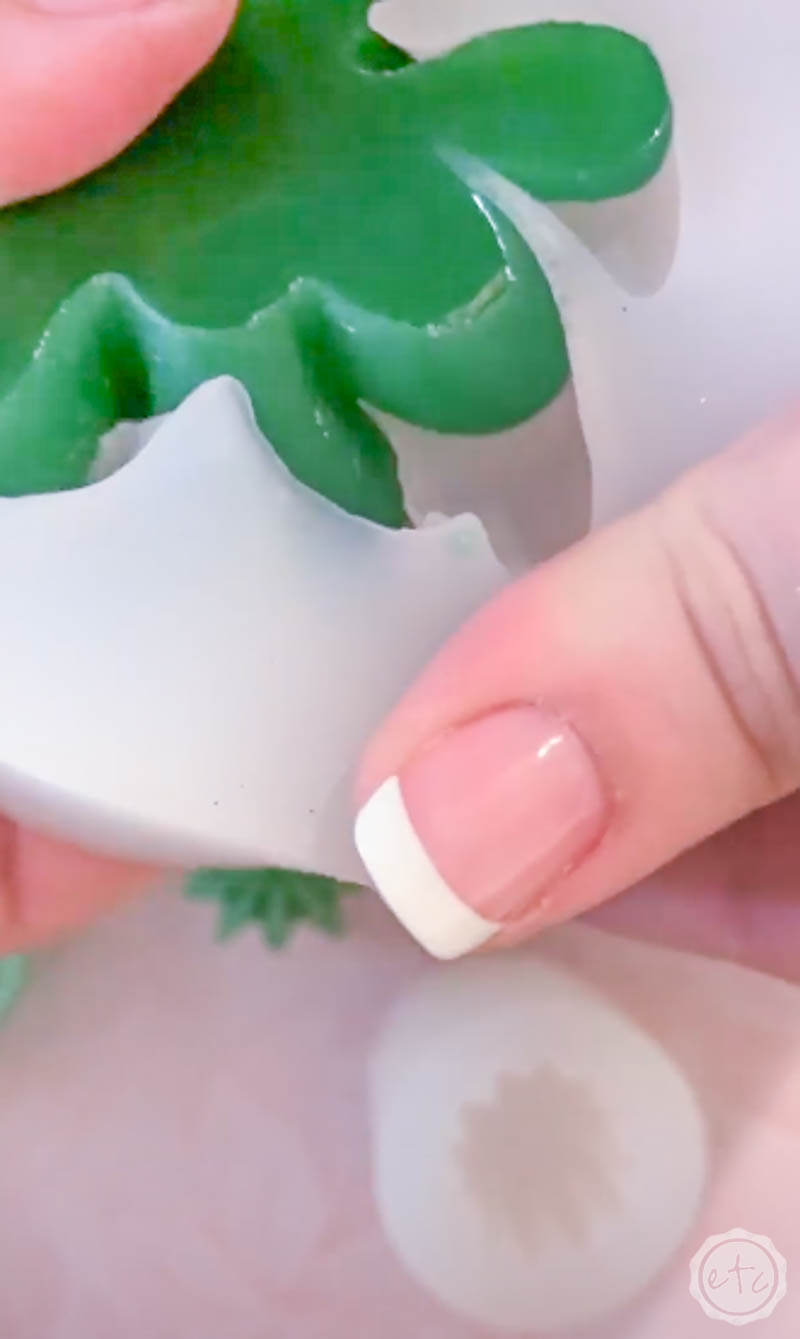
Step 4: Wait for Resin to Cure
Once all of the bubbles are out set all of your molds in a dry, clean space (without a lot of air conditioning blowing dust on them) to cure.
My resin takes about 24 hours to cure (yours may take longer, read the directions) and then you can pop these babies out of the mold and use them for whatever craft you’d like! I’m definitely going to start with a little succulent garden.
What are you going to do with yours?


Looking for more resin projects? I’ve got you covered!


