This is a sponsored post for Wagner but all opinions are 100% mine!

It’s officially fall!!! Which means the changing of the leaves (not in Alabama), the weather turning colder (definitely not in Alabama), breaking out of mittens and scarves (I’m wearing shorts and flip flops…) okay you get the idea! It may be hot here but that’s why I wanted to whip up a little fall project to get the ball rolling.
I need something to feel like fall around here!
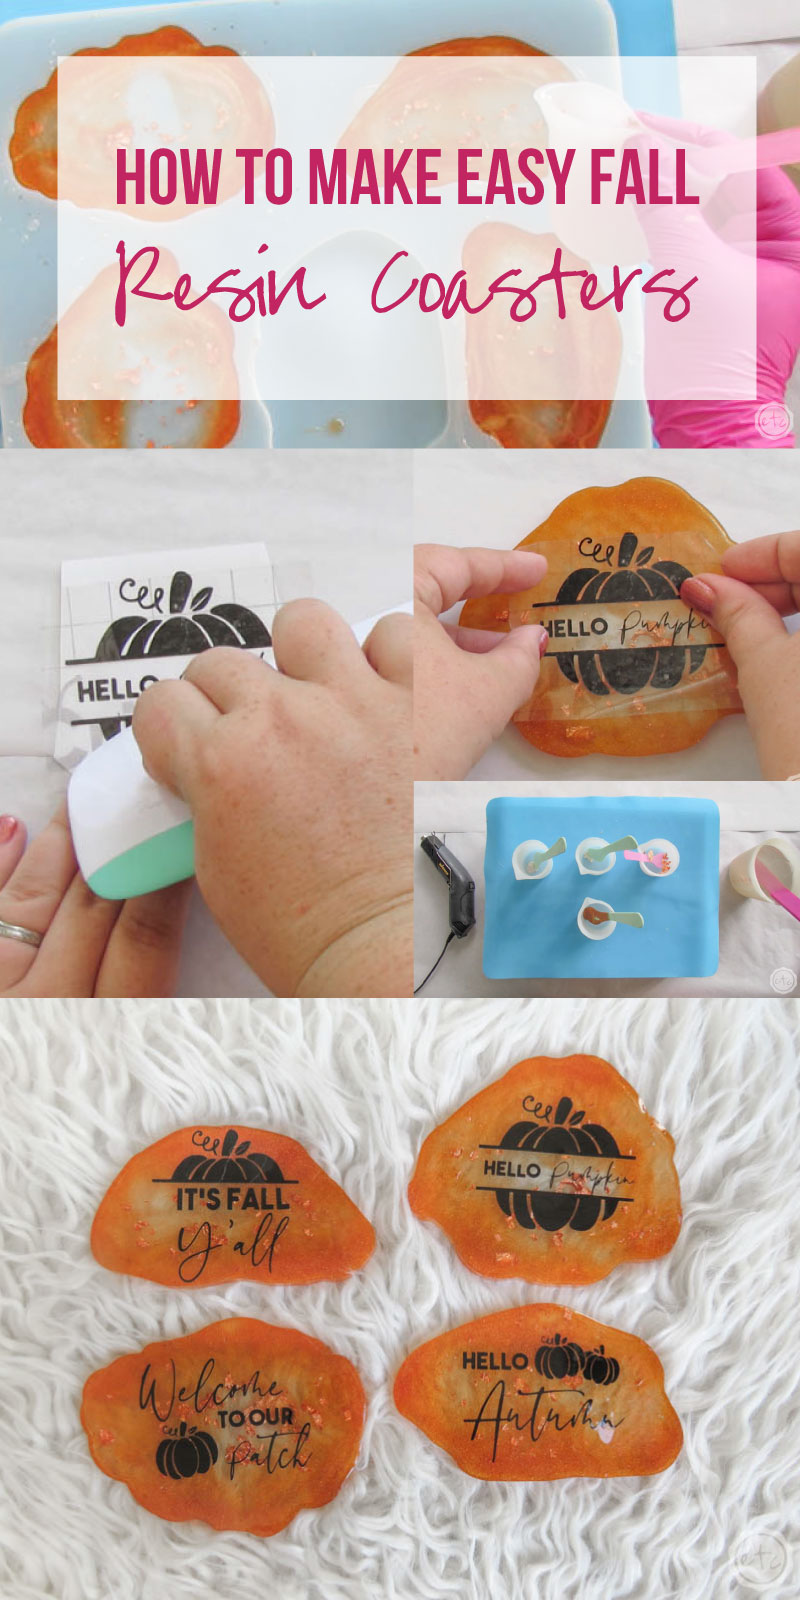
So I whipped out my coaster mold (the same one I used for these blush and rose gold coasters) and decided to mix up a few coasters in fall colors with adorable fall sayings on them. This is a beginner level resin project so even if you’ve never used resin before you can do this!
Let’s get started!
Supplies:
- Amazing Clear Cast Resin (250ml)
- Wagner HT400 Heat Gun
- Paint Respirator
- Disposable Gloves
- Freezer Paper
- Large Silicone Mat
- Non-Stick Baking Pan
- Silicone Coaster Mold
- Large Silicone Measuring Cup
- 5 100ml Silicone Cups (or 5 larger disposable cups)
- Re-usable Stir Sticks
- Interference Gold
- Interference Red
- Rose Gold Flakes
- Bronze Metallic Craft Paint
- Cricut Maker
- Fine-Point Cutting Blade
- Standard Cutting Mat (that’s the green one! Although I used a fabric mat since it was on hand!)
- Black Vinyl
- Transfer Tape
- XL Scraper Tool
- Free SVG’s (at the Bottom of this Post)
Easy Fall Resin Coasters

Step 1: Mix your Resin
In order to get started we first need to get ready! Go ahead and cover your work surface with freezer paper and then set out a baking tray with a silicone mat on it. This will protect your area from resin drips… and the baking tray will make it easy to move your coasters around while they cure.
Since we don’t want our resin to sit in our cup curing for too long it’s easiest to add a little colorant to each of our four cups before we start mixing. This is easy enough… just grab four small silicone cups and add a bit of each color (interference gold, interference red, bronze and rose gold flakes) to the cups. Then make sure you have all your supplies and it’s time to get started.
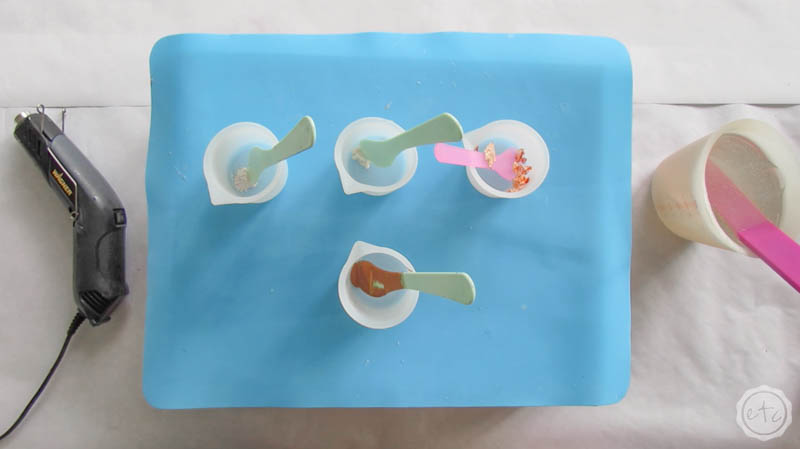
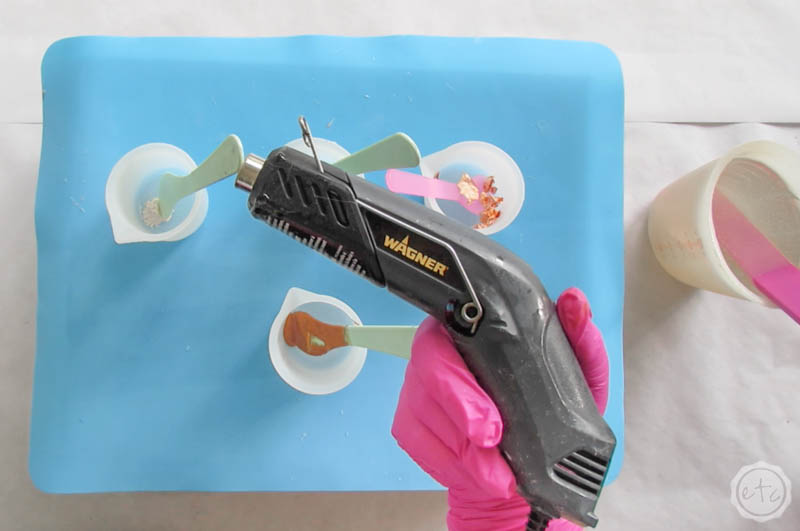
Next let’s get to mixing! For this project I mixed about 300ml of clear resin in a large silicone cup (if you need help with mixing resin you can follow my full tutorial on how to mix resin here)… then popped any bubbles that came to the top of our resin with our heat gun.
Next we’ll separate out our clear resin into smaller silicone cups with our pigments and flakes! For this project we want about 100ml of bronze and rose gold flakes and only 50ml of the two interference colors.
Pour the resin into the cups and then slowly stir the color into the resin… you should mix the color until allllll of the streaks of color are gone. We want a solid color so streaks show that our resin & color isn’t quite mixed yet!
Once everything is mixed you can hit each cup with your heat gun one more time to pop any bubbles that have risen to the surface… then it’s on to the next step!


Step 2: Pour the Resin into the Mold
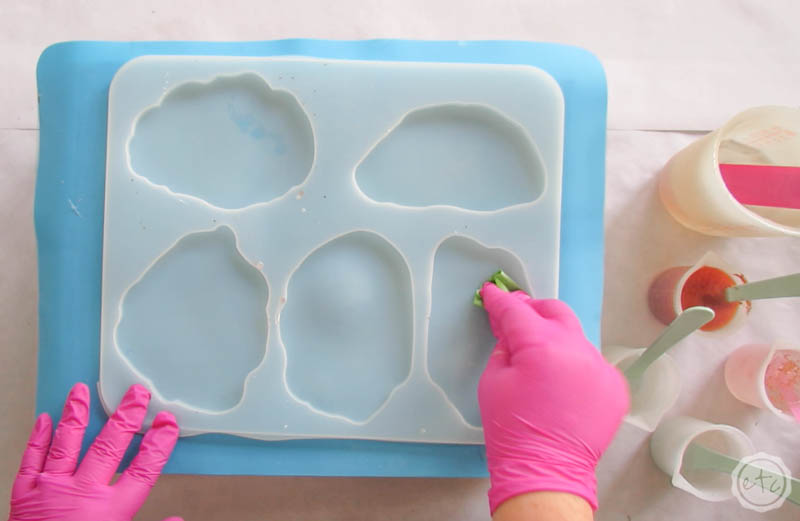
Now it’s time for the fun… pouring resin! Of course, the absolute first thing we do with any silicone mold is make sure it’s clean. Silicone is the best at picking up stray dust and hair so double check that each spot is clear. Then you can always grab a bit of tape to clean yuck off your mold!
Once your mold is clean it’s time to start pouring resin! Start by pinching the top of your silicone cup together to create a pour spout… this will help keep the resin from pouring too quickly or *gasp* flooding your entire mold.
Instead you want to pour a ring of bronze resin around the outside of your coaster mold. Go ahead and use all of your bronze resin… we won’t need it later on!
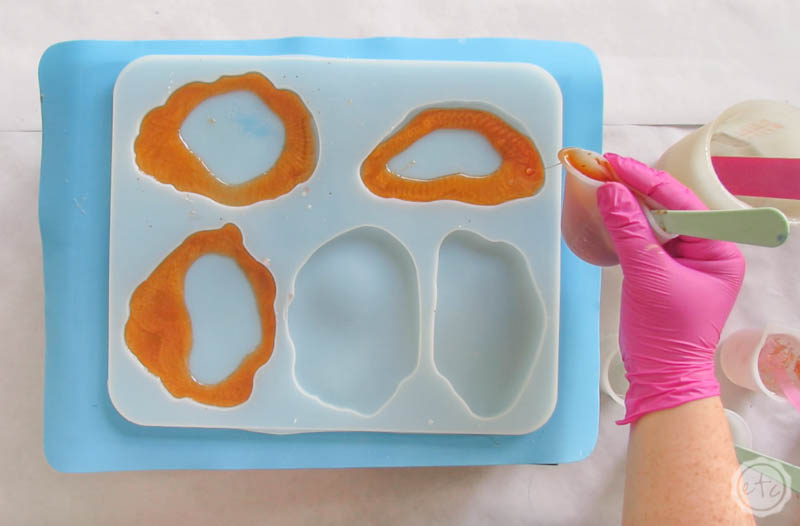
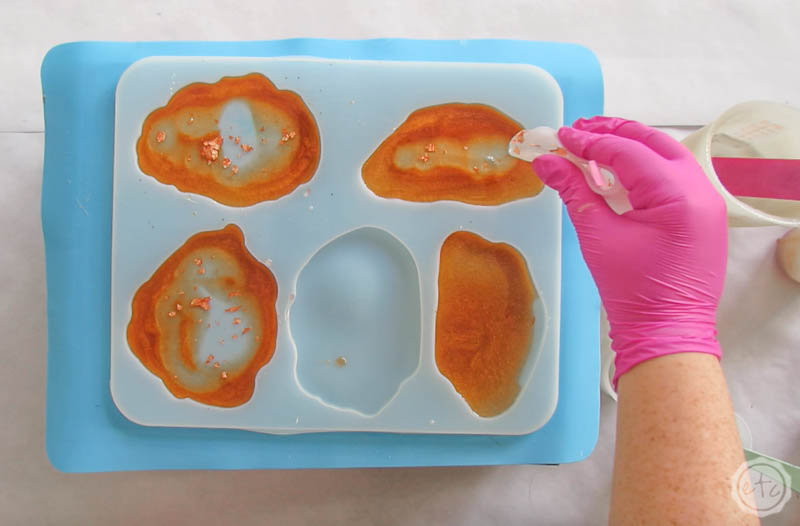
Next take your clear resin (with the rose gold flakes!) and pour it into the middle of the mold. You want to fill the center of the mold and then stop so that the clear doesn’t push the bronze resin all the way to the outside of the mold.
This should take about half of our clear resin… we’ll need the other half in a minute so go ahead and set it to the side.
Next up we have our interference colors! For these I used my stir stick to add thin ropes of color around and around my coaster. You want the majority of your interference color to be where the bronze and the clear meet but they will blend in so it’s ok if it’s not perfect.
Use the red and the gold… beautiful darling!

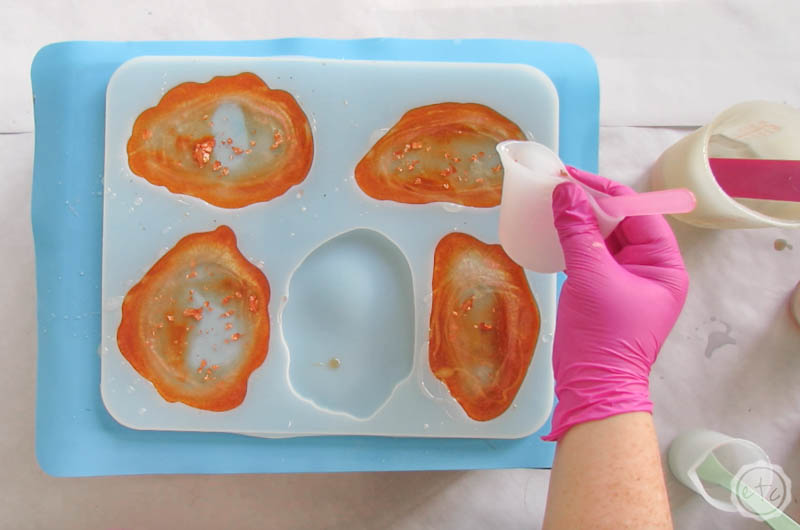
Once you’ve added all of the interference colors (I had a little of the red and the gold left so you don’t have to use every last drop in the cup) go ahead and grab your clear with the rose gold flakes.
You’ll use this in the center of your coasters to push the resin out just a little bit (creating space for our fall sayings!). You want to fill the middle of your coasters until the resin is at the top of the mold… then stop! You don’t want to overflow your mold!
That would be messy!
At this point you can use your stir stick to push the rose gold flakes around until they’re just right in the middle of your coaster… just make sure not to disturb the resin too much!
Now grab your heat gun and use it to pop any bubbles that have risen to the surface. Even though you might have a torch for your resin projects a torch will melt your silicone molds… which makes it less than ideal for this project.
A heat gun will pop the bubbles (it gets hot y’all!) but it won’t melt your mold. Perfect!
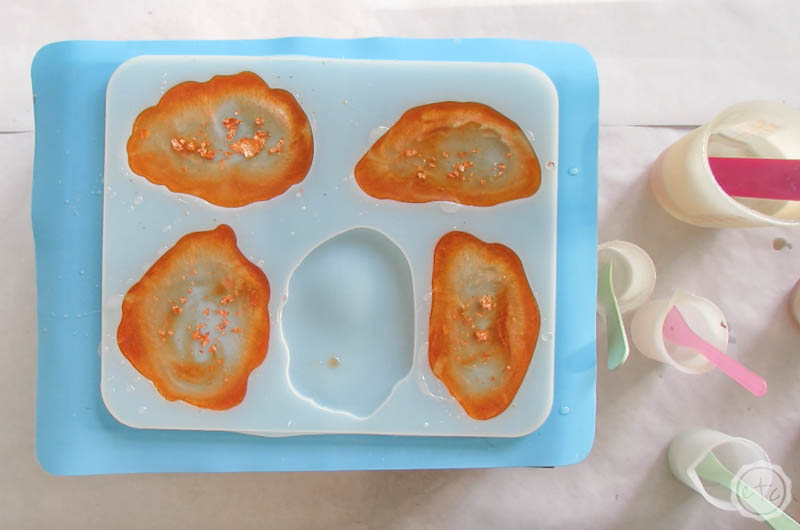
Once your coasters are bubble free go ahead and cover these bad boys so they stay dust free and leave them to cure for 24 hours! Then you can pop these babies out of the mold and get ready to add our cute fall SVG’s!

Step 3: Add your Fall SVG’s
Ready for the fun part?! I loaded my fall SVG’s into Cricut Design Space (you can follow this tutorial if you don’t know how to upload an SVG to Cricut) and cut them out of black vinyl for this project.
Even though there are 5 Fall SVG’s in this collection (10 if you count the cheetah print pumpkins!!) I picked my favorite four and carefully added one to each of my four coasters.
Taking my little vinyl SVG’s I carefully weeded each design and then determined which one would fit each coaster… I mean look at this coaster and tell me it wasn’t shaped for a cute little pumpkin design!
Ready to add our design?

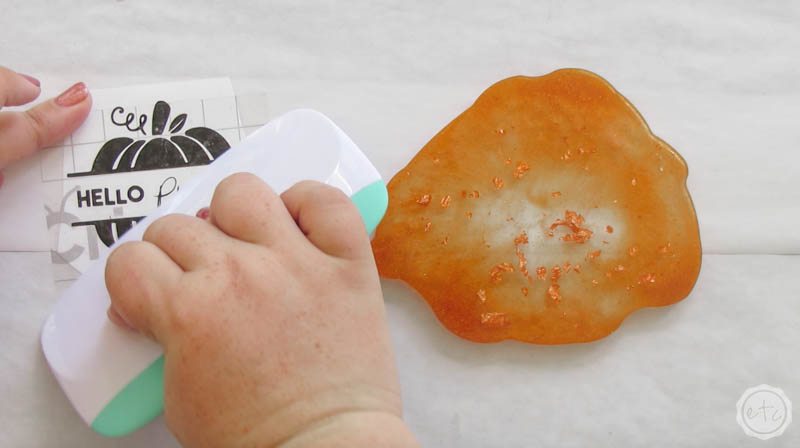
Go ahead and cut a small piece of transfer tape that will fit over your vinyl (I used the same piece of transfer tape for all 4 designs!). Then carefully line up the transfer tape on top of your design and smooth it into place.
The transfer tape has a grid to help you line up your design so make sure when you’re placing the transfer tape on your design that it’s straight. Once it’s smoothed into place grab your scraper tool and press the transfer tape down onto your vinyl.
It will grab hold and you’ll see the transfer tape fit itself around the vinyl. Then you can grab a corner and peel the transfer tape back up… your adorable little pumpkin design should come with it!
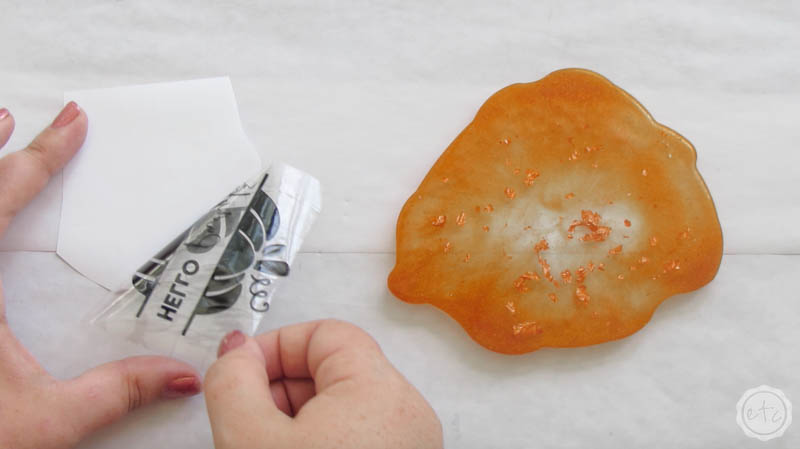
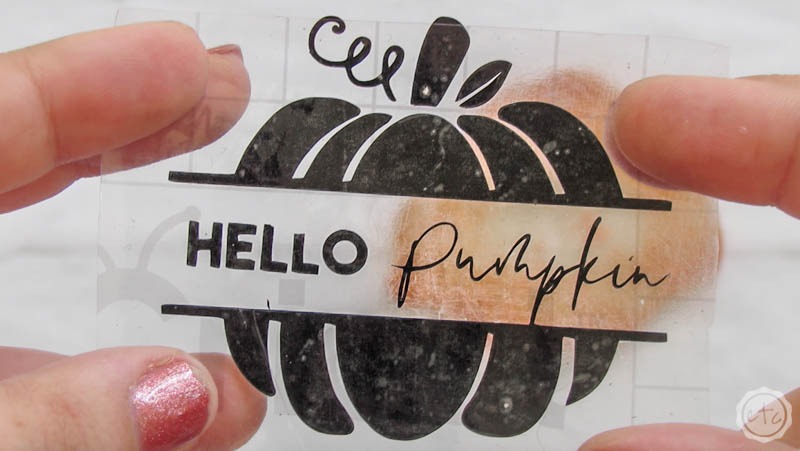

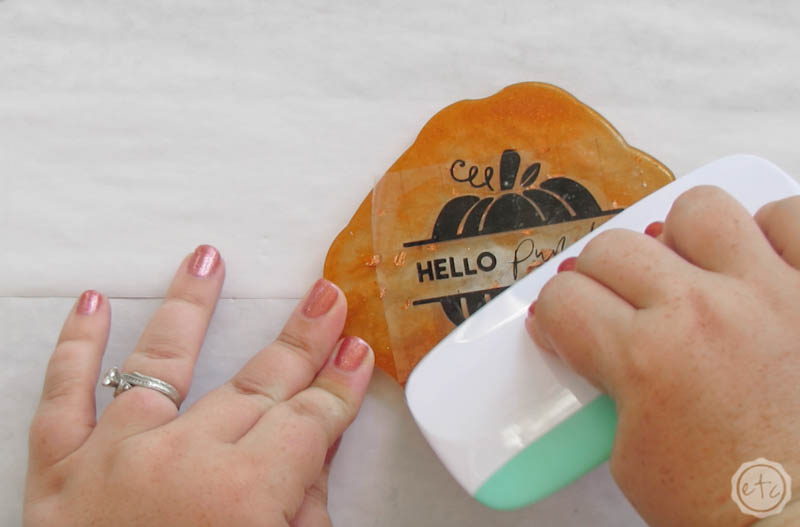
Now we’re going to do the exact same steps… using the grid smooth your transfer tape (with the design firmly attached) down onto your coaster. The grid should help you keep the design straight but make sure that the pumpkin fits the shape of the coaster nicely and that you can read the words with the resin in the background.
Once you’re happy with your placement carefully smooth down the transfer tape… and then smooth it down firmly with your scraper tool. Once you’ve smoothed the vinyl down a few times you can grab the edge of the transfer tape and pull it up.
The transfer tape should come up clean and leave your vinyl behind… now you can use that same transfer tape to add your other 3 SVG vinyl decals to their coasters!
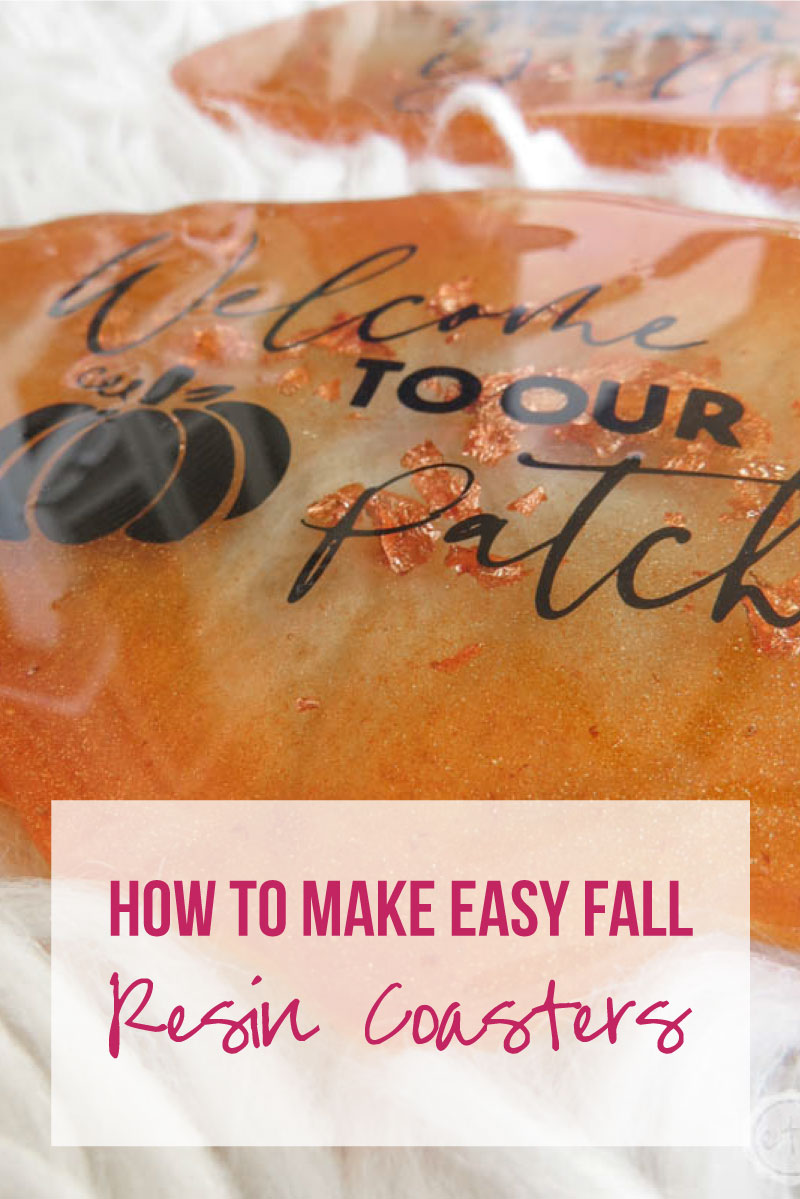
At this point you can call your coasters done but I didn’t want my little vinyl designs to come up so instead I added a clear topcoat of resin over each of the coasters.
Now the vinyl fall decals are sealed inside!
Ready to see how they turned out?
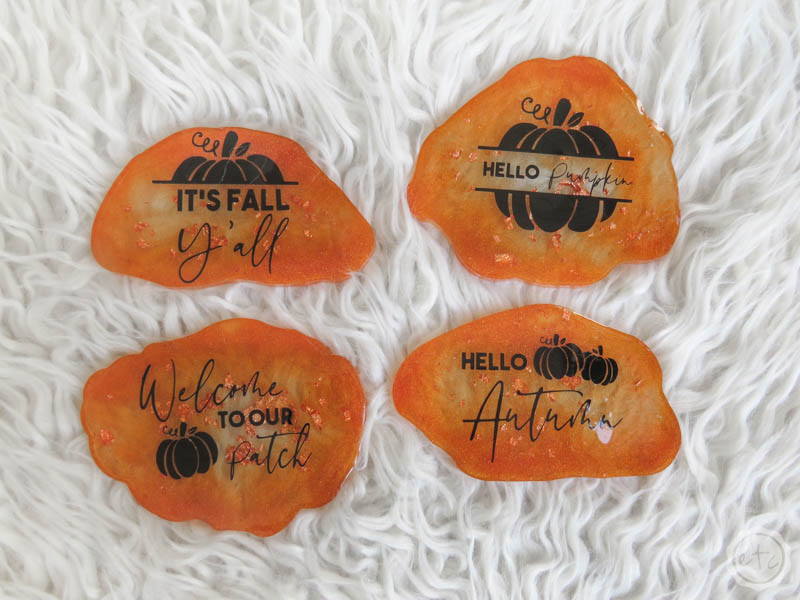
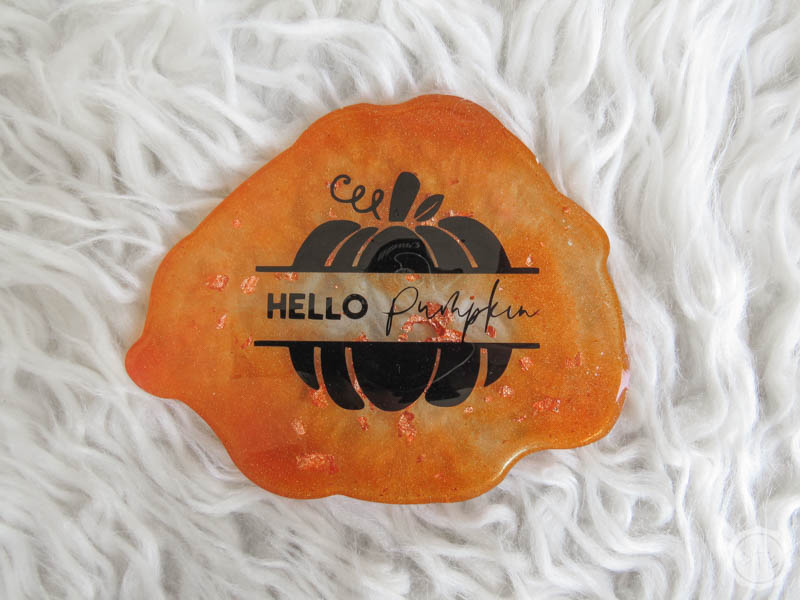
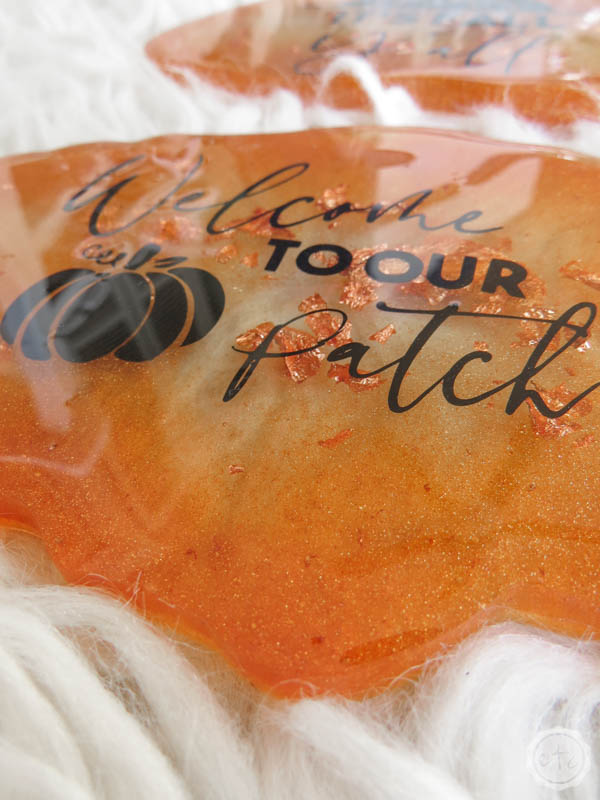
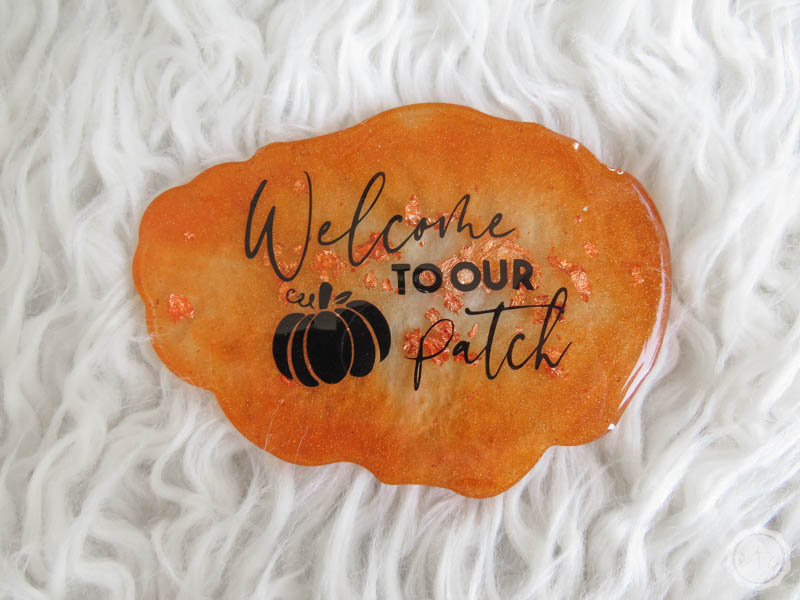
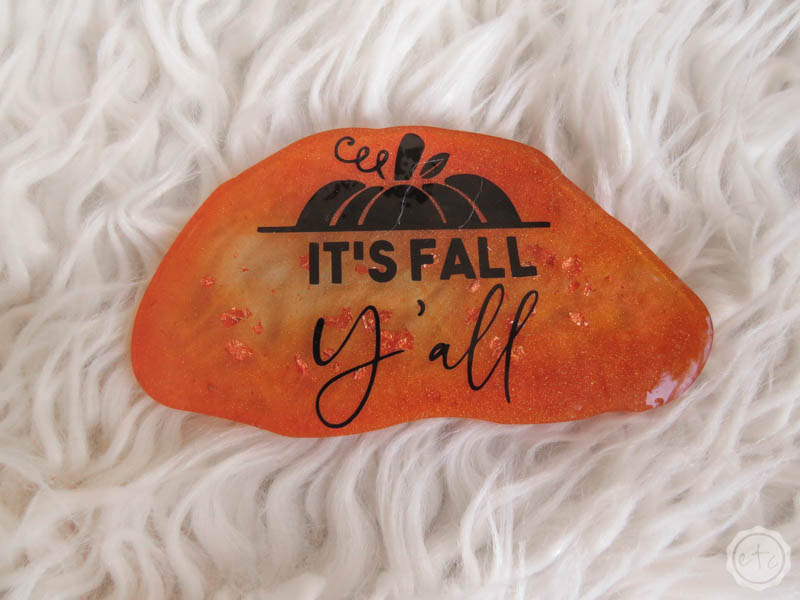
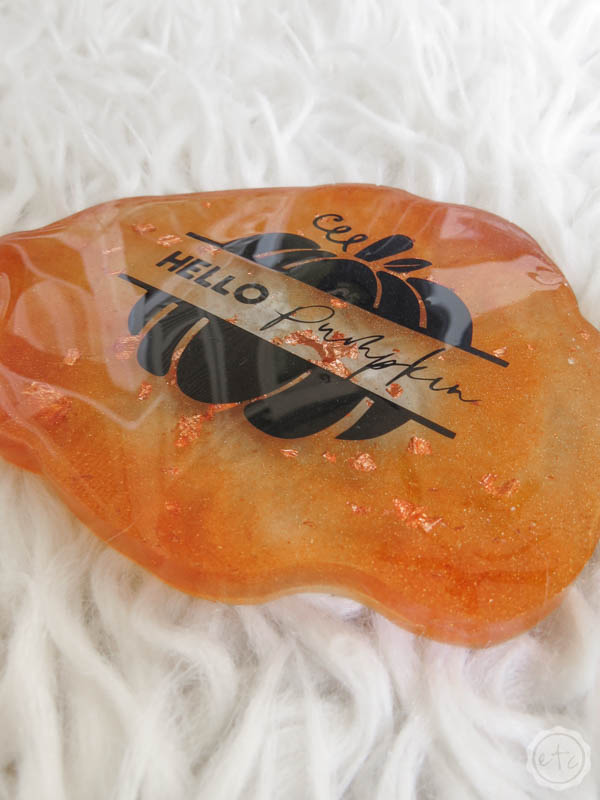
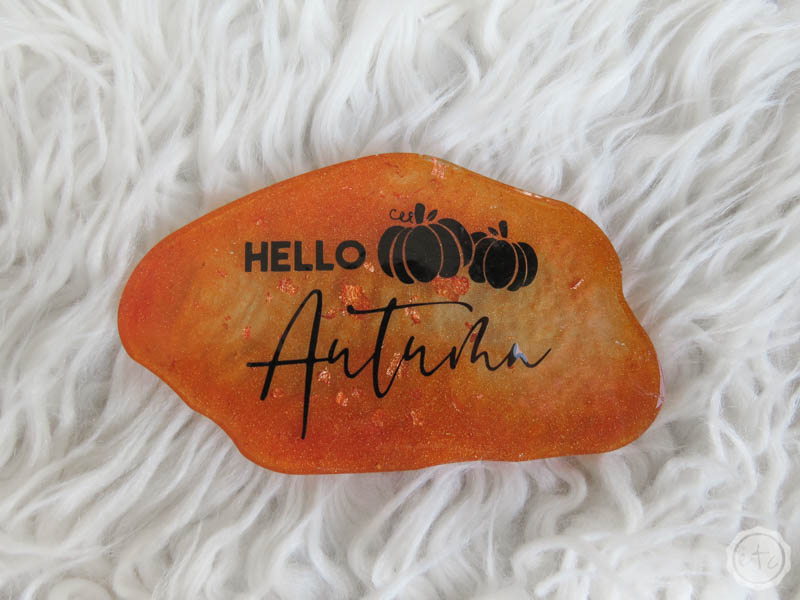
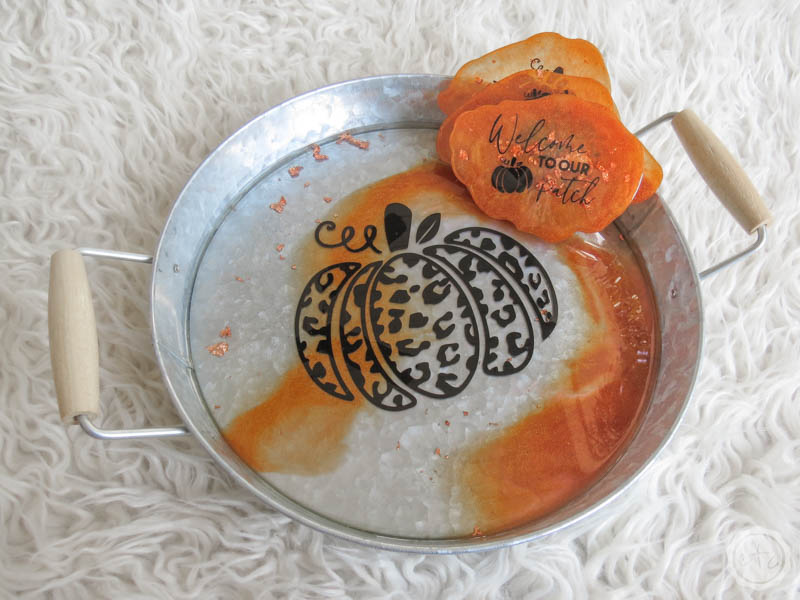
I absolutely LOVED how these little coasters turned out… and to make them even more fun I made a matching tray! I don’t have a specific tutorial for this fall tray BUT by following this galvanized resin tray tutorial and using the exact same colors I used in this coaster tutorial you can make this little tray for yourself!
Once the resin has cured cut out an extra big vinyl pumpkin from the same fall SVG collection (this time in the cheetah print folder) and you’re good to go! How cute are these guys as a set?!
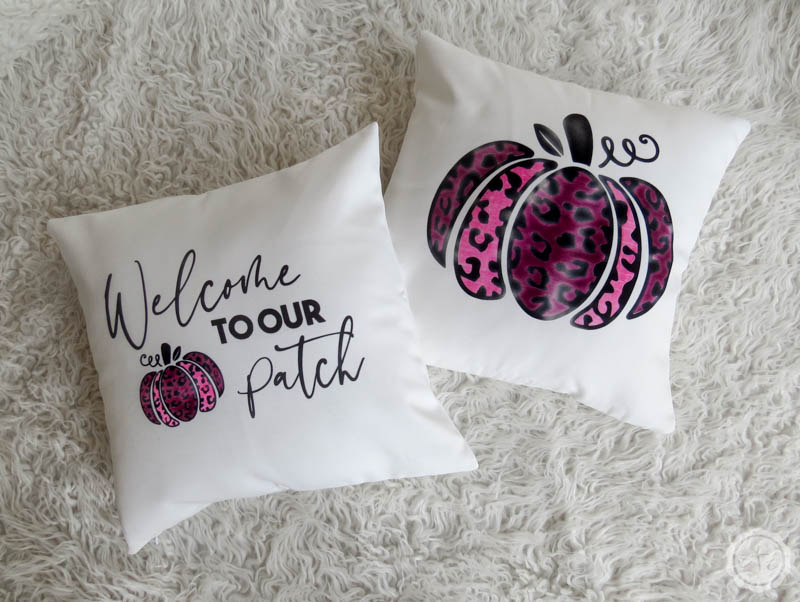
Want to make even more pretty fall pieces with your little Fall SVG’s? Here’s a fun little infusible ink pillow project you can make with these same cut files!
Looking for more resin projects? I’ve got you covered!








Leave a Reply