


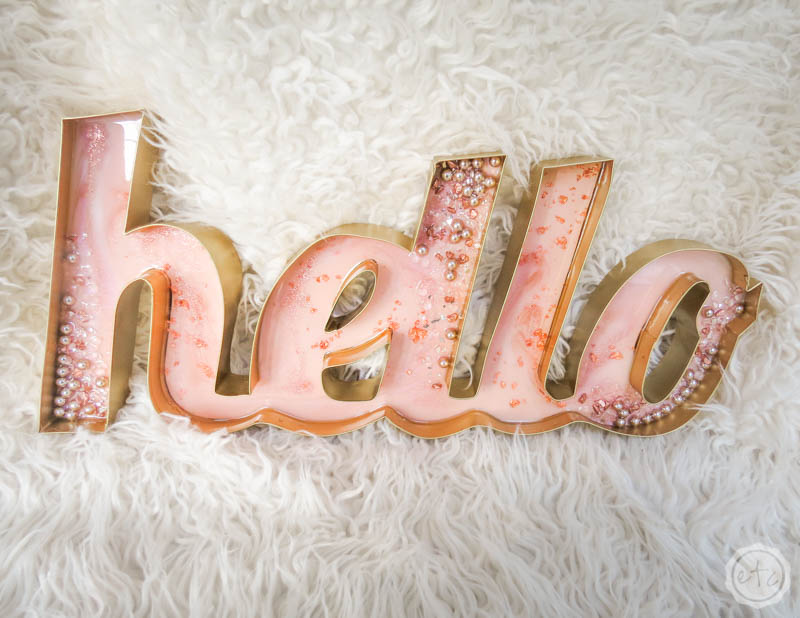
Are you ready for a really cute resin sign makeover? I found this little marquee sign at the craft store and just knew how adorable it would be with a rose gold and blush resin geode inlay.
I mean… a little resin work would really make this sign pop!
The best part? Since this little marquee sign is already made there isn’t any prep work… you can move straight to the fun part! Which is adding the resin!
Whether this is your first resin project or you’re a resin pro this is a quick and easy project that will look amazing in any room… let’s get started.
Supplies:
- Amazing Clear Cast Resin
- Respirator/Mask (resin graded filters)
- Gloves
- Wagner HT400 Heat Gun
- Freezer Paper
- Baking Pan
- Silicone Mat
- Silicone Mixing Stick
- Small Mixing Cups
- Silicone Measuring Cup/Larger Mixing Cups
- Reusable Silicone Stir Sticks
- Pink Pearl Craft Paint
- White Alcohol Ink & Pearl Alcohol Ink
- Interference Violet Pigment
- Rose Gold Glitter
- Copper Oil Based Paint
- Rose Gold Flakes
- 100% Silicone Caulk
- Caulk Gun
- Hello Marquee Sign
- Large Pink Pearls
- Copper Rocks (mix a few of the white rocks with your copper paint for these!)
- Shiny White Rocks (with glitter)
- Pearlized Pink Rocks
- Pink Crushed Glass
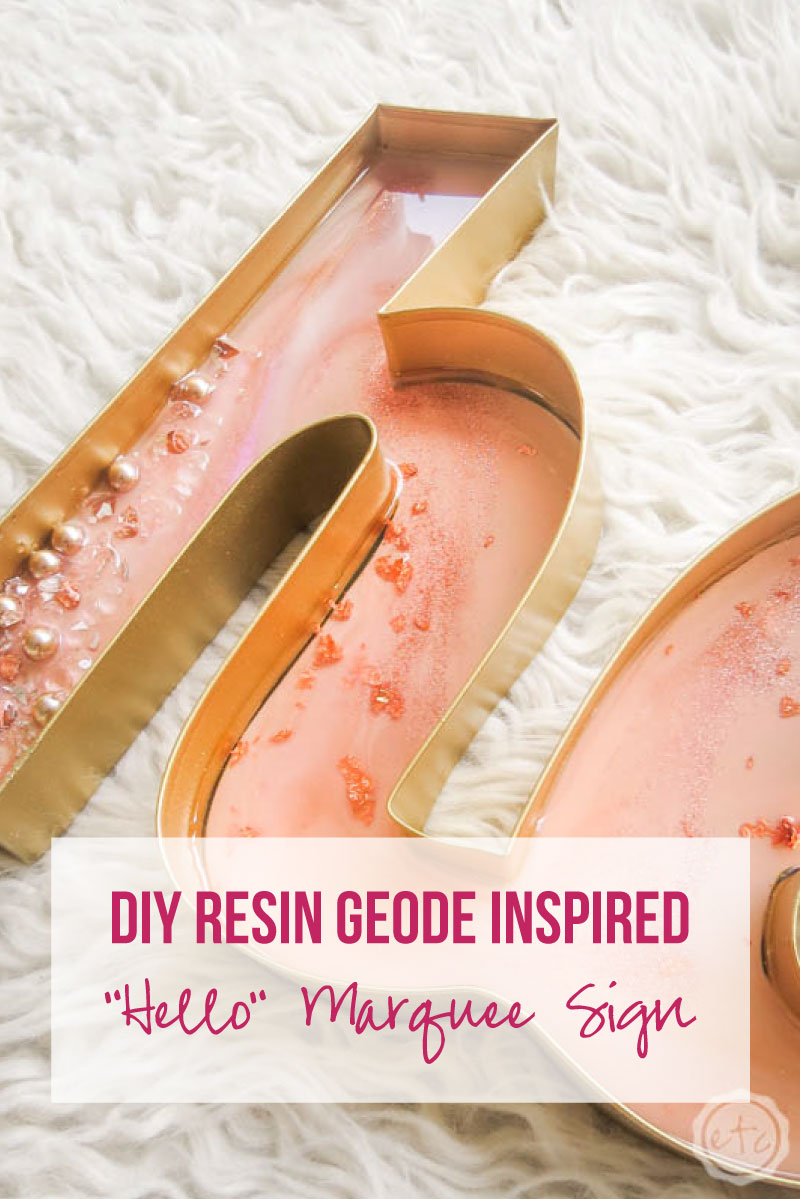
DIY Resin Blush & Rose Gold Hello Sign
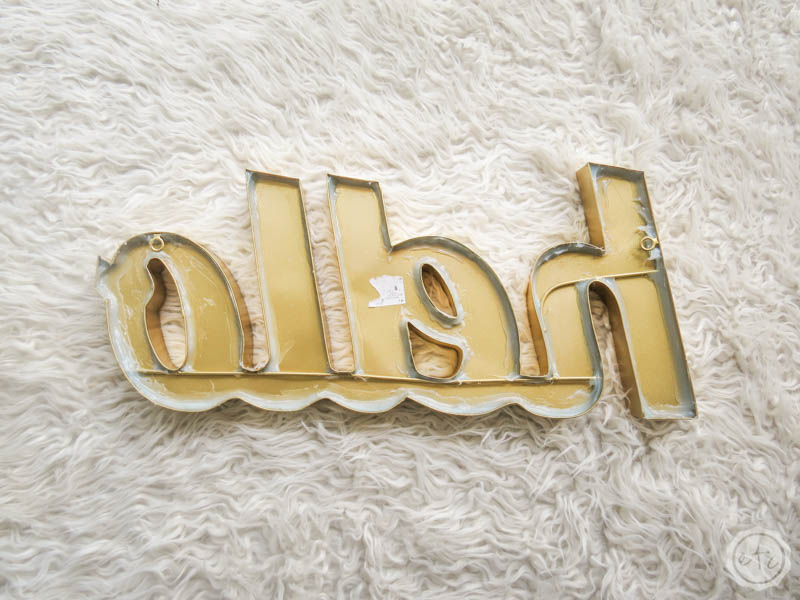
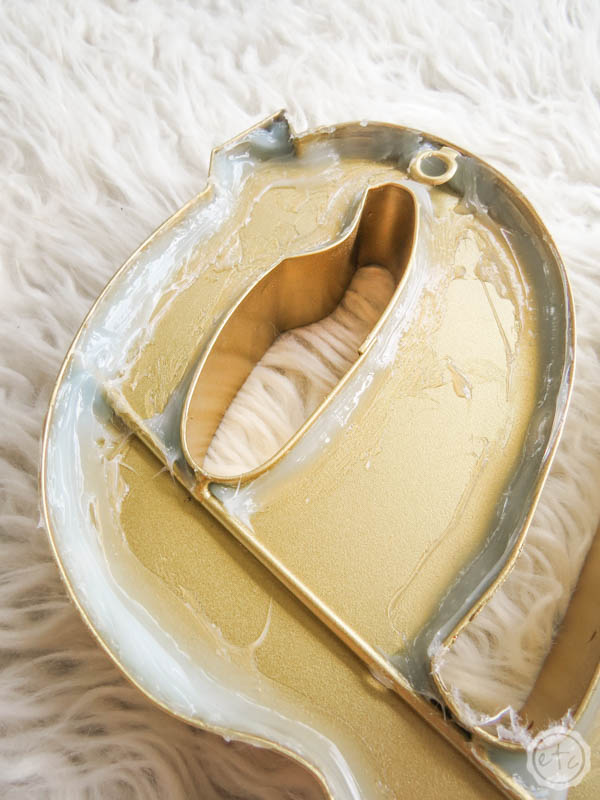
Step 1: Seal the Back of the Sign
Before we start pouring resin we need to make sure that resin won’t spill out the sides! Since this little sign wasn’t exactly made to be water tight there are small seems all along the edges… and a few *ahem* large gaps that can’t even be considered seams.
Luckily it’s pretty easy to fill in all the gaps.
Just grab a caulk gun and a tube of 100% silicone caulk (I used a tube I had left over from my last free form mold project) and carefully seal up all the edges! Make sure you’re working on the back of the sign and trace all the way around the edges… then use a gloved finger to smooth everything out and push it down into all the gaps!
Since we’re working on the back it doesn’t need to be b-e-a-utiful but it does need to be dry before we can start to pour resin… so give this baby a few hours to dry and then we’ll move on to the next step.
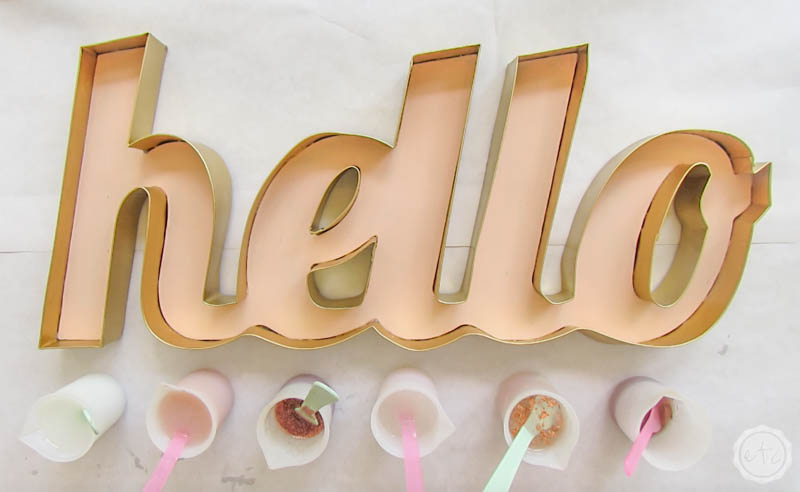
Step 2: Mix your Resin
Now it’s time to get mixing!! In this case I mixed about 400ml of clear resin in a large silicone mixing cup. If you haven’t mixed resin before don’t worry… you can follow this tutorial on how to mix resin for beginners.
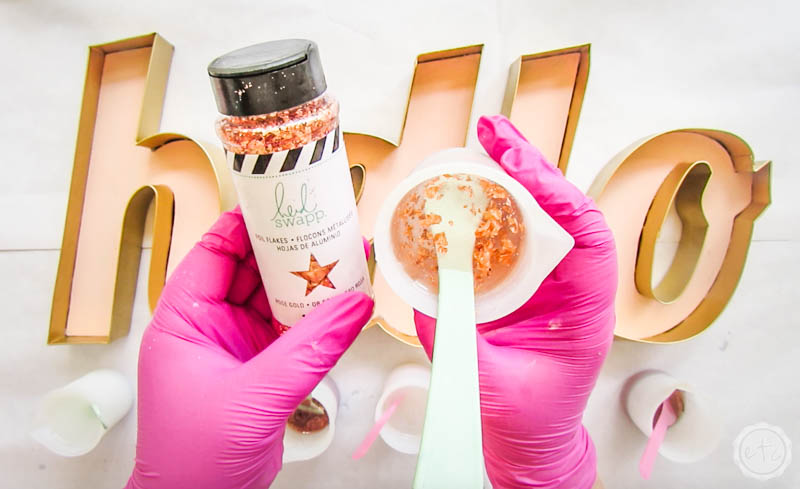
Once your resin is mixed you’ll want to separate out the larger mixture of resin into smaller cups for your different colors. In this case I did one cup (100ml) of blush resin, 100ml of white resin, 100ml of clear & rose gold flakes, 40ml of interference violet and 30ml each of copper and rose gold glitter.
Thoroughly mix your tiny cups until the colorant in each individual cup is mixed in and then let them sit for a minute or two before hitting them with your heat gun to pop any bubbles. Once you’ve gotten rid of all those tiny micro bubbles it’s time to start pouting!
Just a heads up… you don’t want to over heat your resin while trying to get rid of the bubbles! The hotter the resin the quicker it will cure! In this case we’re going to be pouring a thin layer over sign so the bubbles will easily come to the top of the piece to pop… so pop as many bubbles as you can and move on.
*BONUS TIP: It’s always best to make sure you have all of your supplies before starting to mix your resin! There’s nothing worse then having to run around the house looking for glitter while your resin cures in it’s cups! Another tip? You can add colorant to the empty cups so that you don’t waste time adding color as the resin cures.
Easy peezy!


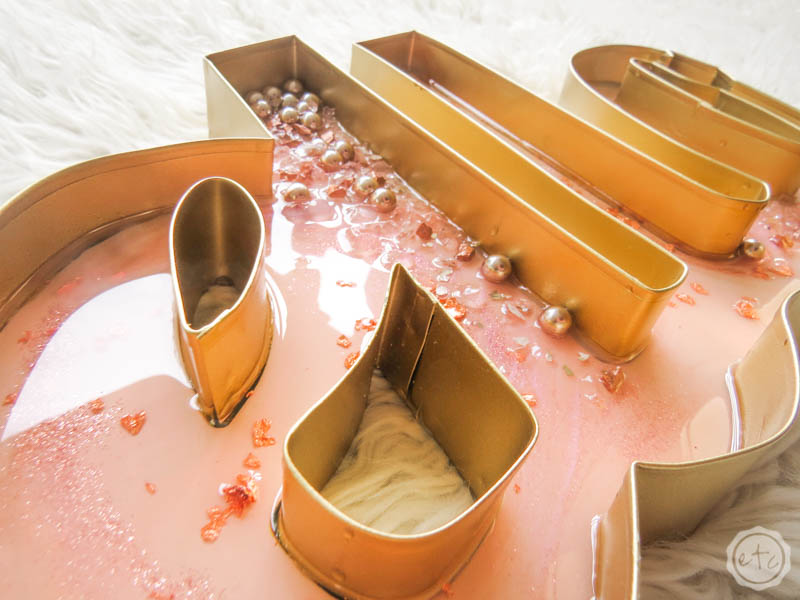
Step 3: Pour your Resin
Now it’s time for the fun to start!
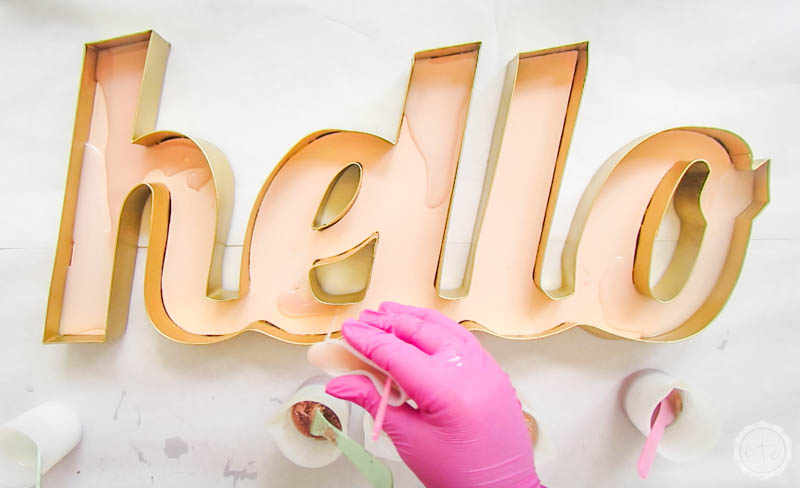
In this case the fun is pouring resin!!! Start with your solid colors: the blush pink and then the white. These are going to take up the majority of your backdrop so pick your pattern wisely… and then fill in the rest of the background with your clear/rose gold flake resin!
Beautiful darling!
Once you’ve filled in the background make sure to use one of your stir sticks make sure the resin goes from corner to corner. We don’t want any dry spots or gaps in the resin!
Luckily it’s easy enough to spread the resin out and make sure it fills every single bit of the background.


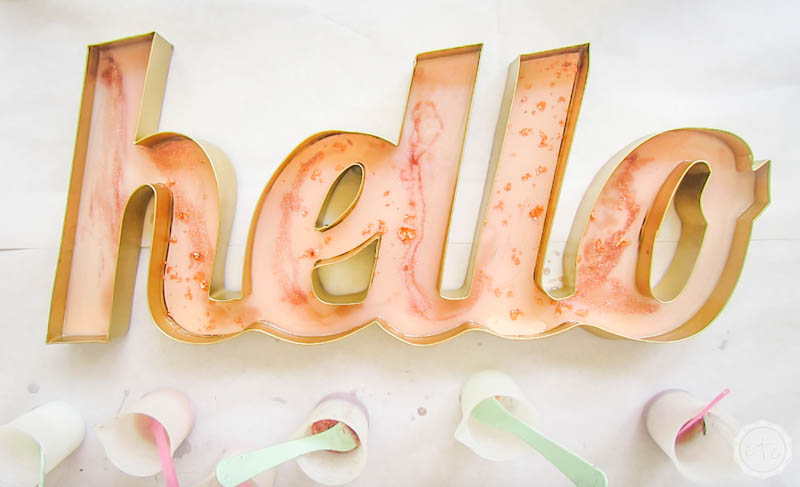
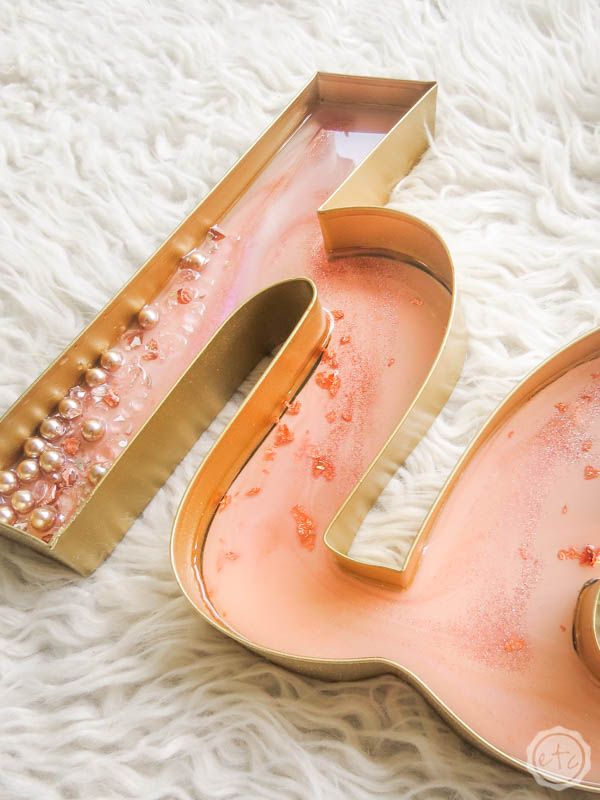
Step 4: Add the Darker Resin Colors
Now that we have our base set it’s time to add the accent colors! Since we don’t want to dump the darker colors onto our background we’ll work these colors a little differently… with our stir sticks!
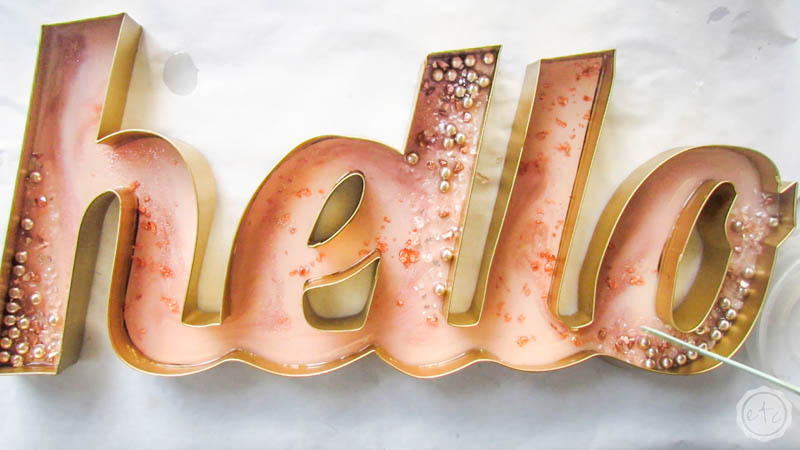
Simply use your stir sticks and gently string the rose gold glitter, copper and the interference violet into a few areas on your piece. You don’t want to flood the areas so the stir stick is the perfect solution… sometimes the best solution truly is the easiest!
You can add your colors in whatever fashion you like but I tend to pick 3 areas (in this case bottom left, top middle and bottom right) and add my darker colors to those 3 areas. Add layers of the different darker colors, making sure to string the darker colors into the lighter resin to create lines of different thickness.
Once you have allllll of your resin in place grab your heat gun and use it to blend the colors a bit! Of course, the heat gun will also pop any bubbles that are left… two for one!

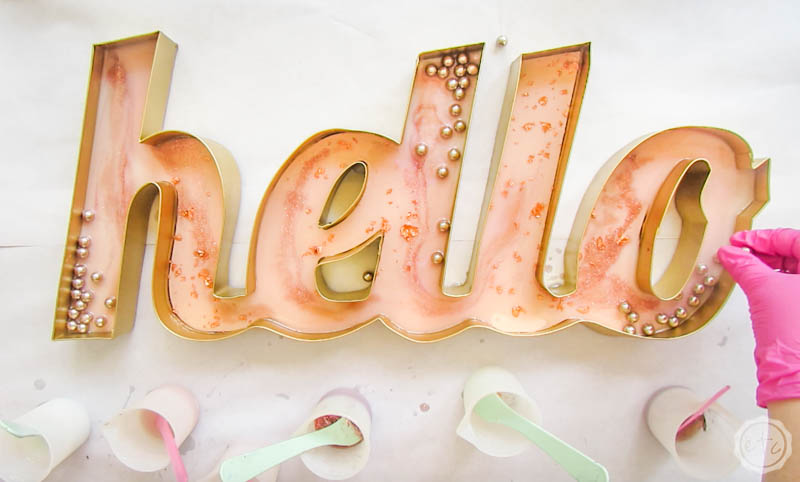
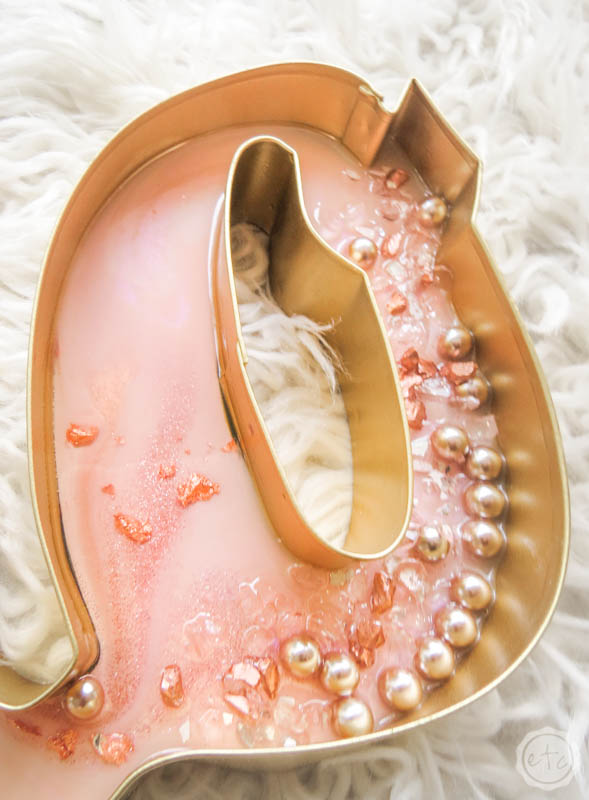
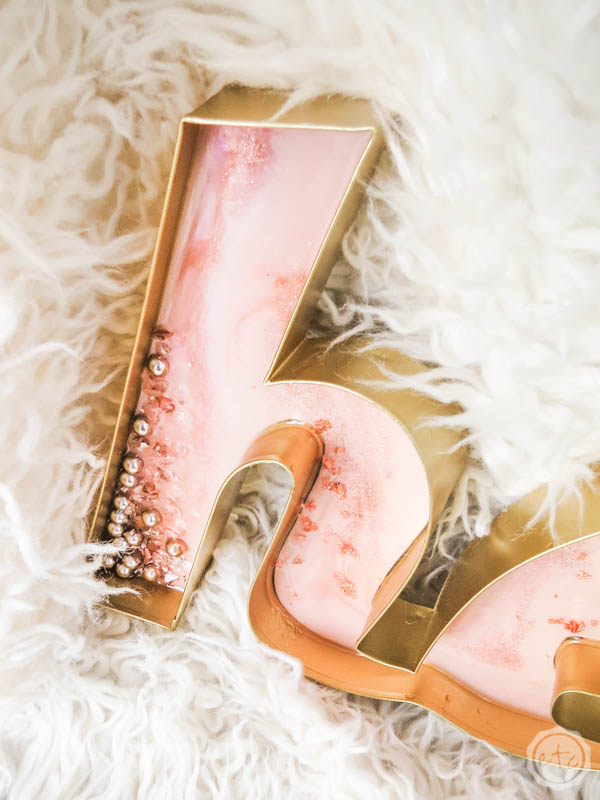
Step 5: Add Pearls
Alright y’all now we’re on the last step of our first layer… adding a few pearls! These larger pearls look amazing in a more complex piece… and I love putting them in several layers!
So before the first layer of resin dries go ahead and add pearls to a few areas… ideally you’ll add these pearls to the same 3 areas that we added our darker colors to originally. This creates the three dimensional areas that will later be built up with even more rocks and gems.
Once the pearls are in place you can cover this baby and leave it to dry for about 5 hours. Then we’ll add our second and final layer of resin.


Step 6: Add a Second Layer of Resin
Ready for layer two? This resin layer will be a little different than the first layer… because it will be 100% clear.
You don’t need to add any paints and pigments to this layer!
We want to be able to see all that pretty color work you’ve already built into the first layer!
Instead mix up about 200ml of clear resin and add it to your sign. Try to pour it evenly across the top of your sign… and then use your stir stick or gloved finger to push the clear resin all the way to the edges of your piece.
You want every single nook and cranny to have clear resin!


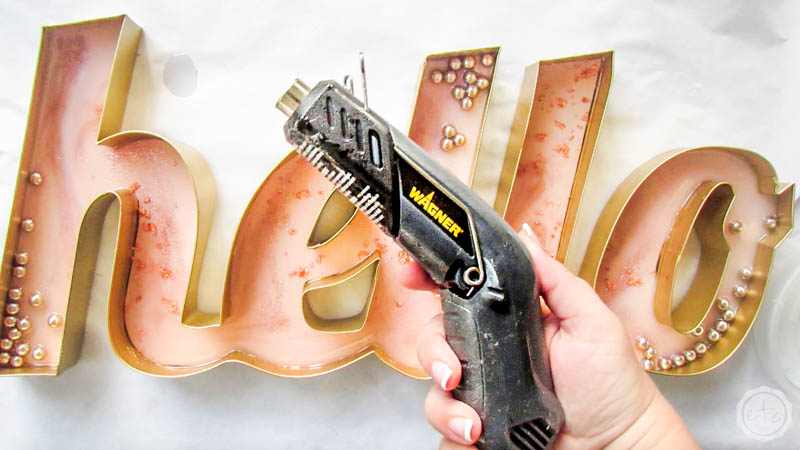
Once you’ve smoothed clear resin into every last corner go ahead and grab your trusty heat gun (hands up if you want a heat gun holster so you feel like a cowboy!!)… pass your heat gun over the clear resin to pop any bubbles that have risen to the surface.
Perfect darling!
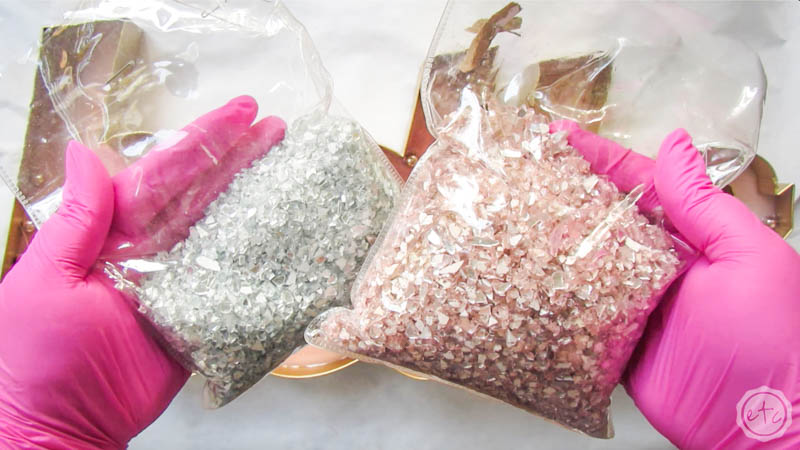
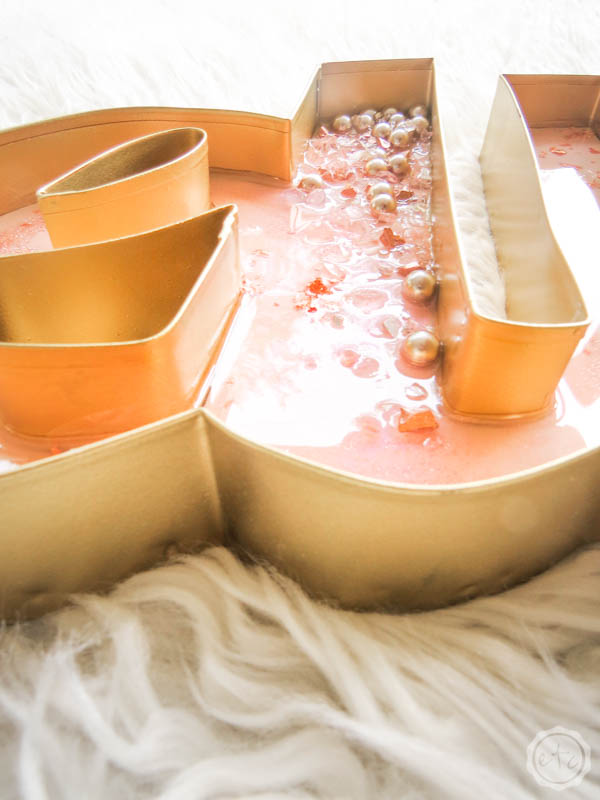
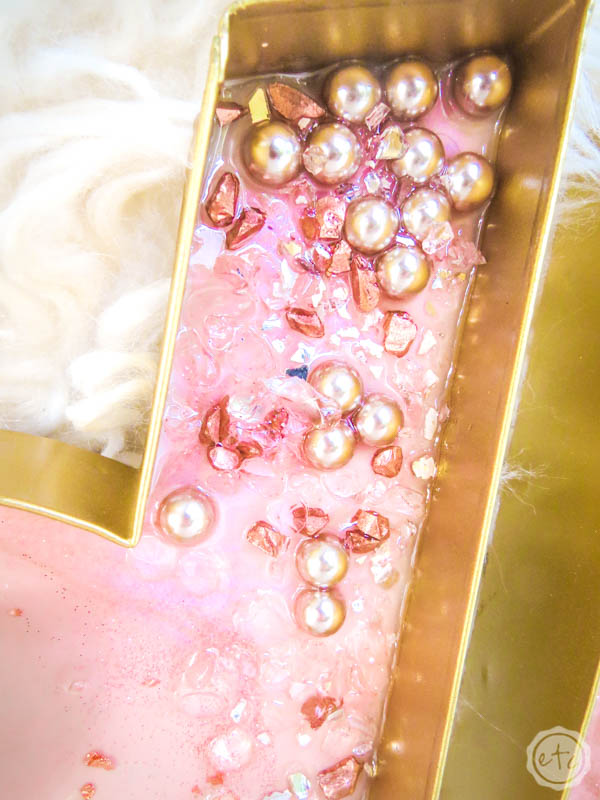
Now you can start to add your smaller stones and chipped mirrored glass. Start with the bigger pieces and slowly work your way through the clear and pink stones, the mirrored glass, the rose gold rocks and the pearls.
Go ahead and keep adding stones until you’re happy with the overall look of the piece… and make sure to fan the rocks out from your area into the resined area so that there isn’t a harsh divide between rocks and no rocks.
One last tip? Before you cover this baby up and leave it to cure grab a stir stick and make sure that all of your rocks/gems/pearls are flat to the piece and under the resin. Even if they stick out of the resin the main base of each piece needs to be in the resin or it won’t dry in the piece… and will fall off later. Not good!

Once you have your rocks/gems exactly how you like them go ahead and cover this bad boy up so you don’t get hair or rocks in the curing resin!
Let it sit, undisturbed for 24 hours… then you’re good to go! Don’t you like ow it turned out?? Take a closer look!


Looking for more resin projects? I’ve got you covered!


Leave a Reply