


If you are ever on Instagram (or Pinterest!) you have probably seen the amazing resin clocks that are all over the internet… and thought “that’s too hard, I could NEVER make that”.
At least that’s what I thought.
But then I started making more and more resin projects and figured… let’s give this resin clock thing a try! So I ordered a clock base online and got started. And y’all… it was so easy.
I want to make a HUGE one next… I mean you can pour resin onto mdf (like I did for my resin box lid for this dog bowl stand) so this baby could be gigantic.
Let’s just focus on the little one today… ready to get started?
Supplies:
- Amazing Clear Cast Resin
- Respirator/Mask (resin graded filters)
- Gloves
- Wagner HT400 Heat Gun
- Freezer Paper
- Baking Pan
- Silicone Mat
- Silicone Mixing Stick
- Small Mixing Cups
- Silicone Measuring Cup/Larger Mixing Cups
- Reusable Silicone Stir Sticks
- Pink Pearl Craft Paint
- White Alcohol Ink & Pearl Alcohol Ink
- Rose Gold Glitter
- Copper Oil Based Paint
- Rose Gold Flakes
- Clock Blank
- Clock Mechanism & Hands
DIY Resin Clock

Step 1: Mix your Resin
In this case I kind of skipped a step… which you noticed if you bought the same clock base I did. I painted my clock base white! I simply spray painted it so that the clear resin had a white background and not a natural wood background… you can decide if you want to paint yours or not. It’s 100% up to you!
Once your little clock is painted let’s get started mixing our resin. In this case I mixed about 400ml of clear resin in a large cup and then separated it out into smaller cups to add my color. If you’ve never mixed resin before you can follow my beginners guide to mixing resin here.
For this clock you’ll need 80ml each of blush, white and clear with rose gold flakes… then you’ll need about 30ml each of the copper and rose gold glitter. We don’t want to over fill the top of our clock so you don’t need too much resin.
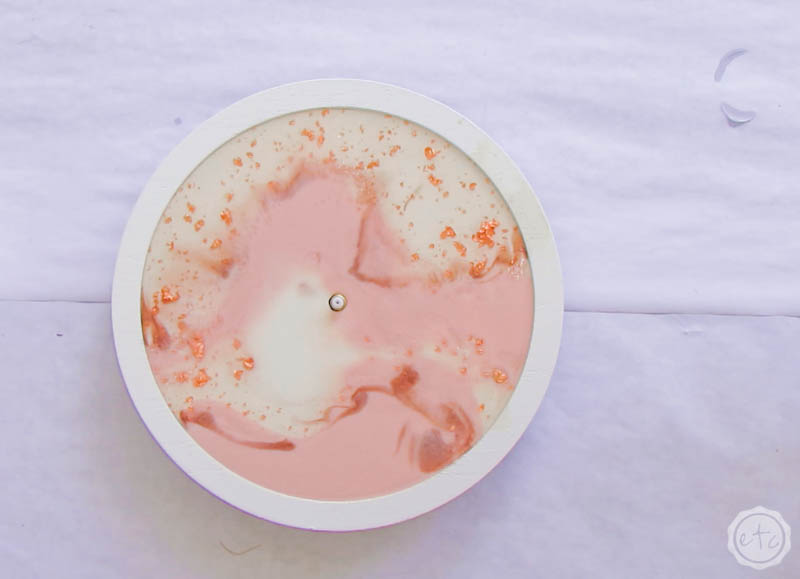
Now that our resin is mixed there’s only one more thing to address and then we’ll start pouring… the hole in the middle of our clock base. We’ll add our clock hands/mechanism there so we don’t want it to be filled with resin. Instead I put a piece of tape in the hole so that resin won’t fill it up… easy peezy.
Step 2: Start Pouring Resin
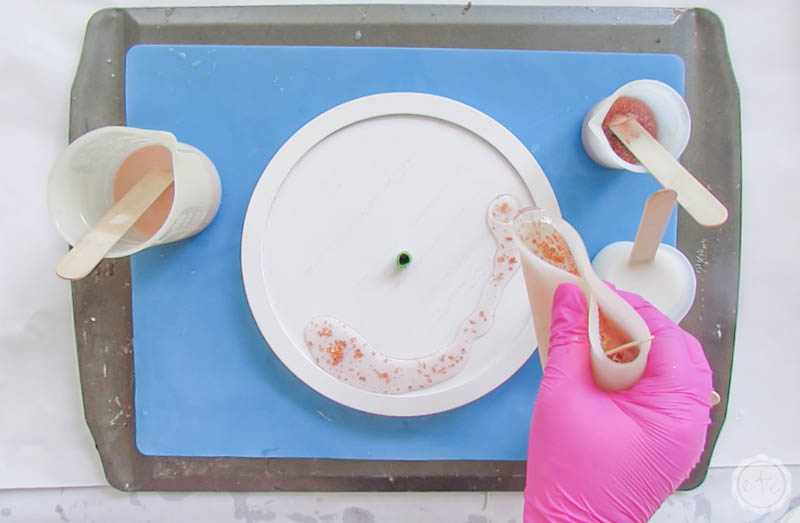
Let’s get to pouring! In this case I wanted a sweeping design so I started by pouring clear/rose gold flake resin at the bottom in a round but zig zag kind of pattern. Then I echoed that at the top with the blush.
Then it was just a matter of filing in the rest of the clock! I always start with the blush, white and clear with rose gold flake colors for the larger areas… then I come back with the copper and the rose gold glitter and add them along the seams of the larger colors.
Typically I do this with a stir stick so that the lines are thinner and I have a mix of thick sections and thin lines.

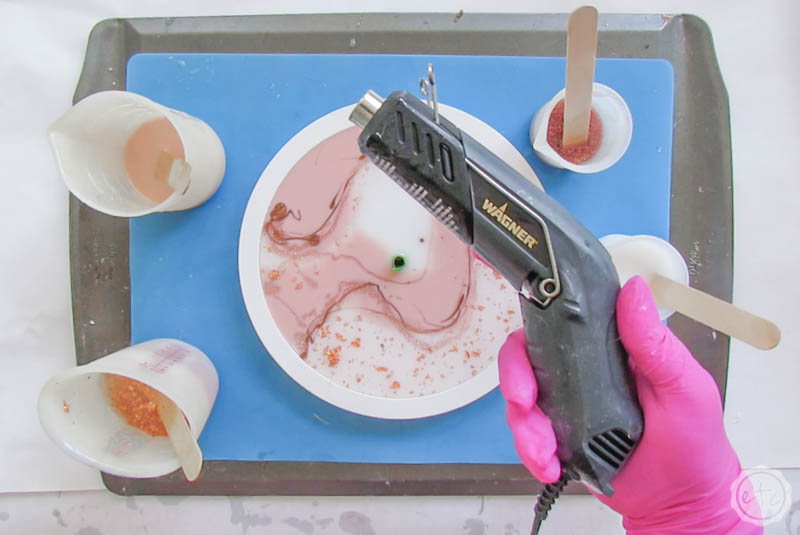
Once you get all of your resin on the face of the clock go ahead and grab your heat gun. You can pass it carefully over the entire face of the clock to pop any air bubbles that have risen to the surface… beautiful darling!
Once all of the air bubbles are gone you can use your heat gun to blend the resin colors a bit (I find that concentrating the heat gun over the thinner lines of the copper and rose gold glitter helps to spread them out a smidge and blend them with the other colors) OR if you like how everything looks then you’re good to go!
Cover your piece so no dust or cat hair (or fly’s! YUCK) fall into your piece while it’s curing and you’re done.
You’ll leave it to cure for about 24 hours but make sure you come back in about an hour and remove the tape that’s blocking off the hole in the middle of your clock… otherwise it will be resined there for life.


Step 3: Add your Clock Hardware
It’s a new day… and it’s stormy out today which apparently gives the camera a weird pinkish hue. Oh well… just pretend you’re viewing this part of the post with rose tinted glasses.
*wink wink*
After 24 hours your piece will be dry to the touch… but it takes a full 7 days to fullllllly cure. So I recommend waiting at least 3-4 days before attempting to add your clock hardware. Just as a precaution.
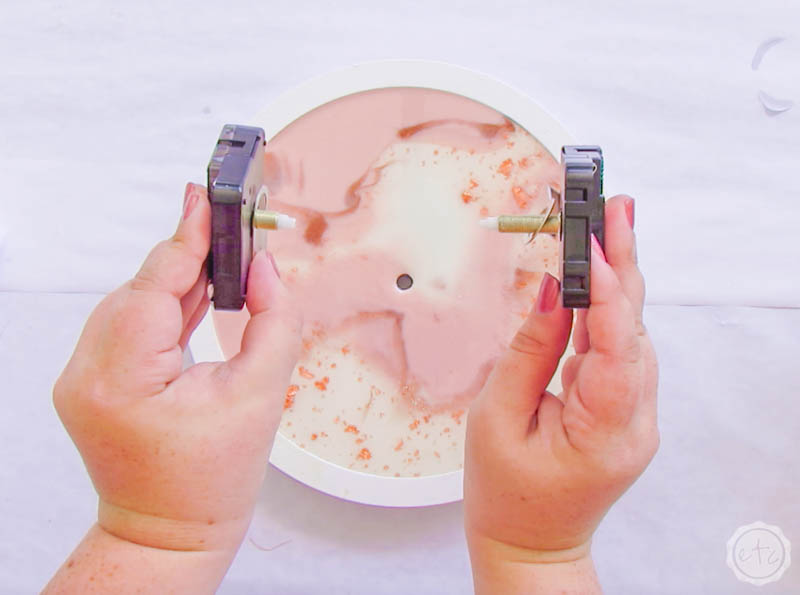
On the other hand if you’ve picked up a standard clock mechanism set for this piece it probably won’t work. Which I found out the hard way… the standard sets do not have a long enough mechanism to reach the front of our clock. Instead I ordered a clock kit with a 25mm shaft that will reach from the back of our clock to the front (see the difference in the standard mechanism on the left and our longer mechanism on the right?).
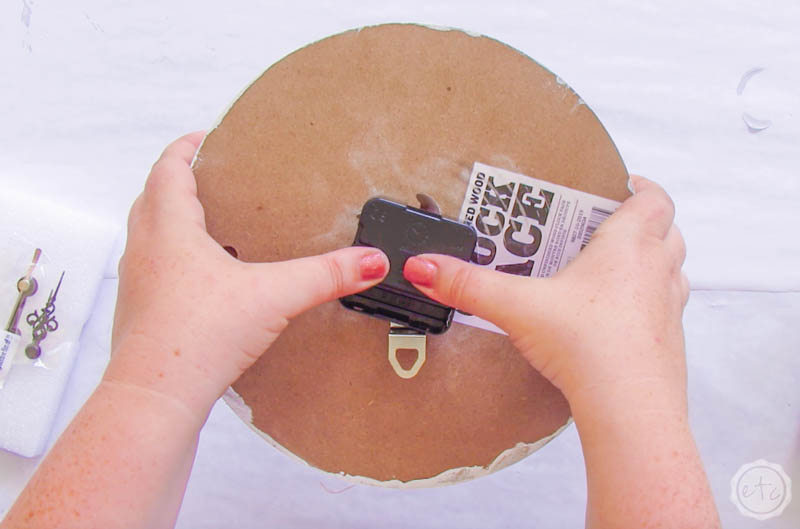
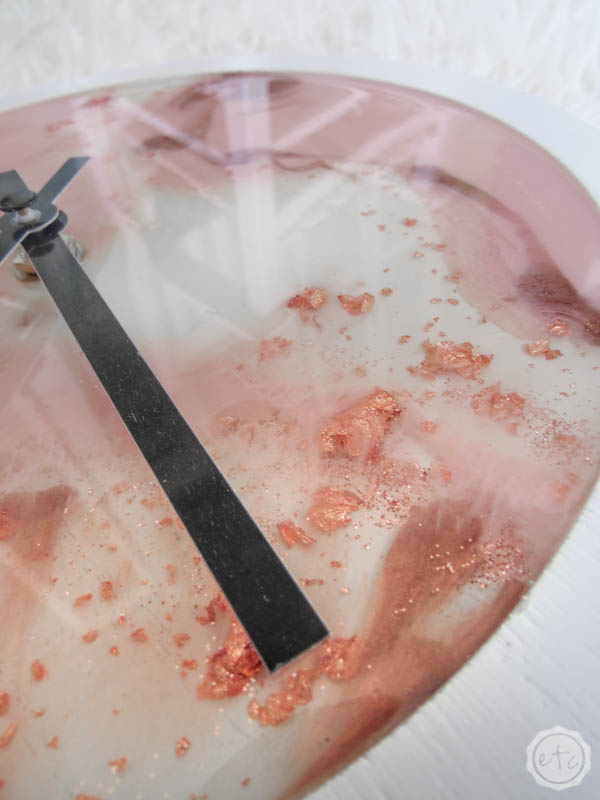
Start by carefully pushing the mechanism through from the back until the shaft is visible on the front. Perfect darling.

At this point it’s pretty easy to assemble the rest of our pieces (and the clock kit will have directions if you get confused!) but the basic concept is to start by putting a washer on the front and then adding the tiny little gold nut to keep it in place.
Use your fingers to tighten the nut all the way down so that it’s nice and secure.

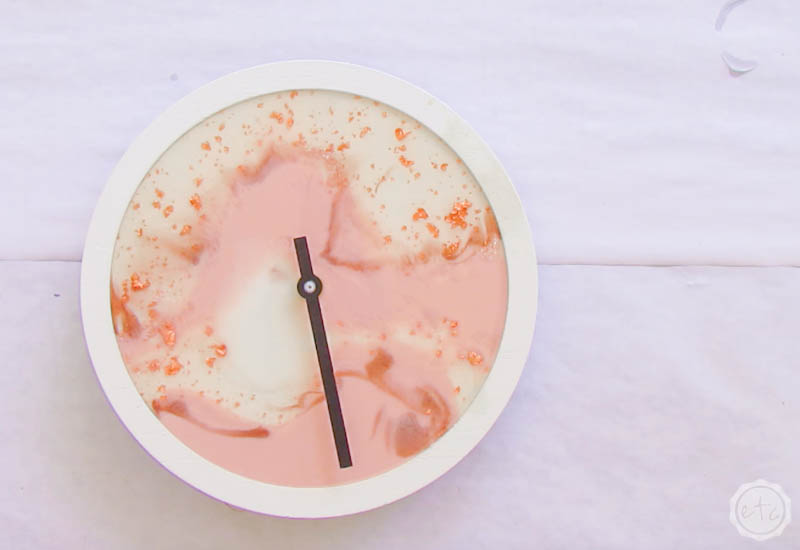
Then you can add your clock hands. Start by placing the hour hand on the shaft and pressing it into place. Once it’s in place it will won’t be loosey goosey but will sit straight without any help.
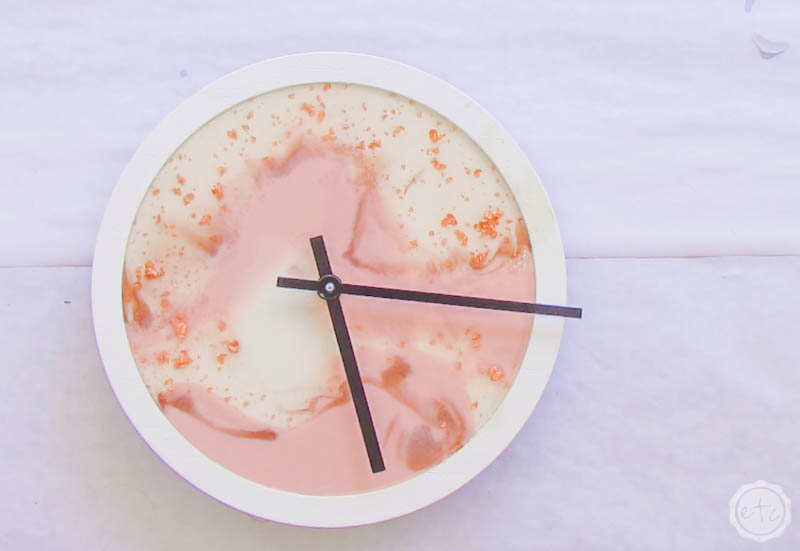
Next you’ll add the minute hand on top and press it firmly until it clicks into place.
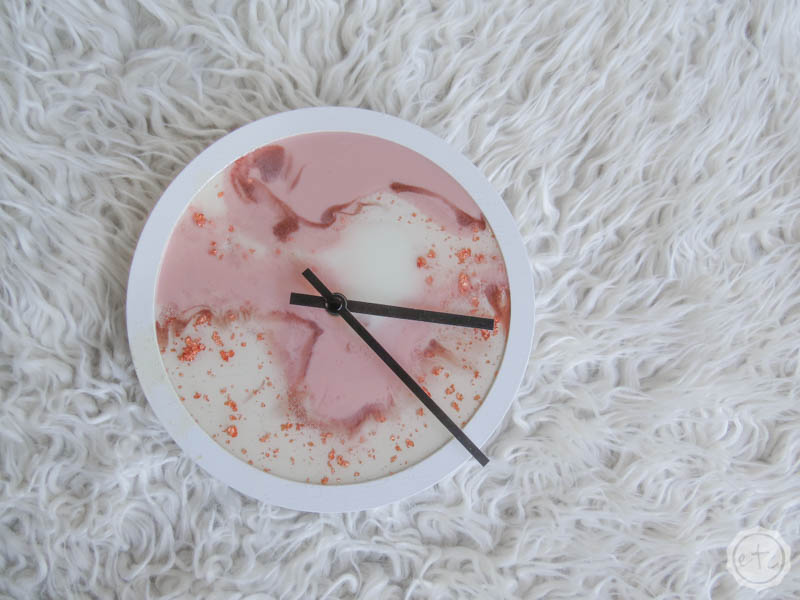
Finally there is a little pin that will snap the whole thing together and give the top a finished look. Now you’re done! You can add a few batteries to the back of your clock, set the time and hang it up.
I can’t wait!!


Looking for more resin projects? I’ve got you covered!


Leave a Reply