

This is a sponsored conversation written by me on behalf of Cricut. The opinions and text are all mine.

Today I have a sweet little project for the baby in your life! Whether you have a baby of your own or are making this little bunny lovey for a family member (or friend’s!) little one this bunny is absolutely adorable.
I have two cousin’s about to have sweet new babies so it was time for a new baby project (since we did onesies last month!)… and I really wanted to tackle a little personalized present for the new babies (Megan and Jessie stop reading this unless you want to spoil the surprise!). So if you are ready to get started making one of these bunnies for your very own baby let’s get started!
Supplies:
- Cricut Maker
- Cricut EasyPress Mini
- Cricut Easy Press Mat
- Printable Bunny Lovey Pattern (if you want to sew your bunny!)
- Bunny Lovey (if you want to order your bunny!)
- Cricut Strong Grip Mat (that’s the purple one!)
- Fine Point Cutting Blade
- Iron On Vinyl
- Iron On Protective Sheet
Supplies for Sewing your own Bunny:
- 1/2 yd. of stretch fabric for outside body (poly sherpa, cotton sherpa, fleece, minky, sweater knit)
- 1/2 yd. of stretch fabric for inside body (cotton velour, mirco fleece, t-shirt knit)
- Sewing Machine/Needle if Hand Sewing
- Matching Thread
- Embroidery Floss for Mouth and Eyes
- Scissors
- Stuffing (Polyester Fiber Fill)

If you’re sewing your own bunny follow steps 1 -3 . If you’re going to order your little lovey skip to step 4 so that we can personalize it with your sweet little ones name!
Step 1: Cut Out Your Pattern
Alright y’all, let’s get started on this little bunny lovey! I absolutely love making SVG’s for your Cricut and printables for your planner… but designing sewing patterns is not on my list of skills.
So I did what any good DIYer would do and purchased a pattern for this little bunny! The pattern comes with excellent instructions for sewing the entire lovey so I’m not going to walk you through each and every piece of the pattern (it’s not my pattern to sell after all) but I will walk you through the basic steps of making your bunny lovey.
Starting with cutting out your pattern.
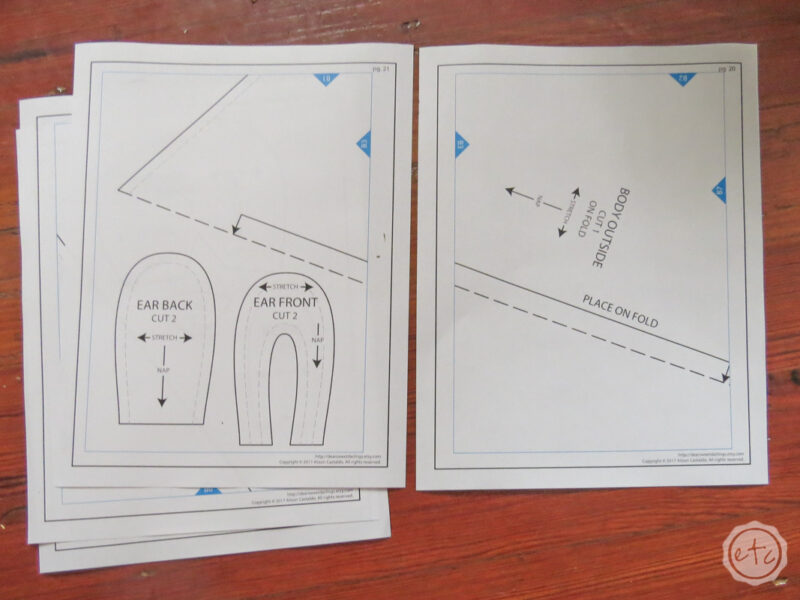
Since this particular pattern was made to be printed at home on a standard printer (with 8.5 x 11 printer paper) you’ll have to do a little assembly with your paper.
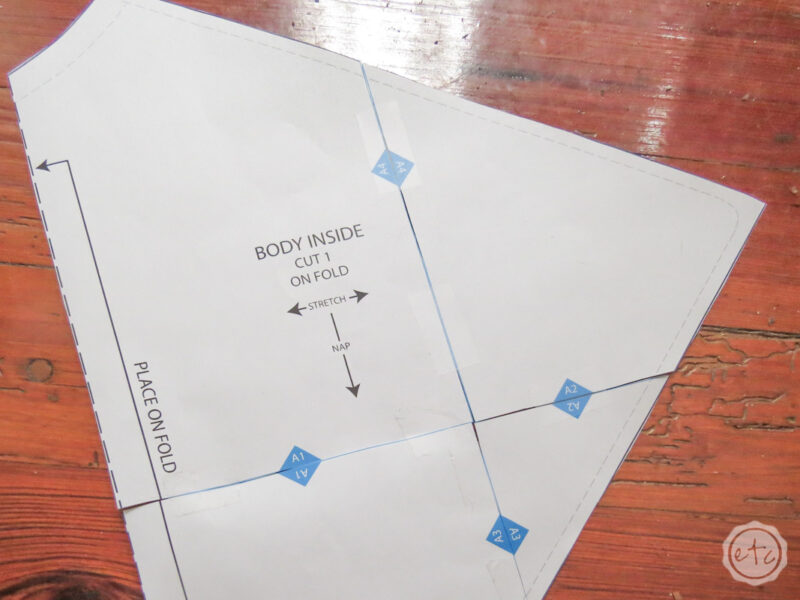
Luckily the pattern is very easy to follow… simply cut the pieces out on the solid lines and then tape them together following the blue arrows. The blue arrows are labeled with letters and numbers so you can tell which piece of the pattern each piece belongs to as well as how to match the pieces.
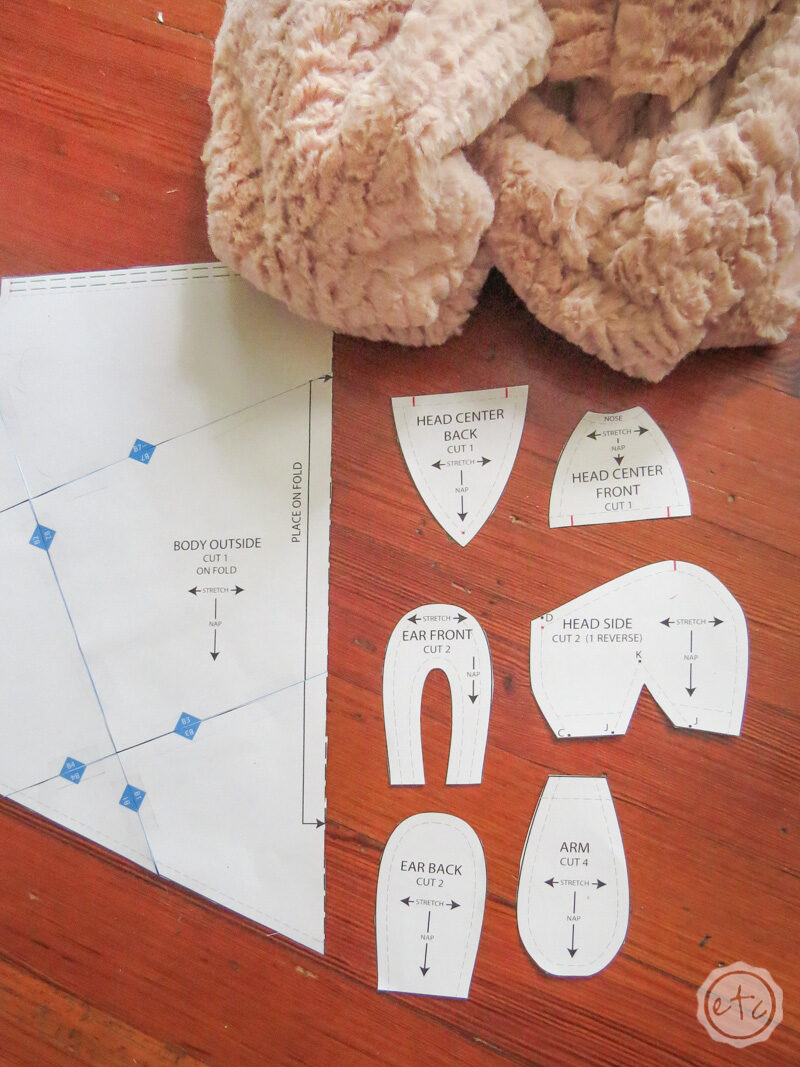
Once you have all of the pieces assembled you should have 10 pieces total! Two larger pieces (the inside and outside of the blanket), one nose, 3 ear pieces, 1 arm piece and 3 head pieces.
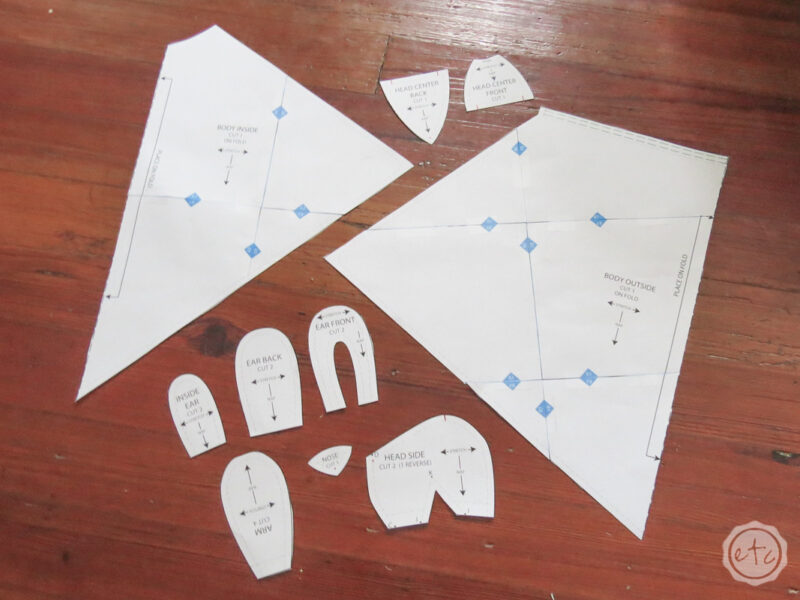
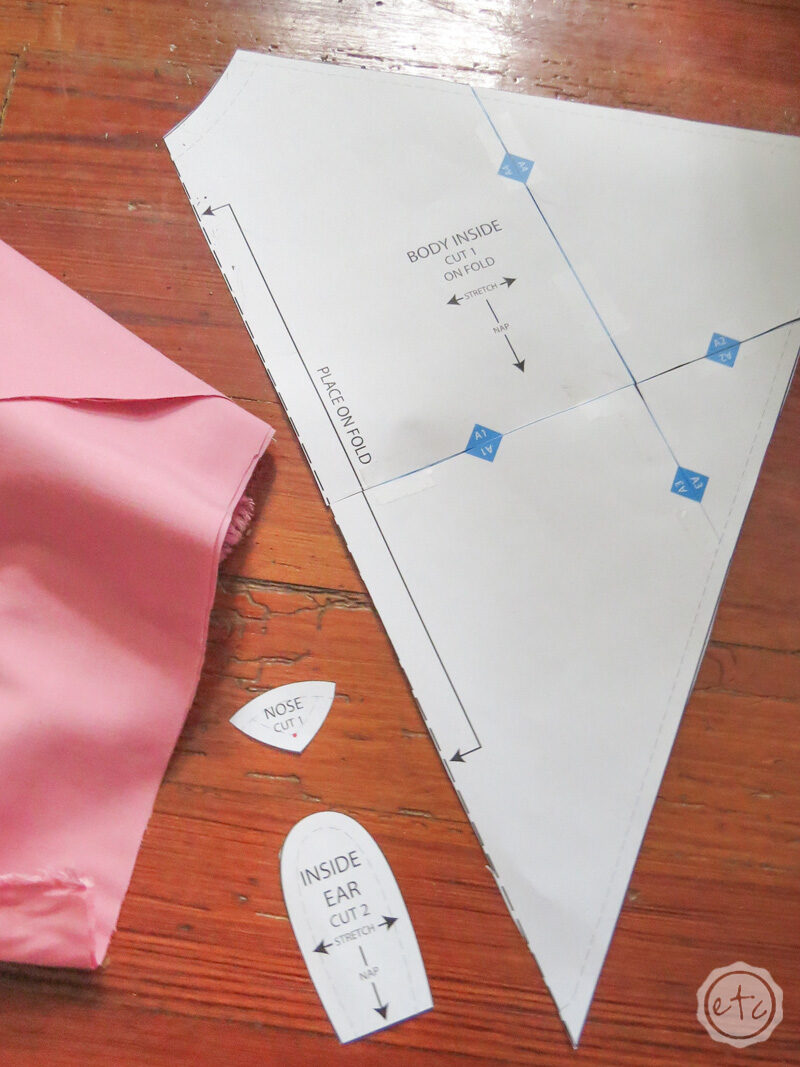
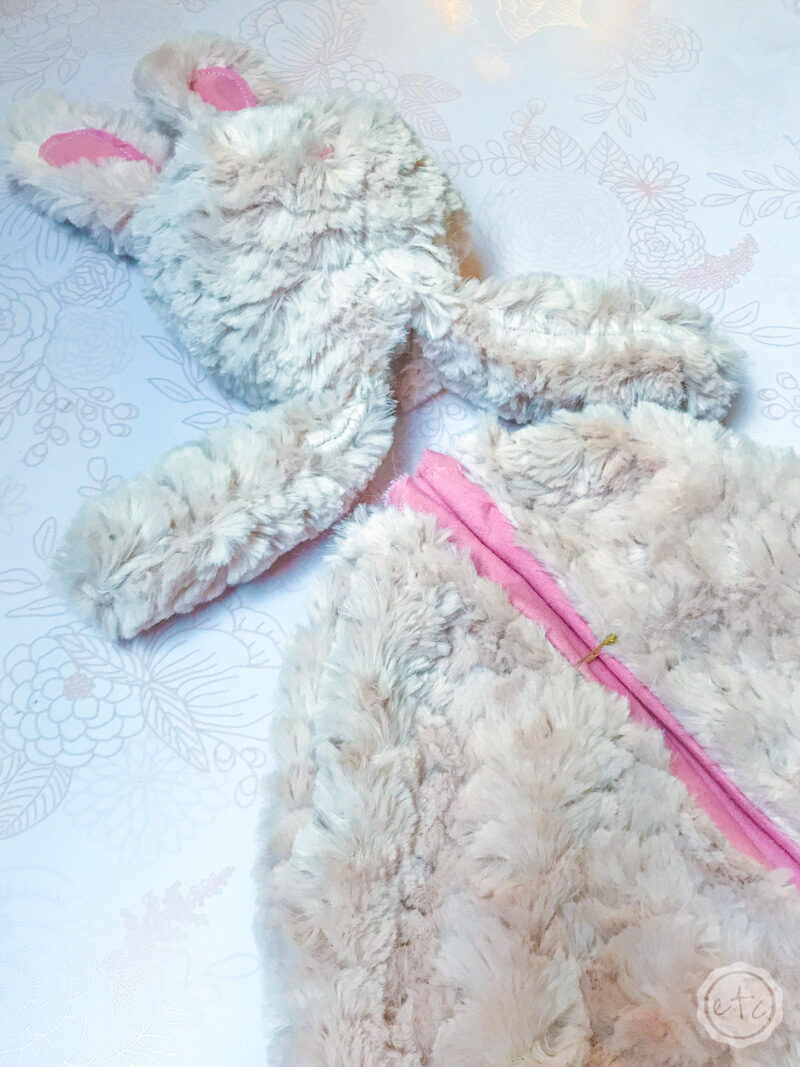
Once all the pieces are cut out you can separate them according to inside fabric and outside fabric. You can see the inside fabric in the picture up above… this is the nose, inside of the ear and inside of the blanket.
The outside fabric pieces are in the photo below: the head, arms, outside of the ear and outside of the blanket. I picked a fuzzy fabric for the outside of these little bunnies but if you’re not an experienced fabric you may want to pick a fabric that’s a little less fuzzy… it was a bit hard to sew all the fuzz at places.
Step 2: Cut Out Your Fabric Pieces
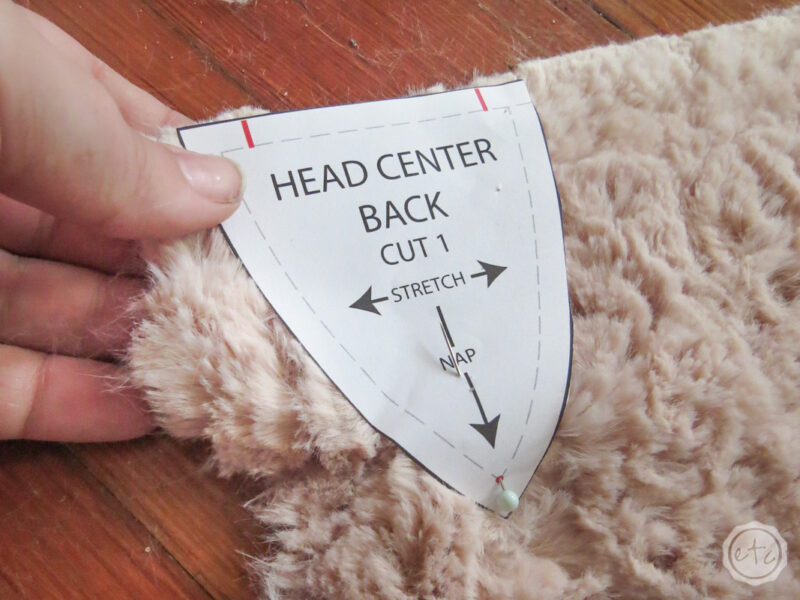
Once you’ve cut out your pattern pieces it’s time to cut out the fabric! I pulled out my Cricut sewing kit to pin each of the pattern pieces in place.
Just place a pin in each of the corners and you’ll be set!
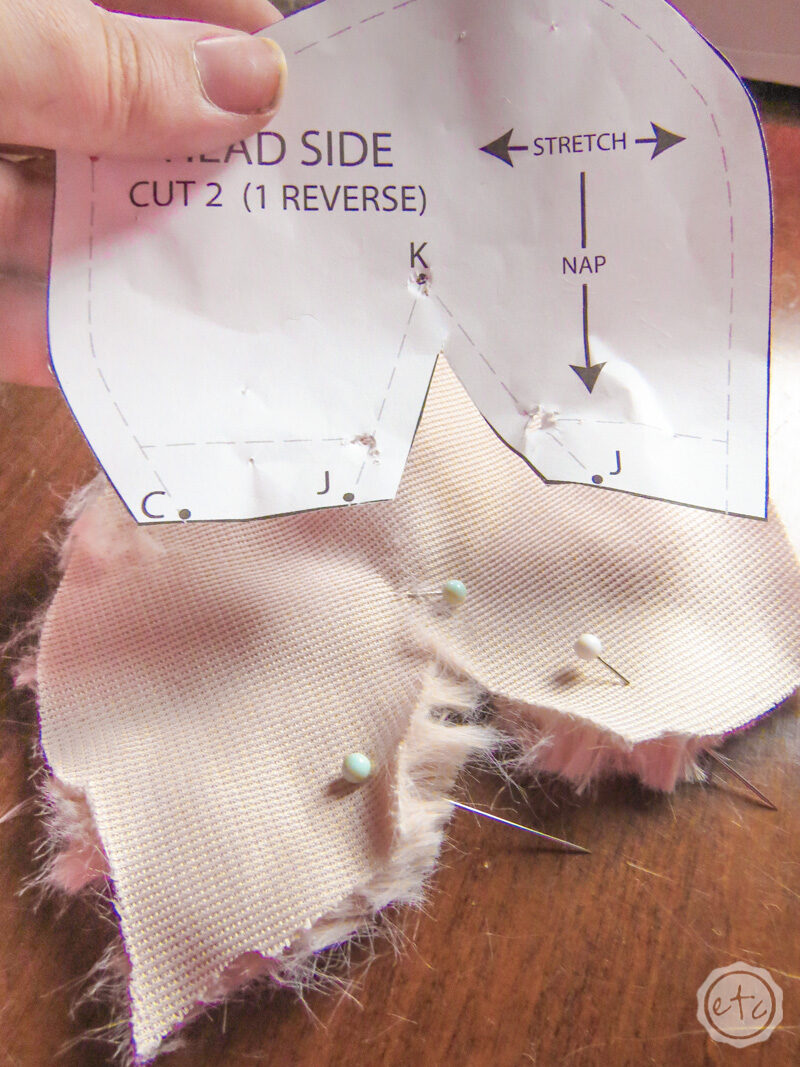
Each of the pattern pieces tells you exactly what to cut (one piece, two pieces, or four) as well as any further instructions. For example: you’ll need to cut two pieces for the sides of the head… and they need to be reverse images of each other. So the pattern tells you to cut 2 in reverse.
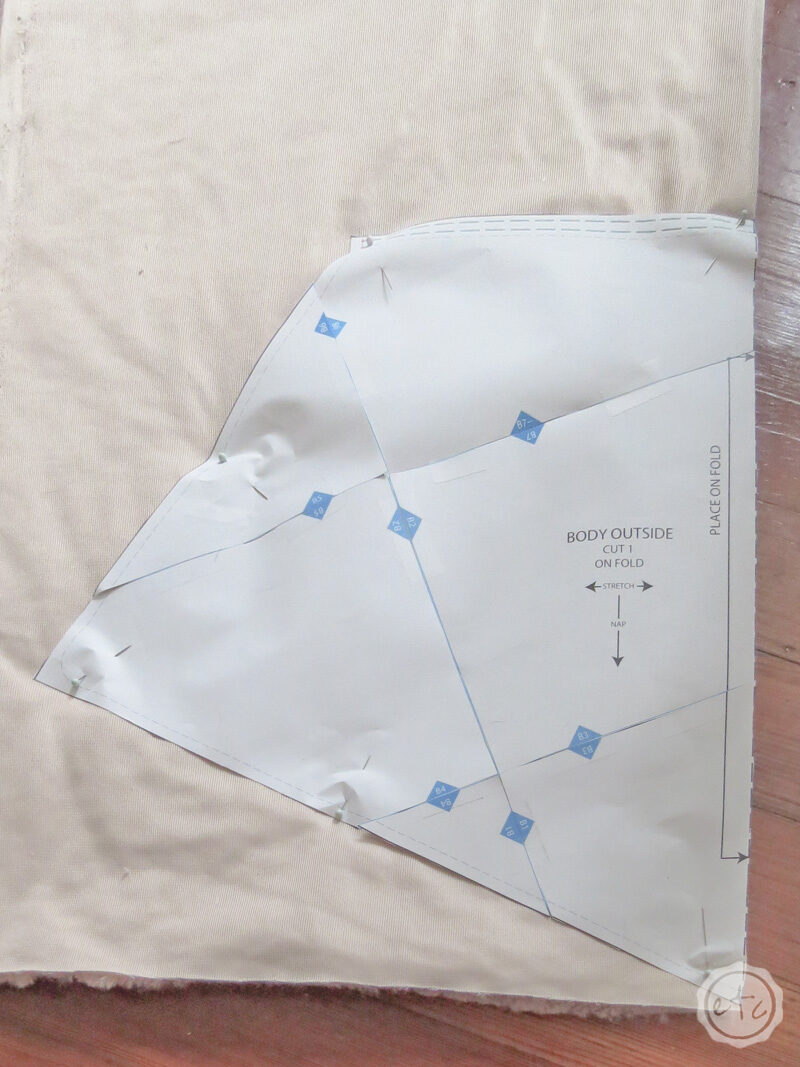
The blanket pieces tell you to cut “on the fold” which means to fold your fabric over and align the “on the fold” section… on the fold. That way when you cut out your fabric you’ll have a large piece of fabric that is perfectly symmetrical.
Beautiful!
Make sure to pin and cut each piece according to the pattern before moving on.

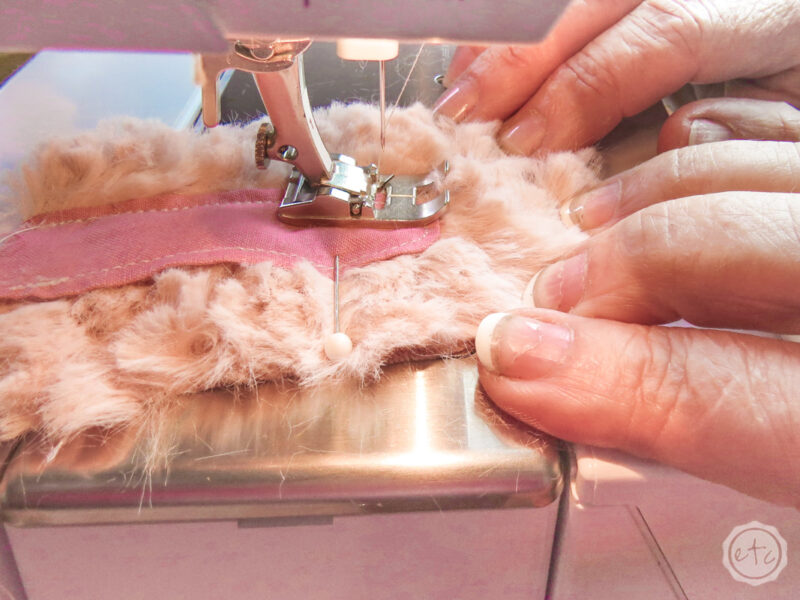
Step 3: Sew Your Bunny!
Now it’s time to sew! We pulled out the big guns… my Mom’s Bernina sewing machine. You can sew this bunny by hand but we wanted the seams to be super strong so we used the sewing machine… and by we I mean my Mom because she’s the boss at all things sewing machine.
*wink wink*
The bunny pattern comes with amazing instructions that will walk you through each and every step of putting this little guy together.
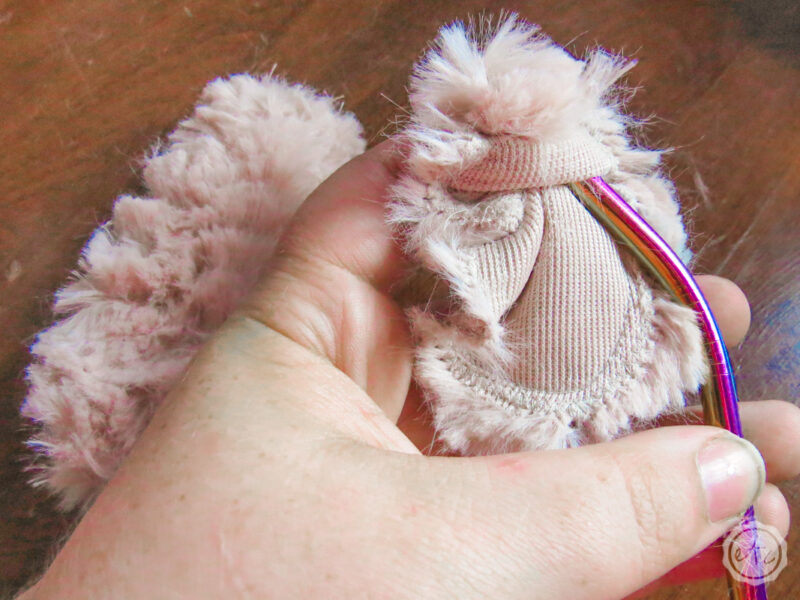
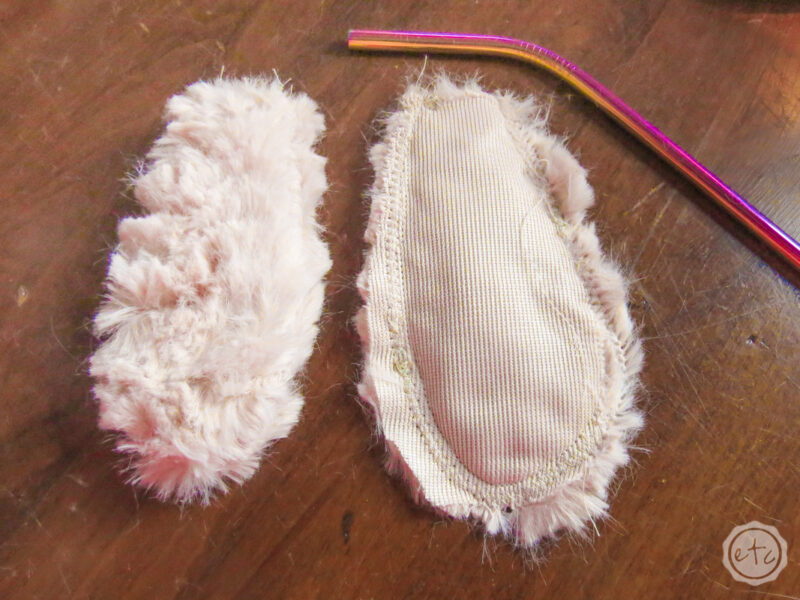
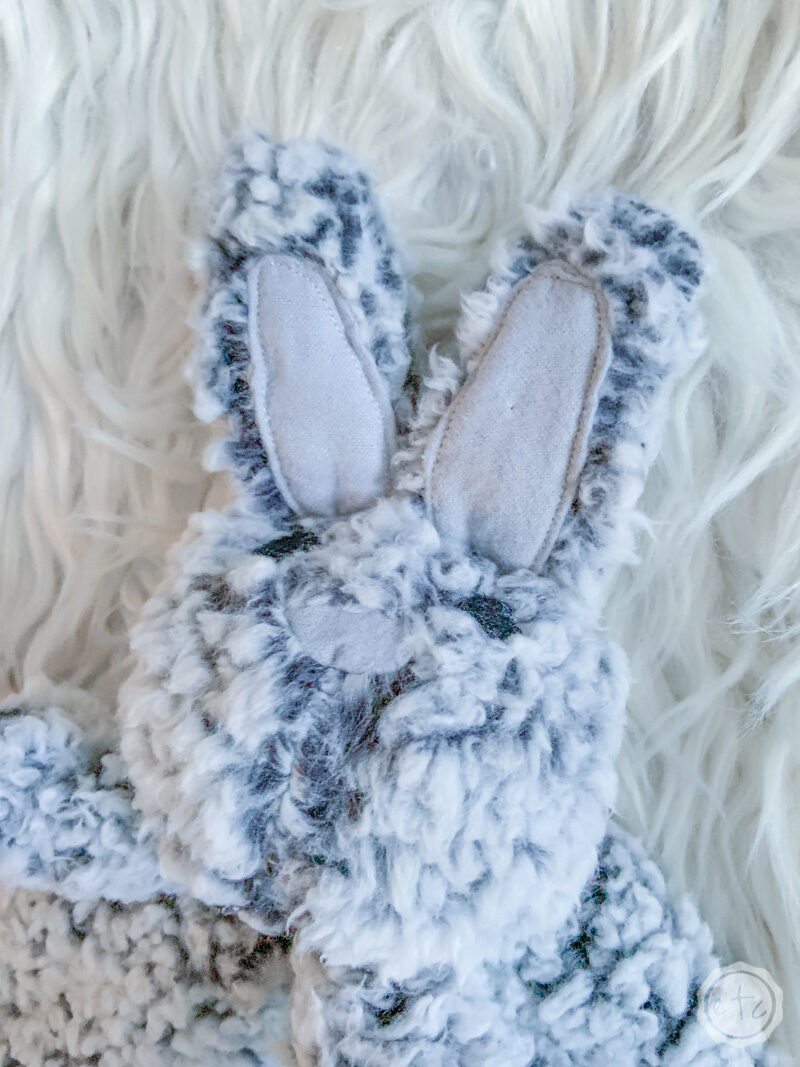
My only tip? The arms and ears are super tiny and have to be turned inside out… so if you don’t have a stuffing stick use something like a metal straw to turn these babies the right way.
Save your fingers!
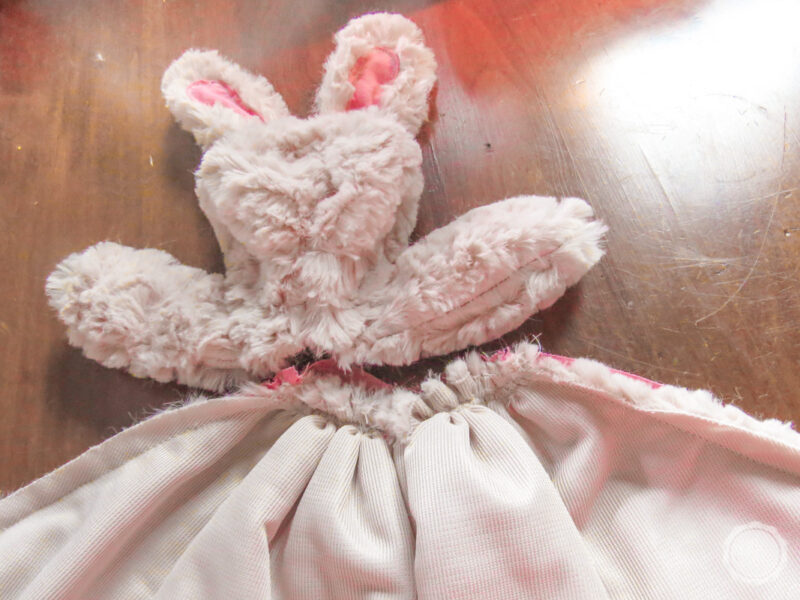
Go ahead and sew alllllll the way through the instructions until you’ve formed the blanket before moving on to the next step!

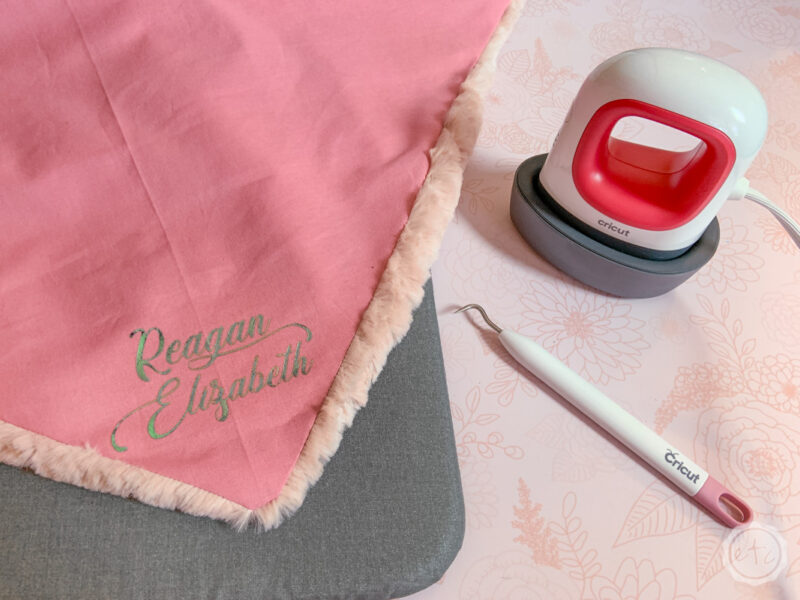
Step 4: Iron (On!) your Blanket
Before we attach our blanket to our bunny we have two steps to take… and both involve our mini easypress! First off go ahead and iron the entire blanket with your little mini easy press.
This little guy is super little (but still mighty!) and Mom has been obsessed with keeping it by her sewing machine since it’s perfect for ironing seams as she sews. The little easy press pressed the seams on this blanket flat (so they look super professional) as well as taking care of all those pesky wrinkles.
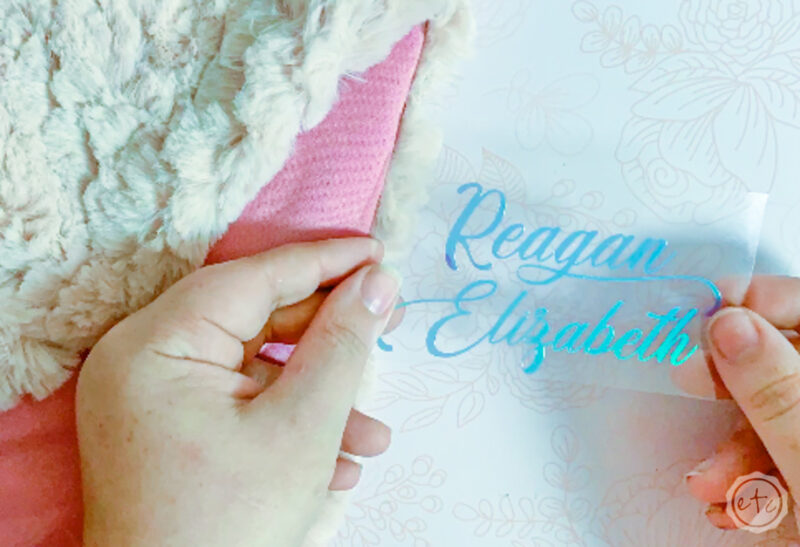
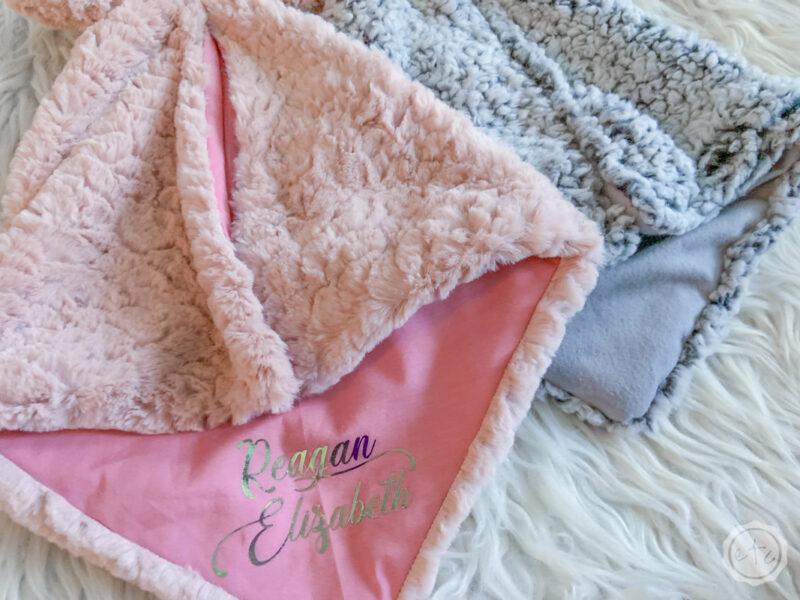
Once you’ve ironed your blanket you can go ahead and personalize it! I wanted to add the names of the new babies so I went into Cricut Design Space and wrote them out in a pretty font.
Then I cut them out of this gorgeous holographic foil with my Cricut Maker! Remember when using iron on to put it shiny side down on your cutting matt and mirror the design… then hit cut! These little names wound up being four inches across and two inches tall to fit onto the bottom portion of my blanket… and since they’re so small they were super easy to weed!
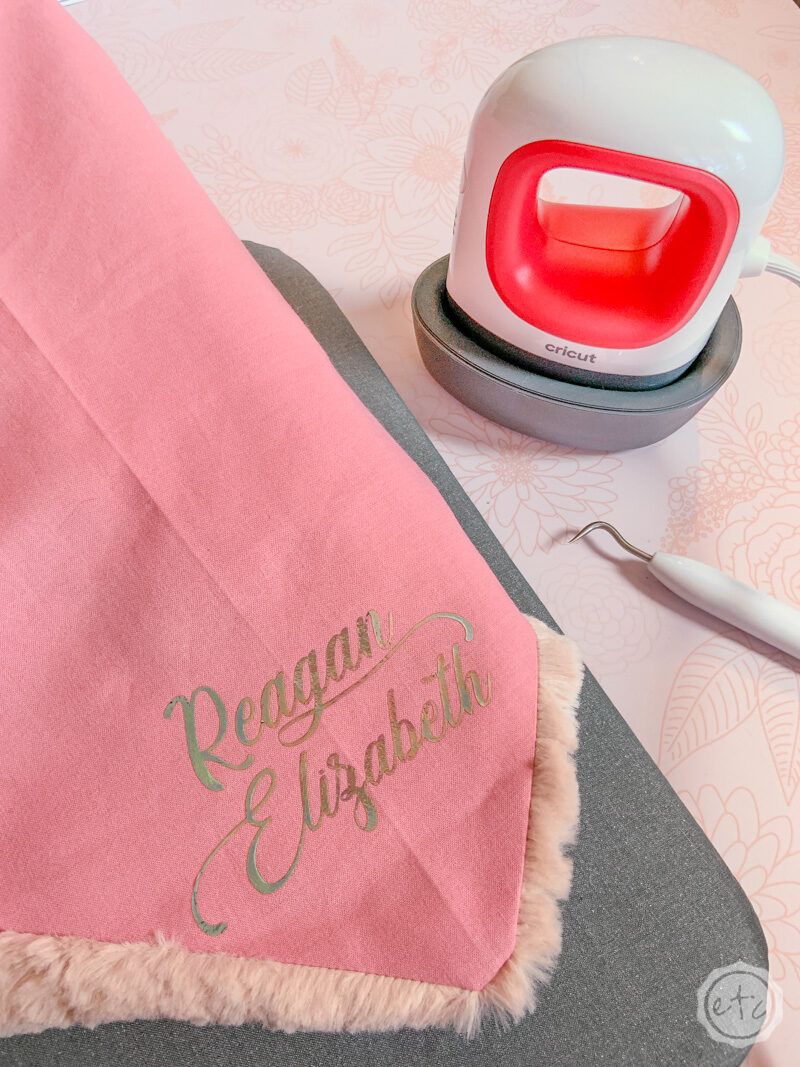
Then it was only a matter of turning my Cricut EasyPress Mini (say that five times fast) on and ironing it on! I set my little iron to 3 bars and held the iron over each portion of the design for about 30 seconds before doing a cold peel. It worked like a charm.
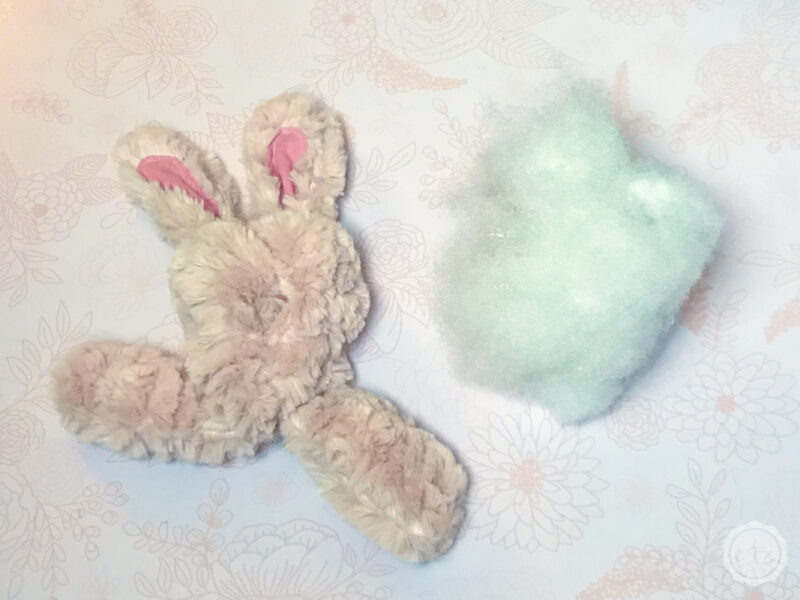
Step 5: Finish your Bunny!
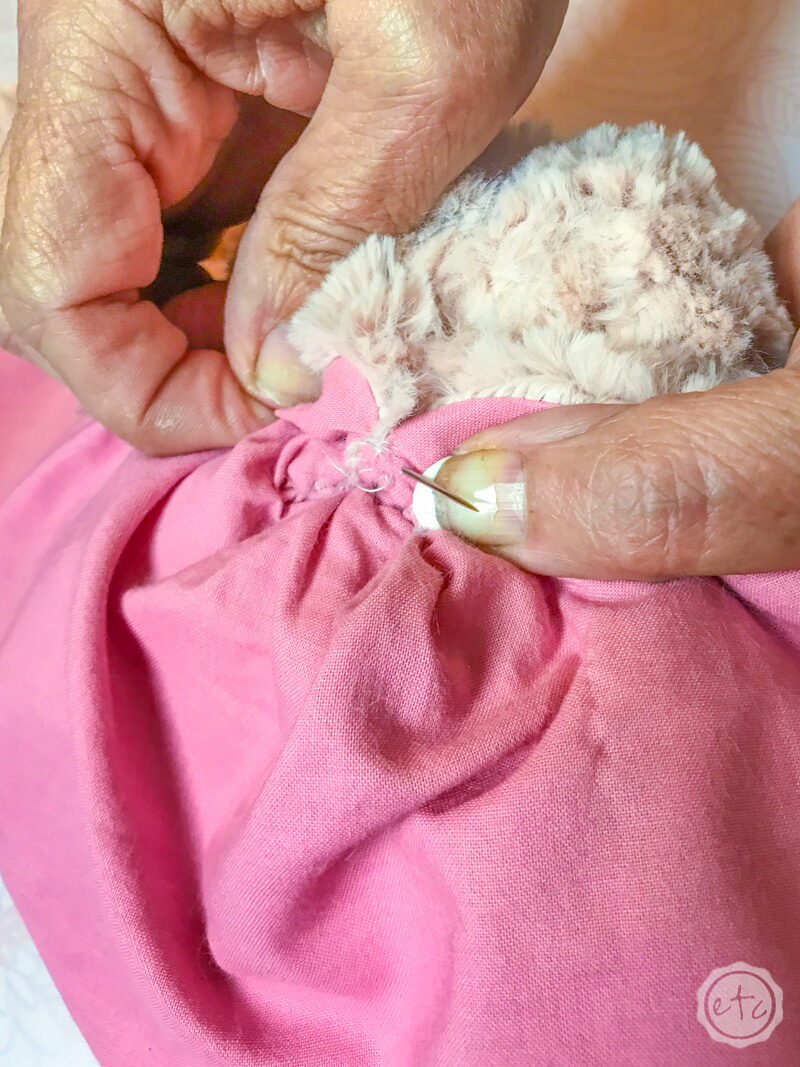
We’re almost done! Now all we need to do is stuff our bunny head and attach it to our blanket. Easy peezy.
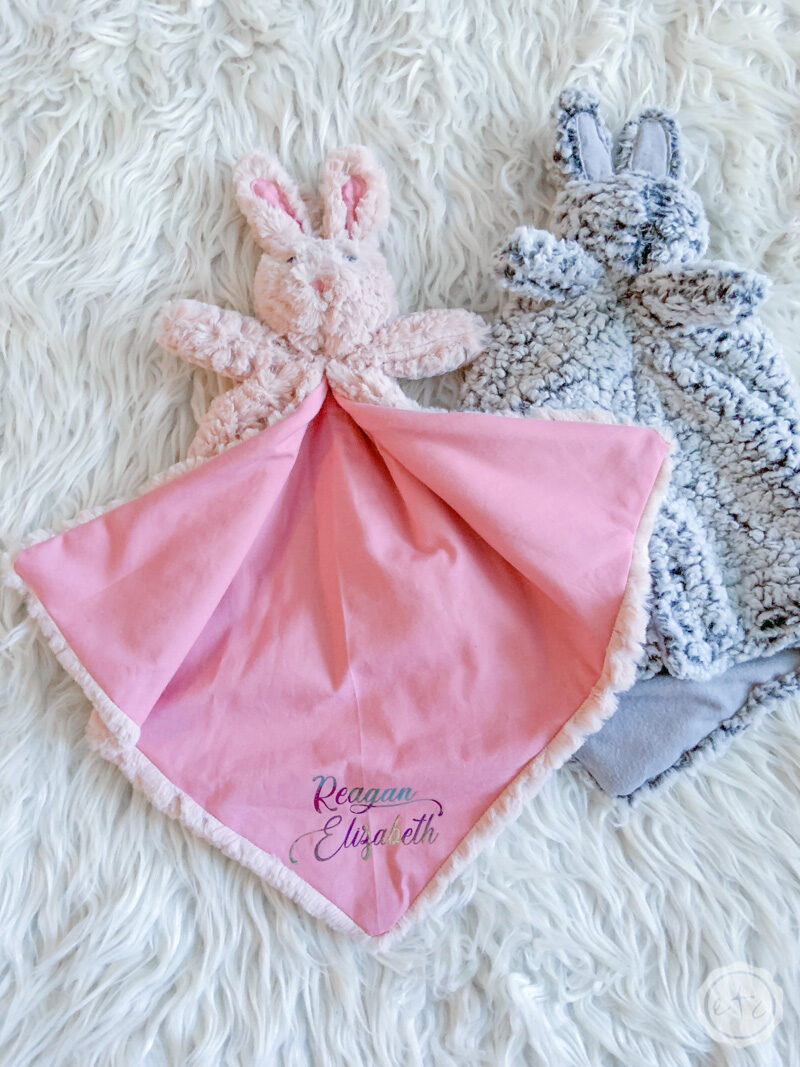
Simply stuff the head full of poly fill and then sew the blanket in place. Make sure you fold your blanket over and the name is showing exactly how you want it before you sew it in place… then you won’t have any problems.
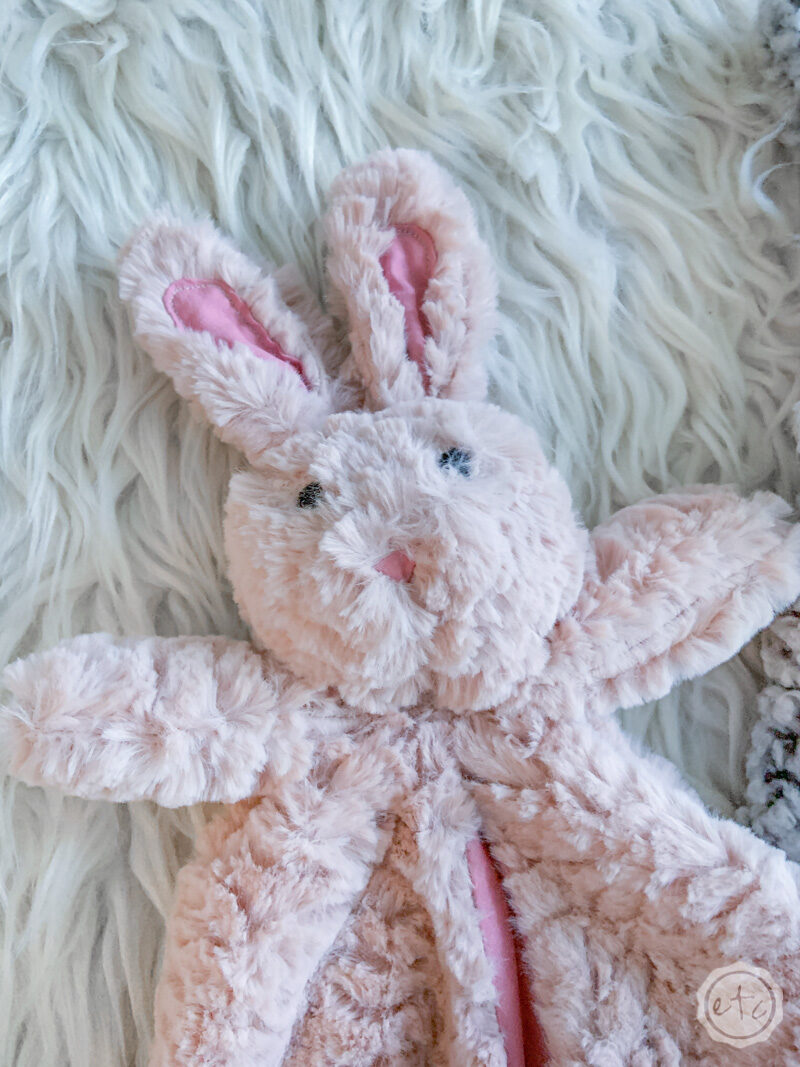
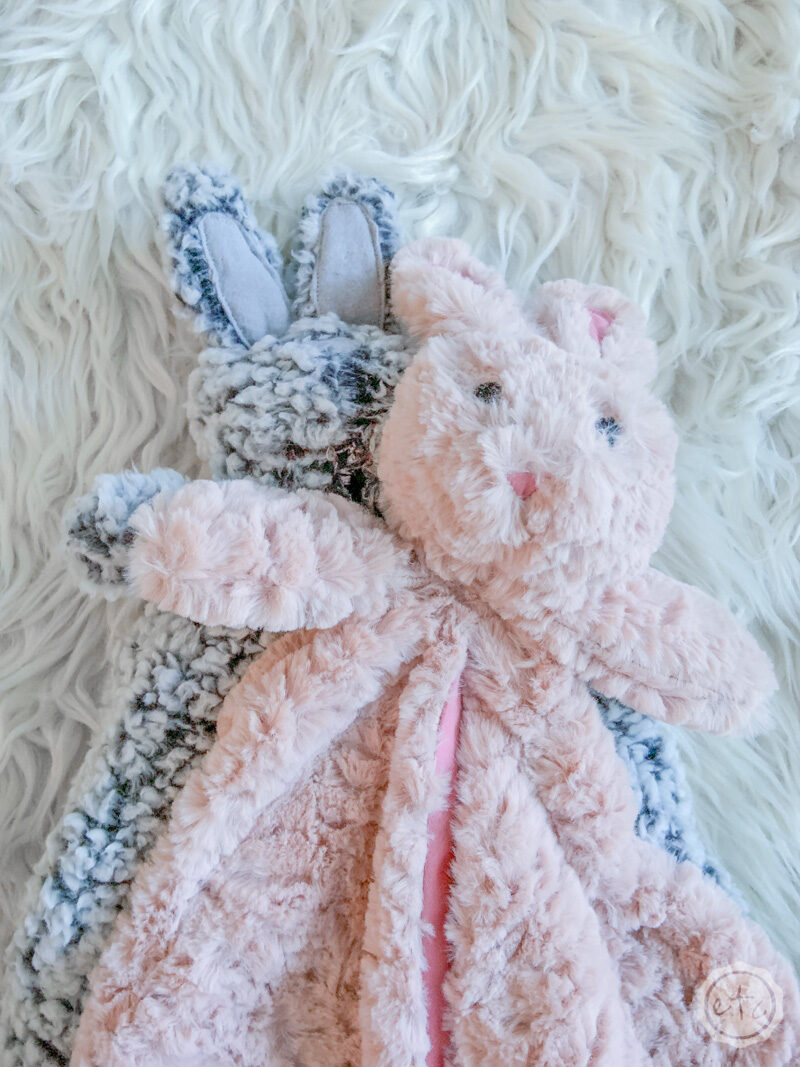
Once you’re done attaching your bunny and blanket you’re done! Volia a sweet little bunny lovey (who came up with that name!?) personalized for your sweet baby.
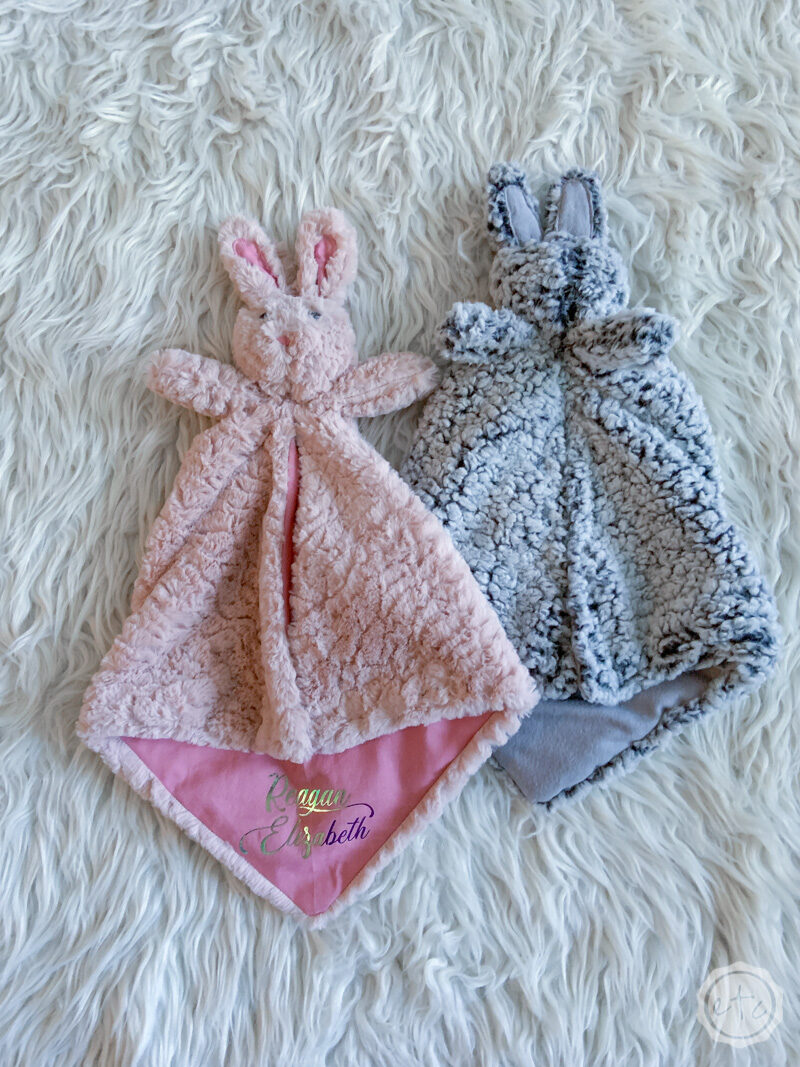
Ready for the grand reveal?
I hope the new babies love them! Sweet baby Reagan Elizabeth and little no name…
My other cousin is waiting to meet her little dude before deciding on a name so I’ll put the name on her bunny once he’s born. Luckily my mini easy press heats up fast so I’ll be able to add it pretty quick!
Enjoy!


[…] Think shoes, headbands or even stuffed animals (like these bunny lovies I made for my cousins new babies). […]