


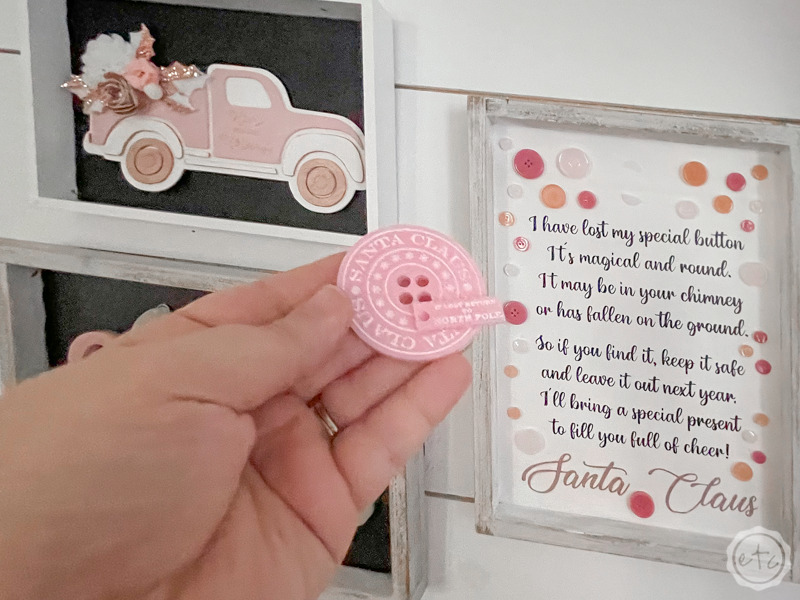
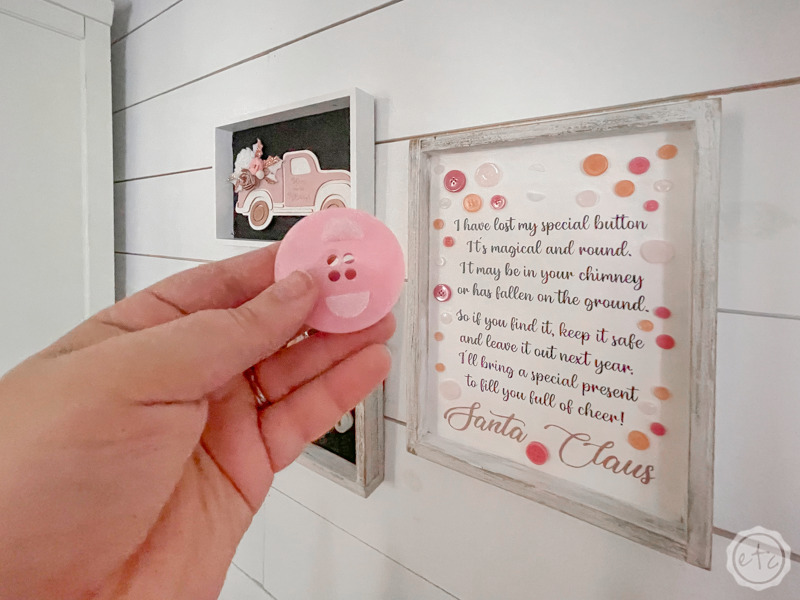
Today I have an extra special treat for you! A tutorial on how to make your very own “Santa’s Magic Button” Sign… if you haven’t heard of Santa’s Magic Button it’s the idea that when Santa was delivering presents a button from his magic coat popped off.
Maybe the kiddos find it next to the chimney or maybe his magic button has made it’s way under the tree… either way it’s a fun little reminder that magic is real and Santa really does exist.
Of course, you can buy all different types of “Santa’s Magic Button” that all say different things… but I loved the idea of making my own so that it coordinates with the rest of my decor. Plus after the kiddos find the button there are a few things you can do… hang it on the tree, rest it on the mantle or (and this is my personal favorite) make a cute little button sign with your Cricut to display it.
So today we’re going to cut a bit of vinyl and a bit of iron-on to make this special sign… that way after your kiddos find Santa’s Magic Button you have the perfect place to display it.
Let’s get started.
Supplies:
- Cricut Maker
- Fine Point Blade
- Standard Grip Mat
- Black Vinyl
- Rose Gold Iron-On
- Mini Easy Press
- Transfer Tape
- Weeding Tool
- XL Scraper
- FREE SVG (Download below!)
- Cricut Access
- Hot Glue Gun/Hot Glue
- Velcro
- Santa’s Magic Button
Step 2: Cut your SVG’s
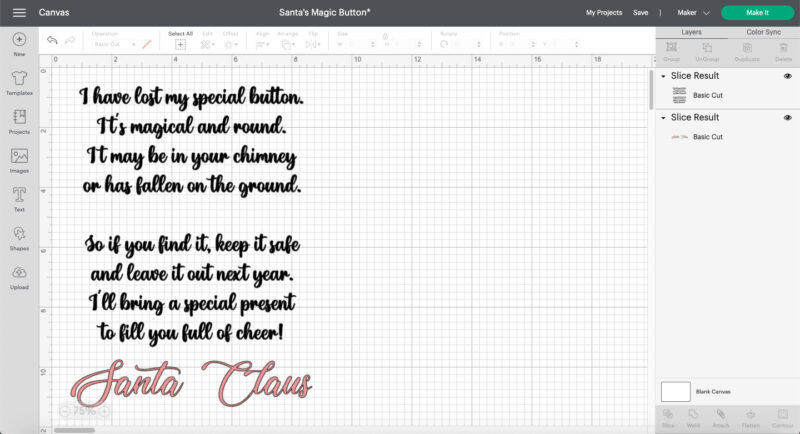
Let’s get started! Go ahead and download your SVG’s and upload them to Cricut Design Space. If you’re not sure how to do that don’t worry… I have a tutorial that walks you through the entire process. Although this specific cut file is all text so if you want to you could just re-write it all using your own fonts… whatever is easiest for you!
Once you have your design files in Cricut Design Space go ahead and weld each piece. I like to weld my design files by color (in this case the larger black text and then Santa’s signature in the rose gold). This way they’ll cut in the right configuration and hold their spacing.
Perfect!
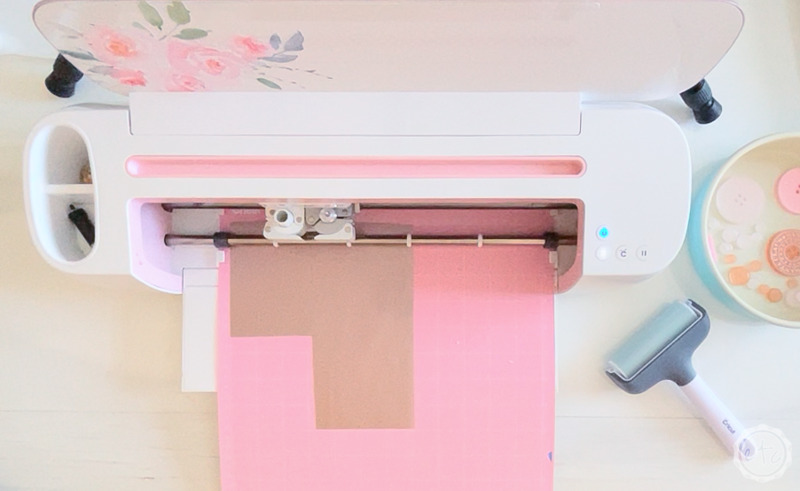
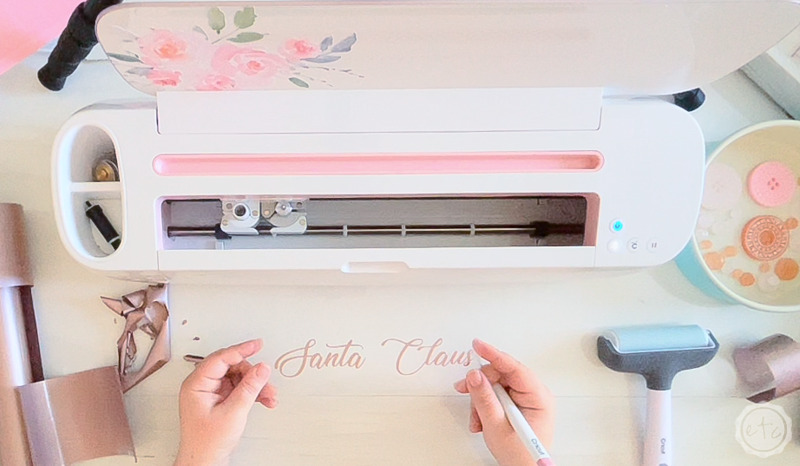
Now that everything is welded go ahead and resize your images to fit your specific frame.. then we’re ready to cut! Since we’re working with vinyl and iron-on we’ll use a fine point blade for both cutting mats but make sure that you mirror the “Santa Claus” cutting mat so that the iron on cuts properly.
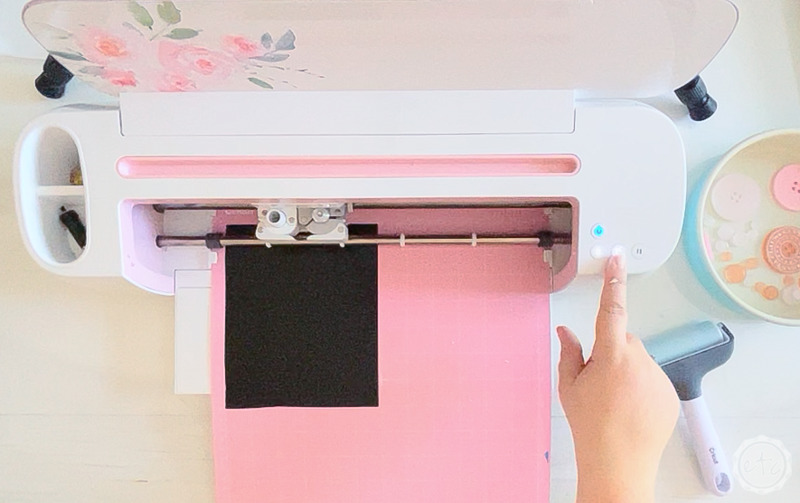
In addition to hitting mirror you’ll want to load your iron-on shiny side down onto your cutting mat. Essentially there is a clear carrier sheet over the iron-on… this is what holds all the letters together once you’ve weeded them. You’ll place the carrier sheet down on the cutting mat leaving the backside of the iron-on face side up… sounds funny but it works. And once you’ve done it once or twice it makes so much sense.
Now we’re ready to cut!
Once all of your cut files are done cutting go ahead and weed your files… this should go pretty quickly but still. I’m always very careful when weeding since one rip means back to the beginning.
Once you have everything weeded (watch out for those little letters and dots) we’ll move on to transfer tape!

Step 2: Use Transfer Tape for your Vinyl Letters
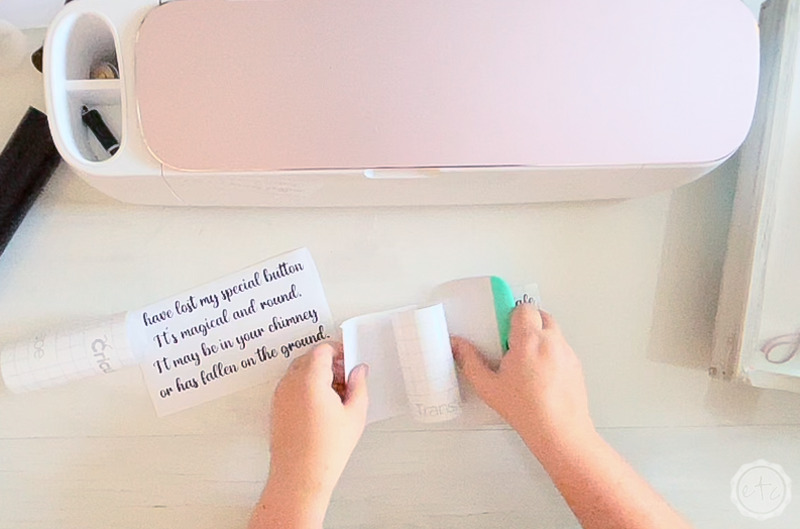
Ready to transfer those big blocks of text? Transfer tape makes this pretty easy… simply cut a piece that’s a little larger than your words and carefully smooth it onto your vinyl letters.
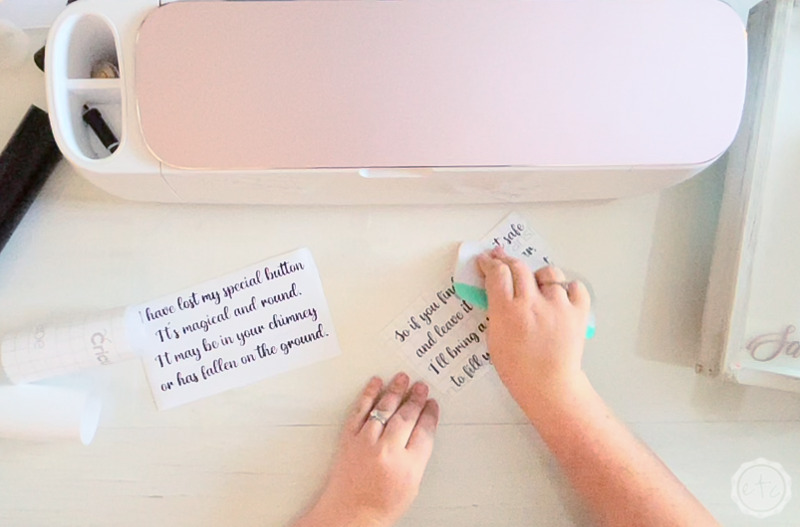
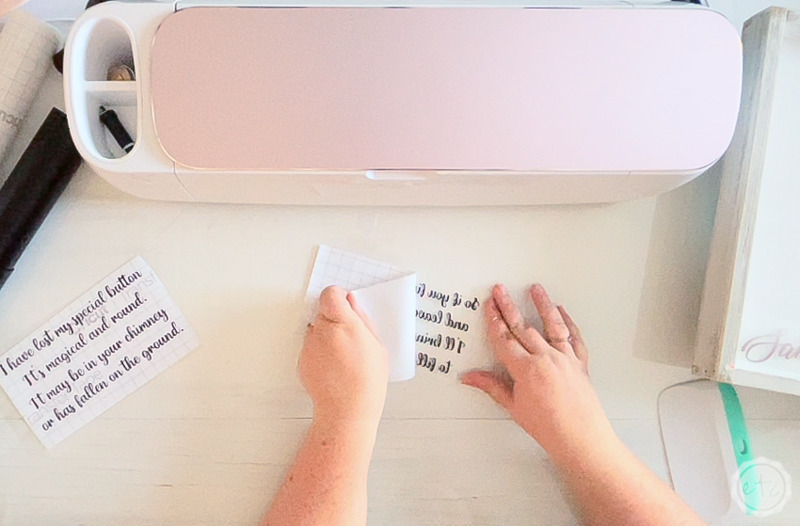
Use a scraper tool to smooth the transfer tape down and then flip it allllll over and smooth it down from the back. You want to make sure that the transfer tape and vinyl letters are really bonded before you try to peel them up. Once you’ve gone over it a few times start to peel back a corner of the transfer tape… all those letters should come with it leaving a blank carrier sheet.
Just keep watch and anytime a letter isn’t cooperating lay the transfer tape back down and firmly press the transfer tape onto the tricky letter. It will come up!

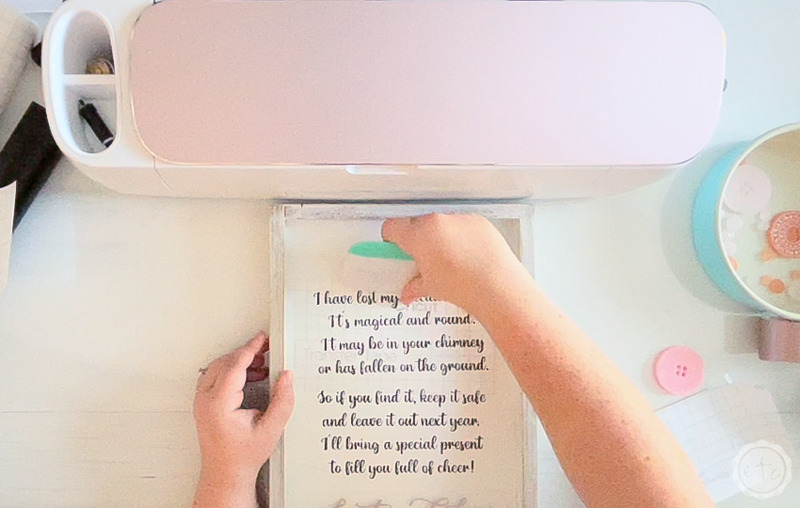
Once you have both of your text blocks on transfer tape you can go ahead and place them on your sign. To keep the spacing right I went ahead and put my “Santa Claus” signature down at the bottom then laid the text blocks over it.
Make sure everything is straight before you really press it into place… if it’s only lightly placed you can still move it but once you start pressing those letters into the sign they are there. You would have to remove them one at a time to get them off… which is a pain in the rear and means re-cutting everything.
Just go slow and you’re good to go!
Once you have everything pressed into place go ahead and re-move the transfer tape.
Beautiful darling!

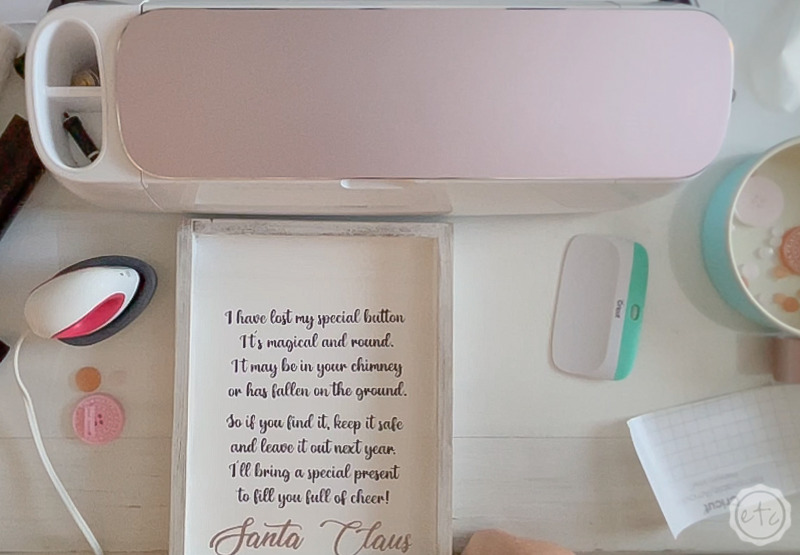
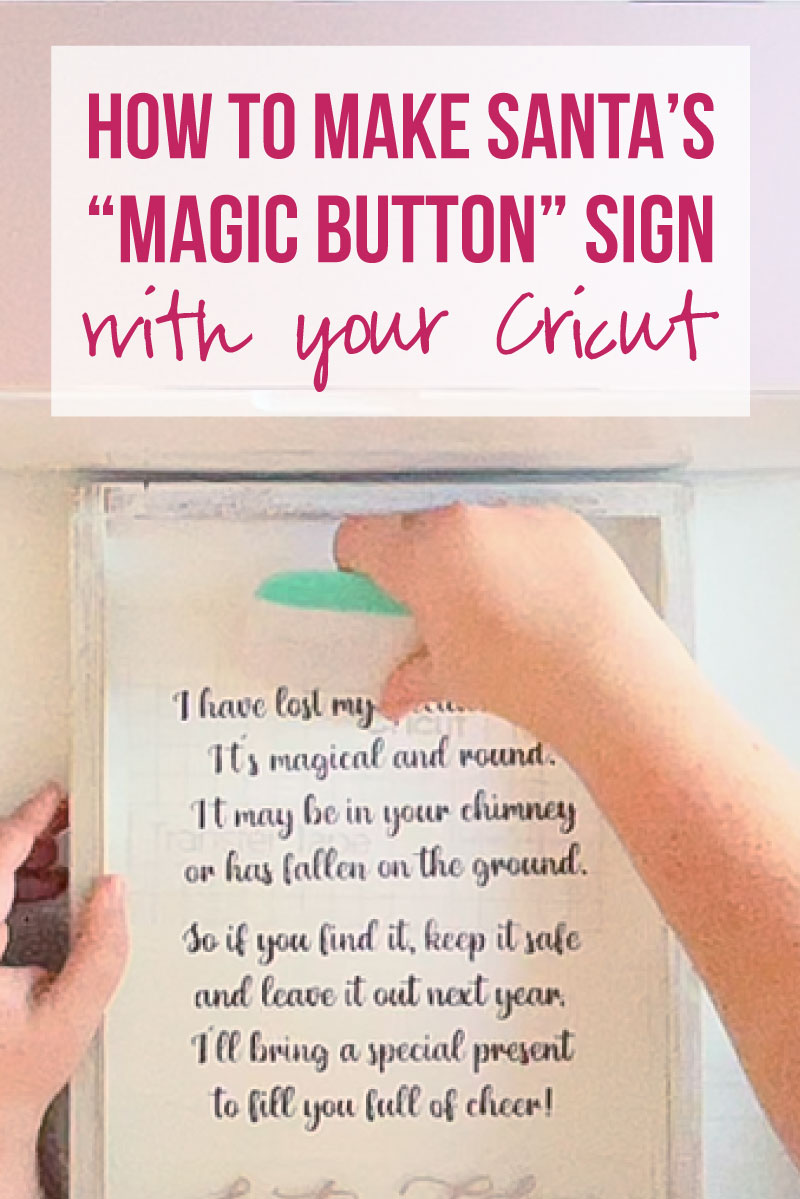
Step 3: Use your Easy Press to Attach Iron-On
Ready for the signature? Since we’re using iron-on instead of vinyl here we can’t use transfer tape. Instead grab your mini easy press and let it heat up.
Once it’s turned green and is ready to go (I set mine all the way to 3 bars but 2 would probably work) make sure your signature is in the perfect spot… then start to iron it into place.
I try to start in the middle and then work my way to one side. Once I’m finished with the right side I’ll come down and iron on the left side… if you start in the middle then you smooth everything down as you work. No bumps in this iron-on!
As you iron you’ll notice the carrier sheet separating from the iron-on… that’s how you know when it’s done. Honestly it’s usually pretty quick on a painted sign… I only had to hold my iron over each section for a couple seconds before the iron-on was glued down.
A few tips? Don’t hold your easy press in one spot for too long, we don’t want to burn anything. Instead I use a wiggling motion to work my way across the surface. When you’re done I like to run my fingers along all the letters and kind of smooth them into place. This sets them into the wood and really bonds them in place… just watch out because everything’s hot (you just ironed it after all!) so you don’t want to hold your fingers in any one space too long.
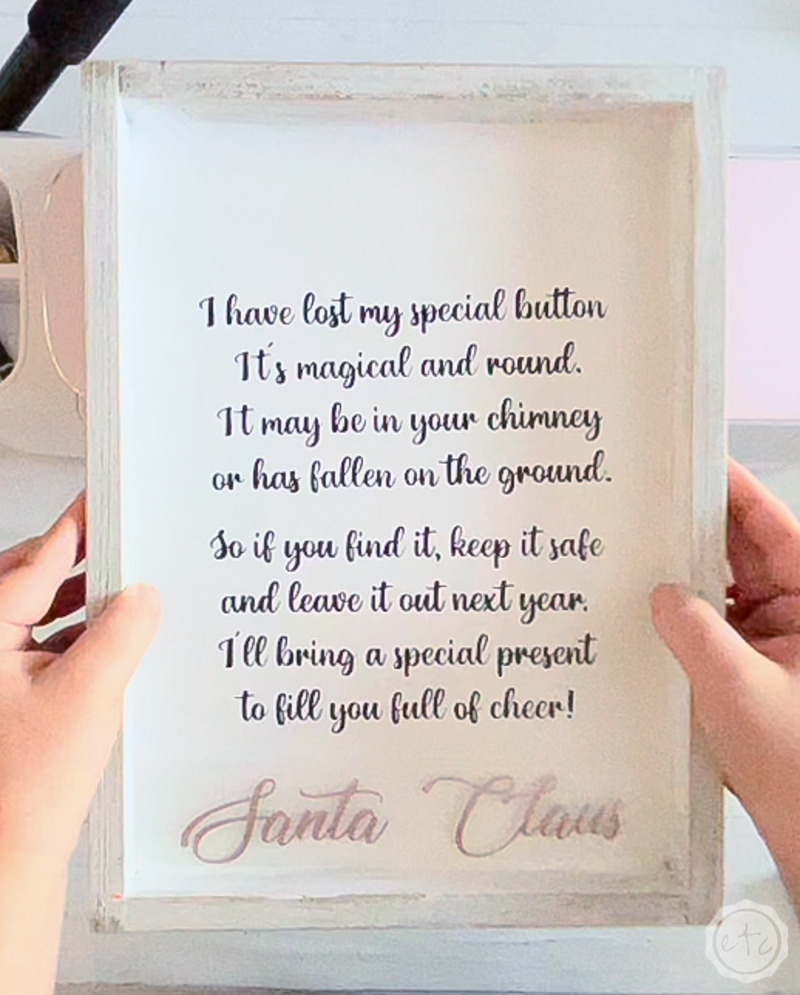
Once you’ve done this you can remove the carrier sheet and smooth down all the letters one last time. Perfect!


Step 4: Attach your Buttons
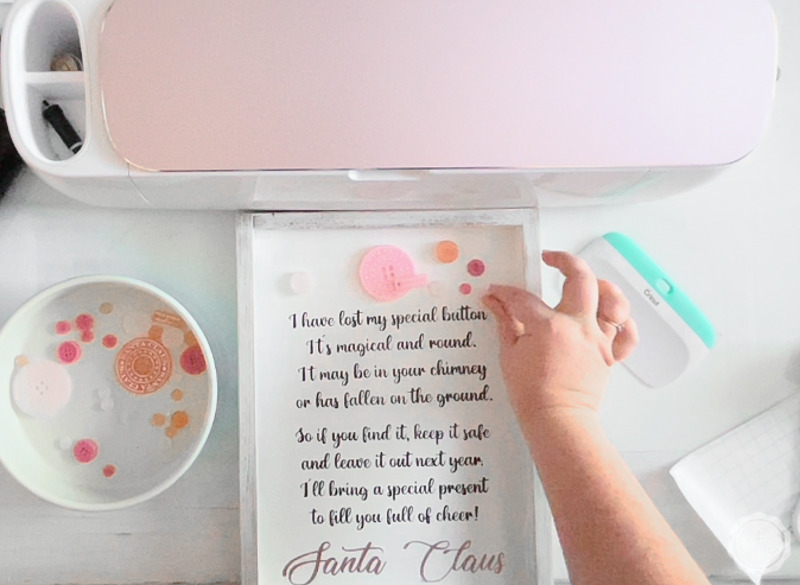
At this point you could be done… or perhaps just add your big “Santa’s Magic Button” Button and be done… but I also made a bunch of little buttons.
I thought they’d be cute around the outside of the frame!
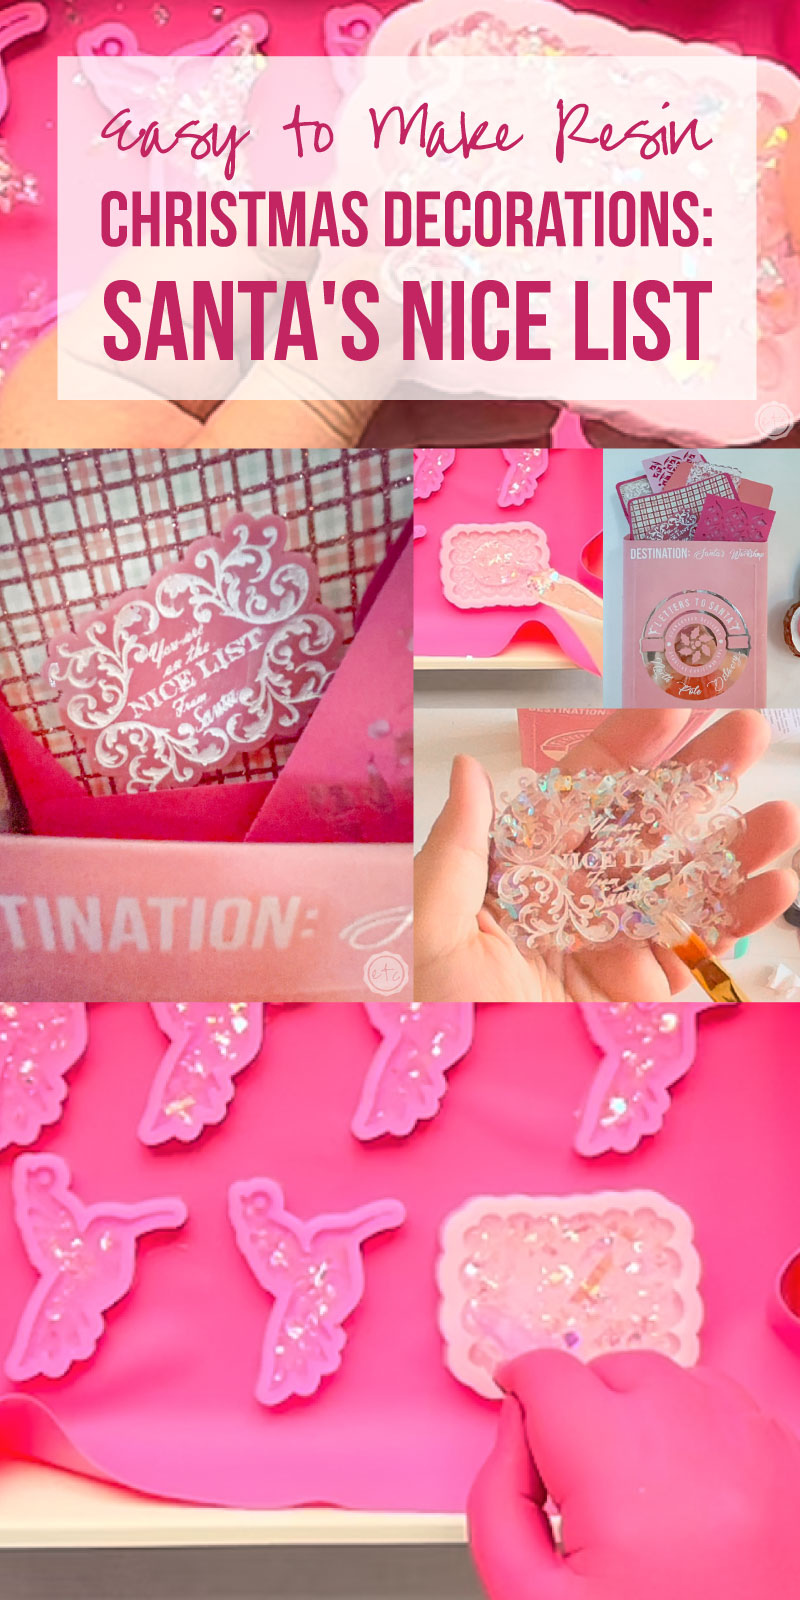
I made them in all different colors (to coordinate with my big button) out of resin… and if you want to make your own (Santa’s Magic Button or the little buttons) you can follow this resin tutorial to get started.
Once they’re made it’s as simple as hot gluing them into place. I started by putting them all around my sign so that I could determine the best mix of colors and sizes. Then once I had a mixture I liked a dab of hot glue on the back secured everything in the right spots.
Perfect!
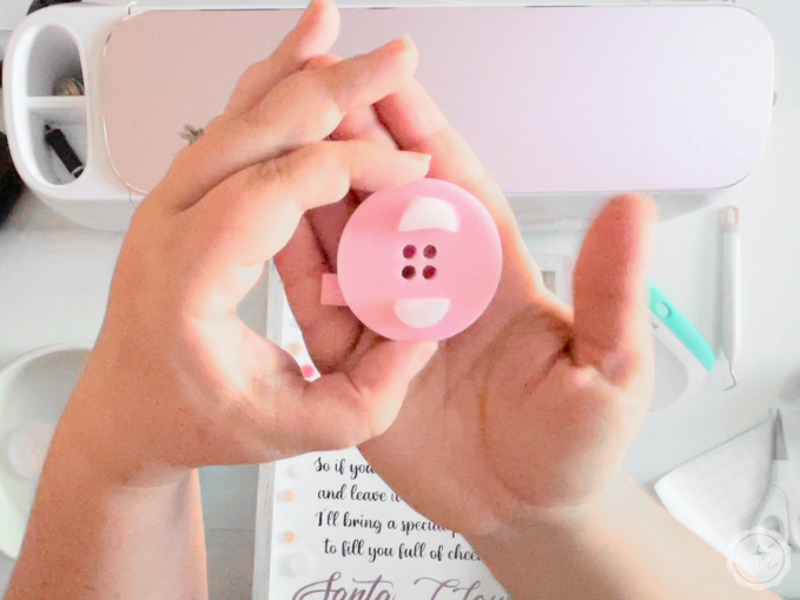
On to the big button! You could definitely hot glue this guy into place as well… but that kind of defeats the point since the whole sign wouldn’t have fallen off Santa’s coat and under the tree.
Instead I added a bit of velcro to the back of the button and then onto the sign. This way I can hide the button under the tree and hang it up for display afterwards!
Just a little word of caution before I go. Resin is dangerous to consume… which is one reason I liked the idea of hanging my resin buttons on a sign instead of the tree. When I place resin ornaments (like these snowflakes or these hummingbirds) on my tree I make sure they’re realllllly secure and if kiddos are handling this one they could easily try to take it on and off the tree.
If your kiddos are still young and will put the button in their mouths? They’re not old enough for it yet… buy a wooden one. If you have dogs that could eat it… make sure they’re locked up while it’s under the tree (for your kiddos to find). Basically if anyone in your family may try to chew on this button it’s not worth it. It’s adorable but only for looking at… not eating.
Make the sign and grab a wooden button instead. It’ll still be just as cute… promise!
Now that we have the PSA out of the way let’s get on to the big reveal!


Looking for even more pretty blush and rose gold projects? Here’s a few of my favorite projects from this year’s Blush and Seafoam Christmas or all the projects I made for last year’s Blush & Rose Gold Christmas!
Check out these Blush & Rose Gold Holiday projects (that you can make!)


I absolutely love your Magic Button poem. The post says I can download it. But I cannot find where to do that. Can you help me get the poem and Santa’s signature?
I’m so glad you love it Sandra! The freebie is at the bottom of the post, right above the comment section. It was showing the default freebie instead so I’ve fixed it now. Thank you so much for letting me know it wasn’t working!