


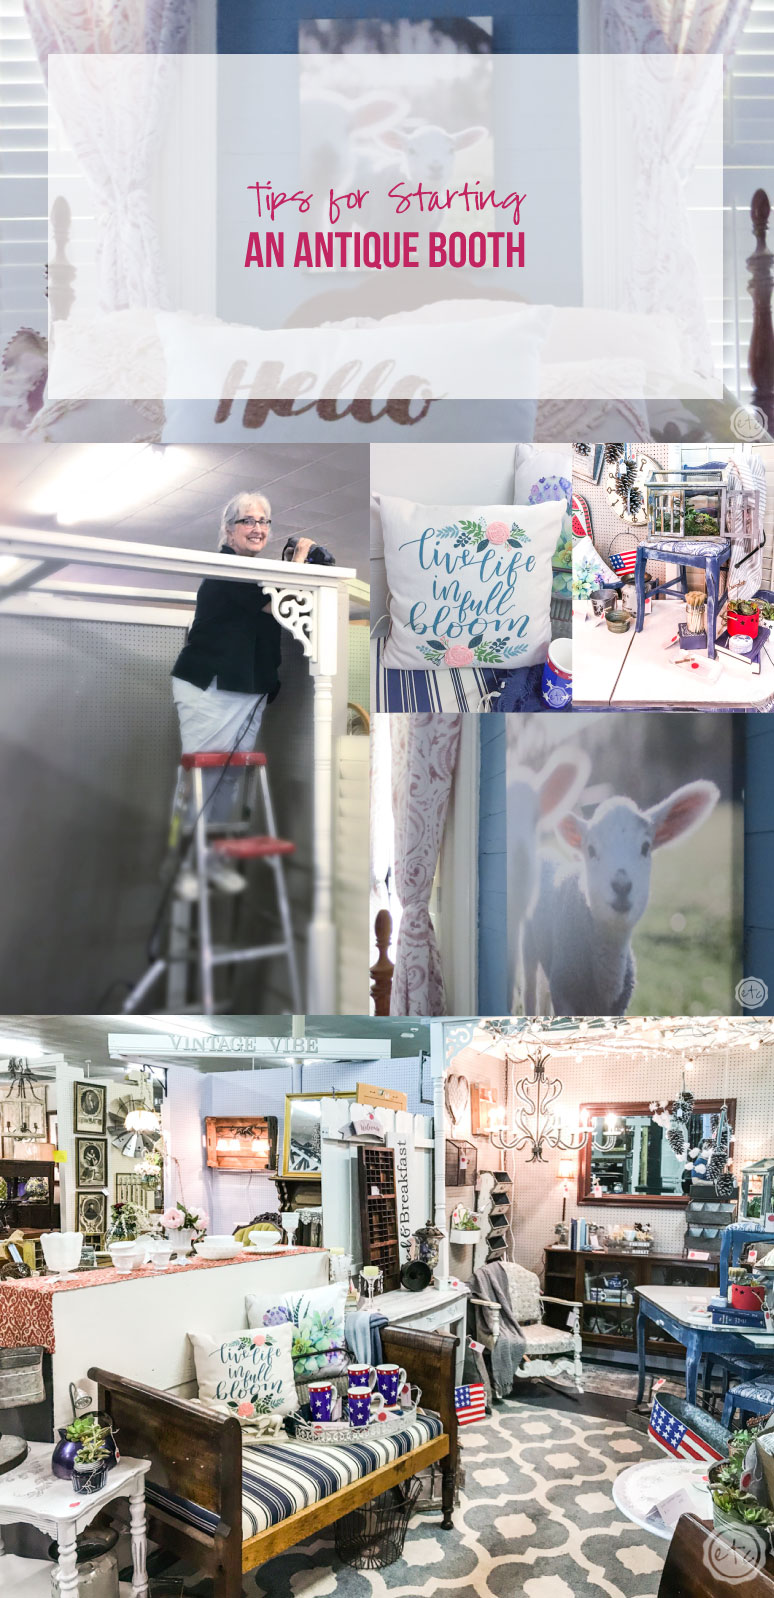
So you’re thinking about starting an antique booth… get ready for a bunch of work! While having a booth is an absolute blast the initial setup is definitely the most time consuming part. Not only do you have to prepare and transport an entire booth’s worth of things all at once but you also have to get your booth ready!
Luckily it’s also a lot of fun!
If you’re at an Antique Mall chances are your booth is one of many so it’s important to stand out… you want people to want to go into your booth. To look at your items and hopefully take a few home! So here are my tips for starting an antique booth in a new place.
Booth Design
Before you start planning out your entire booth make sure you chat with the owner or manager to find out exactly what the rules are at your particular venue. We talked with several antique malls before deciding on one and they all have different rules.
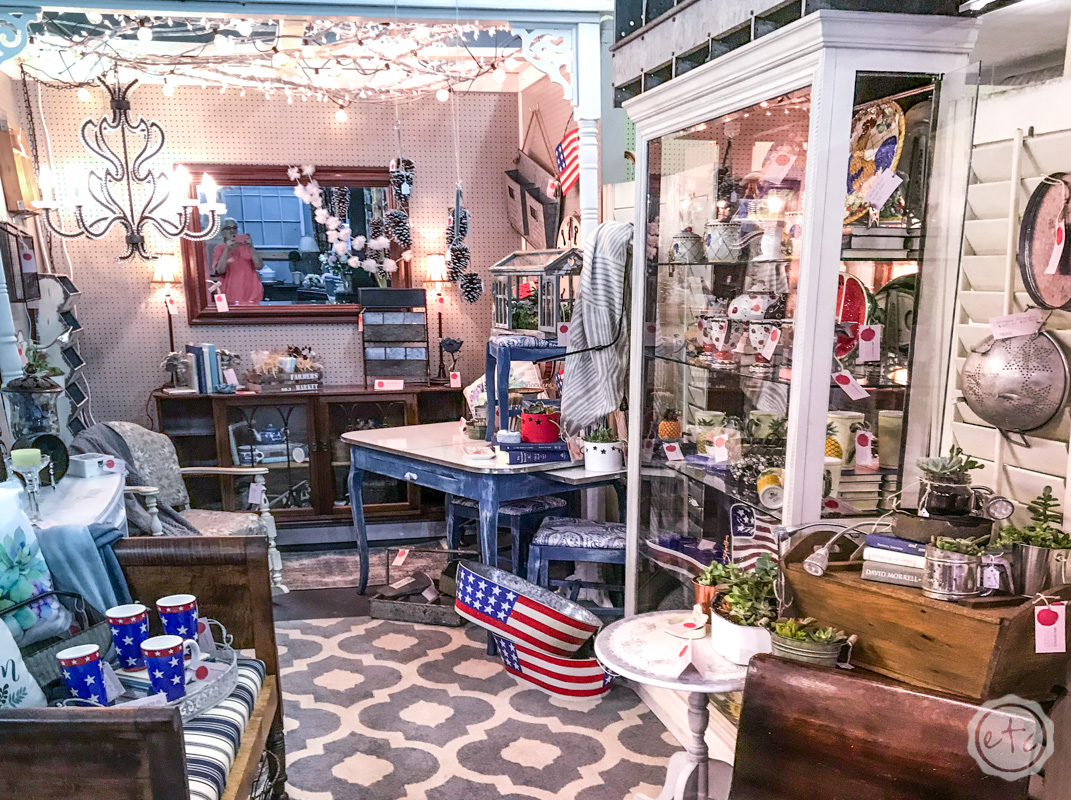
Our particular antique booth over at the Highlands Antique Mall allows you to build your booth up in any way you like. Most of the booths come with at least one pegboard wall but depending on the previous owner you may have a bit more to work with. The only rule is that permanent structures (such as an arbor or gazebo like structure) stay with the booth when you leave.
If you’re planning to stay in a booth for an extended amount of time building a structure will help your booth stand our while giving you a place to create vignettes and display spaces. If you’re not interested in building a permanent structure you may look into building a movable wall (out of a fence or bookcase) that you can take with you when you go.
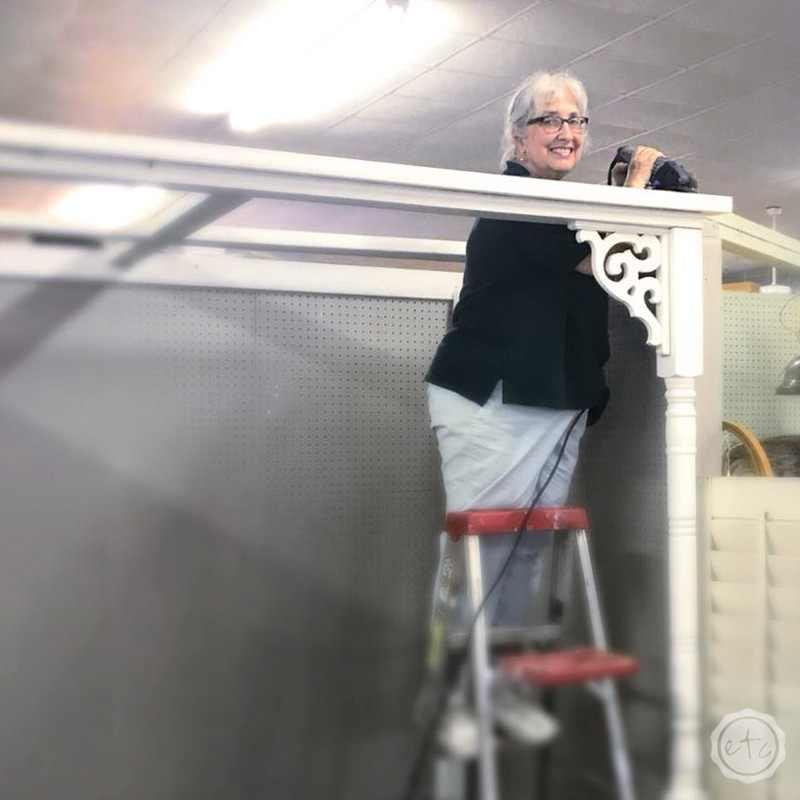
Just remember that you don’t want to take up too much sell-able floor space with structure! Which brings me to the second tip: build your booth to scale! Small booths should have shall arbors! We built a small structure at the back of our booth and it draws in so many people.
Of course, seeing Mom on a ladder with my little Dremel saw-max was the highlight of my day! It makes sense though: a small saw for a small booth!
Paint
Even if you can’t build a big fancy booth design most places will let you paint the walls… which is the perfect way to set off all of your pretty items. Think about what type of items you’re going to be selling and paint your walls a neutral color that will show off your pretty items.
Since we sell quite a bit of white and blue we went with a neutral gray color for the walls. If you sell a lot of colors then a bright white might look nice. Creams look great with brown but make whites look dingy… the main point is to highlight the majority of your items so that people want to come in and take a peek at your booth.

Lighting
Speaking of drawing people in to look at your booth at the end of the day it all comes down to lighting. Especially if you’re working with a long skinny booth like ours the back of the booth can become dark and depressing. Trust me if the customers can’t see it… they won’t buy it.
With rows upon rows of booths most customers will walk the aisles unless they see something that draws them into a booth to look around. The easiest way to do this is to light your space up!
We put branches and twinkle lights across the entire back end of our booth… along with two lamps and a beautiful chandelier so that the entire space is lit up. While a few of the booths around us have lights ours are very dramatic and it definitely draws the eye.
If you’re looking to highlight a specific piece try aiming the light towards that piece… otherwise hanging your lights at the top of the space draws the eye up! When you’re working with a small space going vertical always makes things look bigger.
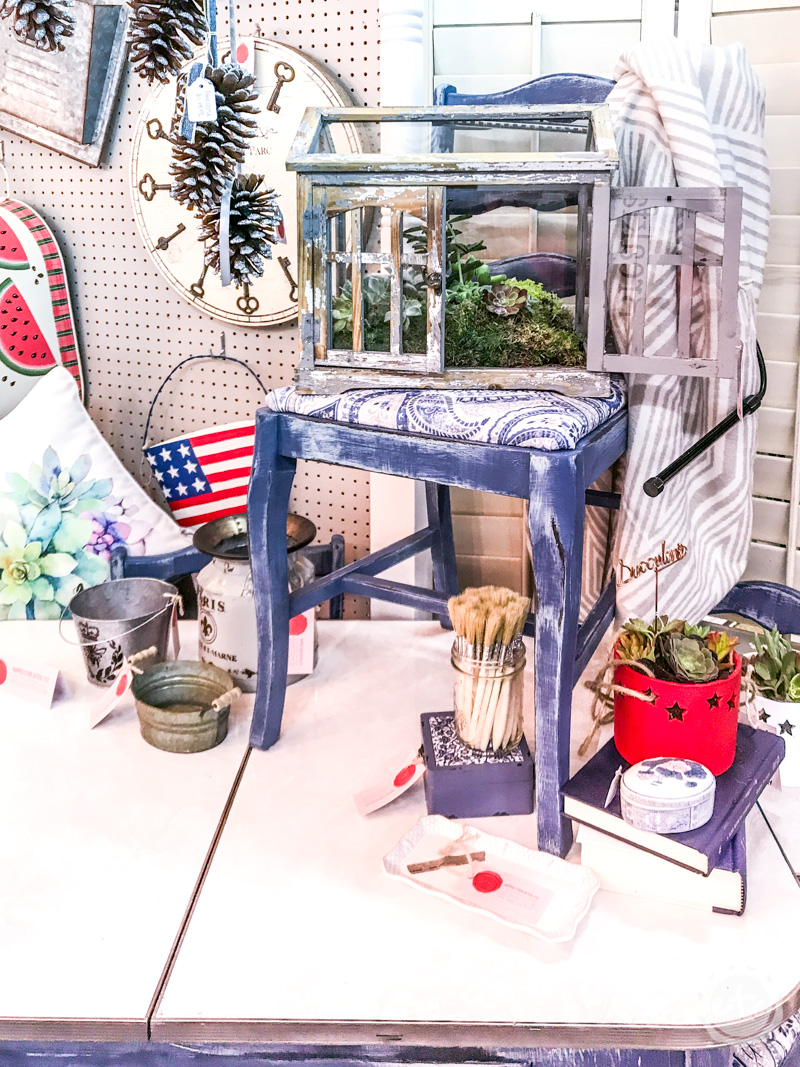
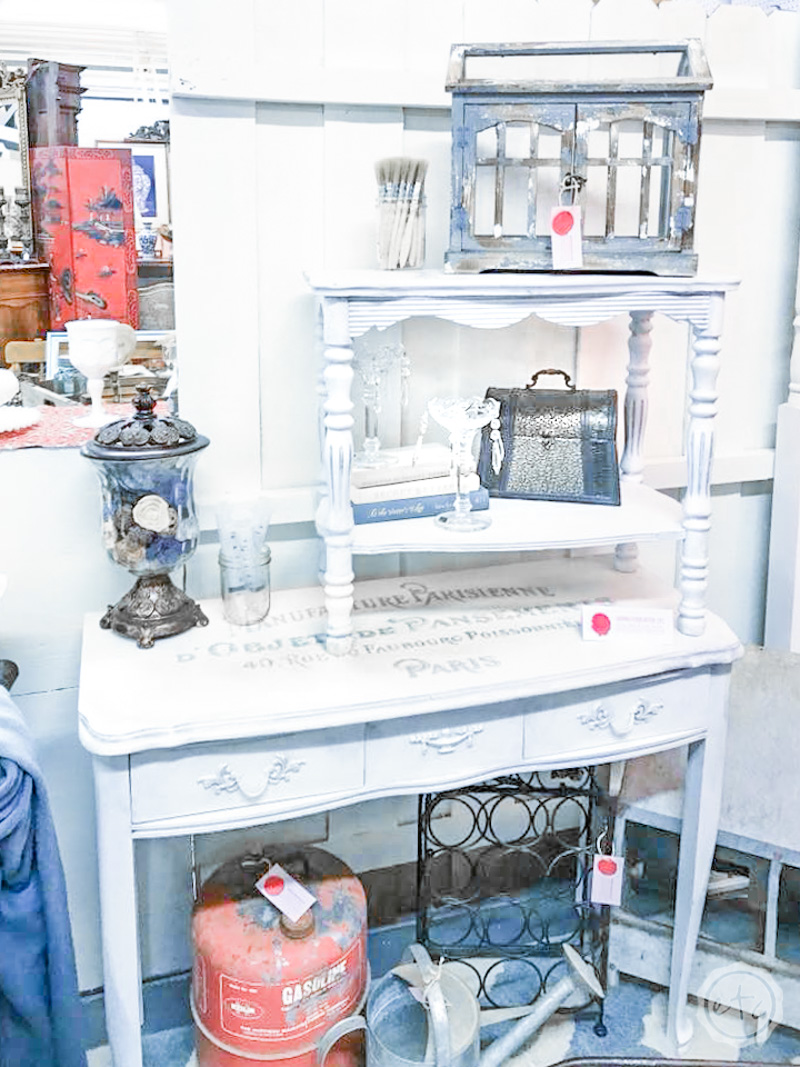
Staging
Staging is a hard line between adding enough pieces to make your booth look interesting while leaving enough space that people feel they can easily move items around and look at all the little pieces.
Since we’re staging for sale and not styling items at home using vertical space gives you more floor space to add in more items. Try stacking chairs on tables, items on desks, tables on tables… just don’t let it get so cluttered people have to fight their way in!
Creating a really gorgeous vignette on the back wall of your booth (under the lights) will help to draw people all the way back into your booth. And hopefully they’ll find something they like along the way!

Smalls are King!
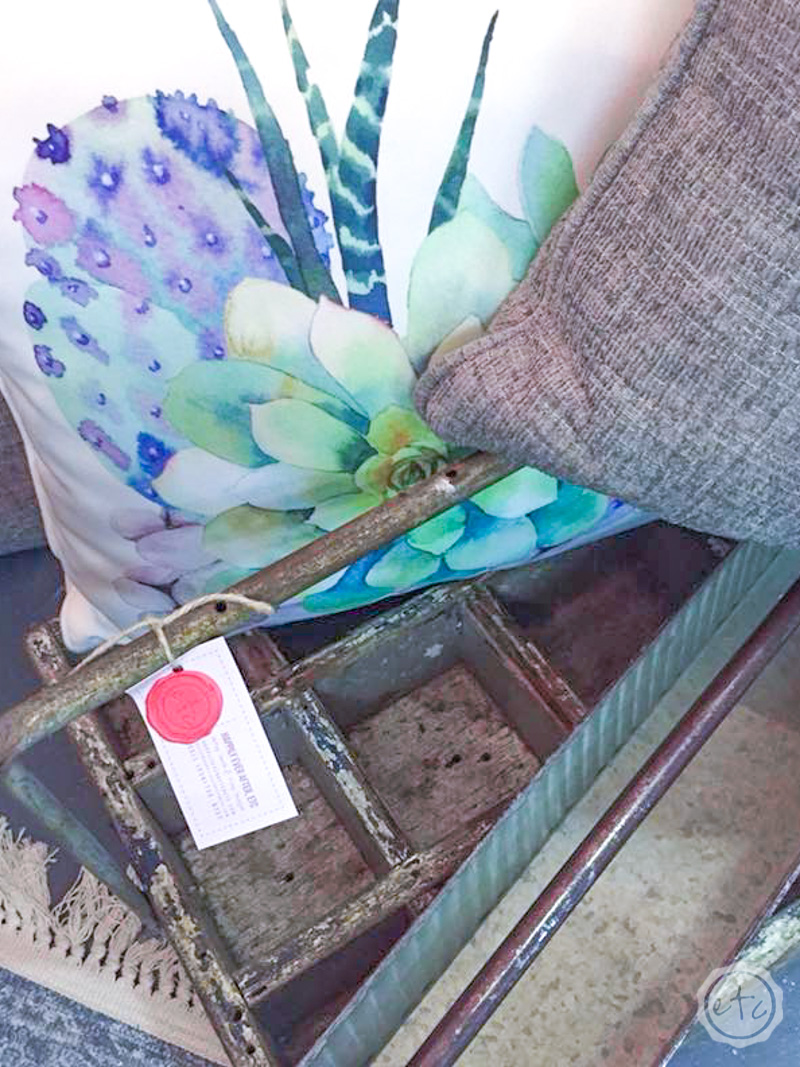
While the big pretty pieces will help you to make your profit you will make your rent on your small items: We’re talking items 5 and under y’all. Things that people pick up to check the price and keep walking around with. If they have it in their hand you have a good chance of them walking out the door with it!
Depending on the area of your booth “smalls” may even be slightly larger items or things that go for 20-40 dollars. People in our area seem to love organizational items like bins and baskets. They also love cute little decorative items like canvases, pillows, blankets! Things that they can easily see in their own home but aren’t a huge commitment money wise.
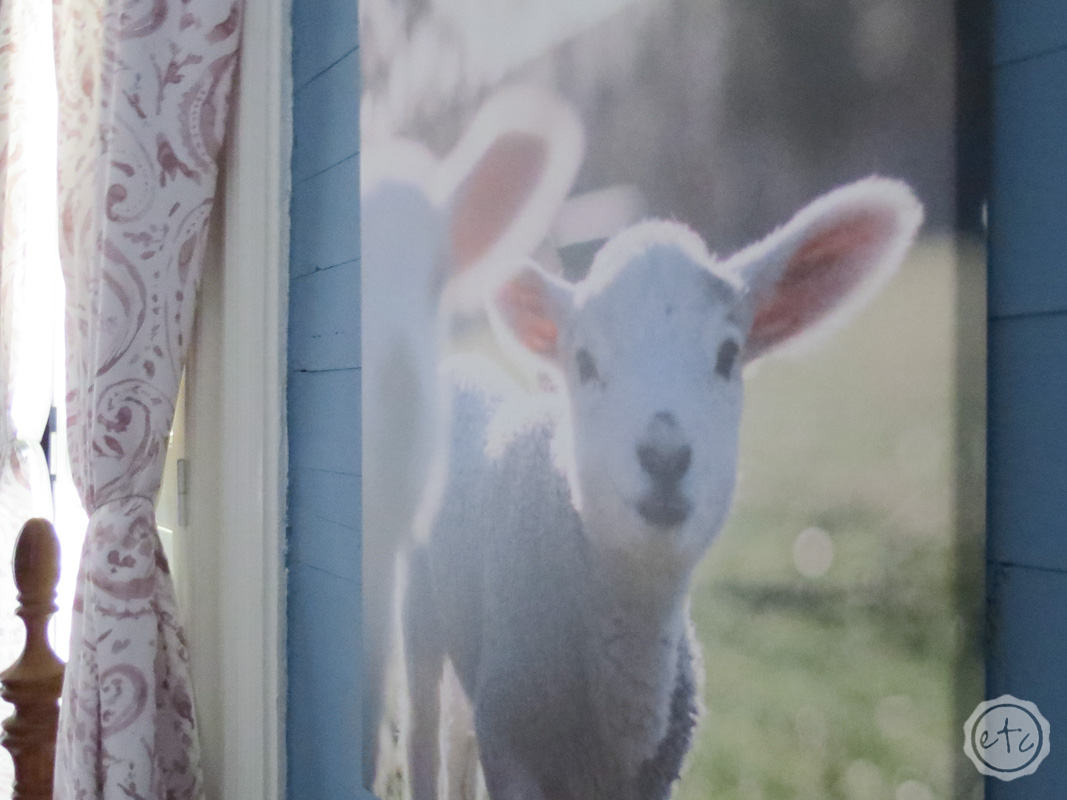
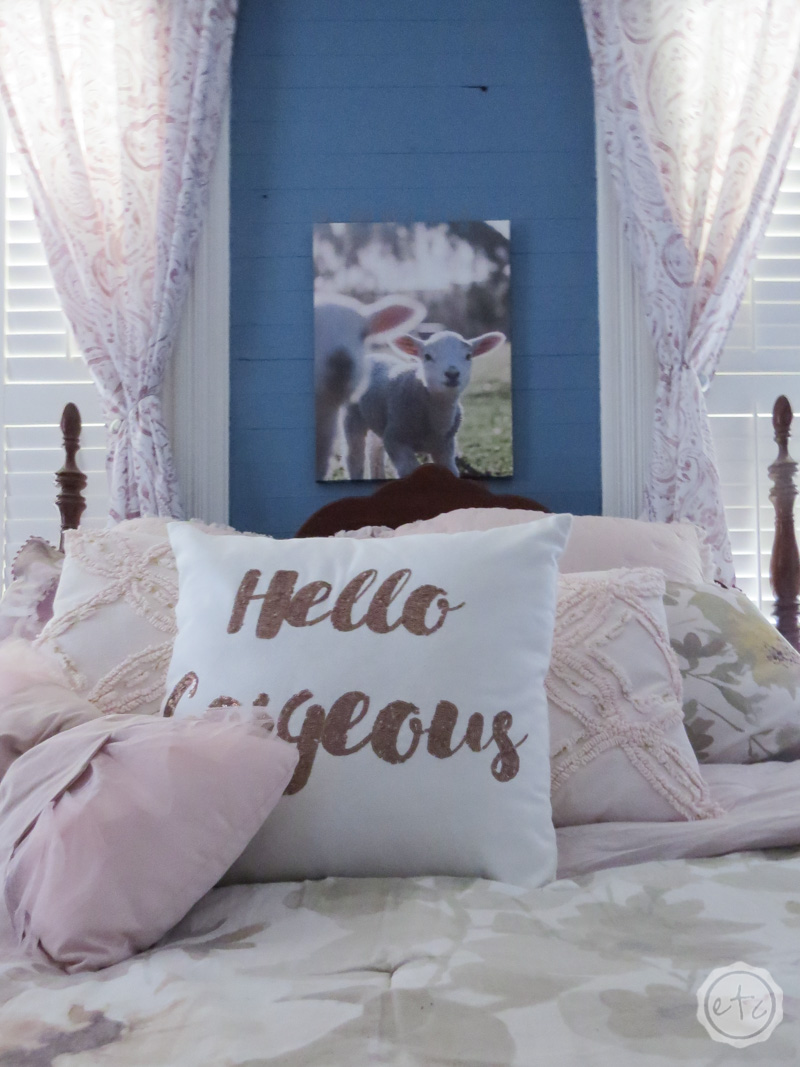
I picked up this little canvas a couple weeks ago to go with the sweet cow portrait in our office and then sent it on to the booth when I found myself down a canvas on short notice. It sold so fast I had to order another one. Luckily you can upload all types of photos or images to be printed on these little canvases![]() so even though I’m ordering the same canvas they always look different to our customers.
so even though I’m ordering the same canvas they always look different to our customers.
Plus they’re so sweet!
I love how easy it is to add a little touch of farmhouse on the cheap. Canvases are great for that!
If you’re just starting an antique booth I hope some of my tips and tricks helped you get started but despite allllllll of the tips the best thing to do is just start. You’ll learn as you go!
And if you’ve had a booth for a while leave your tips down below… I’d love your advice!


[…] it the absolute best pumpkin you’ve ever seen? I am IN ABSOLUTE LOVE. I put a lot of these projects in my antique booth but I am keeping this one… it is my new favorite fall […]