


It’s that time of year again… when the cold months start to fade into spring and Valentines Day gives us a glimpse of what could be. Of course, with all the love in the air there’s a million craft projects floating around that you could tackle. Gifts and presents… but today we’re going to make a little resin project instead.
Of course, if you want to make a valentines day present instead you can check out this cute little organizational feather dish that I made with Valentines colors. It’s a gift just about anyone can use! Now back to the hearts!
These little resin hearts are going to be perfect on the fun wall sign I’ve designed but they’d be just as cute as a paper weight or even decor in a 3-tier tray.
They’re just so cute!
And the best part?
This is a super easy resin project… which means even if you’ve never tried resin before you can make these. I’ll show you how.
Supplies:
- Amazing Clear Cast Resin
- Respirator/Mask (resin graded filters)
- Gloves
- Wagner HT400 Heat Gun
- Freezer Paper
- Silicone Mat
- Baking Pan
- Small Mixing Cups
- Silicone Measuring Cup/Larger Mixing Cups
- Reusable Silicone Stir Sticks
- Red Alcohol Ink
- White Alcohol Ink
- Pearl Alcohol Ink
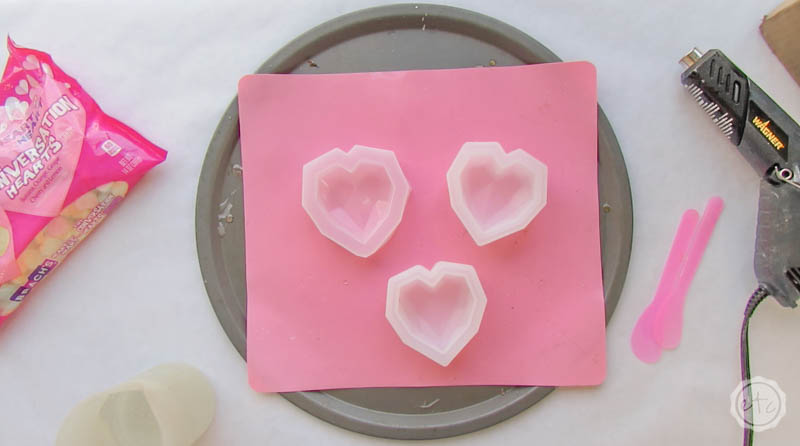
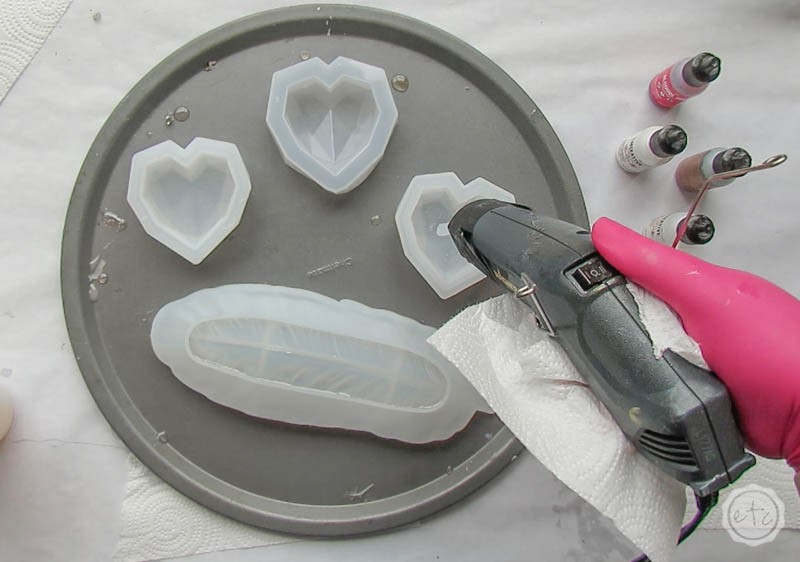
- Fractured Heart Mold
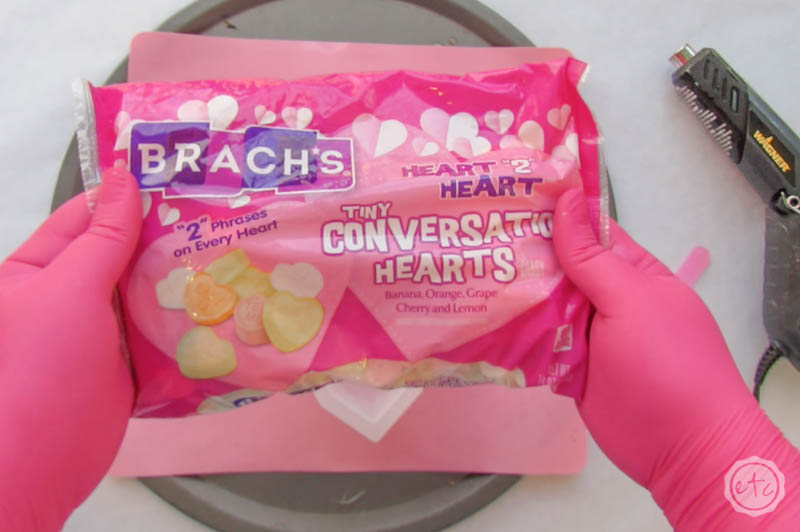
- Tiny Conversation Hearts
Just getting started with resin? Download my free resin supply list and make your first project today!
DIY Resin Faceted Valentines Day Hearts
Step 1: Mix Your Resin
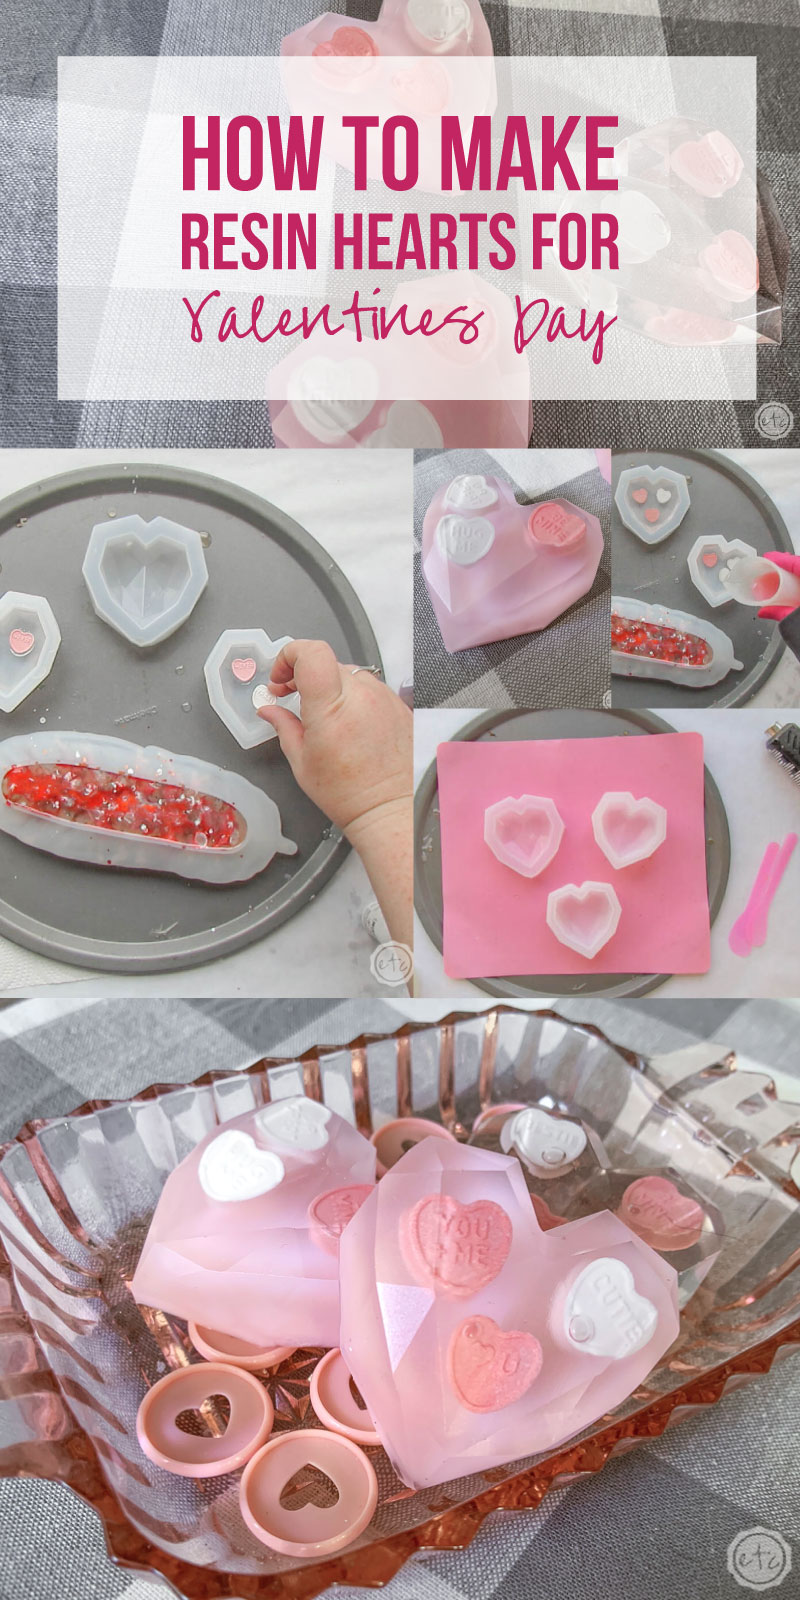
Ready to jump right in? For this project we’re going to pour our molds in a few layers… this way our little candy conversation hearts won’t be directly on the top layer.
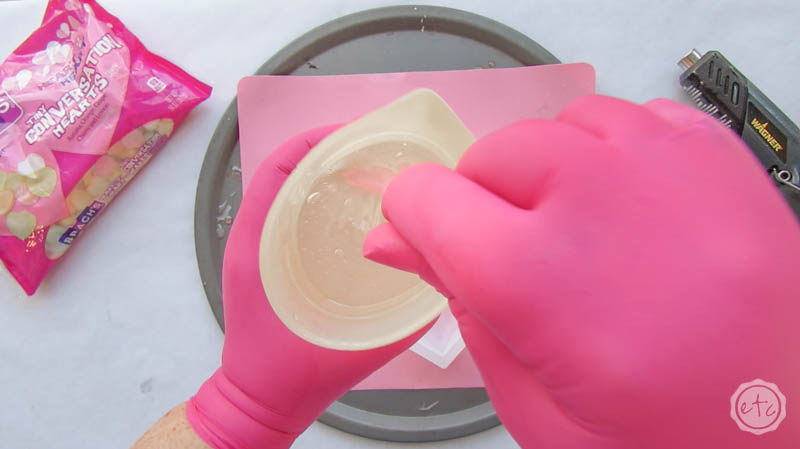
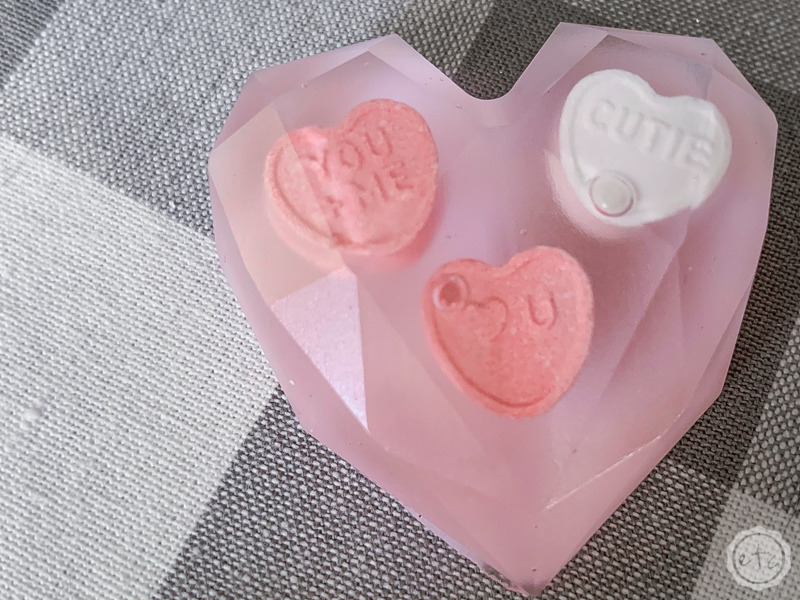
Soooo…. the first layer into our molds is going to be clear. That way you can see through it and read the little hearts! In this case I mixed about 80ml of clear resin very slowly. Since we’re leaving this resin clear any bubbles will be 100% visible… not to mention this is the front of the mold and the facets on the heart will be the most likely place for bubbles to get trapped.
So mix slowly, stir from the bottom and then let it sit in the cup for a few minutes before pouring. This will let as many bubbles as possible rise to the surface. You can use your heat gun to help any bubbles close to the surface pop before you move on to pouring the resin into the mold.

Bonus Tip: If you’ve never mixed resin before it’s not nearly as intimidating as you’d think! I’ll walk you through all the steps here in my How to Mix Resin for Beginners Tutorial.

Step 2: Pour your Resin
Time for the first layer of resin! Pour about 1/3 of your resin into each mold making sure to pour slowly and in as thin a stream as possible.
The thin stream will help to eliminate any bubbles that are left in the cup… and then we’ll use our heat gun to get the rest. Once the resin is in the mold the molds should be roughly halfway full, make sure that you pop as many bubbles as possible with your handy dandy heat gun and then cover all 3 molds with a bit of cardboard.
We’re going to let the resin cure a little before we add our conversation hearts so that the hearts aren’t directly at the front of the piece… and the cardboard will help keep dust and bugs out of the resin while it cures.
I ended up leaving my resin to cure for about an hour… and it wasn’t quite long enough. BUT there was a sudden storm we weren’t expecting half way through pouring these little hearts so the humidity was high, it was wet, it was cold… basically the worst resin conditions ever.
On a normal day 40-60 minutes of cure time on a mold this size should be over kill.
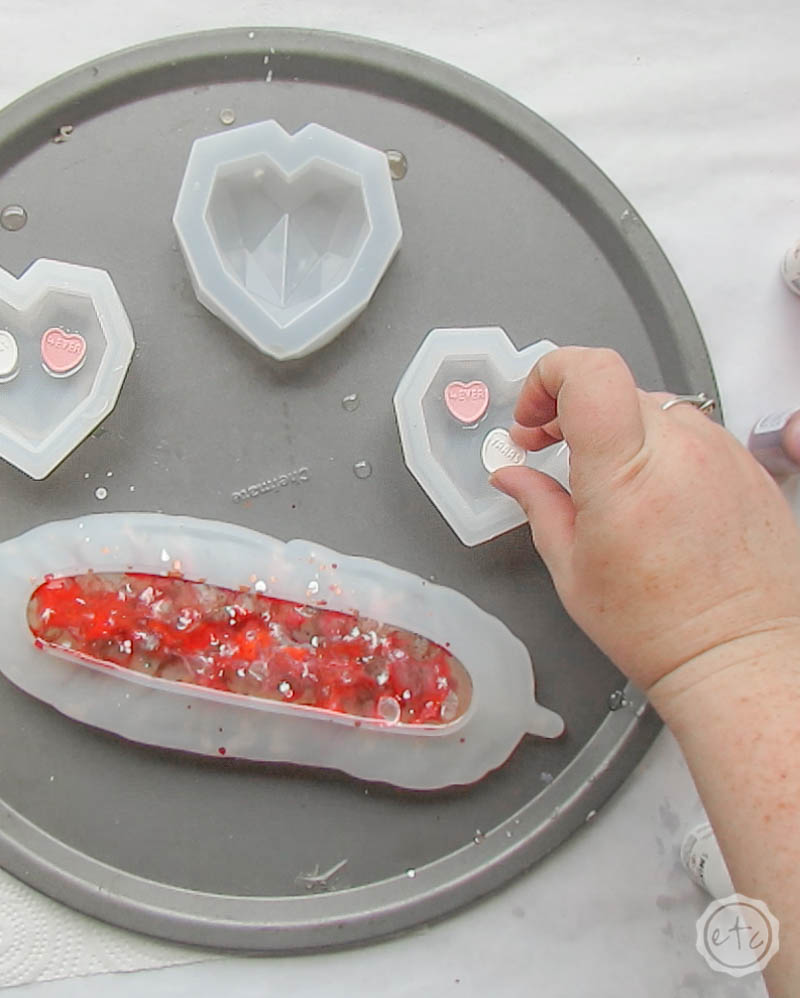
Step 3: Add your Hearts
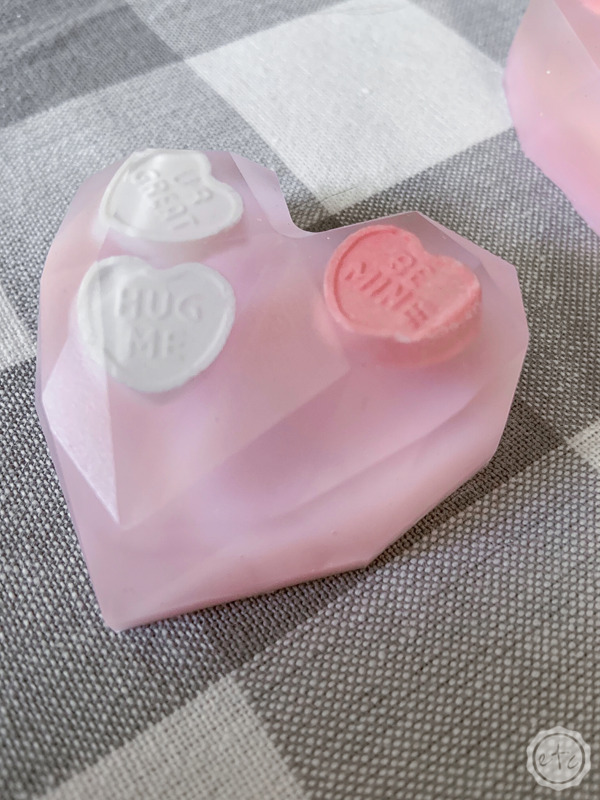
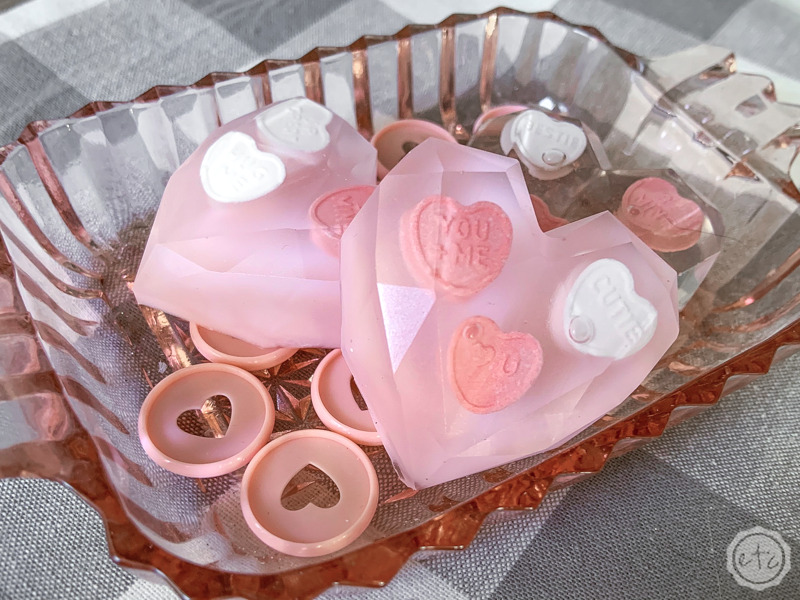
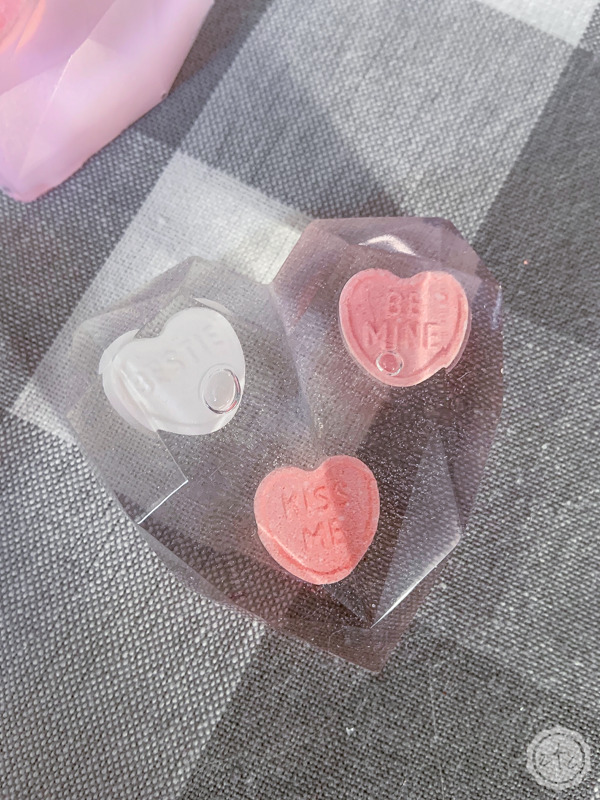
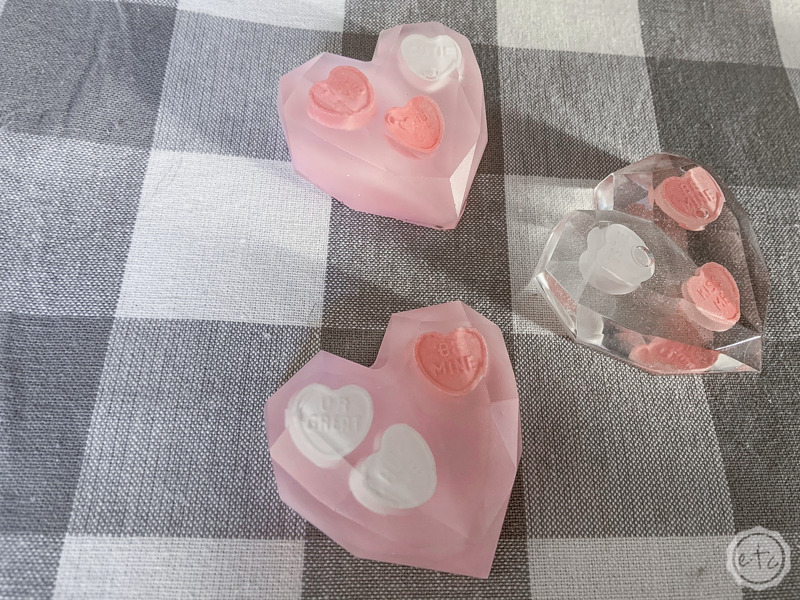
Once the first layer of resin has cured go ahead and add your hearts! I decided to use only pink and white hearts and I hand picked ones with the cutest sayings.
You might want to use all the colors!
To be fair I made 3 with all the colors and did not like how they turned out… which is why some of the photos have a pink mat behind them and some don’t. I’ve done this project twice!
Bit of advice? It’s best to add your hearts at a bit of an angle so that they don’t get bubbles trapped underneath them… but other wise simply add your hearts wherever you want them.
Side note: how sad is it that some of these hearts said things like DM ME?
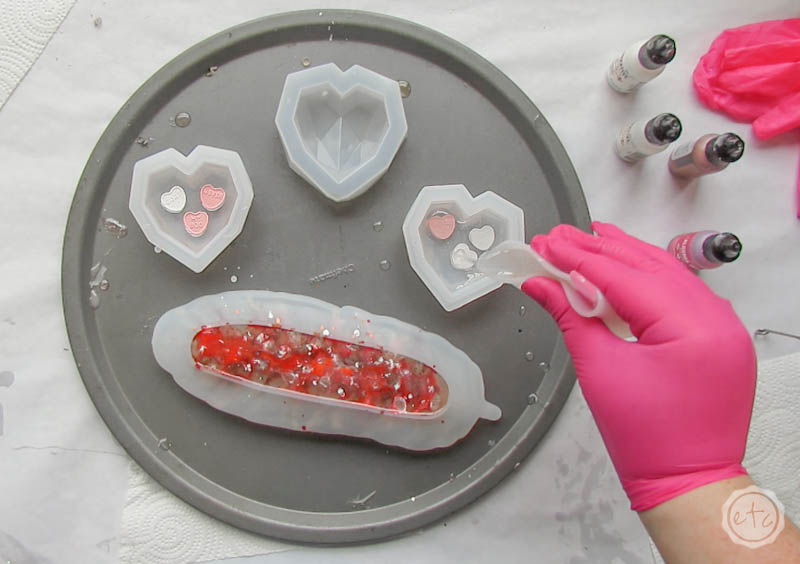
Step 4: Add a Second Layer of Resin
Ready for layer 2?
When you add your hearts try and notice how the resin underneath reacts. in this case you can tell the resin isn’t quite cured yet because it starts to indent and the hearts actually sink down into the resin.
If this happens to you then cover these bad boys back up and go back inside for another 40 minutes… adding more resin now will only push the hearts down into the resin further. And you won’t be able to control what position the resin pushes the hearts into.
On the other hand if the hearts sit on top of the resin when you place them then you can get started with the second layer of resin straight away. We’ll mix another 80ml of resin and once again pour it into all 3 molds… making sure to leave a little room at the top for pink resin.
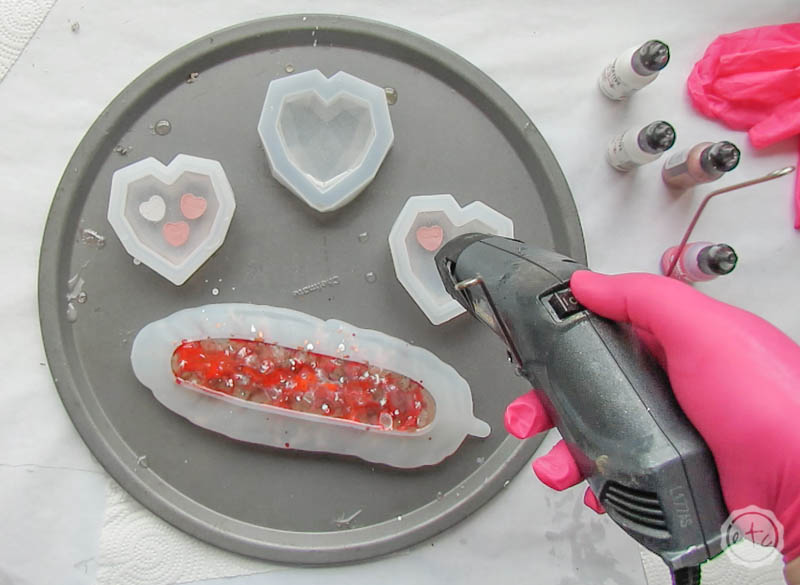
Then grab your heat gun and pop those bubbles!
Make sure you’re moving the heat gun in quick circles and not leaving it in any one spot to long, we don’t want to accidentally melt the candies!
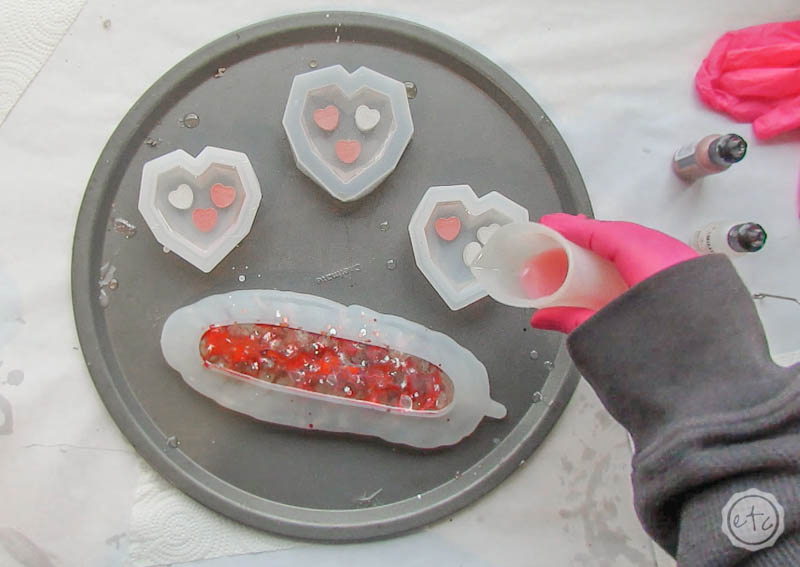
Step 5: Last Layer of Resin
This layer is completely optional but I decided to add a little pink resin to the back of 2 of my heats.
I thought they might read better with a solid back ground.
So I grabbed red, white and pearl alcohol inks and added a few drops of each to about 10ml of resin. Then I added half to one heat and half to the other… it’s a very thin layer!
I used my finger to spread it out… making sure to reach every nook and cranny. We don’t want to miss any spots!
Once you’re done spreading the pink go ahead and cover these bad boys up. Then set them aside to cure for a full 24 hours.
Perfect darling.


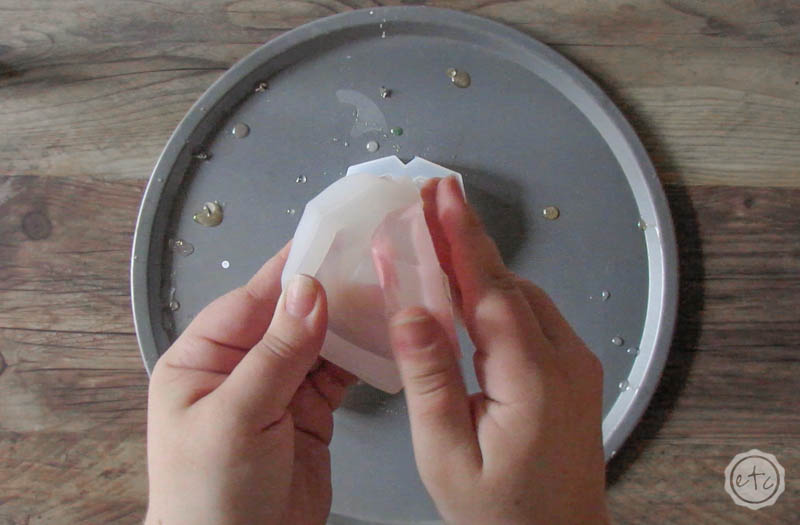
Step 6: Un-mold your Hearts
Now it’s time for the best part… popping these babies out of the mold! This is literally the most satisfying thing!
And since they’re silicone molds these little hearts will pop right out!
Unfortunately (for me) one of my molds is matte inside so only the clear heart is super shiny… but I’ve found a different mold that is shiny all the way across for y’all.
So you don’t have to worry.
Ready to see the final results?


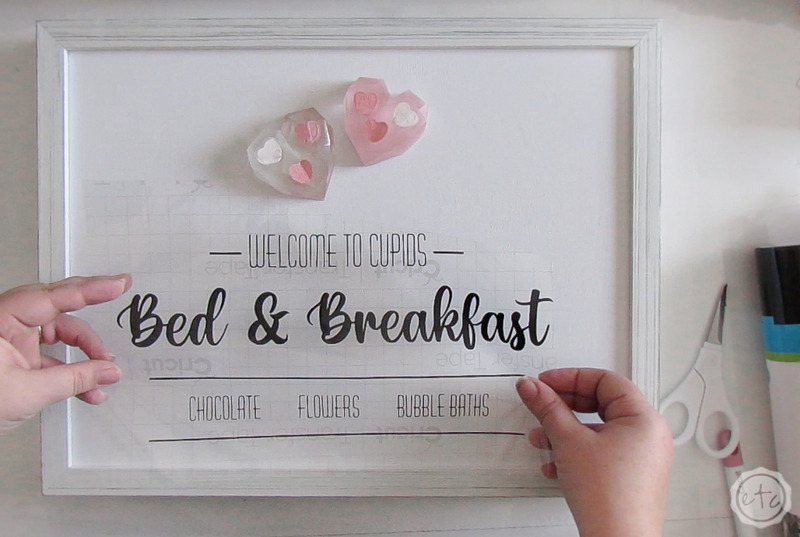
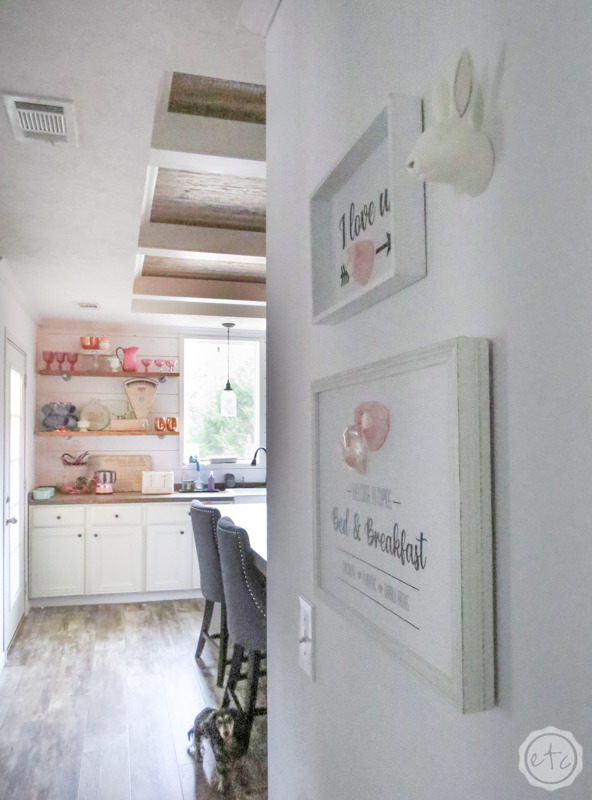
Want to see these little resin hearts in action? Follow my step by step tutorial to make these adorable Valentine’s Day signs!
I absolutely love how they turned out… especially with Valentine’s Day SVG’s. Cricut + Resin = absolutely adorableness.
And you can quote me on that.

Looking for more resin projects? I’ve got you covered!


Leave a Reply