


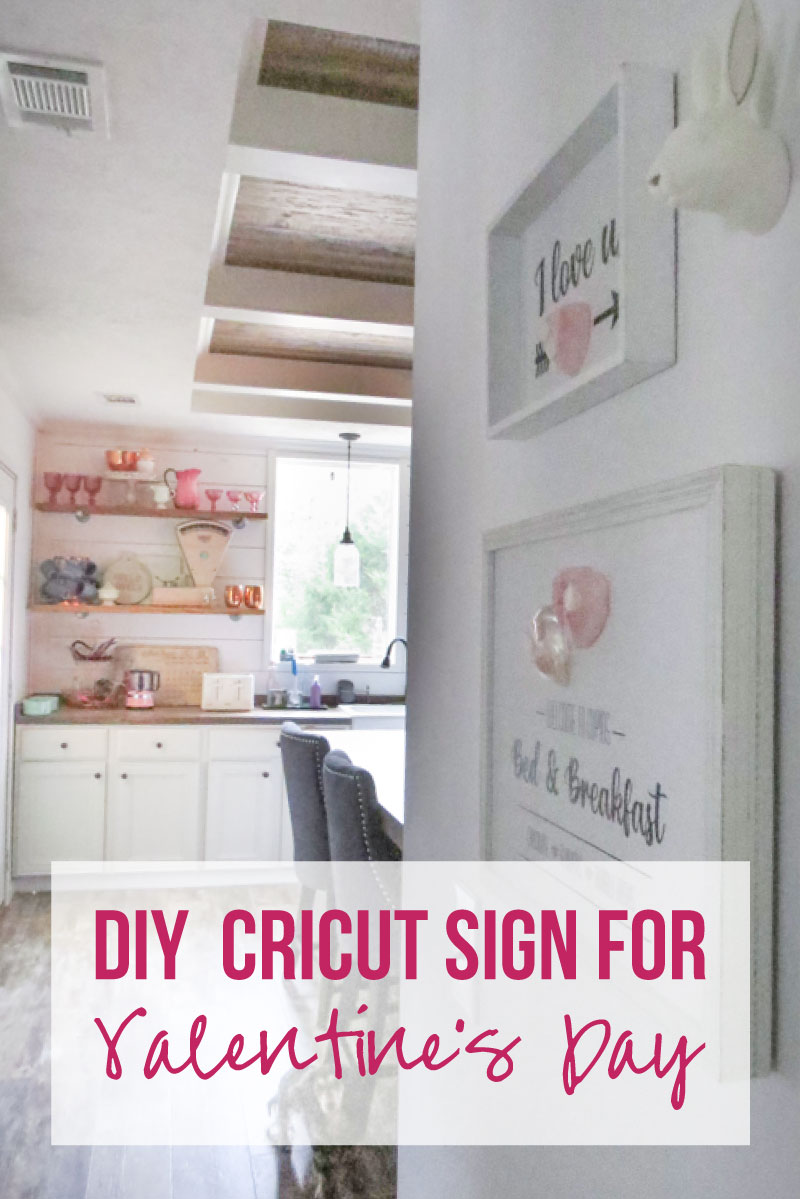
Today I have a quick and easy cricut tutorial for you! We’re working with standard vinyl so this is truly a back to the basics tutorial… although I did add a few adorable little resin hearts.
These little resin hearts are a super easy beginner level resin project (and use conversation hearts… so they’re perfect for Valentine’s Day!) so feel free to jump in and try a new medium. Either way the actual signs are adorable… and can be made with vinyl hearts if you’d rather skip the resin portion.
The best part? Both SVG’s are part of my FREE Valentines Day SVG collection so you can use these exact cut files or pick your favorites from the collection and make a different design. There’s 15 options so there’s surely one will steal your heart!
Either way let’s get started!
Supplies:
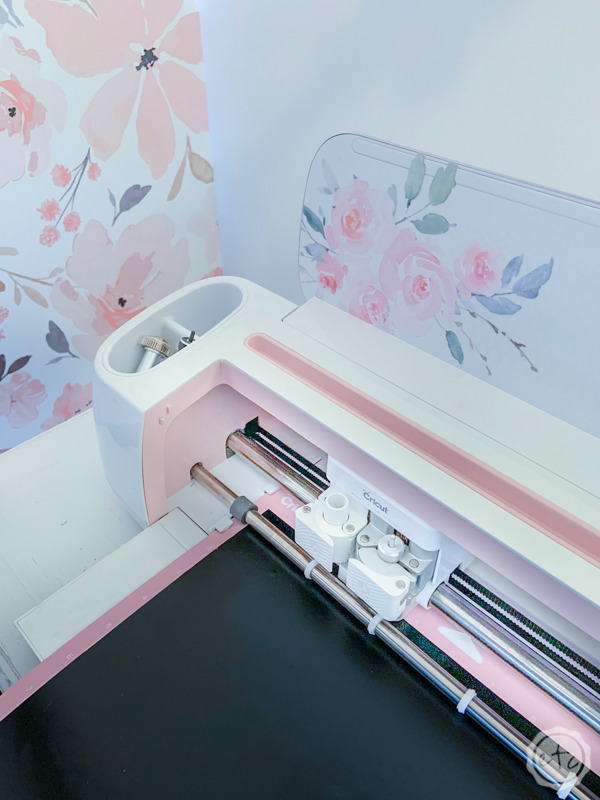
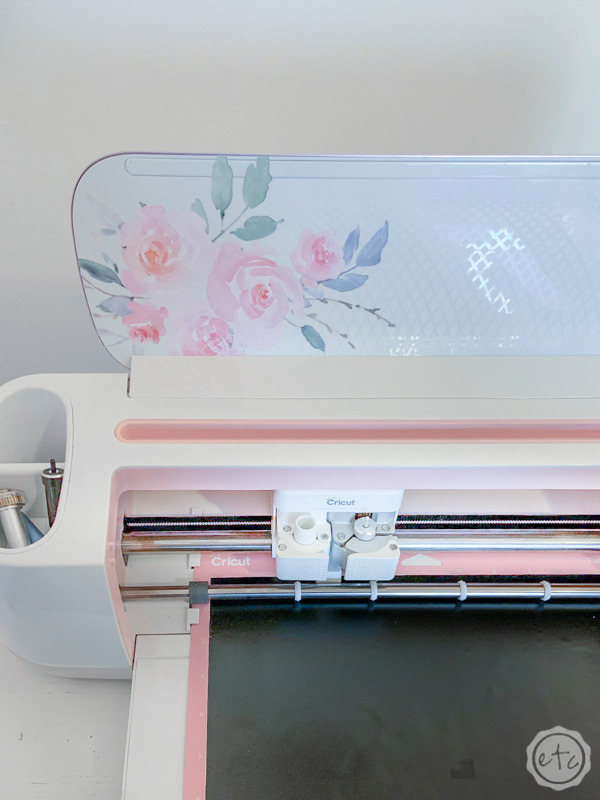
- Cricut Maker
- Fine-Point Cutting Blade
- Cricut Standard Grip Mat (that’s the green one!)
- OR Cricut Fabric Grip Mat (that’s the one I use… it’s pink and holds everything)
- Cricut Easy Press 9 x 9
- Easy Press Mat
- Cricut SVG Files (FREE at the bottom of this post)
- Transfer Tape
- Weeding Tool
- Brayer
- Black Premium Vinyl
- Pink Pearl Premium Vinyl
- Sign Blanks
- DIY Resin Hearts
Cricut Tutorial: Easy Valentine’s Day Signs
Ready to take the leap but not sure which machine is right for you? Check out my Explore Air 2 and Maker comparison before pulling the trigger. I go over the pro’s and con’s of each machine and even have an easy to read check list of each machine’s features so you can decided which cutting machine is perfect for you.
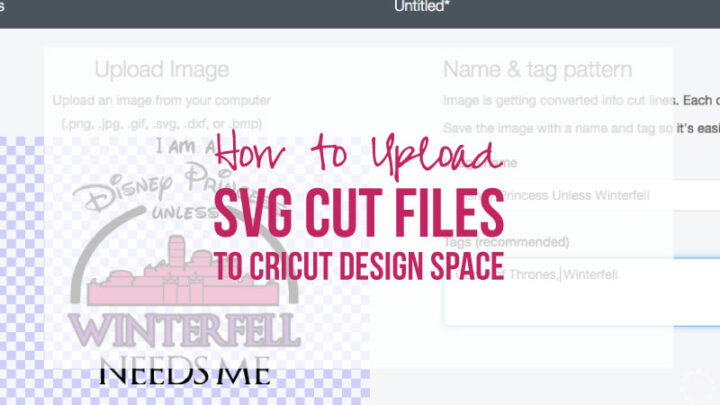
Step 1: Upload your SVG
Alright y’all before we get started we need to prep our design files. Go ahead and download them from the bottom of this post and then upload both SVG’s to Cricut Design Space.
If you don’t know how you can follow my “How to Upload an SVG to Cricut Design Space Tutorial” here.
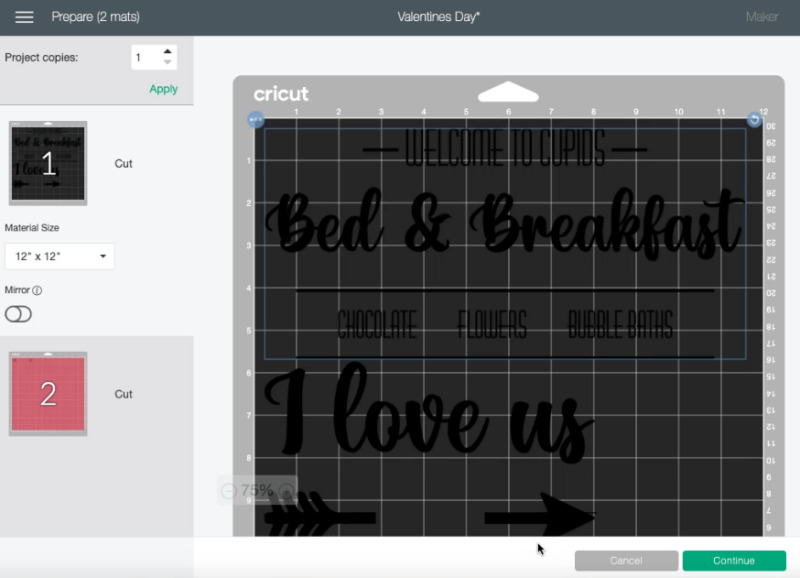
Once everything is uploaded go ahead and size your files for their new sign blanks. I’m doing one large sign and one small one so I picked two coordinating designs and sized them appropriately.
In this case that was 11.5 inches for the larger design and 7 inches for the smaller sign. That might be different for you though so double check the measurements of your signs… and keep in mind that 11.5 inches wide is the largest you can cut on a 12×12 mat so if you’re looking to cut something larger you’ll need a longer cutting mat.
One last tip? I linked to a few framed sign blanks up above and these totally work… but I like to get cheap signs that already have frames closer to homes. My go to spot is the local craft store or second hand store where I buy clearance signs and then paint them for a fresh surface.

Bonus Tip: If you’re using the attached heart decals in the design files you can ignore this section. BUT if you’re hoping to replace the heart files with actual resin hearts make sure to measure the area where your hearts are going and the size of the design file… you don’t want to cut and weed vinyl only to find out that your pretty resin hearts are the wrong size. In my case the resin heart mold I used made 2.5 inch wide hearts… so I made sure that would fit on my designs.

Step 2: Cut your Design
Now it’s time to cut your designs!
Since I’m cutting two signs out of the same material (the black premium vinyl) Cricut put both of those designs onto one cutting mat… which only left two small hearts.
I cut these two tiny hearts out of a pink pearl vinyl and since they were sooooo small (1in by 4 in) I simply placed that vinyl on the other side of my cutting mat instead of using two cutting mats for this project.
I do this a lot when working with smaller sections of vinyl… your cutting mat will definitely cut right side up and upside down (just not sideways!). So make sure that the cricut logo is always in the upper left hand corner and you’re good to go!
Click make it, load your vinyl and the fine point blade and watch the cricut cut out all those little letters.
Step 3: Weed your Vinyl
Ready for the fun part? When it comes to text heavy designs weeding is always the best part of the project!
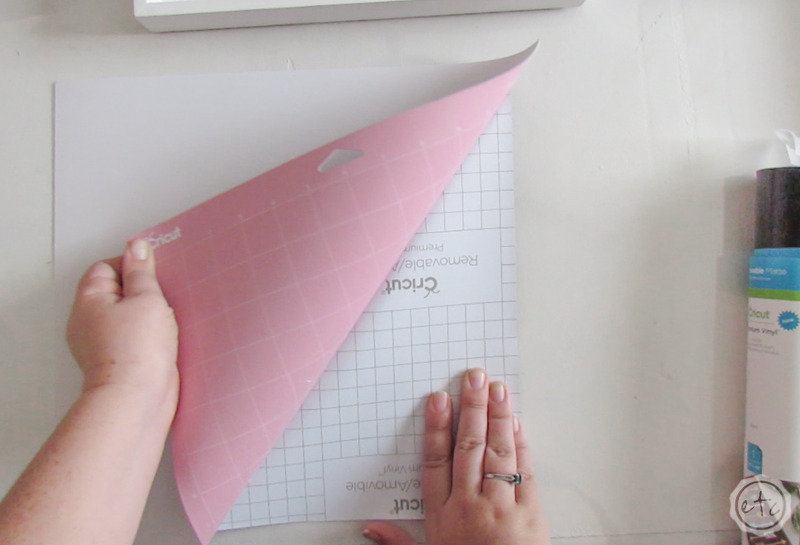
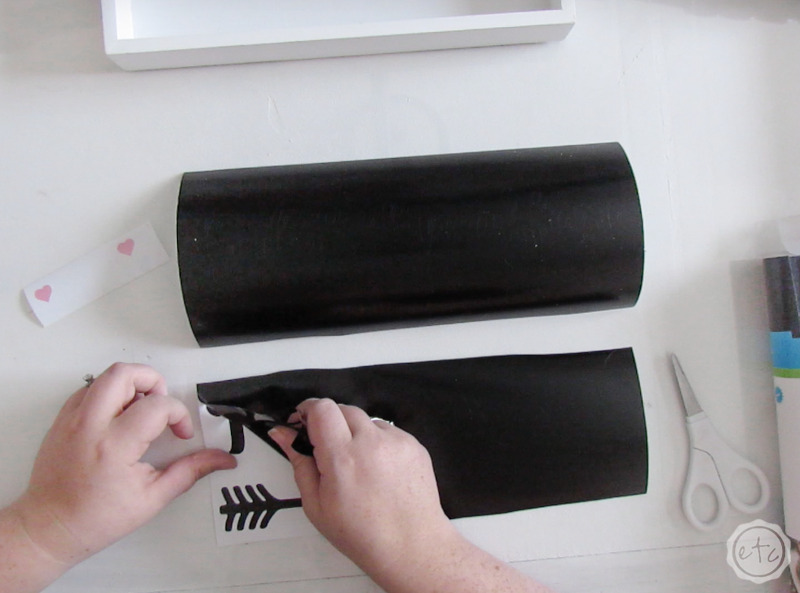
Once your cricut is done cutting go ahead and flip your cutting mat over on your work surface… then peel the cutting mat off your vinyl. This way your strong mat can curl and not your vinyl… we don’t want curly letters.
Then start to weed your designs!
In this case I cut both designs apart so that they were easier to work with. Then I started to peel the vinyl away from the outside of the design. Work your way all the way around the letters making sure that any unattached parts (the dot on the i for example) or loops (the arms on the t) don’t get ripped off.
You’ll have to be very careful when it comes to the little letters but with a bit of patience they’re 100% weedable… just go slow and watch carefully! When the excess vinyl starts to get in the way just cut it off and then move on.
Once you’re finished with the outside use the weeding tool to go in and remove the center’s. Things like the inside of the o and the middle of the e.
Then we’re ready to move on to the next step!


Step 4: Transfer your Design
Y’all transfer tape is definitely vinyl’s best friend… how else would you move all those teeny tiny letters from one place to another?
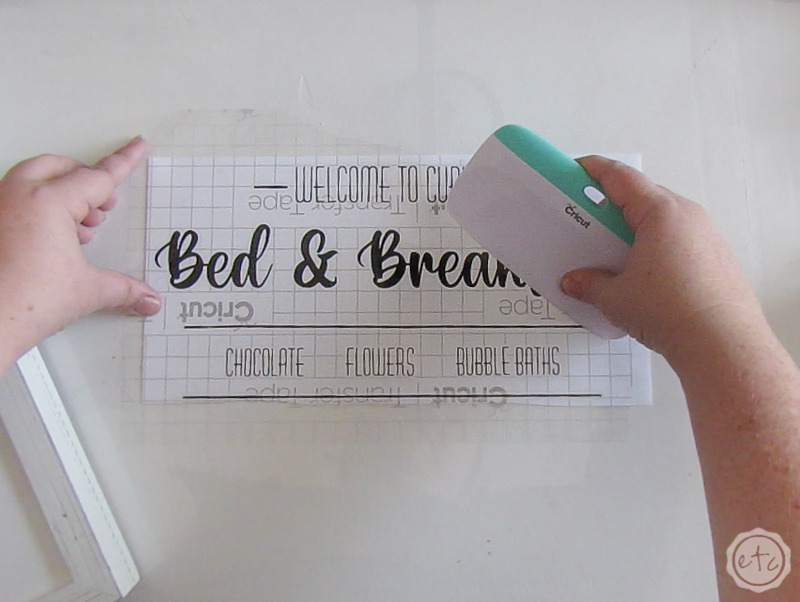
Cut your transfer tape big enough for the large design… then line it up with a straight edge (the bottom of the vinyl if it’s straight or the bottom edge of the letters). Then slowly smooth the transfer tape down onto the design.
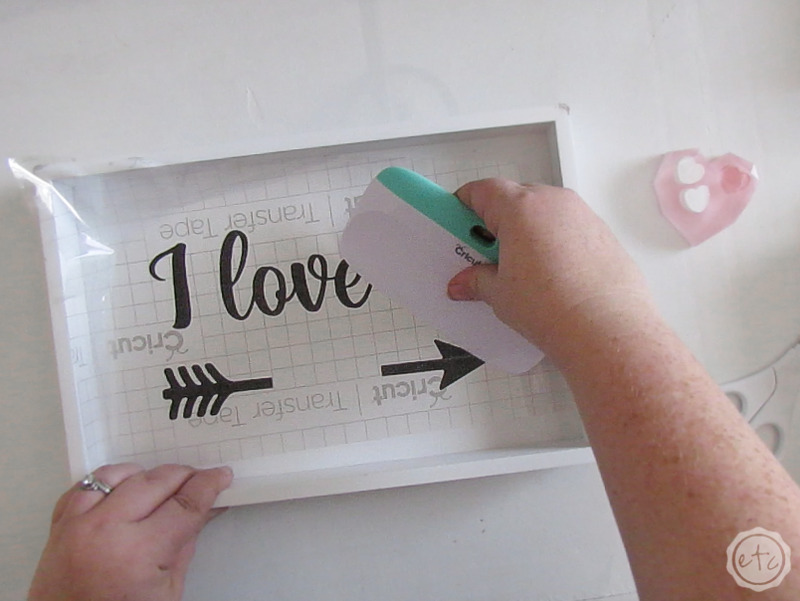
Once it is all the way across you can use your large scraper tool to smooth the transfer tape down. Firmly press all the way across so that you don’t have any little letters that try and stay behind.

Once you’ve smoothed the transfer tape on flip your image over and carefully peel the back of the vinyl sheeting off. I like to peel the white layer off instead of the transfer tape layer off so that the letters can remain laying flat… it seems to work better.
This vinyl usually sticks to the transfer tape really well but on the off chance one of the letters doesn’t want to transfer simply rub the backing of the vinyl over that particular letter to complete the transfer.
Then throw the backing away… we’re done with it!
Now your design should be 100% on the transfer tape… so be careful not to get it all stuck together in one big ball of sadness.
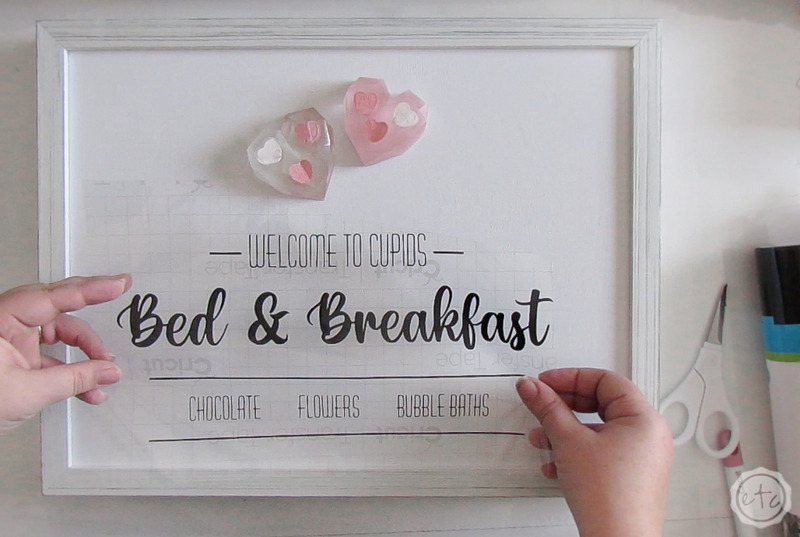
Instead carefully hold it over your sign using the grid as a guide to line it up perfectly with the bottom of the sign. Once everything looks straight go ahead and smooth it down with your hands (preferably starting in the middle and working towards the outside edge but if that’s too hard start on one side and make your way across).
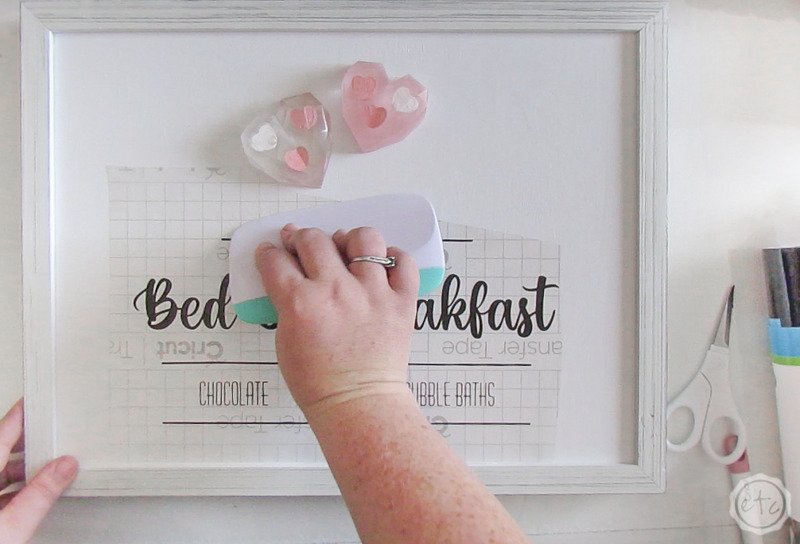
Now grab that scraper and really make sure those letters are stuck in place! Press them down firmly all the way across!
Once you’re finished go ahead and peel up the transfer tape! This should leave the vinyl behind and your sign 98% finished.
Bonus Tip: You can use transfer tape more than once! When I first got started with Cricut I thought transfer tape was one and done but you can actually use it several times before the stickiness wares off. So move your larger sign first and then go back with the same transfer tape to pick up the smaller design and move it to the smaller sign. Score!
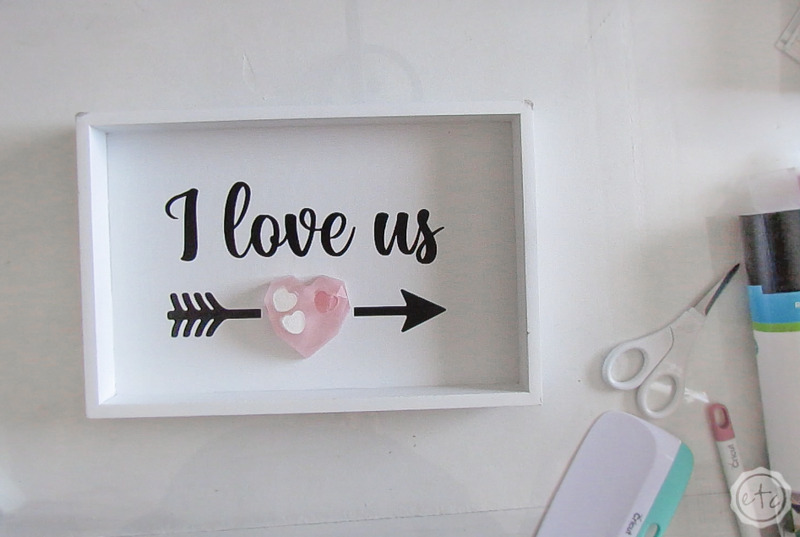
Step 5: Add Hearts and Enjoy!
This might be my favorite part… adding the hearts! If you’re doing vinyl hearts (like the little pink pearl hearts!) then simply use your transfer tape to move them over.
BUT if you went all out and made the resin hearts that make these signs POP then you’ll want to add those babies.
I decided to do this by using strong velcro dots to the back of my hearts. Then I placed the hearts in place and pressed down… worked like a champ. The two pink hearts were easy but for the clear heart I made sure to add the velcro behind two of the conversation hearts.
Easy peezy!
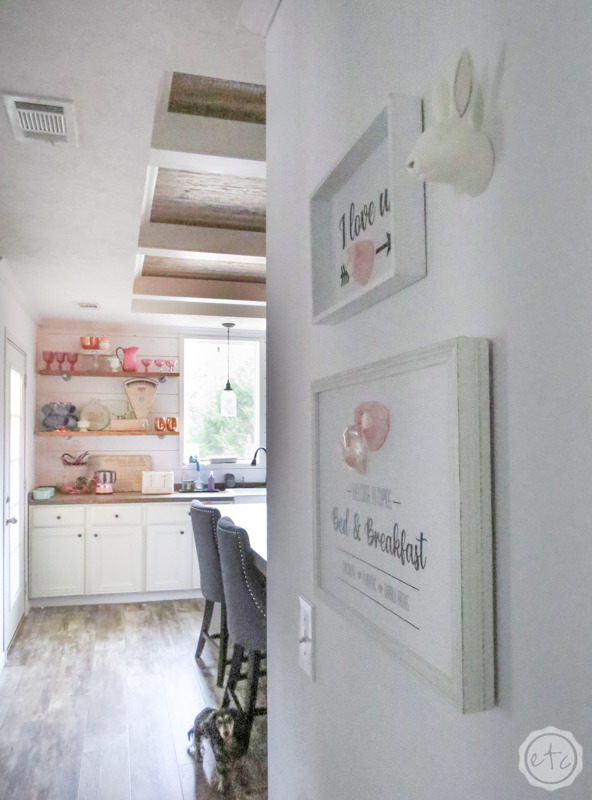
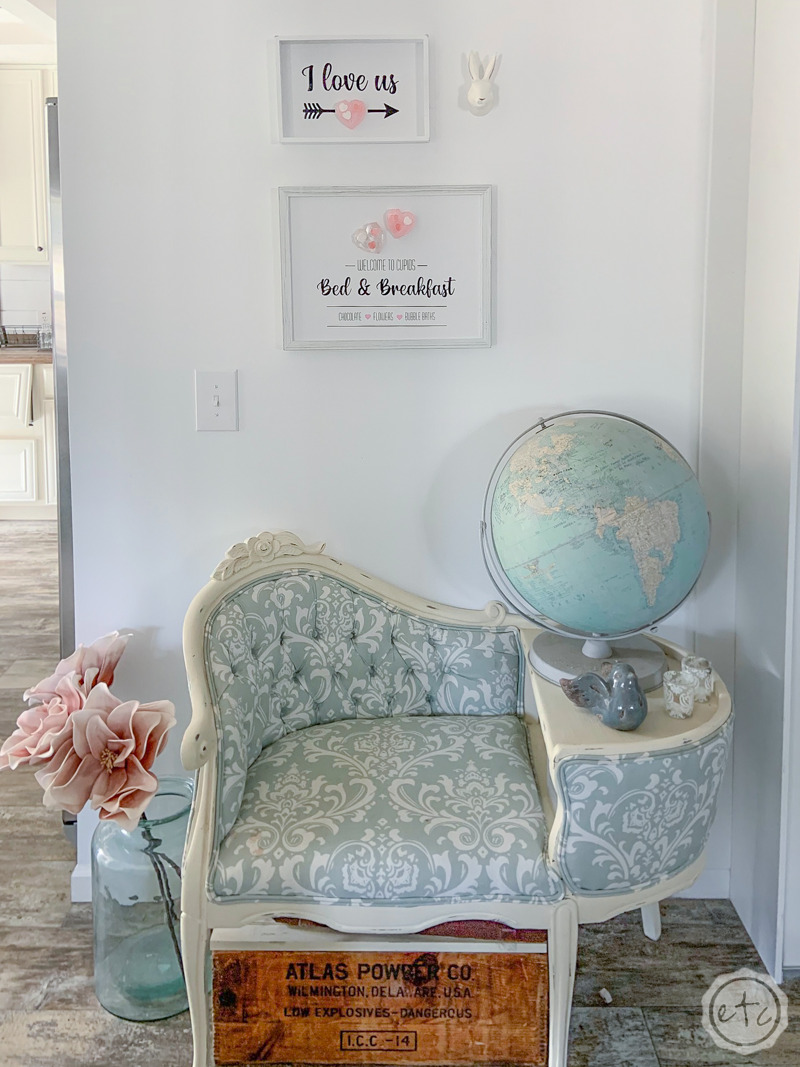
Now all that’s left to do is enjoy these babies.
Have fun!


Want More FREE SVG’s? Check out our seasonal collection:


Leave a Reply