This is a sponsored post for Wagner but all opinions are 100% mine!

Ready for a quick and easy project? When I moved into my new house (my little Lula Mae Farmhouse) I switched the standard half window doors for beautiful 15 panel front doors… and I love them. They let in so much light and are elegant while still going with the farmhouse details on my house BUT with all the pretty light comes all the pretty glass.
Which means people can look directly into my house via the front door. Which isn’t great when I’m sitting on my couch and someone comes to the front door. Especially late at night.
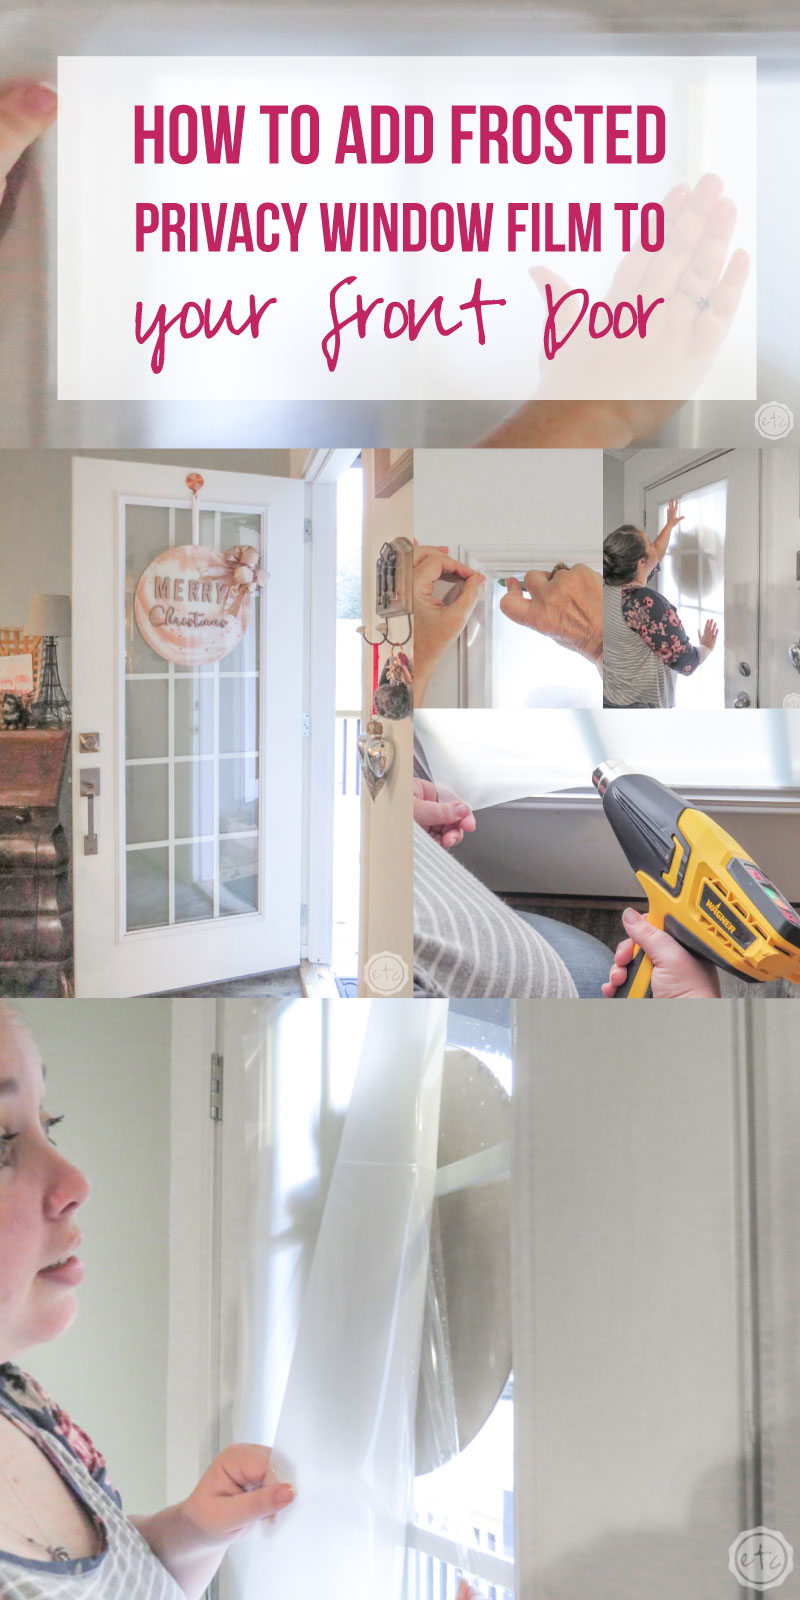
So I decided to use a bit of window film so that light can still stream in through the doors but no one can look directly inside.
Which is the goal!
Of course, even if you don’t have brand new doors this privacy film will work (just make sure to give your current door a cleaning first!). You can add this film to windows too… really any glass that you want to frost.
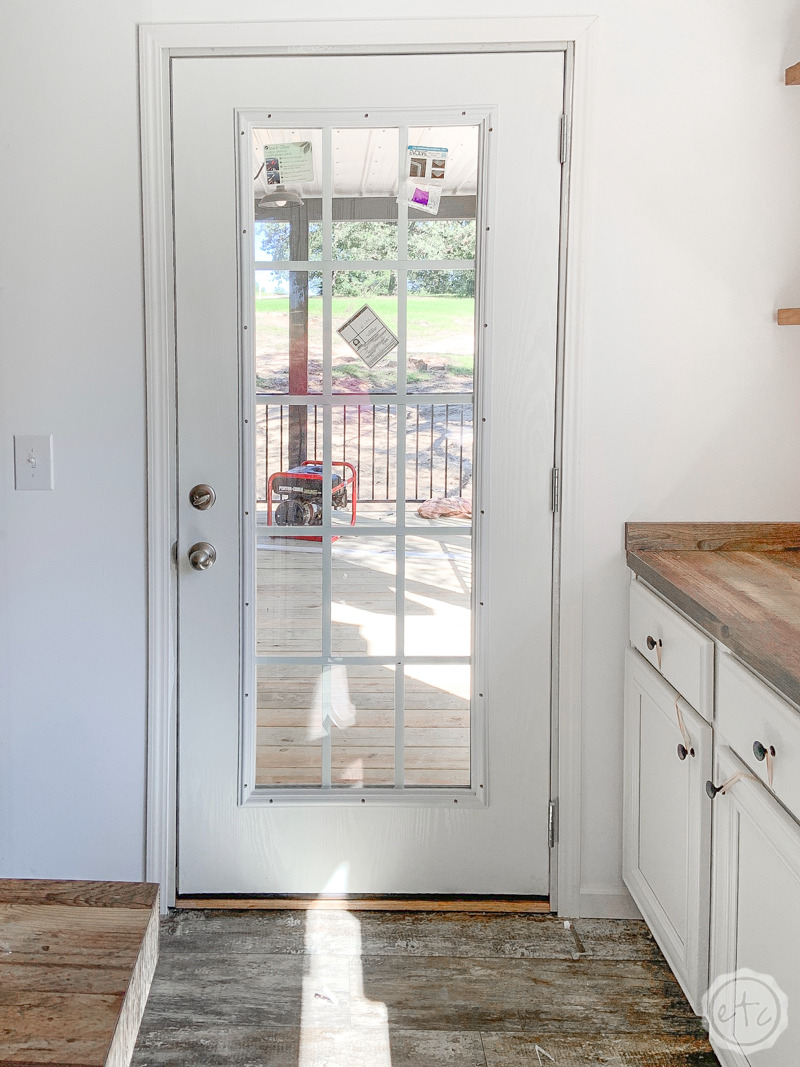
But if your doors are new (like mine!) you’ll need to remove those pesky stickers first… don’t worry I’ll show you how.
And the best part? The film is 100% removable… so it’s renter friendly. I’ll even walk you through the easiest way to remove this film from your doors (and share with you my secret tip to taking the film off the quick and easy way.)
Let’s get started.
Supplies:
- Furno Heat Gun
- Frosted Privacy Window Film
- Window Film Application Kit
- Window Cleaner
- Paper Towels
- Scissors
Step 1: Remove Any Stickers
Alright y’all… before we can get started adding any window film we need to take alllll the stickers off and clean the glass. Luckily it’s a pretty easy process.
My new house had 1-2 stickers on each and every window… and about 3-4 on the doors. So I had quite a few stickers to remove!
Some of those stickers removed easily… just came off clean, no residue. Angel stickers.
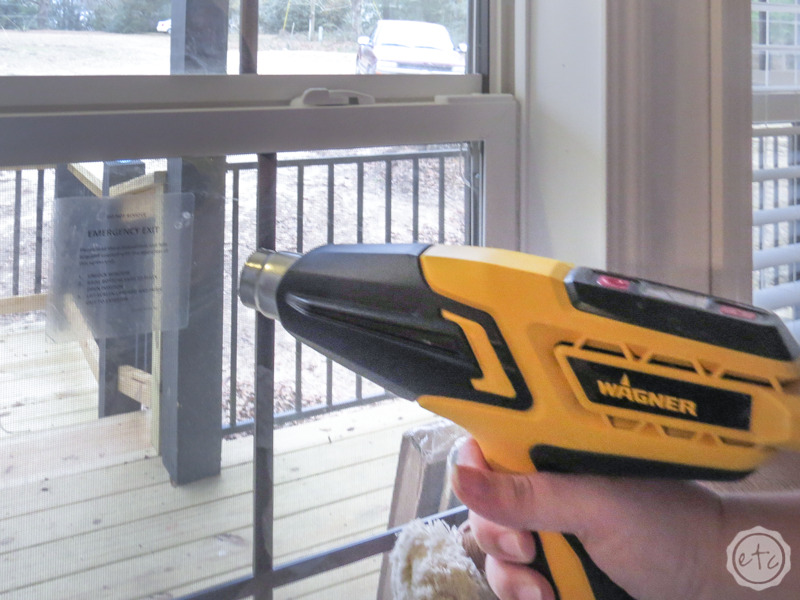
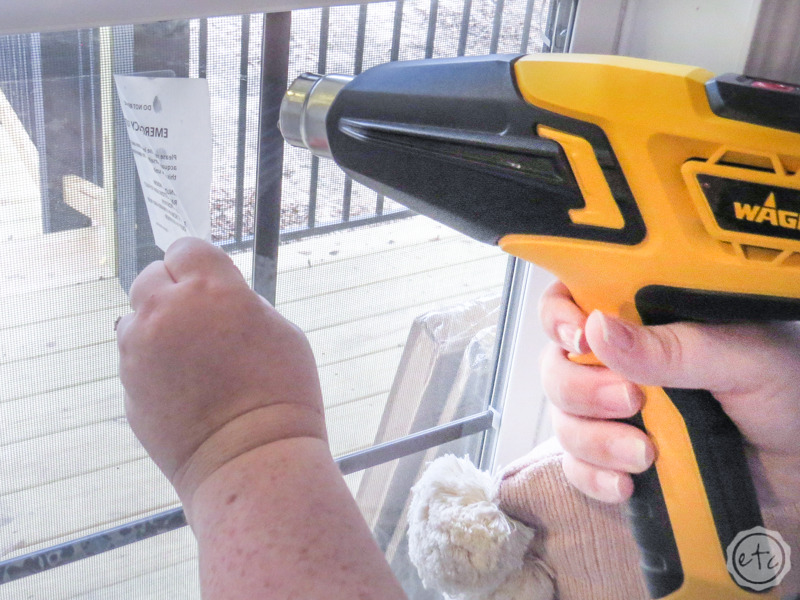
We like those… but most of our stickers were not angel stickers… they were devil stickers. They tried sticking to the glass long after we wanted them too. In this case you have a few options: goo be gone or a heat gun. Unfortunately goo be gone likes to run down the glass so it’s not ideal here… but a heat gun is perfect!
It heats up the adhesive enough that you can pull the stickers off easily and it doesn’t leave any stickiness behind! Score!
I have a few heat guns but I like to use my Wagner furno heat gun for home projects since it’s bigger and can cover more surface area at one time. Plus it has easy to use heat settings on top so if it starts getting toooo hot I can easily turn it town and not crack a window.
Just make sure to heat up the sticker with slow, circular motions and don’t hold the heat gun in one place for too long so you don’t hurt your window. I like to angle my heat gun so the heat goes over the sticker but isn’t aimed directly at the window… too much heat on your glass for a long time can definitely crack the glass.
Which is dangerous.
And expensive.
Don’t be scared though, the heat gun is easy to use and the stickers come off quickly so that you’re no where near the long exposure time of cracking the glass.
Once all the stickers are off we can move on!

Step 2: Clean the Glass
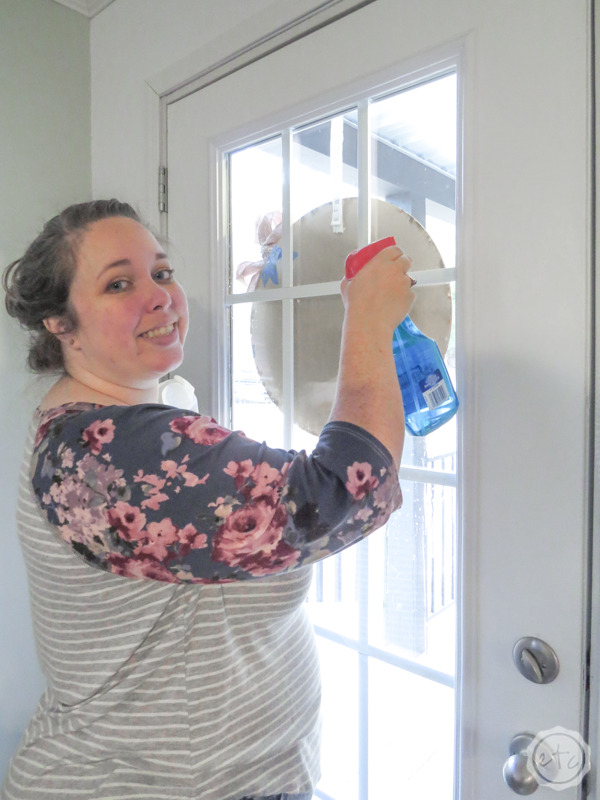
Now that our door/window is sticker free it’s time to clean that bad boy! Any lint or adhesive that is left on the glass will be visible after you apply the window film (so maybe put fluffy and fido outside for a minute… since dog hair turned out to be the number one problem in my house).
Make sure to wipe down the entire door with a bit of glass cleaner and inspect every inch to make sure there aren’t any smudges or bits of gunk left. Once you’re sure you have all (most) of the yuck we’ll move on to the next step.
Step 3: Cut Your Window Film
Now it’s time for the film!
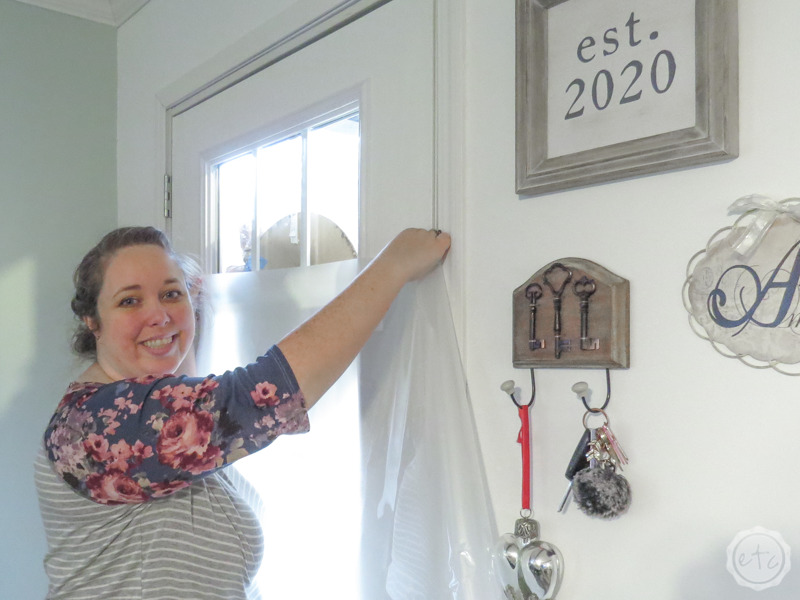
Go ahead and break that bad boy out of the box and measure it out! This doesn’t have to be a super accurate step since it’s easier to use the cutting tool to cut the film to size once it’s applied to the window.
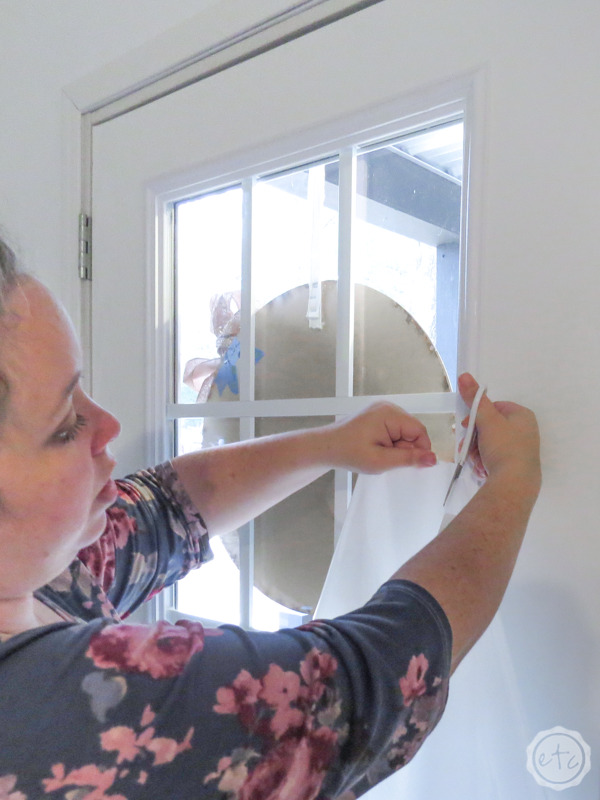
Instead hold the film up to the window and then cut it with about an inch of film on either side of the glass. In my case I tried to cut it about even with the molding around the glass… that way I didn’t have too much wasted material but I had enough that it wasn’t difficult to work with.
Step 4: Apply the Window Film
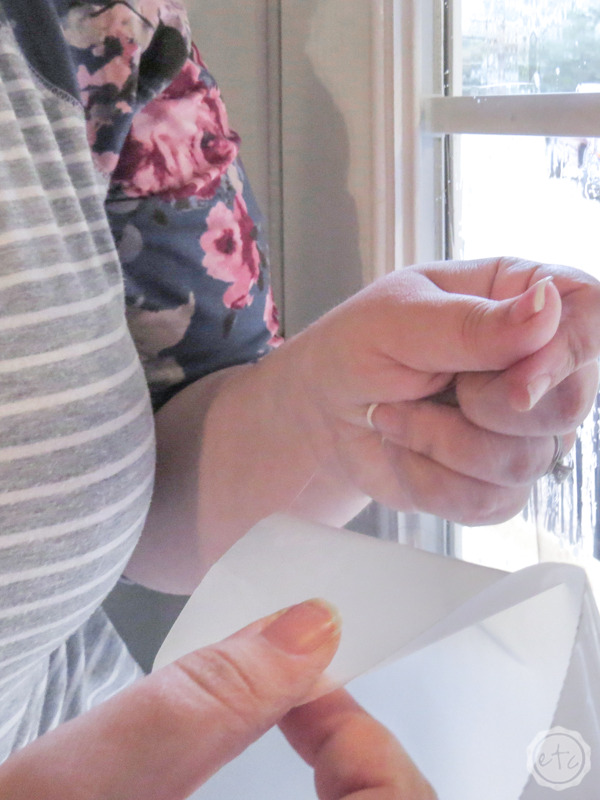
Now it’s time for the fun stuff… applying the window film. Start by peeling back a bit of the clear plastic that’s covering the adhesive on your window film.
Peeling back the corner of this darn film is the hardest part of the entire project… if you can accomplish this step you’re good to go. The rest is downhill from here.
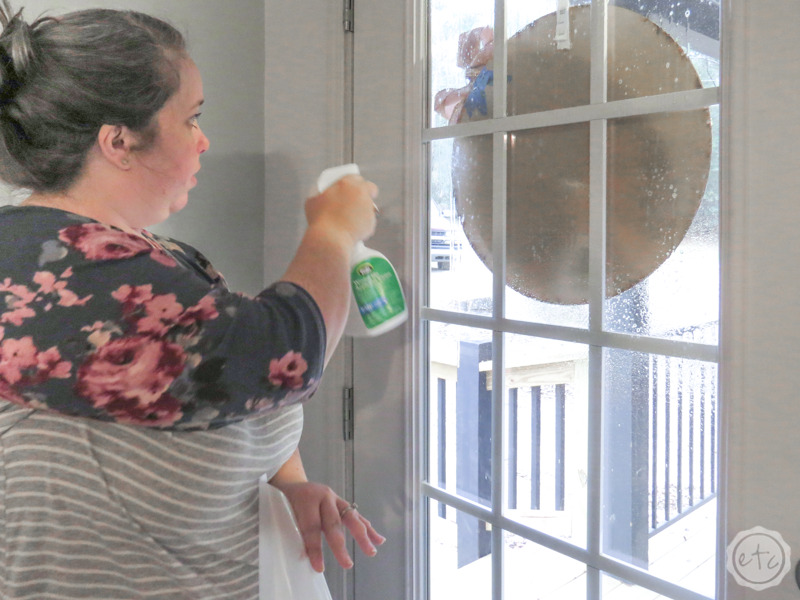
Once you have a corner free go ahead and grab your application spray solution bottle from the kit and spray the entire piece of glass… liberally…. with the spray solution.
Then peel down the first foot of clear plastic from the adhesive film and place the adhesive film on the window. You want the adhesive (sticky side) on the glass with the solution.
So you should have a sandwich of glass, solution, adhesive side of the film.
Got it?
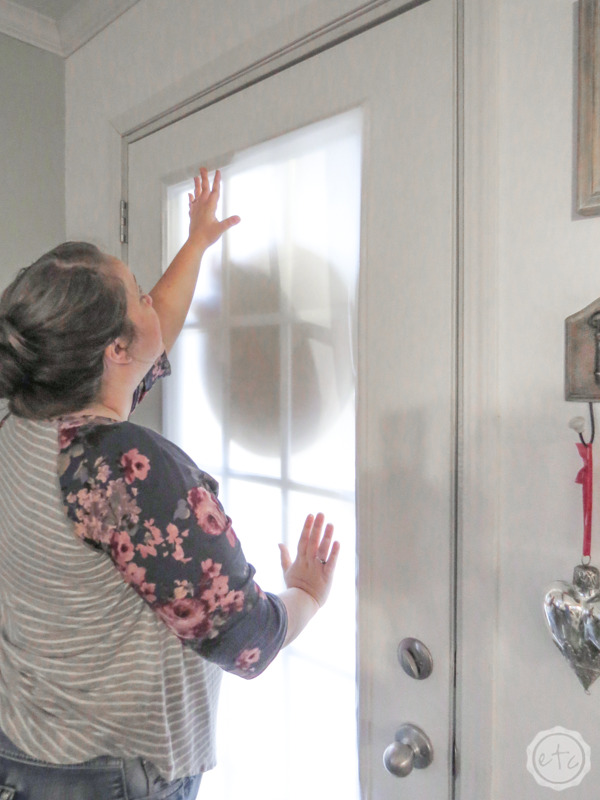
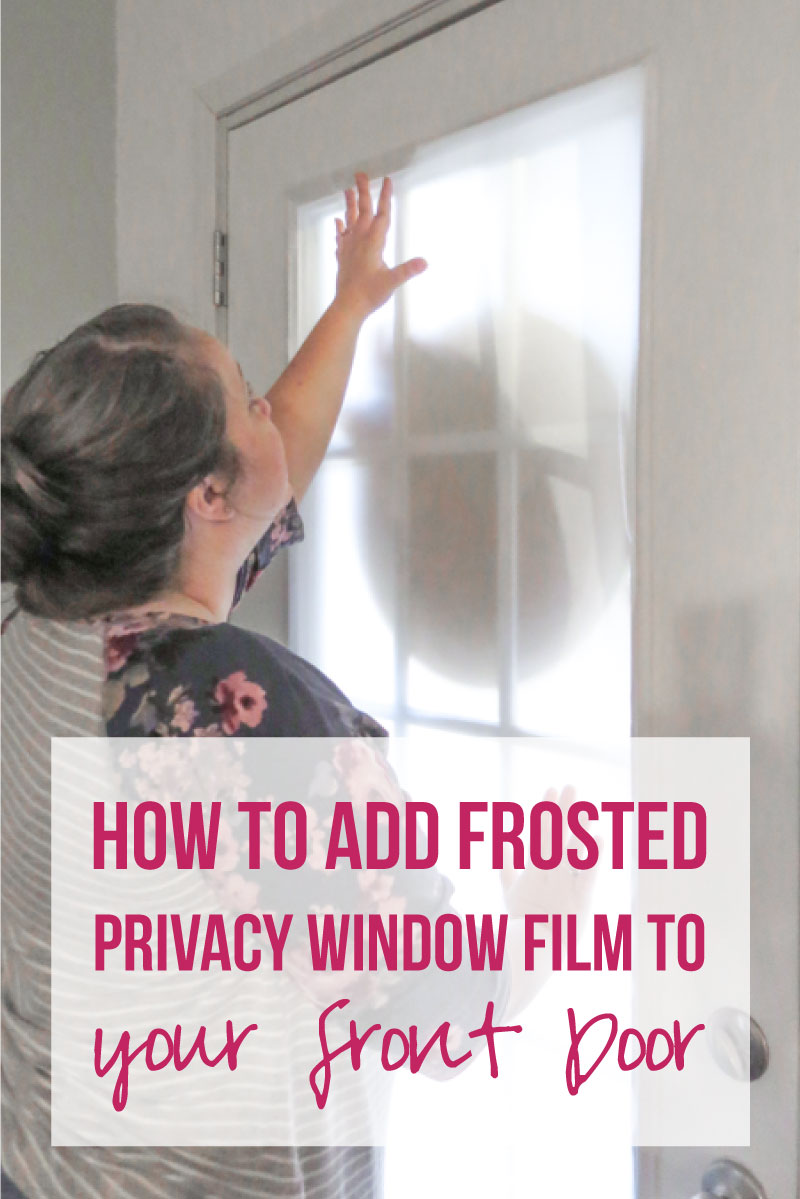
Place the film on the door so that it looks centered with enough overhang on both sides and the top. Now put your hand in the middle of the film and smooth out the film all the way to the right and all the way to the left.
We’ll come back with the scraper in the next step and smooth out the bubbles so don’t worry about getting it perfect… just smooth it onto the door for now.

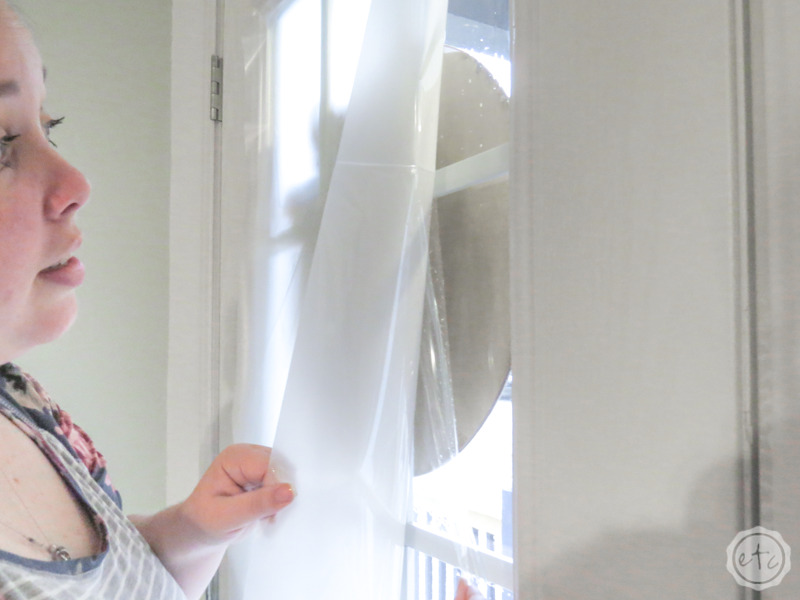
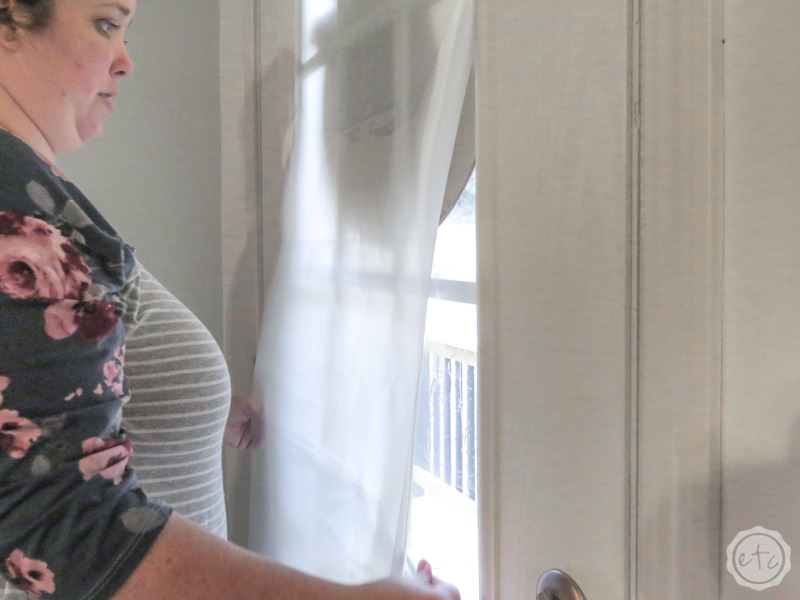
Once the top is smoothed into place go ahead and work your way down the door… pull another foot of the clear plastic off the back of the film and then smooth the film into place.
Then do another foot!
Once you’ve reached the bottom and have all of the clear plastic off the film we’ll move on to the next step.
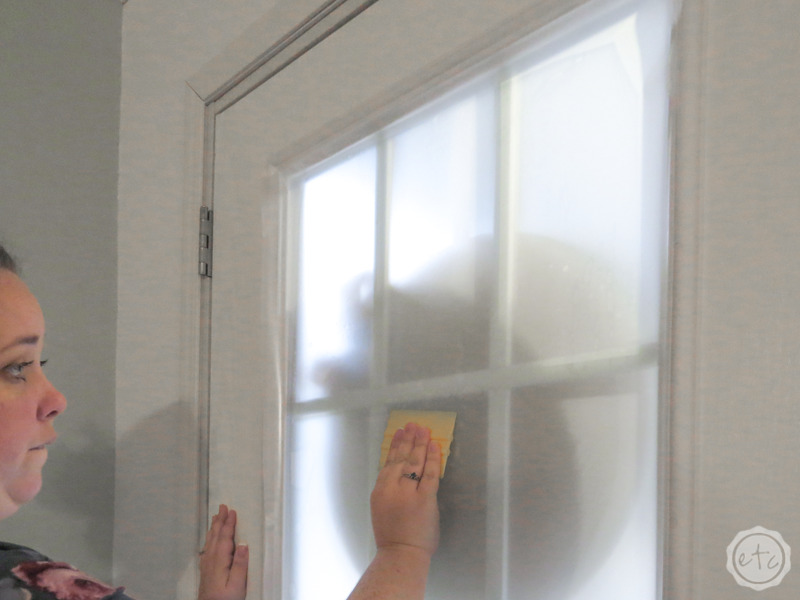
Step 5: Scrape all the Bubbles Out!
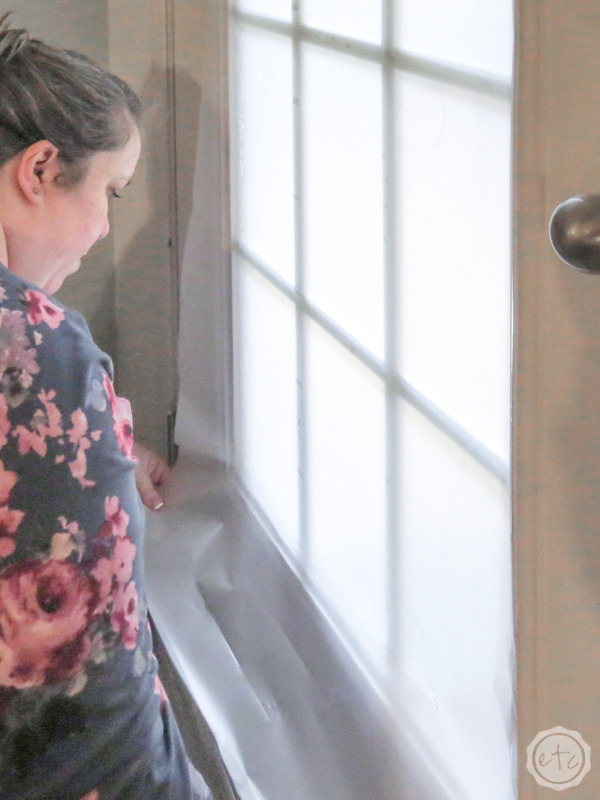
Ready for the fun part? Scraping! Take the little yellow scraper and push the film onto the door.
As you scrape you’ll notice alllll the bubbles being smoothed out. That’s good! Keep scraping them off the sides and down to the bottom of the window.
The more you scrape the more you’ll notice the solution you sprayed on the door coming out the sides of the film and down at the bottom. As far as I can tell this won’t hurt the floor but I put down an old towel to catch the run off just in case.
Go ahead and scrape the whole door corner to corner.
If you come to a spot that has too many bubbles or just won’t smooth out you can peel back the film a bit, add more solution and smooth it out again. BUT this trick works less and less as time moves on so only do it if you need to.
Done scraping? Let’s cut this baby to size.
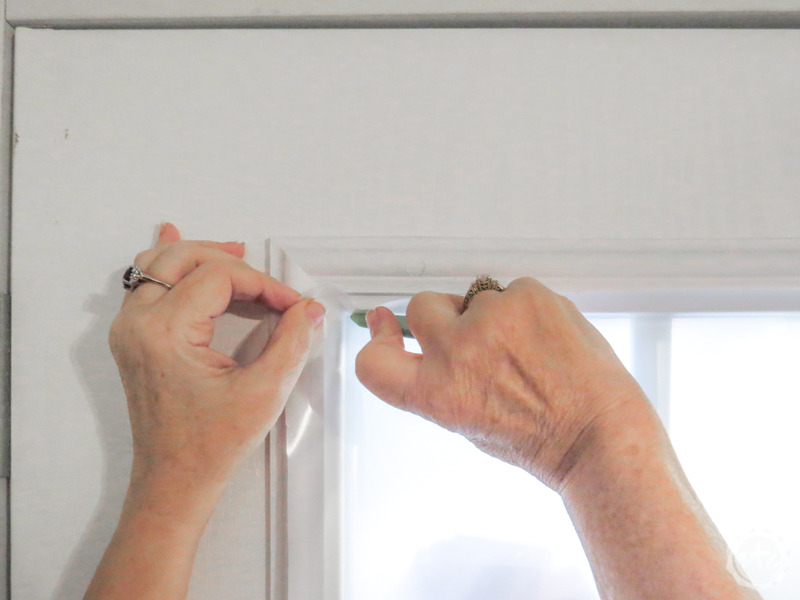
Step 6: Cut the Window Film
We’re finally going to cut the film to size!
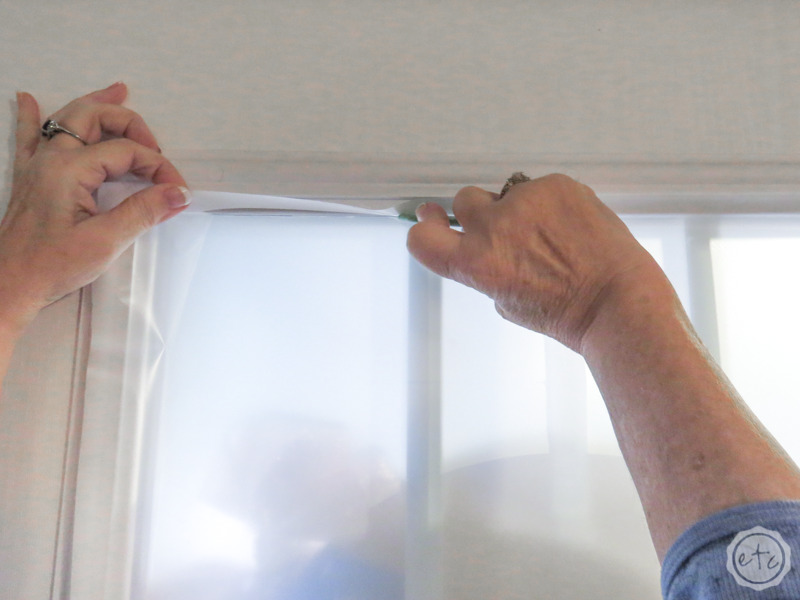
Grab the little green cutting tool and carefully start in one corner… then slice right along the edge all the way to the next corner.
Work your way alllllll the way around the frame making sure to push the film into the corners and keep the film straight as you go.
Perfect darling.
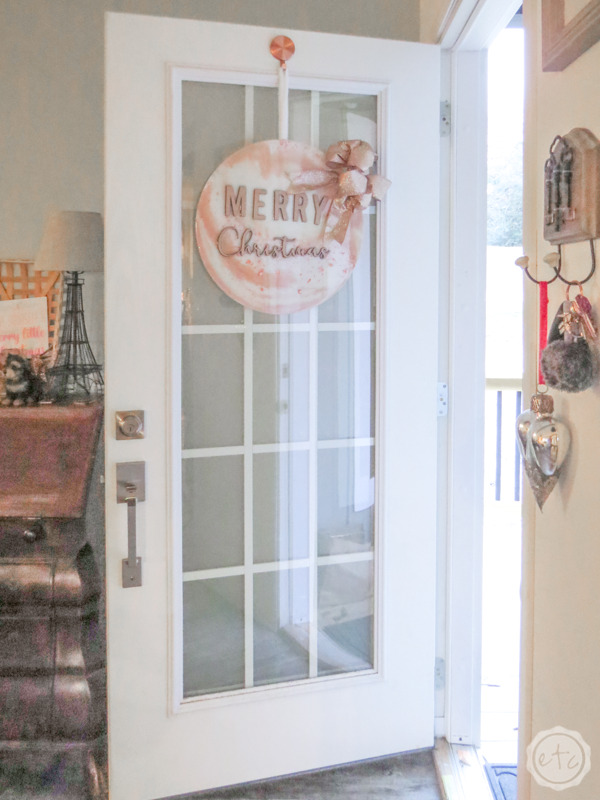
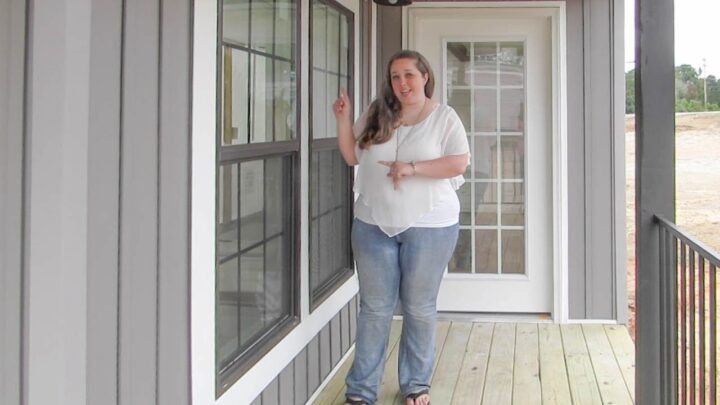
Now you’re done! You can hang out inside with alllll the light and none of your neighbors peering in the windows! This film is pretty good at keeping the eyeballs out… Mom and I did a test and neither one of us could see inside from the porch.
Success.

Want to follow my journey to purchase my new home? Check out every post from the beginning:







Leave a Reply