
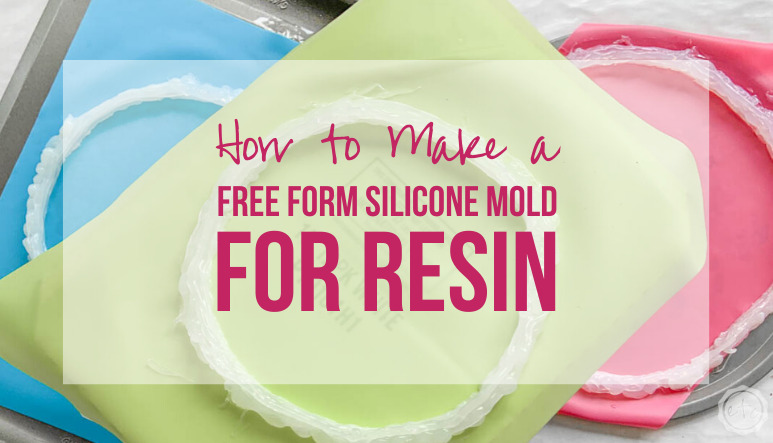


Today I’m sharing a quick and easy project that has been requested several *ahem* hundred times. My method for making a freeform silicone mold for resin!
This is a quick, budget friendly way to make a mold of just about any shape with 100% silicone caulk and a mat! I’ve used this technique to make several molds and it works time and time again… leaving me beautiful molds that can be re-used for the price of a tube of caulk.
Which is great since silicone molds can get quite pricey! A single large silicone tray mold can be any where from 40 to 50 dollars… whereas I made 3 molds for about $14. Now tell me that’s not a bargain.
Epic!
Let’s get started.
Supplies:
- 100% Silicone Caulk
- Caulk Gun
- Silicone Mat or Acetate Sheet
- Baking Pan/Cardboard box
- Disposable Gloves
- Paper Towels
- Scissors
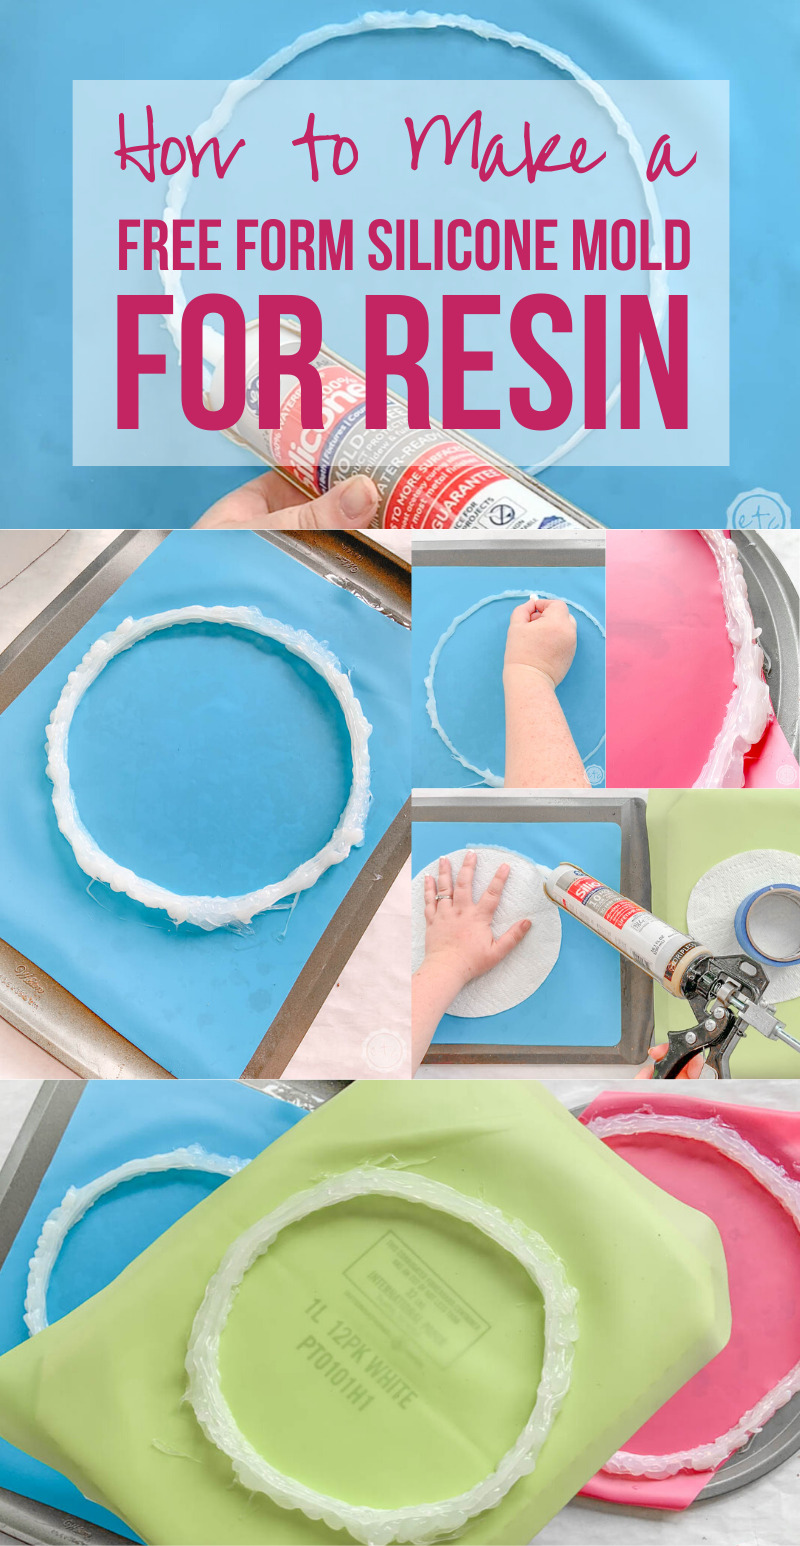
Step 1: Prep your Supplies
Ready to get started? Since I never know anyone’s skill level (and I made a huge mess just the other day by forgetting to pierce the foil inside a caulk tube) I’m going to go over all. the. steps.
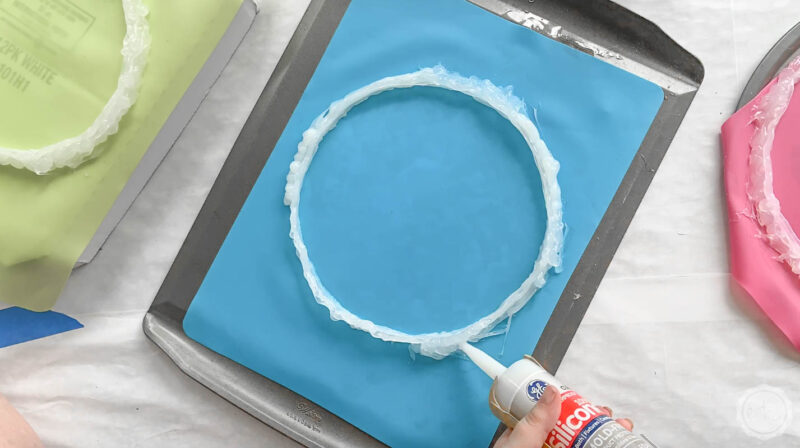
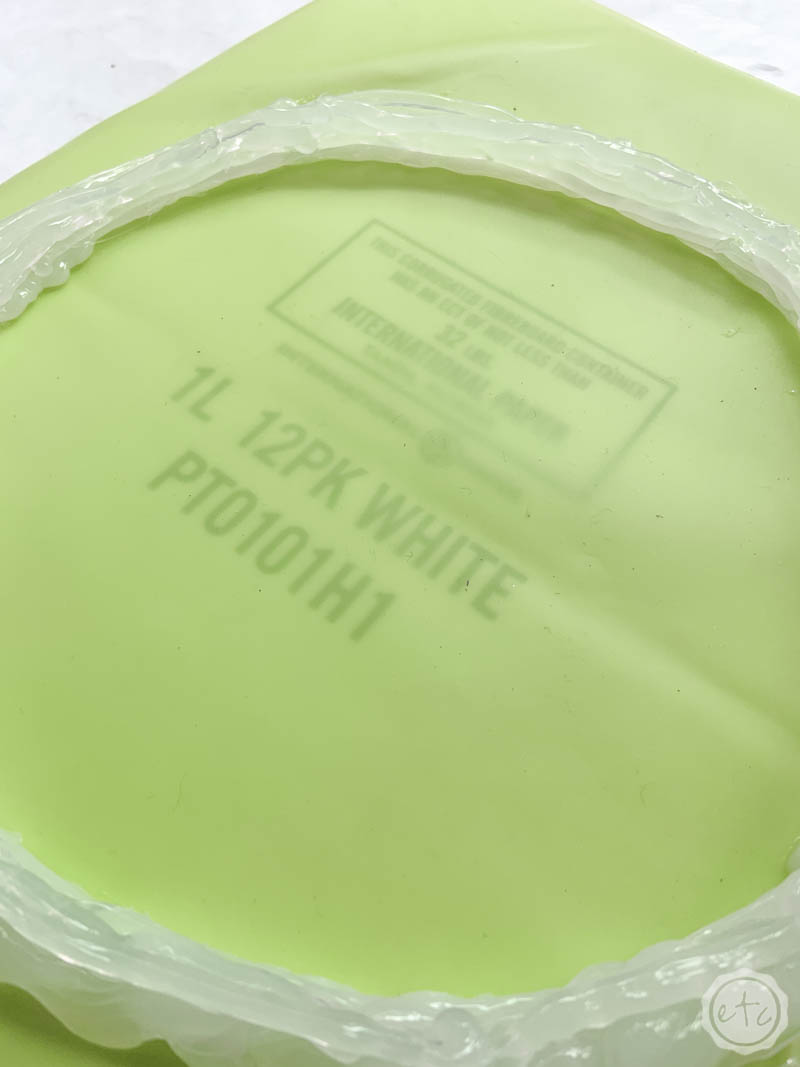
Start by laying out a baking pan and covering it with your silicone mat. The baking pan will make your mold easy to move around once it’s filled with resin and the silicone mat gives us a solid base that resin won’t stick to.
I want these specific molds to be re-useable so I went with a silicone mat… contrary to what I was told *ahem… youtube* silicone sticks to silicone so you will not be able to remove the silicone mold from your silicone mat. They will be bonded for life once this project is done!
That’s fine for my purposes but if you don’t want to spend the money for a silicone mat for one mold (say this is a one and done project for you) then an acetate sheet will work as your base but be a bit more cost effective for a throw away mold.
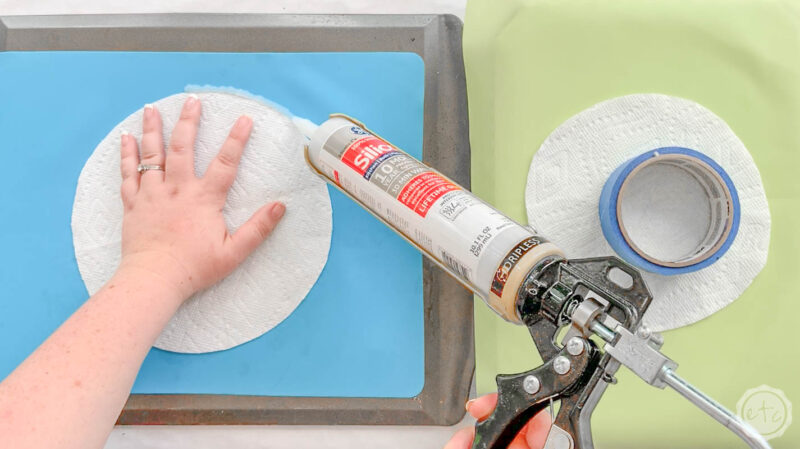
Once you’ve got your mat and pan set grab your tube of caulk and load it into your gun.

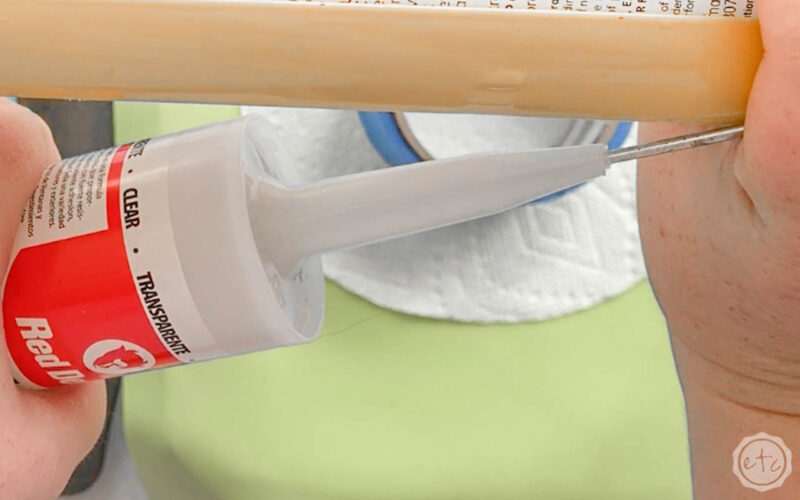
If you have a brand new tube of caulk (make sure it’s 100% silicone… it doesn’t matter on the brand (I’ve used a few different ones) but it has to be 100% silicone or it won’t work!) then you’ll need to get it ready before you load your caulk gun.
Go ahead and cut off the tip of the caulk tube… then use something sharp to pierce the foil inside the tube. My caulk gun has a handy little pokey device (yes, that is the technical name) on the side that you can use to pierce the foil… if you don’t have one of these a skewer will work!
Once your caulk tube is pierced you can load it into your caulk gun and you’re ready to rock.
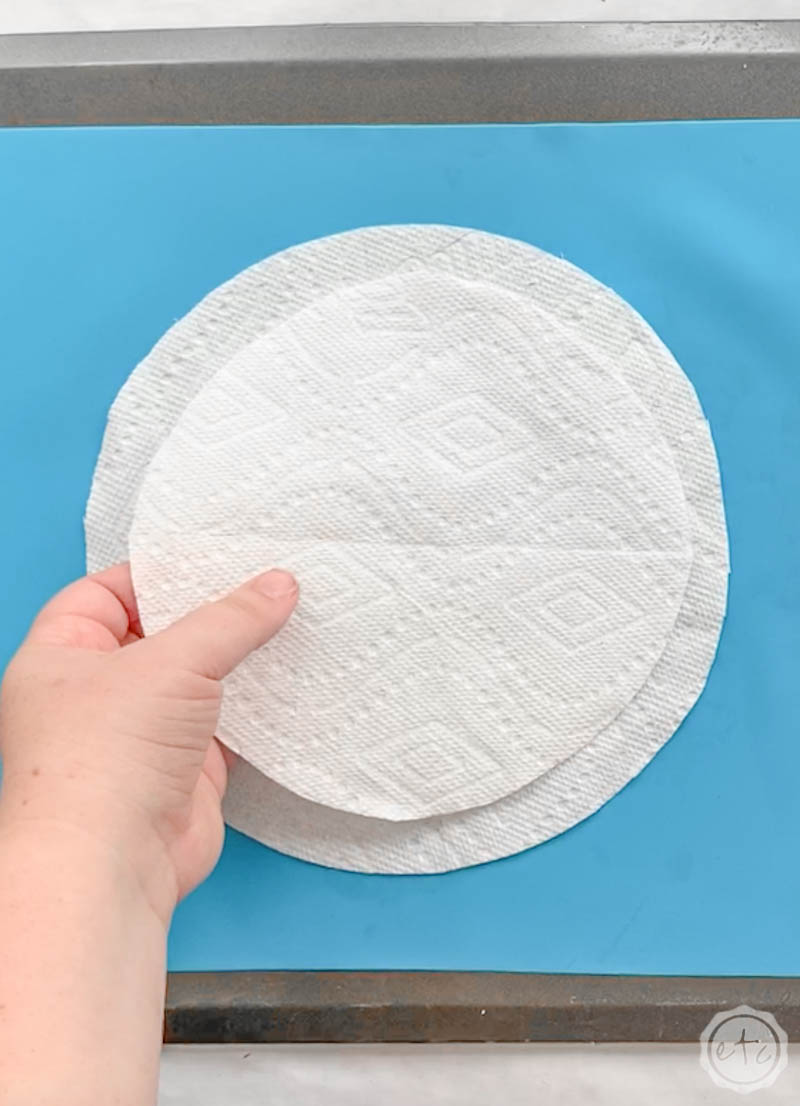
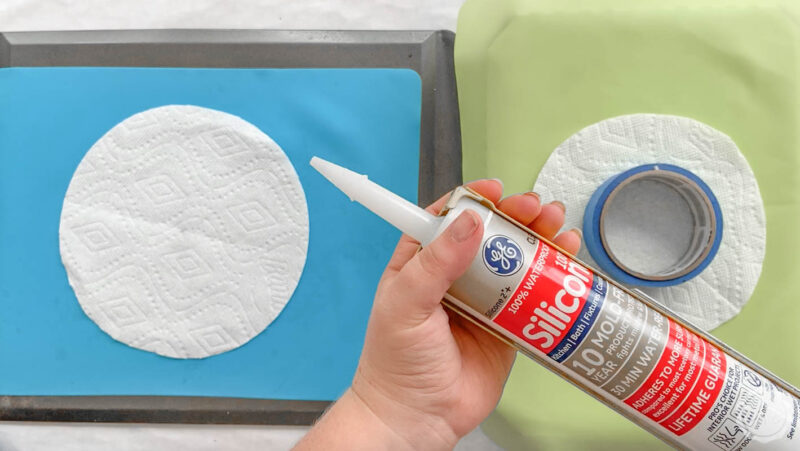
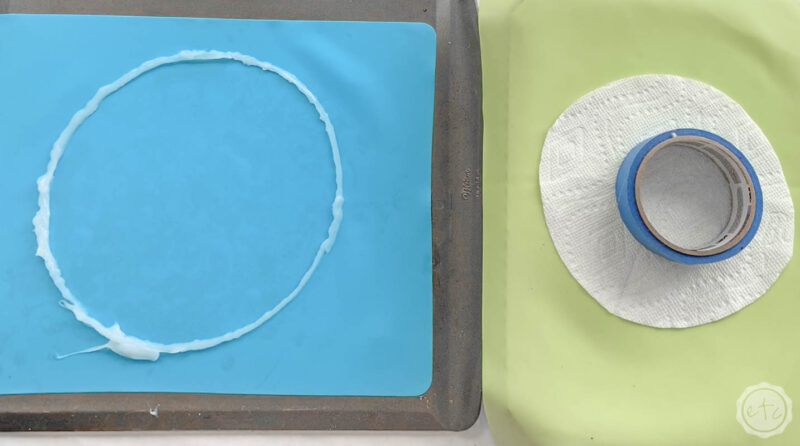
At this point it’s important to address the elephant in the room… the strange paper towel circles on my silicone mat.
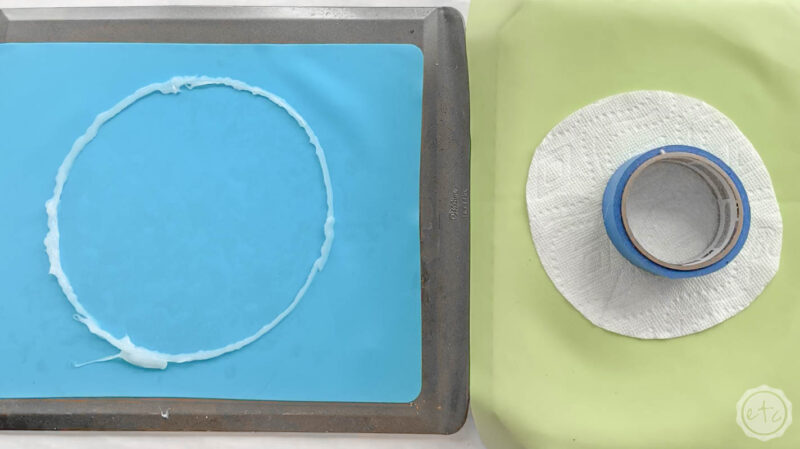
I’m making a 3 tiered tray with these little molds so I cut out 3 templates to trace with my caulk gun. This is a great way to get a specific size or shape if you can’t draw well (heck print something out, cut the silhouette and trace that!) but you don’t have to have a template to make a mold (paper towel or otherwise).
This technique can be used to make a mold of whatever shape you’re able to draw. A circle, an oval… a horse! As long as you can draw it you can make it. I used the same technique to completely freehand an oval mold for this geode inspired tray. My oval is a little more wonky but that’s what I was going for… an organic shape.
Beautiful darling.
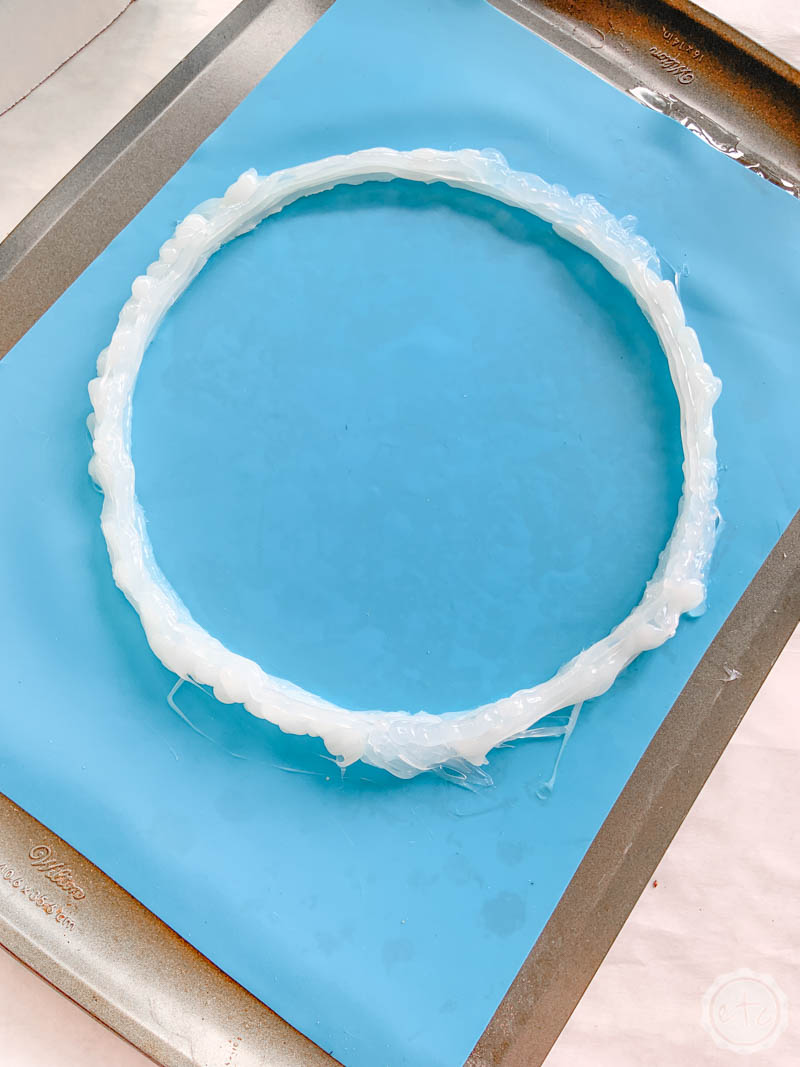
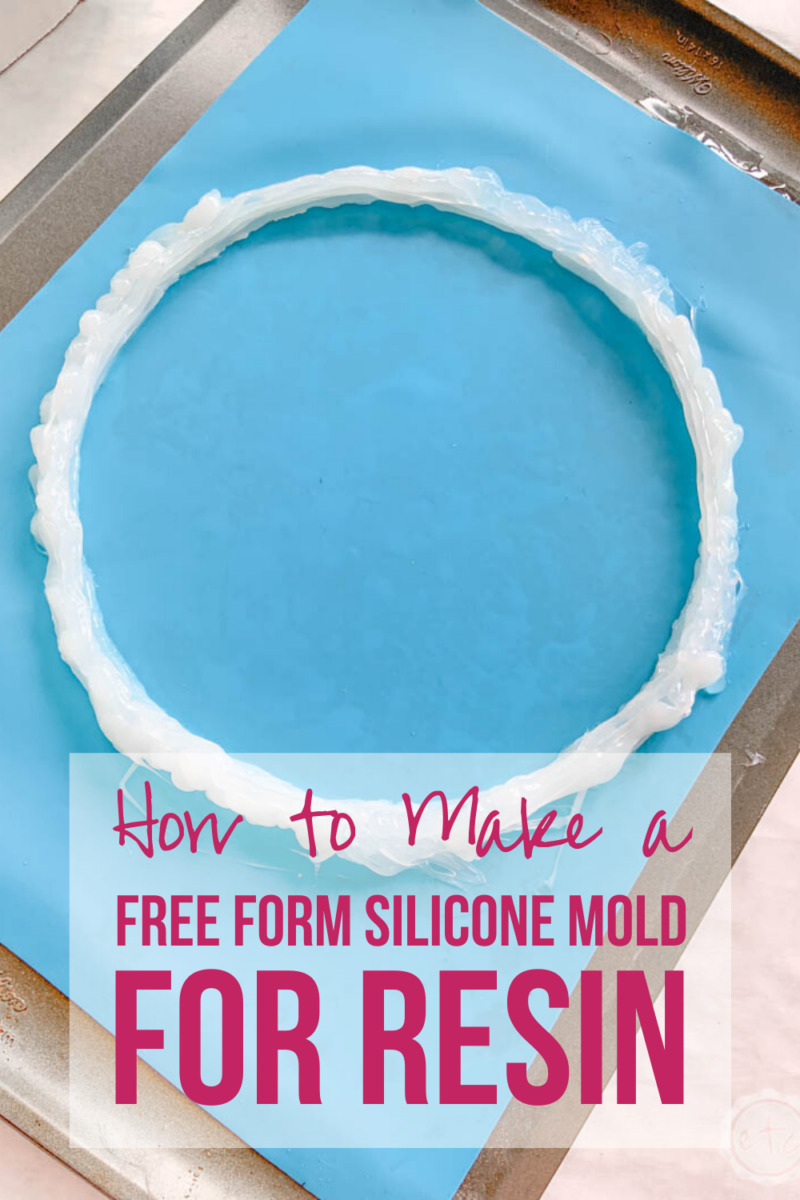
Step 2: Lay Down 1 Layer of Silicone
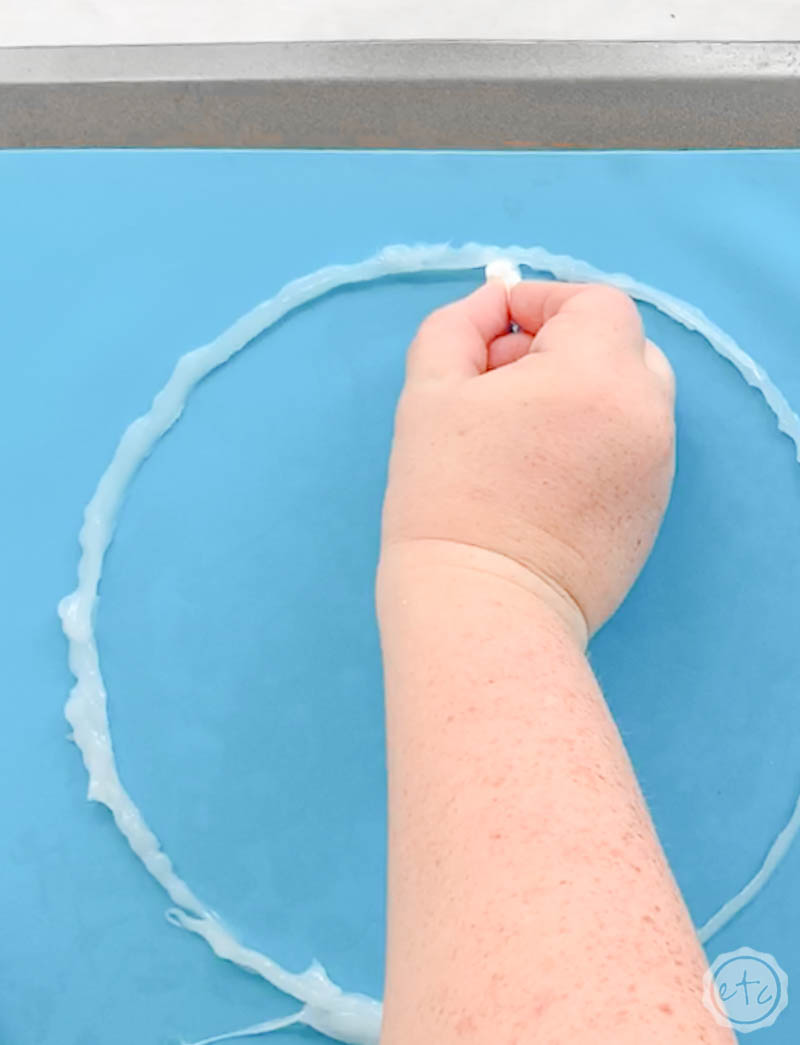
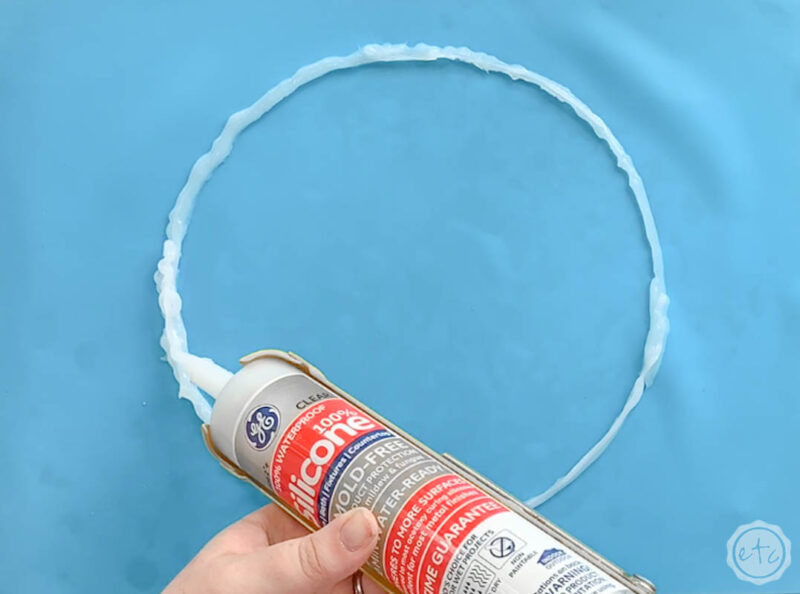
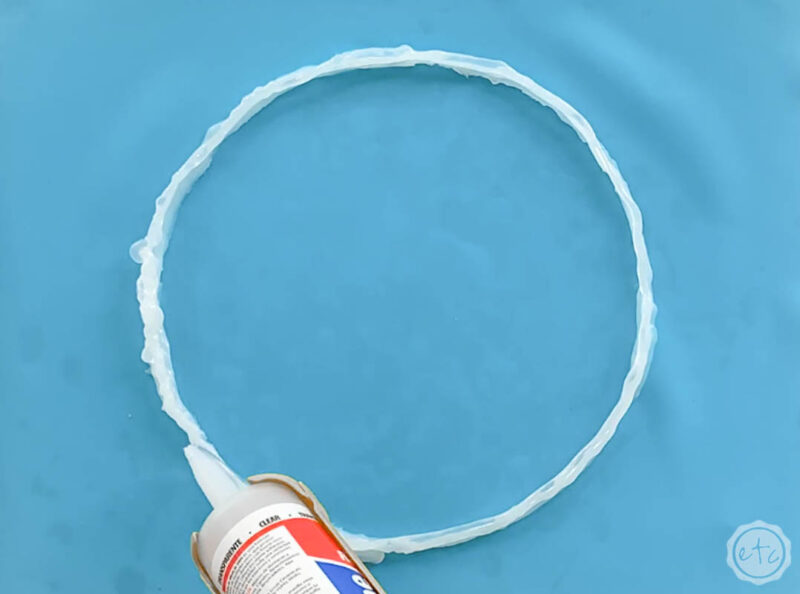
Now that we’re all set up it’s time to get down to business. Take your caulk gun and gently squeeze the handle until you see caulk start to squeeze out of the tube.
Now you can trace your shape (or draw your shape… whatever floats your boat). Make sure to go slow and stead so that your mold is as smooth as possible and don’t leave any gaps.
Any gaps or holes in the silicone are potential escape routes for resin and that means a major mess.
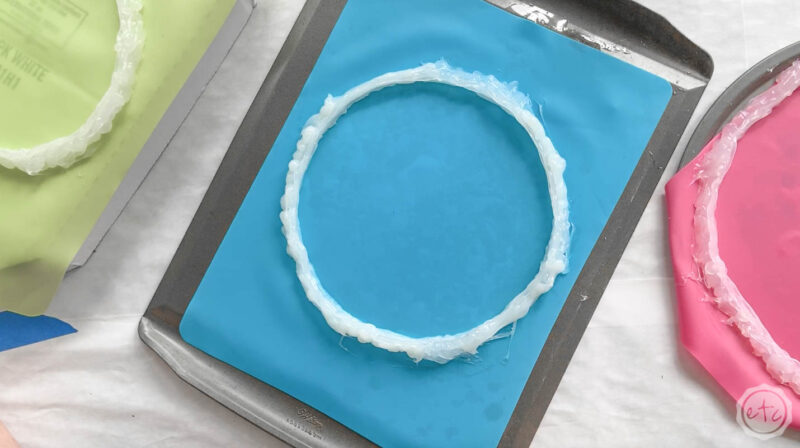
Step 3: Clean Up Layer 1
Once you’ve put down your first layer of resin look over the inside of the shape… are there any weird areas? Smooth them over with your finger or a bit of paper towel.
Just remember that any area with silicone will repel resin so if you wipe up a a bit make sure it’s all the way gone… even leaving behind a residue will give you trouble spots in your bottom layer of resin.
Once you’ve got the entire inside ring of your mold clean and smooth leave it be for about 5 minutes… this will give the silicone time to firm up before we add the next layer.
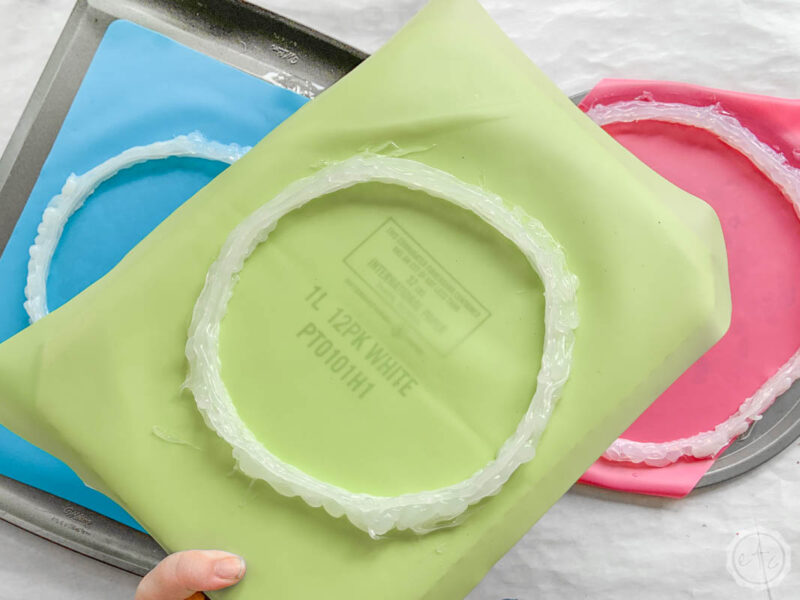
Step 4: Repeat Steps 2 & 3
Now you’ve got it! Unless you want to cast a very shallow layer of resin we need to beef this baby up.
Especially if you’re making a tray… you want your tray to be strong enough to carry things on so you need it to be thick! Which means multiple layers of silicone.
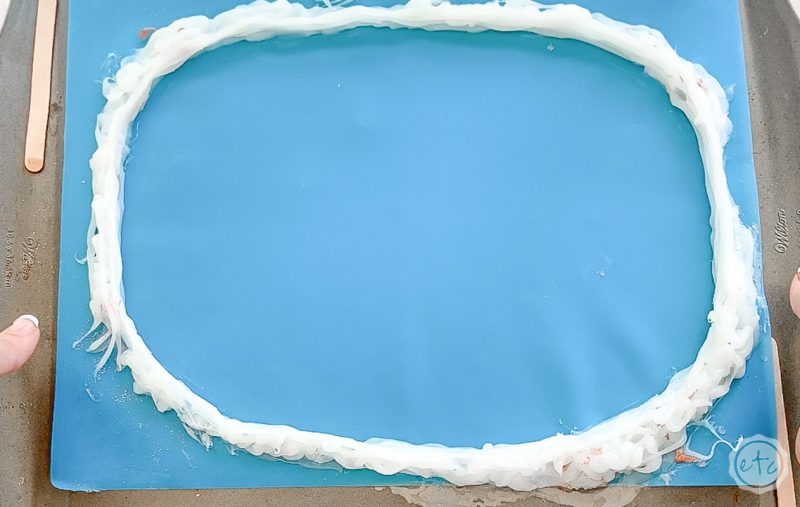
Go ahead and trace a second layer of silicone directly on top of the first layer. Then smooth out the inside leaving no problem areas. Keep repeating this process until you’re happy with the depth of your silicone. I tend to go 3-4 layers high depending on the project.
Any higher than 4 layers and you’ll start to have a leaning tower of pisa situation… so be careful!

Bonus Tip: I like to use these little free form molds for geode like trays so I’m happy to leave my silicone rough and bumpy. If you want the edges of your silicone pieces to be smooth take a gloved finger, a little water and a little dawn dish soap and smooth out the silicone as you add layers. Beautiful darling!
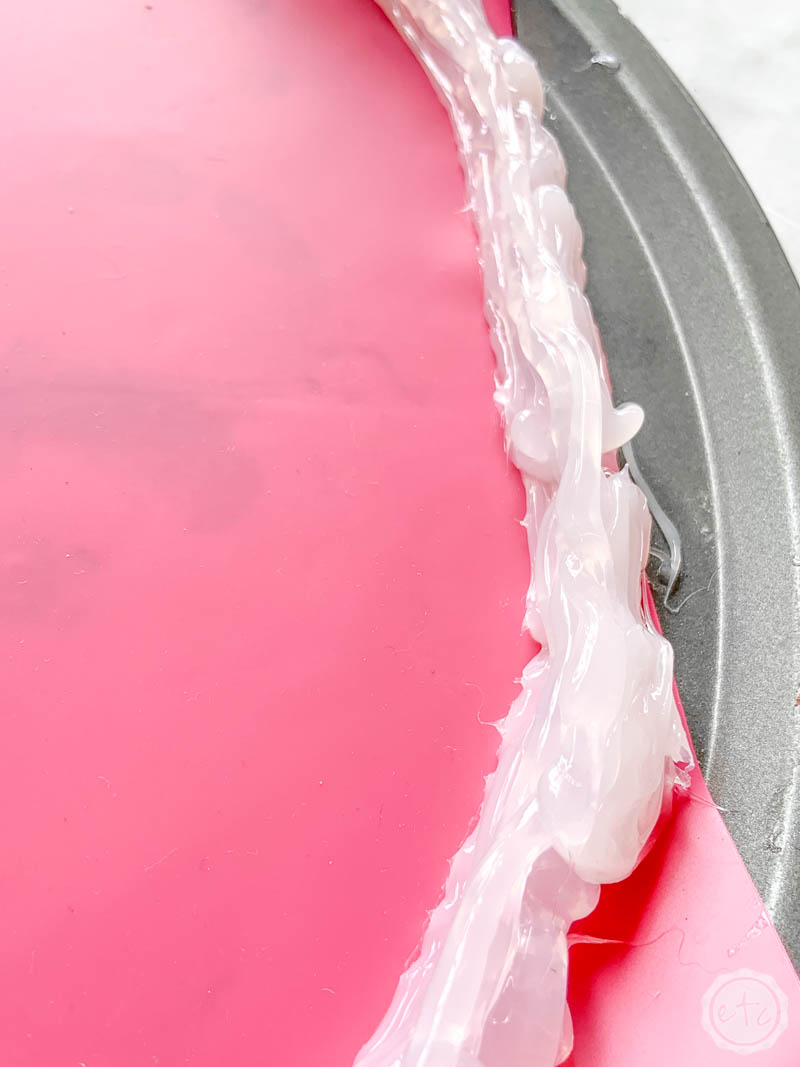
Step 5: Fill any Holes, Reinforce your Walls
Last but not least we need to fill in any holes in the outside layer. Once we have all 4 layers complete pick up your tray and look around the entire mold. If you see any holes or areas where resin could escape then take your silicone and fill the hole from the outside of the mold.
Once you plug the hole you can smooth out the inside if you need to!
Make sure you go all the way around and there’s no potential problem areas!
If you have any parts of your walls that are falling over simply add a bit of silicone to the outside of the wall and anchor it to the silicone mat. Beefing up the walls will give the inside ring of silicone something to hold onto and they should straighten up.
Since I’m going to use these molds over and over (re-useable budget friendly molds baby!) I like to add a beefed up, extra thick, second layer of silicone all the way around the outside of my mold. You can skip this step if your mold looks good and you’re only planning to use it once!
Step 5: Let the Silicone Cure
Now let your silicone cure! Set it in a clean dry room and leave it for the amount of time the tube says… typically anywhere from 40 minutes to 4 hours.
I’ll be honest… I’ve cast resin into a silicone mold after about 40 minutes and it works but if any parts of the mold aren’t 100% cured the wet silicone melds to the wet resin and becomes part of the piece. Which is not great.
I like to let my molds sit over night just to be 100% sure they’re dry and ready to rock.
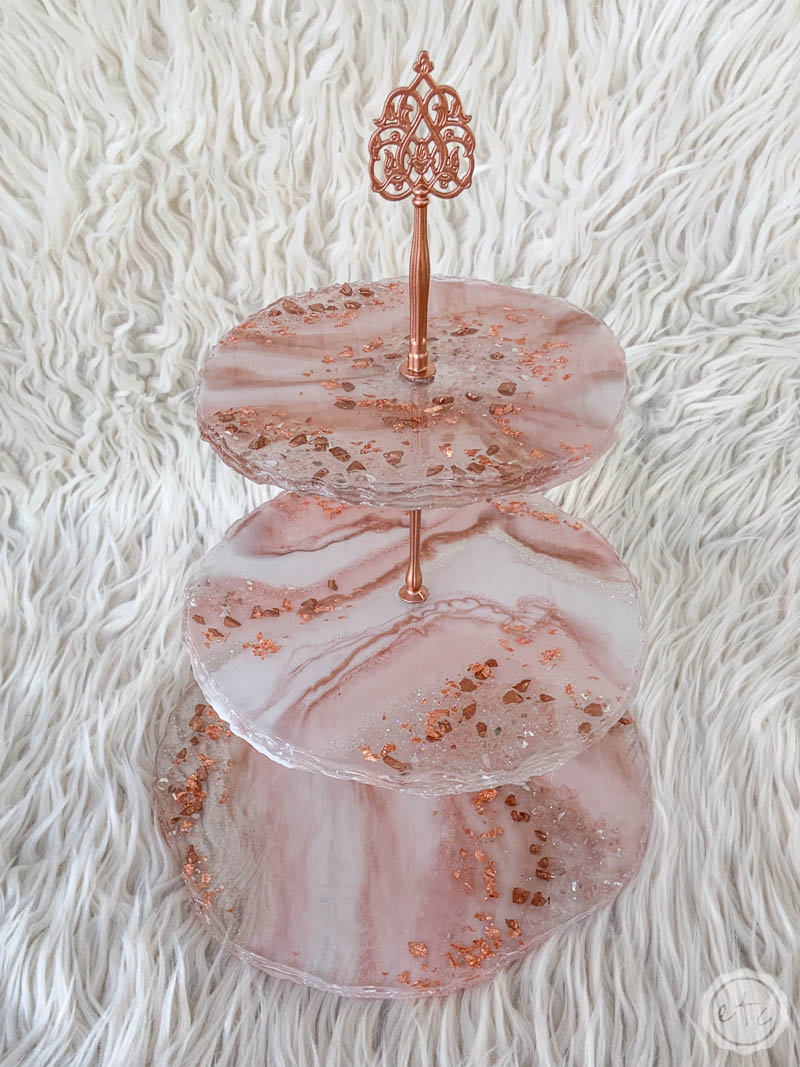
See how pretty this set of molds for my 3-tier tray turned out?
Step 6: Use your Molds
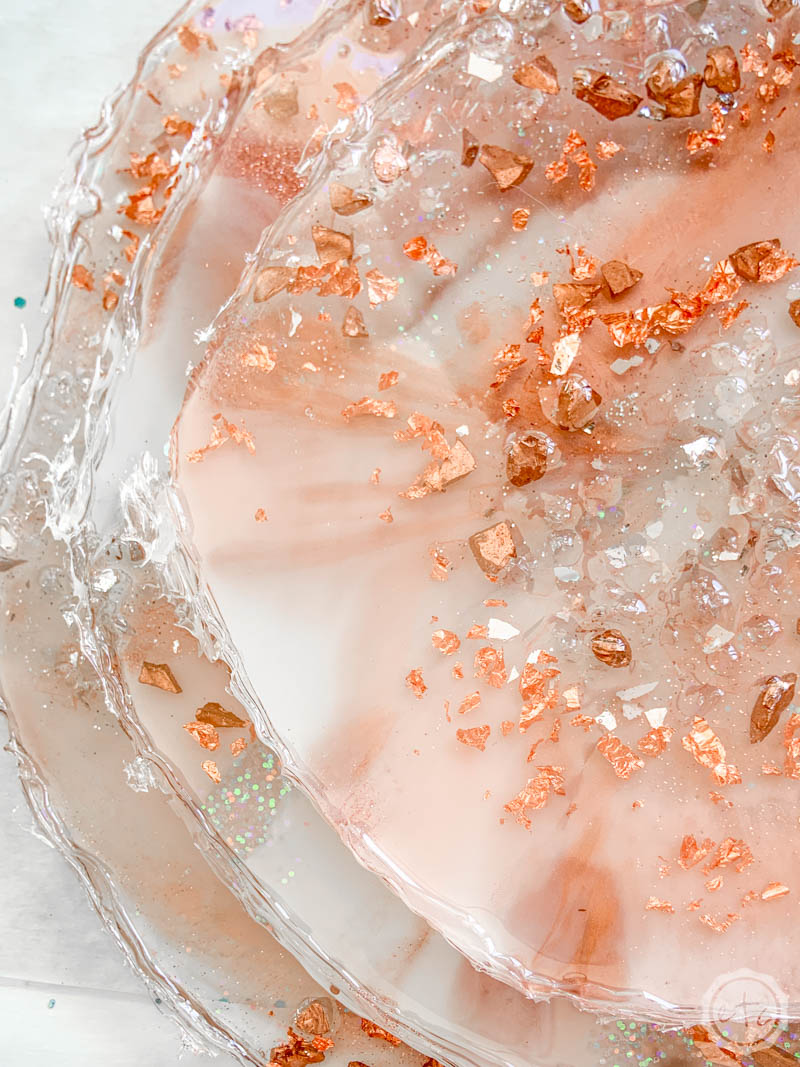
Now just look at the end results!
The resin pieces up above are straight out of the molds we just made! You can see how the sizes worked perfectly (just like our paper towel templates!) and the edges are a bit rough like our silicone walls.
I do take my dremel and smooth these out a bit (just to knock any sharp pieces off) but over all I love the rough uneven look for these trays!
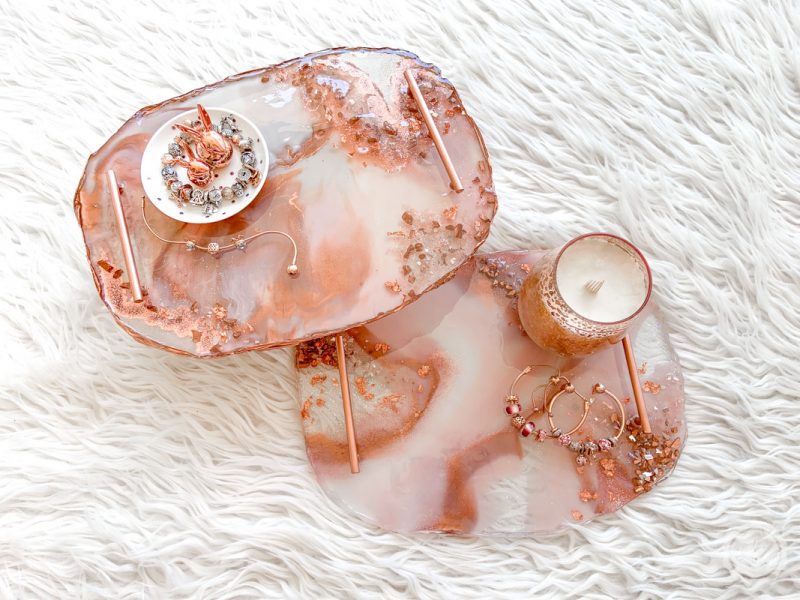
Want another example? Check out these amazing blush and rose gold trays we made with the free form oval mold I showed you up above. Aren’t they amazing!?
Looking for more resin projects? I’ve got you covered!


I love your work, Can you please tell me where you purchased the hardware for the 3 tiered cake stand. I would love to make it and the matching tray. It is absolutely stunning.
Thanks,
Lily
Thank you lily! You’re so sweet! I’m actually working on a post for the 3-tier tray as we speak but in the meantime you can find the hardware for the 3-tier tray right here! https://rstyle.me/+3h0w2lBYn8X9PjLS3z4hTQ There are lots of options so pick one you like! None of them are rose gold like mine… but that’s because I painted mine with the copper paint I use for my trays. Hope that helps!