


I’m back with another dollar store resin project!!! Y’all absolutely LOVED this little galvanized resin tray project so I’m working on a few different dollar store projects… today we’ll add resin to this cute little blue serving tray and next week we’ll tackle a few little white coasters with Rae Dunn inspired words.
It’s going to be amazing.
The best part of these little dollar store projects is that they’re inexpensive (yay!) and super easy!!
Plus a geode inspired inlay makes just about any piece a bit more sophisticated… and these little dollar store projects are no exception.
Ready to jump in?
Supplies:
- Blue Plastic Tray
- Amazing Clear Cast Resin
- Respirator/Mask (resin graded filters)
- Gloves
- Wagner HT400 Heat Gun
- Freezer Paper
- Baking Pan
- Silicone Mat
- Silicone Mixing Stick
- Small Mixing Cups
- Silicone Measuring Cup/Larger Mixing Cups
- Reusable Silicone Stir Sticks
- Pink Pearl Craft Paint
- White Alcohol Ink & Pearl Alcohol Ink
- Rose Gold Glitter
- Copper Oil Based Paint
- Rose Gold Flakes
Dollar Store Tray Resin Inlay Tutorial
Step 1: Mix your Resin
Let’s get started!
We’re going to start by laying down a bit of freezer paper to protect our work surface and putting on our protective gear… then we can start to mix our resin! In this case I mixed about 250ml of clear resin in a large silicone mixing cup. If you haven’t mixed resin before don’t worry… you can follow this tutorial on how to mix resin for beginners.
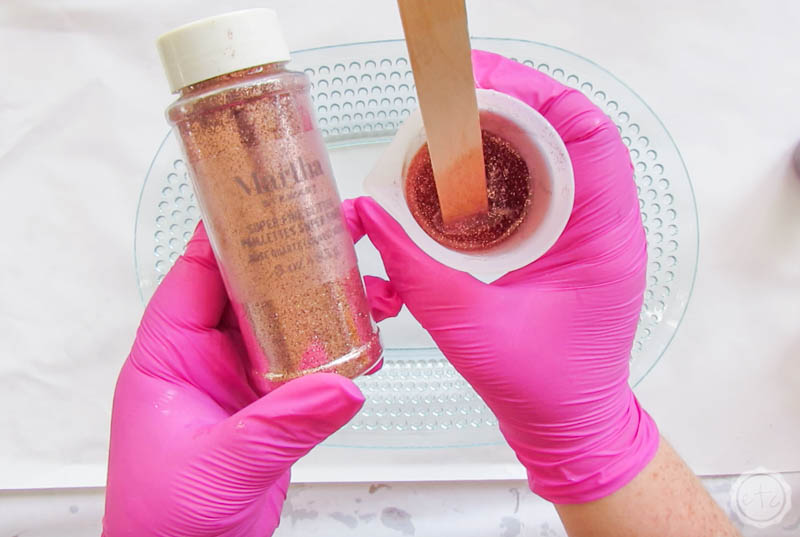
Once your clear resin is mixed you can divide it into smaller silicone cups with your pigments, glitters and colors. In this case I mixed about 50ml of blush, 50ml of white and 50ml of clear/rose gold flakes… then I went ahead with 30ml of rose gold glitter and 30ml of copper… that will leave about 40ml of clear resin in your mixing cup which you can use later on if you run out of any specific color.
Score!
Let’s start pouring!
Step 2: Pour your Resin
Alright y’all, I’ll be honest… the hardest part of this entire project is not dripping resin onto the sides of this little blue tray.
Luckily you can use your glove or a paper towel to clean it up if that happens… just make sure to clean up any drips or spills while the resin is still wet!
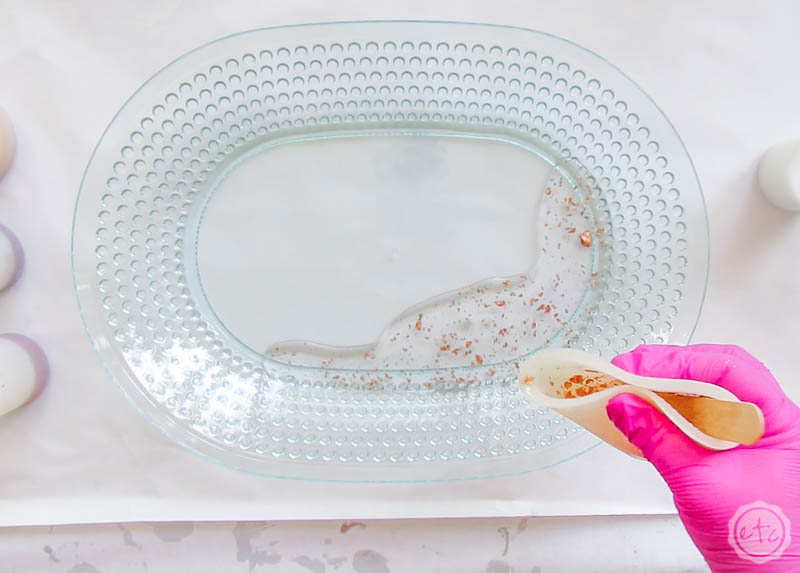
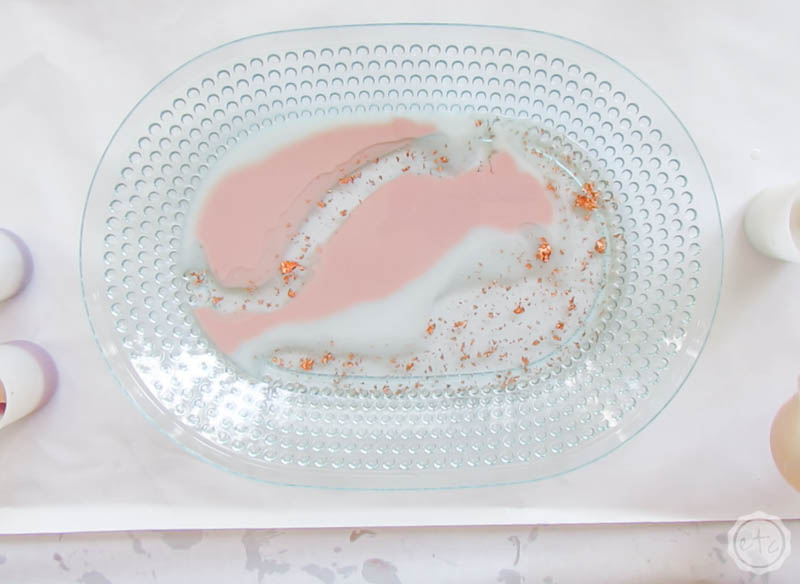
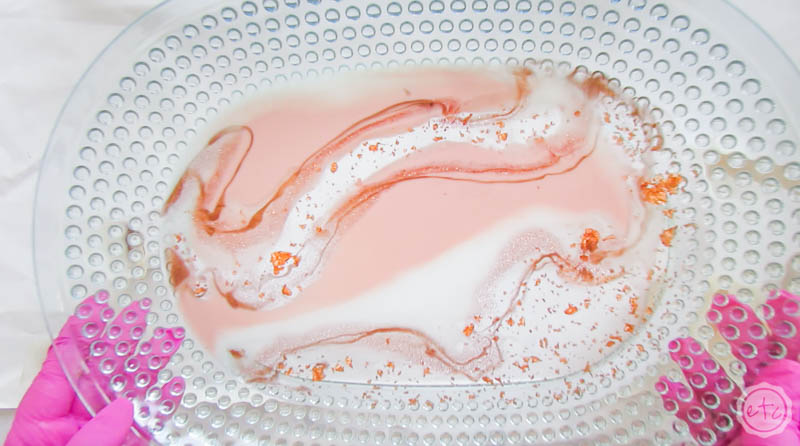
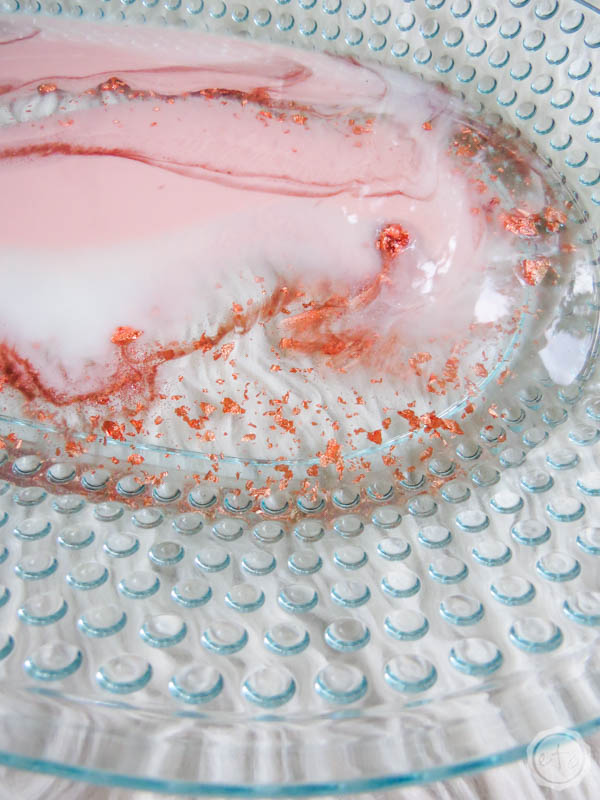
As far as our resin goes we’re going to start with our larger cups… the blush, white and clear with rose gold flakes. I like to add the clear/rose gold flakes first… in the bottom corner and then snaking through the middle of the tray. Then you can add larger areas of your blush and white until the entire bottom of the tray is full.
We haven’t mixed toooo much resin for this little tray but you should still be conscious as you’re pouring that your resin layer doesn’t get too thick. Not only would a thick layer of resin look a little strange in the bottom of this tray it would get hot… the thicker the resin the hotter it gets when it cures! And hot resin may crack the plastic so remember… in this case a thin layer is always best.
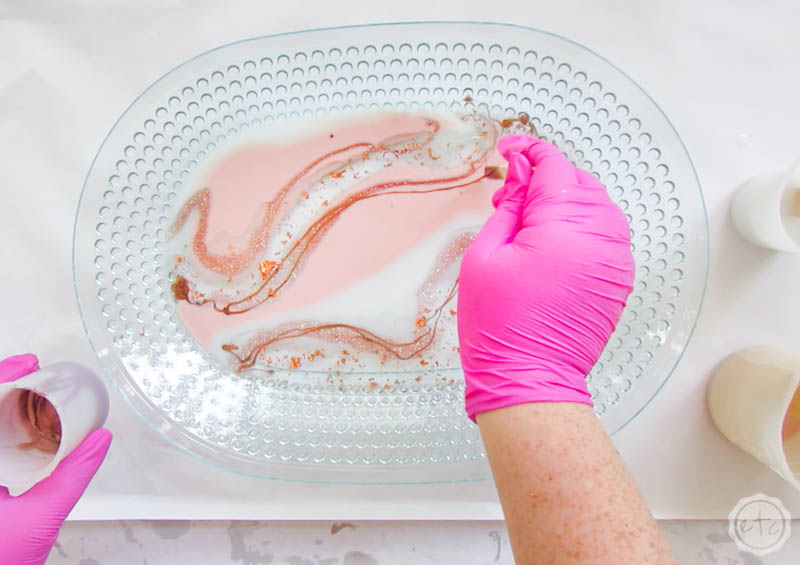
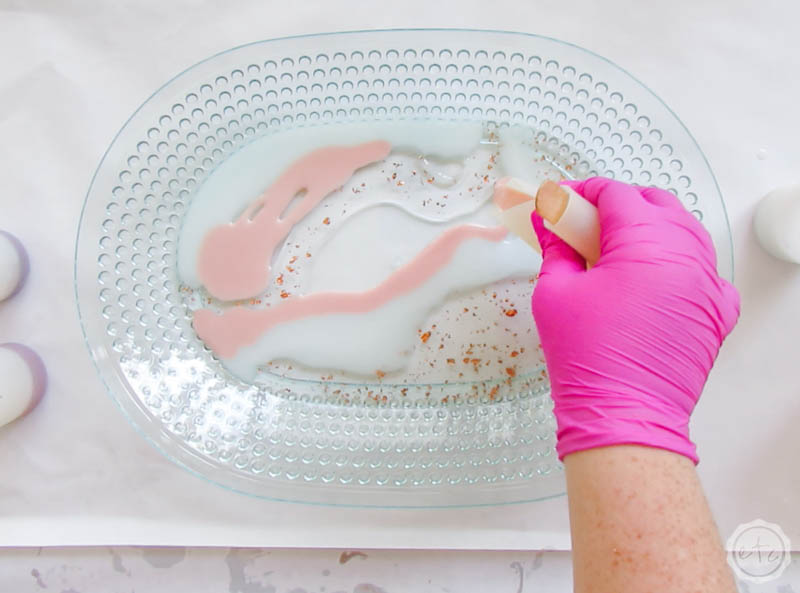
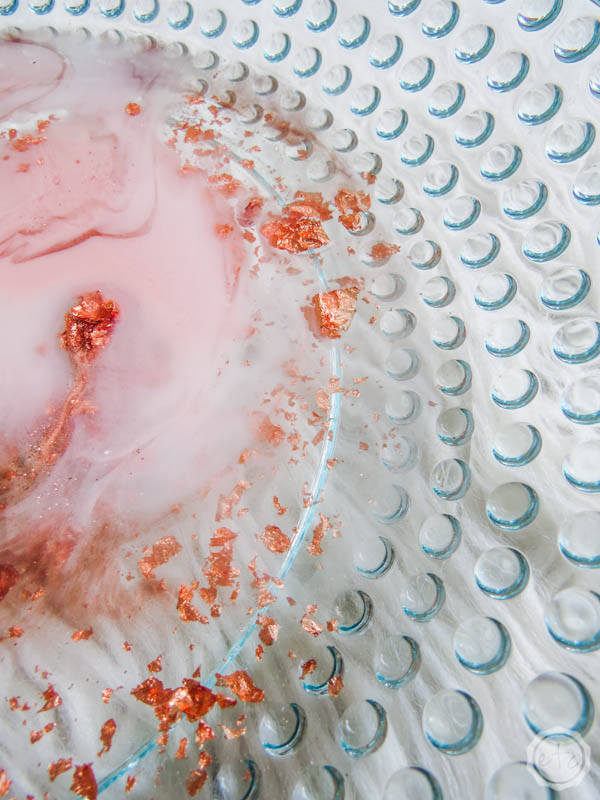
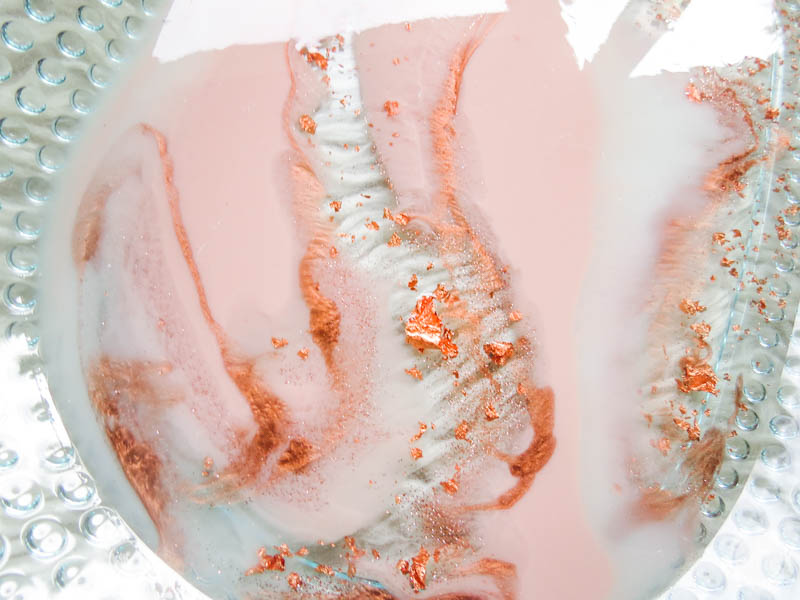
Once you have your 3 main colors in place you can use your stir stick to add a little dimension… and by dimension I mean the copper and rose gold glitter resins!
I like to use my stir stick to add these colors so that they are really thin lines of color and don’t glob in large areas… yes I said glob.
Glob is a word, ok?
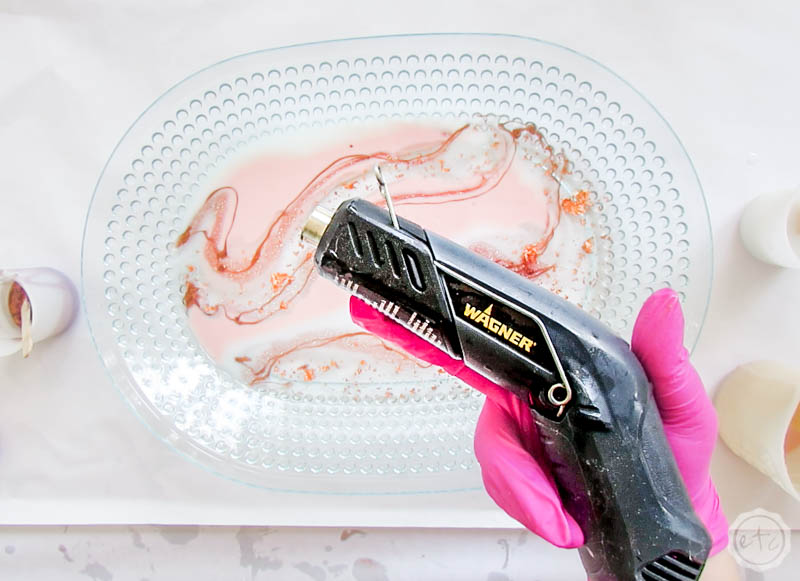
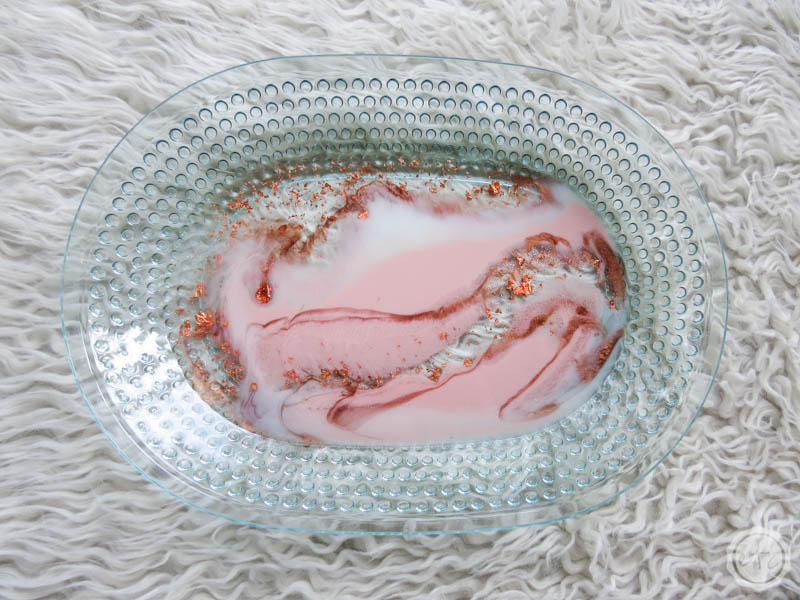
Add your copper and rose gold glitter in lines back and forth across the seams of the larger colors until you love how they look. Once you’re done it’s time for the heat gun!
You’ll plug this baby in and turn it to hot… then you can use it to pop any bubbles across the surface of your piece. You can also use it to move the colors around a bit and blend any edges together.
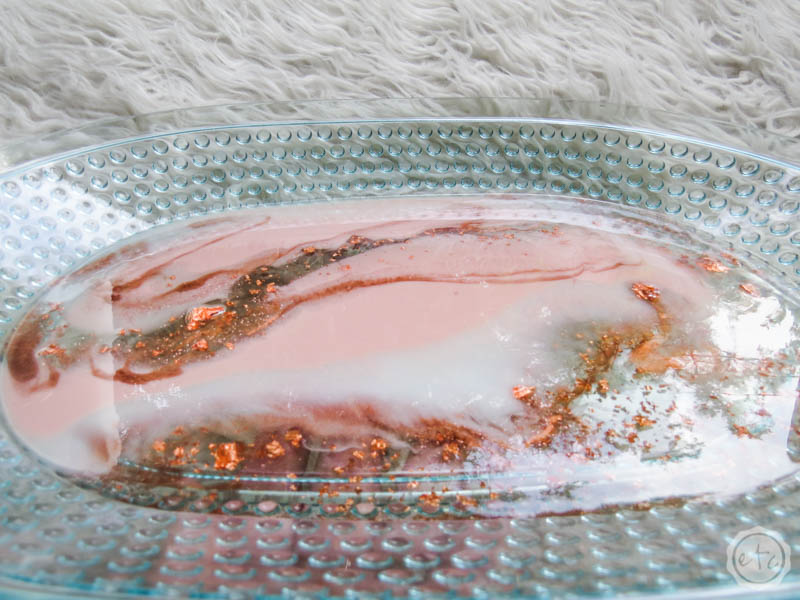
Beautiful darling!
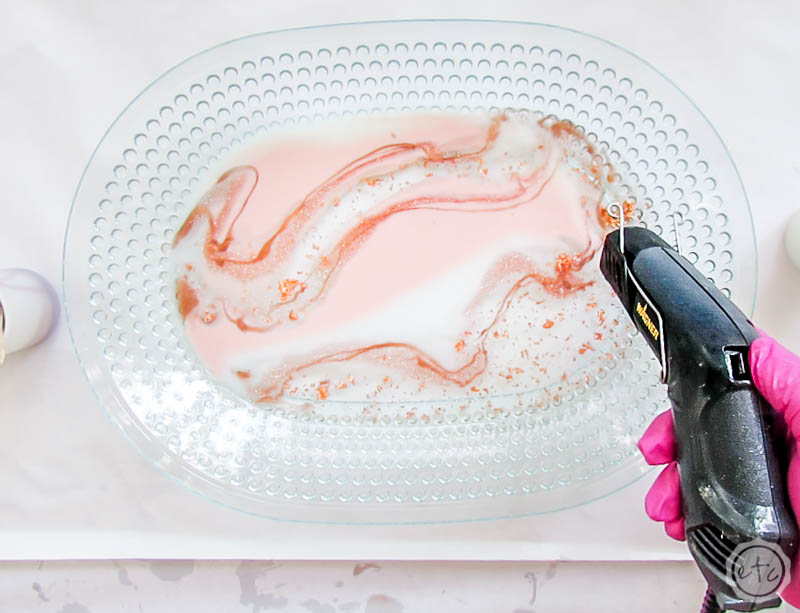
Doesn’t it look beautiful?
At this point you’re alllllmost done! You need to leave this baby to cure! Go ahead and cover it with a bit of cardboard and leave it for at least 24 hours… then you’ll be ready to rock!
Keep in mind that dry and cured don’t necessarily mean the same thing. Make sure you wait a full 7 days for a true cure… then you can safely put items on your tray or use it as a serving piece (if you used a food safe resin like amazing clear cast).
Let’s take a closer look!


Looking for more resin projects? I’ve got you covered!


Leave a Reply