


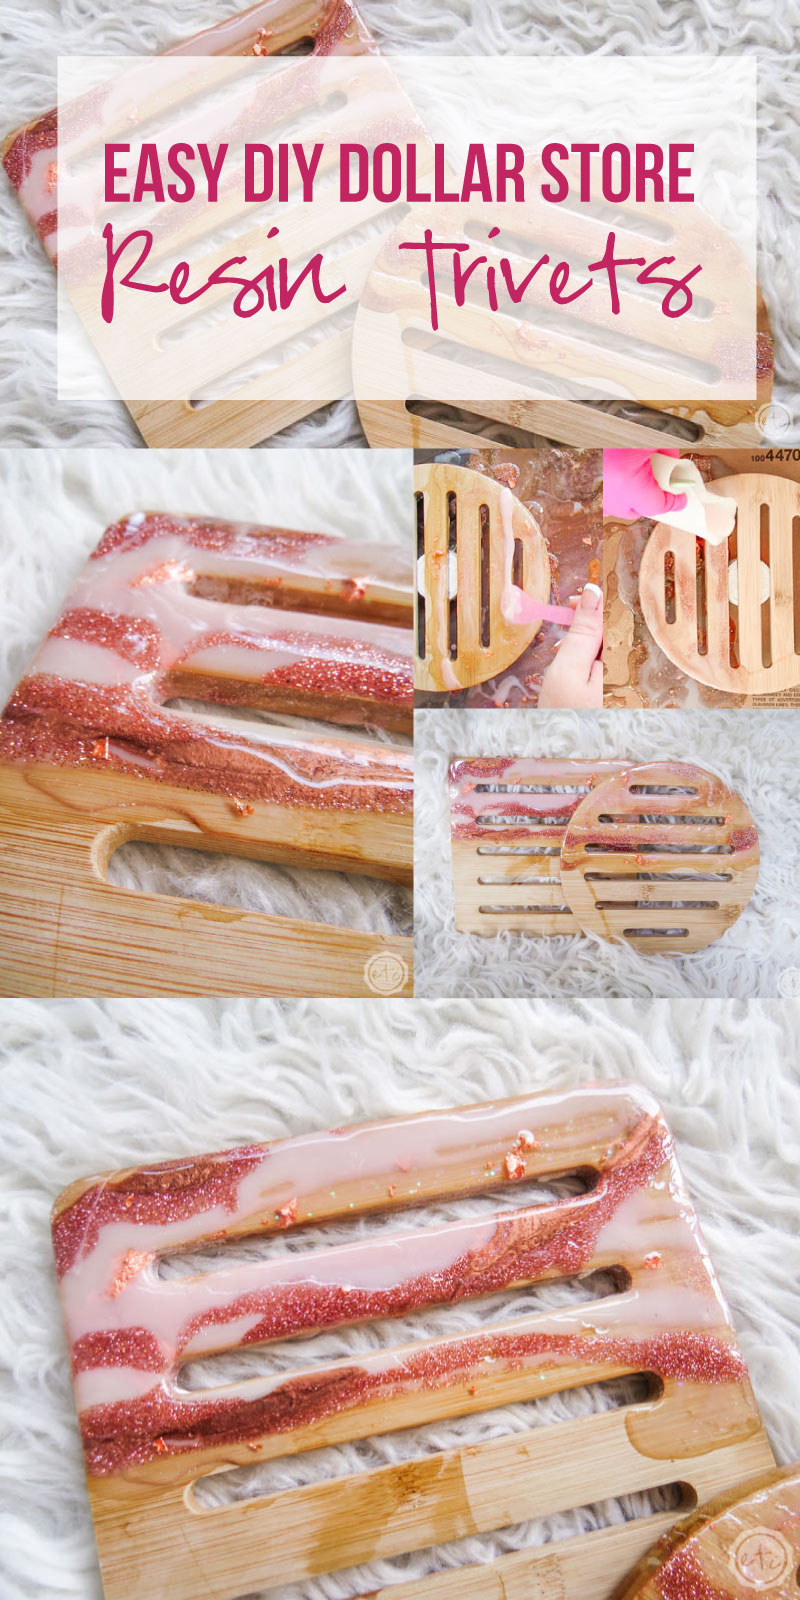
Ready for a quick and easy beginner level project? These little resin covered trivets are so pretty and they look amazing in your kitchen (especially with a few other pretty rose gold and blush resin pieces: like these storage containers, or the matching cutting boards… or even this amazing resin tray!).
In fact if you’ve already made the cutting board this tutorial will look really familiar… since it’s essentially the same project but with trivets!
Of course, if you’ve never heard of a trivet before you’re in for a treat. These little babies can go on your kitchen table or counter to set hot pots or pans on and project the surface. My mama used them when I was growing up and I still love to keep a few in my kitchen.
Ready to get started?
Supplies:
- Wooden Trivets
- Amazing Clear Cast Resin
- Respirator/Mask (resin graded filters)
- Gloves
- Wagner HT400 Heat Gun
- Freezer Paper
- Baking Pan
- Silicone Mat
- Silicone Mixing Stick
- Small Mixing Cups
- Silicone Measuring Cup/Larger Mixing Cups
- Reusable Silicone Stir Sticks
- Pink Pearl Craft Paint
- White Alcohol Ink & Pearl Alcohol Ink
- Rose Gold Glitter
- Copper Oil Based Paint
- Rose Gold Flakes
- 2 small containers/lids/silicone cups
How to Pour Resin Trivets:
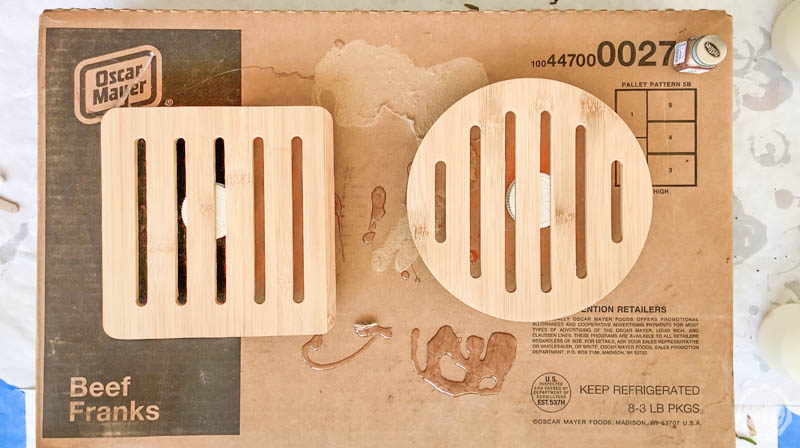
Step 1: Prep your Piece
Alright first things first… let’s address the elephant in the room. The giant oscar mayer beef franks box I’m using in lieu of my normal baking pan and silicone mat. On this particular day I was making 4 or 5 resin projects and I ran out of baking pans… and no I don’t buy beef franks by the box full. My mama (the box hoarder) grabbed this box from a pile outside the grocery store when we were packing my stuff to move… it didn’t have a lid so I stole it for this resin project.
And that’s all I’m going to say about that.
On to the actual project!
Once you put down your *ahem* beef franks box (baking pan and silicone mat) you want to place each of your trivets on a little pedestal so that the resin can drip off the trivets and not glue your piece to your box (I mean silicone mat).
Of course, any resin that drips off your trivet will make little drips on the trivet itself. You can handle this a few ways but the easiest two are 1) let it drip and then use a sanding tool (like a little handheld dremel) to sand down the drips so that you’re back to the trivet or 2) carefully add painters tape around the bottom edge of the trivet so that you can simply peel the tape (and the drips!) off your piece.
Using the dremel is much easier and faster than adding blue tape around a curved edge BUT the dremel will leave you with a slightly different texture to the exposed trivet. Since this is the back of the trivet that doesn’t bother me but everyone has their own opinion!
Now it’s time to mix our resin
Start by mixing about 500ml of resin in a large silicone cup (this is enough resin for two trivets… you can cut the amount in half if you’re only making one!). Once your resin is mixed you can separate it out into the smaller silicone cups with the proper colorants and glitters… I ended up with 100ml of blush, white, clear with rose gold flakes and interference violet and only 30ml of copper and rose gold glitter.
That left about 40ml of clear resin in my larger cup which can act as backup if I run out of a color!
Perfect!

Bonus Tip: If you’ve never mixed resin before you can follow my tutorial for how to mix resin here! Enjoy.
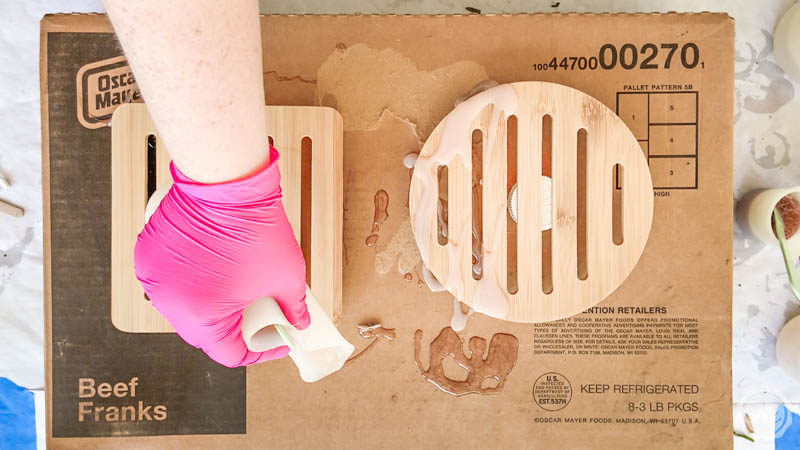
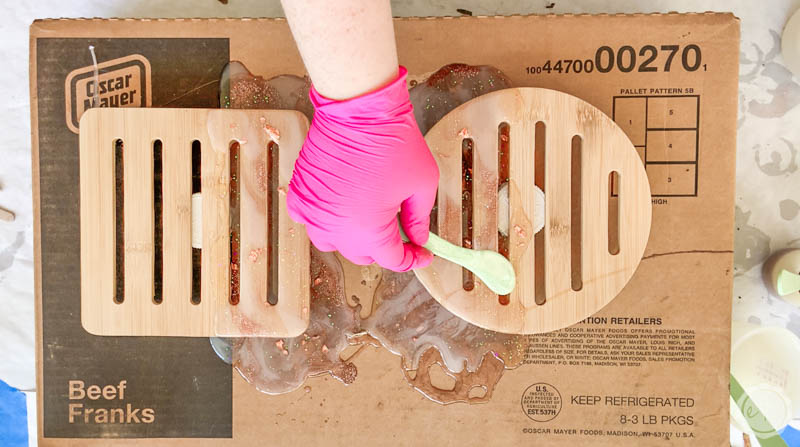
Step 2: Pour your Resin
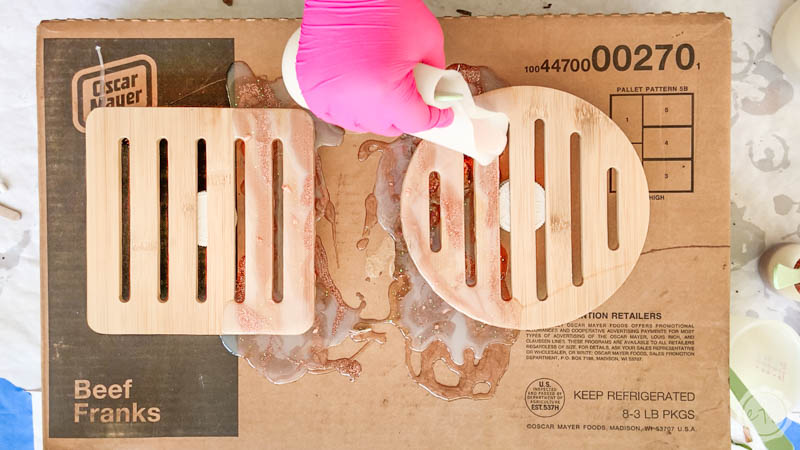
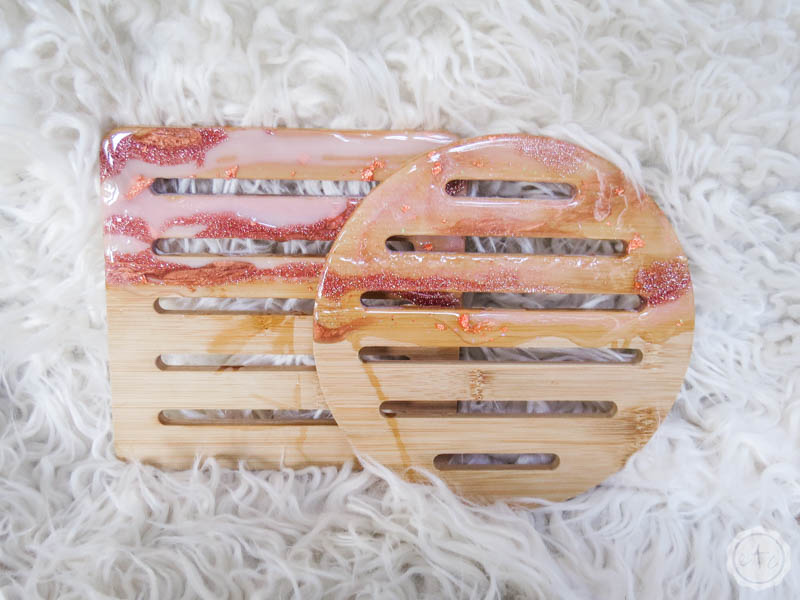
At this point we can start to pour our resin onto our actual trivet… starting with the basic colors (the white, blush and clear with rose gold flakes). Once you’re happy with the base you can start to add the darker colors (like the copper and rose gold glitter) in thinner sections across the seams of the larger areas.
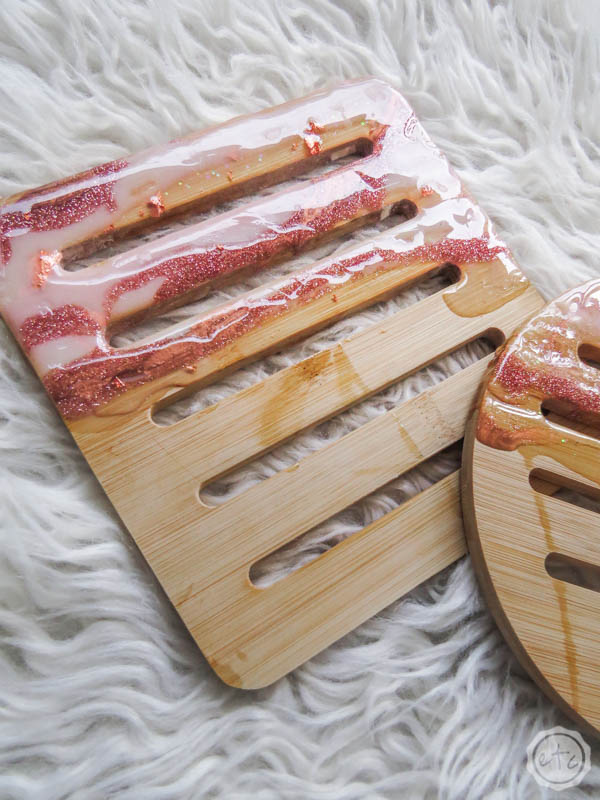
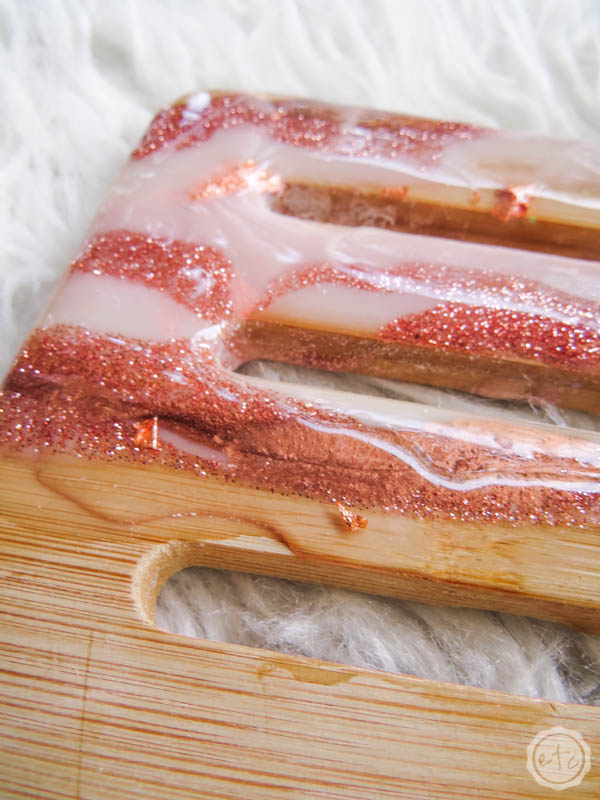
This creates a nice geode like look with the glitter/metallic copper looking like veins in the rock. Of course, since these trivets have open cracks for the heat to escape you’ll have plenty of resin dripping down the sides as well as inside the cracks. That’s ok just keep adding resin as it settles until you’re happy with how it looks!
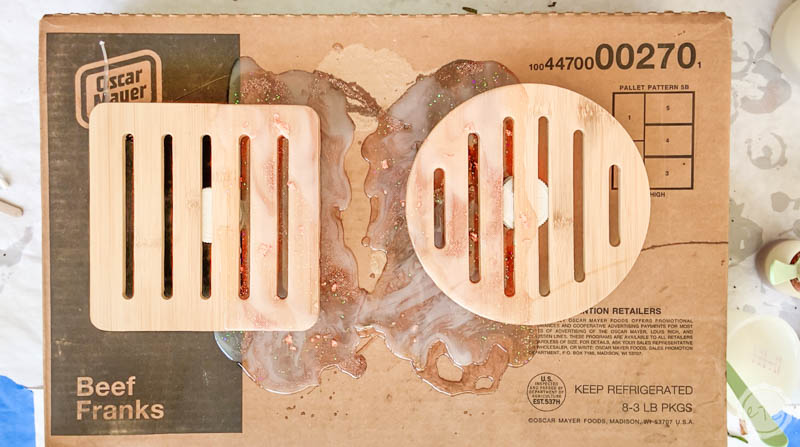
Once you’re happy with the first layer you can use your gloved finger to carefully smooth resin all along the edges… and a tiny stir stick to smooth out the edges inside the cracks. This way it will smooth on all of the sides and the drips on the bottom will be at a minimum!
Now go ahead and repeat this process for your second trivet… then set both trivets aside to cure for about 6 hours. Making sure to cover them with cardboard so little pieces of dust or hair don’t cure into the resin!

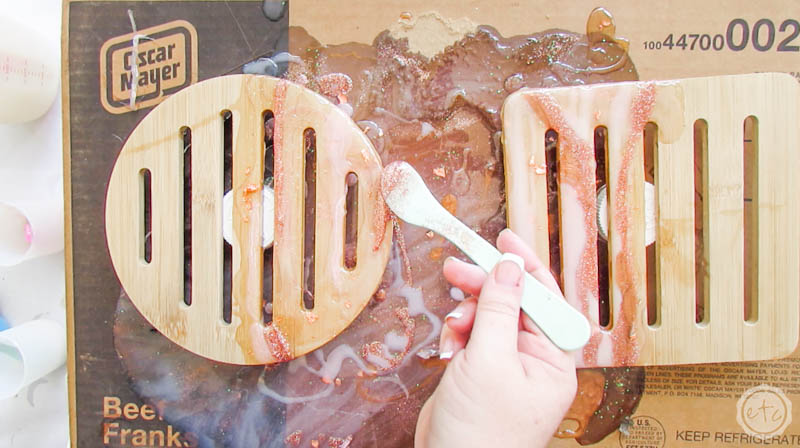
Step 3: Add a Second Layer of Resin
Here’s where the magic happens… during the second layer. Now that the first layer of resin has dried you can see how much the wood has taken in the resin leaving us with a very monochromatic look to our resin.
Not the vibrant colors that we want!
Of course, resin is expensive so if you want to stick to only one layer of resin you can paint the area of your cutting board under the resin FIRST. This will seal off the wood and prevent it from absorbing the resin… the resin will stay on top of the paint and the vibrant colors will stay vibrant.
But you won’t be able to see the wood grain through the resin… and you will be able to see paint.
Which is why I prefer a 2 layer resin process for my little cutting boards!
Luckily the second layer is identical to the first… mix 500ml of resin and separate it out in the same ratios of color. Then start to pour your resin directly onto your cutting board!
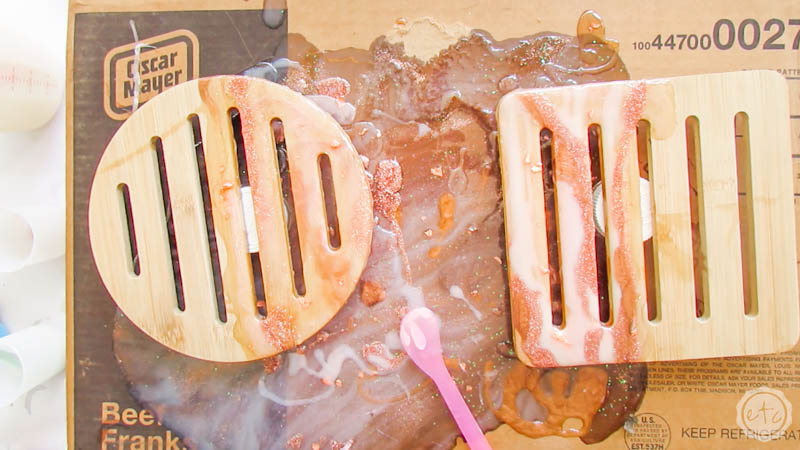
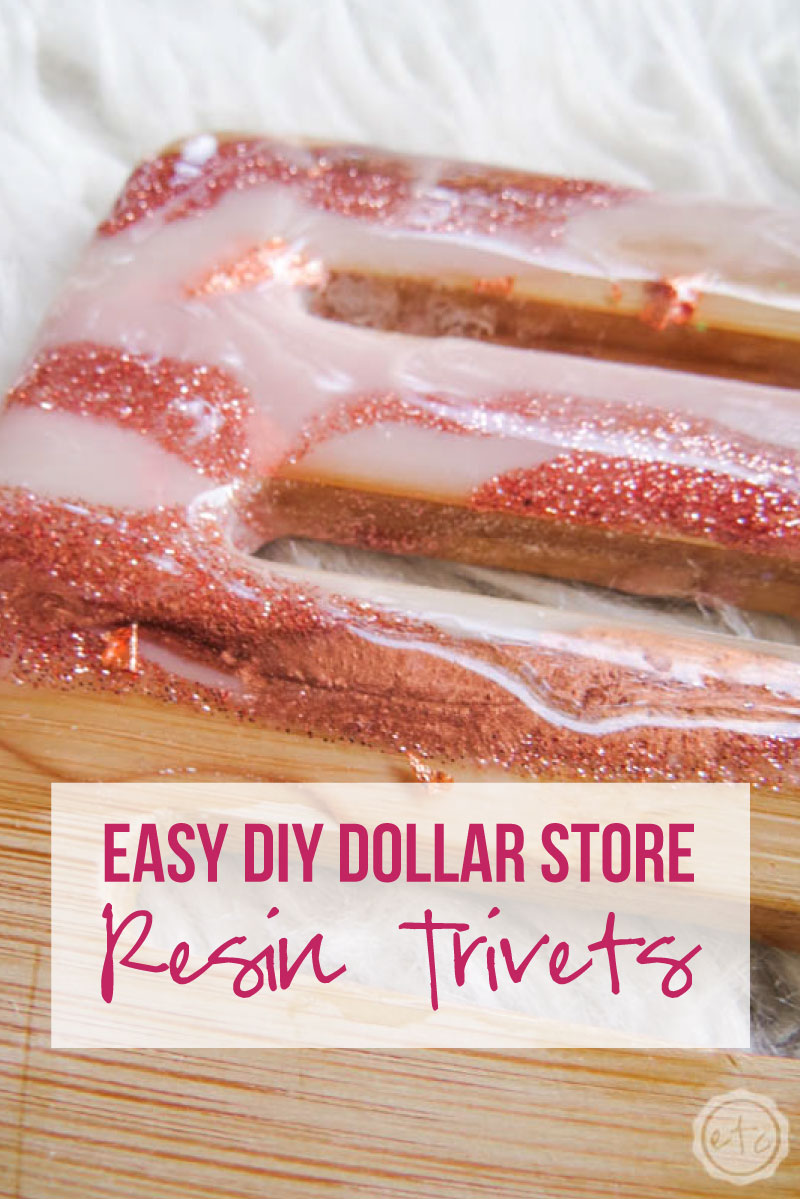
Make sure to watch how you pour the second layer since you’ll be able to see the first layer through any clear areas of resin… this leaves a really pretty dimensional look that you can’t re-create! I just love all the layers.


Once all of your resin has been poured make sure to pop any bubbles that have risen to the surface with a heat gun. Then cover your cutting boards and let them dry for a full 24 hours.
Beautiful darling!!!
Ready for the close-ups?
One last note… since these are trivets it’s not as important (you shouldn’t be putting food directly on them…) but you may use them around food. They’ll be food adjacent if you will. Which means you need to remember that Amazing Clear Cast resin is only food safe after curing for a minimum of 7 days and cannot go in the microwave or dishwasher.
Handwash only baby!
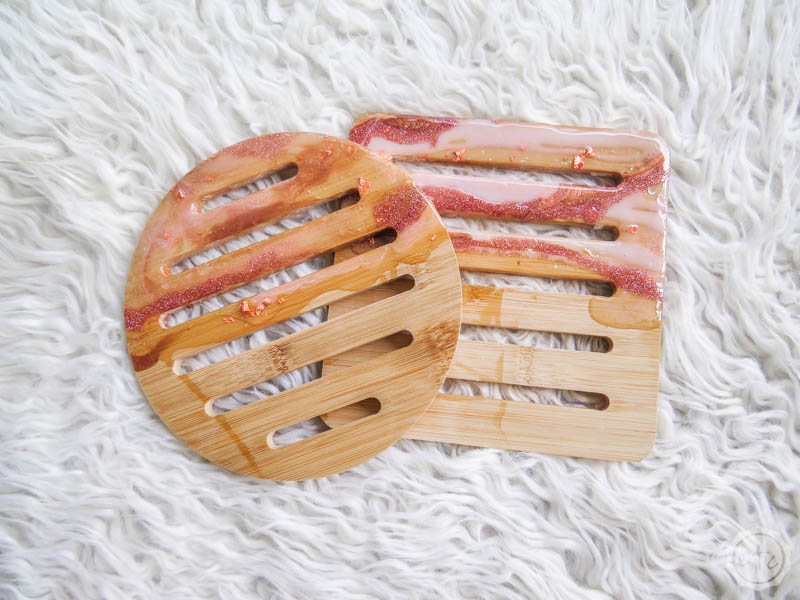
Ready for the pretty after shots?!


Looking for more resin projects? I’ve got you covered!


Leave a Reply