


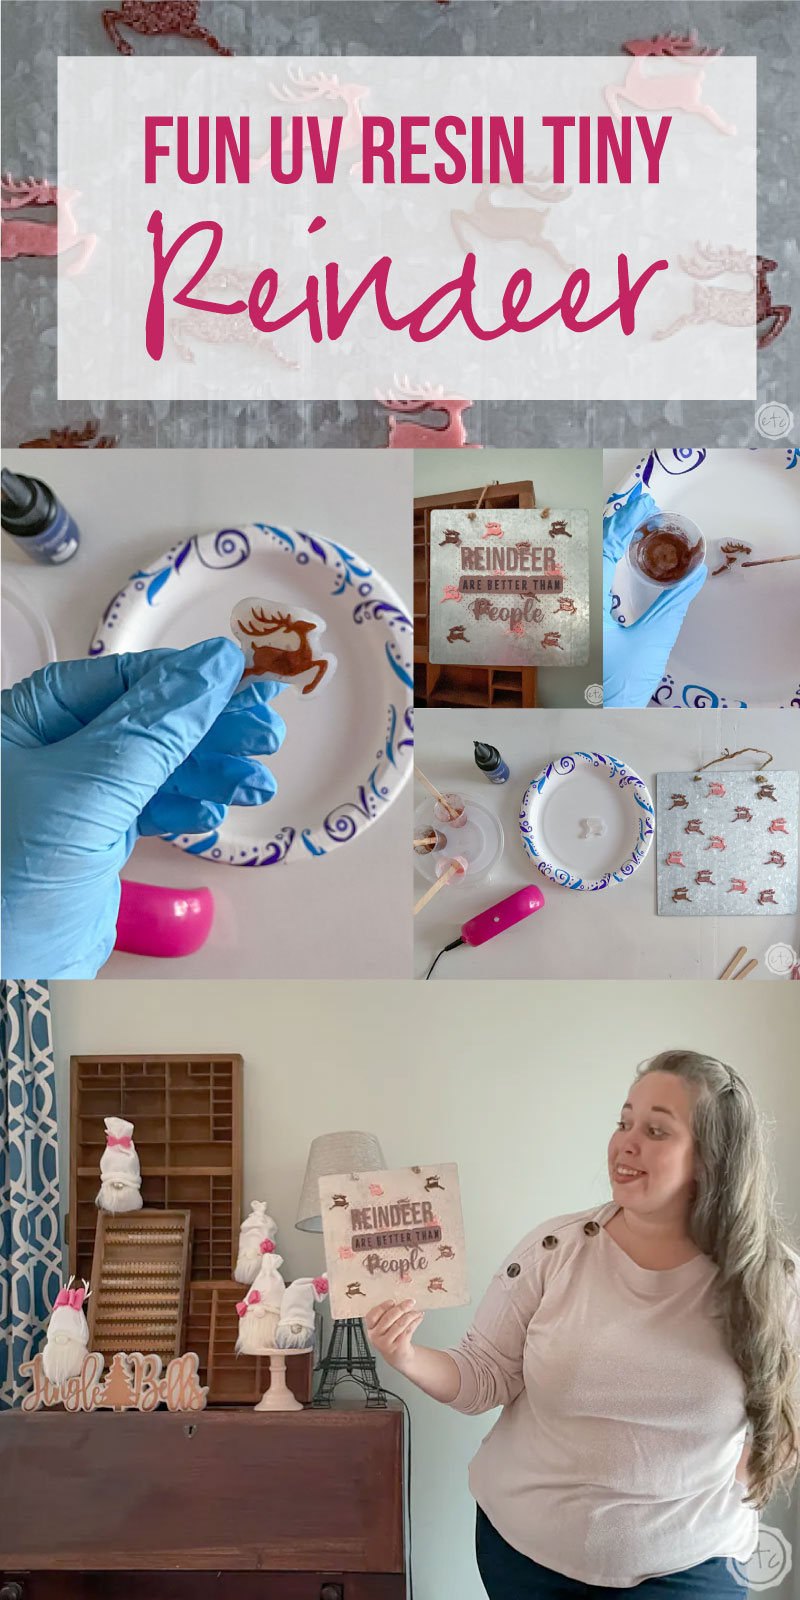
Last month I finally broke out the UV Resin and made a few fun fall projects: a tiny resin acorn and a fun fall branch necklace. They both turned out super cute so when I found this itty bitty, teenie tiny reindeer mold I knew exactly what to do with it. Tiny UV Resin Reindeer.
They’re SO CUTE!
Luckily they’re easy to make (even if you’re making a bunch of them like I am!) so you can try this project even if you’ve never tried resin before… I’ll walk you through it.
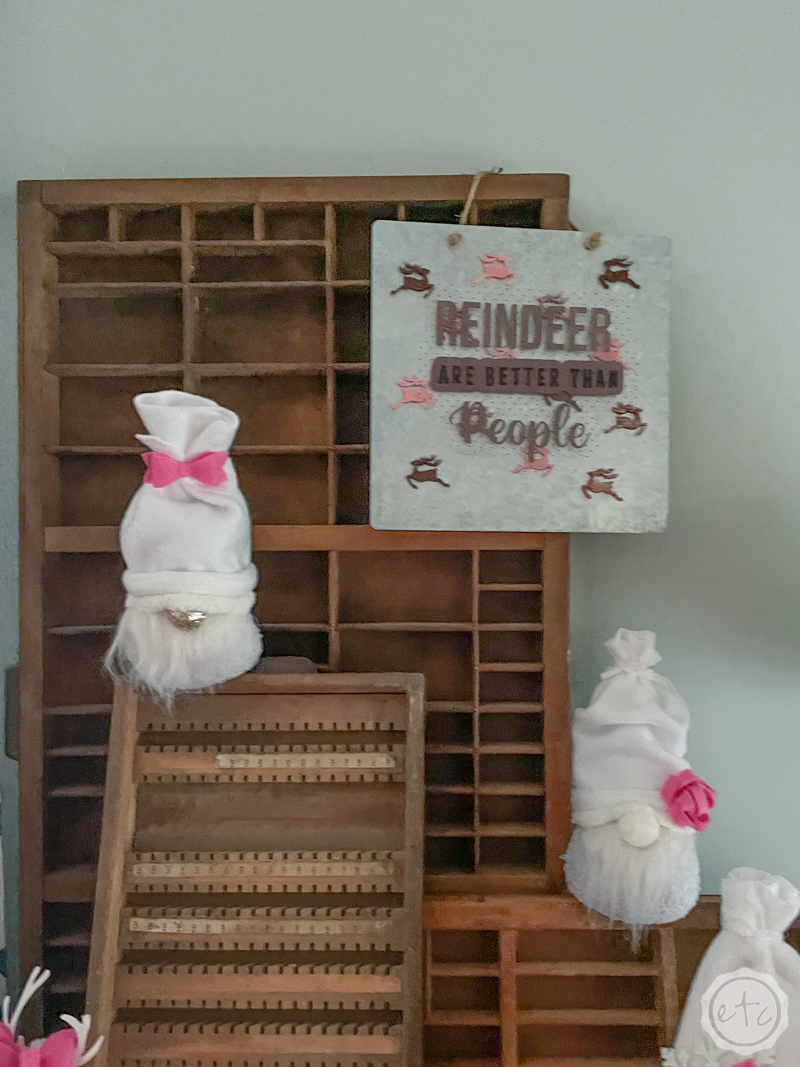
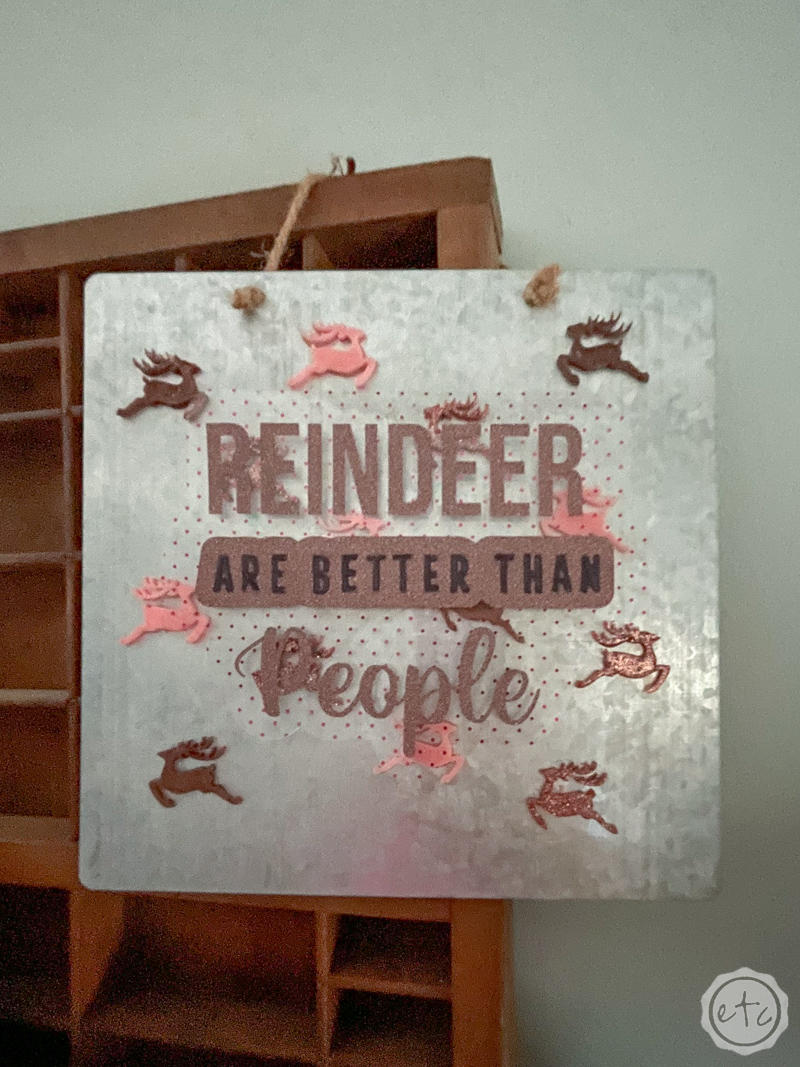
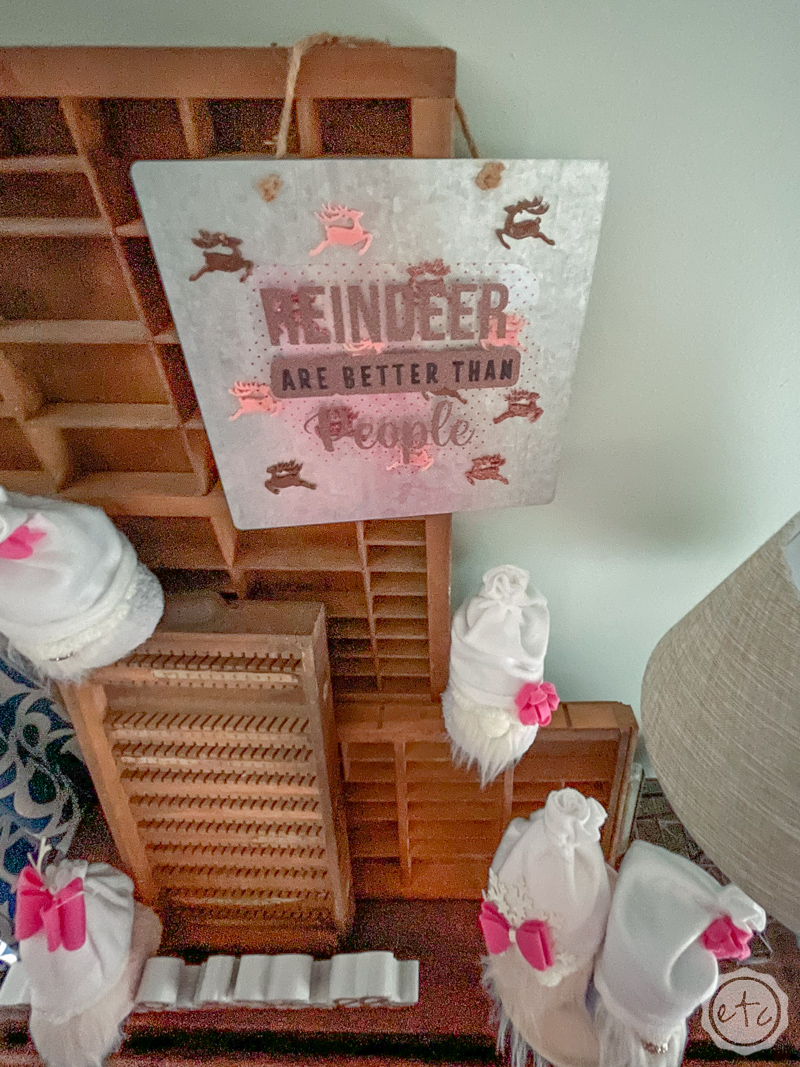
I’m going to make my reindeer into a sign background for a Cricut SVG about… reindeer. Yup. Ground breaking. BUT they would be adorable earrings. Or a necklace. Or something else entirely… you let me know if you use these babies for something else, in the meantime let’s get started.
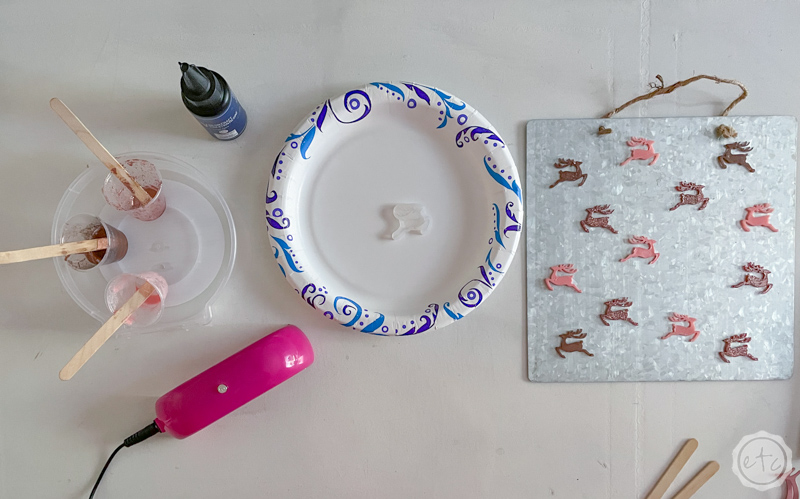
Supplies:
- UV Resin and Light
- Reindeer Silicone Mold
- Medicine Cups
- Fine Rose Gold Glitter
- Copper Oil Based Paint
- Pink Craft Paint
- Respirator/Mask (resin graded filters)
- Gloves
- Wagner HT400 Heat Gun
- Freezer Paper
Just getting started with resin? Download my free resin supply list and make your first project today!
Step 1: Mix Your Resin
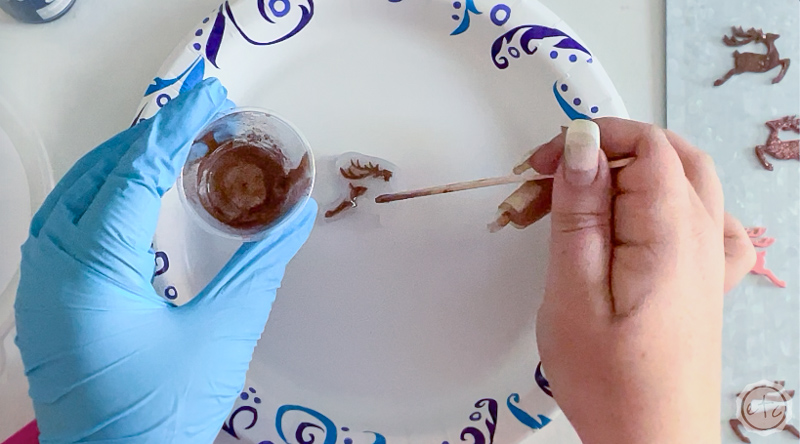
First we’re going to mix our resin! UV resin doesn’t need to be mixed for a certain amount of time… there’s no part a or part b. BUT if we want to color our resin we’ll need to mix in our colorant.
So if you’re looking for clear resin you can add it straight from the bottle to your piece. Since we want a bunch of little colored reindeer we’ll need to add a bit of colorant.
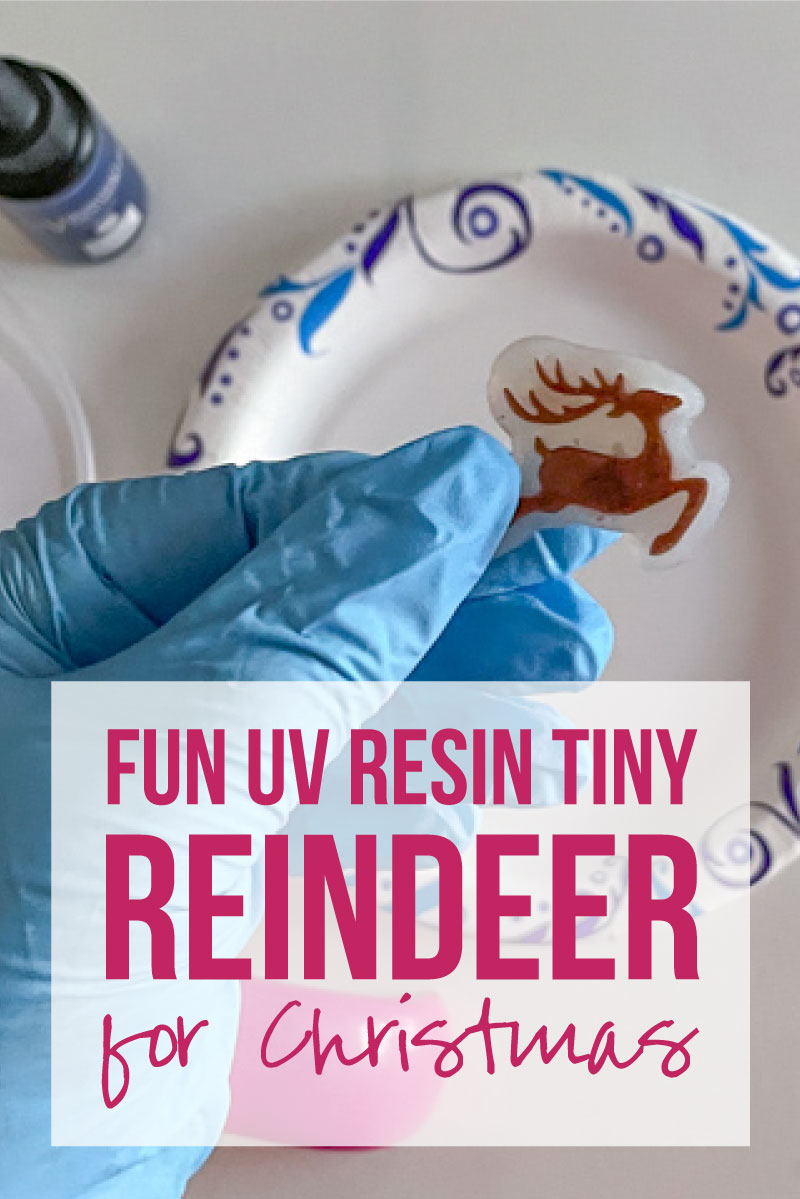
I find the easiest way to do this is to squeeze some resin (about 10 ml) into a medicine cup and then add your colorant. I went with a blush pink, a metallic copper and a rose gold glitter. I mixed each one and then set them aside… we’ll make a bunch of reindeer in each color.
Make sure you’re wearing your protective gear here (a respirator and gloves)… UV resin is still resin!
Once your resin is mixed up and looks consistent we’ll move on.
Step 2: Pour Your Resin
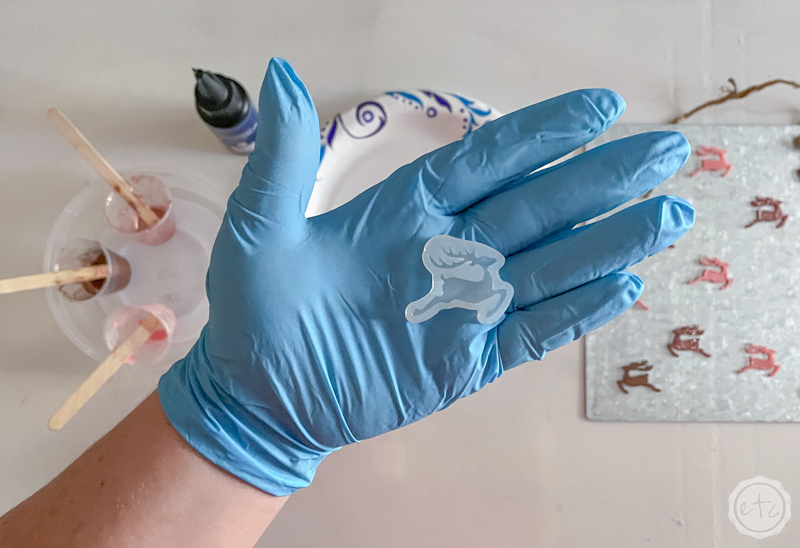
Now we’re ready to roll. Go ahead and pour your resin into your mold.
This reindeer is tiny tiny tiny but parts of it are tinier than others… for example the antlers? Tiny! I used a popsicle stick to add drops of resin onto the top of the antlers and then let the resin slide down into the mold. This seemed to work perfectly for those little areas. Then you can add larger drops of resin to the bigger portions (like the body of the reindeer) until the resin level is even across the top of the mold.
If you’re excellent at pouring you could pour your resin instead of spooning it in with a popsicle stick but I’m not… so the popsicle stick method works for me. It’s a bit more controlled.
Once the entire mold is full we’ll break out the UV Light!
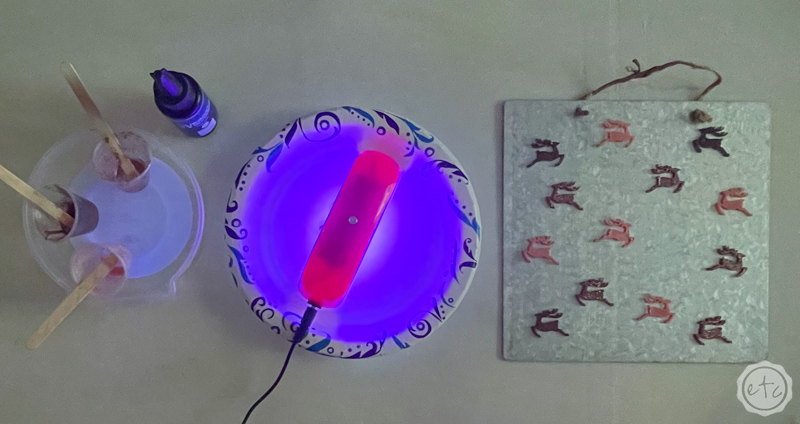
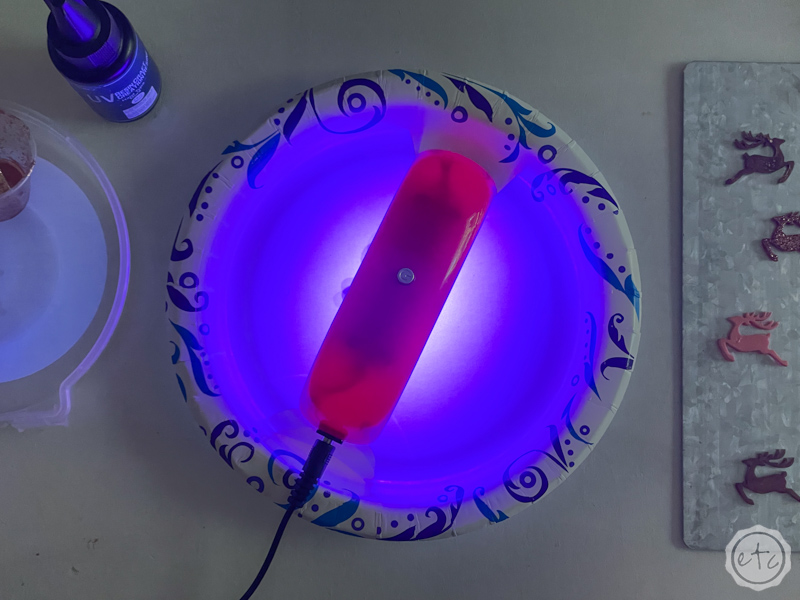
Step 3: Cure Your Resin
Alright… let’s cure that baby! Go ahead and place your UV light over your reindeer and hit the go button. My light goes for about 30 seconds but if your light doesn’t have a timer you’ll want to cure your piece for 10-30 seconds depending on the piece.
Just remember that your UV light will cure ALL UV resin… so move all of your little measuring cups of resin out of the way so we don’t cure our other colors before we can even use them!
Once your 30 seconds is up we can go ahead and unmold this little guy! Once he’s free of the mold I like to turn him over and cure him from the other side as well. I don’t know if this is necessary but it seems to make him stronger so I keep doing it.
Then you can keep making as many reindeer as you need!
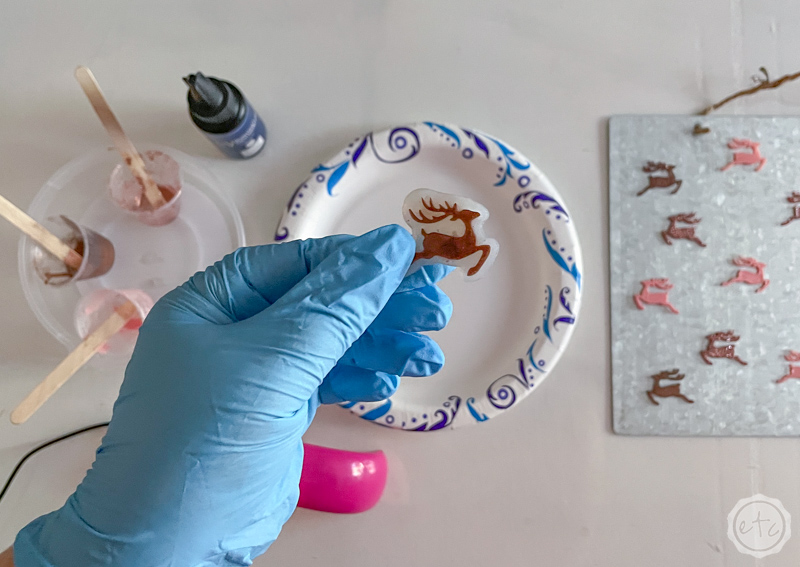
Step 4: Trim any Excess Resin
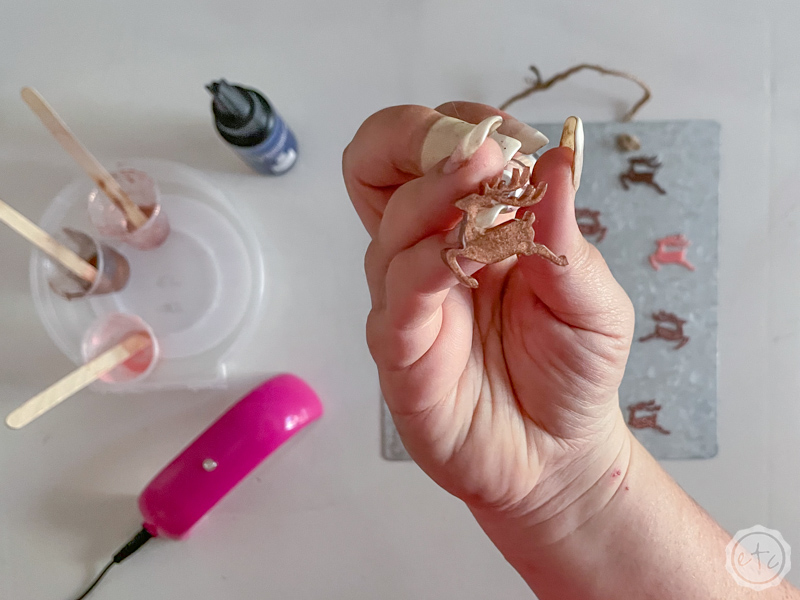
We are SO close to done y’all… if your reindeer comes out clean and perfect you’re good to go. BUT I find when un-molidng little tiny things (like antlers) that they usually need a little help.
I just grab an exacto knife and trim off any excess resin while being careful not to cut off the actual antlers. They’re pretty sturdy so you shouldn’t have any problems… just go slow and steady! Once they’re clear of any little pieces of resin you don’t need you’re done!
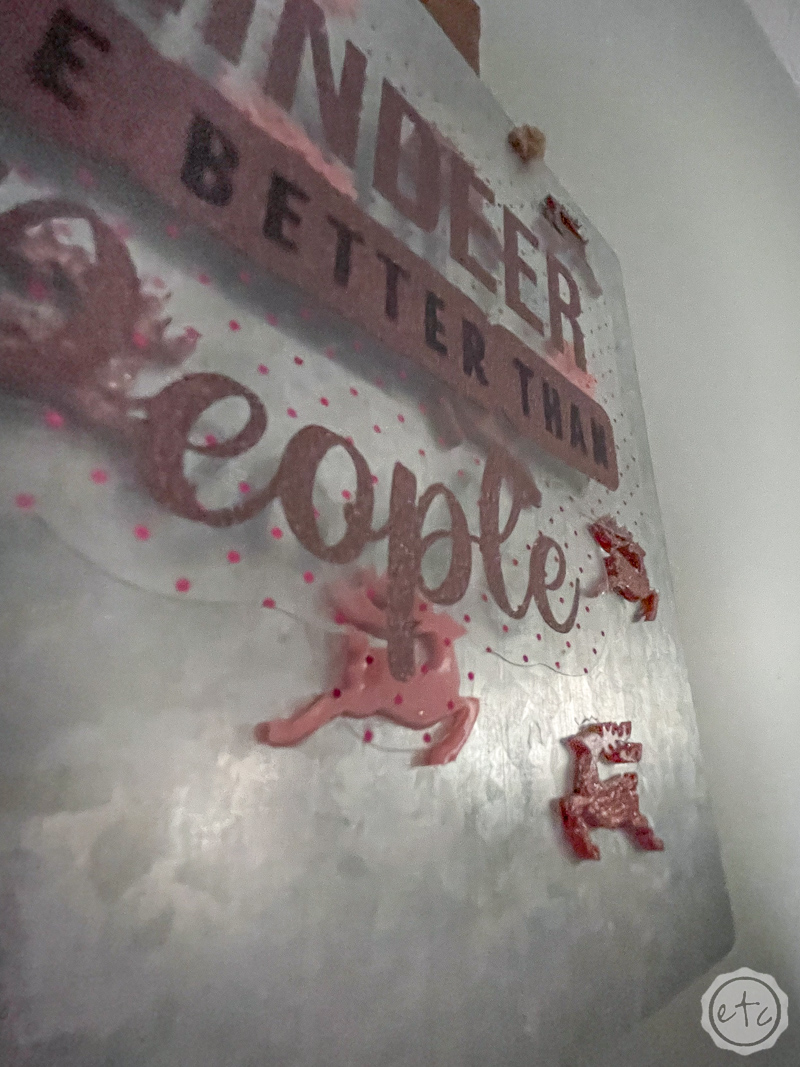
I used a bit of extra resin to glue my pieces to a metal sign and if you want to check out the full Cricut Tutorial for the Reindeer SVG I paired with this baby you can check it out HERE.


Step 4: Enjoy!
Either way we’re done! I can’t wait to see what you do with your little reindeer but I love mine. They’re so cute behind the acetate and vinyl. I love that they make a cute little repeating pattern but are completely 3-D.
So cute!
If I do say so myself.
Let’s take a closer look!


Looking for more resin projects? I’ve got you covered!


Leave a Reply